So in case you too need a little pick-me-up in one of your rooms…..or just need a new focal point up on a shelf, hopefully something in this Decorate My Home series will spark an idea for you.
Or maybe not.
But perhaps it’ll help pass a gloomy day or two as you skim through pictures of my efforts to scrounge up some inexpensive decorations.
So, over the next several weeks, I will add things here and there that I have found and re-finished or made from scratch……..to make our little house our home.
First up?
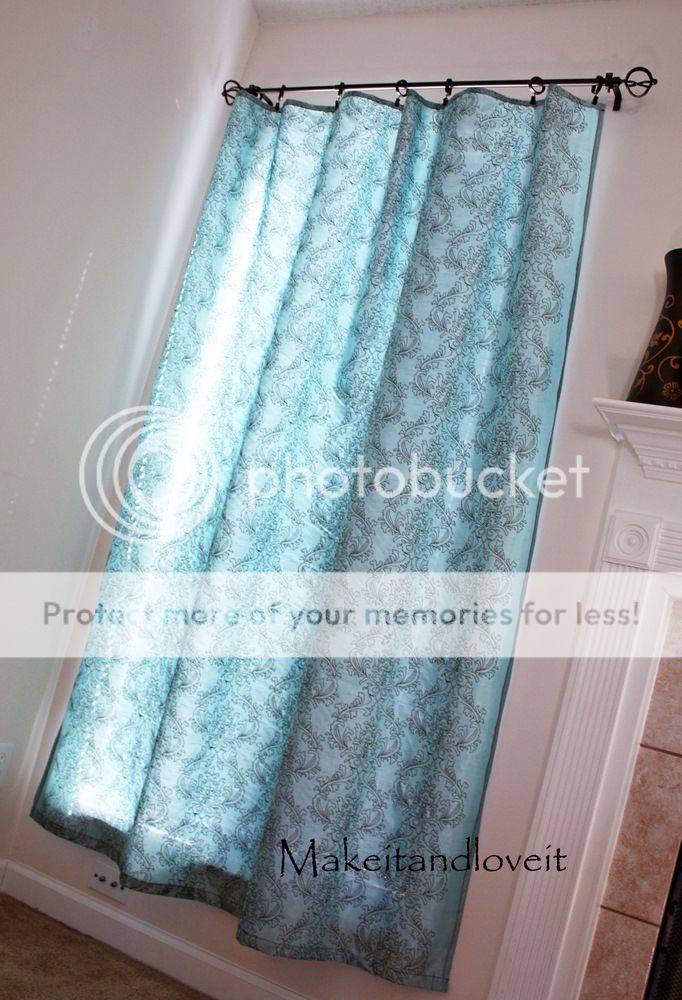
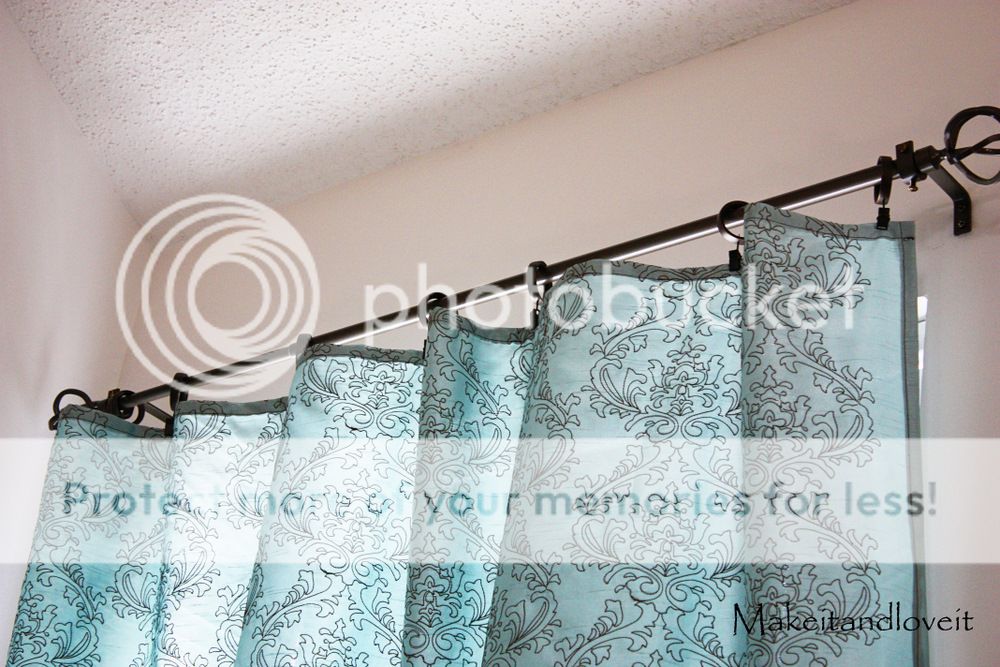
And they are seriously simple. As long as you have a curtain rod and some rings with clips on them. (I found them on sale at Bed Bath and Beyond.)
All I did was buy two yards (should have bought 2.5 yards) of this drapery fabric at Hancock Fabrics, cut both ends to make them even, and then hemmed all four sides. (But you’ll need to measure your own windows and decide the amount you’ll need. And with a bigger window, you’ll probably need two panels.)
I first hemmed the sides of the curtain by folding ever each raw edge a 1/4 of an inch, then about a half inch….then sewed it in place. Then I hemmed the top the same way.
Then I hung my curtain on the clips, just to see how it hung. And sure enough, I had to trim the left bottom side just a smidge.
Then a little trick if you’re using flimsy fabric that blows around and doesn’t hang nicely….
Hem the bottom of your curtain, but with enough room to slide pennies in. Then slide the pennies all along the bottom hem. I used about 20. Maybe 25.
Then I put two pennies stacked together in the very end and sewed the end shut. Then I sewed on the other side of those two pennies, just to keep it in place. Do this to both bottom corners.
I did this to make sure that my bottom corners were always hanging nicely, and straight down.
Hang your curtains.
And you’re done.
Nice and quick and fairly inexpensive.
Especially if your fabric store is having a 50% off upholstery/drapery sale like mine was. This seriously beats paying for new curtains.
Have you price checked those suckers lately?
Wow.

Hi, I’m Ashley—the DIY-enthusiast behind this crazy blog!