.
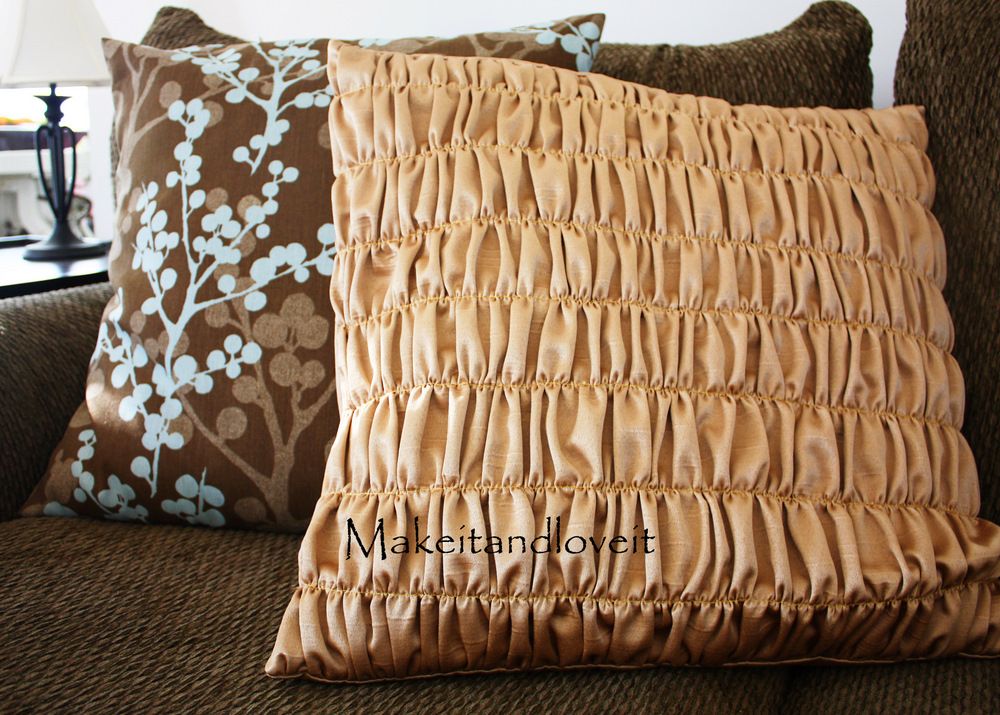
You know I’ve made pillow slipcovers before…..here. But this time I wanted some real texture on my pillow. I have seen this gathered technique on pillows at the store…..and gave it a try at home.
And the back is just the same as the tutorial here:

(And the blue/teal pillows in the background were made with the tutorial here as well, and I found that upholstery fabric at Hancock Fabric. I’m not sure of the name but it was with their home decorating fabric.)
**Fabric: I used an upholstery fabric that was a bit satin-y looking. It wasn’t really stiff like something you’d put on chairs but more like a semi-thick curtain material……so nice and flexible and a bit flow-y. But it can’t be a stiff fabric or it won’t gather correctly.**
To make……measure your pillows.
Mine were 21 x 21 inches from side seam to side seam. And I would need a half inch on all sides for a seam allowance. So if I was going to make a plain front to my pillow, I would just cut out a piece that was 22 x 22 inches. But to have enough fabric to make the gather, just double the width dimension. So I cut out a piece that was 22 x 44.

Then I placed pins all along one of the 22 inch long edges, spacing my 9 pins evenly….making the two outer pins only 1/2 an inch from the edge. (I liked the look of about 2.5 inches between each row of gather. But you could do more or less.)

Then I did the same thing to the other end….and then down the center. These pins are here as a guide as you make your seams. You can also measure your lines and then make a chalk line if this will help you keep a straight line. (But use your original side as a guide when placing your pins along the other edge and down the center. Just lay it on top and place the pins down….this will keep your spacing even.)

Then make a basting stitch (the widest length of stitch on most machines) going the width of your fabric, keeping in line with your pins. The fabric is folded and gathered up because it woudn’t fit into the picture. But those seams go all the way from one side, across the 42 inches to the other side. (zoom on the picture to enlarge.)

Then use a piece from your scrap pile that is 22 x 22 inches. (Never get rid of your scraps…..you’ll always find a use for them!!) The fabric can match if you’d like but no one will ever see it.

Start pulling the top thread of your top seam and gather your fabric. Gather it until it is an evenly spaced 22 inches. Pin it to your scrap fabric piece that you just cut out. (If you need more help gathering, there are a few more tips on this post here.)

Sew it right to that back piece of fabric, right along that gathered seam.

Then start at your next seam down, and do the same thing.

A trick that helped me, was to gather the fabric and then pin both edges to the edges of the back fabric. And then I would space the fabric…

And make sure that your back fabric is laying flat each time you sew a new seam. You want it to keep its original 22 x22 inch size.

Once you’re done with the whole piece, attach it to your back pieces (shown here) to make a slip cover for your pillow.
Put it on.

Hi, I’m Ashley—the DIY-enthusiast behind this crazy blog!