Today’s contributor is Sara from The Aqua House. All posts written by Sara for Make It and Love It can be found HERE.
. . . . .
Hi again everyone! Its Sara From The Aqua House and I’m excited to show you how to build your very own DIY Window Flower Boxes. Now that spring is here I know lots of us are getting outside and sprucing up our yards. One thing that I have wanted to do for the longest time is add window boxes to the front of my house. Window boxes can help add some definite curb appeal and dimension to your home…and once those flowers all grow in and start cascading they are simply gorgeous!
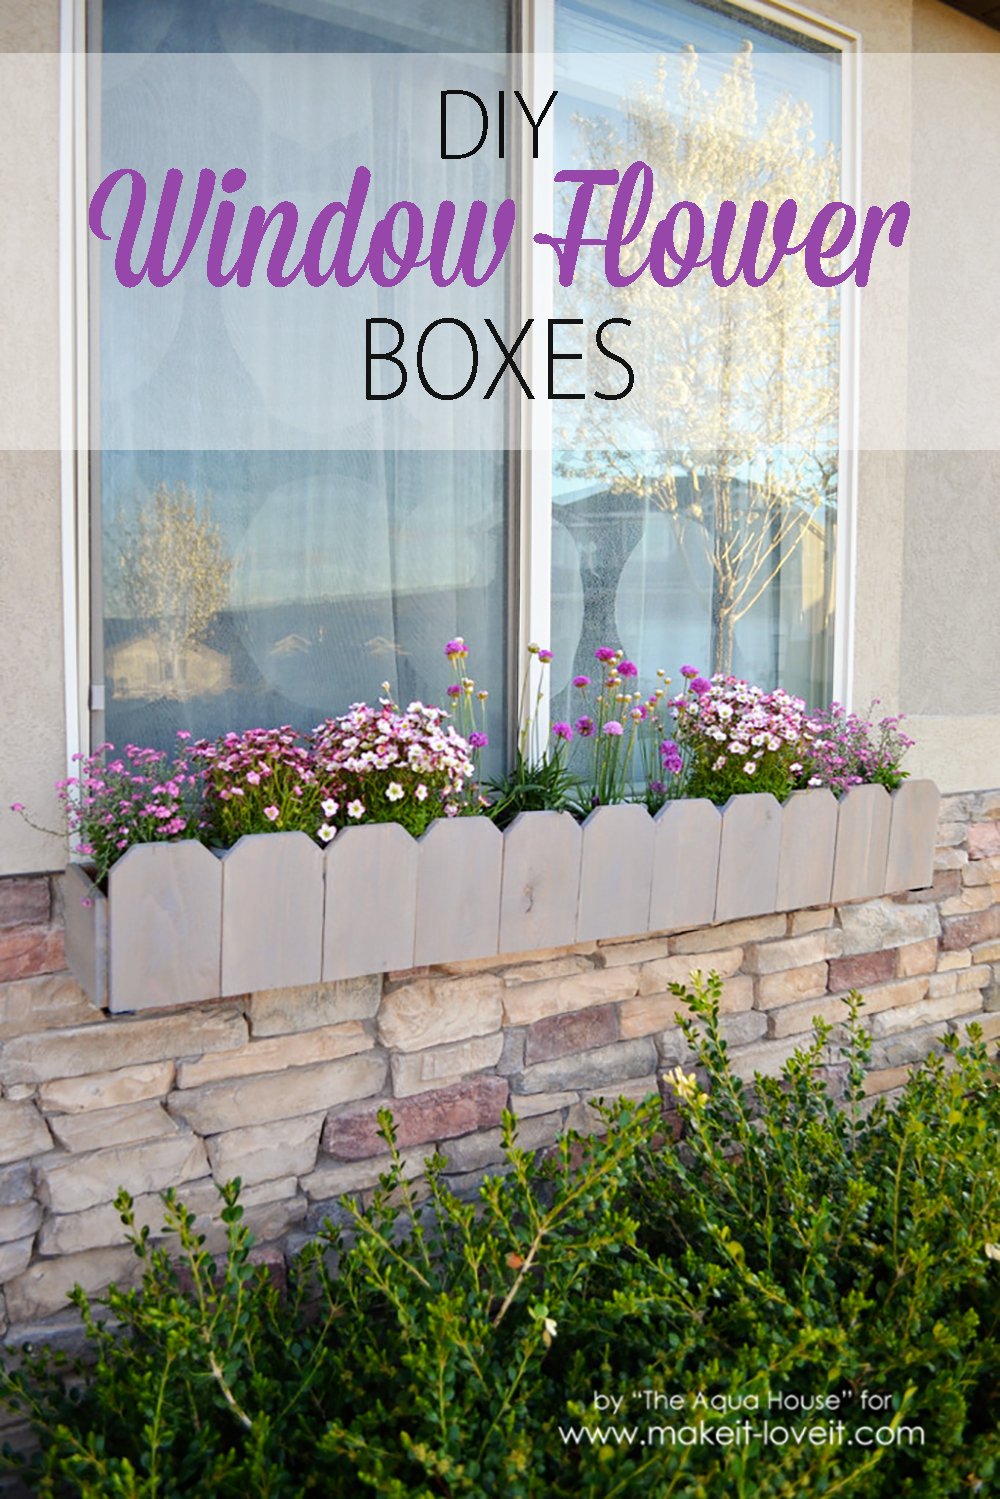
These Window Boxes can help add that right pop of color to the front of your home!


All these window boxes take are a few boards, some nails, and stain. For right around $20 (each), you can afford to make one for every window!


For this project you will need:
**My window flower boxes are made to fit my windows which are 60 inches long. You will need to measure your own windows to custom fit your window flower boxes. All measurements and specifications are for 60 inch long window boxes.
To make one window flower box, you will need 4 1/2 boards, but since these are fence planks you will need to buy 5 of them as the store most likely won’t let you cut them in half. So if you wanted to make two boxes you would only have to buy 9 planks. These boards only cost $2.45 each at Home Depot! I used the cedar fence planks because they are meant to be used outdoors and I wanted a wood that would endure the elements.

The first step is to take three of the cedar fence planks and cut them down to 60 inches long. These pieces will become the front, back, and bottom of the flower window box.

From the left over pieces (that you just cut off the planks), cut out two pieces that measure 6 1/2 inches long. These will become the side pieces. You now have all the pieces you need to assemble the box.

Flip one of the 60 inch boards up on its side and run a bead of wood glue down it.

Attach the board with the glue to another one of the 60 inch boards and create an “L” shape.

Use the finish nailer to attach those two pieces together. I used 3/4 inch brad nails. Before you nail the boards together take extra care to make sure that your ends are lined up.

Once the two boards are nailed together go back and wipe up any extra wood glue that has leaked out of the sides.

Now we are going to attach the 6 1/2 inch side pieces to the “L” shaped piece we have made. These two side pieces work like end caps and are attached to the outside of the “L” shaped piece. On top of the “L” shaped piece run a bead of glue.

Then put the 6 1/2 inch side pieces over the “L” and secure with nails. Once both side pieces are attached we will set this whole piece aside and start working on the front of the box.

To make the picket fence looking front we will need to cut the ‘pickets’ out. From the extra cedar fence plank and any scraps you have from the other boards (I’m all about not wasting any wood!) cut 11 pieces at 8 inches long.

Now we will need to take each of these pieces and dog ear them. This is done by measuring over 1 inch and down 1 inch from the corner of the board and making a diagonal. The cut is on a 45 degree angle. Cut the corner off.

Do this on each side of the board and repeat on all 11 boards!

Once you have all of the picket pieces dog eared its time to attach them to the front of the board. Start by putting wood glue on the bottom part of the picket piece.

Then attach the first picket piece to one end of the front board.

To help ensure that you get all of the picket pieces evenly spaced on the front attach another picket piece to the other end. Now you can space the remaining pieces and not worry that your last piece won’t line up with the edge of the board.

While the board is laying with the picket pieces up, space all of the remaining picket pieces out about 1/8 inch apart and put one nail through the front to secure the pieces. This makes it easier to see exactly where the pieces are and to ensure that everything looks neat and evenly spaced.

Flip the board back over and secure the remaining pieces with several nails.

Now that all the picket pieces are attached its time to attach the entire front piece to the rest of the box. Line it up with the “L” shaped piece we made and attach the sides with nails. To attach the front to the bottom of the box you will need to shoot the nail gun on a 45 degree angle through the bottom piece. The nails aren’t long enough to reach through the entire front of the box plus you don’t want to add more nail holes to the front of the window box. Optional: You can drill small drainage holes in the bottom of the box if you are worried about drainage.

The flower box is all finished and now it is time to stain and seal it. I chose to use and all-in-one stain and sealant by Behr in the color “Stonehedge”.

Using rubber gloves, apply the stain using an old rag. I found that the cedar boards really like to soak up the stain so make sure to do several coats!

Once the planter was stained and dried I had my husband attach it to the house using a window planter bracket kit (made by Hampton Bay) that I found in the planter section at Home Depot.

Now you can choose some flowers to fill it with and watch them grow and fill in the window boxes this summer.

Hope you enjoy!
-Sara

You can follow Sara’s Facebook here, Instagram here, and Pinterest here.
. . . . .
There are so many options for displaying flowers in and around your home! Check out a few more fun ideas here:
DIY Hanging Rain Gutter Planters
DIY Photo Flower Pot (…fun for Mother’s Day!)

Hi, I’m Ashley—the DIY-enthusiast behind this crazy blog!


