Just a reminder…….hurry over and submit your applications for the 2016 ‘Make It and Love It’ CREATIVE TEAM! We’d love to have you! :)
. . . . .
Oooooooh, it’s getting chilly outside. Even here in Oklahoma. Okay, it’s been in the 50s and 60s….but still, we have acclimated to living in this warm state, so seeing the thermometer read 50 means shivering COLD for us (just like it did when I was a kid growing up in Arizona)! So, we’ve been bringing out the sweaters, scarves, and my kids even think they need to wear gloves!!
While at the fabric store about a month ago, I found this great faux fur material and snatched it up right away, knowing I wanted to make a vest out of it when it got chilly. Well, it’s now “chilly”…..so I started cutting up that fur fabric. I actually intended on making one for myself first, but decided to test out a smaller version on Elli and Chloe first. And turns out, this is one REALLY SIMPLE sewing project that you whip out in about an hour!
The best news of all……my stuffed-animal-lover-daughter Elli thinks this vest is just about the best thing in her whole closet! She’s such a sucker for soft and cuddly, so this is SO VERY “her”!
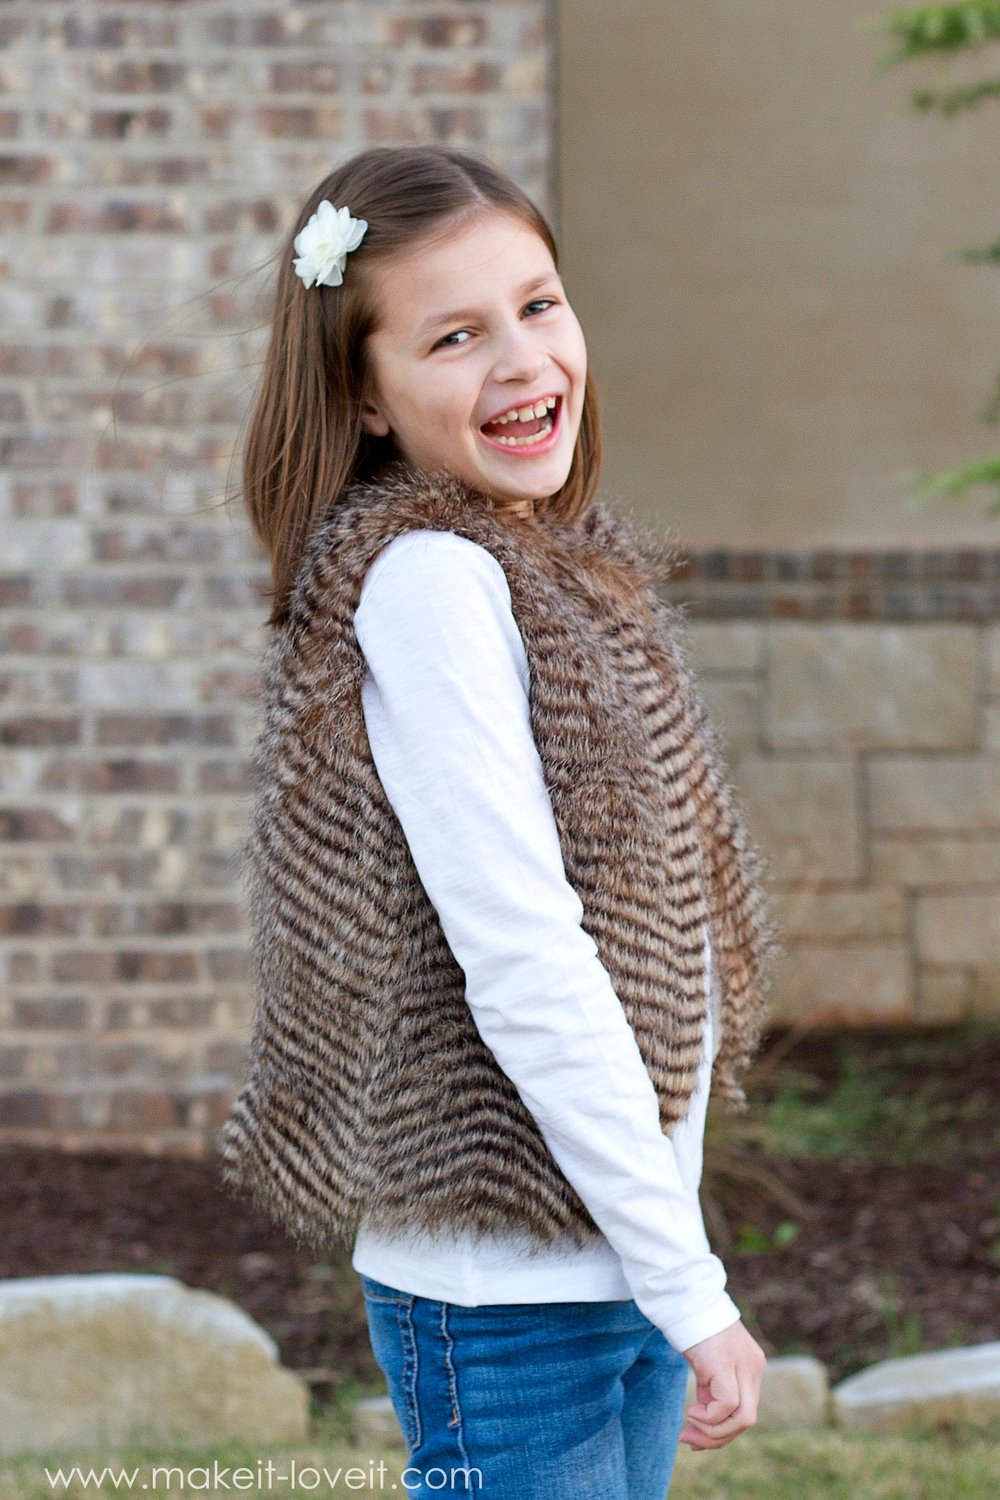
The vest has a curve to the lower front pieces to let more of the undershirt show….and gives you some shape and dimension to the outfit, rather than a rounded puff ball.
And the inside is completely lined. But don’t let that worry you…..this really is a quick sew, and VERY forgiving (since the fur will hide imperfections). Oh, and there’s a Hook and Eye at the top to keep it closed…but that’s completely optional.
When I’m not looking, I keep catching this child petting the fur upwards and then smoothing it down. I seriously think she thinks she finally found a way to carry a stuffed animal with her always! ;)
This particular fur is pretty long but surprisingly doesn’t really shed. But oh, that texture is so fun as a vest!
I’ve seen these fur vests in stores recently but making our own ended costing about half the price. Plus, I haven’t really seen the exact shape I wanted for one in grown-up sizes…..so I love how quickly I can just make my own!
However, I may hide Elli’s vest for a few years because suddenly my almost-9-year-old looks 12. Ha! No, but I prefer this over some of the other way-too-mature-looking outfits I see in her section at the store. (What’s with that?!?!) Plus, she adores it…..so it’s a win-win!
Would you like to make your own Faux Fur Vest???
SUPPLIES:
***Check out my Sewing Terms 101 post, for additional help.
First of all, faux fur can be a little pricey when it’s not on sale….but all of the fabric stores I go to always have a 50% off coupon you can use on full price items. I bought my faux fur at Hobby Lobby and I think it was $18 a yard. So with my 50% off coupon, it was only $9 for the half yard I purchased. The lining fabric doesn’t have to be anything fancy so check your fabric stash because you probably have something in there you can use. I just used some woven cotton fabric and it was perfect!
Okay, this is a super simple vest to make and all of that fur hides all sorts of mistakes…..so don’t be intimidated!
First of all, it’s time to create a pattern piece. Find a shirt that fits semi-loose on your subject but isn’t too baggy…or your vest will be way too large. Then, fold your shirt in half and press it as flat as you can, then trace around the main bodice section of the shirt, adding 1/4 inch around all sides for a seam allowance. (Check out my other clothing tutorials for more details making your own patterns.)
Use that pattern piece to cut out your two front pieces. However, since these are the front pieces, cut the scoop of the neckline lower (reference your shirt you used as your pattern). Then, I decided to make the bottom two inner corners of the vest curved, rather than straight down. And the reason I did this was so that the vest wasn’t so overwhelming and you could see the shirt beneath……and it gives the subject more of a shape under that fluff.
Now, fold your fabric in half and use the pattern piece to cut out a back piece for your vest.
That’s all you need, is the 3 pieces for your vest. (I always like to hold them up to my subject to make sure they’re the right size and look like they’re going to fit correctly, etc.) Now, use these 3 pieces to cut out your fur pieces. BUT FIRST, smooth out your fur to find the direction that it’s laying. If you smooth it down correctly, it will lay nice and flat…..
…..however, if you try smoothing it in the wrong direction, it won’t lay flat.
So, smooth all of the fur down and then place the fur face down on your cutting table. Be sure that the fur direction is facing downward and then place your pattern pieces on the WRONG side of the fur……making sure that the RIGHT side of each pattern piece is facing up.
Now it’s time to cut around each of your lining pieces but make sure you’re not cutting all the way through the fur!!! You’re actually only going to be cutting through the base layer of the fur….otherwise you’ll be cutting off strands of fur everywhere and will not only have a much bigger mess, but you’ll make your vest look like it’s had a bad haircut! ;)
Once you pull the base fabric apart, you’ll see that the fur strands are still in tact….and will pull apart very easily.
Here’s after a cut through more of the base fabric……the fur just separates nicely. (If you cut through some of the fur, don’t worry……just try your best to avoid it.)
You’ll see that there’s fur that hangs below all of your bottom edges, so this is also something to consider when making your pattern pieces…..is that the length of your fur will be added to the length of your pattern pieces. But it will only make the length longer because the fur hangs straight down, it won’t make it taller at the top or wider at the sides (other than the fluffiness of it).
Now, place your fur vest pieces together with RIGHT sides together and your lining pieces together as well. Sew along the SIDES ONLY, using a 1/4 inch seam allowance. Then, I ALWAYS have my subject try on the vest shape at this point. You can pin the shoulders closed and have them slip right into it and then make sure you like the neck line, make sure it’s not too wide or too long…..and then make whatever changes necessary. But remember that there’s a 1/4 inch seam allowance that will be subtracted and also, whatever changes you make to the fur vest, make the exact changes to the lining….because they need to be identical!
Now, open up the fur and lining pieces and place them together with RIGHT sides together. Match up all edges and pin together, leaving the shoulders open and you’ll actually be leaving about a 3-4 inch opening along the bottom.
And while pinning, it’s very important to shove the strands of fur inside and away from the edges of the fabric. It can be tricky to get it all in there and have it stay, so while you’re sewing, you’ll need to adjust as you go.
Then, sew along the edges (with a 1/4 inch seam allowance) like shown below…….leaving each of the 4 shoulders open and the 3-4 inch opening along the bottom.
Turn the vest right side out through the opening at the bottom and flatten it the best you can.
And you see the opening at the bottom???
Tuck it all up inside the best you can and hand stitch closed with a needle and thread. (I tried ironing the lining to make it nice and flat but I kept the heat low and turned off the steam because I didn’t want to melt the fur. I also ONLY ironed on the lining fabric and never touched the metal of the iron to the strands of fur. I would definitely recommend testing some of your scrap fur pieces before ironing.)
Then, flatten each shoulder opening the best you can and sew it closed, using a 1/8 inch seam allowance.
Place your shoulder pieces together with right sides together and sew them closed, using a 1/4 inch seam allowance. Then, trim down a bit and zig-zag the raw edges closed…..also trying to make things look nice and neat.
Attach a hook and eye to the top of the vest, if desired.
And that’s it!!! A snuggly warm Faux Fur vest to wear!!!

Hi, I’m Ashley—the DIY-enthusiast behind this crazy blog!