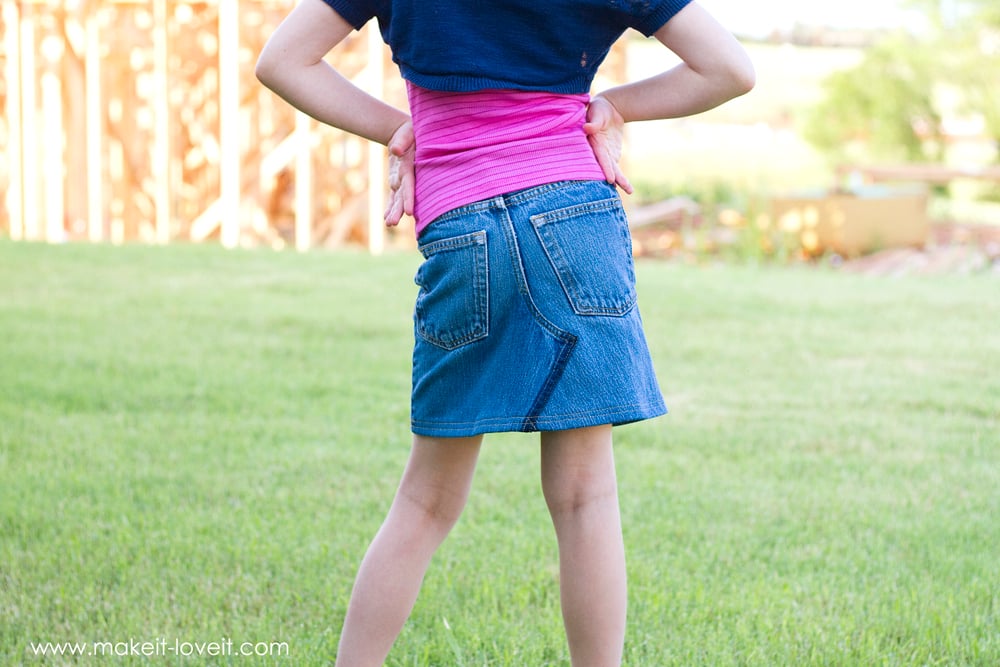
I think my 8 year old Elli has been eating extra green beans at dinner or something because this girls’ legs are on the fast track to becoming the longest 8 year old legs you ever did see! I swear….this girl is growing out of everything in her drawer. But that’s okay, because of all moms, I completely understand! ;)
Elli has this old jean skirt that she has been wearing for about a year now and the poor thing is just too short. And tattered. It was a hand-me-down from a friend to begin with….and finally needs to be put to rest. So, I decided to finally replace it with another denim skirt. But I didn’t want to actually buy anything because we all know she’s overeating her veggies at dinner and she’ll just outgrow this one soon too! Ha! ;) SO, I actually turned a pair of Connor’s old jeans (that were hole-y in the knees and too short for him) into a new skirt for Elli!
But really, you could do the same thing with your own adult sized jeans……and make your own denim skirt for summer! It really only takes minutes to do…..and doesn’t cost a penny!
So don’t throw those old jeans away. Just chop the legs off and turn them into a new cute skirt!
Once you un-pick the leg seams and flatten them out, they actually create some cool visual detail……on the front and back of the skirt! :)
Out with her old denim skirt and in with the replacement one……and for no cost at all. Easy!
If skirts is what this child likes, I’m fine with making them for her. Especially the jean variety….because they make finding something that matches it, SO much easier!
Want to transform some of your old jeans into skirts too??
SUPPLIES:
***Check out my Sewing Terms 101 post, for additional help.
Decide how long you want your skirt to be and then measure from the top of the jeans, down to the length you want PLUS 1 1/2 inches.
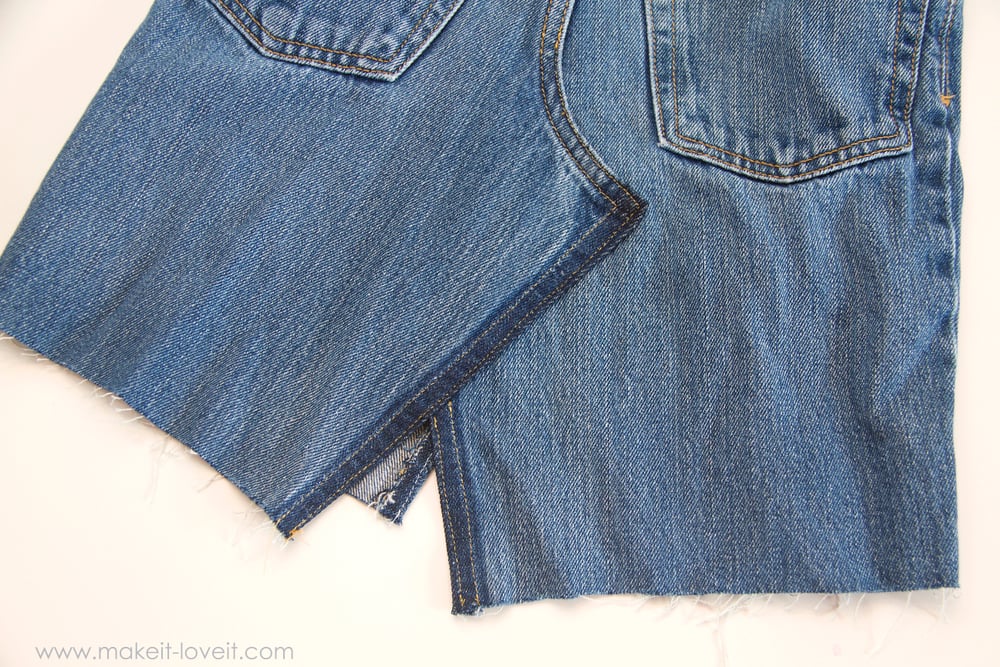
Use a seam ripper to unpick the inner seams of the jeans.
Then, begin unpicking the front seam and back seam a couple inches.
Then, overlap the angled edge of the jeans over the other side of the jeans. If it’s still puckering and not quite laying flat, unpick the seam just a bit more.
Then sew the flap down, stitching right along the original lines where the jeans were sewn together. (And try and match the yellow/orange thread as best you can.)
Do the same on the back. However, you may have to fold the edge of the flap under just a bit, so that there are no raw edges. The fading may be different as well….but just go with it! :)
Now, you’ll need just a bit of fabric to fill in the gaps between the pant legs. Cut a piece from the pant leg.
Then place it between the gap from the back side…and pin in place.
Sew in place, right along the same seam lines.
Repeat on the back.
Then trim away the extra flaps of fabric on the inside of the skirt. (Denim will fray when washed…and will stop. So don’t worry about the raw edges here.)
Then trim the bottom edge of the shirt.
Then fold under the bottom edge 3/4 of an inch under and the another 3/4 of an inch. Sew in place. (I sewed two seams right next to each other, just for visual appeal. You could use a double needle as well…..or just keep it steady as you’re sewing.)
The press with a hot iron to smooth out any ripples in your denim.
And that’s it. Time to put your skirt on and enjoy!
-Ashley
. . . . .
Do you have more old jeans to get rid of?
STOP — don’t throw them out yet! Here are a few more ideas for using those old jeans!!!
CUT-OFF JEANS WITH A FABRIC HEM AND SIDE KNOTS
DENIM PURSE WITH DRAWSTRING CLOSURE
35 CLEVER PROJECTS FROM OLD JEANS

Hi, I’m Ashley—the DIY-enthusiast behind this crazy blog!