In case you weren’t around yesterday, I shared just how easy it is to UNinstall a door in your home. Really, super simple. (But I didn’t even realize it until we took down our first door. Wow….not so bad!) And because there were so many pictures in that post and then so many in today’s, I split it up.
(And in case you’re feeling confused, the pictures below are all from our last home in Colorado. Yep, we moved about 3 weeks ago to Oklahoma. But you better believe, we’re already planning a few projects that we want to do here in this home. Even though it’s brand new. But whatever…..we can’t help it!)
Today’s post is what you do AFTER you uninstall the old door. And it’s the fun part…….because everything starts to take shape and look beautiful!!!
So if you have the standard builders grade doors and you thought replacing them all would be impossible…..think again. Rip those suckers out and I’ll show you the really simple way to hang a new door (NO SHIMMING NECESSARY) in like 10 minutes flat. Or, even less — because after installing about 20 new doors, my husband and I actually got really fast at it!
However, if you have doors that are fine and don’t need to be replaced necessarily…….but need a little love……consider trimming them out! It just gives the door some beautiful height, creates a nice polished look, and adds character to an otherwise boring door.
So every door that we replaced (which was every single one on the main and upper level), we trimmed out. It made such an amazing difference! And since we did it ourselves……we saved plenty of cash!
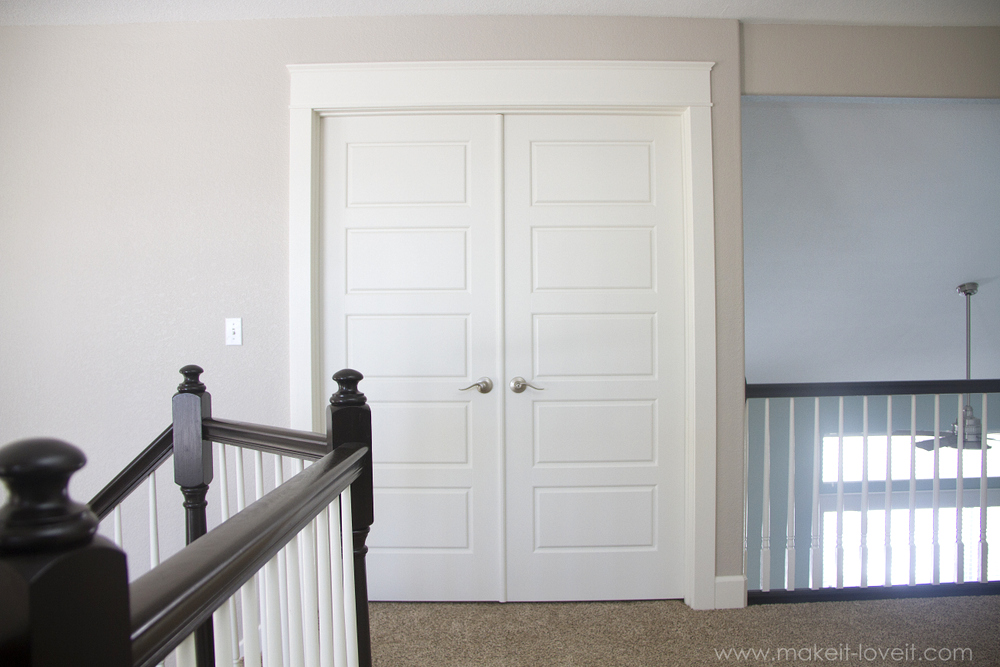
Here’s the door leading into the master bedroom. (And ahhhh, that banister! I miss that thing. If you want to totally transform your banister, check out my Staining an Oak Banister tutorial. A cheap fix!)
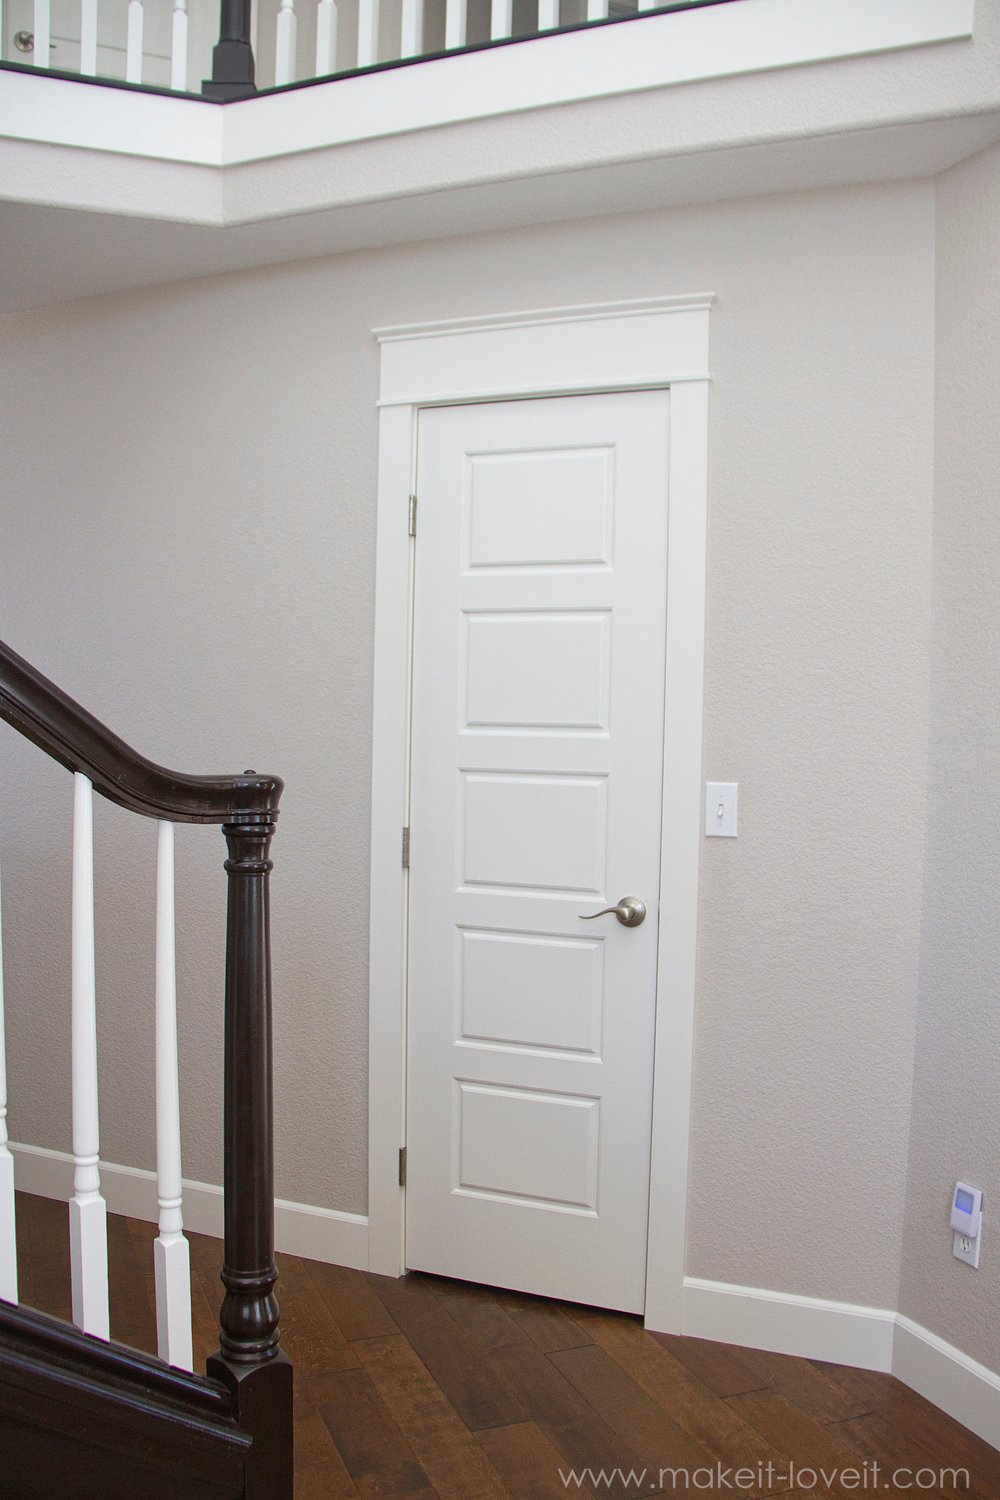
Here’s the door to the mudroom. (In case you want a peek behind that door, here’s the closet to mudroom tutorial.)
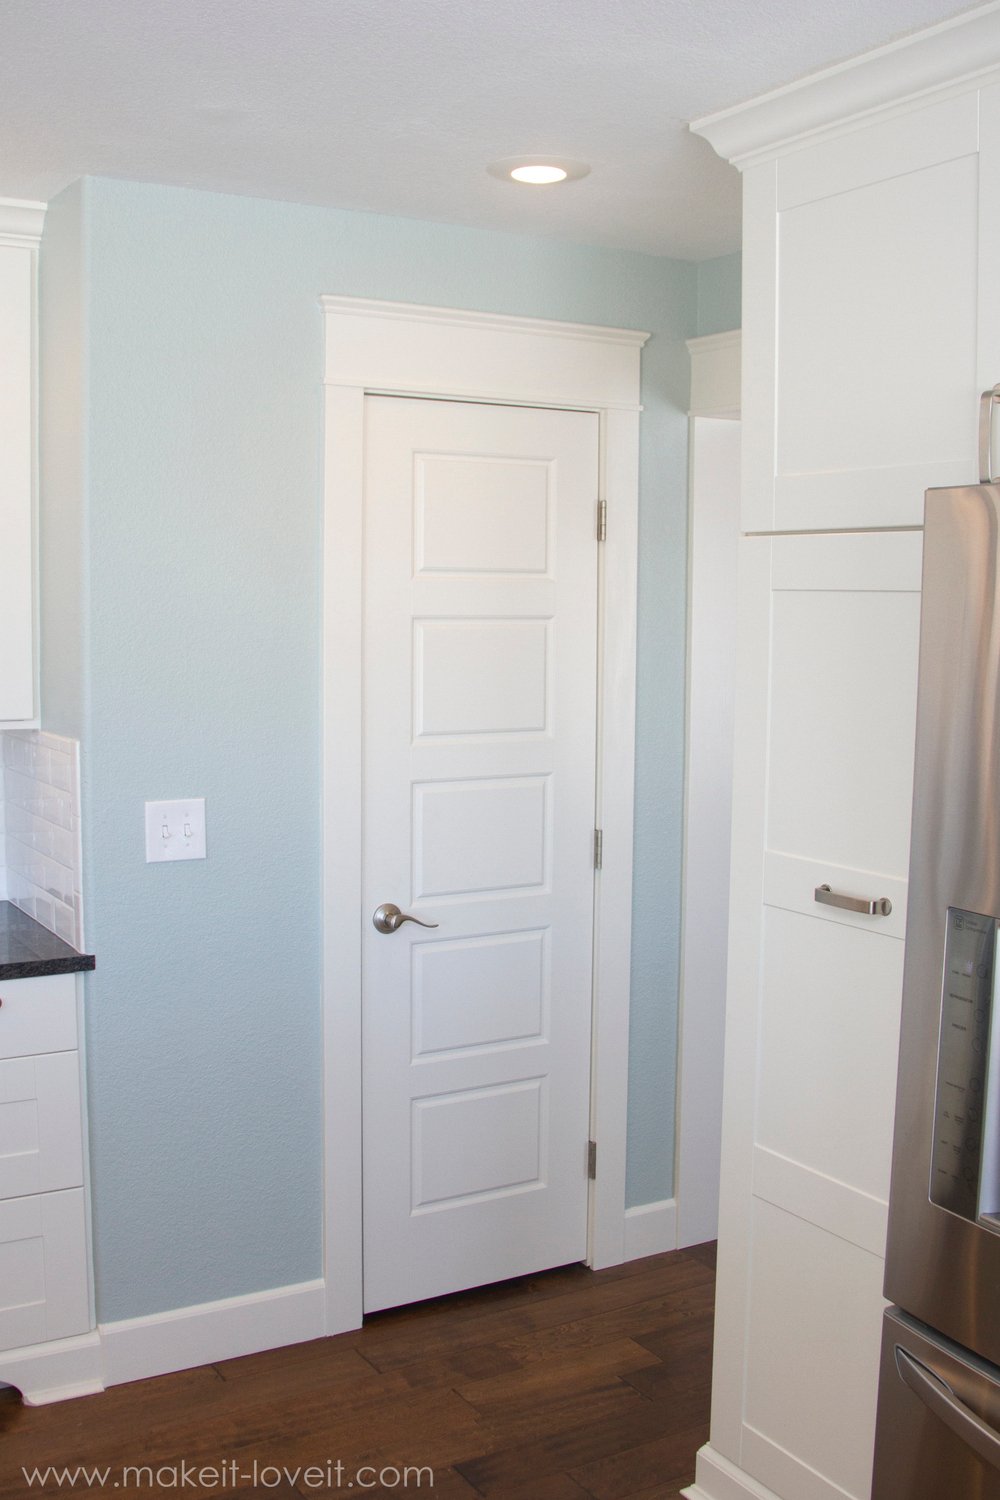
And another door leading into the pantry, right off the kitchen.
But, we didn’t just trim out the doors. We also trimmed out any openings into other rooms. Again, I can’t get over what a huge difference adding trim makes to your space.
Even if you have wonky structural features and corners, there’s still a way around it. See how there’s that really strange section of the wall and ceiling that jets out? Well, we just trimmed around it and made it work. And you can even see a little bit of the trim we added to that entry way back into the kitchen. We created the illusion that the right side of that opening continued down the right side. And I love that we did!
So pretty, those simple little trim pieces. But, good grief, I’m in love!
Okay, before we go any further…..what’s all this drama about “the-easiest-way-to-install-a-door-EVER”??? Well, let me tell you. This will keep your hair from greying, your mouth from cursing, and your brain from hurting. Because, if you’ve ever installed a door the traditionally way (using shims), you know it causes all those reactions. Especially if you’re a beginner and aren’t used to trying to balance a wonky door that just isn’t opening and closing correctly. Grrrrrrr…..it’s aggravating.
So run (don’t walk) to your hardware store and pick up a package of “The Quick Door Hanger”. We found these at Home Depot, over by the doors, for about $30 for enough brackets for 10 doors. (And no, this is not a sponsored post, we just happened upon them and fell in love with how easy it made installing doors.)
Here’s more info about the Quick Door Hanger and there’s even a video. But we realized the movie goes too fast while you’re trying to figure it out. And so I think pictures might really help some of you who like to look at images, rather than a video. Or maybe, the combination of the two would be helpful.
Okay, so here’s how to install a pre-hung door, LICKETY-SPLIT!
Each door needs a total of 6 brackets to install it in the door opening. 3 brackets on each side of the door. When they are all attached, it will look like the door below:
The box has instructions on it, so refer to it (or watch the video) if necessary…..but essentially, you’ll be attaching the brackets to the FRAME around the pre-hung door. They will be attached to both sides of the frame, but you also must attach them to the front edge of the frame — the same side that the exposed portion of the hinges show when the door is closed.
Begin by attaching 3 of the brackets to the hinge side of the door frame. Position each bracket even with each of the hinges, lining up the little hooked pieces with the edge of the frame.
Also, be sure that the very center hole of the bracket is centered over the protruding center screw for the hinge. (If it’s not protruding, just make your best guess to find the center of the hinge placement.) Add your three screws to the bracket to hold it in place. Repeat with other 2 brackets along the HINGE SIDE of the door.
Then, install the other 3 brackets along the other side of the door frame, directly across from the first 3 brackets that you’ve already installed. (And you don’t have to be exactly precise. So, no need to measure and get it exactly right. Just eyeball it and place the brackets pretty close to directly across from the first three. And that’s the only reason you do the hinge side first, so that you can use that as a guide and install the other brackets along the other side.)
Now, I forgot to take a picture of the brackets attached before we installed the door…..but you get the idea. All 6 brackets should be attached to the door.
Now, before setting your door in the wall opening, grab your measuring tape and measure 1/2 inch from the edge doorway opening, ON THE SIDE OF THE DOOR THAT WILL HAVE THE HINGES. Sometimes you will see an exposed stud…but down below, you’ll see our drywall covering the stud. It doesn’t matter what it is, just measure 1/2 inch over from the opening and make a mark. (ALSO NOTE: whether you’re standing inside or outside of a room, wherever you make this mark and proceed with installing the door, the door will swing towards you.)
You only need to make one mark at 1/2 inch and then use a level and a straight edge to create a vertical line (or plum line) from the top of the door opening, all the way down to the ground. DO NOT create 12 inch marks all up and down the opening and then connect the dots. Because more than likely, your opening is not exactly level. So, use a level and create a line from that one single mark, to ensure that your door hangs level and swings properly. Again, don’t be alarmed if this line you drew isn’t exactly parallel with the door opening. Houses have so many errors and uneven edges…..so don’t panic!! But as long as you use a level, your door will hang level. (ALSO NOTE: you only need the one “plum line” along the side of the door where the hinges will be. And that pencil line you just drew…..is called the “plum line”.)
Now, fit your door into the opening of your wall, letting the brackets stop the door from falling all the way through the opening, and center the door the best you can. Now LOOK. And be sure that the hinge side of the door is on the same side as your pencil line. (Also, if you’re installing on a floor that doesn’t have carpet or flooring installed, place 2 small blocks under the frame of the door that are the same thickness as your flooring. These blocks will act as a space holder so that you can remove the blocks and install your flooring as needed.)
Now, along the side where you drew your line, take note of where the line hits those brackets.
Look take a closer look at the very top bracket first. Notice there are 3 notches along the top and bottom edges of the bracket. Determine which of these notches is closest to the pencil line behind it……and use that particular notch as a guide, and line up your pencil line with the same notch on all 3 brackets on this side of the door. Again, be sure that the same notch on each bracket is lined up with your pencil line. (<—very important)
Now, drill in a screw to hold the bracket in place, making sure the designated notch stays lined up with the pencil line.
Repeat with the middle bracket….and then the bottom bracket.
Okay, now one side of the door is perfectly level and installed. Check.
Now, what you want to do now is look along the “reveal” of the upper edge of the door (that crack between the actual door and the frame) and be sure that this opening is even, all the way along to top of the door.
Then look along the upper edge of the side that is not hinged (in my case, the left side of the door) and be sure the reveal is the same as it is along the top of the door.
Add a screw to the top bracket, making sure that your reveal along the top of the door and this upper portion of the door stays even. (Remember, the notches in the brackets don’t matter along the second side of your install.)
Now, check the rest of the reveal down this side of the door. Be sure that it matches the same amount of reveal that you had along the top and upper section of the door. Here is a picture of the reveal way too wide…..
…..and then a picture of the reveal adjusted to match the reveal along the top section of the door.
Make more sense??
Insert your last 2 screws, making sure your reveal stays even.
Sometimes it helps if you use a crow bar (or even a screwdriver) to hold the door away from the frame to keep the reveal even. Hold the crow bar there as you screw in the bracket…then remove.
And that’s it, a fully installed door!!! And I know that seemed like a lot of pictures but I really wanted you to see each and every step clearly. But once you start installing, you’ll speed through this. And most likely, it will take you about 10 minutes (or less) to install each of your doors. And if you’ve ever used shims……that’s a much trickier and more time consuming (and hair pulling) process. Well, at least for a beginner it is. So these brackets were worth every. single. penny! :)
Okay, now onto trimming out your door…
Ready to make her all pretty?!?!
Okay, well the process is almost identical to my Window Trimming tutorial. So go and check that out first….and then all of this will make more sense. :)
**Wood sizes and trim styles are totally variable. I will show you the process we used and the material we used…….but keep in mind, but you’ll have to decide what wood widths and trim styles look best in your home.
Here are the wood types we purchased and used.
Begin by measuring the height of your door frame. You want to measure from the very bottom of the frame, up to about 1/8-1/4 inch above the “reveal” (explained above). Whether you choose 1/8 of an inch or 1/4, it doesn’t matter. But whatever you choose, stay consistent all the way around the door. Cut two pieces of 3.5 inch wide MDF to that measurement and nail them to the door frame and studs of the wall.
Here’s a closer look at this side piece, rising about 1/8 of an inch above the top “reveal” and positioned about 1/8 of an inch to the right of the the “reveal” that’s along the right side of the door.
Next, cut a piece of your 7.5 inch wide piece of MDF that equals the same measurement as the outer edge of one side piece, over to the outer edge of the other. Nail in place.
Cut your 1 1/2 inch molding to fit along the very top of your MDF……..just like shown in the Window Trimming tutorial above. And remember, if there are minor cracks, no worries…..we’ll take care of that with some caulk later on.
Next, cut your thin wood piece down to size, and attach it right along the very bottom edge of the 7.5 MDF piece. This will cover up the top edges of the two side pieces and will help tie everything together.
Looking gooooood!
Now, this is where the magic happens……wood filler and caulk!!
Just like the Window Trimming tutorial that I shared above, you’ll need to fill in all the nail holes (and any large-ish cracks) with wood filler. (And yes, I’m pulling a few pictures over from the window tutorial…..so ignore the window.)
Once the wood filler is dry, sand it down and then wipe down everything with denatured alcohol. (Or just use a damp cloth and let everything dry completely.)
Next, caulking. Begin caulking all your cracks and gaps, hiding any imperfections (again, this is a window picture below….but you get the idea). And be sure you’re using paint-able caulk. Let dry completely.
Then, it’s time to paint and cover everything up.
And just as a reminder……here’s the difference a little caulk can make once everything is painted! Yum.
And that’s it. A perfectly trimmed out door (that you may or may not have installed yourself)!!
Now, go on and fancy up all those plain doors. You’ll fall in love too…..I’m sure of it!
And good luck!
-Ashley

Hi, I’m Ashley—the DIY-enthusiast behind this crazy blog!