Happy December! I’m still not sure how November passed by so quickly. But I hope you all enjoyed your Thanksgiving. And have had your fair share of pumpkin treats! (I’m not even going to tell you how many slices of pumpkin pie I had over the weekend. ;) )
Today, as part of the Michaels Makers team, I’m sharing a quick little gift idea for your friends and family this year. Something that won’t cost you much at all……but is probably useful for anyone on your list!
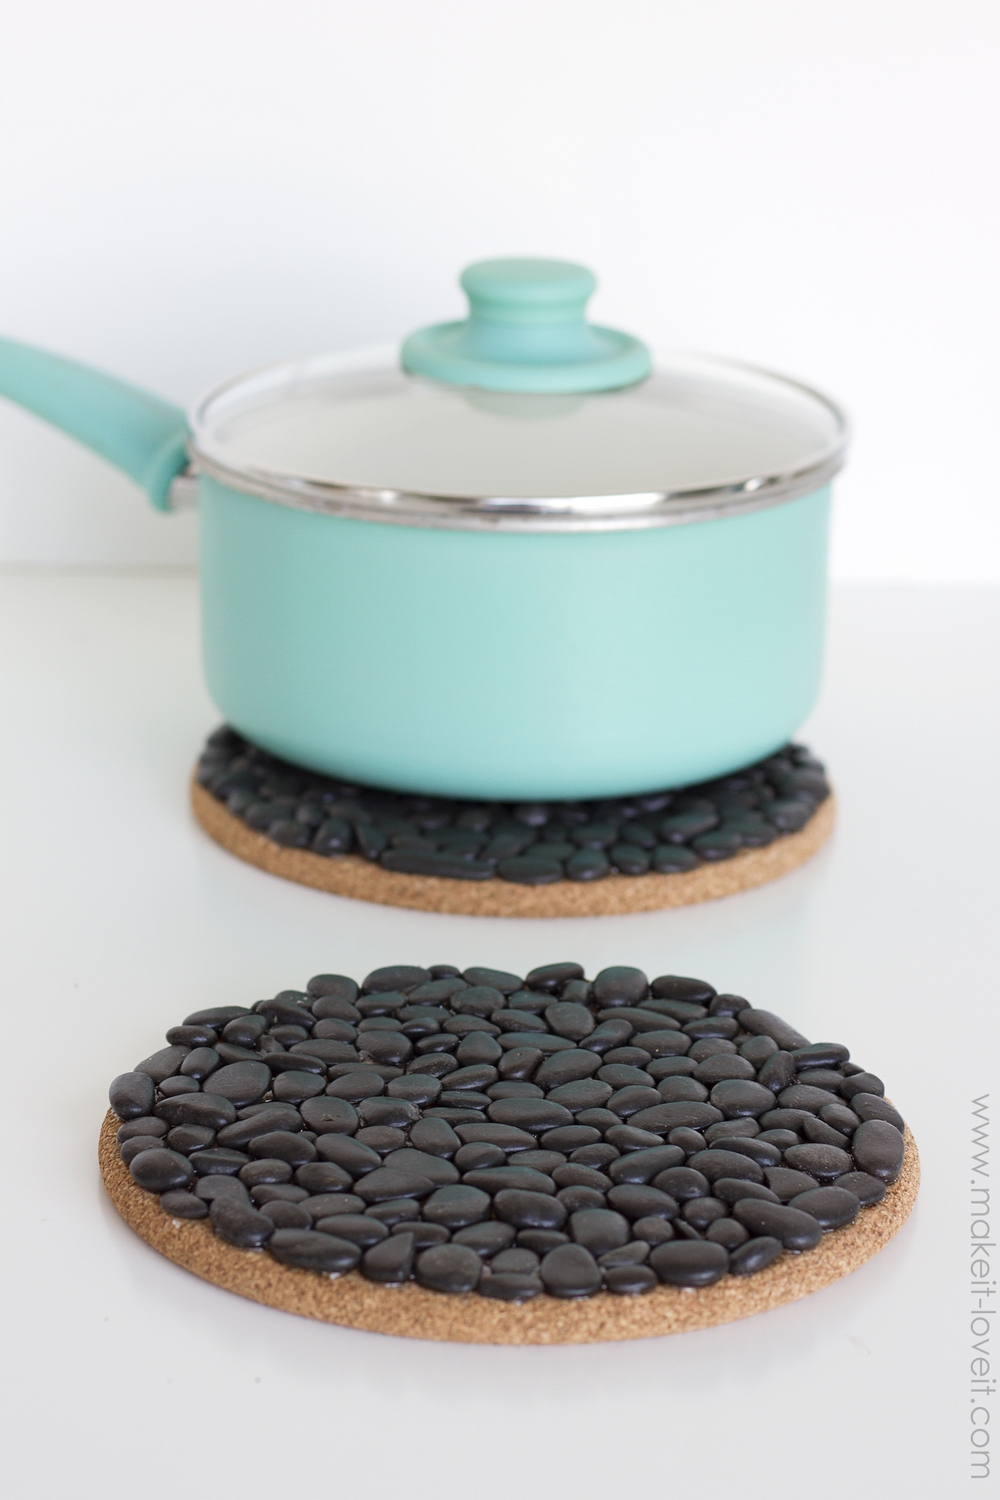
All you need is a little cork and a few black pebbles — and you have the perfect spot to place hot pots, pans, and casserole dishes.
And yeah, you could just keep the cork plain-jane…..but how much more fun is it to add some sleek little pebbles, puzzle-pieced together within the edges of your trivets. Such a fun and quirky look!
You can use whatever pebble color you’d like…..but I’m loving the pop that the black creates against the cork.
The pebbles are smooth and slightly uneven…..but work perfectly to keep your hot pans off of your surfaces.
Just create a few trivets, tie together in a bundle, add a few kitchen tools, and you have a perfectly unique gift for that favorite friend of yours!
Just remember to keep a few for yourself!
Ready to get gluing??
Supplies:
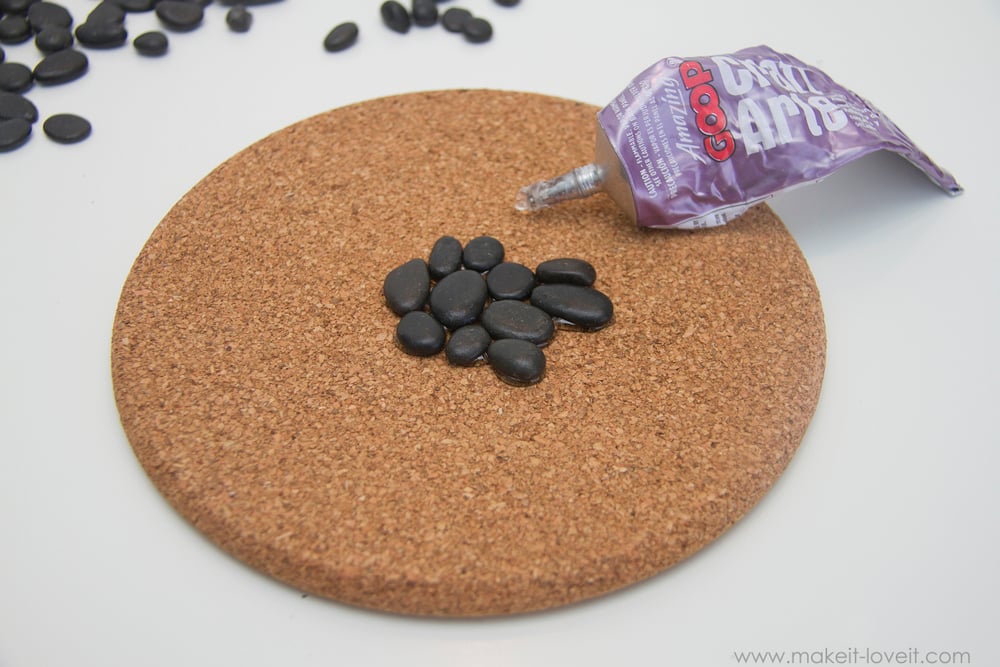
Gather your supplies. Smooth rocks works best for the this, so the final trivet has a smooth finish and won’t scratch your pans.
Add a generous amount of epoxy glue on the bottom side of your first rock.
And press glue-side down onto the cork, near the center.
Then, add more rocks around that first rock, trying your best to make a tight fit.
Continue adding more rocks, fitting different sized rocks where they fit, like a puzzle.
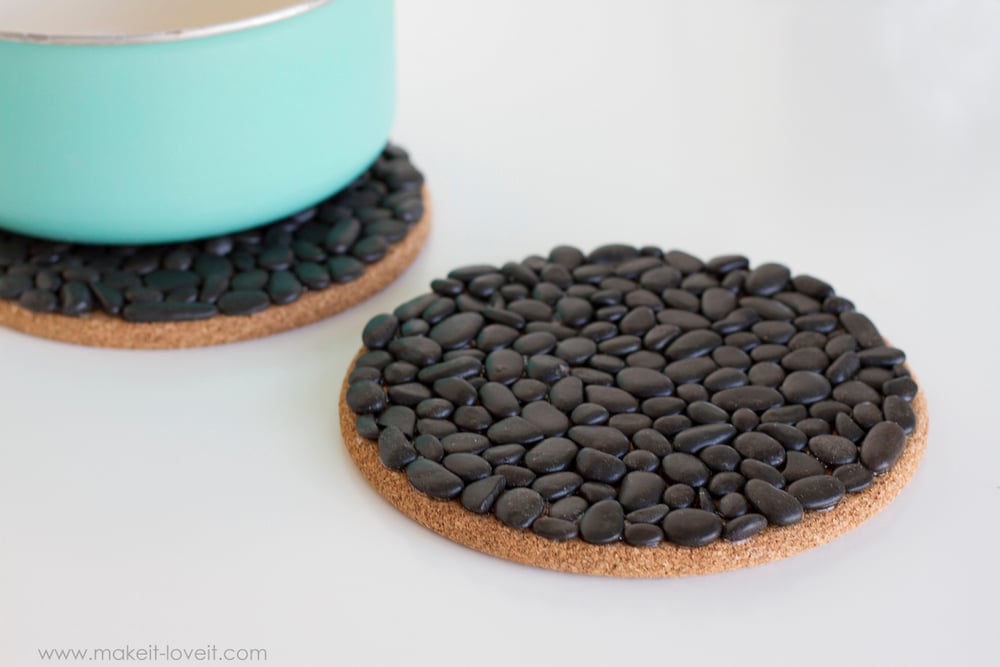
Once you reach the edge, try to fit the rocks right up to the edge, without extending beyond the rounded edges.
Let your glue dry completely……and that’s it.
Now create several more!
Enjoy!
-Ashley
 Loading InLinkz ...
Hi, I’m Ashley—the DIY-enthusiast behind this crazy blog!