First of all…..don’t forget to meet me tomorrow at “Ladies’ Night Out” in Denver, CO at Deseret Book from 6-8 p.m. I’ll be signing copies of my book No-Sew Love, so bring your own copy or purchase one there. Also….Deseret is giving away a bunch of freebies and I’ll be a doing a few giveaways of my own (books, crafting supplies, etc). Plus, you better believe I’ll have a few treats there, because, you know, SUGAR! So please come — I’d love to actually meet you in person! (And I’ve been practicing my signature! ;) )
. . . . .
I mentioned on Wednesday that I would be sharing a whole bunch (I’m not sure how many that actually means…ha!) of Simple Halloween Costume ideas this month. Yes, my kids’ actual costumes are in the works. But, I’ve been gathering supplies I already have (and sometimes purchasing minimal supplies)….and have been putting together costume ideas that could be made in an hour or two.
Nice and simple. And hopefully helpful to some of you who would like to make your own costumes…..but need some semi-easy ideas.
And today’s costume…….a bright pink FLAMINGO!!
Chloe had no idea I was making this to fit her. In fact, I got her measurements while she was sleeping one night, so she truly was clueless about it all. But once I showed it to her and let her try it on……she wouldn’t stop flapping. Or giggling.
The wings are sort of like a cape…..but they separate in the back, for easy flapping! And those scalloped edges sort of mimic feathers.
And haha, that little flamingo beak hanging down in front of Chloe’s face — it cracks me up! I was actually worried it may bug her…..but it’s far enough away from her eyes that it didn’t even phase her.
And don’t you worry one bit about those wings not flapping as they should, because there are two loops of elastic to slide around each wrist.
And because the wings are made of felt, they are nice and stiff and stay in place really well.
Chloe asked if I could make Elli a flamingo costume….so they could play “Flamingo’s” together. I’m not sure how you play that…..but she seemed excited about it. And anything that helps the girls play, rather than argue, is a definite PLUS! Done. :)
Sweet Chloe……you are so full of imagination! Its always so fun to see play “dress-up” and insert your own little sassy personality. You crack me up, kiddo!
Now, flap away little Flamingo!
Ready to make your own flamingo?
Size Variations:
Okay, now gather what you need…
Supplies:
***Remember, the pattern pieces above and the instructions below were created for a size 4T child. If you are making this costume for a different size, slight adjustments will be necessary.
First, have your subject stand in front of you, with their arms straight out (like an airplane). Measure from the tips of the fingers on one hand, stretched across their shoulders, and over to the tips of the fingers of the other hand.
Use that measurement as a guide to cut out a half circle from your pink felt. The diameter of my circle was 45 inches for my daughter who wears a size 4T clothing…..in case that helps! (The size you need may vary, depending on preference….but I wanted my wings to reach past my little girl’s finger tips, so I added several inches to her arm span.) Then, cut your half circle in half….giving you two 1/4 circle pieces. Then, cut a slight curve from the tip of both 1/4 circles of fabric…..big enough for the neck to fit.
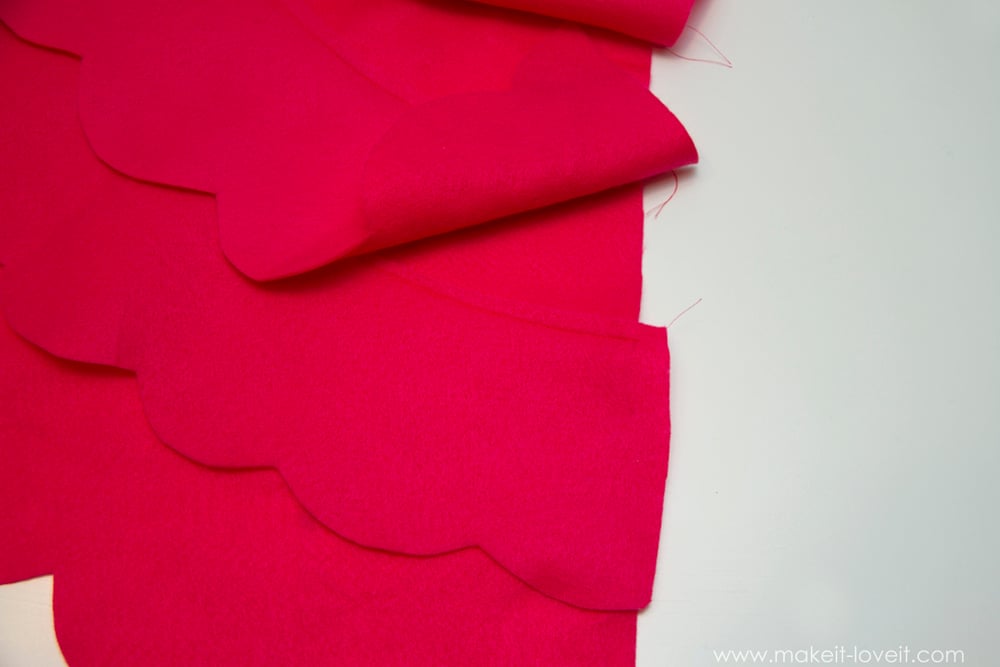
Next, use a marker and draw a scalloped line around the curved edge of each of the 1/4 circles.
Cut away the excess.
Now you’re going to cut several curved rows of scallops to place onto the two wing pieces, overlapping each layer as you go. Each of my rows were about 5 inches tall…..but you could make them more narrow and add more if you prefer.
Continue until you have the desired amount of scalloped rows. (Some of my rows were longer than necessary….but I did that on purpose and will fix it later.)
Then sew each row in place…….OR, you can hot glue them if you prefer. (Felt adheres to hot glue really well and shouldn’t peel….so go for it, if you prefer.)
Then flip the whole thing over and trim the edges, making them nice and even.
Repeat with the other 1/4 circle.
Now you should have 2 complete wings.
Place the two wings together and separate them about 3/4 of an inch. Then cut a piece of felt that is 1.5 x 3.5 inches and place on top of both wings, right at the top. Sew the piece of felt down to each of the wings…..OR, you can use hot glue. (This will keep your wings more securely in place.)
Then cut one more curved piece of felt with a scalloped lower edge, to cover the top of the where the wings connect. Use hot glue to secure this piece of felt in place.
Then turn the wings over to the back side and cut out the neck shape out of this top piece of felt.
Next, lift the top 2 scallop layers and attach pieces of ribbon to both wings, right at the corners that will wrap around the neck. Sew the ribbon in place.
Turn the wings to the back side and attach two circles of elastic to each wing, making sure to move the scallop layers on the front side out of the way. The elastic should be attached right about where the wrists of your subject would be. I also attached the circles in the middle of each wing, so that equal fabric would hang on the front and back of my daughter’s arms when they were outstretched.
And that’s it….the wings are done.
Now, onto the hat…..
First, cut out 2 hat pieces, 2 beak pieces, and all 6 eye pieces. (The hat pattern piece that I shared was created for a 3-6 month old baby. To make it fit my daughter who wears a size 4T, I added 3/4 of an inch around the curved edges of the pattern piece but NOT to the V cutout at the top. Test on scrap fleece first, if you’re unsure how big to make it.)
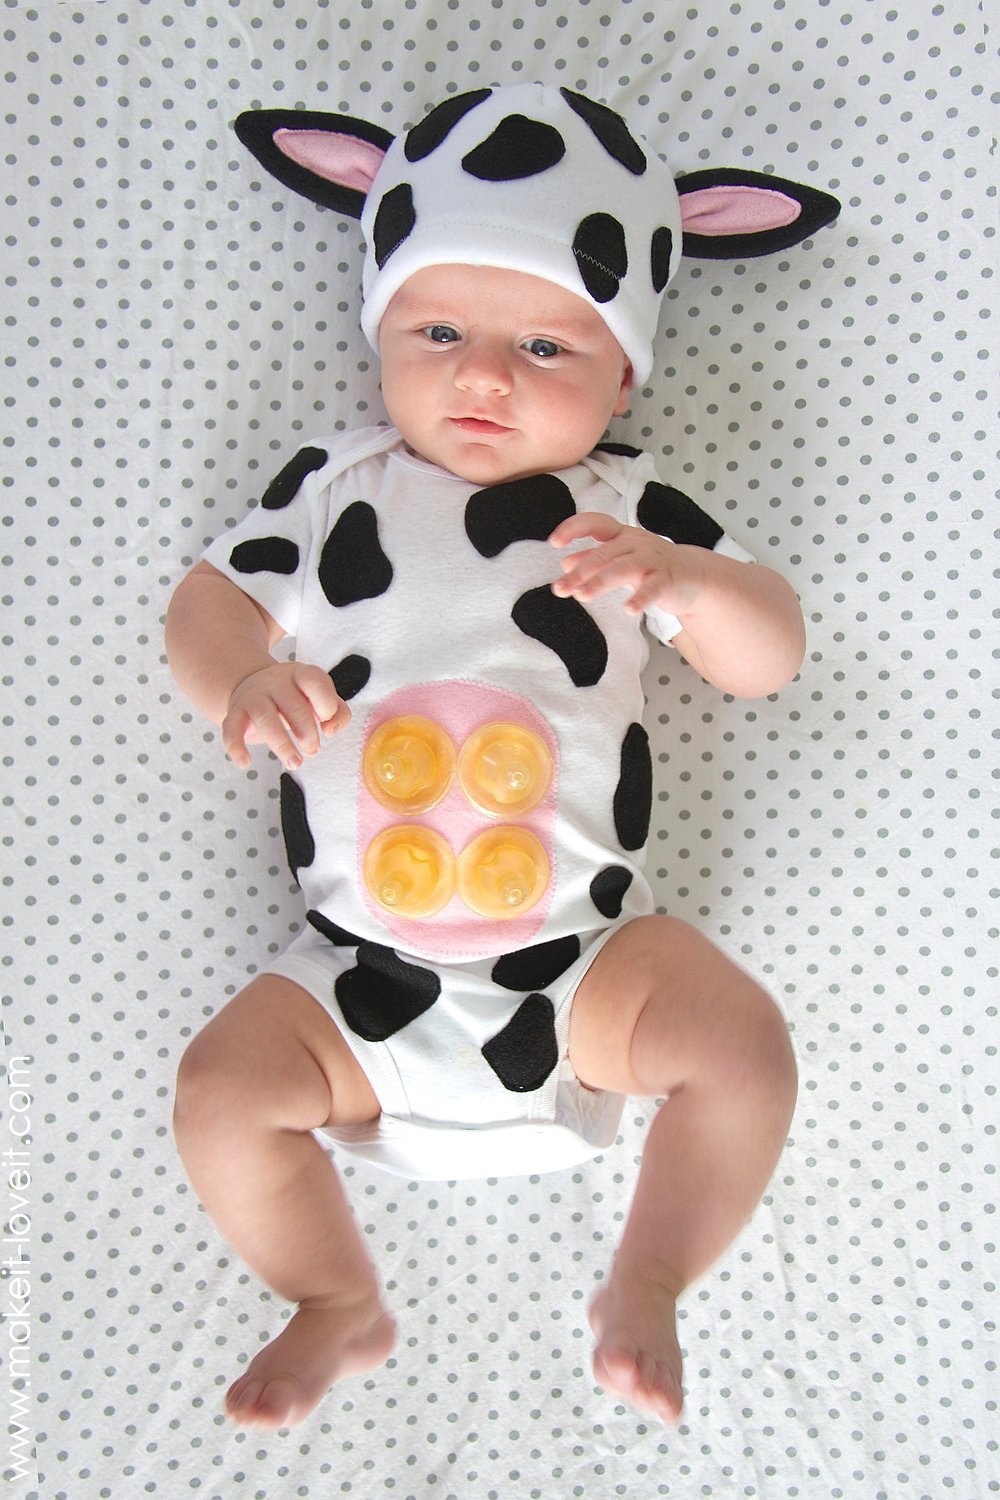
Sew the hat pieces together, just like shown for the Baby Cow Costume Tutorial.
Now, sew the 2 beak pieces together along the curved edges….but leave the one straight end open.
Turn right side out and stuff with batting. Set aside.
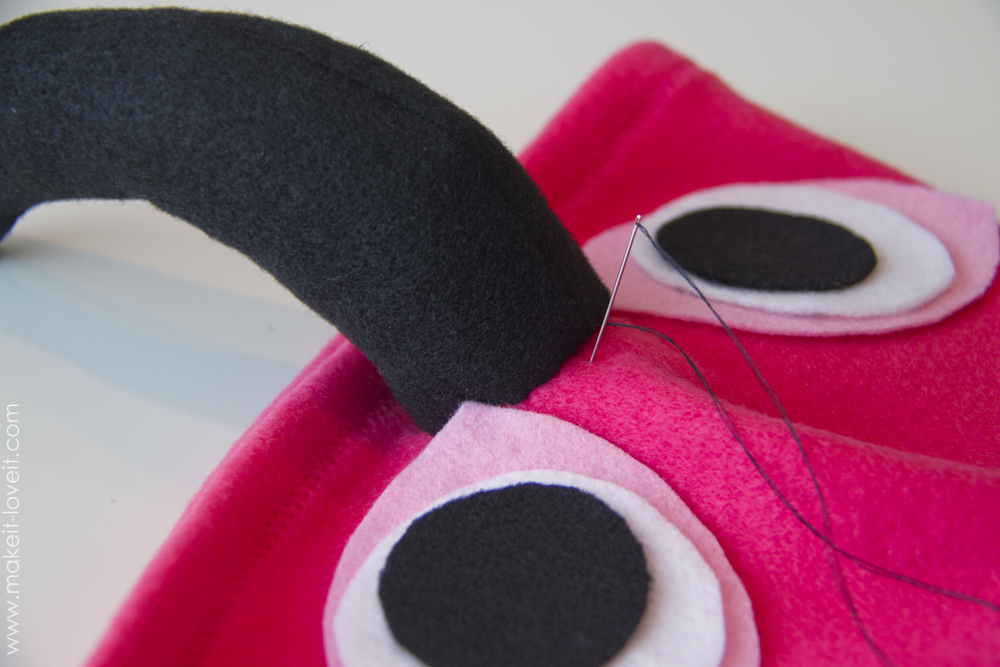
Now, glue the eye pieces onto the hat. (You can sew them too but I didn’t want to see seams and hot glue adheres really well to fleece and felt.) You may want to try the hat on your subject first, to determine eye placement.
Fold the edges of the open end of the beak under about 1/2 inch…..and then hand stitch the beak to the front of the hat, centered between the eyes.
And that’s it.
Time to let your little one try on their flamingo costume……and imagine away!
Enjoy!
-Ashley

Hi, I’m Ashley—the DIY-enthusiast behind this crazy blog!