In case you missed it, I shared Elli’s Glinda costume yesterday. And yes, she asks if she can wear it every single day. (But I’m kind of a mean mom and won’t let them turn costumes into dress-ups until after Halloween. Soon enough, little lady!)
I know, I was on a roll with our Wizard of Oz costumes……but I must take a quick intermission. You know, to take a nap from sewing all that pink tulle….ha! No, but really, I’m going to share a quick project that I made as part of the Michaels Makers team. This month’s challenge was costumes, and ahem, I was stoked!!! Because, I swear I should work for an acting company and make costumes for them all year round. I really do love it that much.
But, I got to thinking. My kids can only play with so many dress-ups. Even though I have given away some of the extra costumes I’ve made this month……we still have plenty. Really. So I asked some good friends of ours if their kiddos would like some of these costumes that I’m having so much fun making. And their oldest, Madeline (who’s 10), was so sweet and said, “sure!”.
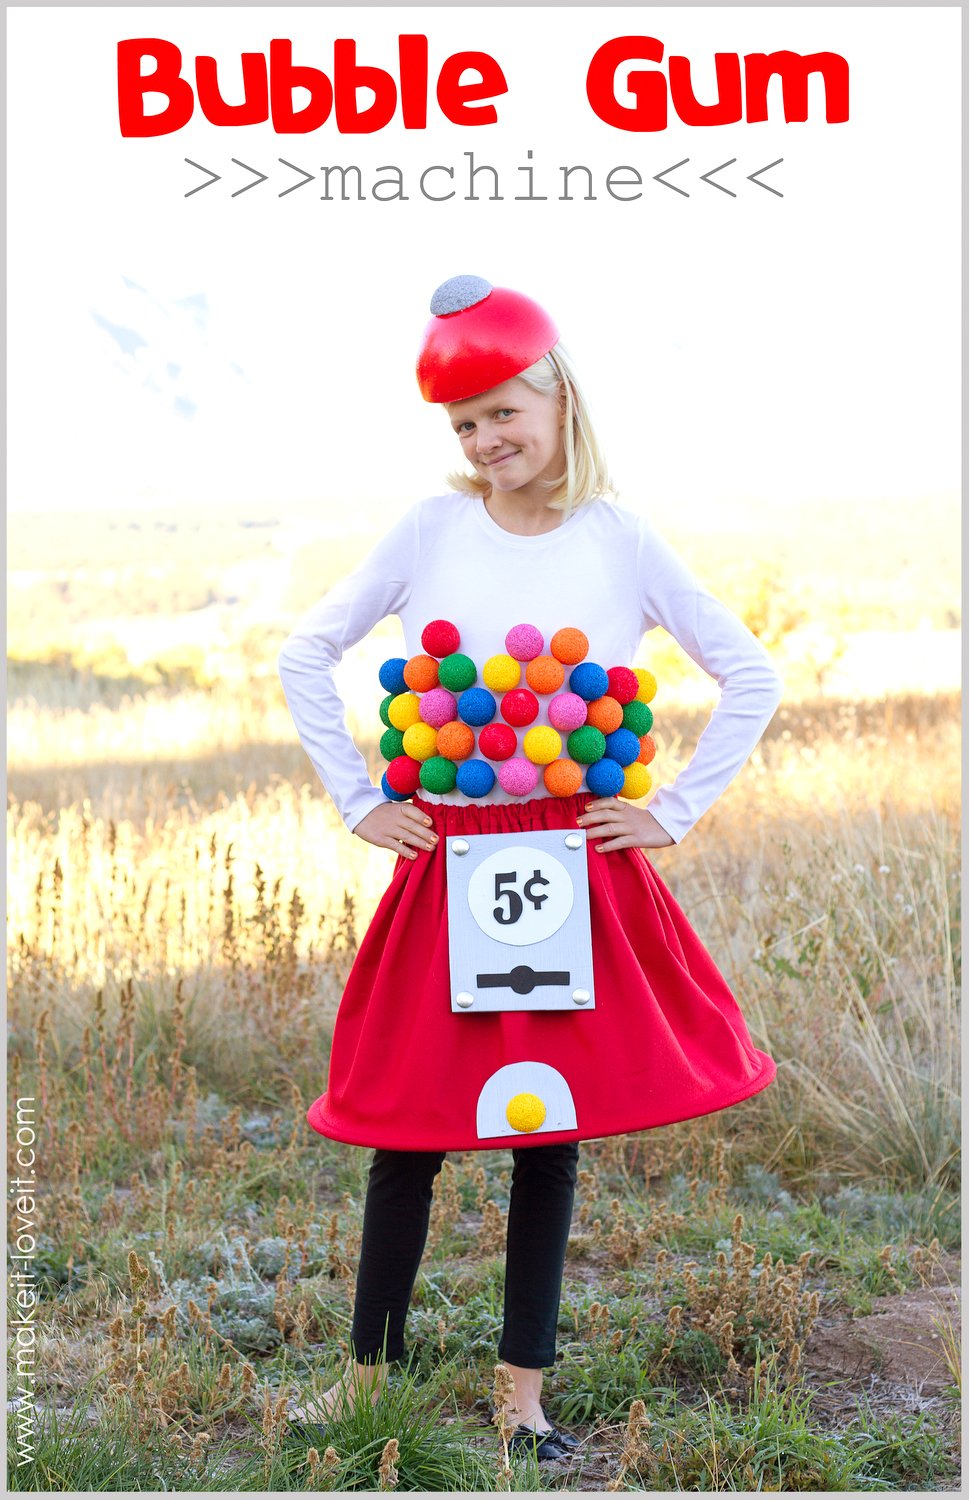
So I told her my ideas (whew…..glad she thought it was cool enough!), bought a few supplies, and then got to work. And my gosh, I had so much fun making this Bubble Gum Machine costume for Miss Madeline!
Oh, and now I know……I don’t just get overly excited and giggly seeing my own kids in the costumes I’ve made them. I have just as much fun seeing other kiddos in these crazy little creations. Such fun!
And holy smokes, that Madeline, she was so much fun to photograph. I kept clicking and she kept posing. Such a sweet little thing.
Connor (who’s 6) came out to watch while I was taking pictures……..and told Madeline a few knock-knock jokes to help her smile. (That’s what I do when I photograph my kids sometimes……I tell them really lame jokes. And wouldn’t you know, he shared those same lame ones with Madeline. See, she’s trying not to laugh…..it worked! Ha.)
Anyway this costume can be tackled by just about anyone. It doesn’t require much sewing at all (only a tiny bit on the skirt) and is a perfect costume for the tween/teen age who don’t know what to be for Halloween. But let’s be real, adults will love this too. (Or am I the only one? Maybe it’s because I love my sugar!)
The skirt is made with felt, which is nice and stiff and stays in place really well. I think my favorite part is that little yellow gumball coming out the bottom “opening”. You know, because I paid my 5 cents and all! ;)
And in case you’re wondering how that skirt is sticking out so nicely…..well, that’s because I turned it into a mini (and super quick) version of the Hoop Skirt I made last week. Just one hoop at the bottom gives it that nice larger base, just like a gumball machine.
And all those colorful gumballs?? They’re actually painted styrofoam balls, glued right to the shirt. And no, they’re not going anywhere. The balls are nice and porous, so the glue sticks really well. And since they’re glued individually and not restricting the shirt all the way around, the shirt still stretches just enough for her to get it on and the balls kind of separate a bit….but then shrinks back to size after it’s on, and then all the gumballs are close together again.
I added them all the way around to the back of the costume too, so that Madeline could be a Gumball Machine from every direction!
The top of a real gumball machine is rounded and red and sometimes has a metal circular plate/bolt on top, where you can open up the machine and pour in more gum. So I painted different styrofoam pieces that I found and attached the whole top piece to a headband, so Madeline can take it on and off as she pleases!
Sweet Madeline, I’m so glad you were so thrilled with your new costume! I’m pretty sure I had just as much fun making it, as I did watching your face light up while we took pictures. Now, you go and rock those Halloween parties in a couple weeks!
Would you like to make one too?
Supplies:
First of all, let’s make the skirt. Measure your waist (or your subject’s waist) and multiply that number by 2 1/2. That will be the width of your piece of felt. Then, decide how long you want your skirt and then add 2 1/2 inches to that number.
For example, Madeline’s waist is 25 inches so I multiplied 25 by 2 1/2, which is 62.5………so the width of my felt was 62.5 inches. We wanted the dress to be 18 inches long so I added 2 1/2 inches to that, which is 19 1/2…….so the height of the felt was 19 1/2 inches.
Next, lay your fabric in front of you horizontally and fold the fabric in half by bringing the left edge over to the right. Sew the edges (that are over on the right side) together, using a 1/2 inch seam allowance.
Then, open up the seam you just sewed and iron flat.
Keep the tube of felt inside out and fold over the top edge 1 1/2 inches and fold up the bottom edge 1 inch. Pin both in place.
Sew both the top edge and bottom edge closed, sewing about 1/8 of an inch from the edge. Be sure to leave about a 2 inch opening at the top and bottom, so that you can thread elastic through the top casing and your tubing through the bottom casing.
Use the Hoop Skirt tutorial as a reference and thread your tubing through the casing along the bottom of the skirt. Connect two tubes with your threaded rod, if you need a longer piece.
Trim off any excess tube and then connect the two ends with another threaded rod.
Sew the opening closed. (Using a zipper foot helps get close enough to the tube to sew through both layers of felt.)
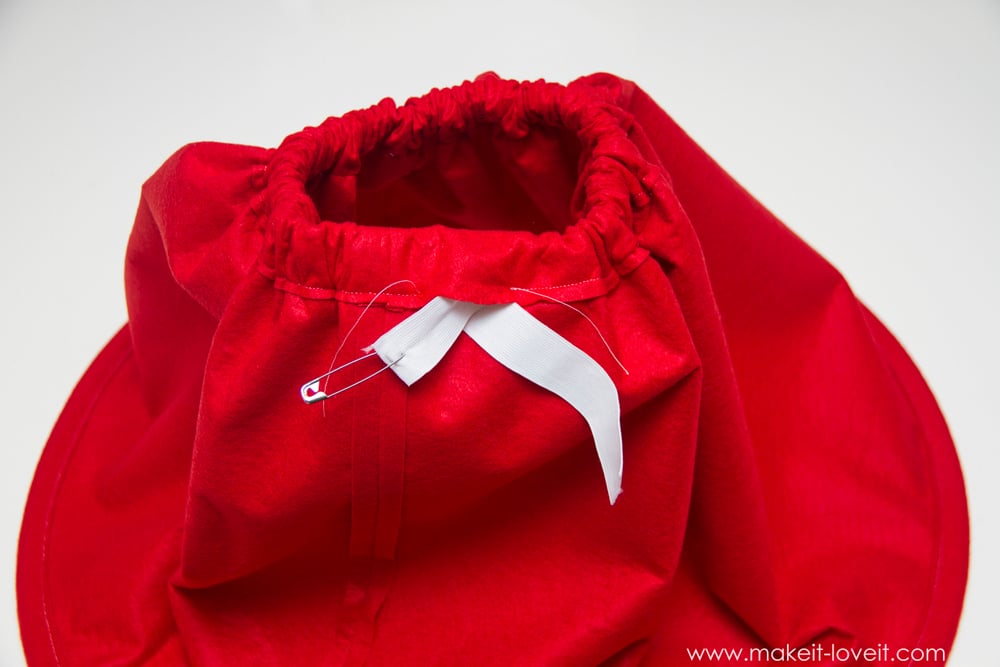
Cut a piece of elastic that is the same length as the waist measurement. Use a safety pin to thread it through the top casing.
Overlap the ends by one inch and zig-zag the ends together.
Sew the opening closed.
Now, paint your styrofoam balls so they can start drying. A great way to paint them is to stick a toothpick in one side and hold the toothpick while painting. Place the toothpick into a styrofoam board so they can dry upright.
Now time to cut your foam sheets. Cut a rectangle and half circle from your silver foam sheet (I didn’t have silver and actually painted it silver), a 5 cent and the turn dial from black foam, and a circle from your white foam.
Layer the pieces like shown below. Cut one of your dried balls in half and glue into the half circle, so it looks like a gumball is coming out of the machine.
Grab 4 of you cover buttons and glue the backs onto 2 of the buttons.
Attach the 5 cent foam board to the front of the skirt, but only attach the 2 upper corners. Sew through the foam board and the skirt and attach the buttons (that have the backs glued on). Attach the other two cover buttons (that don’t have the backs attached) to the bottom corners of the foam board with some hot glue. (The reason you only attach the foam board to the skirt at the upper two corners, is because the skirt is gathered and doesn’t lay flat. It can hang from the upper two corners like an apron…..and looks a lot better with attaching all 4 corners.)
Next, grab a white Tshirt (long or short sleeve, depending on your climate) and attach each of the foam balls directly to the shirt with a generous portion of hot glue. (The balls are very porous and adhere to the glue really well. Hot glue also sticks really well to fabric…….so in case you were concerned, these balls stay on really well with the hot glue!) Attach the balls to the shirt in horizontal rows, staggering each row so that the balls fit together snugly. Repeat on the back of the shirt and be sure to add enough balls along the sides of the shirt so that it looks like it’s one continuous container of gumballs. (Just be sure that you’re not connecting your blobs of glue, otherwise the shirt won’t be able to stretch between the gumballs, allowing you to get the shirt on.)
Now, paint the floral dome red (placing it on a cup helps keep it off the table) and let dry.
Cut the larger styrofoam ball in half.
Hollow out the middle of one half of the ball slightly (so it will fit on top of the red dome)…and then paint with some silver paint.
Hot glue to the top of the red dome.
Now, the dome wasn’t quite large enough to fit around Madeline’s head…….so I glued the other half of the larger styrofoam ball to the inside of the dome and then glued the headband to that.
And that’s it!
Enjoy your cute little Gumball Machine!!
-Ashley
<!– end InLinkz script —>

Hi, I’m Ashley—the DIY-enthusiast behind this crazy blog!