Home » DIY Tutorials » DIY Crafting » Crafting: Kid Crafts » Pumpkin Stamp Art…from a toillet paper roll!!
Pumpkin Stamp Art…from a toillet paper roll!!
September 25, 2014 - By Ashley Johnston 10 Comments
Excited to have Cami from “Tidbits” back today, sharing a little Autumn project you can do with a funny little surprise…….a TOILET PAPER ROLL! It’s crazy what you can do with a piece of garbage! What a fun project to do with the kiddos or for your own Fall Decor. :)
-Ashley
. . . . .
Hi, it’s Cami from Tidbits, here to share with you the possibilities of a toilet paper roll.
But, I know you’ve probably seen them before. All those brilliant things people make with a simple brown toilet paper roll, long after the toilet paper has been used for its designated function.
I’ve seen Pottery Barn worthy wall art, race cars, intricate snowflakes to hang on a tree, cute little owls, candy poppers, seed starters, bird feeders, even a woven basket!! (I even did this one for the funniest April fools joke EVER!!)
So today, I would like to add one to the books/pinterest search. With a little help from some scissors, tape and hot glue, you can turn an ordinary toilet paper roll into an adorable pumpkin stamp!
Then, let your child’s creativity run wild with some sticks and leaves and watch him/her make some dimensional art that they can be proud of!
Who doesn’t love a good craft that only requires things that can be easily found around the house?
Or a project to get you in the mood for the upcoming season?
I know my kiddo loved every second of it (well actually all 3 kiddos did. Taking pictures of 1 was enough stress for me!)
But I just simply couldn’t resist and had to try it out on my own as well.
I personally think they need to figure out how to grow pumpkins in blue. They would be so pretty.
So, if you are dying to try this out as well, head to the bathroom and do what you gotta do to find an empty toilet paper roll (or two), and let my daughter and I show you how!!
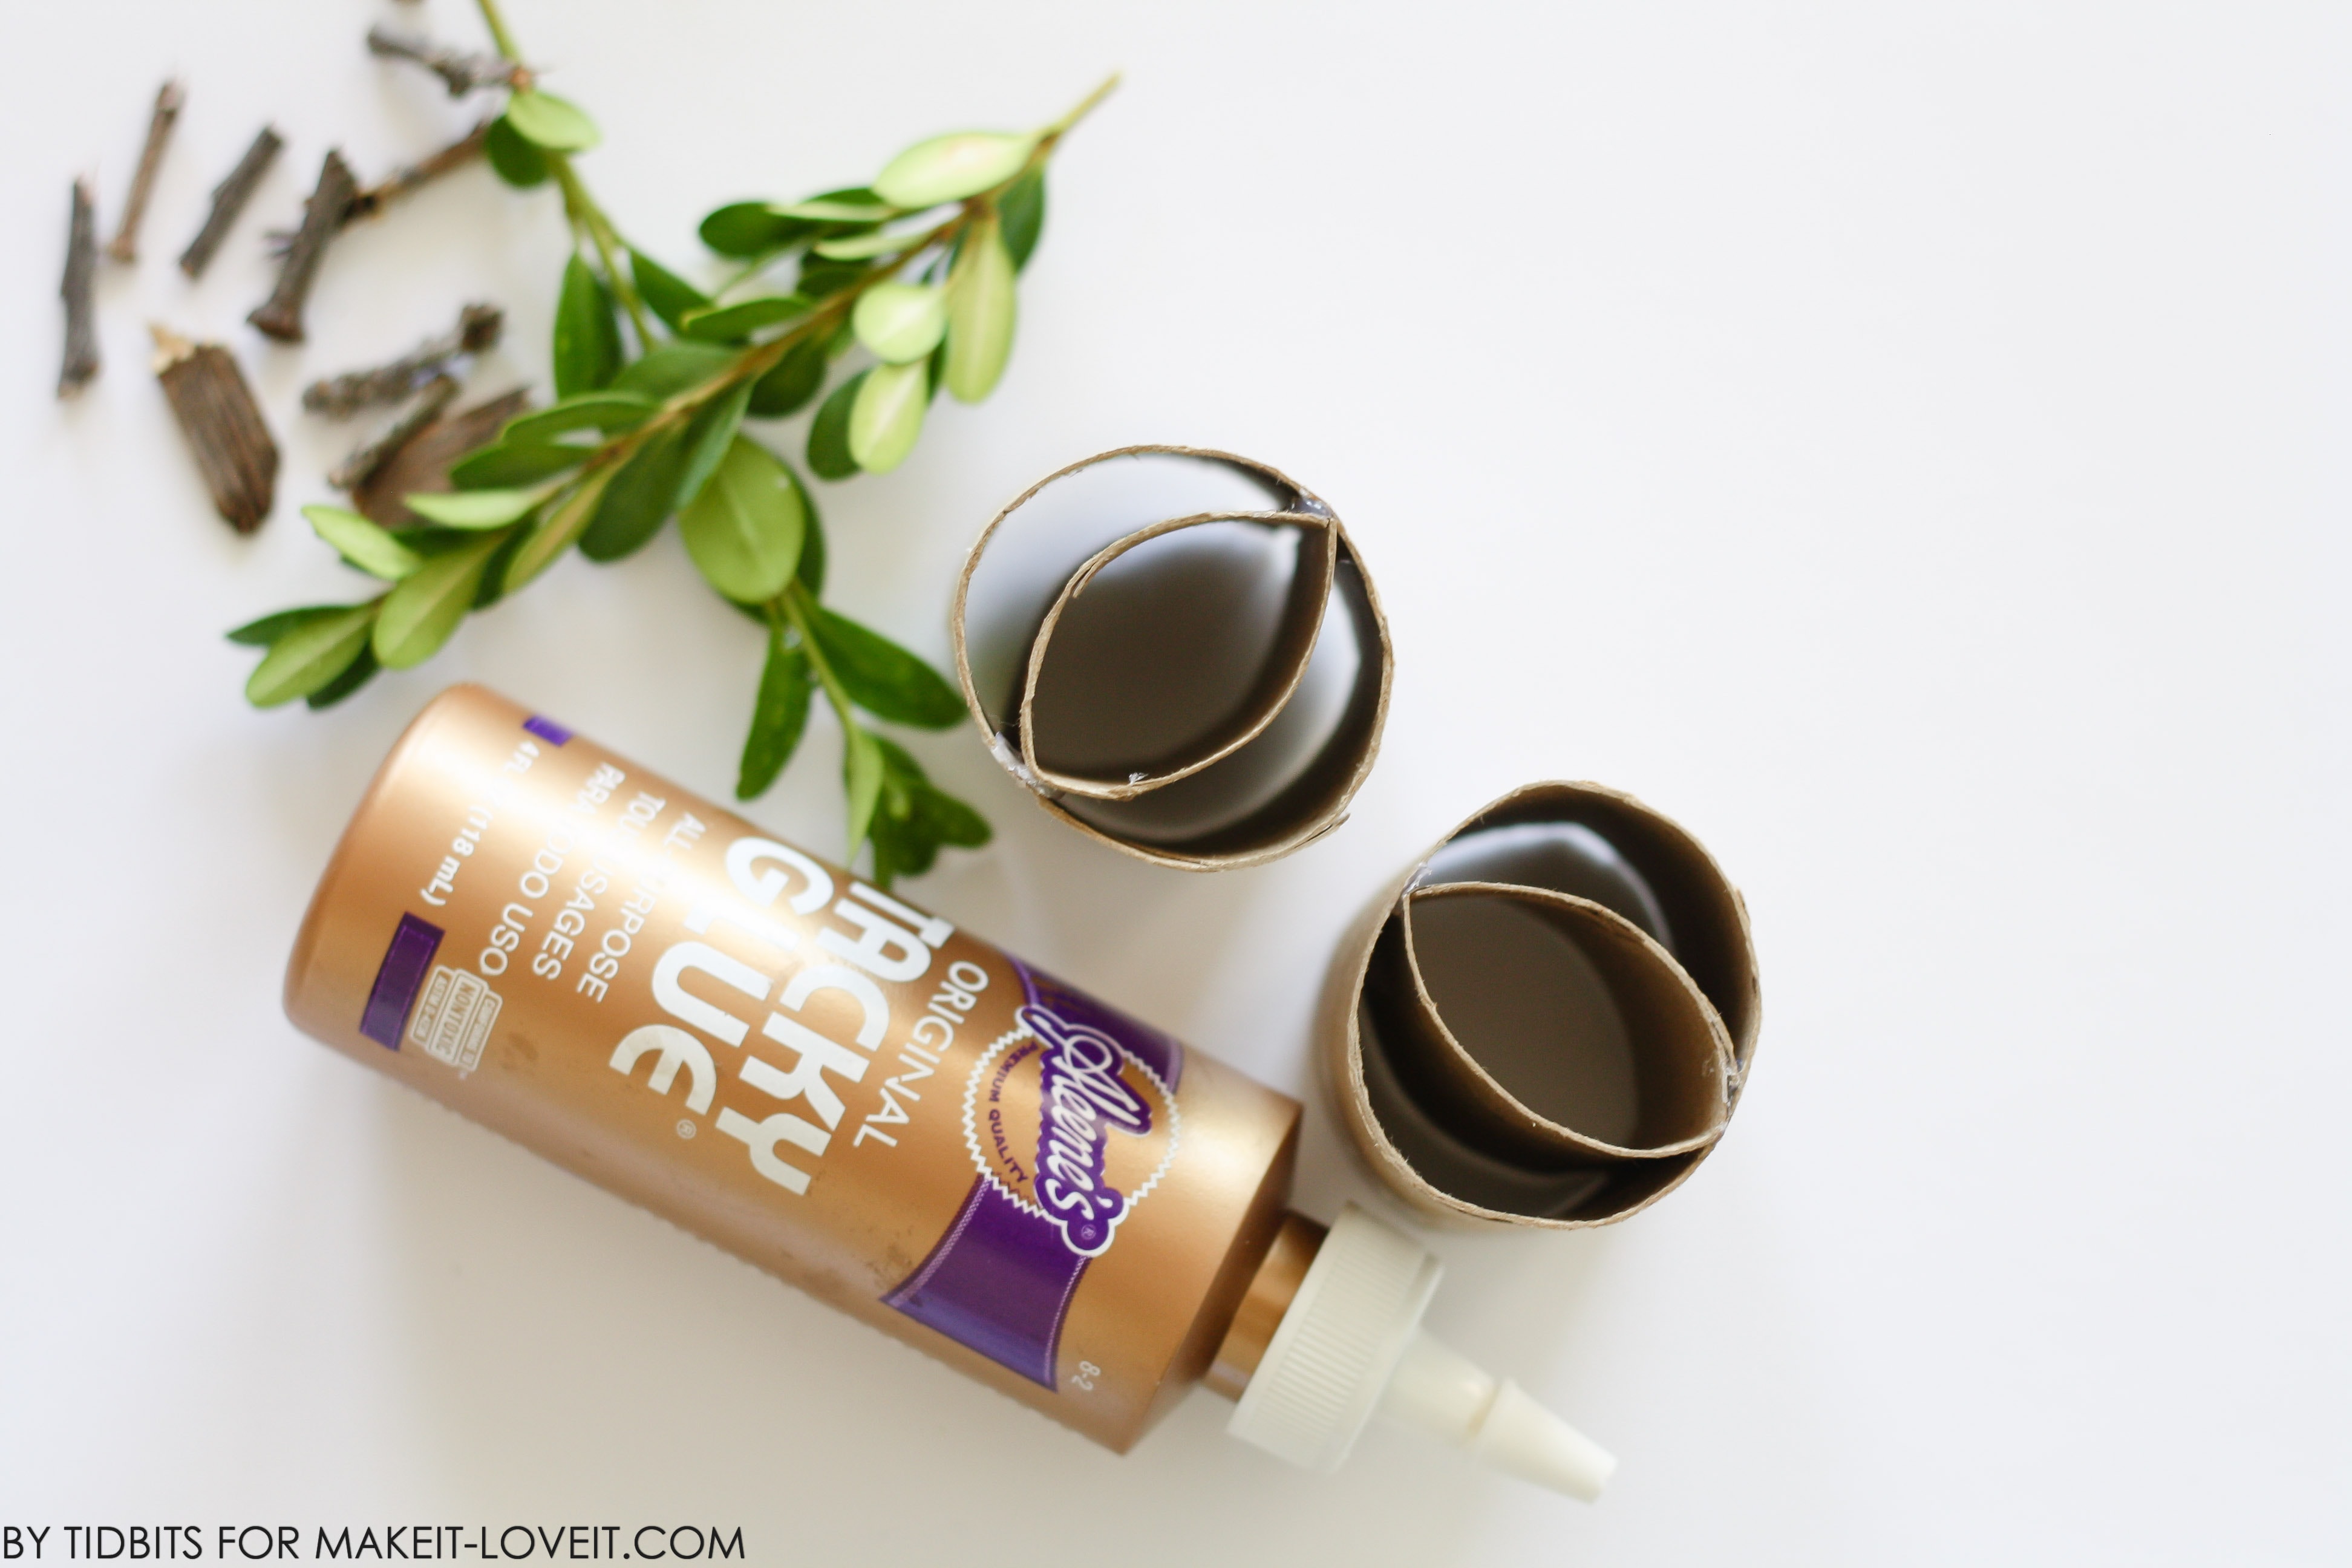
Materials:
- Small Sticks
- Small Leaves
- I cut some boxwood from our backyard
- Glue
- We used Tacky Glue, but I image any kind would work, hot glue being the best if you trust/help your child with it.
- Toilet Paper Roll
- The instructions for making the stamp will be following the instructions for creating the art. So keep scrolling down.
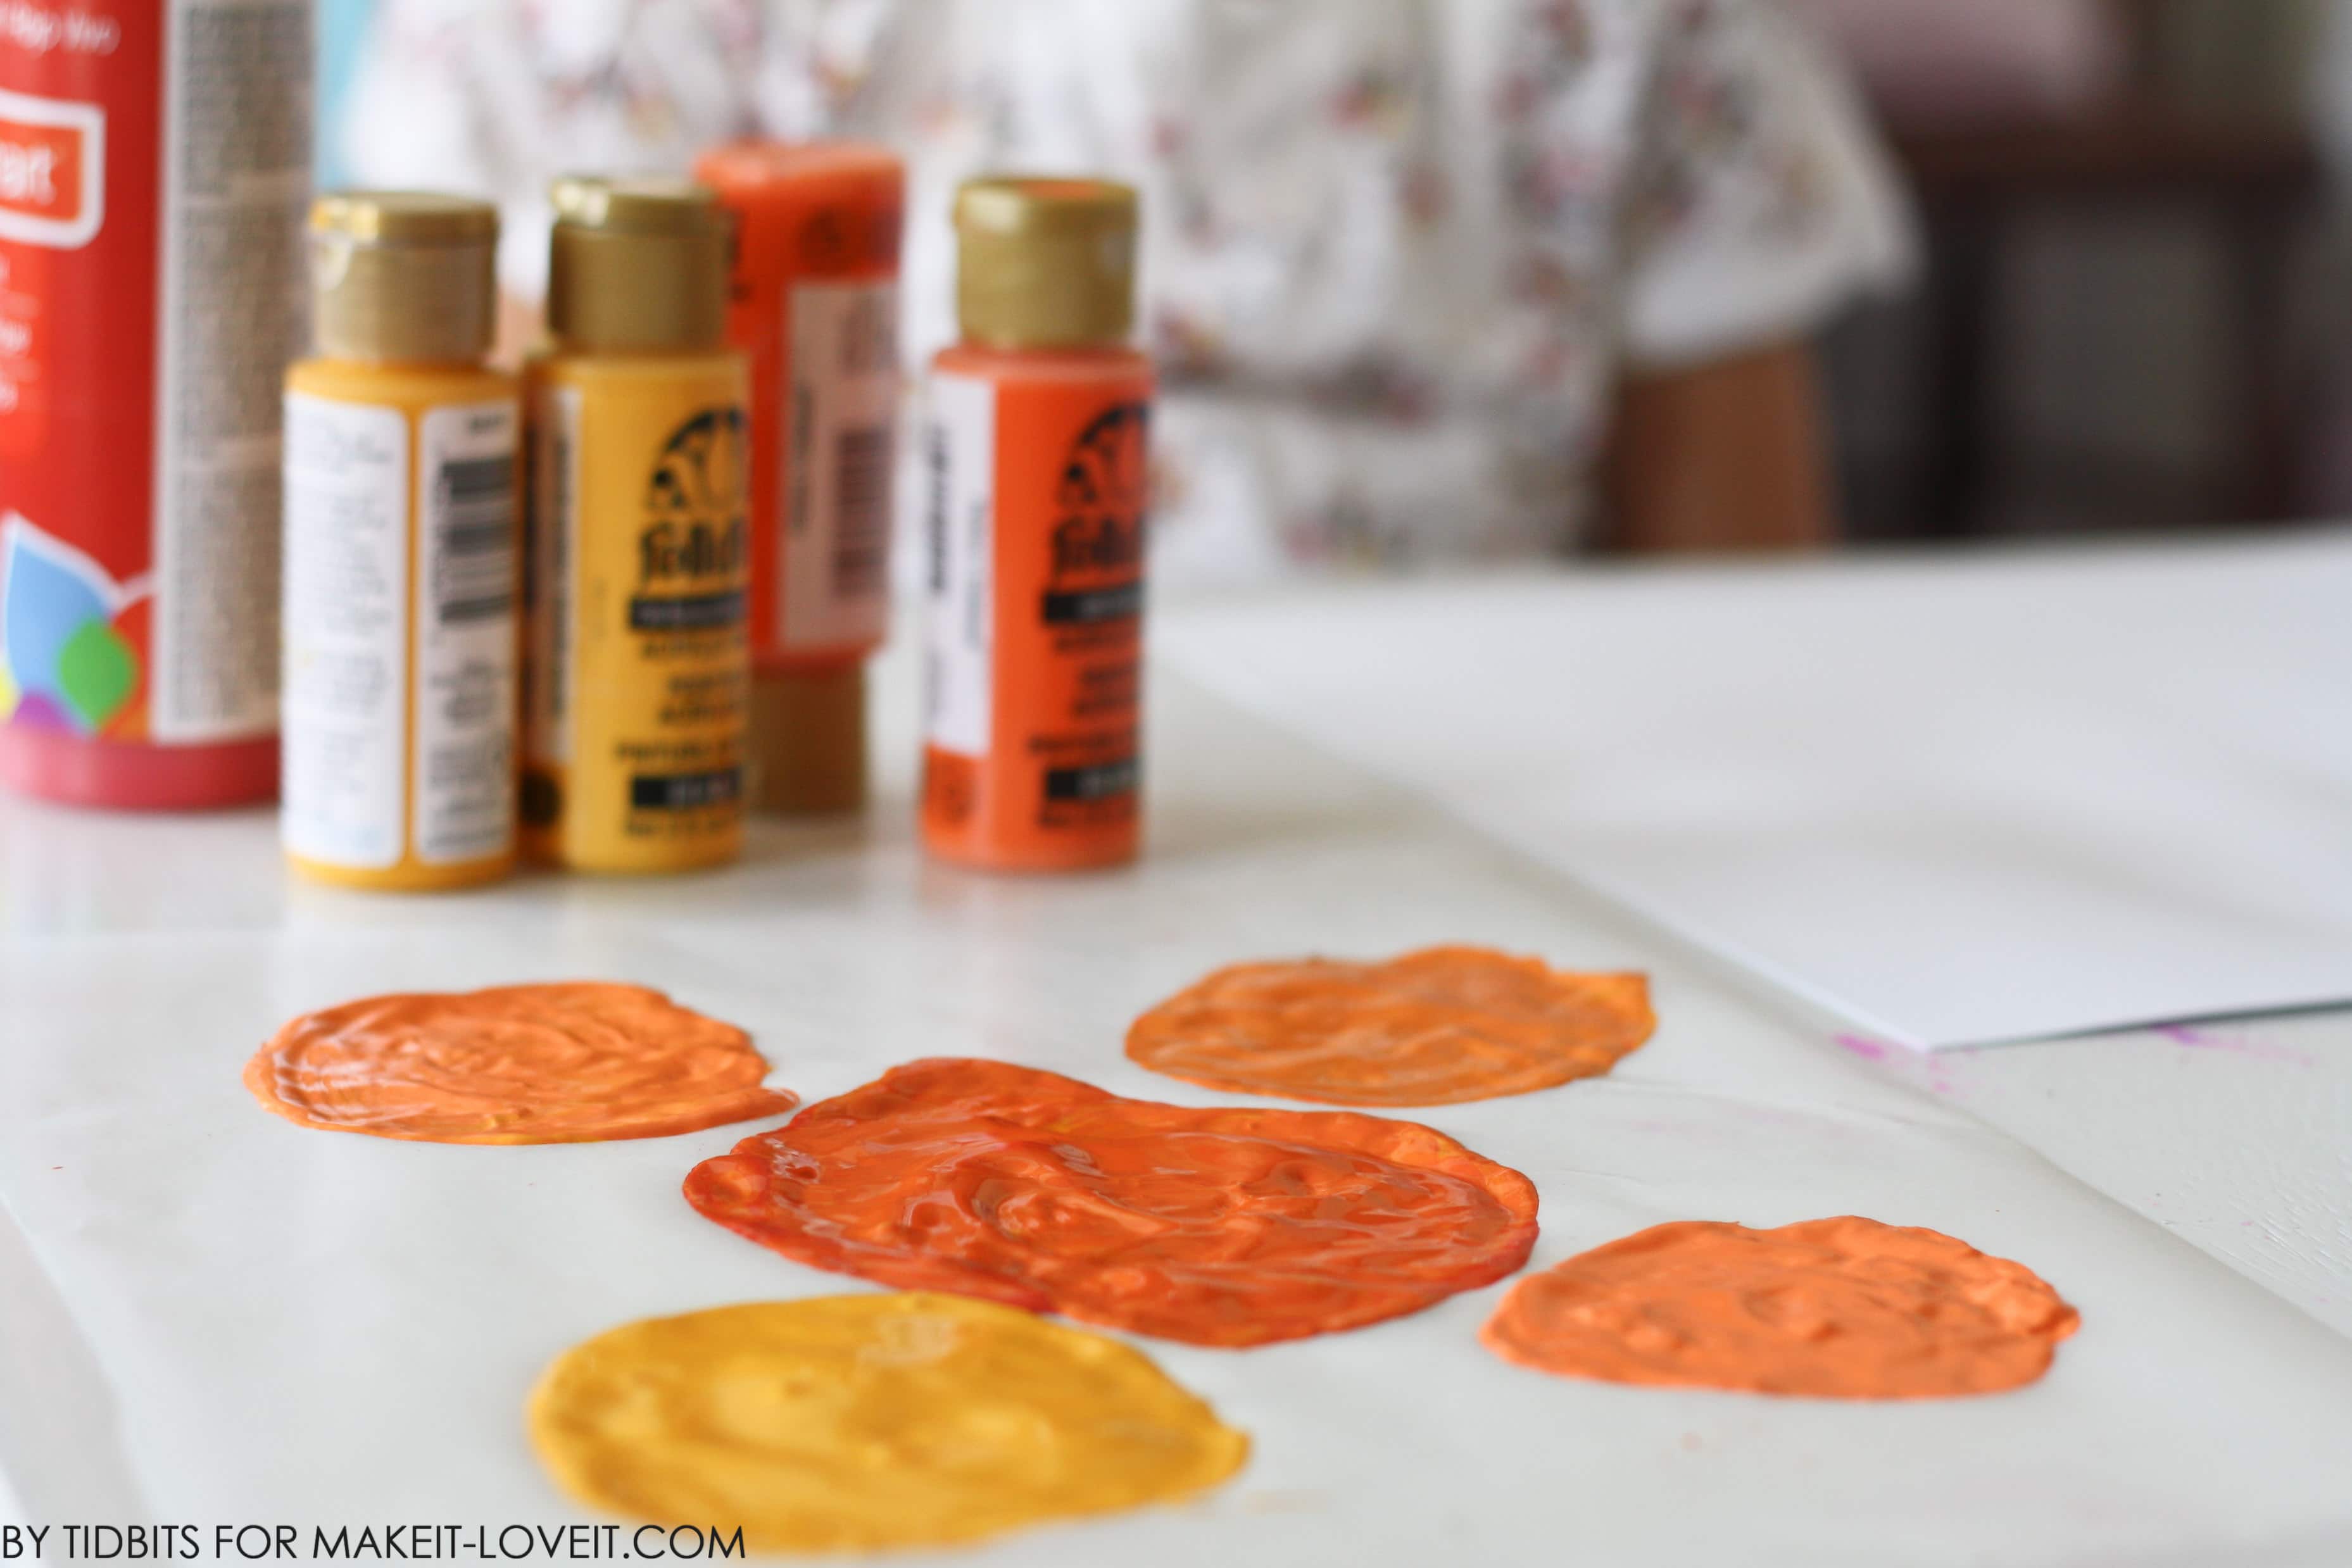
- Craft Paints
- I used many shades of orange
- Something to put the paint on
- I used wax paper which kept the paint from seeping onto the table.
- Paper
- I used a 12 x 12 sheet of card stock
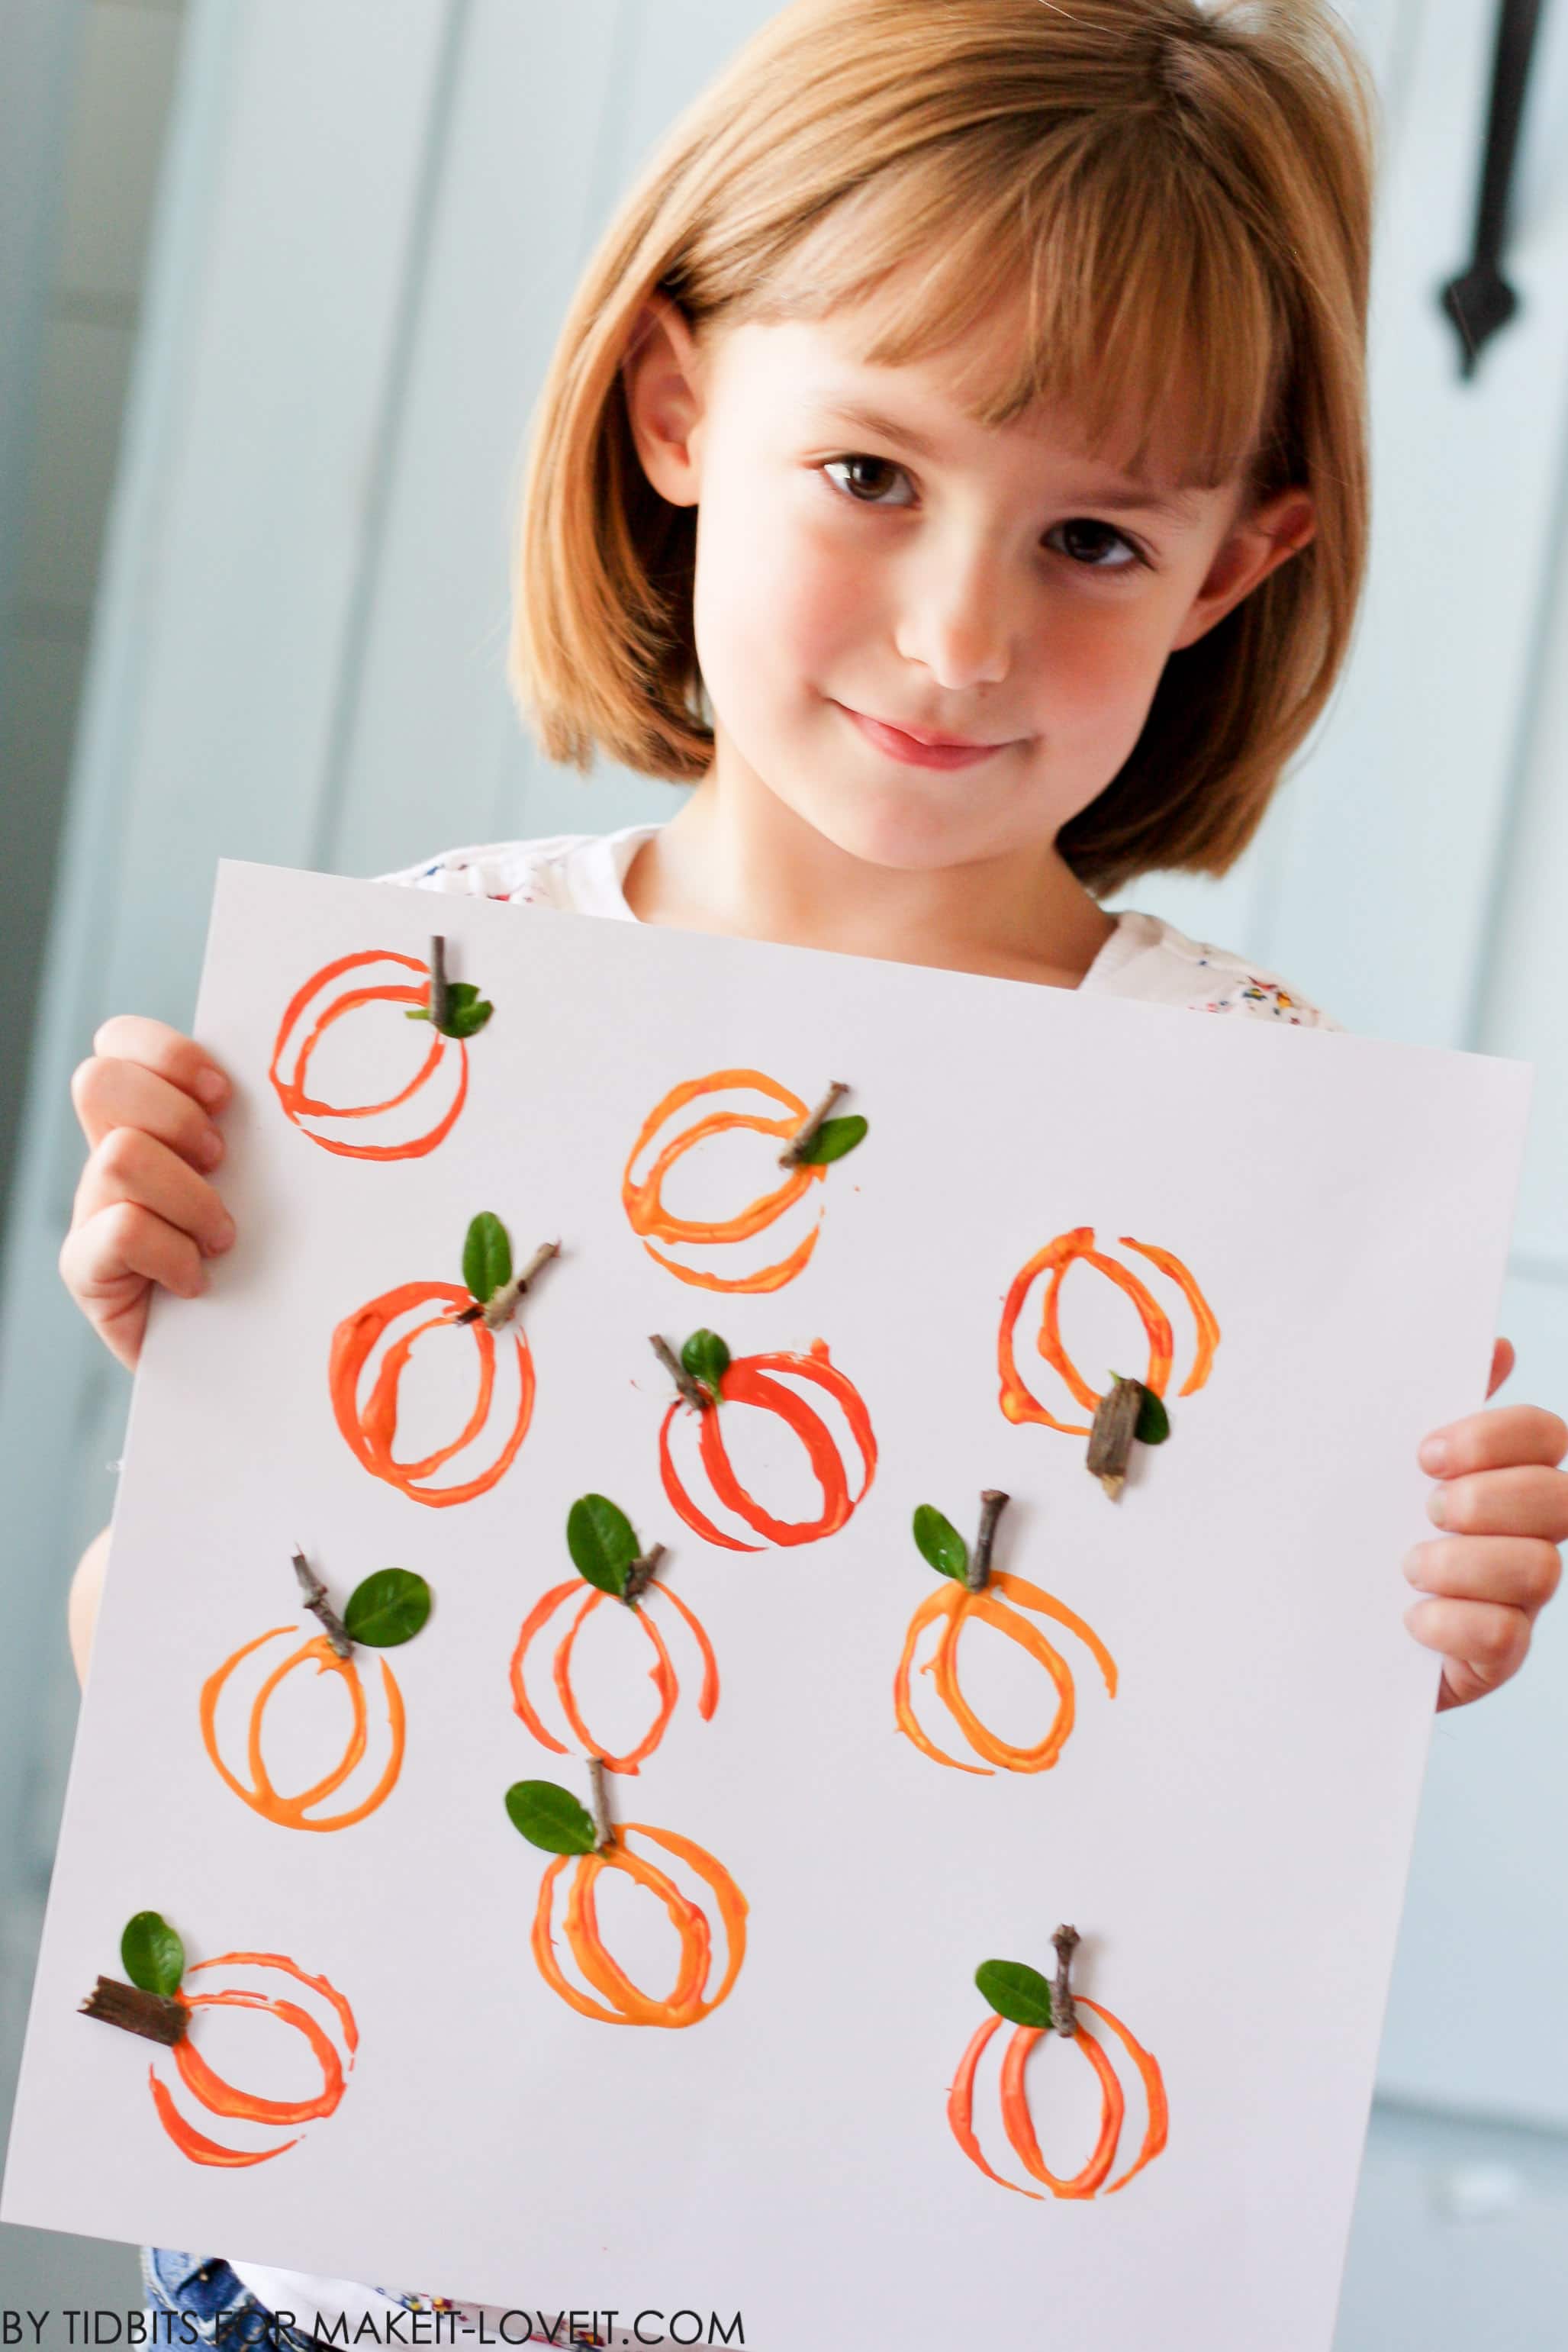
Some things my darling and I learned along the way are – it is best to dip and swirl your stamp in the paint to fully saturate the edges completely with the paint. The goopier, the better.
When pressing it onto your paper, do so gently so you don’t squish or ruin the stamp. It is a rather flimsy cardboard. Sometimes you may need to line up and re-stamp, or rock the stamp gently so all the edges get on the paper.
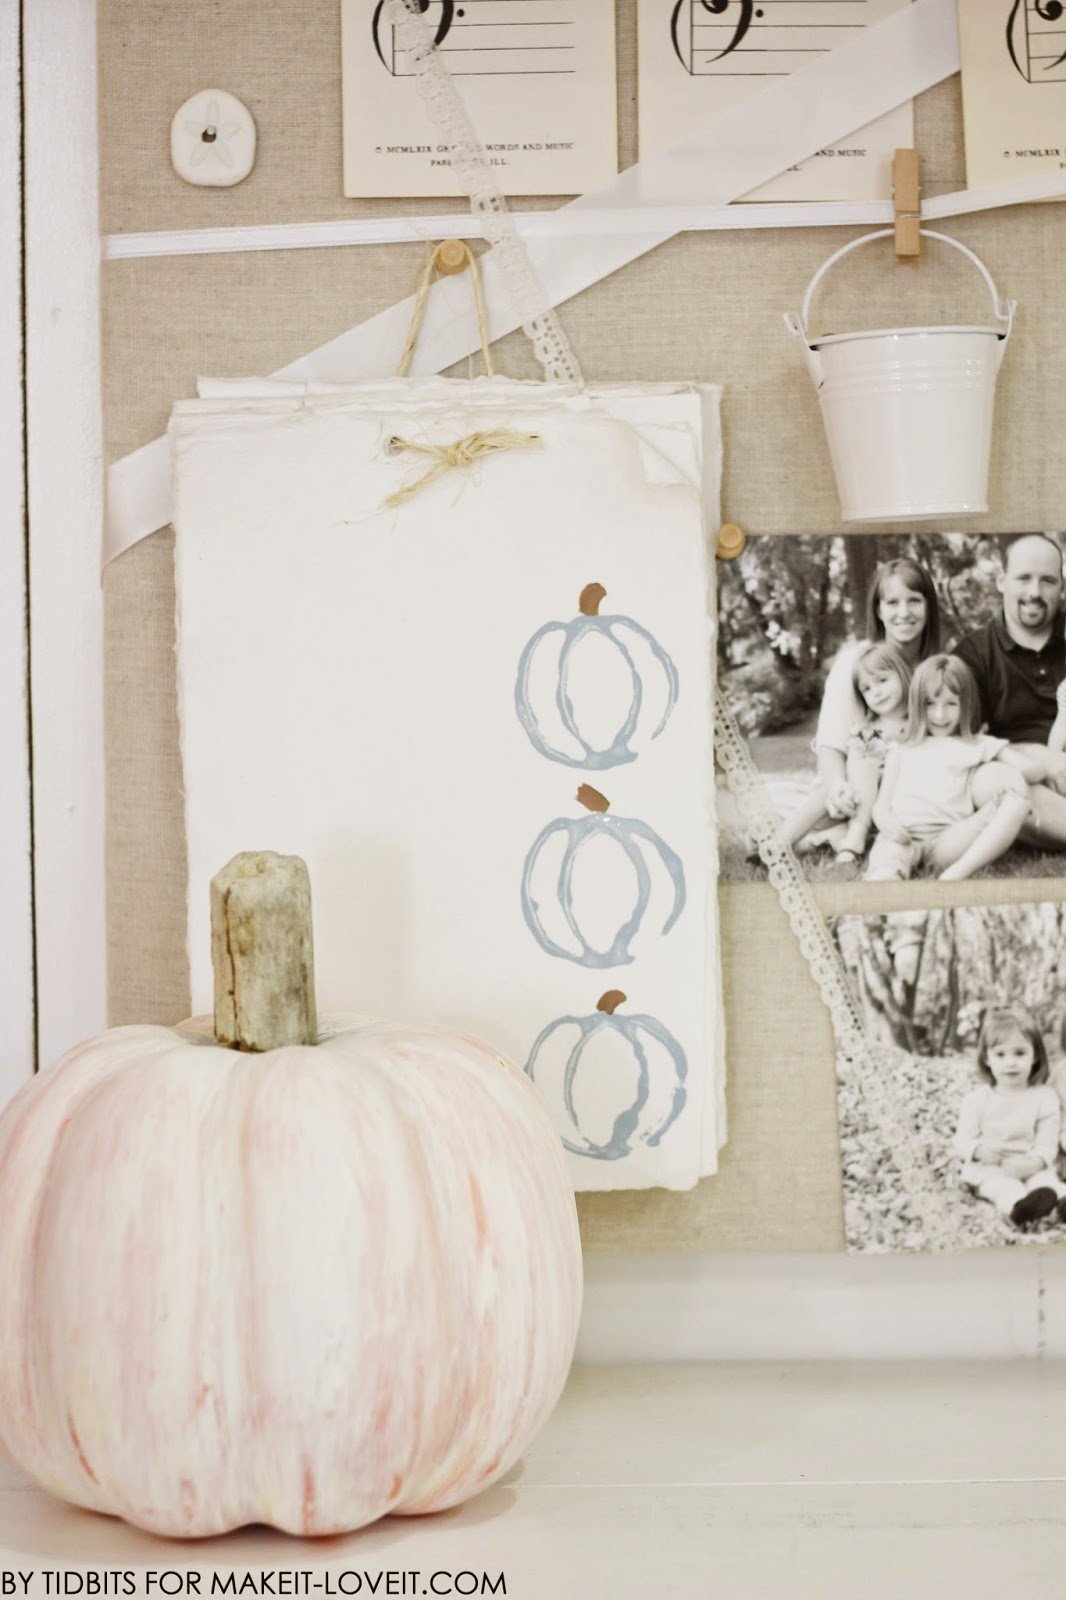
And we learned sometimes they don’t always paint on perfectly, like you can see in the picture below.
But I kind of love that about it. The phrase “it adds character”, totally works in this situation!!
Once the paint is dry, add small dabs of glue for the leaves and stems.
Press them on gently, and let dry completely.
Now I will show you how to manipulate a roll of toilet paper to create the stamp.
It takes a little work, but it is easier than it might look.
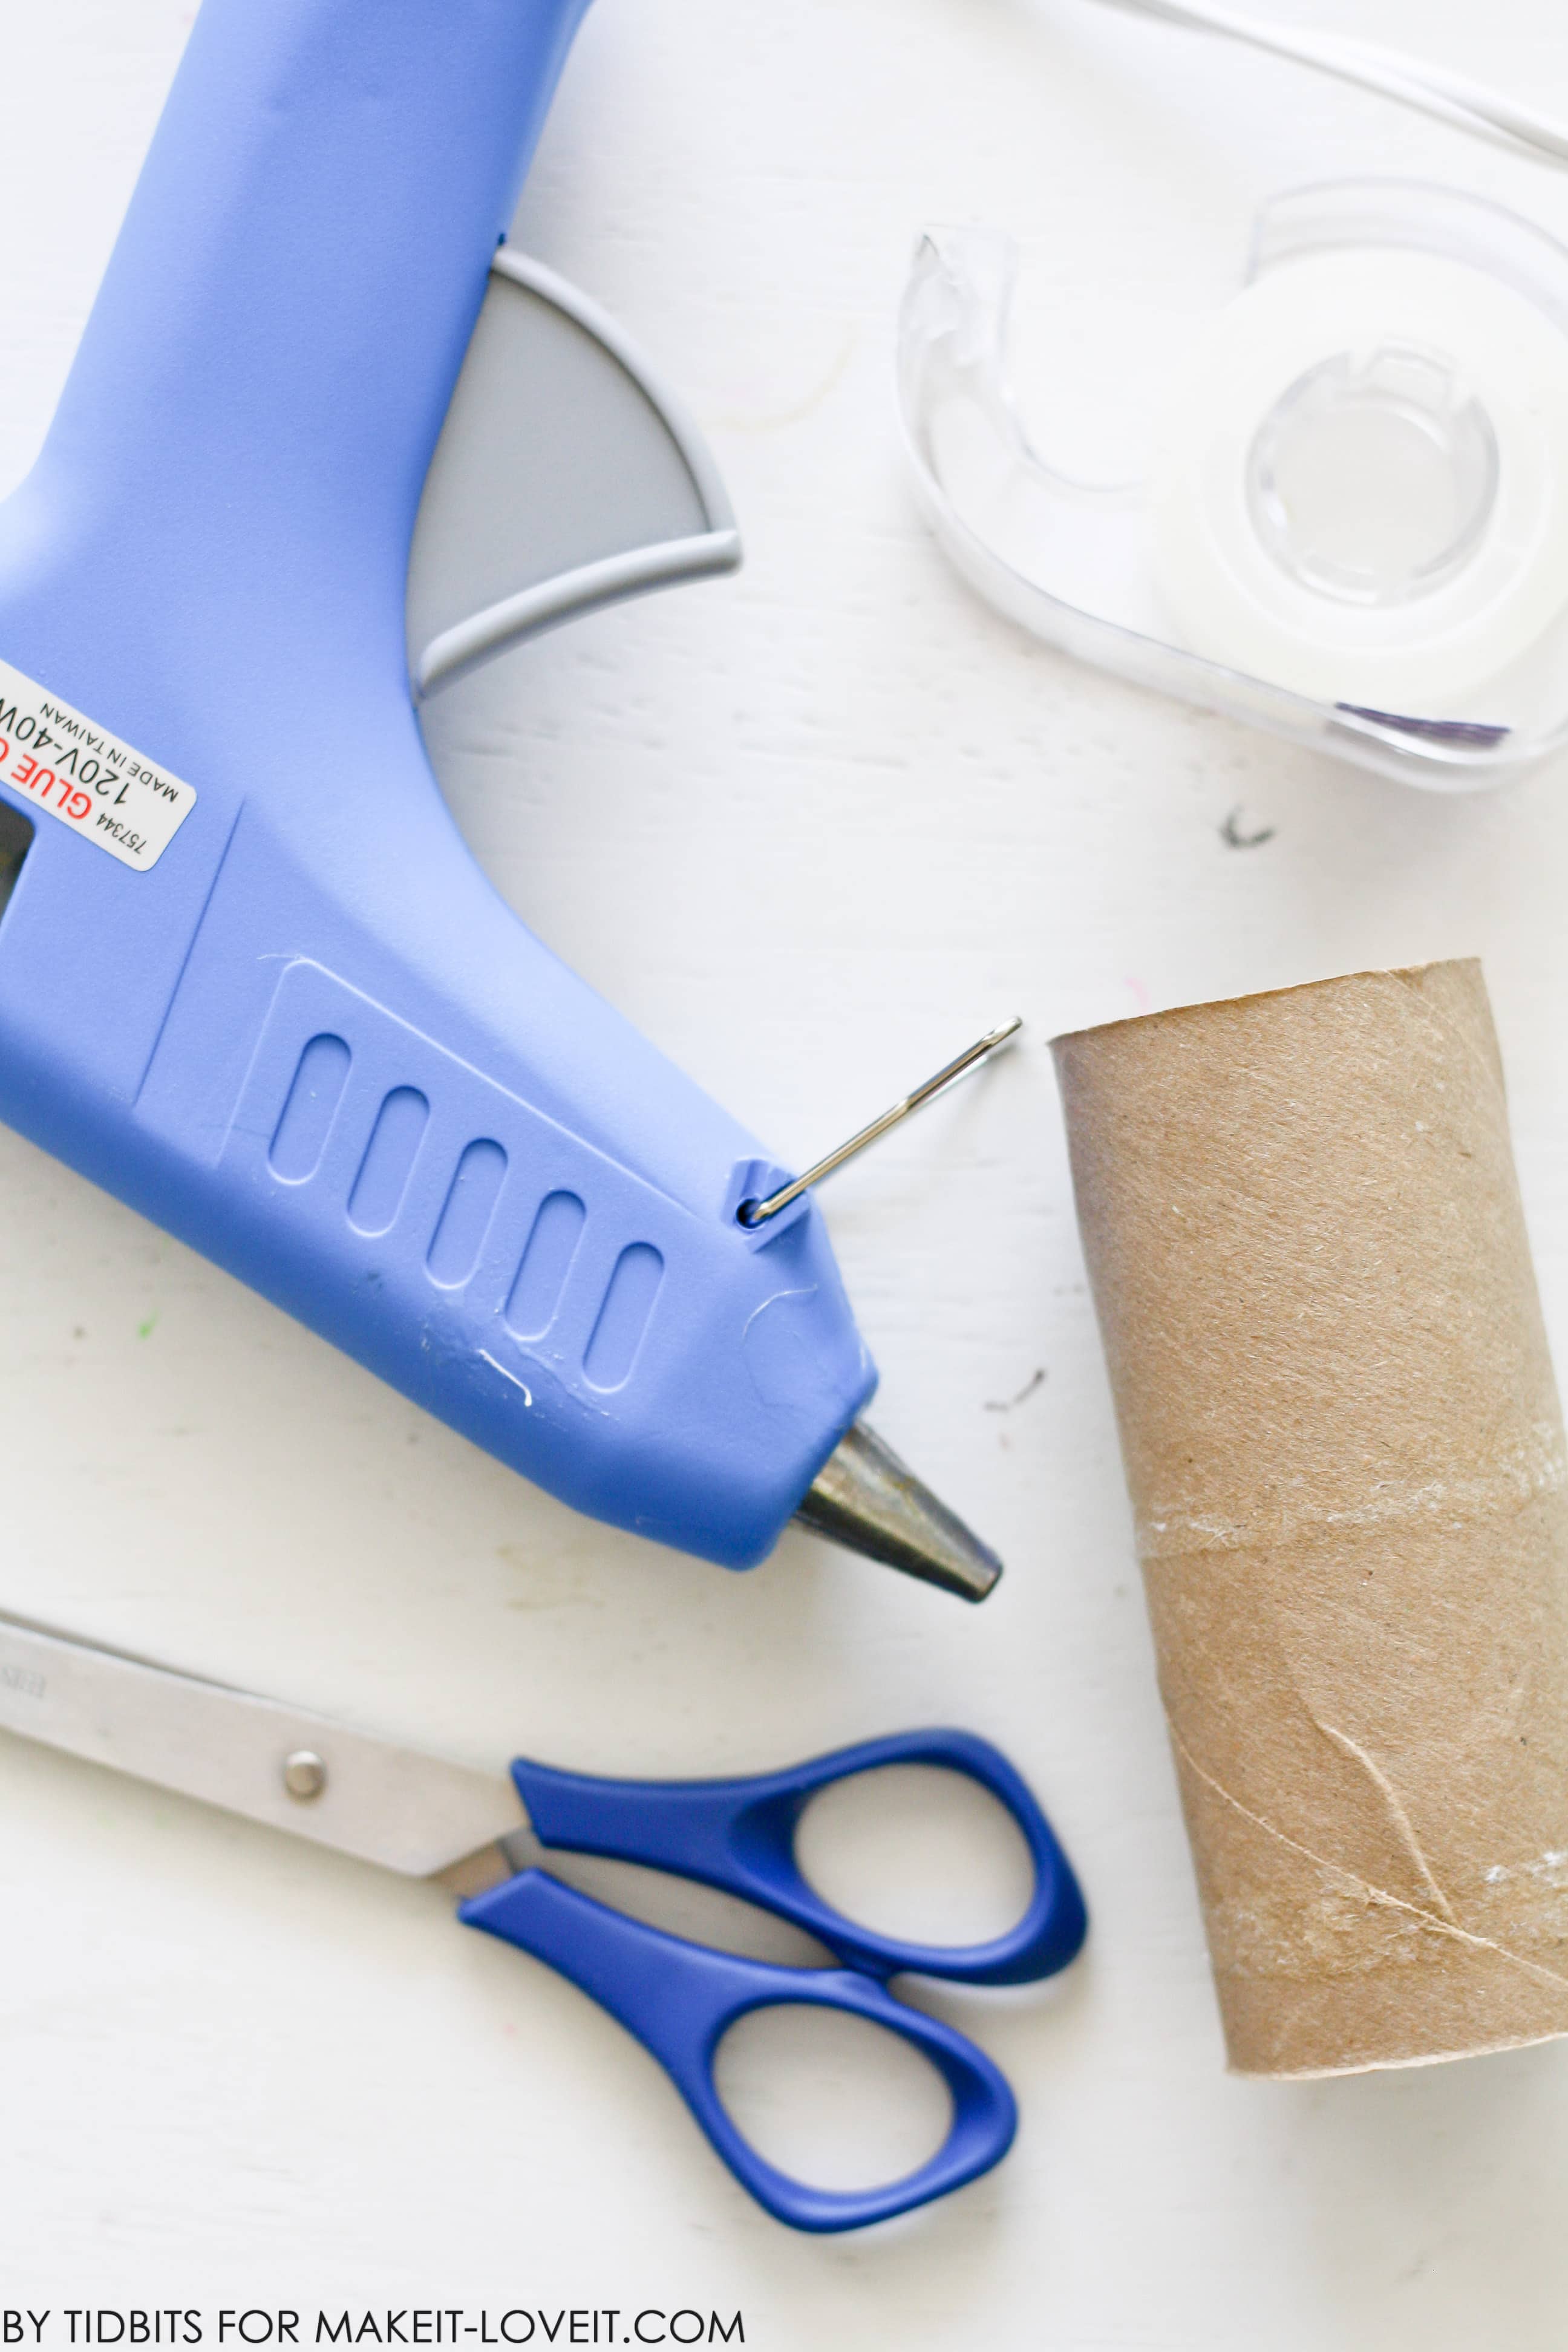
Gather your materials:
- Glue Gun
- Tape
- Scissors
- Toilet Paper Roll
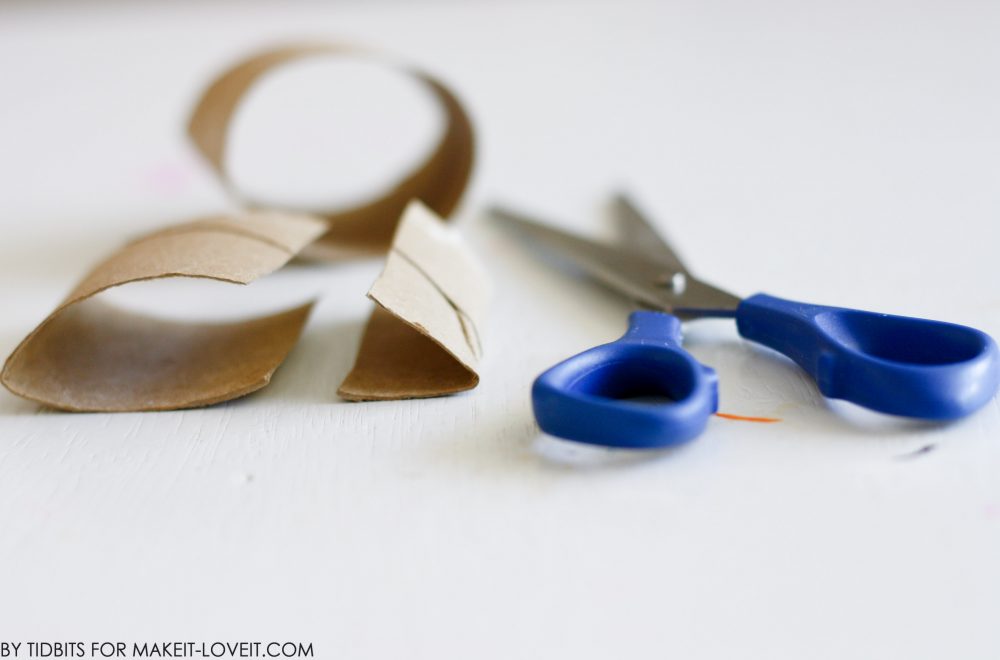
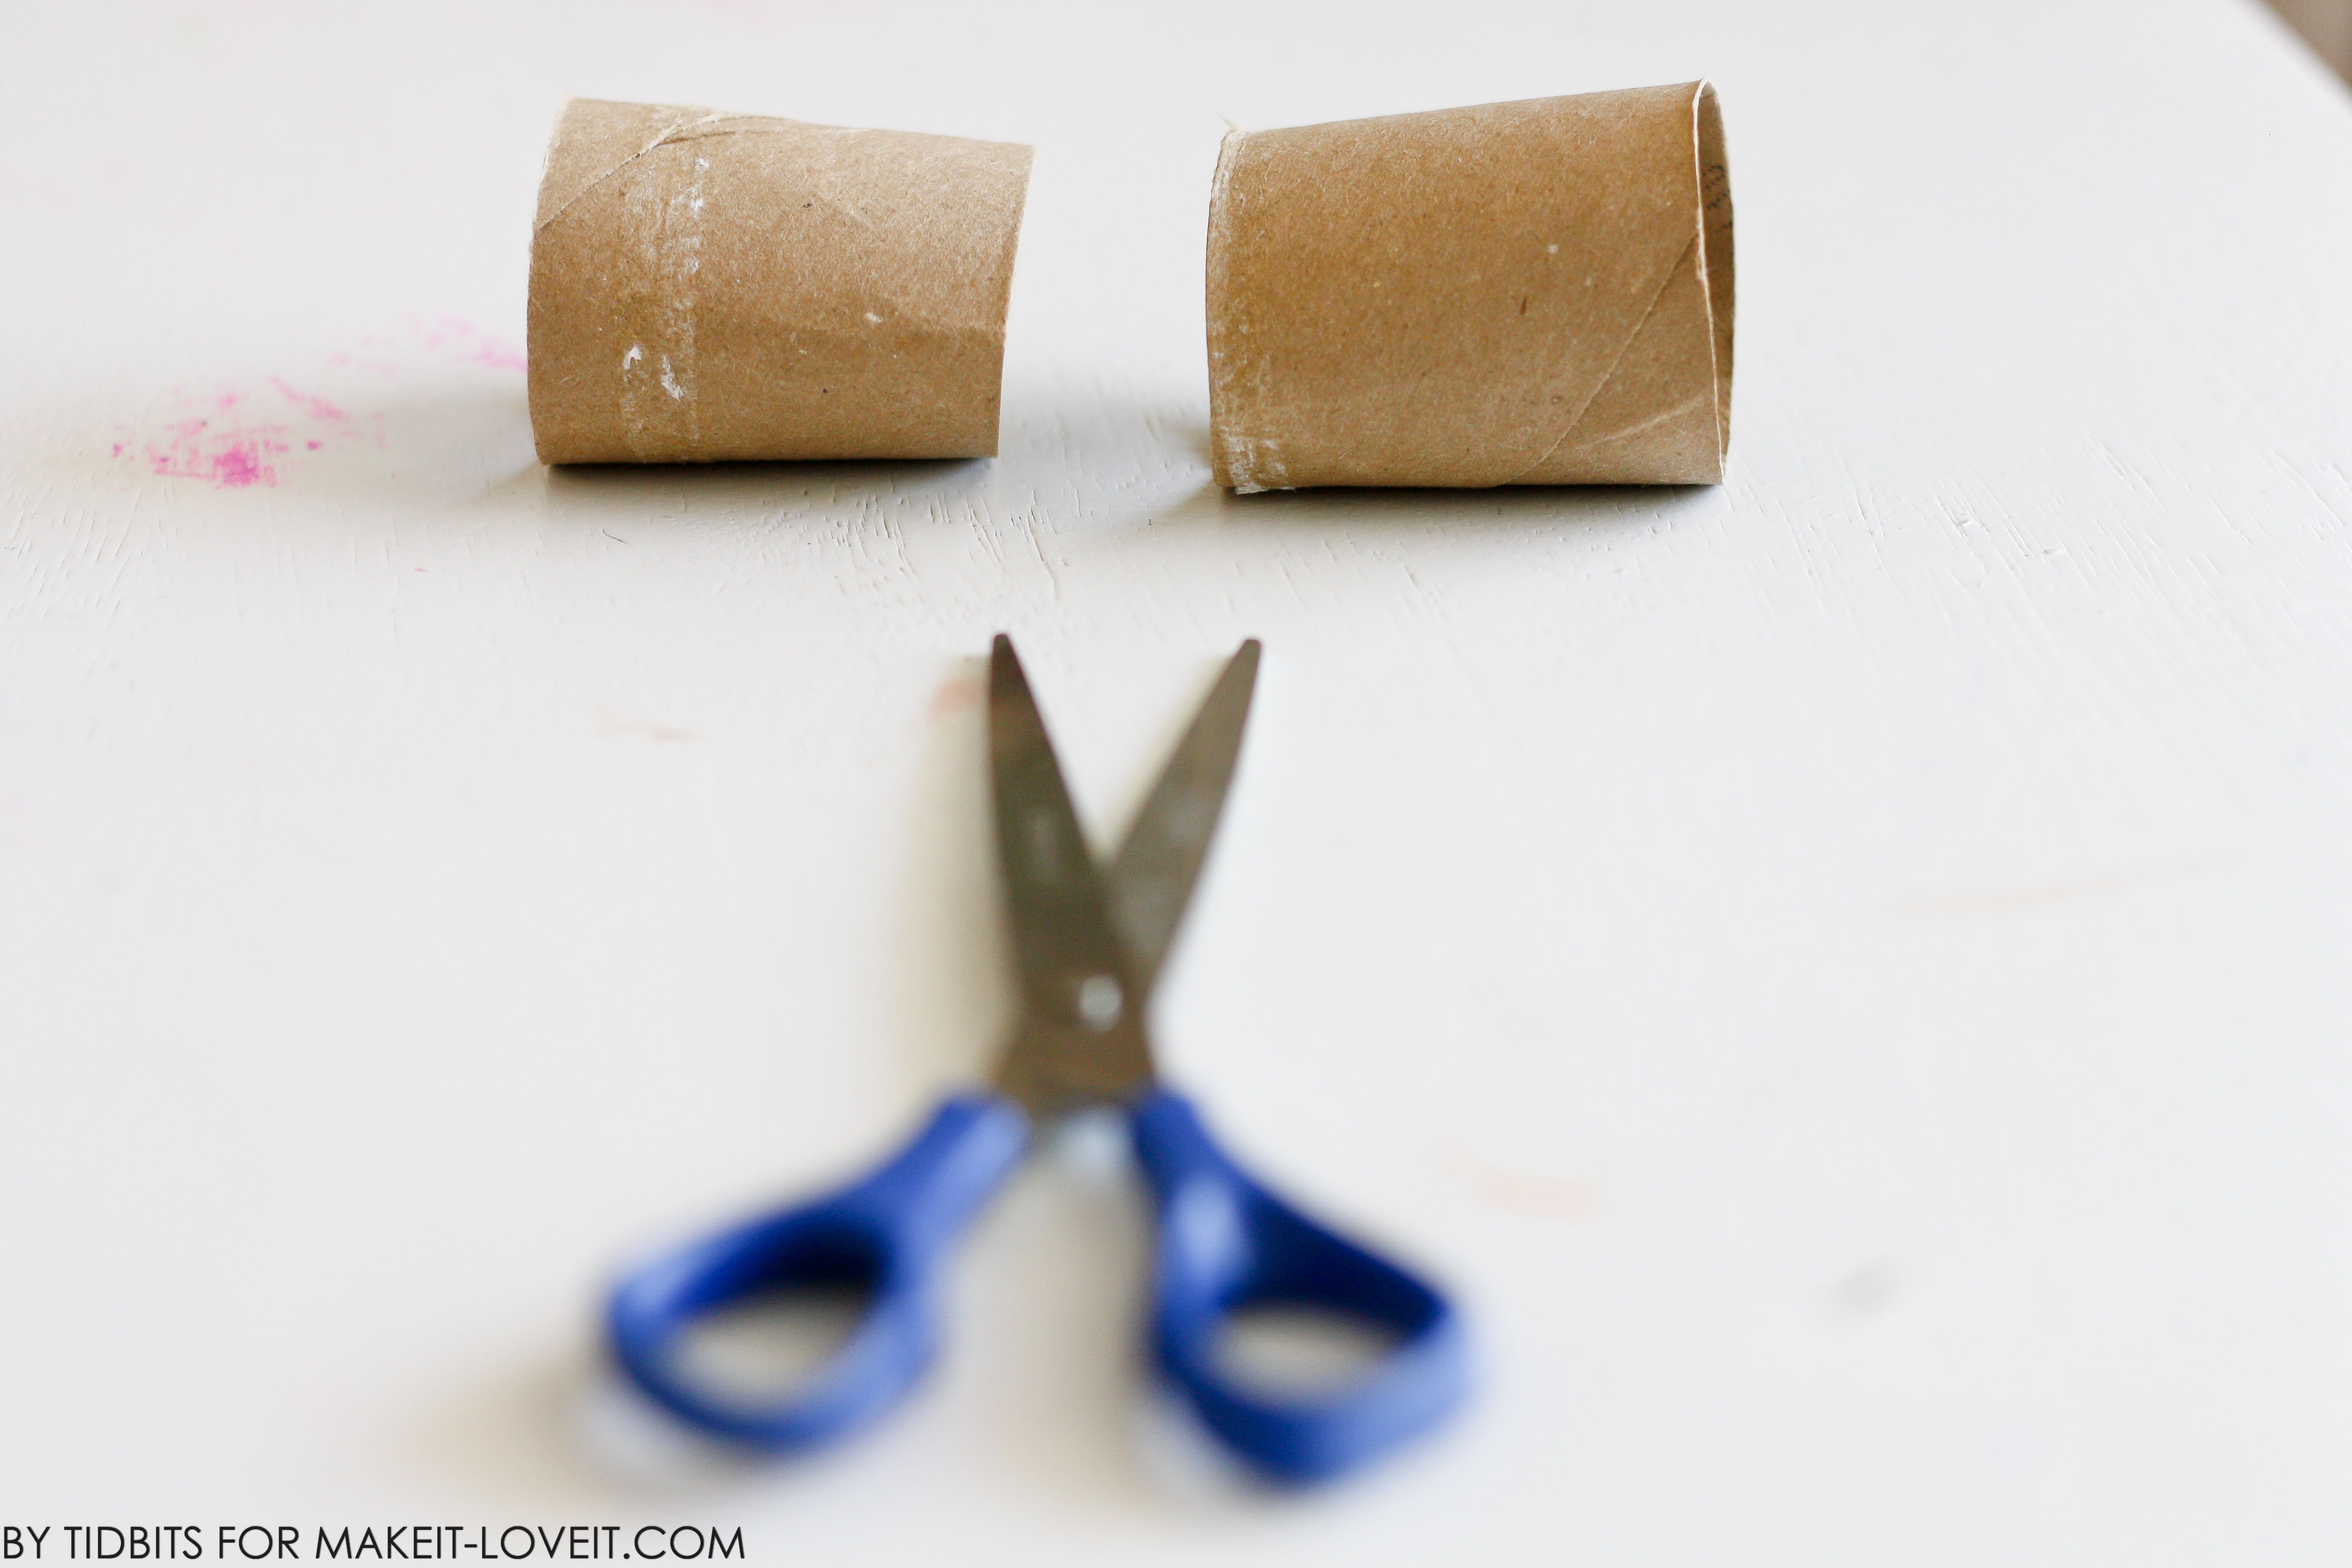
Cut your roll approximately in half (just eyeball it).
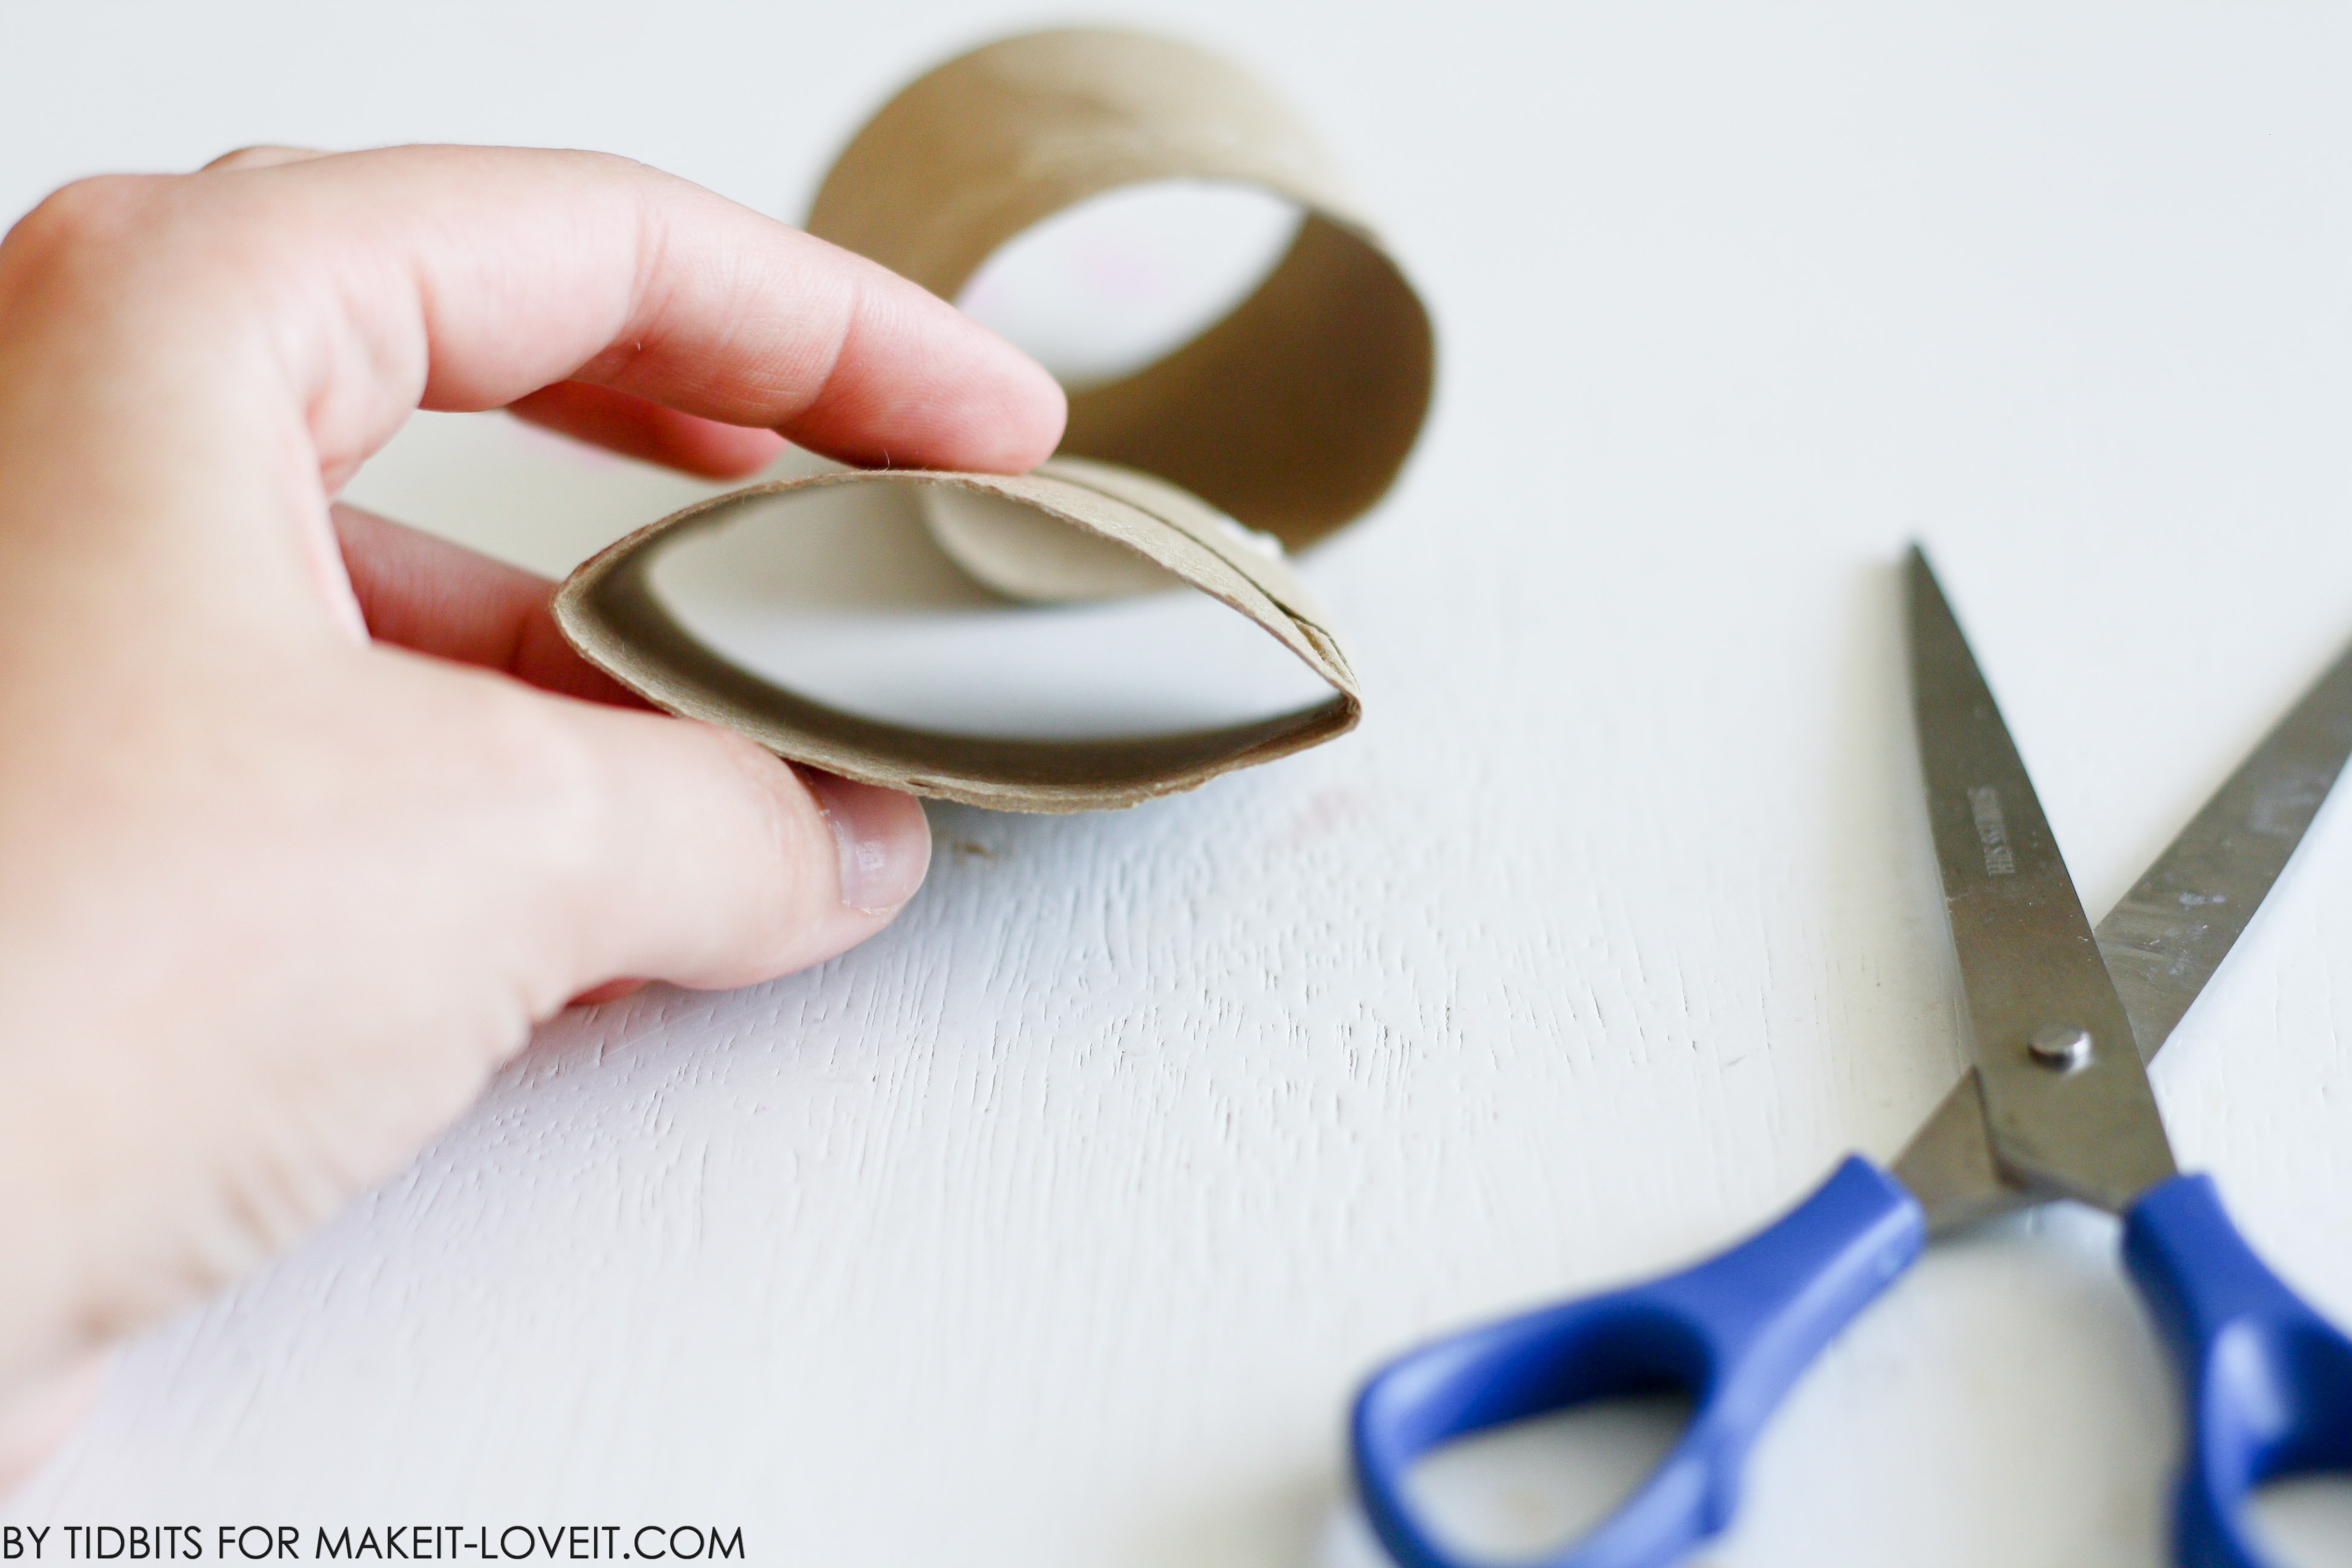
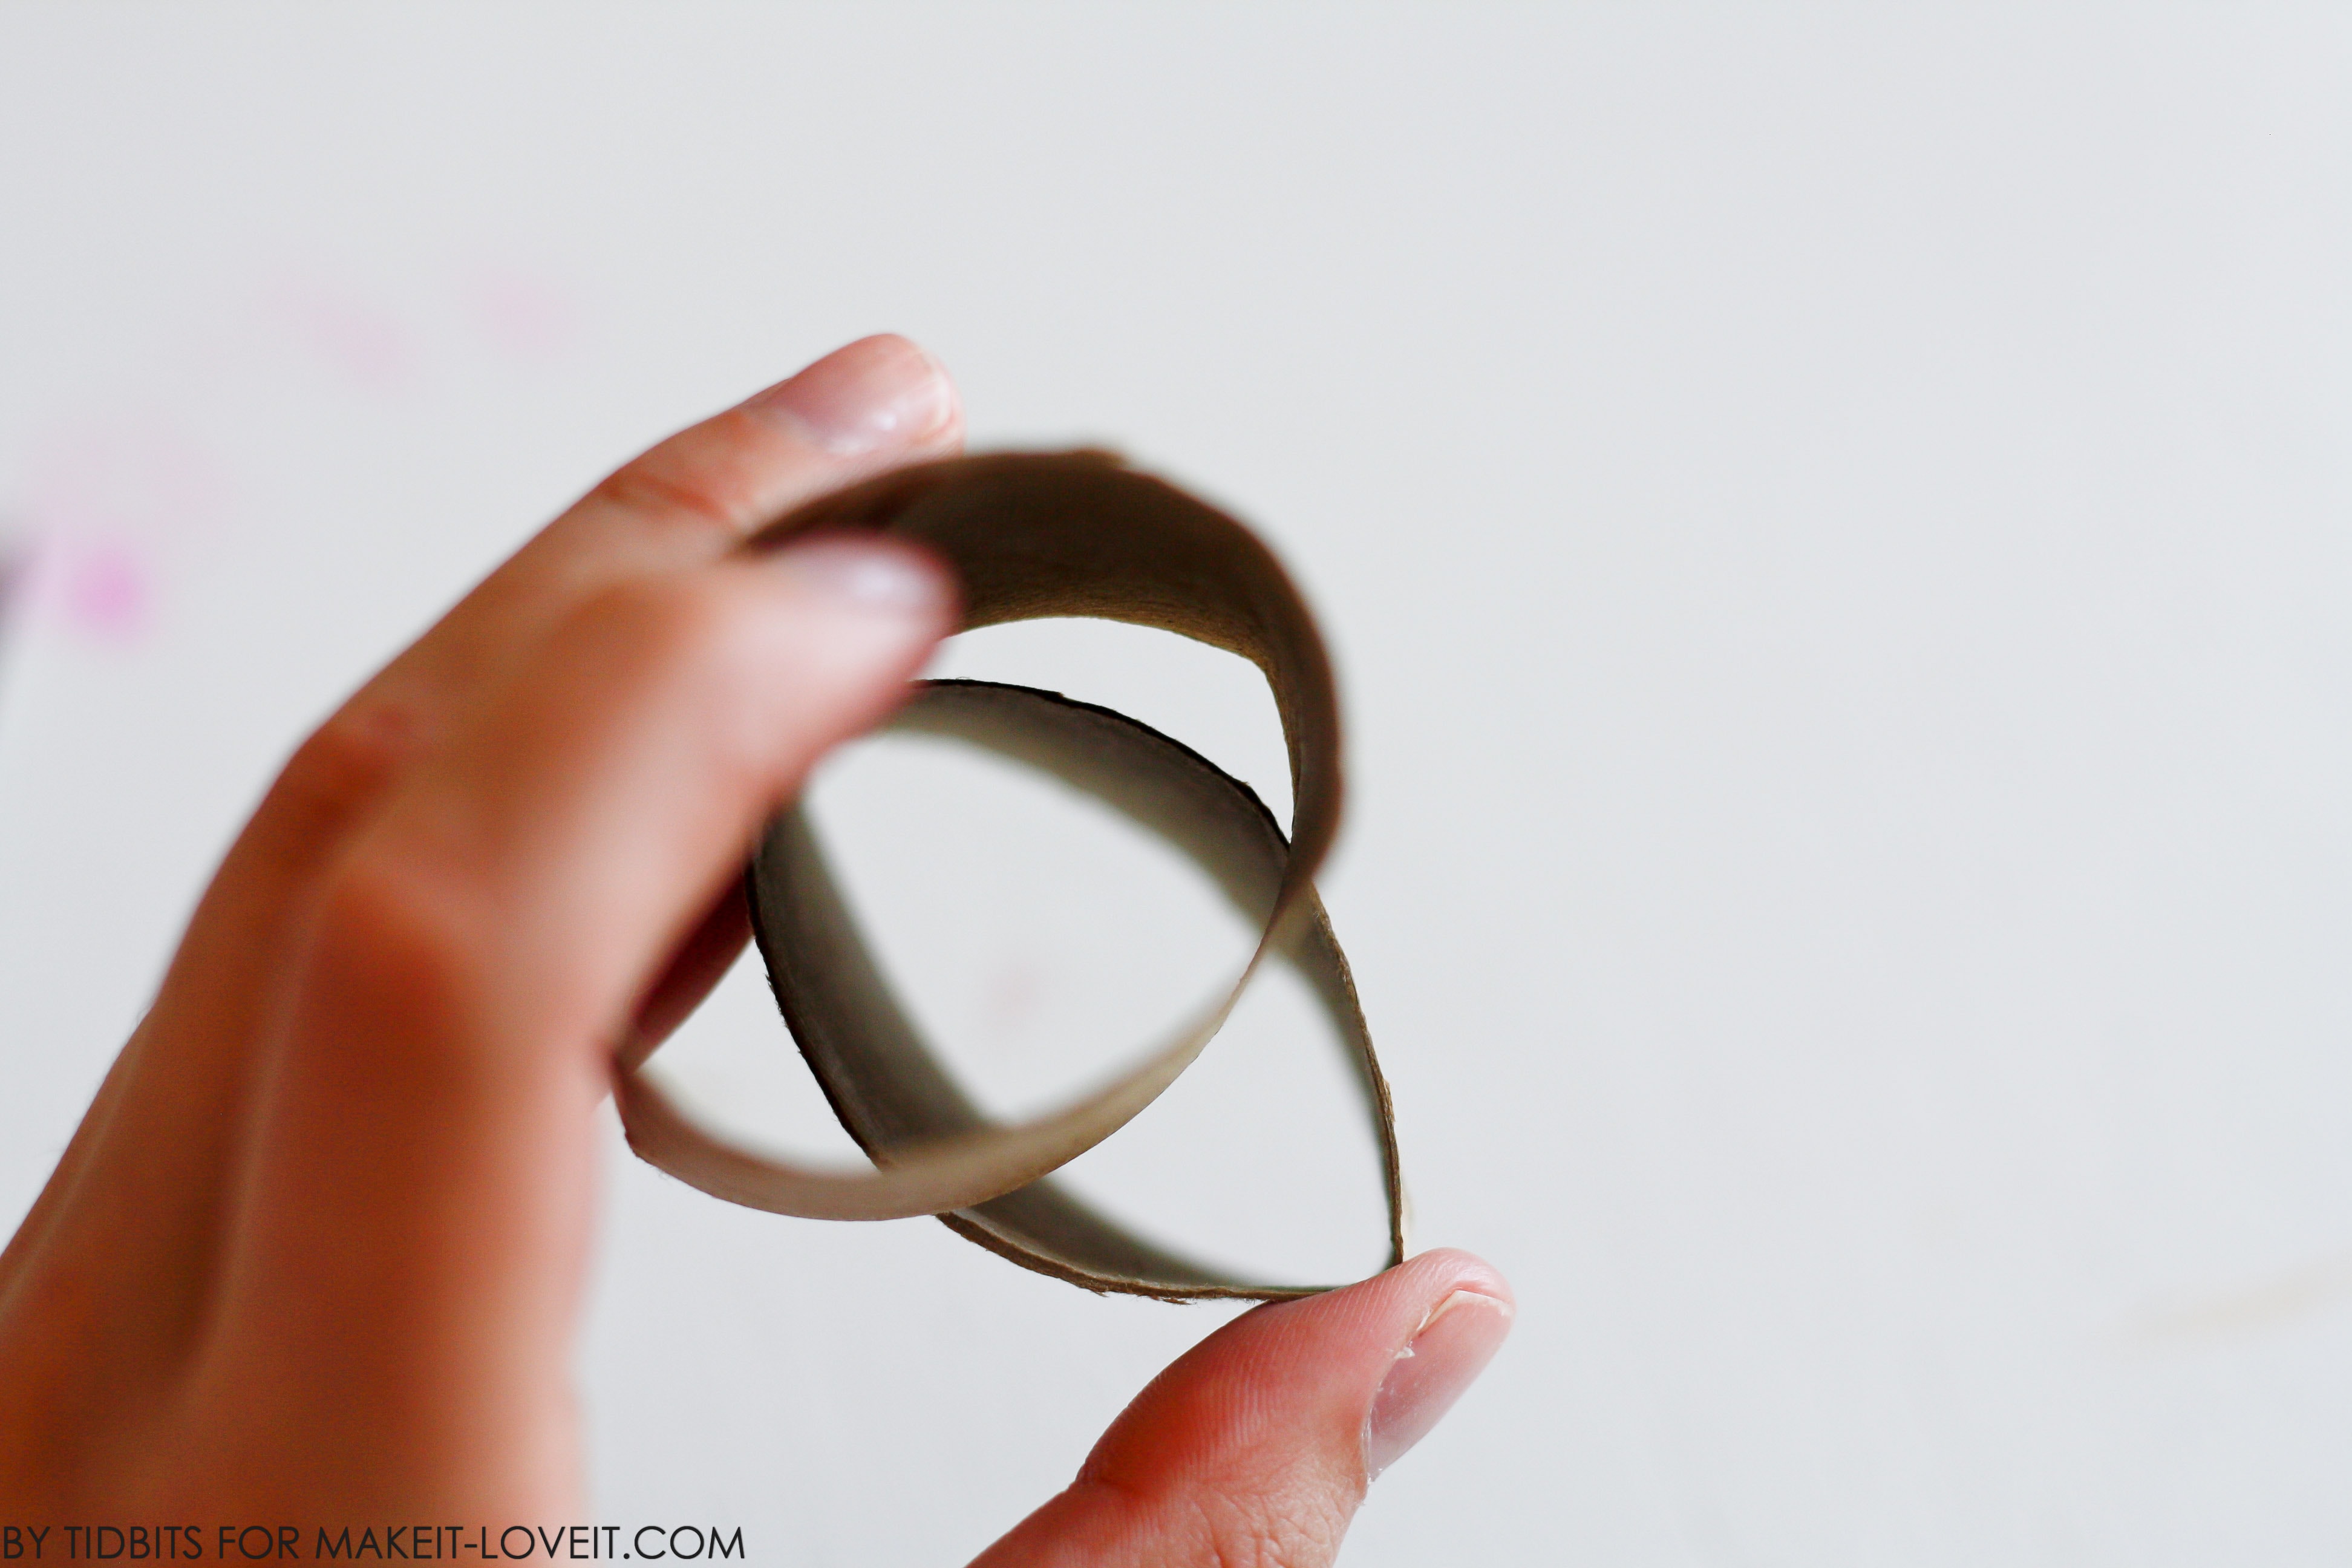
Set one of the halves aside, and grab the other. Bend and squish it until it forms sort of a pointed oval shape. This is the shape that is going in the middle, but it is too large so we need to cut it down.
You’ll need to sort of measure it to your liking with the inside of the other half. Determine if you want the inside lines further out on the pumpkin or closer to the middle.
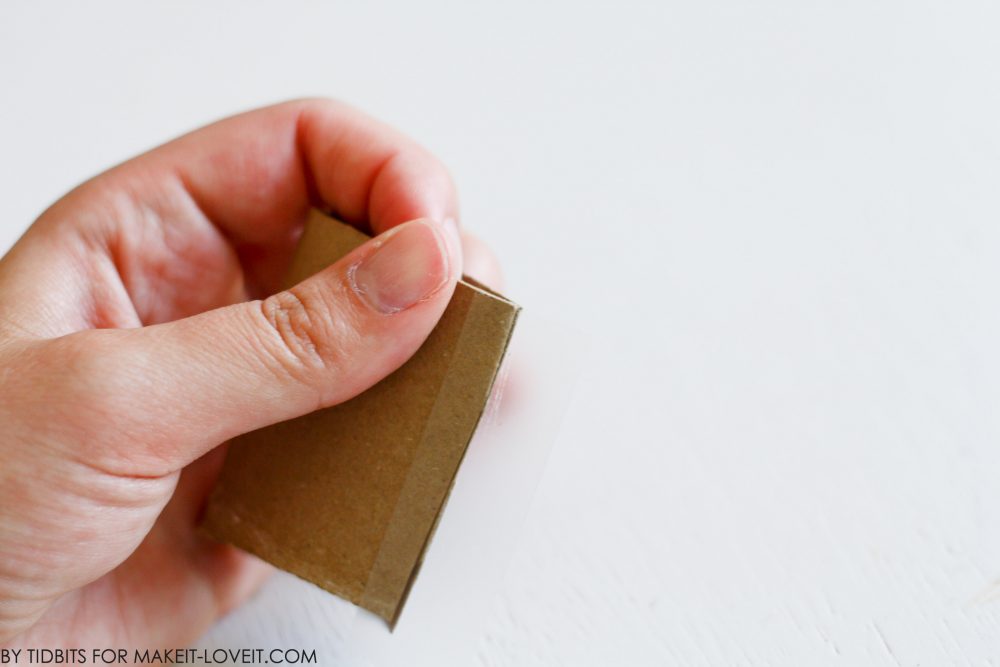
I ended up snipping about 3/4 of an inch off the bottom of the pointed oval, like seen below.
Now we still want that to be a “pointed oval” so we have to tape it back together. Line up those points as close as you can and get a piece of tape and stick together.
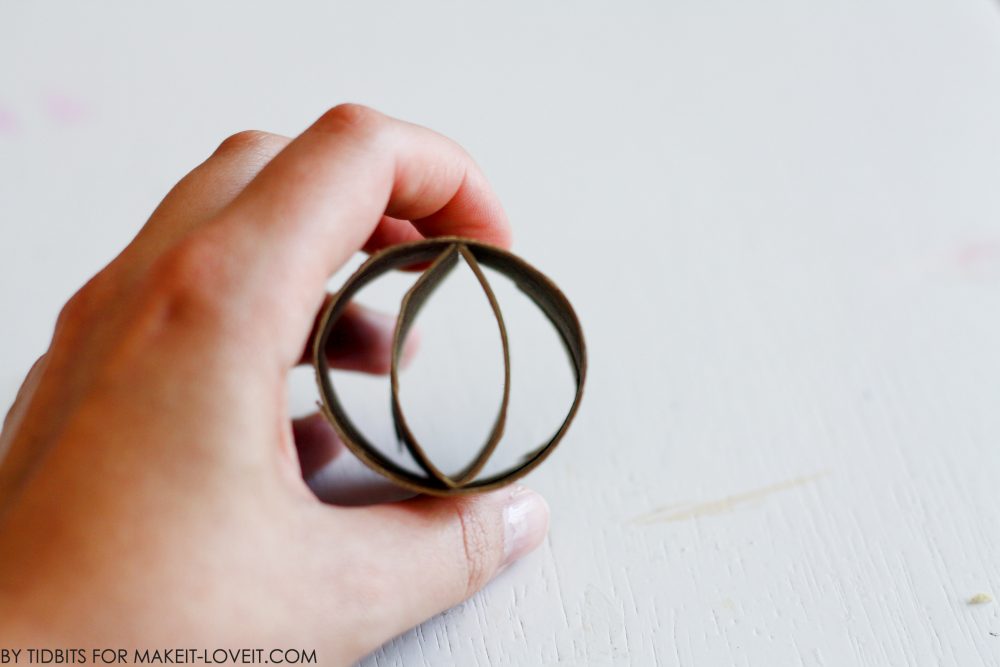
So now you should have the two shapes below from your one roll of toilet paper.
Fit the pointed oval inside the circle, figuring out where you want to secure it in place.
Pull the oval out just about 1/2 inch from the front.
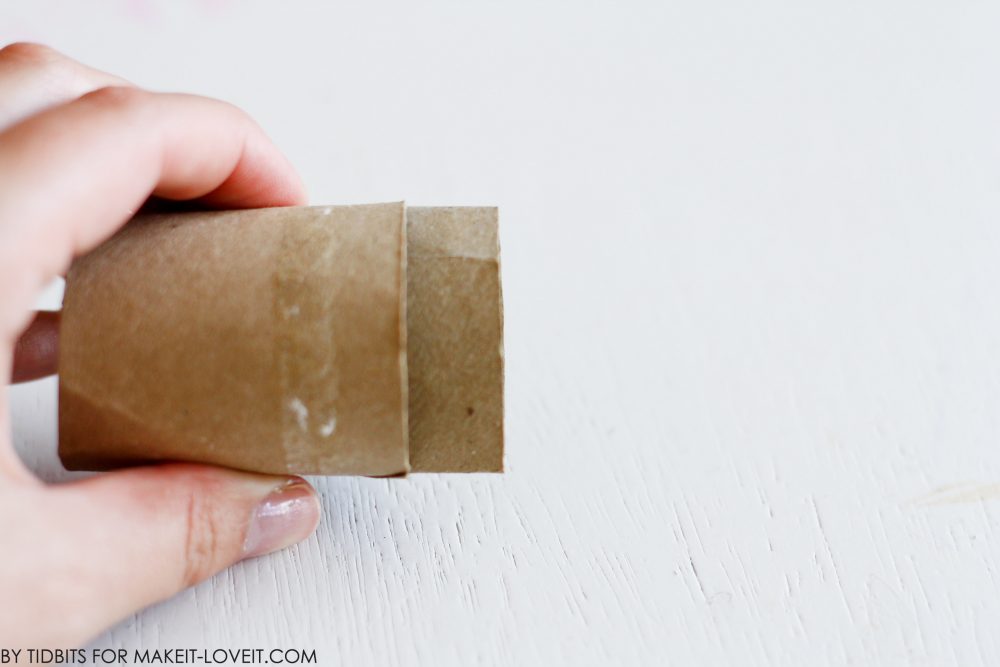
Dab some hot glue from the glue gun on both pointed curves. Working quickly, push that oval back into place where you would like it to be. The glue will bead up but just peel those off when dry.
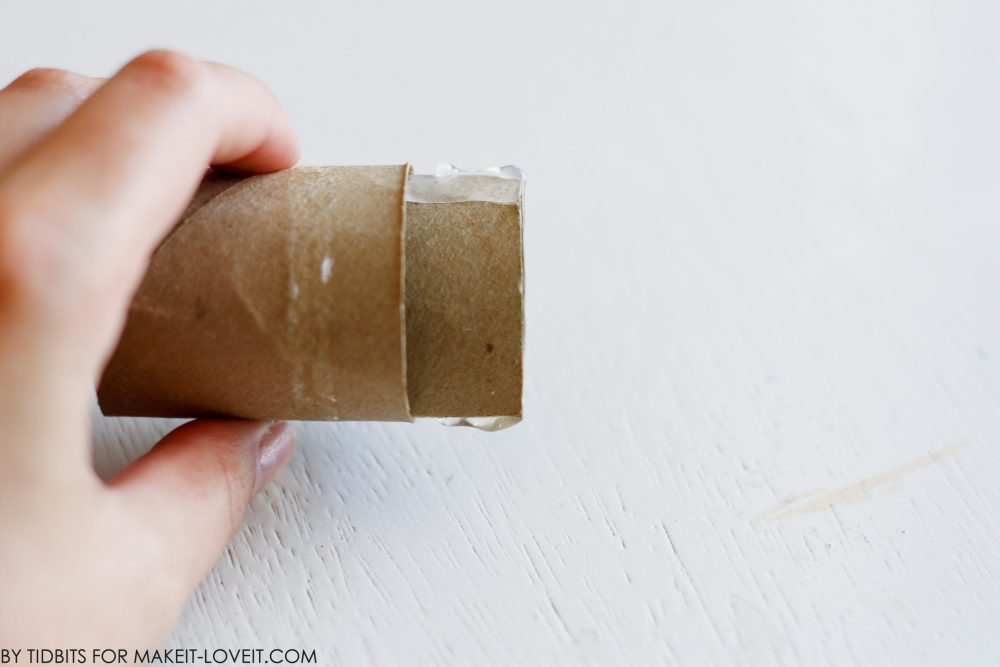
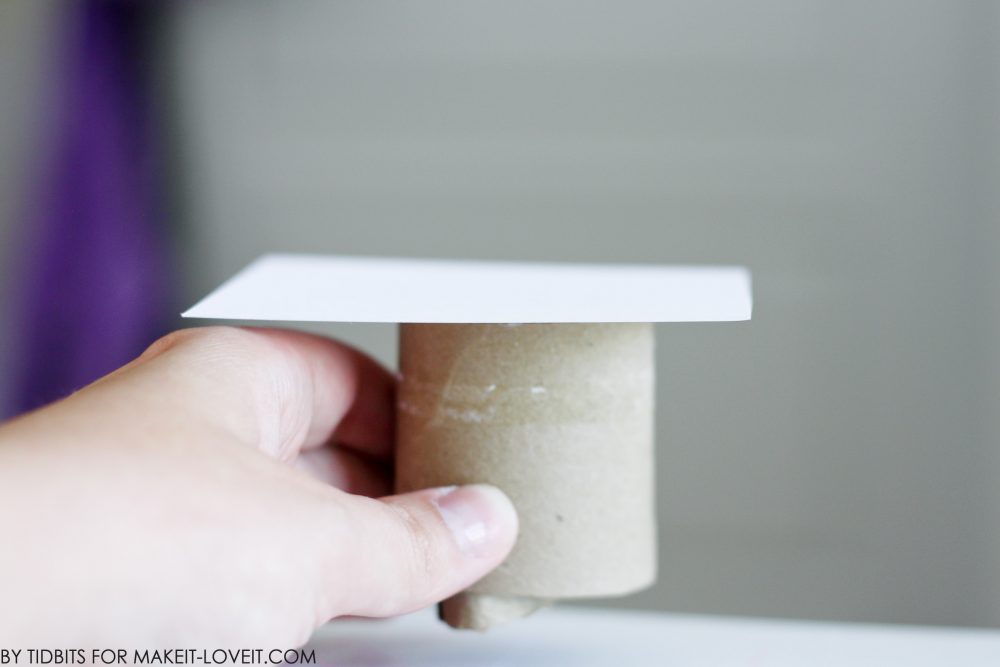
It is so VERY IMPORTANT that you get the smaller oval piece lined up evenly with the round piece on the face of the stamp. If you do not, your child will become very frustrated when the stamp doesn’t stamp evenly. You may have to fiddle with it a bit, and re-glue in spots to get it exactly where it needs to be.
I used a small piece of paper to see if it was touching all sides evenly when flat.
Also, if you feel the oval piece is not too secure, turn it to the back side and spot glue in places that are a bit loose. By doing this I had 3 kids use the same stamp and it held up really well.
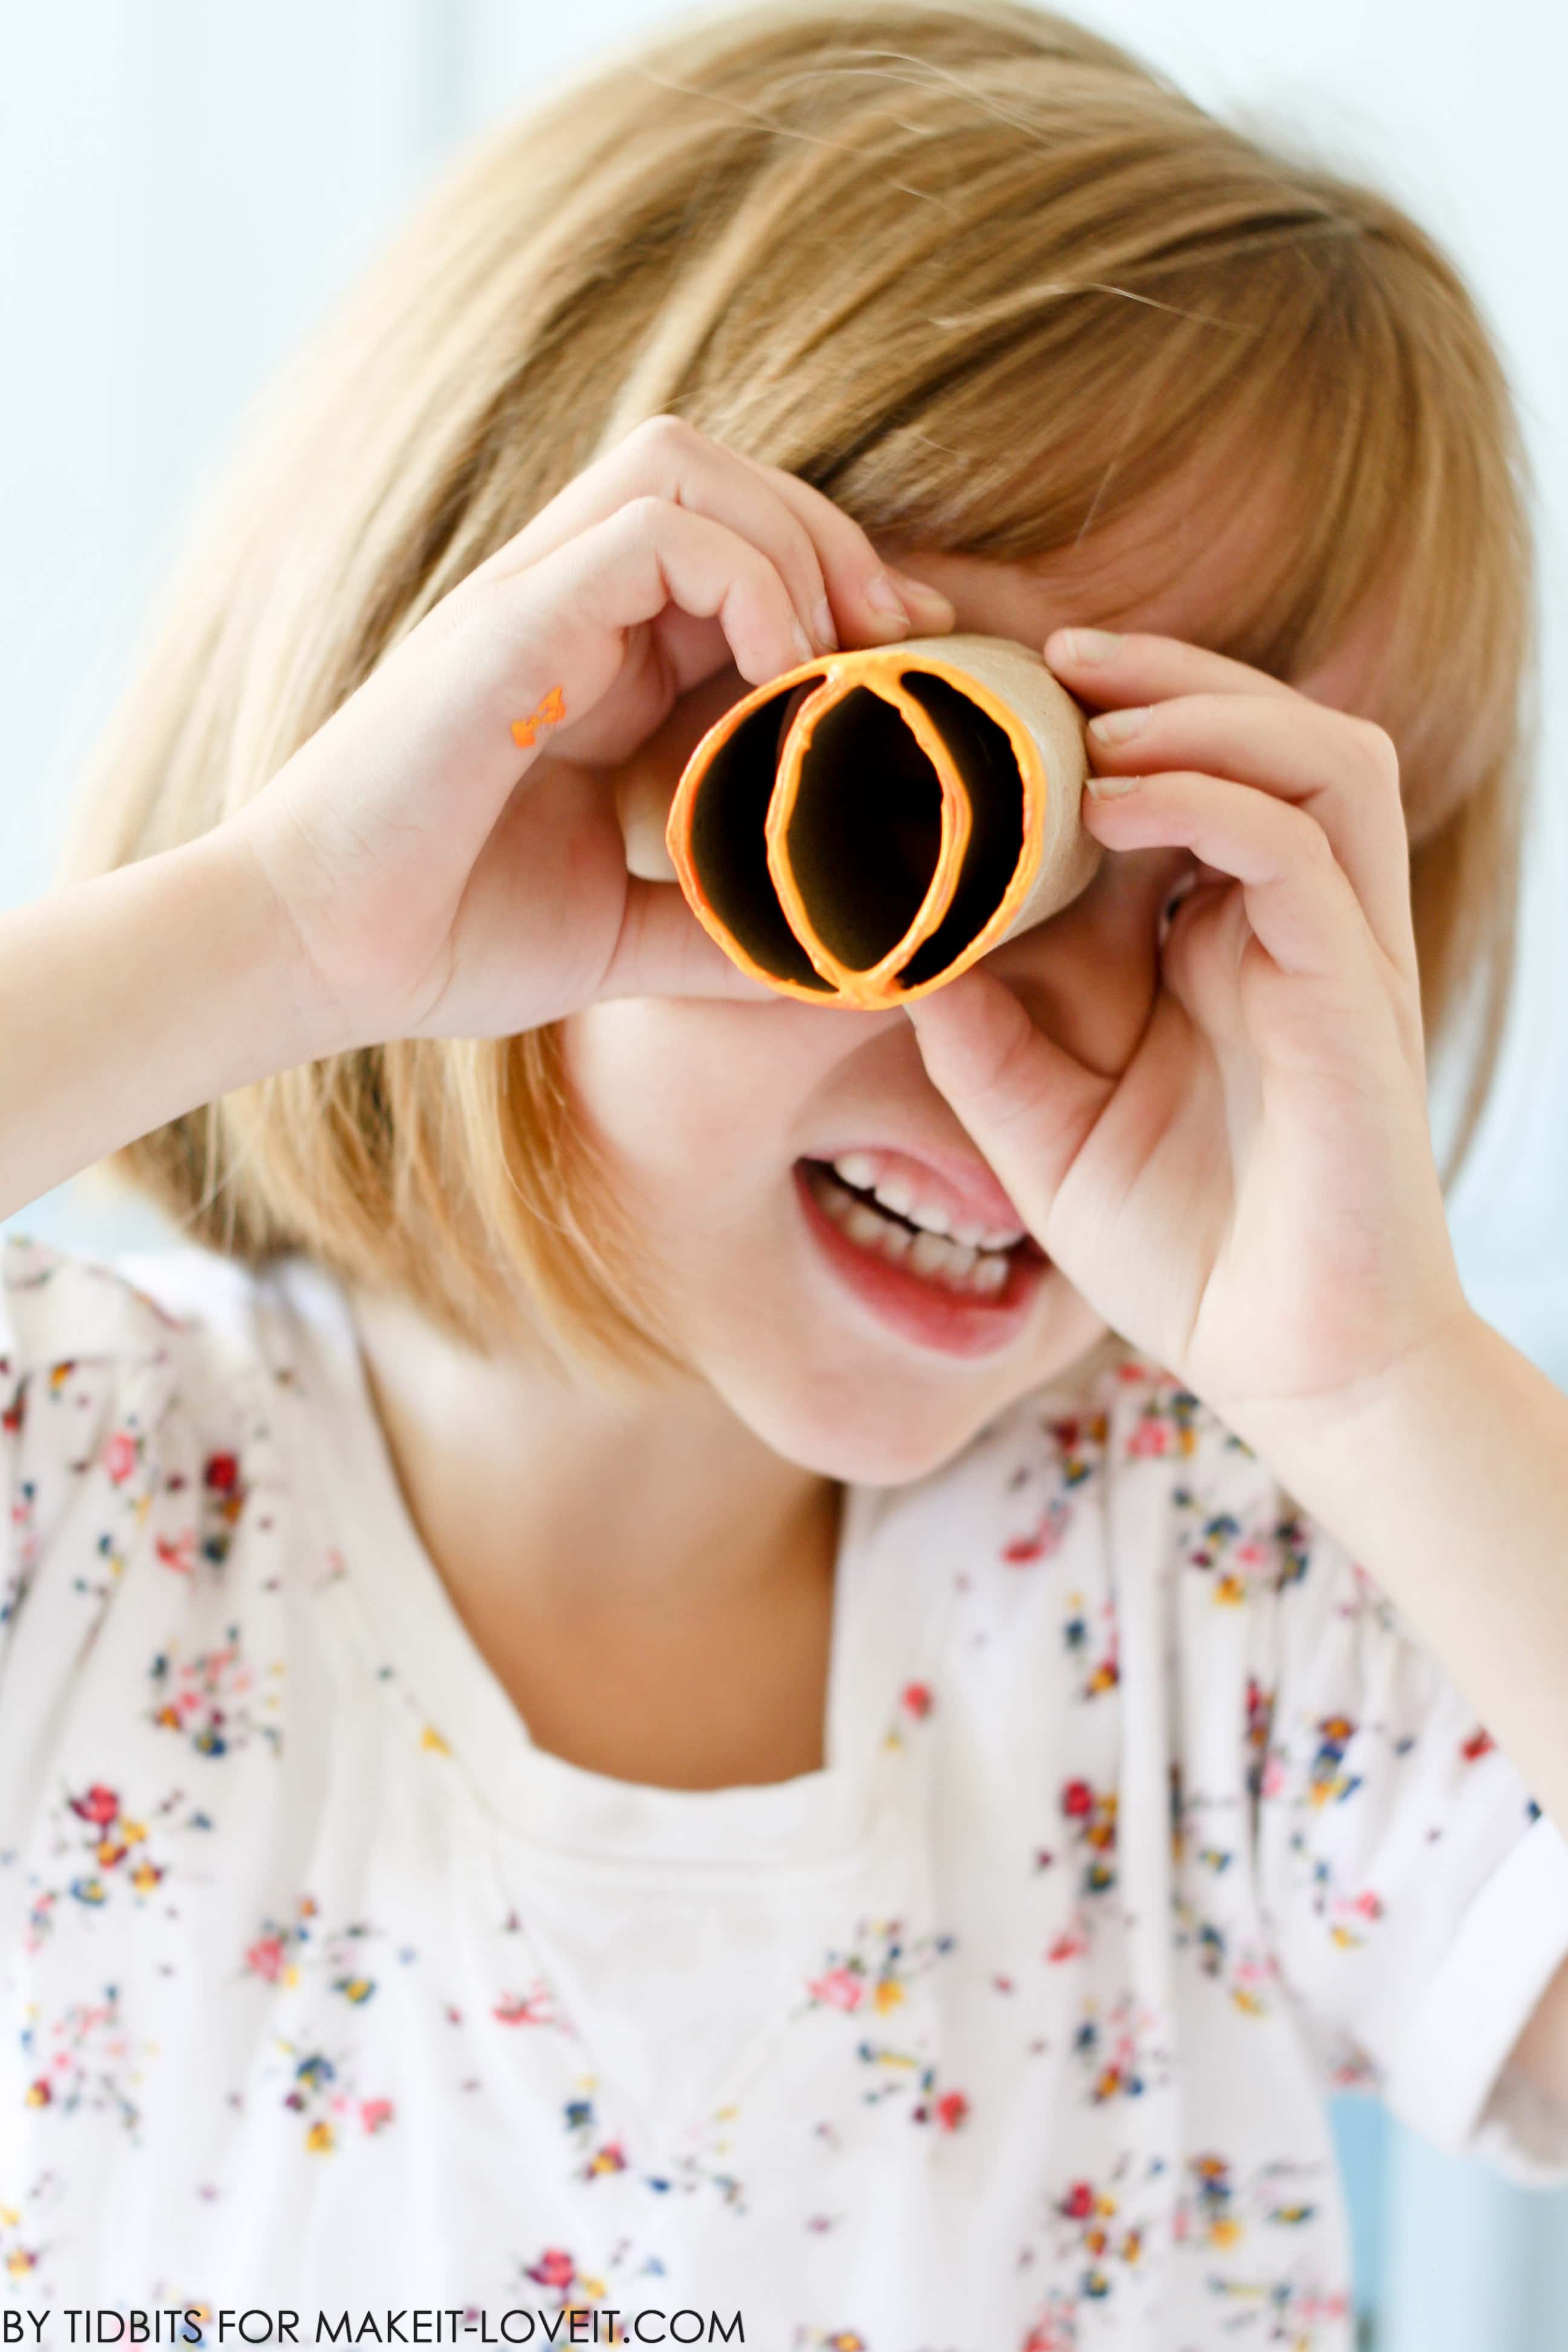
Even when it eventually became a spotting scope.
I hope you can have as much fun with a toilet paper roll as we did!
Thanks for stopping by!!
-Cami
Check out Cami’s blog Tidbits, her Pinterest Boards, and her Facebook Page.