Search

Home » DIY Tutorials » DIY Crafting » Crafting: Kid Crafts » Make your own VOLCANO (sensory, craft, and science)

Make your own VOLCANO (sensory, craft, and science)

So happy to have Cami from Tidbits back today, sharing some crafting and experimental fun with all of us! I remember making similar VOLCANOES as a kid……but have forgotten about it. My kids would love this…..as much as her little girls seem to be enjoying it in the pictures below. Thanks for the reminder and the excellent instructions Cami! :) -Ashley

. . . . .  


I have to say, isn’t Ashley’s new little bundle just the sweetest!!!! So happy for her and her family!! You know, this week I just kept thinking to myself that I better get this post sent to her to put up so she doesn’t think she needs to come up with some crazy genius craft and leave us all wondering how she does it all, with a new baby and everything. Am I right? Enjoy that baby Ashley! (But keep the updates coming on instagram – wink).  


So, I imagine you’ve heard the phrase “Oldie but Goodie”. I keep running across it lately, especially in the bloggy-blog world. Must be a new trend . . . . I mean old . . . . . or whatever.  


Anyway, I bring you a project for your kiddo’s (or you I suppose), that is most definitely an “oldie but goodie”. I call it an “oldie” because I am getting old (30 this month!) and I distinctly remember doing this in my 3rd grade class. I call it a “goodie” because it must have been pretty good to remember all this time.  


But in all truth, I picked an “oldie but goodie” to share because my baby has decided to not sleep through the night any more and my brain is tired and I couldn’t come up with an original idea at the moment.  


Sigh.  


But nonetheless, here is a fun project that will occupy the little ones during activity time for at least 3 days!! A project that will include a sensory experience, creativity, and discovery – ALL IN ONE!! A project that is sure to “BLOW UP” summer boredom.  


Boy or Girl, your kid is going to LOVE this activity!!  


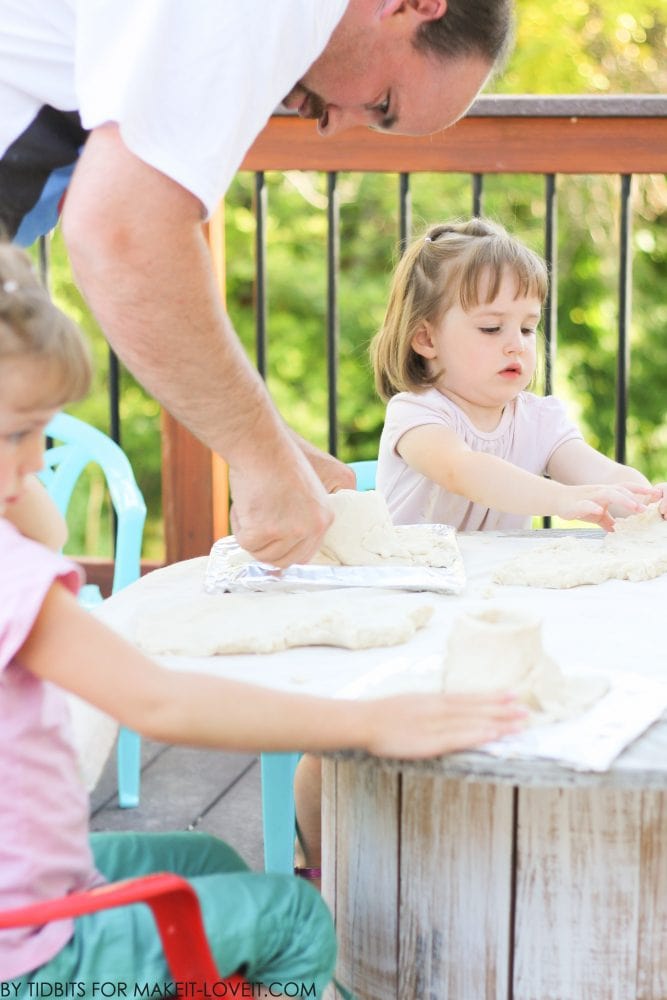
My kids range from 7 to 3 years of age, and it was all 6 hands on deck for every part of this project.


Each one could be equally involved in every step, and they all had so much fun!! Me included!!

  • Save
 

  And believe me, my girls “exploded” their volcanoes again and again and again……. Pure fun!  


I am going to walk you through each step in helping your child make his/her volcano – and how to blow it up! **Proceed to the end of the post if you would like a fun learning printable about volcano’s for you and your child to work on.   Let’s get started!!   Making the dough: I tweaked and tested the recipe and settled with the following measurements for the perfect amount of dough for 1 personal sized volcano.


  • 4 cups flour
  • 1 1/4 cups salt
  • 1 Tbls oil
  • 1 3/4 cups water


Mix as follows:        

IMG_5175
  • Save
IMG_5178
  • Save
IMG_5181
  • Save
IMG_5184
  • Save


(I use gloves for everything. I hate yucky stuff in my nails) And there you have it! Enough dough for 1 volcano.


(Keep covered until ready to make the volcano.)
 
Making the volcano:
 
You’ll need the following –
  • Volcano dough (see above)
  • 1 water bottle, cut in half
  • Piece of cardboard covered with tinfoil (I flipped over a paper plate and covered it. Lazy I guess – or just smart. You could also use a cookie sheet, but I didn’t have 3 to spare.)
  • Pastry Cloth – This is totally optional but it worked awesome for this project. See my tutorial here.
  • Rolling Pin – Optional as well, but the kids had fun with it.


Hand the dough to your child, and let them roll it . . . .
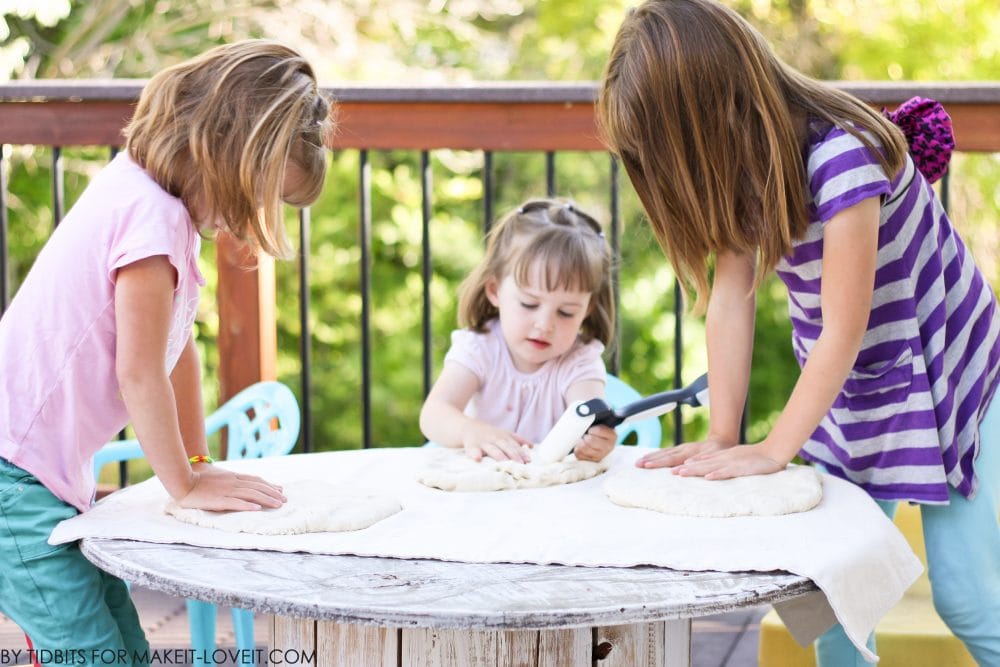


…and smoosh it out to their hearts content.
 
IMG_5113
  • Save
 
 
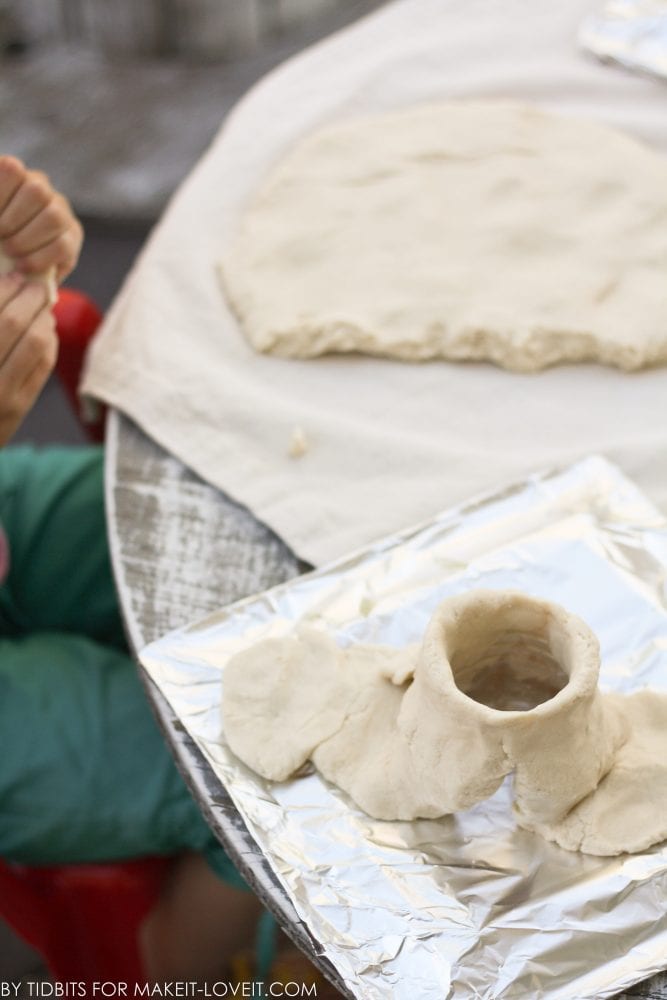
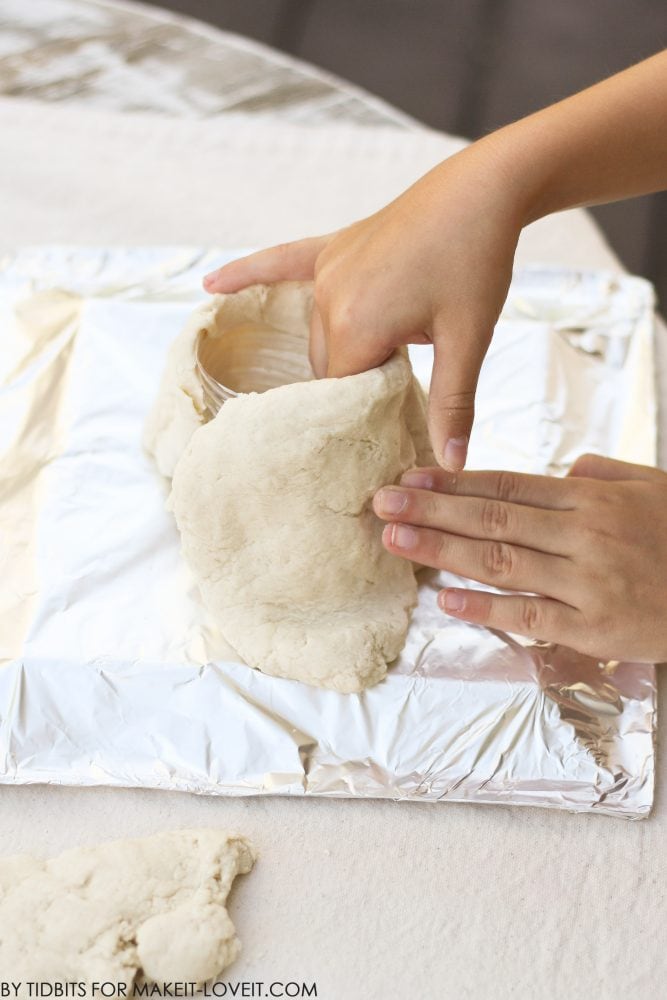
With the bottle centered on the plate, have them shape flattened dough around it and slightly inside the top edge of the water bottle. Be sure to leave the hole open in the water bottle.
 

IMG_5119 (2)
  • Save

 
My youngest two needed a little help getting this started.
 
IMG_5136
  • Save
 
 
But the 7 year old did great on her own.
 
IMG_5125
  • Save
 
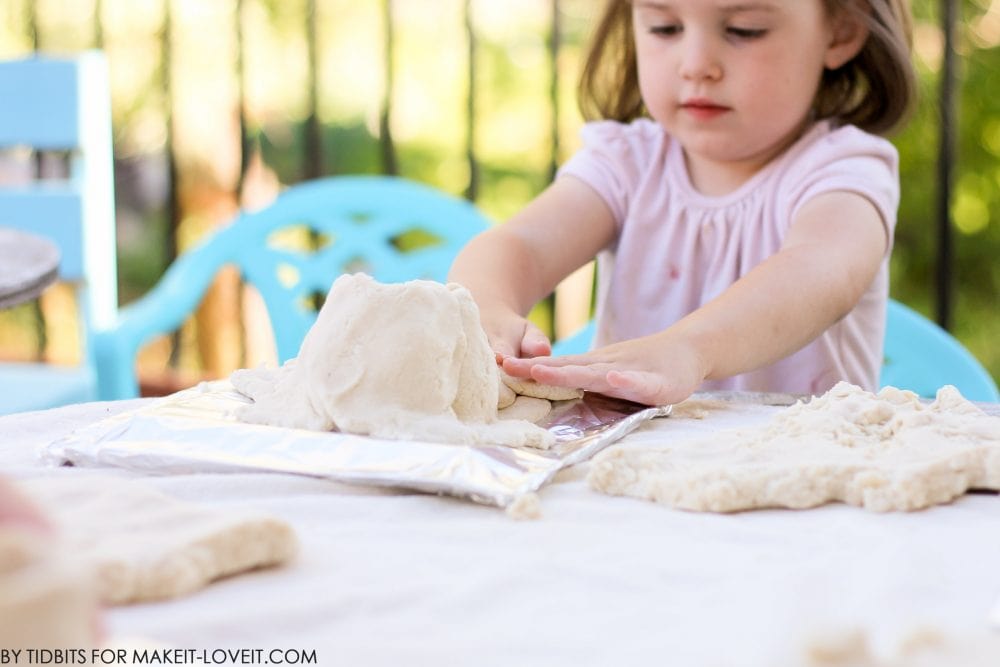
Once their dough is formed around the bottle, let them take off with their creativity and smoosh the dough wherever or however they want.
 
 
This was 3 year old heaven.
 
IMG_5120
  • Save
 
But of course, the oldest couldn’t leave well enough alone. (See picture below).


Once the volcano’s are shaped and formed, let the dough dry. It took the better part of 2 days for our dough to be solid.


Painting the Volcano: This was my favorite part. But then again, I love to paint anything ;)   We used whatever craft store acrylic paint we had on hand, and some foam brushes. Then I drug my kids outside right before bed time and already in their pajama’s, to paint their volcano’s.


We had a great time chatting and enjoying the cool summer night.
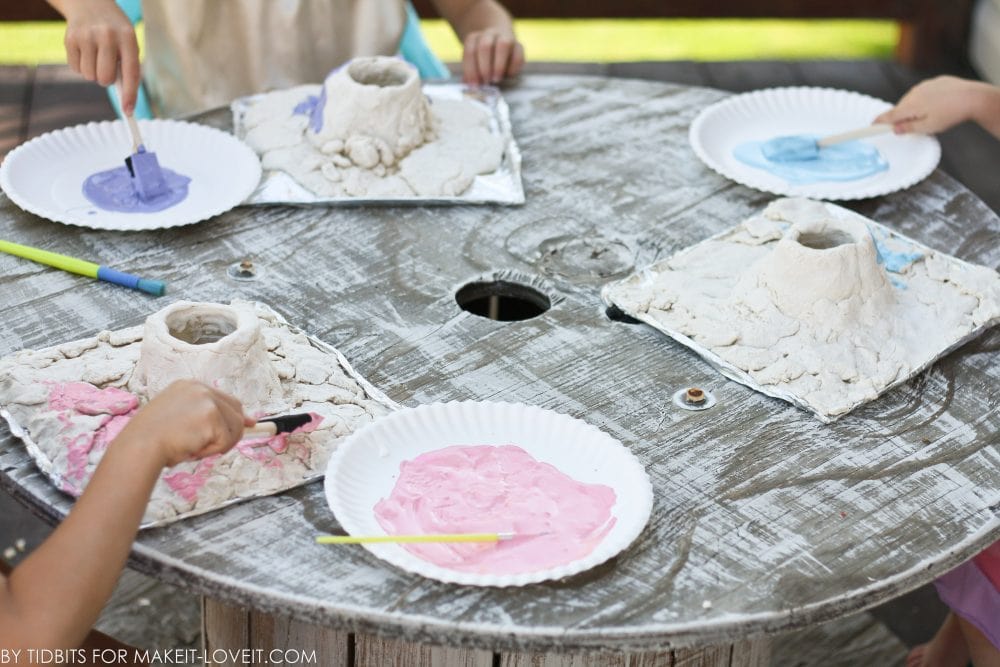


Each child picked their favorite color and I had them stick with that.
 

IMG_5201 (2)
  • Save


But you could just as easily give them many colors and see what they create.
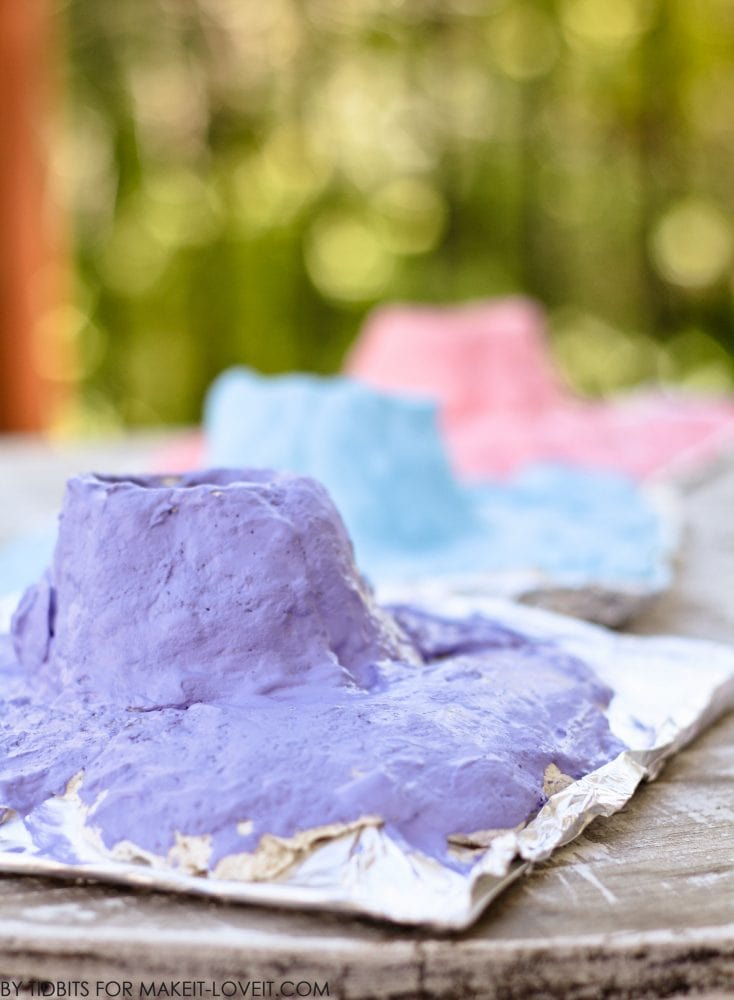
 

IMG_5218
  • Save


Once that paint is good and dry, it is time to see it explode!! My kids didn’t know what to expect and they were a little worried at this point. Ha!

 
The Explosion:
This is where the science fun comes in – but also where I leave you to discover that on your own. Sorry!! I started reading online the science behind what happens when you mix alkaline and acid and bla bla bla, and I got desperately bored. You see, in 3rd grade when I did this, it was for science class. It is the only science project I remember because it was also a craft. That is just how I roll. I received my worst grade EVER in my college science/chemistry class. But if you have a little science guru, you should totally talk about the interactions between substances!! Be my guest. :)
 
 
Needless to say, we didn’t. We just mixed and watched it explode!!
 
 
What you will need –
  • 1 Tablespoon Baking Soda
  • 3 drops of food coloring
  • Few drops of dish soap
  • 1 cup distilled vinegar


Do the following:


(I did this in a separate little cup so the kids could be the ones to pour it in).


  • Save


(Mix well, because the baking soda likes to settle on the bottom. Don’t ask me for the science behind all that either. Ha ha!).

       
IMG_5240
  • Save
 
IMG_5242
  • Save
IMG_5297
  • Save


My girls just couldn’t get enough of this.


And after they realized no one was going to loose any limbs by this explosion (ewe, sorry – way gross) they just kept going and going . . .


……until I ran completely out of baking soda and vinegar. It was a blast.


And a mess. :)


And I hope this activity was so “good” that they remember it when they are very “old”. ;)
 
Below is the volcano activity printable, just in case you haven’t had enough volcano fun!!!


Click the link below:

VOLCANO ACTIVITY SHEET 2


Now, go and enjoy your volcanoes and let me know how they turn out for you!
 
-Cami
 

Ashley Johnston

Administrator at Make It & Love It
Ashley Johnston is a professional DIY costume maker, sewist, crafter, and owner of Make It & Love It. She is a mom of 5 and a wife to a very patient (with the craft clutter) husband. In case you’re wondering, she always chooses crafting/sewing/designing over mopping/dusting/wiping base boards……but bathrooms/laundry/full bellies are always attended to. Whew!

  • Save

Hi, I'm Ashley

Hi, I’m Ashley—the DIY-enthusiast behind this crazy blog!

Back to Top
52 Shares
Share via
Copy link