So happy to have Kristin back today from Grandma’s Chalkboard …….sharing these darling Fairy Dust Pendants that the “Tooth Fairy” gives to her daughter after losing teeth. Little girls love jewelry…….but a necklace filled with special fairy dust? Magical. :)
-Ashley
. . . . .
Hi guys, it’s Kristin from Grandma’s Chalkboard.
My sweet daughter is six, and to date, she has lost six teeth. They didn’t all come out easily. Okay, let’s be honest, none of them came out easily. And when her teeth need to come out, (her mouth is a super crowded place…we’ve already done braces!) it can be a not-so-fun experience.
But the one thing that makes losing a tooth worth it? A visit from the tooth fairy. And wouldn’t you know it, the tooth fairy that visits our house knows just what this little girl likes. She doesn’t want money, she wants jewelry. Because really, what little girl doesn’t like jewelry, glitter, and over-the-top cuteness!?
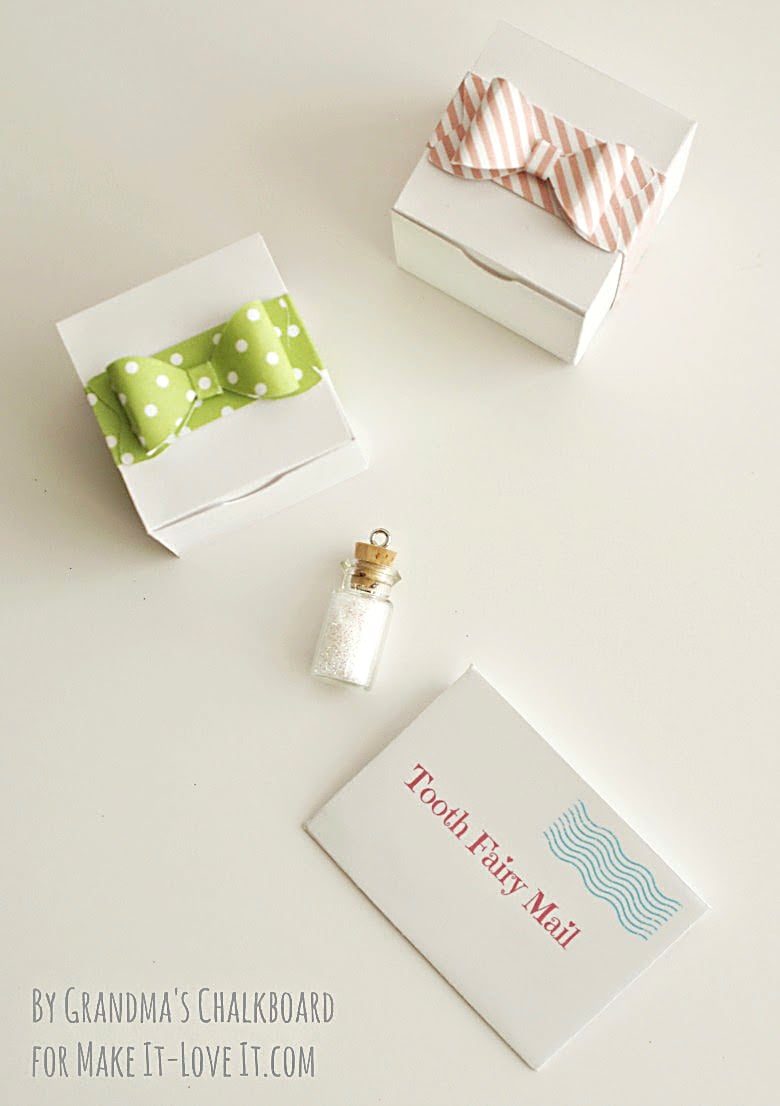
Wrap it up in special Tooth Fairy packaging — and prepare yourself for happy squeals in the morning when your little cutie finds her very own tooth fairy dust necklace under her pillow. Trust me, you’ll feel like the best parent, er, tooth fairy, ever!
And if you make several pendants all at once and stash some away, you’ll be smiling too when a tooth falls out right before bed. No worries, you’re prepared!
So lend the tooth fairy a tiny little hand by putting together these adorable glitter-filled ‘fairy dust’ glass vial pendants to gift to your little one. Trust me, the excited missing-teeth grins you’ll get in return will make this project worth it a thousand times over!
Okay, time to share this adorable craft project with you!
You’ll need:
Optional:
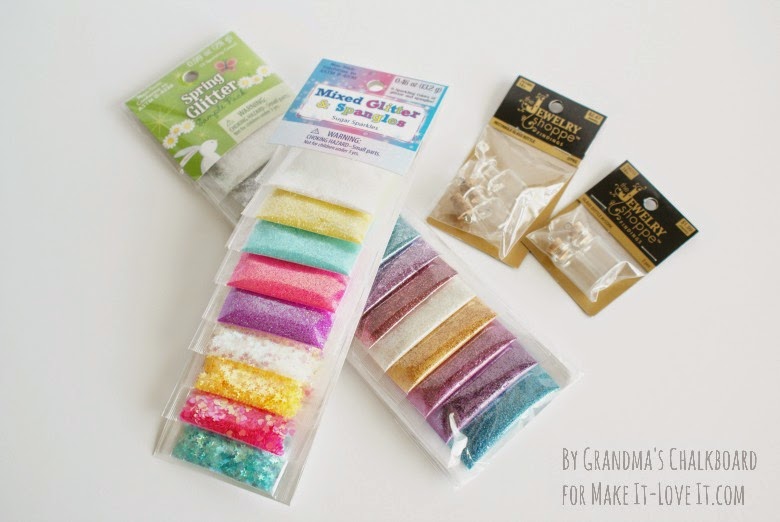
I purchased my glass vials in the jewelry department at Hobby Lobby and of course made sure they were on sale (if not, use their coupon, they always have one). You can also buy them on Etsy or other craft stores in the scrapbooking or miniatures section. The sample packs of glitter (purchased from Joann’s) are just perfect for this project and come in so many cute colors. Isn’t that confetti-like glitter adorable!?!
Carefully pour glitter into each vial by snipping off the corner of a glitter packet, or by using a tiny funnel to curb the mess. (Update: or you can make a quick paper funnel.) I chose to leave some space for the glitter to move around, rather than filling the vial all the way up.
If your vials didn’t come with eyelet screws already put in the corks, go ahead and screw them in now. I unwound the screws from the cork, put a tiny bit of glue on the screw, then tightened it down again so the screw will stay in tight.
Put a little more glue on the outside of the cork, and push the cork gently into the bottle. Let the glue dry for a while so the glitter doesn’t stick to it.
Now, attach the tooth fairy dust pendant to a necklace, wrap it up however you wish, and have them on hand for those when those teeth fall out. Trust me, you will have one happy child in the morning!
Thank you all for letting me share this cute project with you today!
-Kristin
Check out Kristin’s blog, her darling shop, her Facebook page, and her Pinterest boards.

Hi, I’m Ashley—the DIY-enthusiast behind this crazy blog!