Did you see yesterday’s post…another round of “WHAT DO YOU WANT TO MAKE?” I love when you guys vote on your most wanted project……and then I try my best to help you figure it out. So hurry and add your ideas. We’ll vote in a few days. :)
. . . . .
Some days Chloe gets out of bed and I swear she has grown a full inch. I never gave her permission to grow so fast…..so I’m not sure what she thinks she’s doing. ;) Ha! But doesn’t it feel that way?! And because these kids grow so fast, their clothes stop fitting them way too quickly — and that makes me cranky! ;)
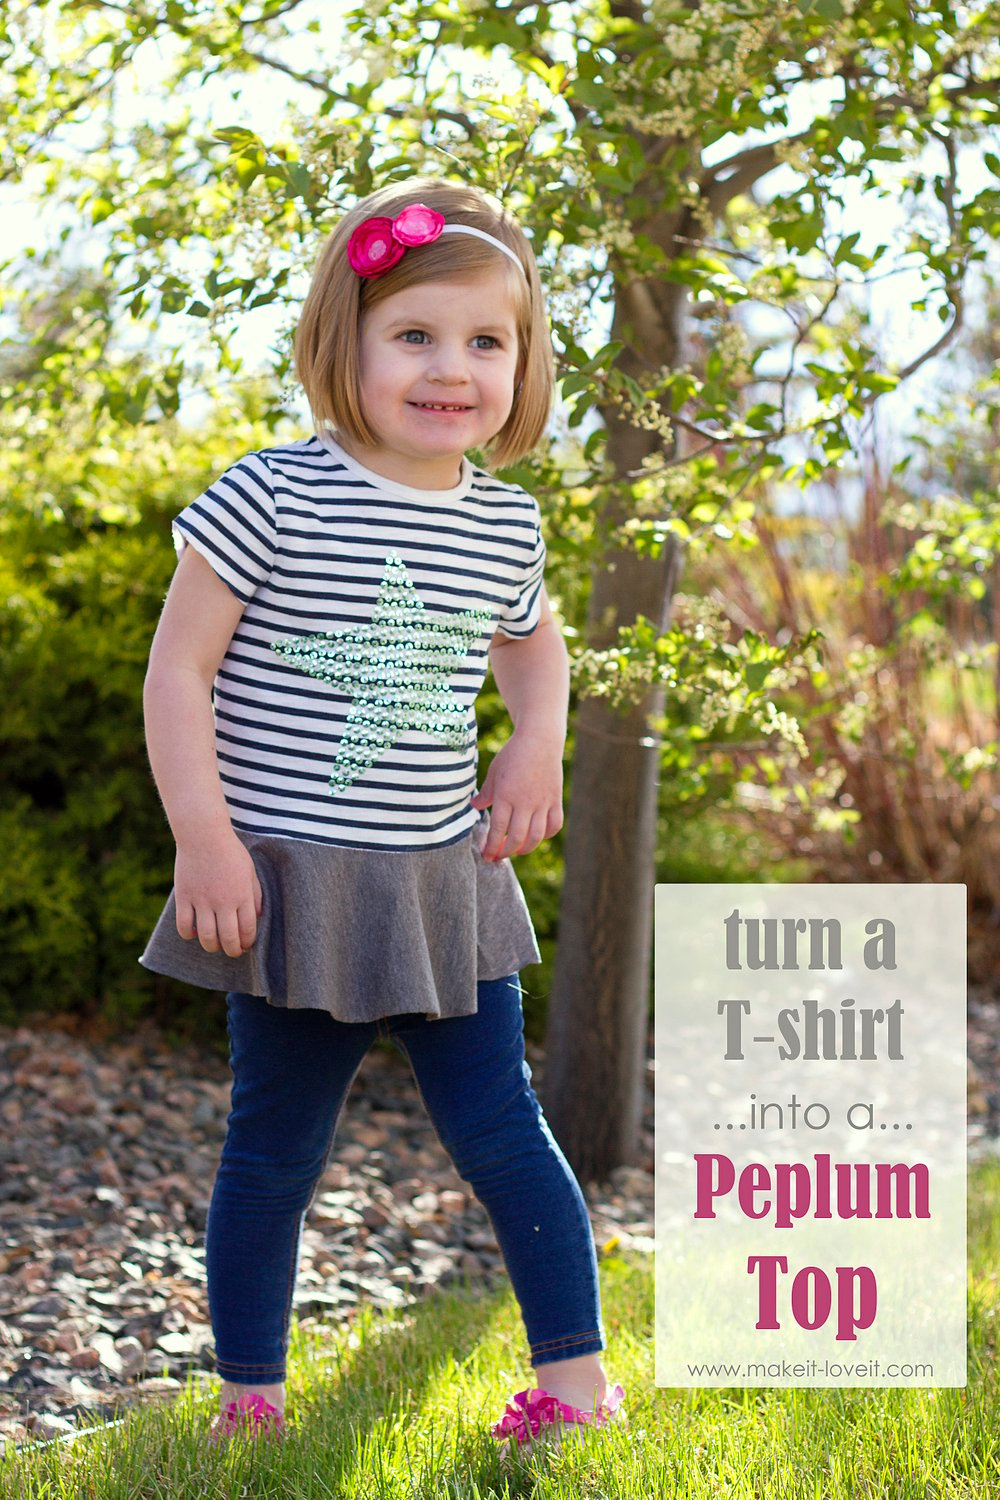
I realized Chloe has several long-sleeved Tshirts that she wore during the winter that are still in great condition and are plenty big around the middle…it’s just that her little belly pokes out the bottom now and the sleeves are too short. So, I decided to fix that. And turned some of her winter Tshirts into little Peplum Tops.
Cuter than cute, I’d say. And my word, a really QUICK fix! In fact, you are going to start turning all the Tshirts you can find into dainty little Peplum Tops.
So far, I’ve made two of them. (And several in the making for Elli!)
Add some shorts, some leggings, a skirt, whatever… Such a cute way to prolong the life of those Tshirts.
Chloe thinks anything I make for her is fancy. So, easy-to-please-Chloe is happy about her new little “Shirt Dresses” (as she calls them)!
**And by they way, yes, I chopped Chloe’s hair right off. I did the same thing to Elli at this age and I kinda love it. The screaming while brushing her long hair was torturous…so now she has “summer” hair! :)
And because the skirt portion of the top is actually a circle, there isn’t any gathering or added bulk. Nice and simple…..and it hangs perfectly!
And in case you’re wondering, no, I didn’t hem the bottom. I rarely do with knits…..and it’s even more rare with children’s clothing. It doesn’t fray and it really doesn’t bother me for play clothes. (However, you can always hem this if you’d prefer. It wouldn’t take you that much longer.)
Miss Coco…..I know it’s not your fault that you’re growing so fast. Your momma is 5’11” and your daddy is 6’5″…..so you’ve got it comin’ to ya. So, I’ll keep making you “fancy” things (to fit your growing body) if you just let me hold you and rock you and love on you for many more years. Deal?
Ready to make some speedy-fast Peplum Tops?
Let’s jump in.
First of all, the process for making these tops is just like making the Simple Circle Dress I made a while ago. Refer to that tutorial as you’re putting your Peplum Top together.
Now, grab a tape measure and measure your little one from the shoulder, down to about an inch below the belly button. Or you could do right at the belly button if you want the flair to start up a little higher. (I did below the belly button so that the top would fit throughout the summer, even as she grows.) Then, add 1/2 inch to that number. From Chloe’s shoulder down to below her belly button is 11 1/2 inches. So, I added a half inch…..making 12 the number I needed.
Then measure from the shoulder of the Tshirt, down to the measurement you figured out above….and cut off the rest of the shirt. (Cut your sleeves right off too…right at the length you want them. However, if you’re going to hem them, add another 1/2-1 inch to the length, cut off, and then hem under using a double needle.)
Now, measure along the bottom of the shirt opening and double that number. (My opening is 12 inches…..so doubled is 24 inches.)
With that doubled measurement of 24 inches, I cut a circle from some knit fabric that had a circumference of 24 inches. From that circle, I measured out 5 inches and created another circle and cut it out. After attaching the circle to the shirt using a 1/2 inch seam allowance, my ruffle hangs about 4 1/2 inches. If you want more or less of a ruffle……measure out more or less from that center circle and then cut it out.
***This technique is explained more fully over at the Simple Circle Dress tutorial.
Attach your circle to your shirt with a 1/2 inch seam allowance and then press/steam flat (lift and press…don’t drag the iron) from the outside of the shirt.
And then enjoy your new top(s)!
I know you want to make one in your size. Go on, give it a try!
-Ashley
. . . . . . . . . . . . . . . .
Featured Sponsor:

Hi, I’m Ashley—the DIY-enthusiast behind this crazy blog!