Chilly weather keeps creeping in. And what does that mean for my girl’s wardrobe?
Leggings. Lots of them.
Leggings are such a simple way to keep those little leggies warm. So why not make like 10 pairs?
And even better………is that I’ll show you how to make them with just 2 cut out fabric pieces. Not 4, like most pairs of pants.
Quick, easy, and super cute for girls and boys.
But if you don’t like tighter looking leggings for your baby/toddler boy, cut the leg a bit wider……but the rest is the same.
**Update: If you want to add ruffles or a skirt to some leggings, check out the post here.**
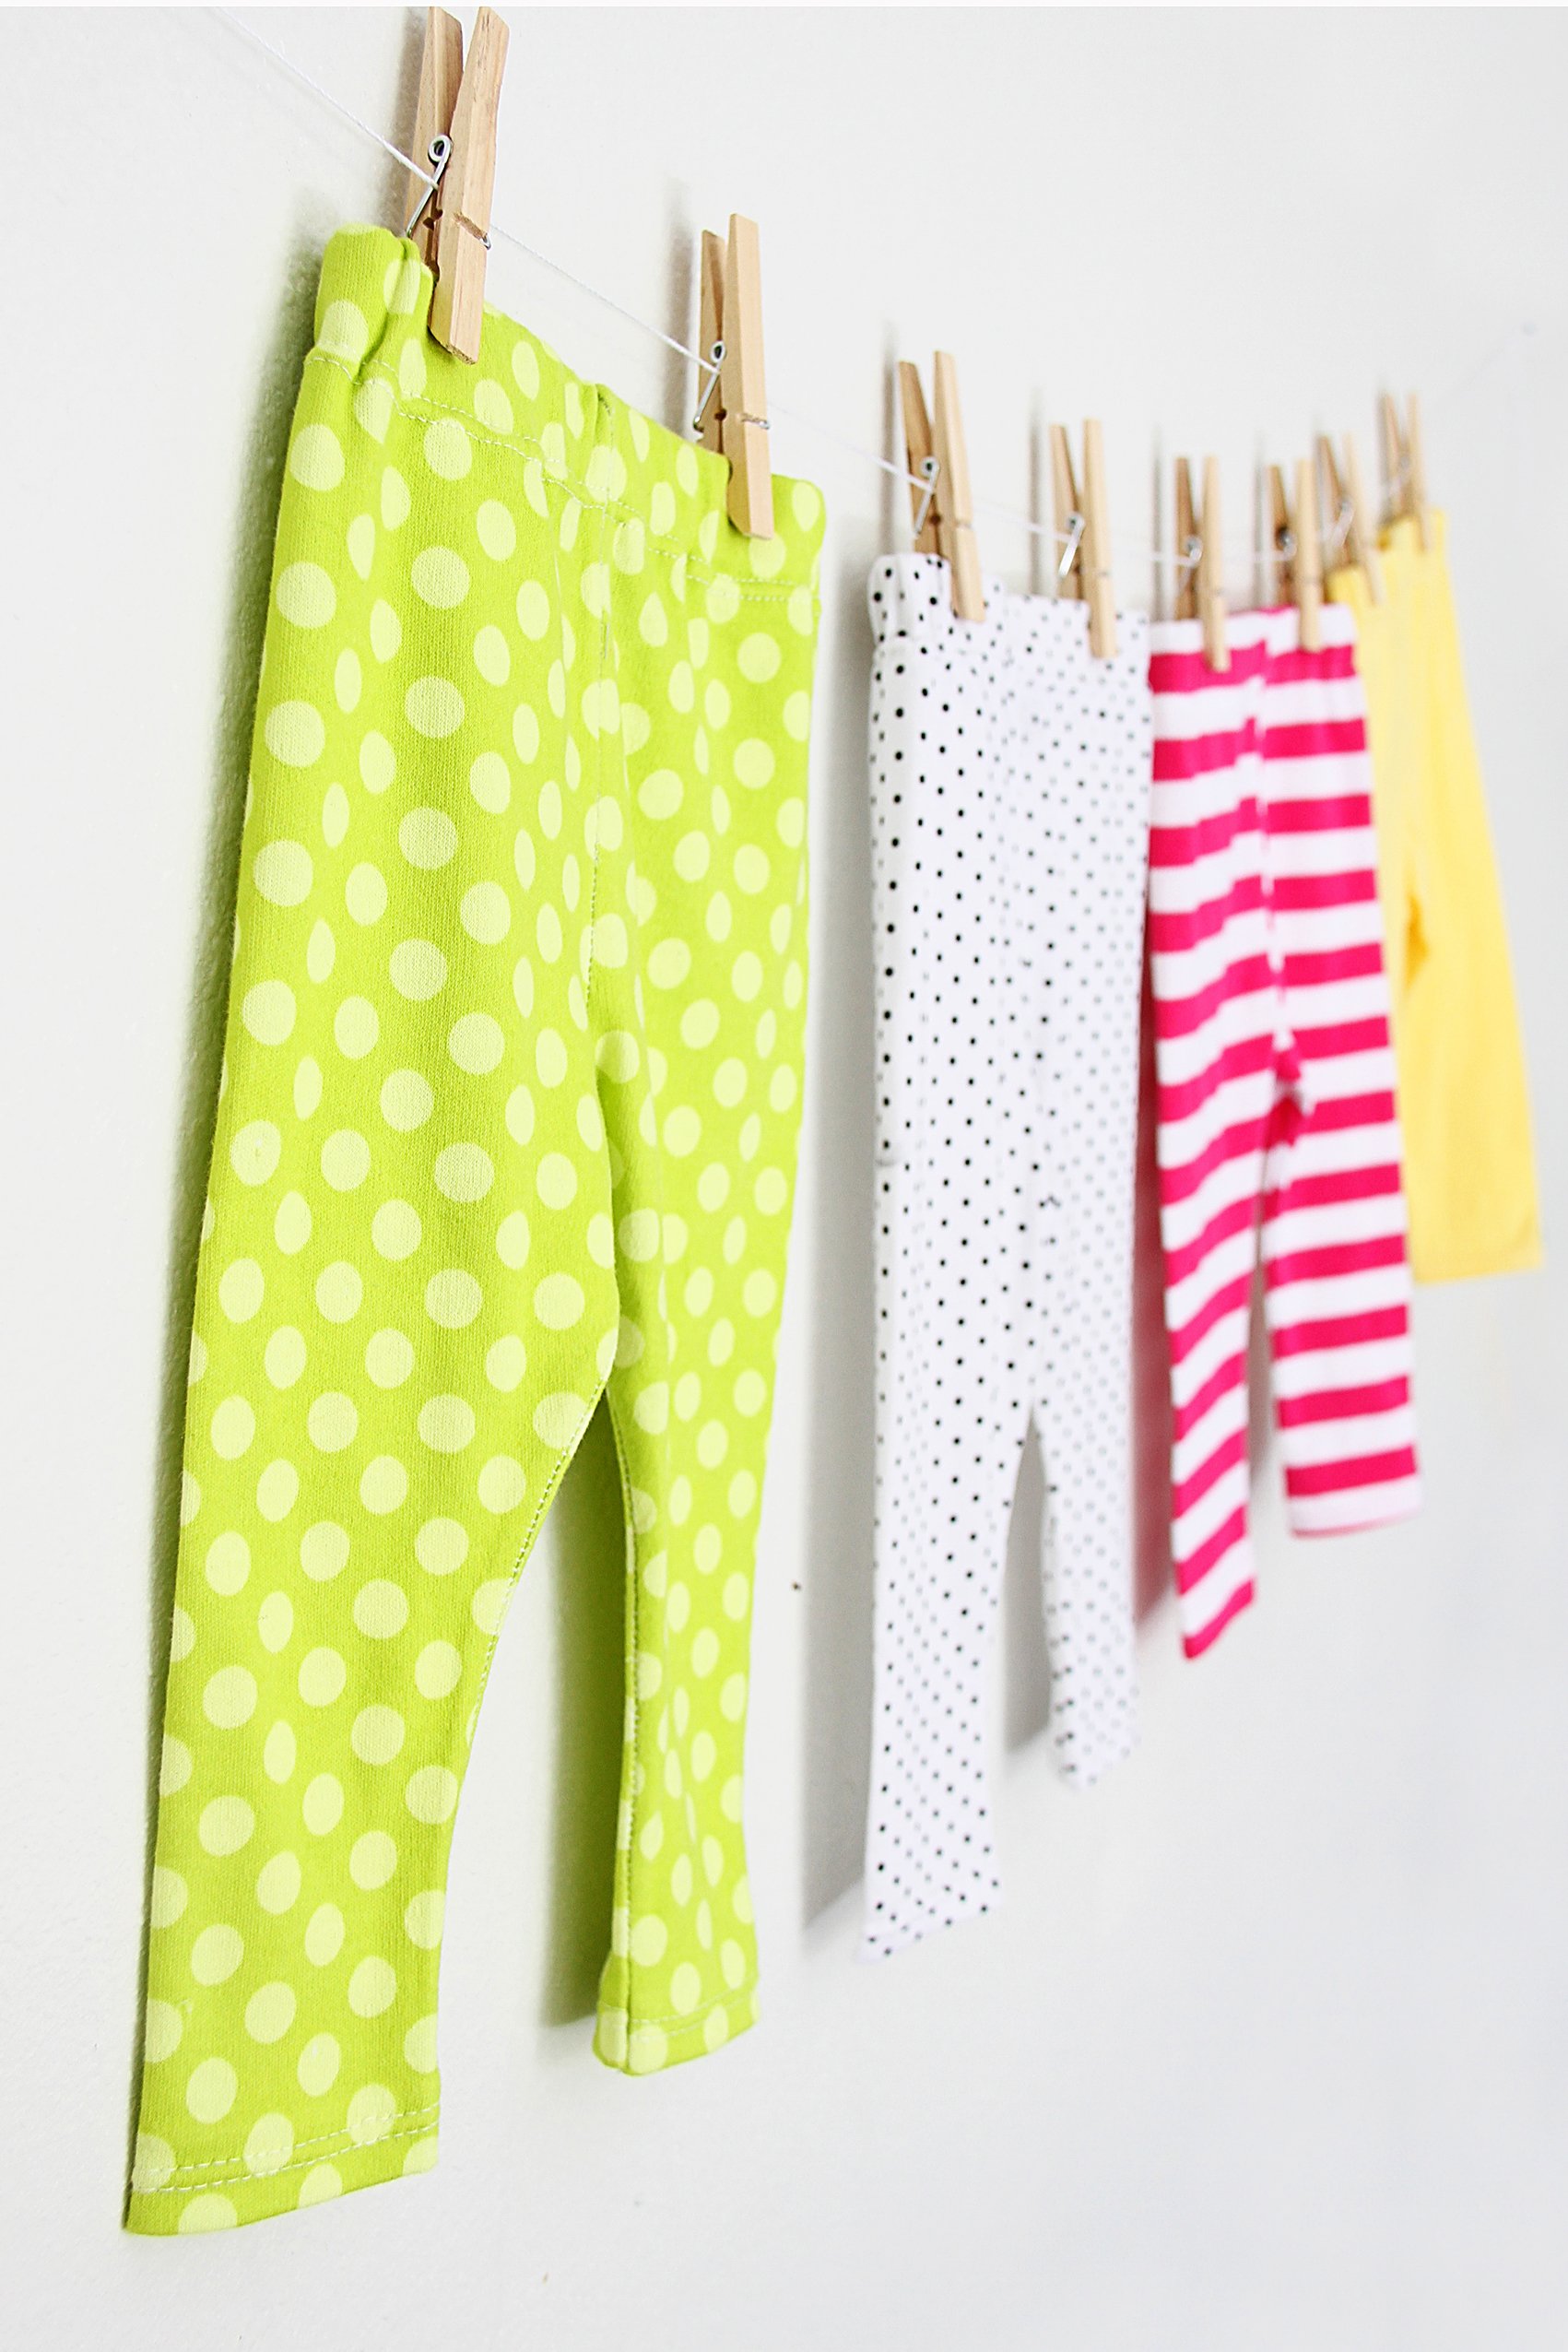
(And I know, those pink stripes aren’t matching up along the center seam. I realized that after I cut it out. Ack! But then didn’t have enough fabric to re-cut. So ignore it. I’ll hide it under dresses or tunics. Ha.)
Leggings aren’t super pricey at the store.
But when you think about how simple the seams are, how little fabric they use………why not make your own?
And keep it cheap by using old Tshirts (make sure they’re stretchy), old stretchy pants of your own, skirts, dresses, etc.
As long as it’s a stretchy knit, you can make a great pair of leggings (or 2 or 3) out of it.
And come on…….how can you resist those snuggy little leggings on chubby baby legs?
And let me remind you about that double needle (used on a regular sewing machine).
It will make your leggings look nice and neat……and will allow for a good stretch. It’s easy and you’ll love it. Promise.
I already know we’re going to need about 6 more pairs for my Baby Girl. (Okay, and her big sister too.) The chilly weather lasts a while here in Colorado.
Would you like to make a simple pair of leggings? Or 6?
Remember…..this a good technique for boy leggings/pants too.
And can easily be altered to make a wider leg if you want.
I made my first pair and it took me about 30 minutes. And then I made 3 more pairs, and it took like an hour. So if you’re going to make some, make a bunch. It goes quickly when you throw a few more into the assembly line. You’ll love them.
. . .
First of all…….the double needle made this project worth my time. Seriously, don’t skip out on this needle. It helps things look nice but it also allows for a really great stretch while working with knits……because the back looks like a zig-zag. But then the front looks so nice and clean. As long as your machine can do a zig-zag, a double needle should fit on your machine. And for only a couple of dollars, you will fall in love. Read more about double needles here.
Okay…….the knits I used:
The pink and green are Michael Miller Interlock Knits (Designer: Patty Young)
The yellow is from an old Tshirt (make sure if you’re using old clothing, that the fabric has spandex or lycra in them to give it some stretch. Mine was 95% cotton and 5% spandex. Check the tag.)
The black polka dot was from Hancock back in Georgia, back on the clearance racks. It’s a good stretchy knit…..more stretchy than the other 3 but all worked great!
Once you have your fabric picked out, you need to draw out a pattern piece. You only need one pattern piece. The front and back crotch allowance will be the same. Since these pants are stretchy, having the front the same as the back will work just fine. The stretch gives the extra room needed in the bum. And besides, only having one pattern piece makes things so much simpler. Hooray.
Grab a pair of leggings (or boy knit pants) that fit.
Then fold them in half and trace around them. As you’re tracing, add an extra 1 1/4 inch along the top (for the elastic casing), and extra 1/4 inch along the one side, and 3/4 of an inch for the bottom. You won’t need any extra on the other side……because this edge will be placed on the fold of the fabric. No outer side seams on the legs. (And if you’re wanting a wider leg for your girl or boy, just keep it wide.)
Cut out your pattern piece (mark the pattern where the top is so that you don’t confuse it later on) and place the straight edge on the fold of the fabric.
Then, cut it out…….making sure to not cut along the one long edge where the fold is.
Cut another one the same way. Then open them up and they should both look like this. Since these are leggings and the leg part is nice and snug, the top section will look wider than the bottom. This will help you to distinguish between the top and bottom too.
Now, turn one of the pieces over and fold the bottom edge up 3/4 of an inch (or however much extra you cut for your pattern piece). Pin it in place.
(If you look closely, you will see that I serged the bottom edge before folding it up. Turns out, it wasn’t worth my time. It does make it look a little nicer but since knit doesn’t fray it just wasn’t worth it to me. But if you want to finish your bottom edge, do so before folding up the bottom edge.)
Then insert your double needle. (More about double needles here. I’m not kidding…..get one!!)
Sew right along the bottom edge, matching up the right edge with your 1/2 inch marker. Then you’ll be sure to catch the 3/4 inch that was folded underneath.
**If sewing is stretching your knit fabric too much (common problem with sewing on knit fabric, no worries)…….increase your stitch length so that it jumps over the fabric with bigger stitches. This should help. Practice on some scrap fabric if needed.
See how neat and tidy that is?
And the back? A great little zig-zag-ish seam that will still allow your knit to stretch. Perfect.
Hem the other leg the same way.
Then place the two pieces together, with right sides together. Then sew along the two upper side slopes (1/4 inch seam allowance), still using your double needle.
See that double needle stitch? I also really like that there are 2 seams which means it’s reinforced a but more. Trim off any excess if desired.
Now fold in half the other way, matching up the legs. Sew all the way along the inner legs, while still using the double needle. Trim off excess.
Then fold upper edge down 1 1/4 inches. Pin in place.
I’m sorry I didn’t photograph the next step but turn the pants right side out so that the double stitch is on the right side of the fabric and then sew all the way around the top edge of the pants, matching up the top edge of the pants with the 1 inch mark on your sewing machine as you’re sewing. (If you don’t have a 1 inch mark, put a piece of tape there.) But be sure to leave a 2 inch opening along the back edge of the pants.
Then thread some 3/4 inch elastic (I use the non-roll type) through the casing you just created. Make sure that you cut about an inch extra of the elastic.
Then overlap the elastic 1 inch, then sew into place.
Maneuver the elastic into the casing and sew the opening closed, sewing from the right side of the fabric again.
And that’s it. Done and completely satisfying, right?
Now make more!
Since we’re on the subject of keeping those kiddos’ legs warm and snug, you might also love checking out these other legging DIYs:

Hi, I’m Ashley—the DIY-enthusiast behind this crazy blog!