Home » DIY Tutorials » DIY Sewing » Sewing Tips: Attaching Snaps
Sewing Tips: Attaching Snaps
May 3, 2011 - By Ashley Johnston 90 Comments
.
Sometimes I forget that not everyone knows how to do something or is familiar with a technique.
Like attaching snaps, for example.
Snaps are easy, easy, easy. And can be used instead of buttons/buttonholes (if you hate sewing those), hand-stitching something into place (which takes time), or because a pattern calls for them.
I shared how I made my
interchangeable flip-flop back straps (found
here), which uses snaps….and then had questions and emails about how to attach a snap.
No problem.
If you have never used snaps before……..you’ll see you’ve been missing out on a simple little sewing invention.
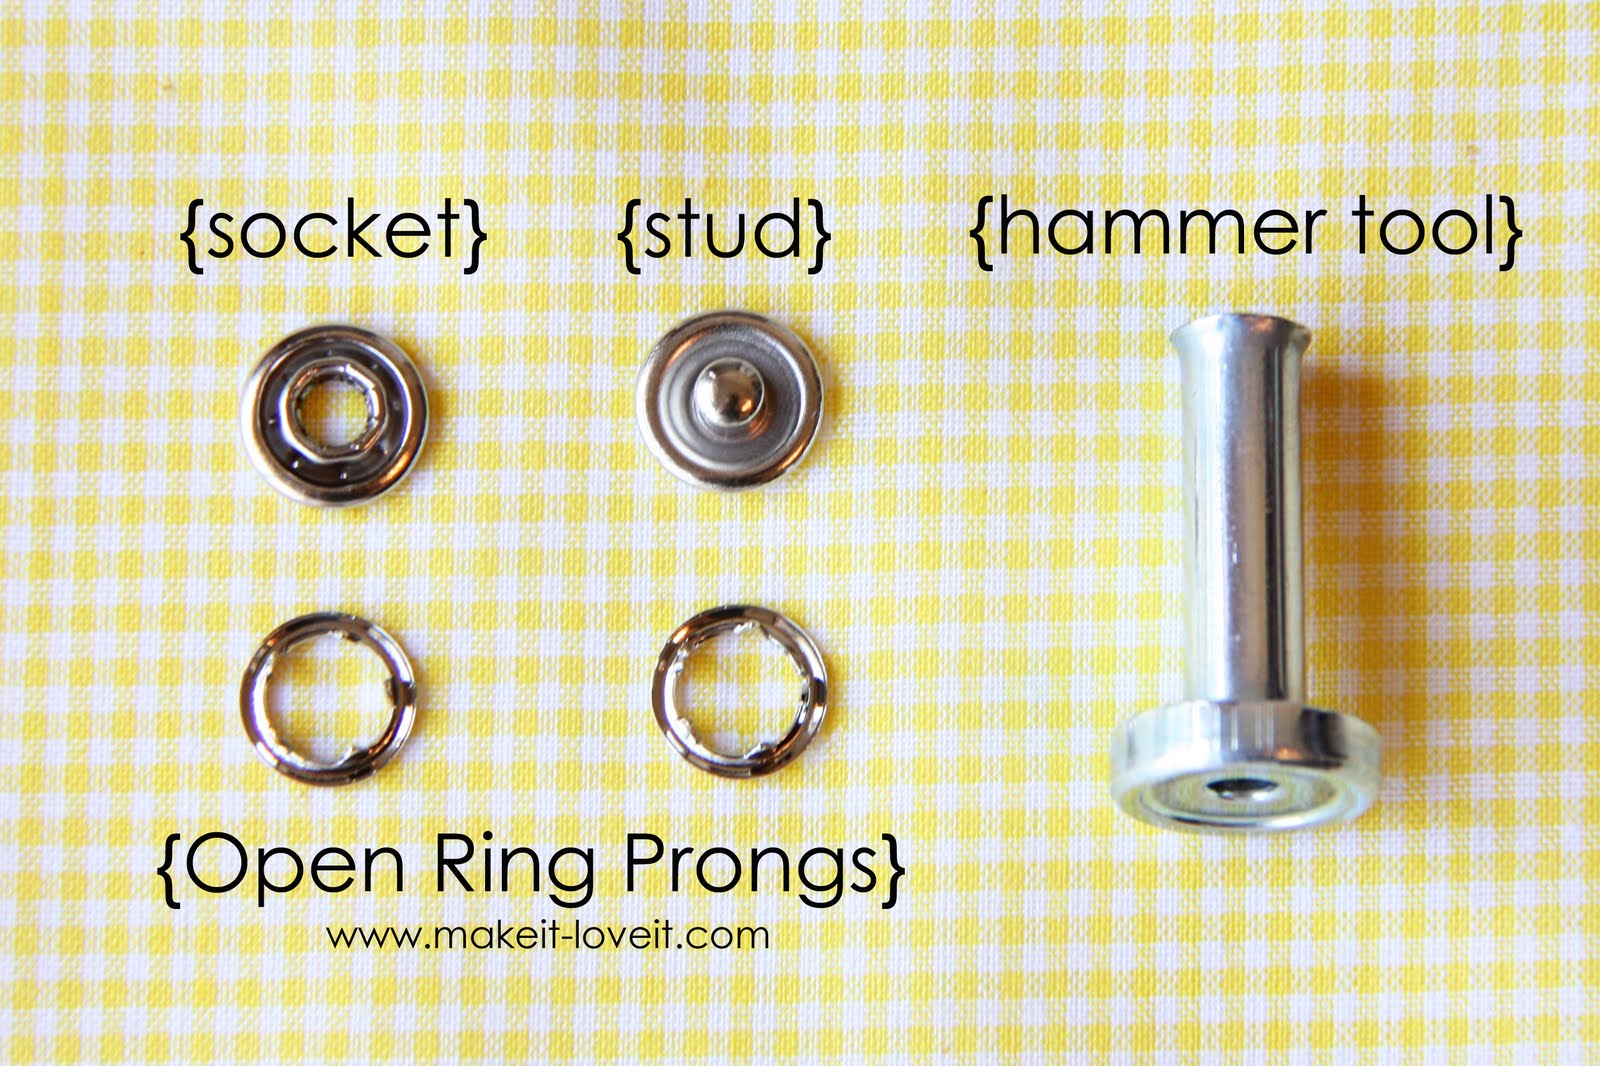
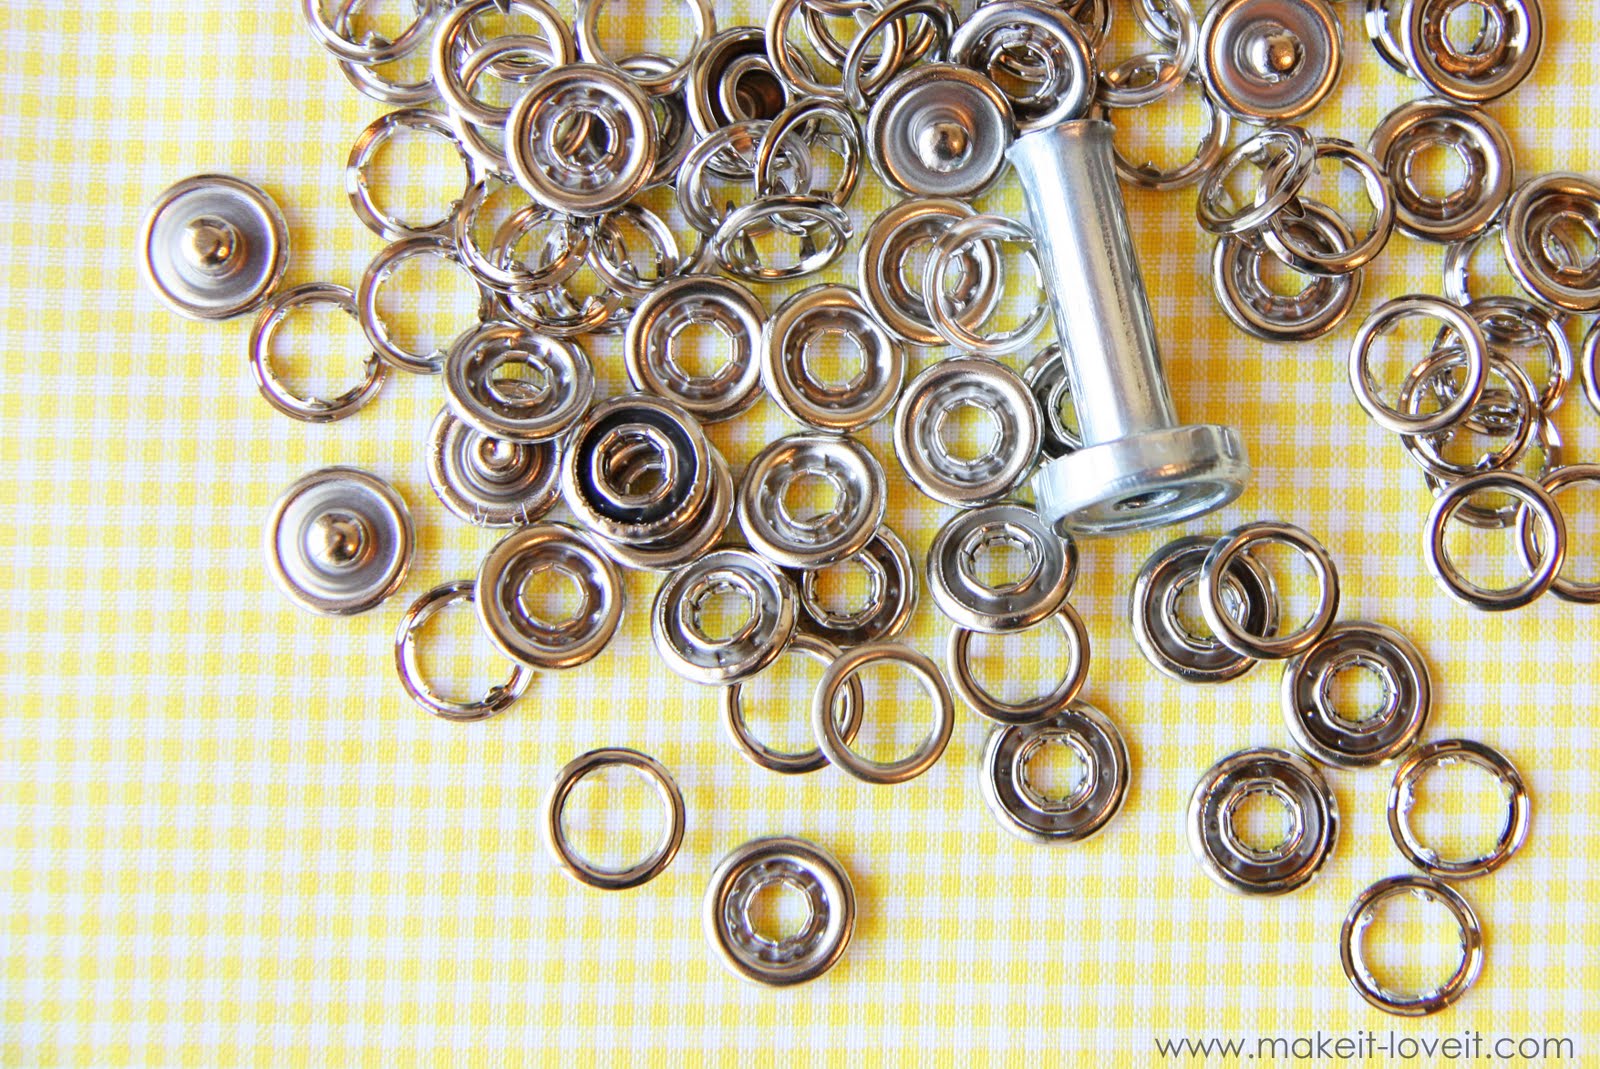
First of all, there are 4 parts to a functioning snap. There is a socket and ring prong on one side of the snap and a stud and ring prong on the other side.
And my tool of choice to attach the snaps? The Hammer Tool.
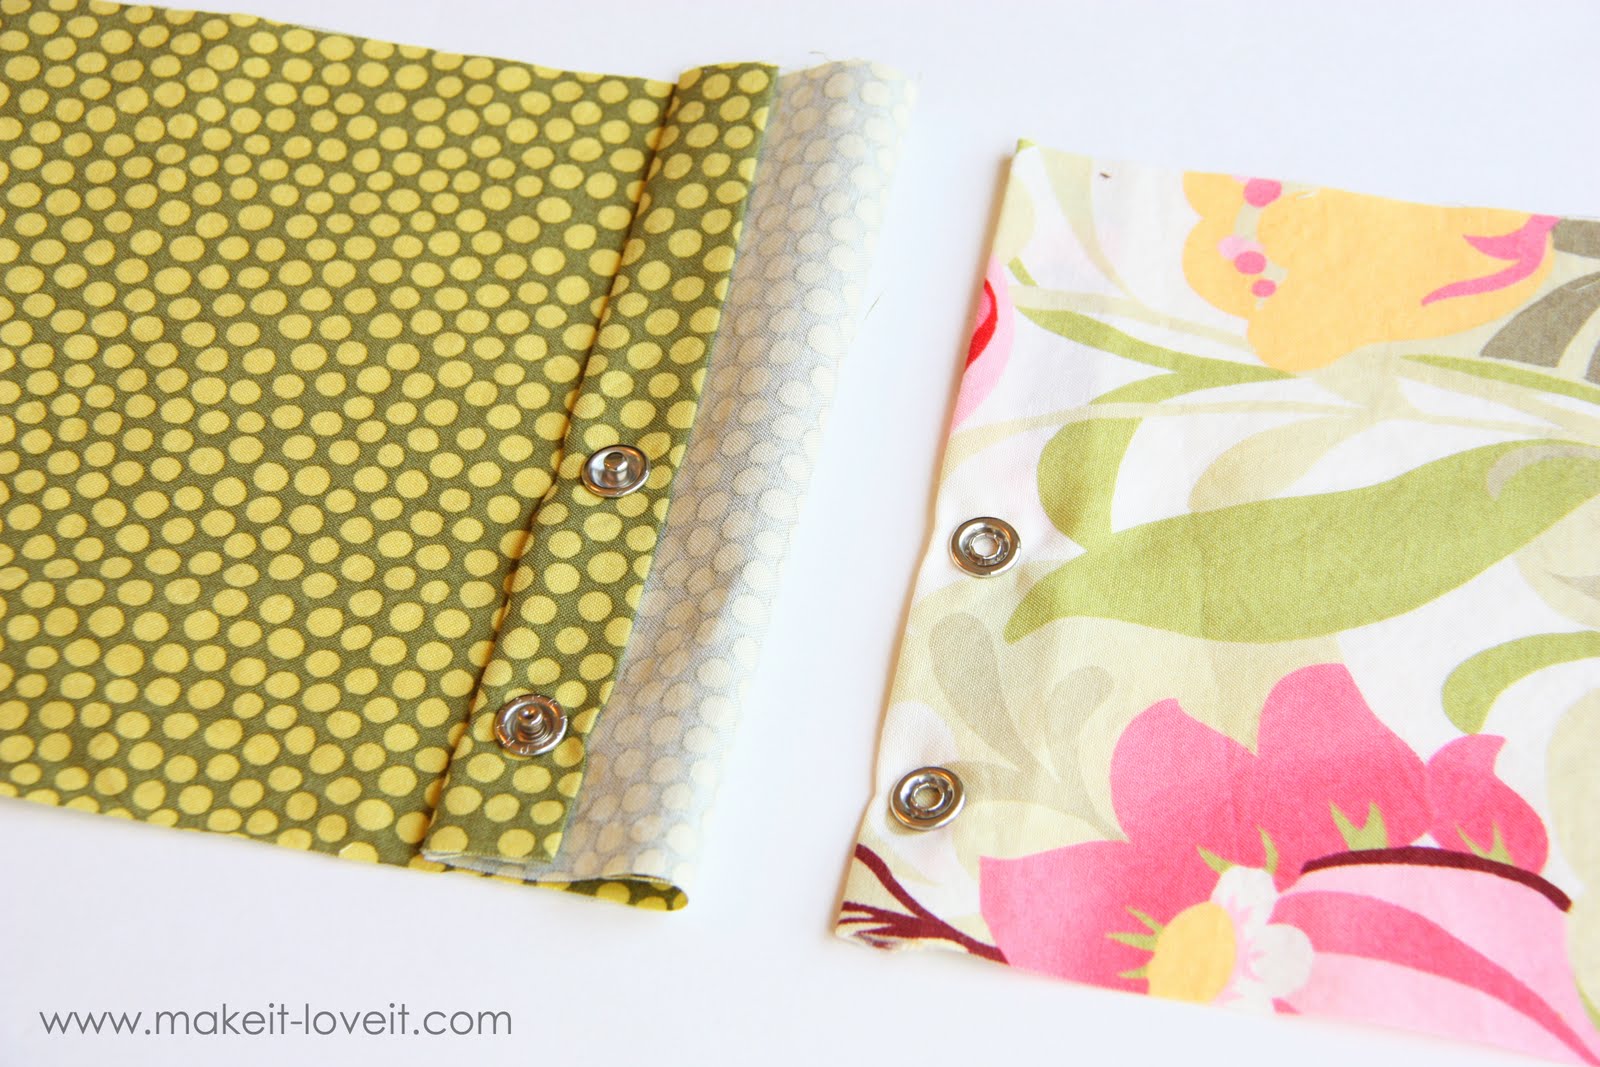
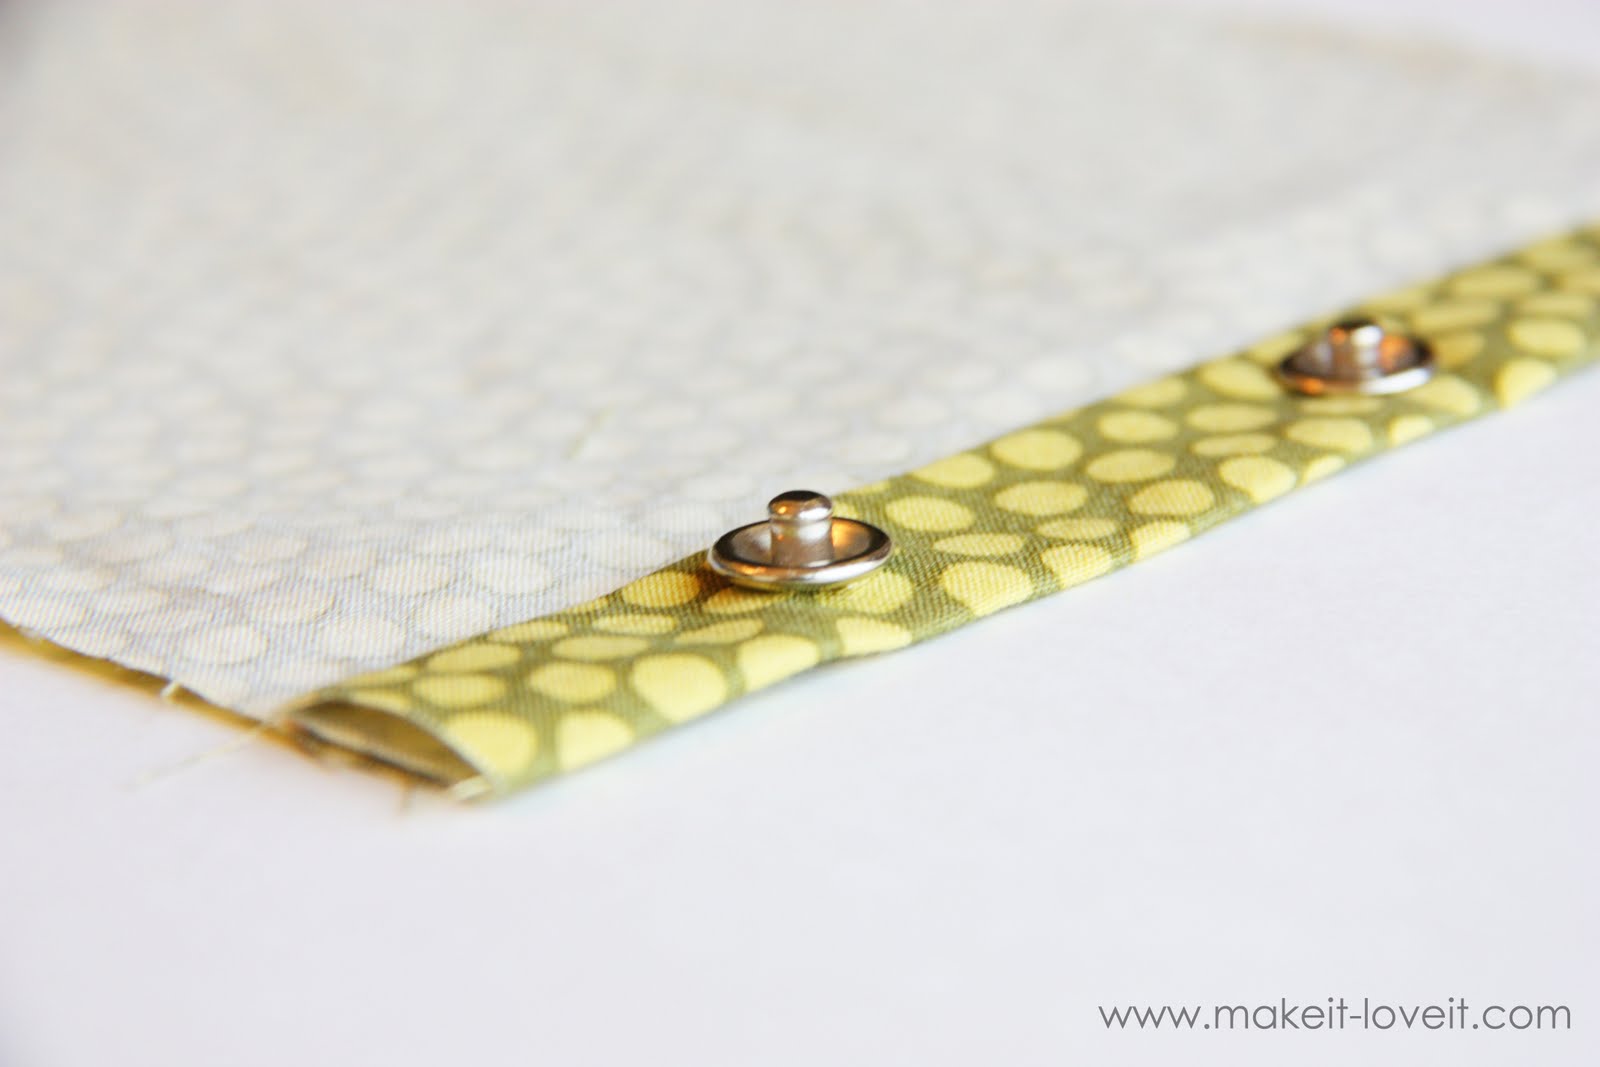
Below, I have attached two sets of snaps………and just need one more set to be able to close the fabric together.
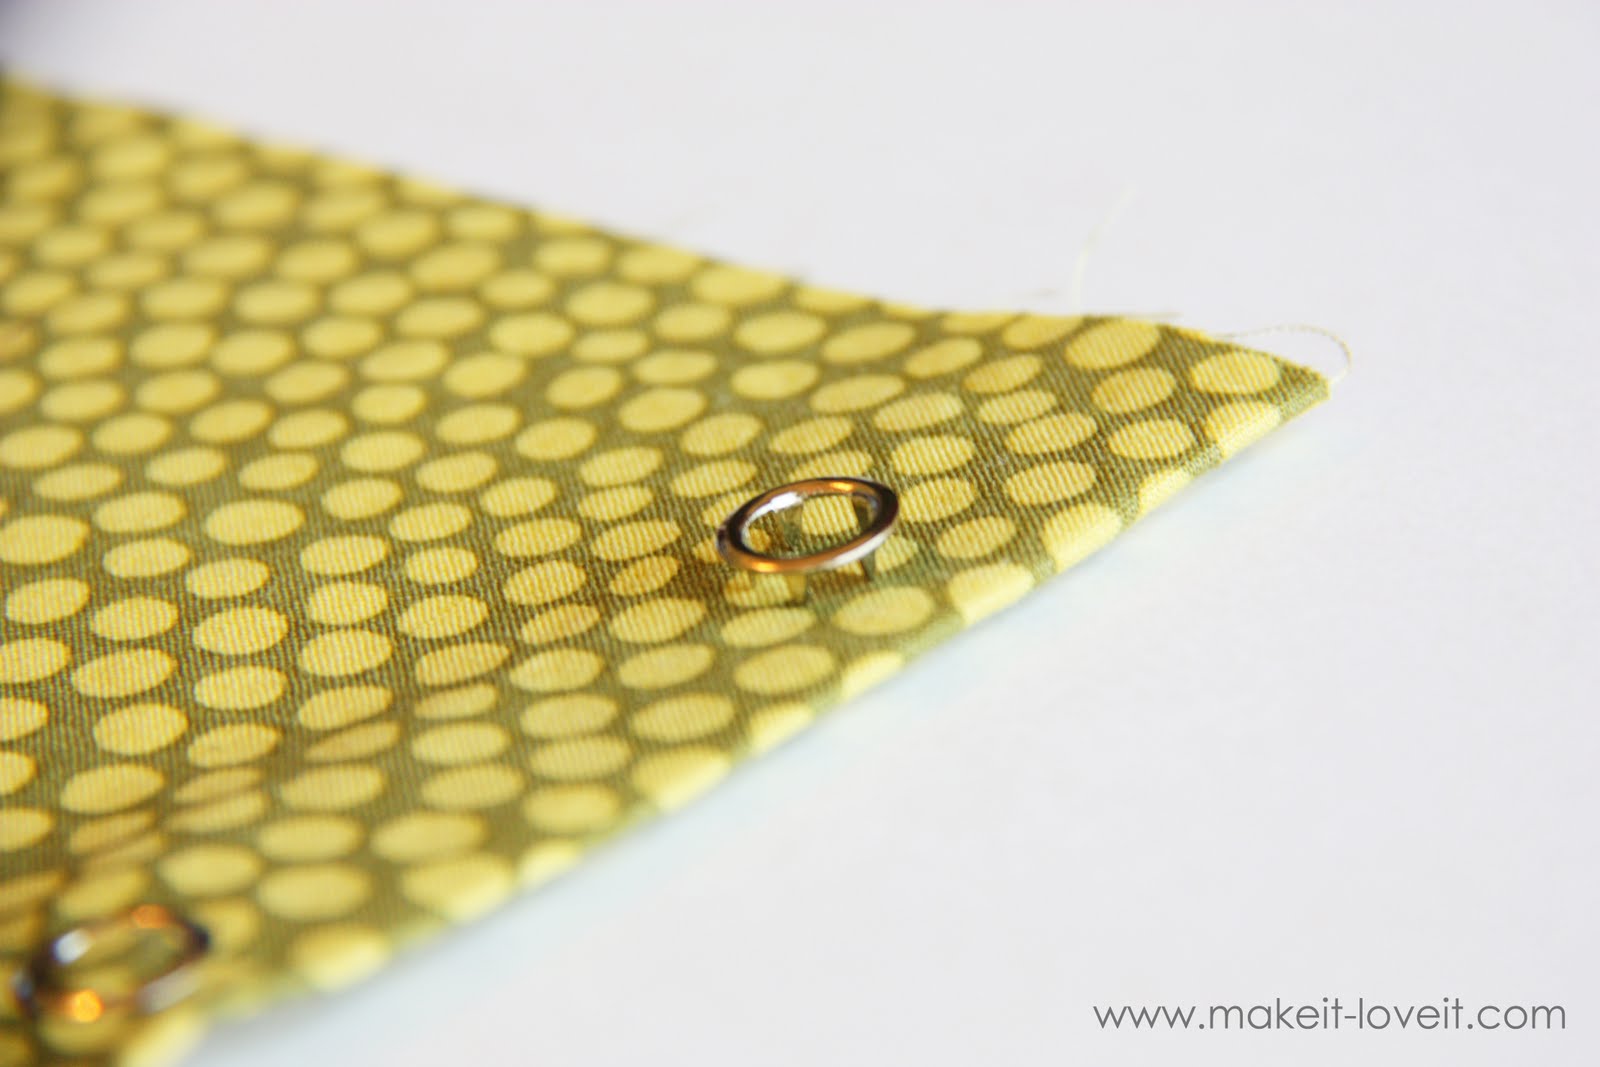
So, on the top piece of fabric, I place one of the ring prong piece on the top side of the fabric……..
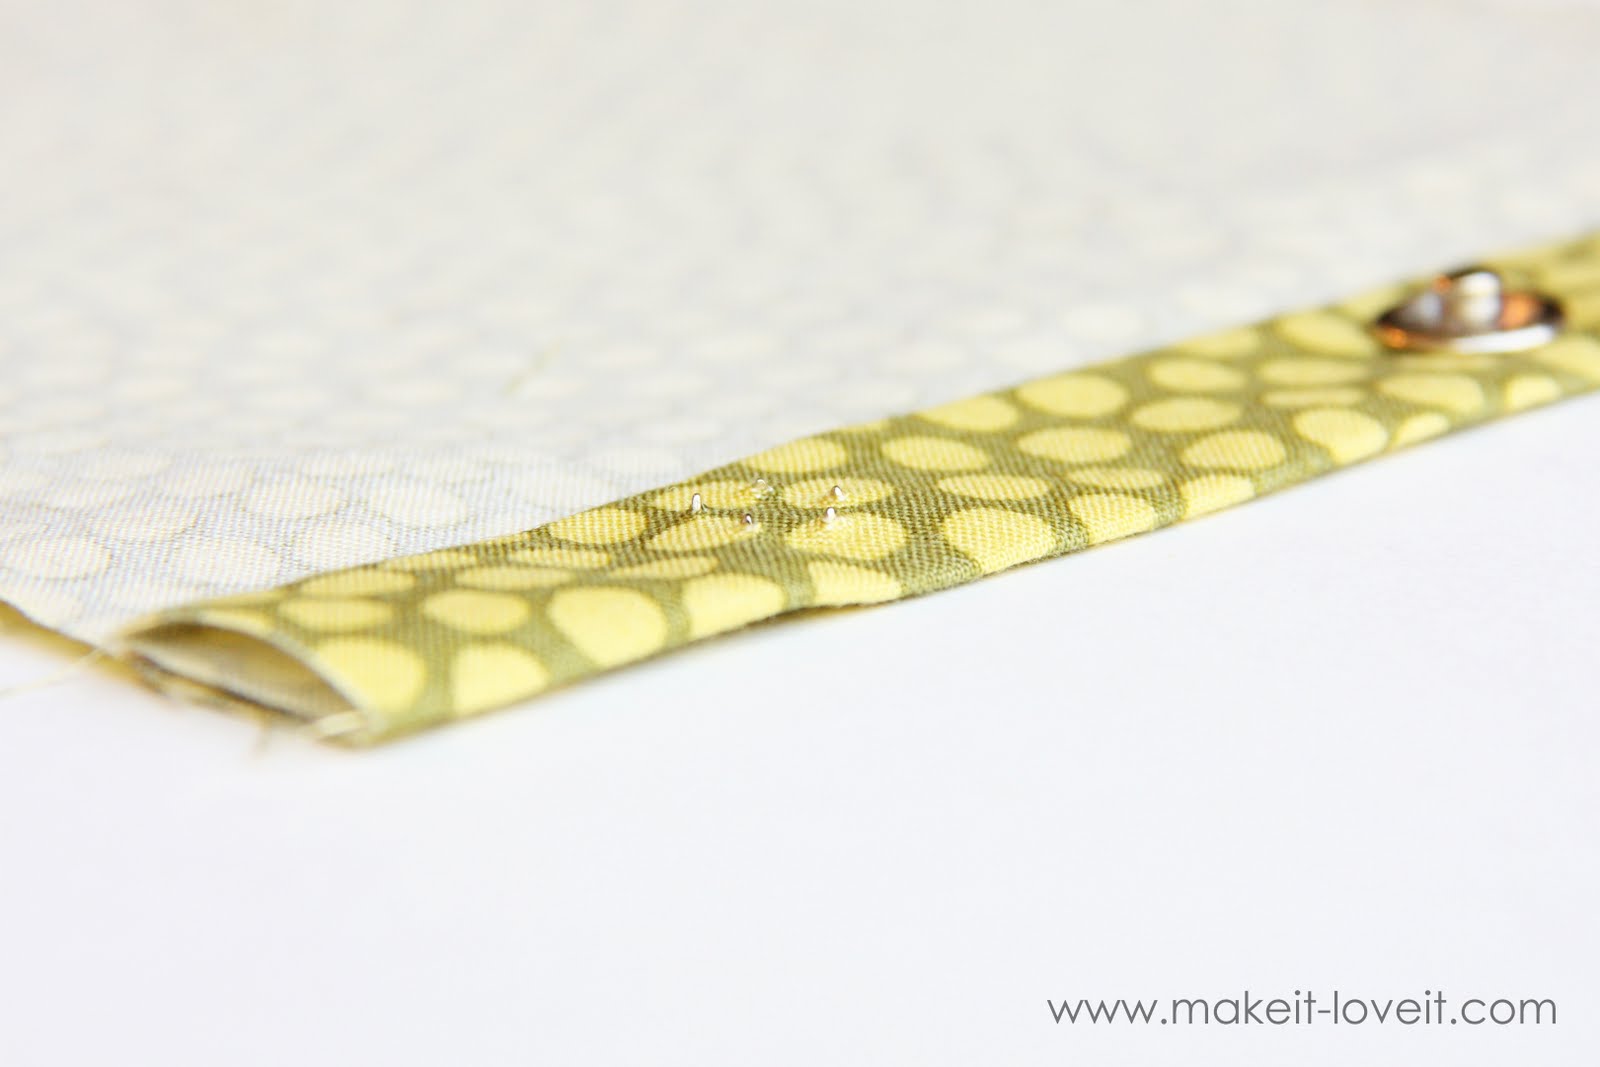
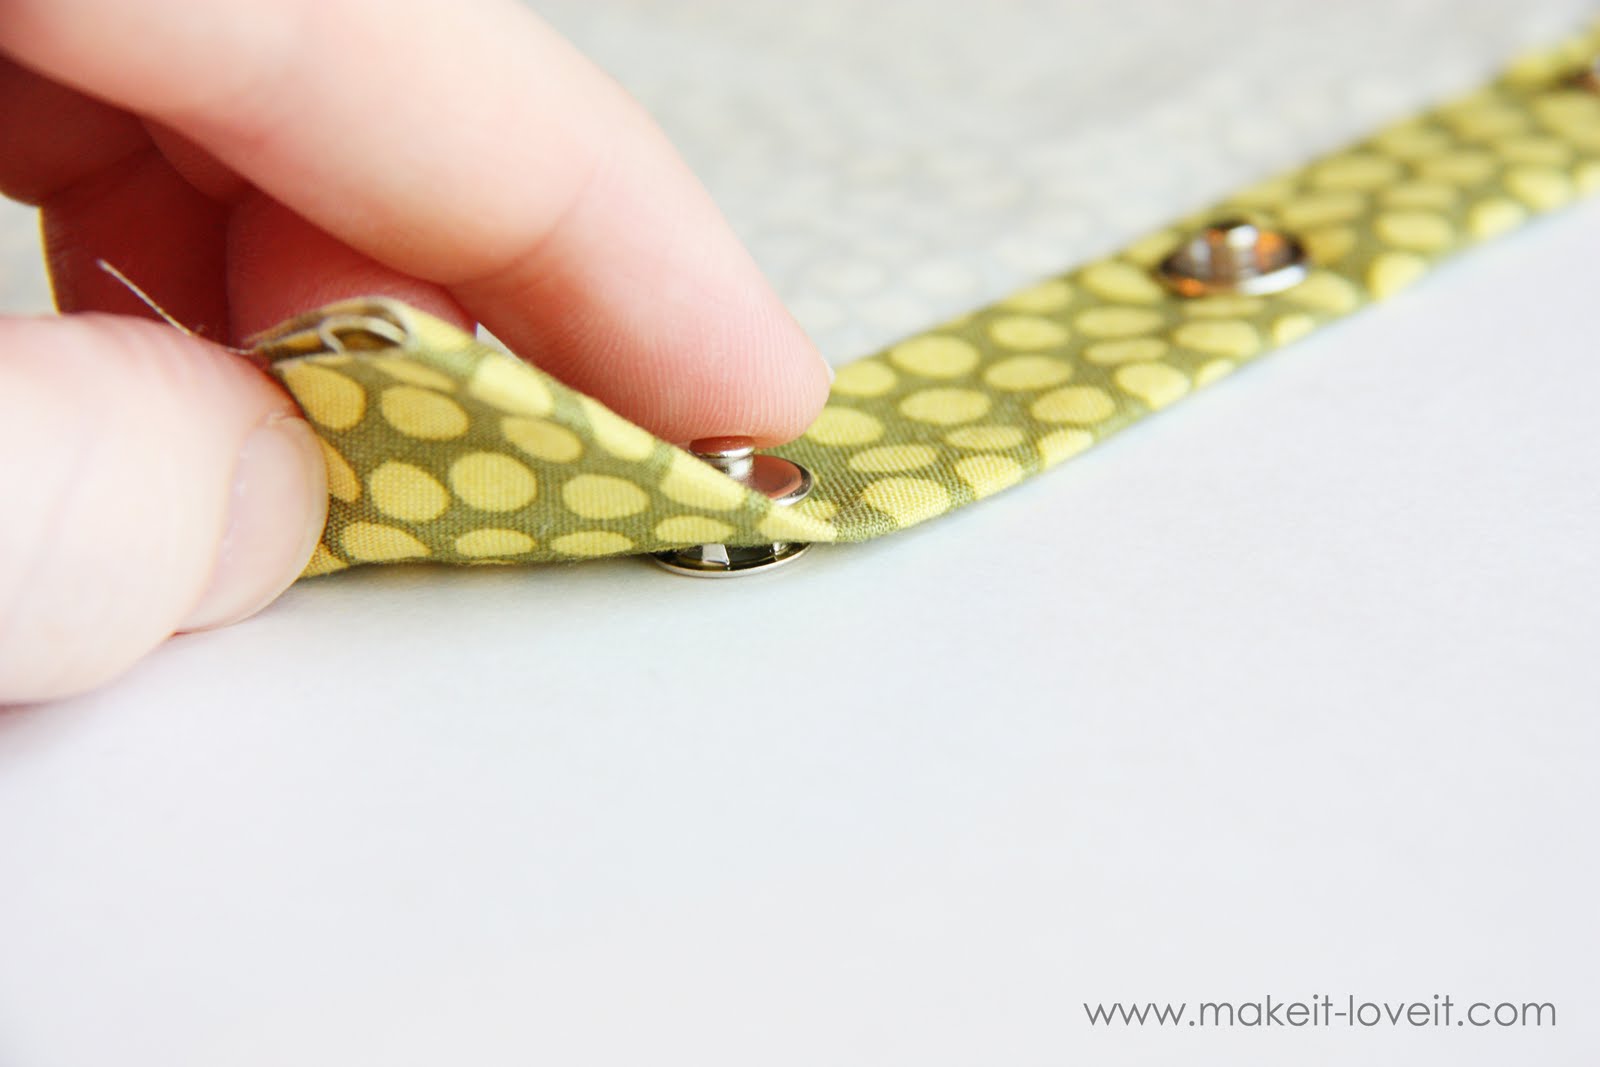
………..and then push it through to the other side. Can you see the little prongs poking through on this side of the fabric? (You don’t have to push the prongs through before continuing, but I always do. This just assures that the prongs are pushed through in the right spot and won’t shift before I’m able to hammer it in place.)
Then, I place the stud piece (or you can do the socket piece first…..doesn’t matter) right on top of the prong pieces poking out. The prongs will fit into the grooves on the under side of the stud (and socket) piece.
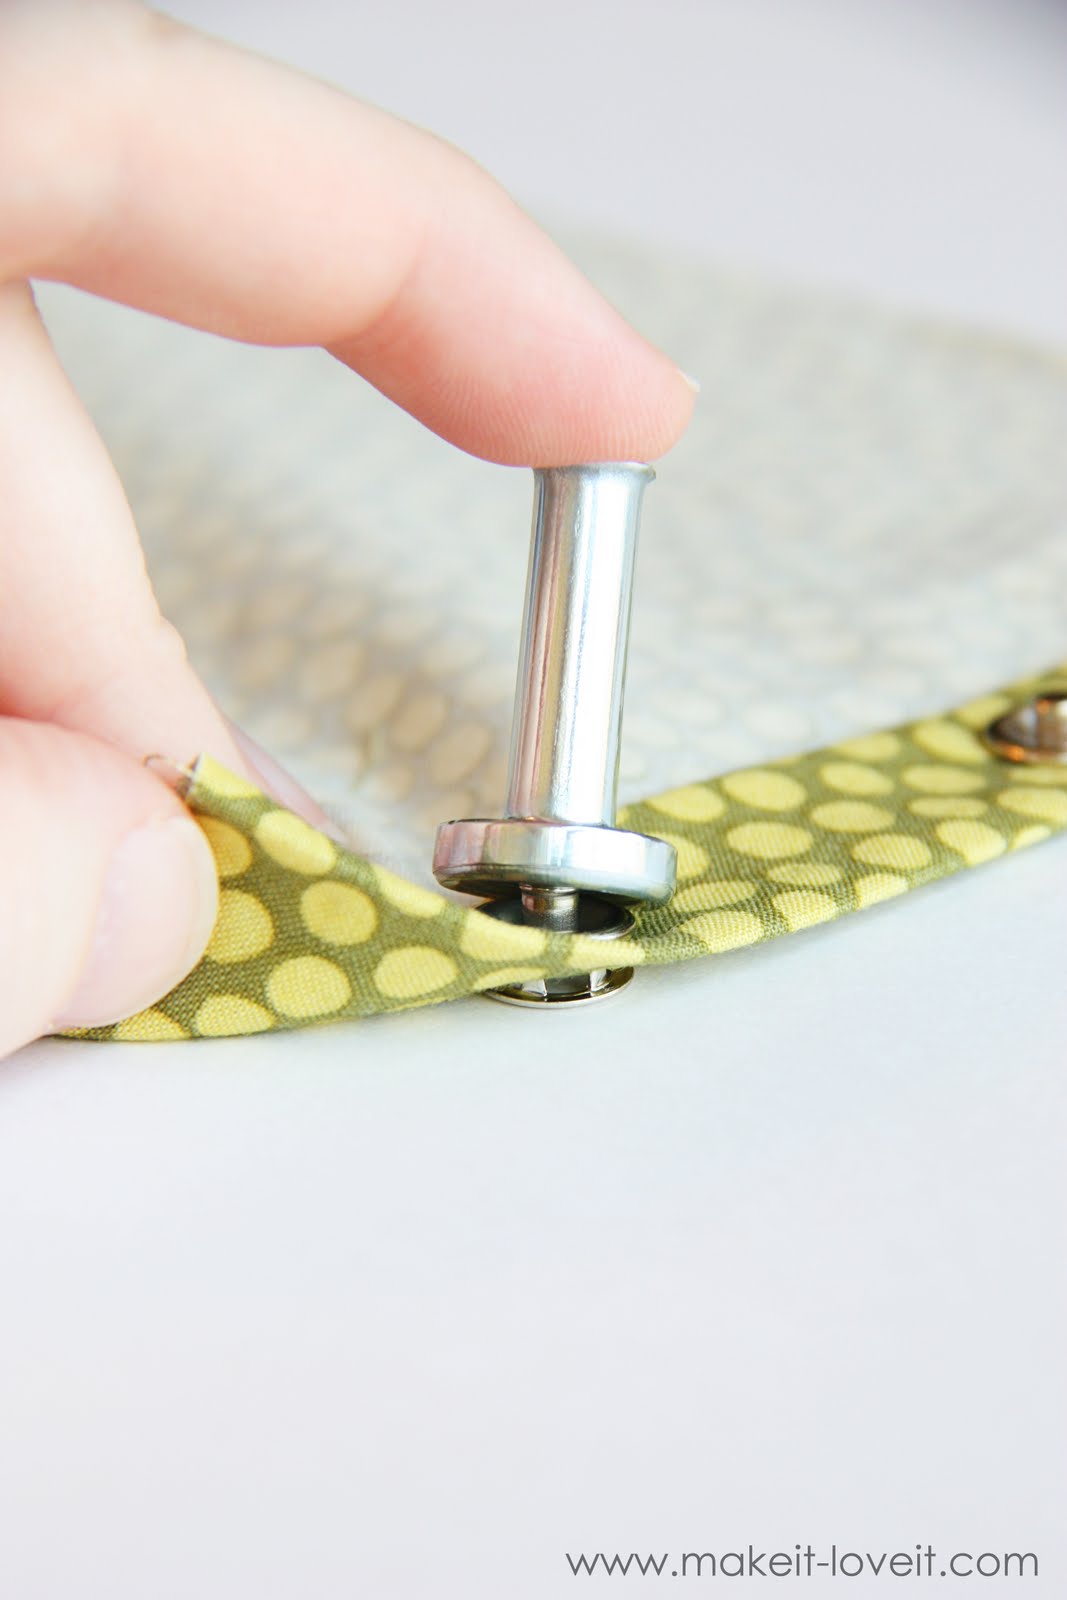
Then, I place the hammer tool right on top of the stud piece……..
……..and then hammer a few times. This secures the two piece together, clamping the fabric tightly between them.
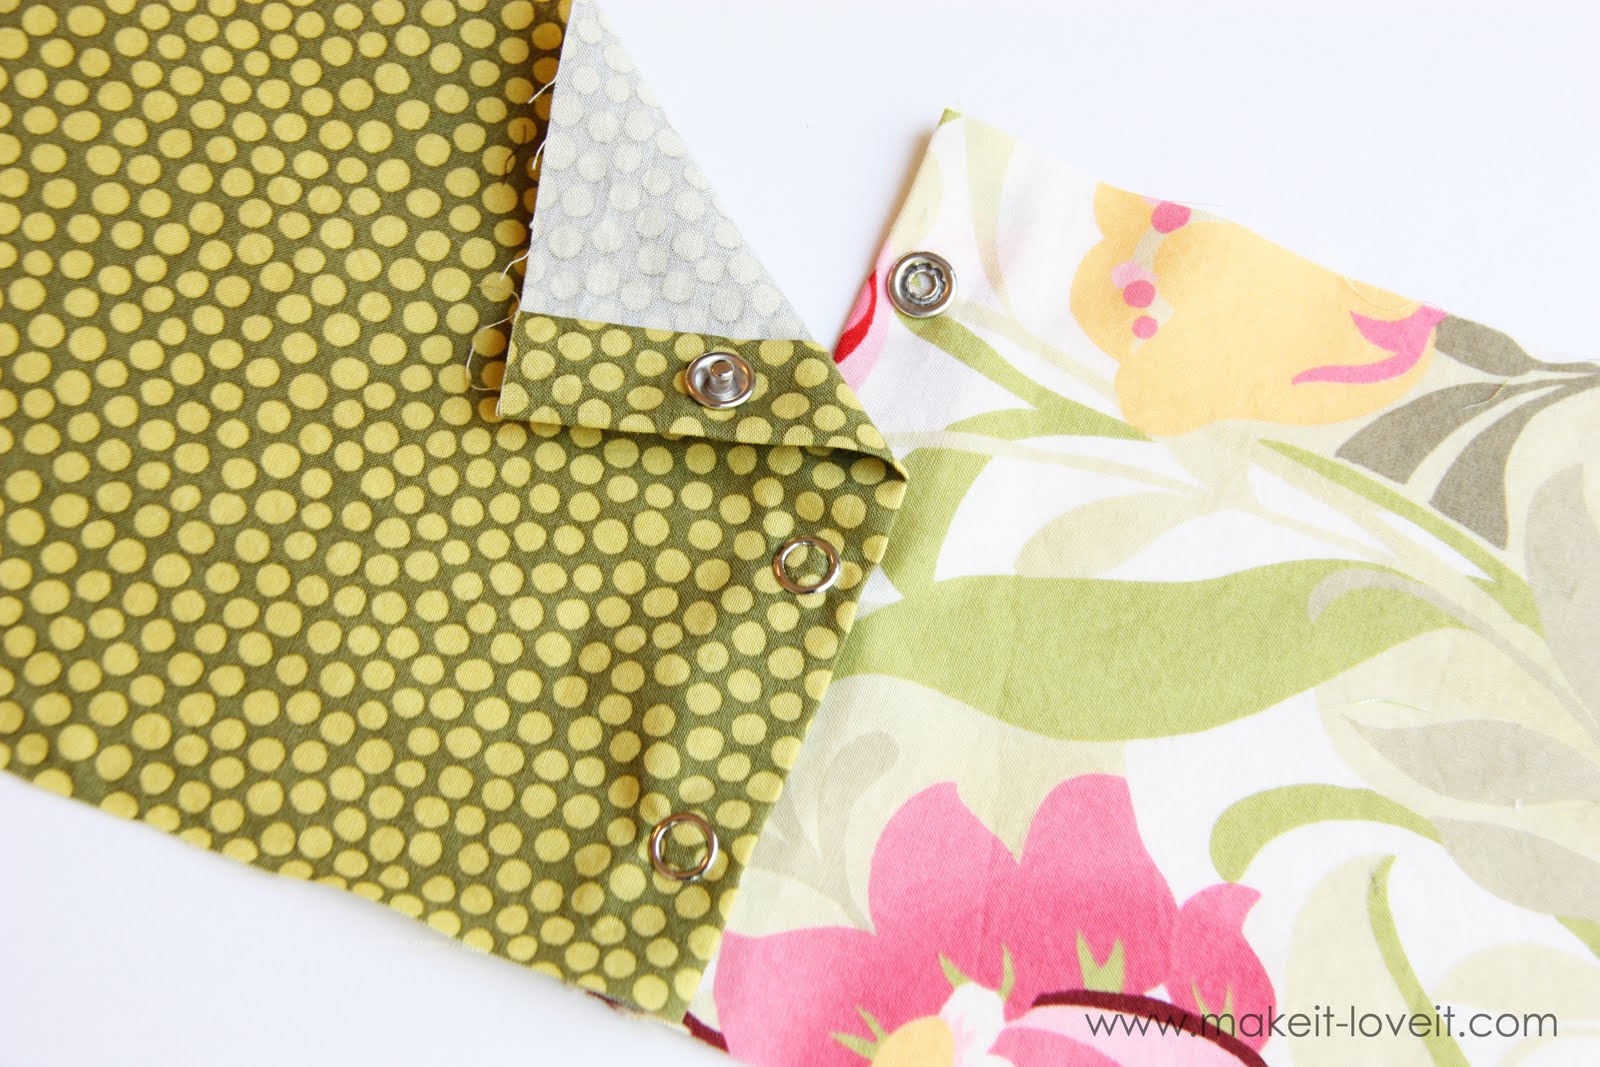
Attach the other side of the snap the same way to the other piece of fabric, but place the prong piece on the under side of the fabric, with the prongs facing upward. Then place the socket piece on top of that and hammer down with your tool the same way. Now the 2 sides will snap into place, closing your pieces of fabric.
Pretty easy, right?
The snaps that I use most often, are a very inexpensive brand that I find at Walmart……Prym Sewing. (And the little hammer tool comes right in the snap package. Well, if you want it to. There are packages without it too.)
They look just like the ones found
here. There are many brands and sizes found in stores and online. I’m sure they all work just fine.
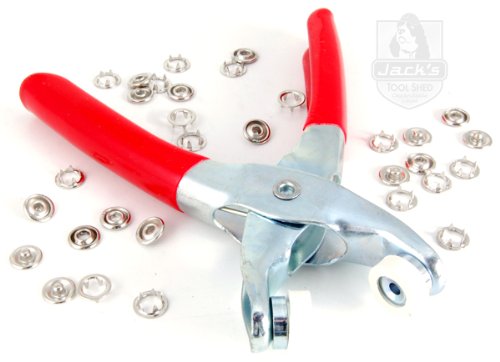
You can also purchase a plier tool that will help you squeeze the snaps into place, without needing a hammer and the hammer tool. I bought one of the plier tools once and it didn’t work right (the prongs weren’t correctly smashed into the stud and socket pieces) and so I never used it again. I returned to my ‘ol trusty hammer tool and have used it ever since.
Another option is to buy sew-able snaps. They come in plastic or metal and have little holes around the edges of the snaps so that you can hand stitch them in place. These are great if you don’t want to metal ring to show from the outside of the fabric.
You can also find the circular side of the prong pieces in different colors (to match the clothing better) or even a closed circle…..so it’s not a hollow circle ring from the outside. There are also pearl-y looking ones and fancy diamond covers to the top prong piece. It just depends on the look you’re going for and where you’ll be using them.
Does that help? And ease your fear of snaps?
I hope so.
Now dash to the store and get a few packages of snaps…….you’ll find more uses for them now that you know how easy they are to attach.
. . . . . . . . . .
This post is sponsored by:


