Home » DIY Tutorials » DIY Sewing » Sewing: Clothing » Women's Clothing » {Bias Cut} Fabric Strip Detail for Skirts and Dresses
{Bias Cut} Fabric Strip Detail for Skirts and Dresses
April 18, 2011 - By Ashley Johnston 31 Comments
Sometimes I look in my closet and get a little bored. Do you have that problem?
If so, sometimes a little pick-me-up can help with that.
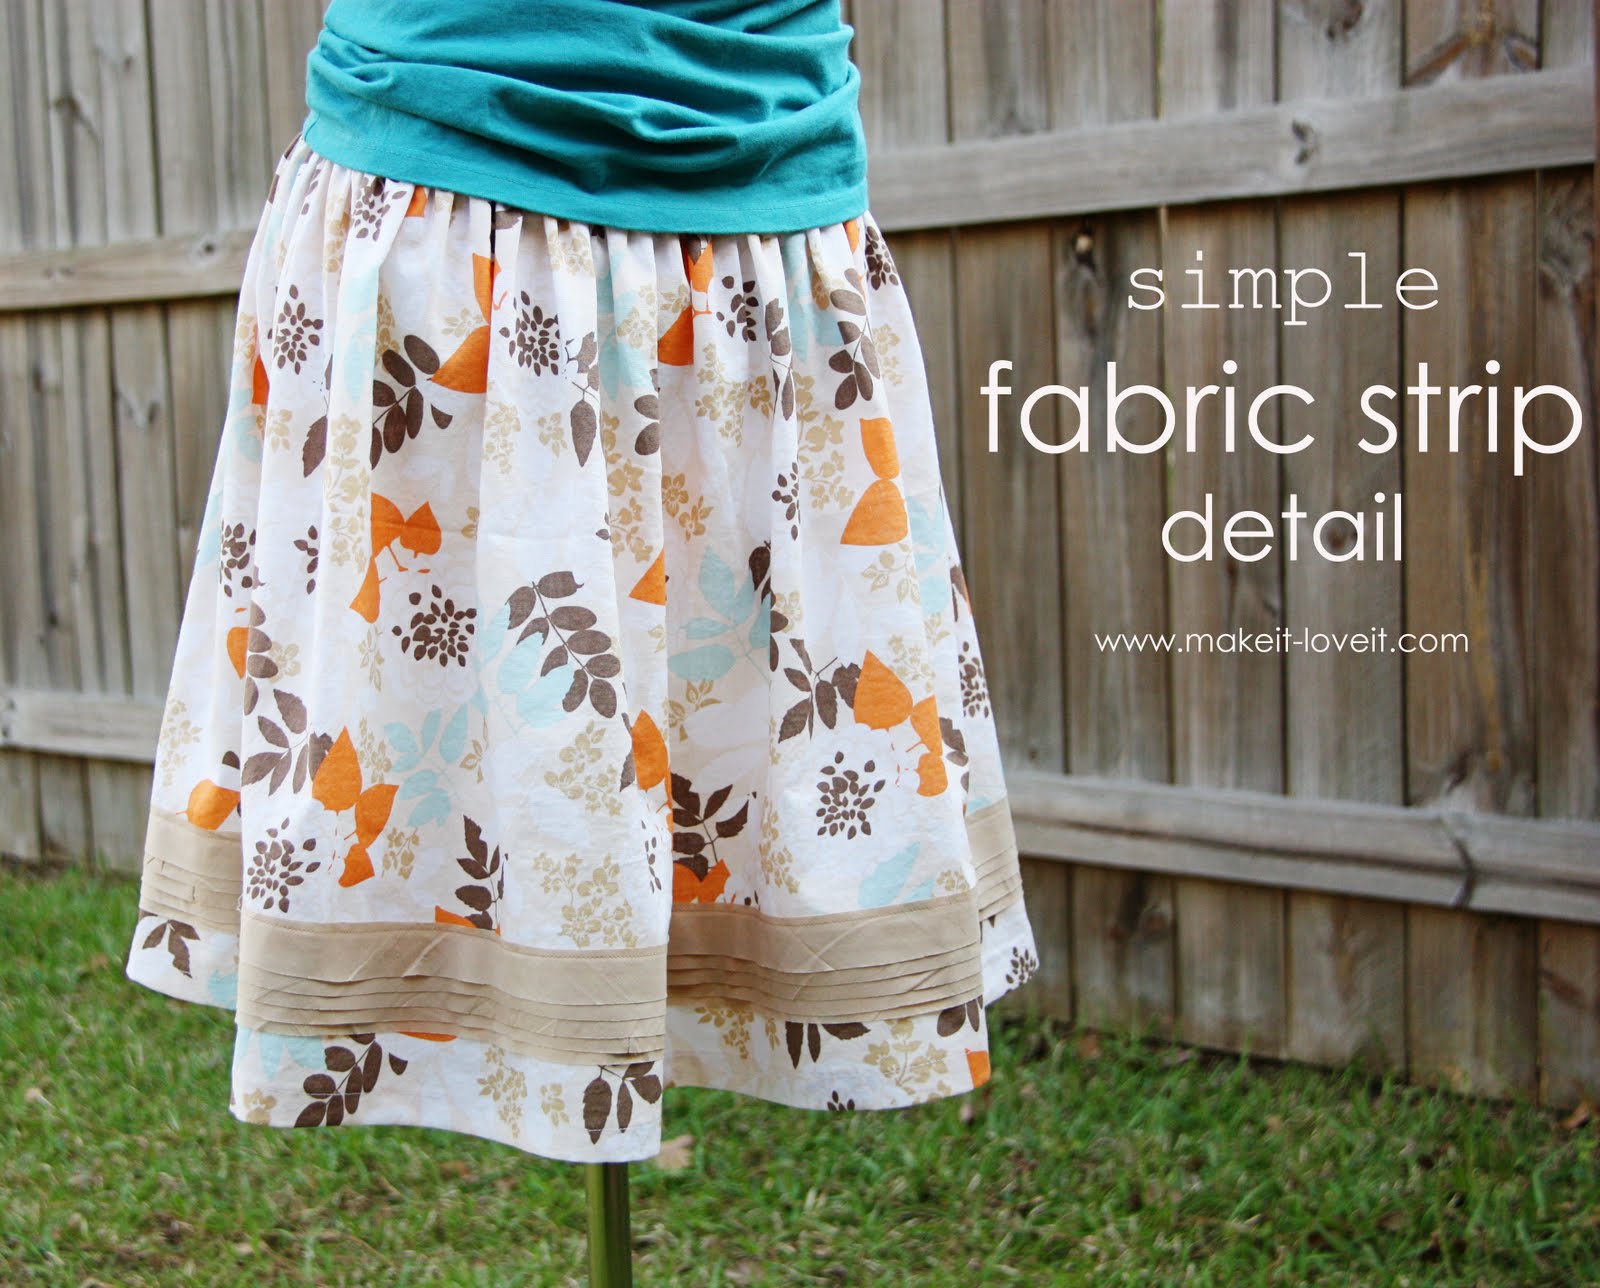
Try adding a little fabric strip detail to the bottom of a skirt/dress……and you’ll love that item again.
Or make a skirt or dress from scratch…..and add this simple detail to the bottom.
It gives it a great pop.
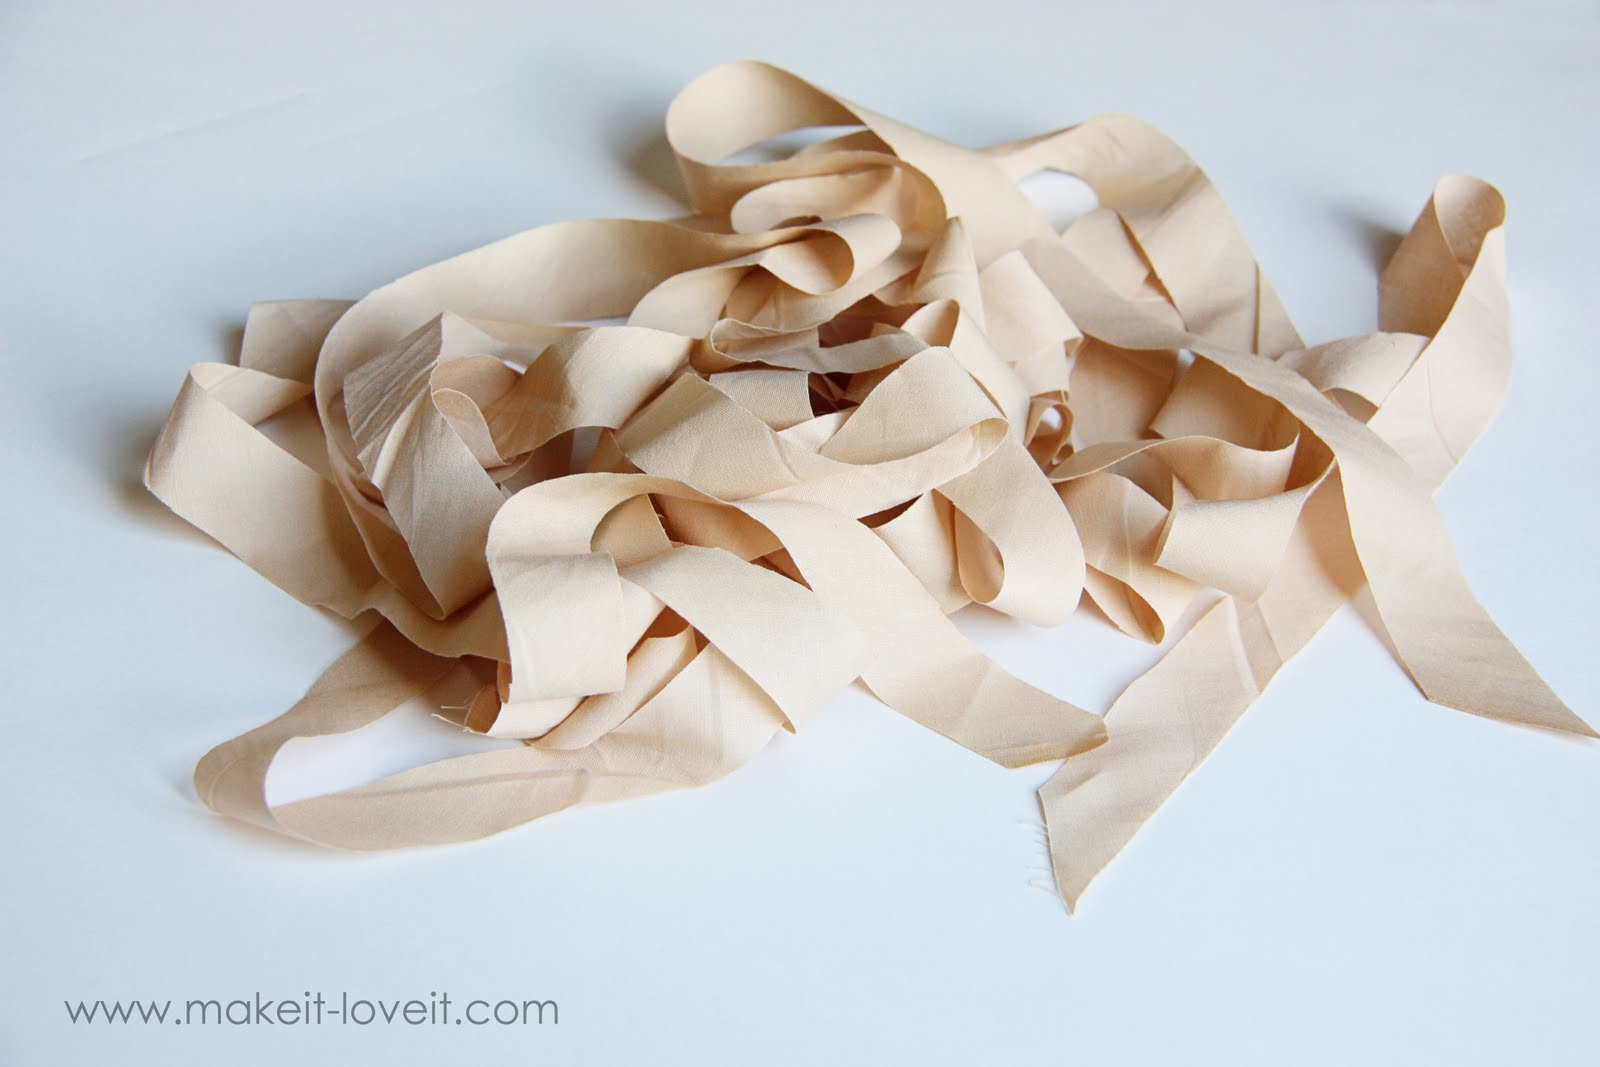
A few layers of bias-cut fabric strips adds great texture.
(Fabric cut on the bias keeps it from fraying.)
And it’s a great look for your spring wardrobe.
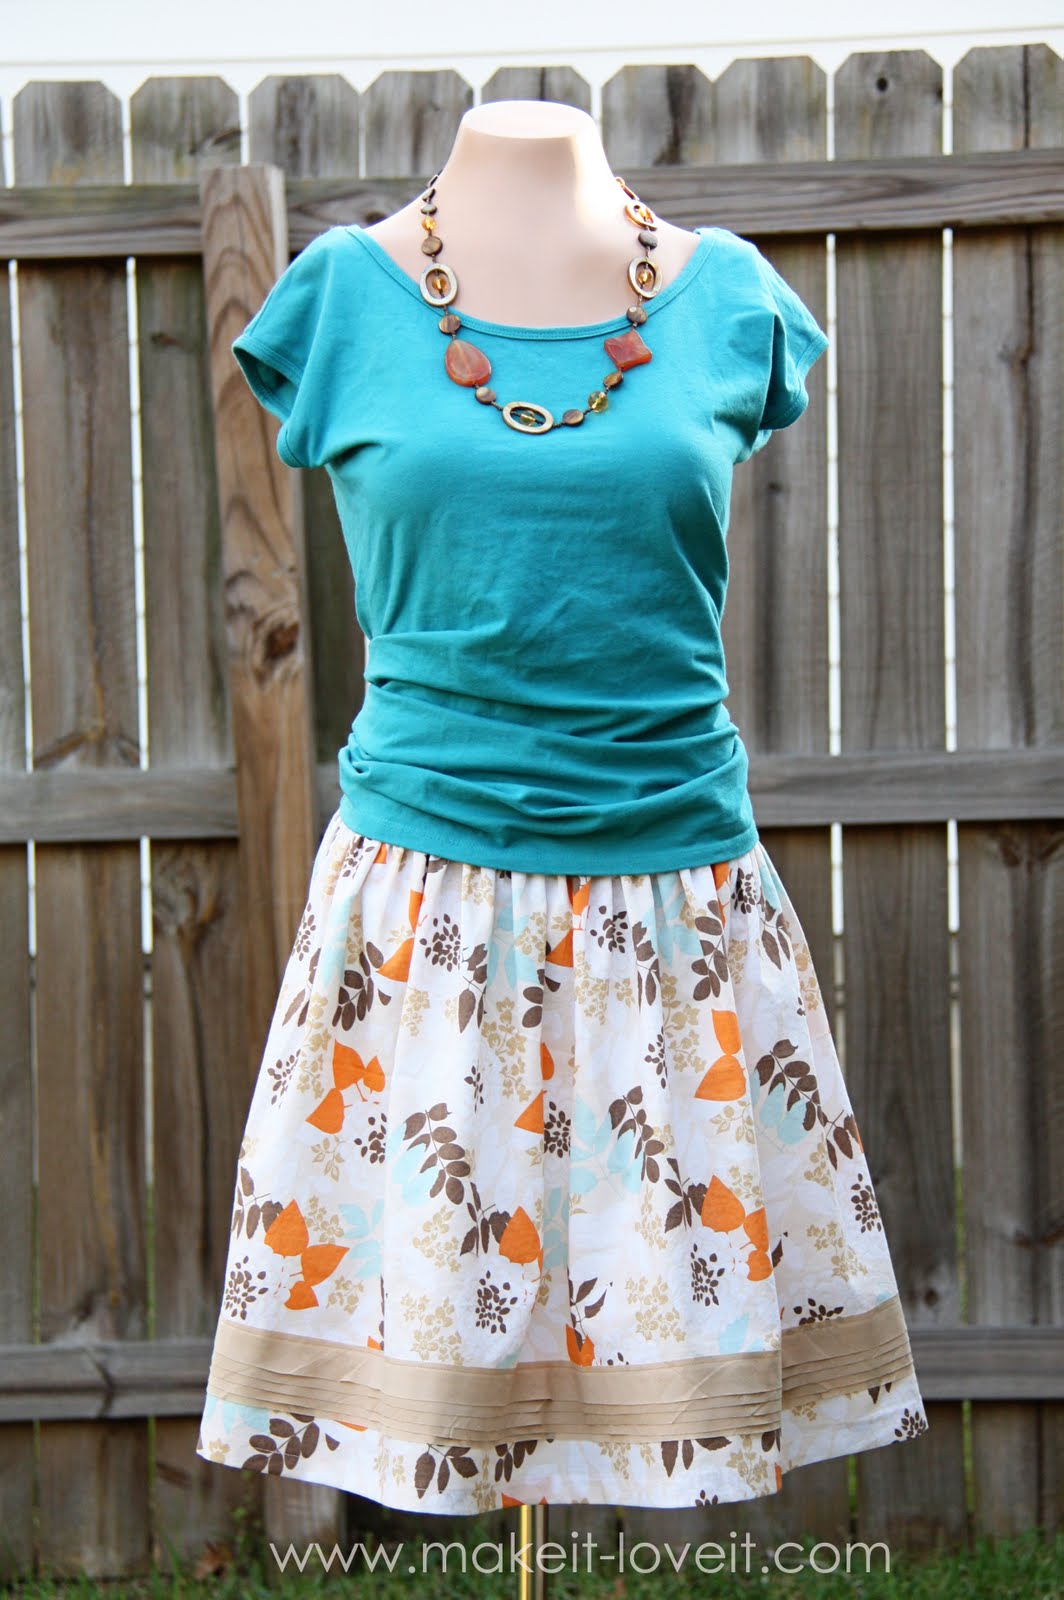
I actually added this fabric strip detail to a skirt that I whipped up………using my
Lily Skirt pattern, found
here.
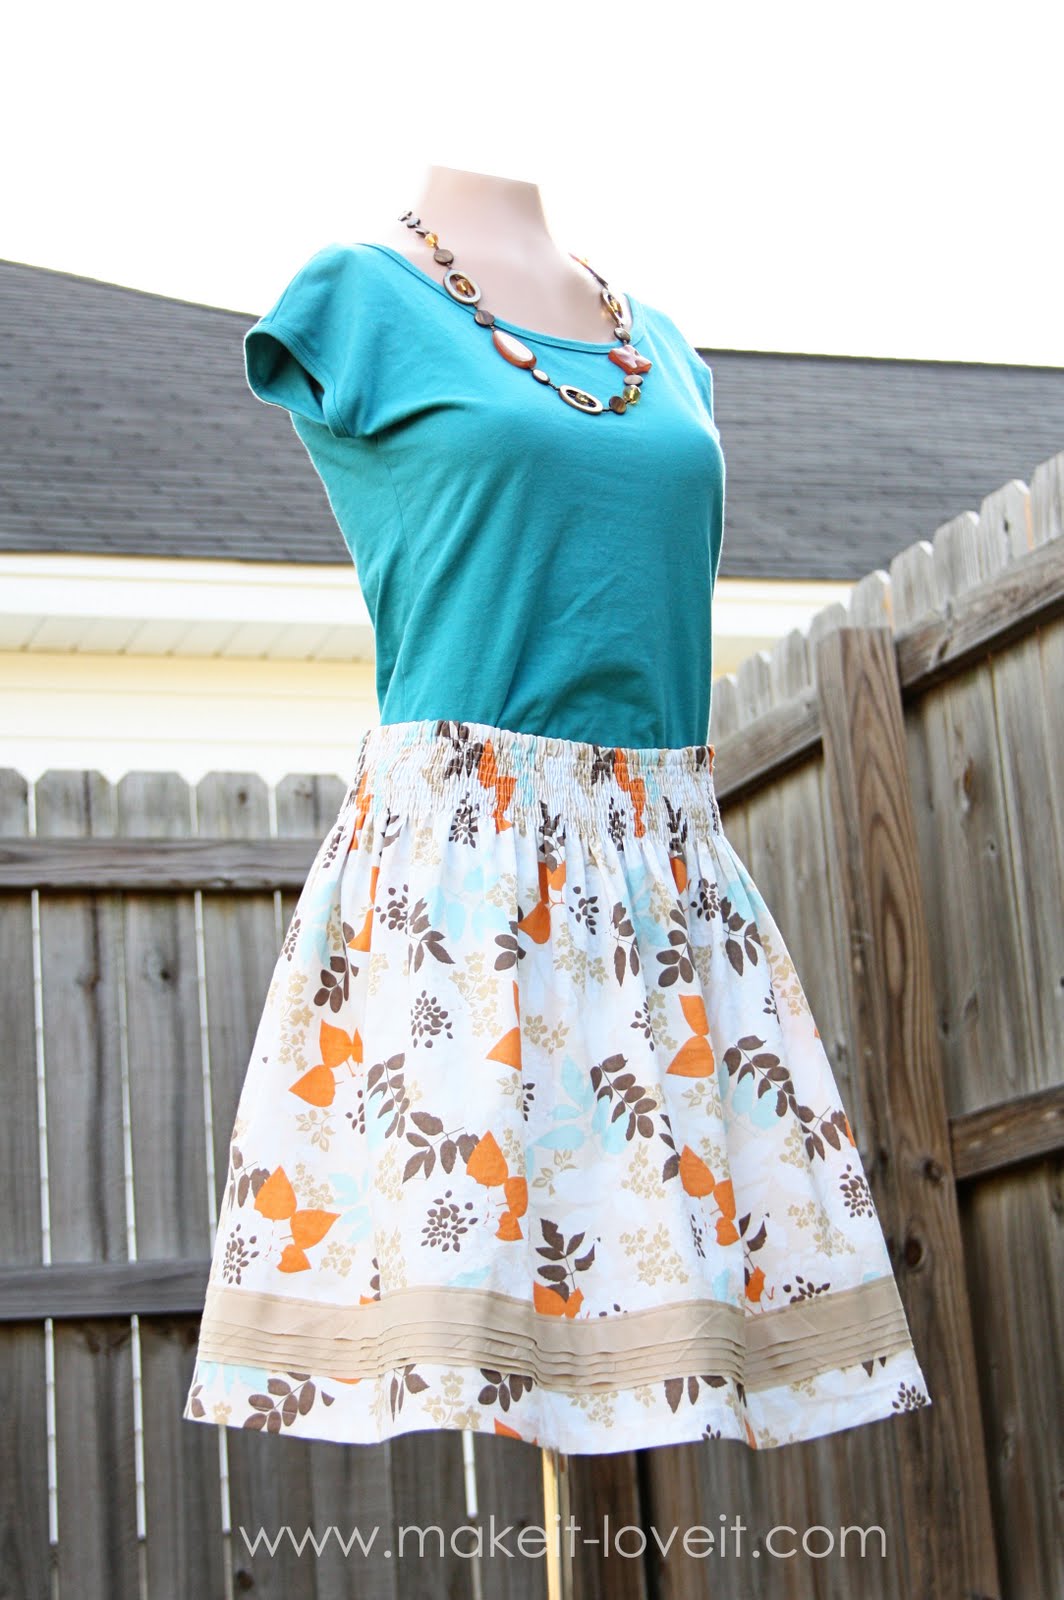
(The stretchy smocking at the top is great for all waistlines…….especially my unpredictable post-baby waistline.)
You can hide the smocking at the top, or show it off.
Either way looks great with the added fabric strips along the bottom.
Would you like to add some fabric strips to your skirt or dress?
First, cut up some 1 inch wide fabric strips, on the bias. (Need help with
cutting on the bias? Click
here.) Cutting things on the bias keeps your fabric from fraying. The edges will soften up a bit and will get a fuzzier look to them after washing/drying, but you won’t have long strands of the fabric coming off the strips.
**If you don’t like the raw edge, hem under each edge.
I guessed how much I needed and then got to work. (And then had to cut more later on.)
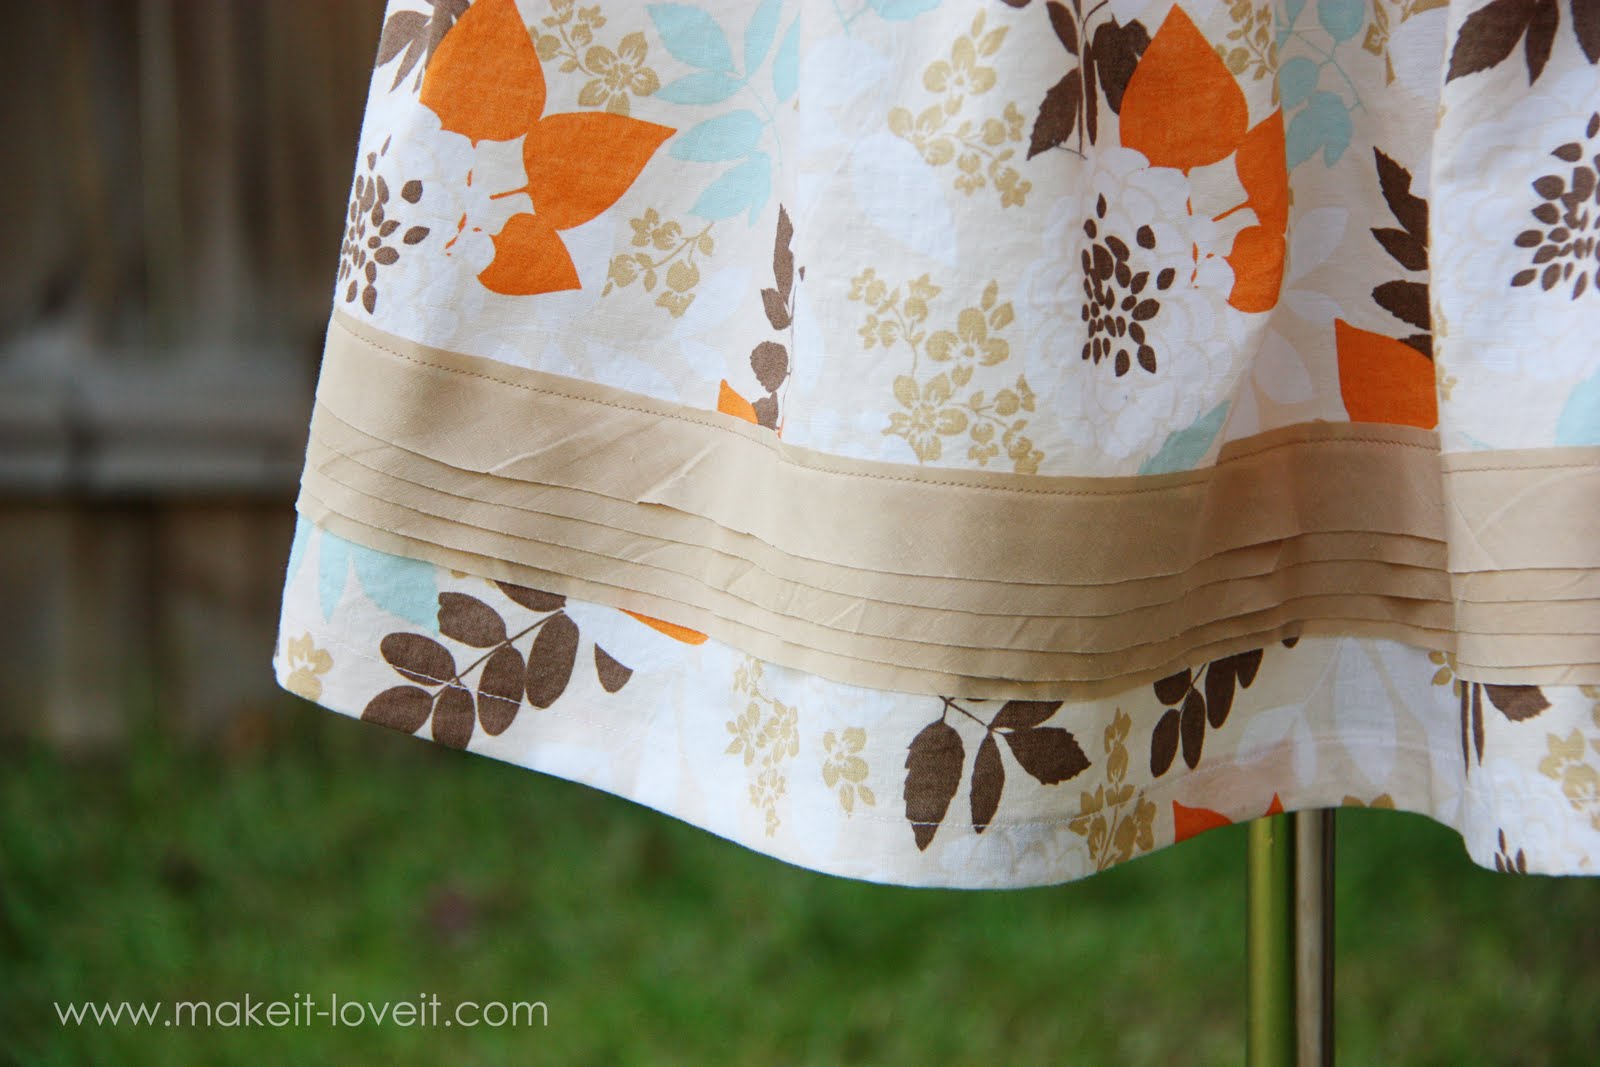
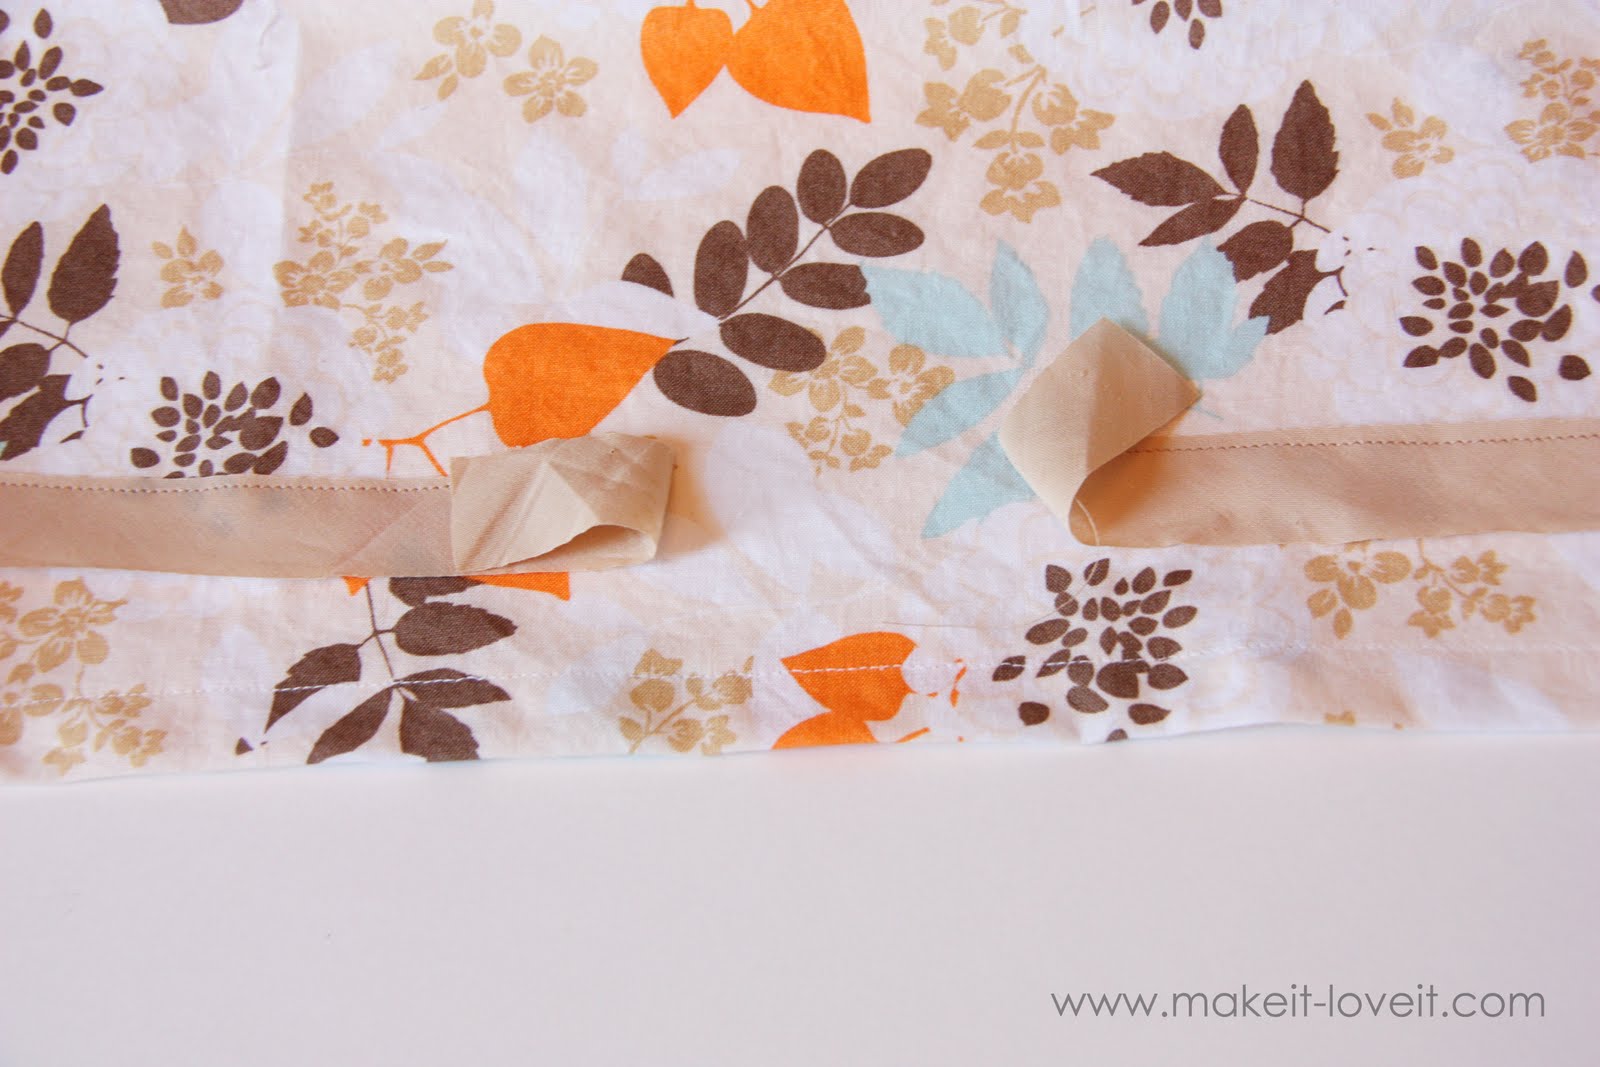
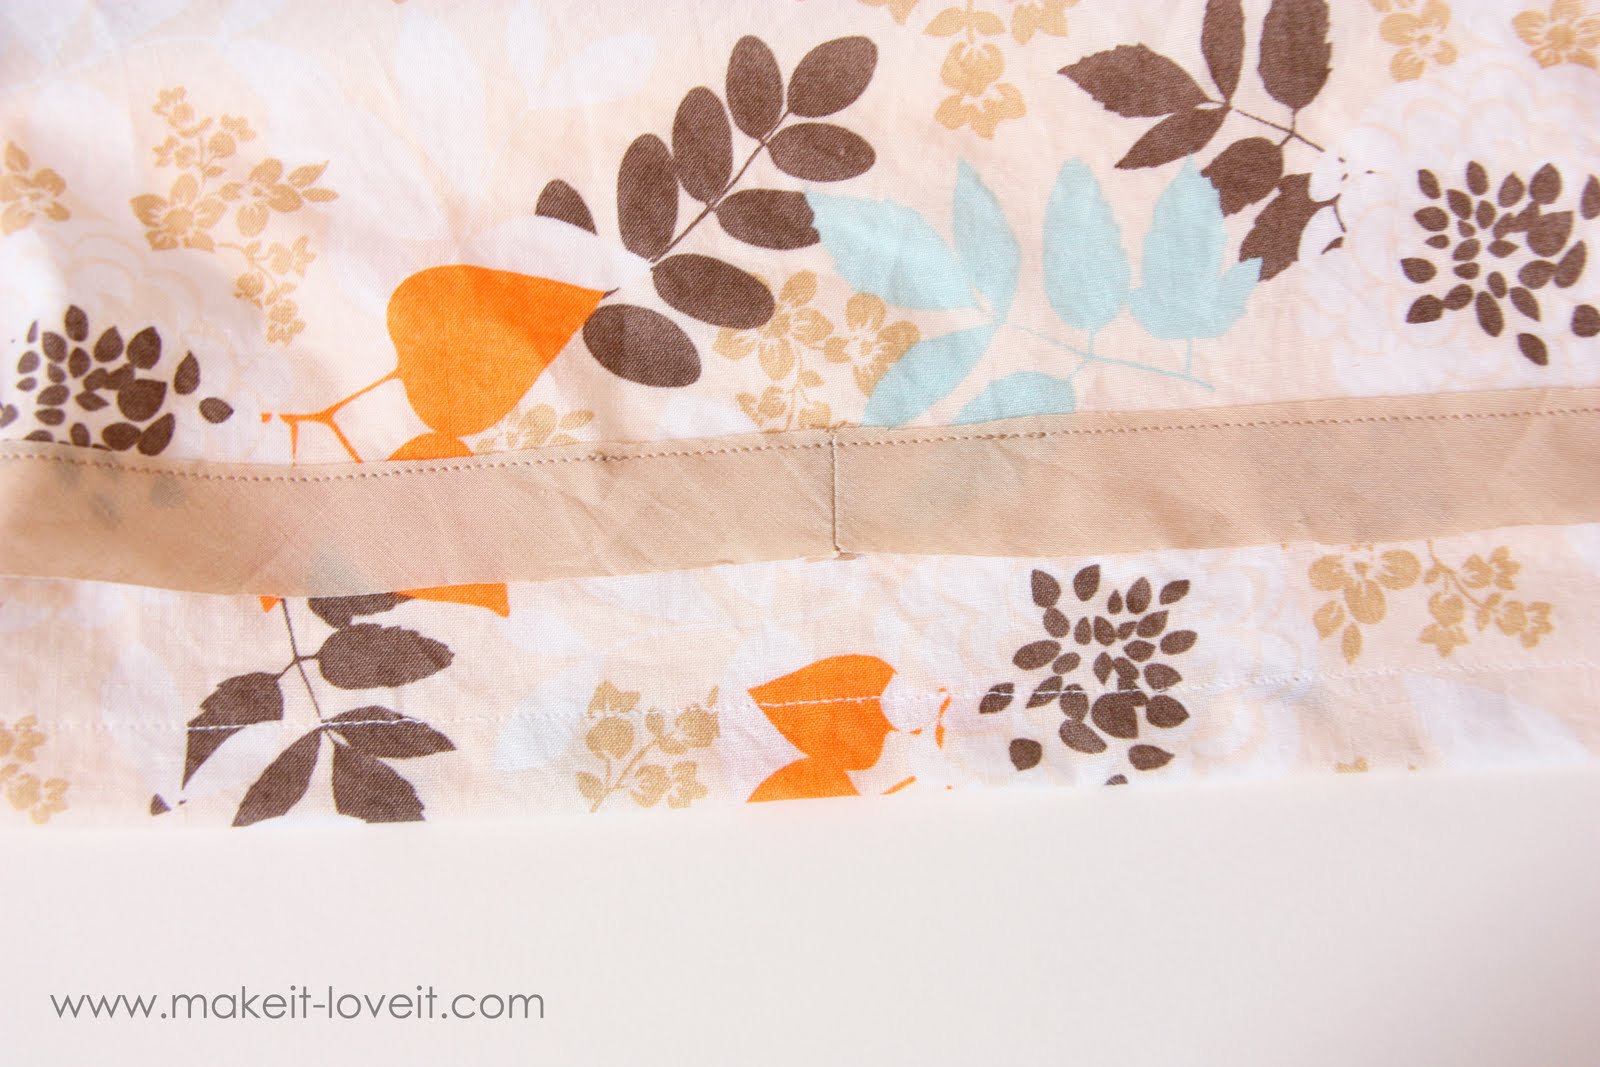
Begin by laying your first (and bottom) strip down near the bottom of your skirt. (I placed mine about 2.5 inches from the bottom.) Measure all the way around, making sure that it’s the same distance from the base of the skirt, all the way around. Pin in place. Also, you may have to sew some strips together to have one strip long enough to make it all the way around the skirt.
Sew your strip down all the way around (near the top of the strip), leaving a tail of fabric at each end.
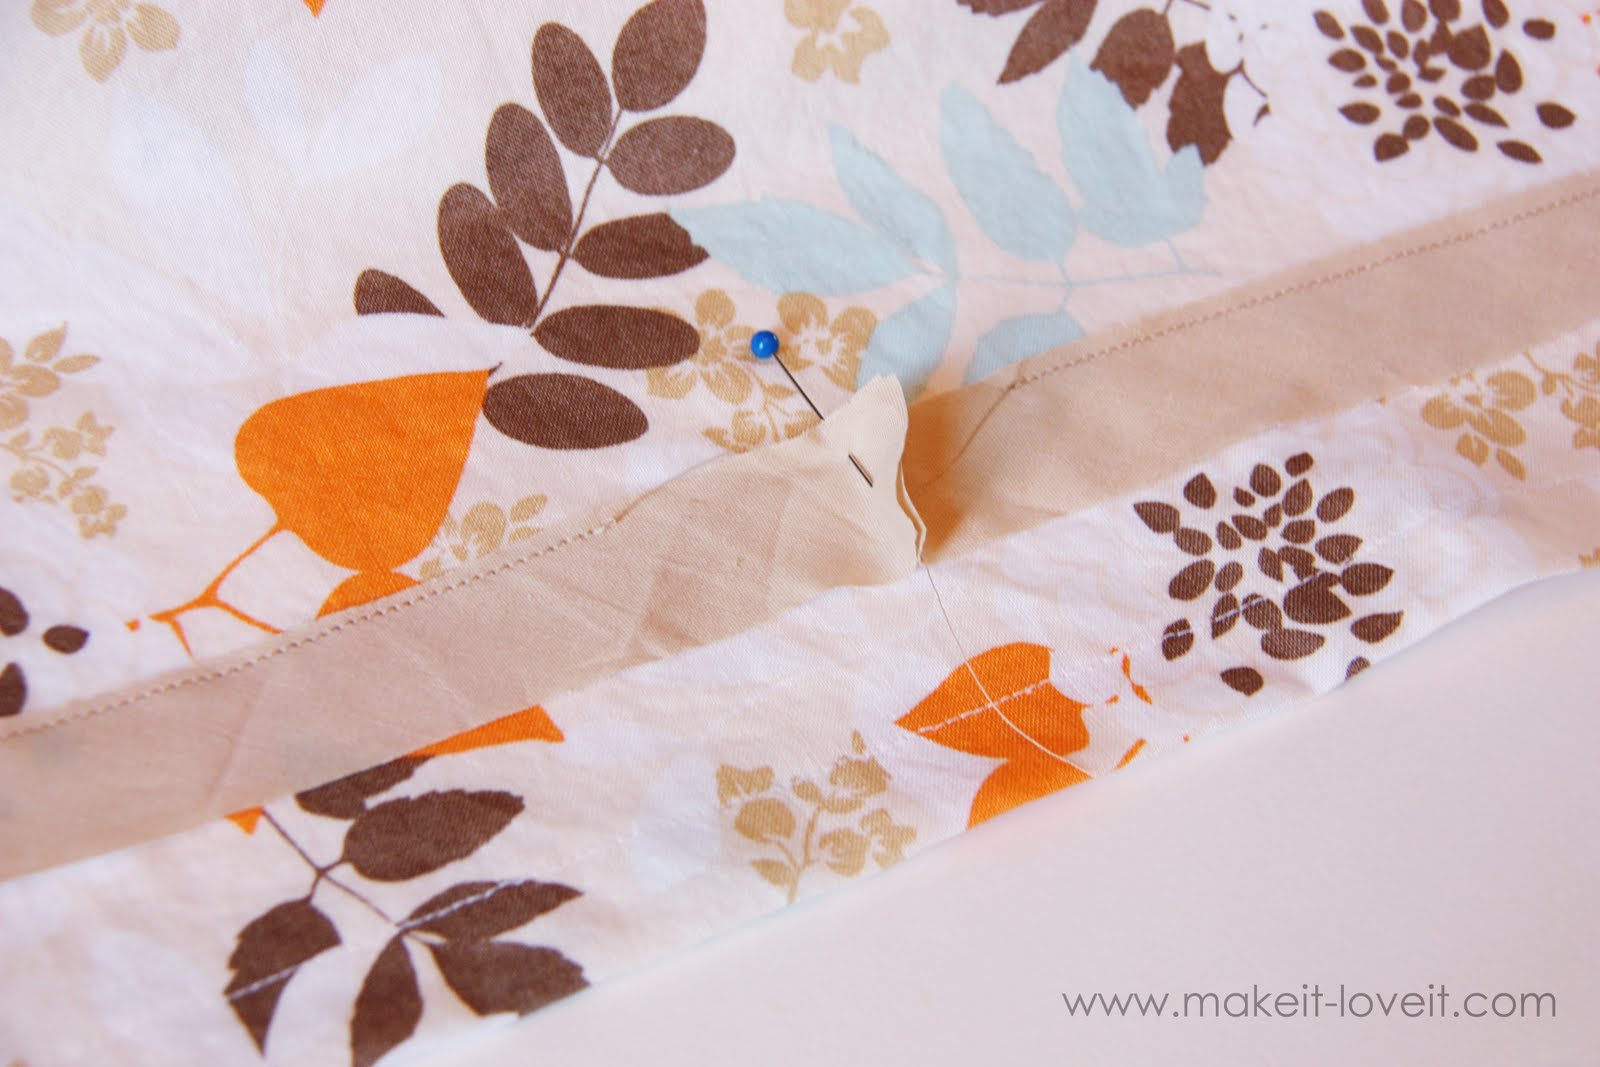
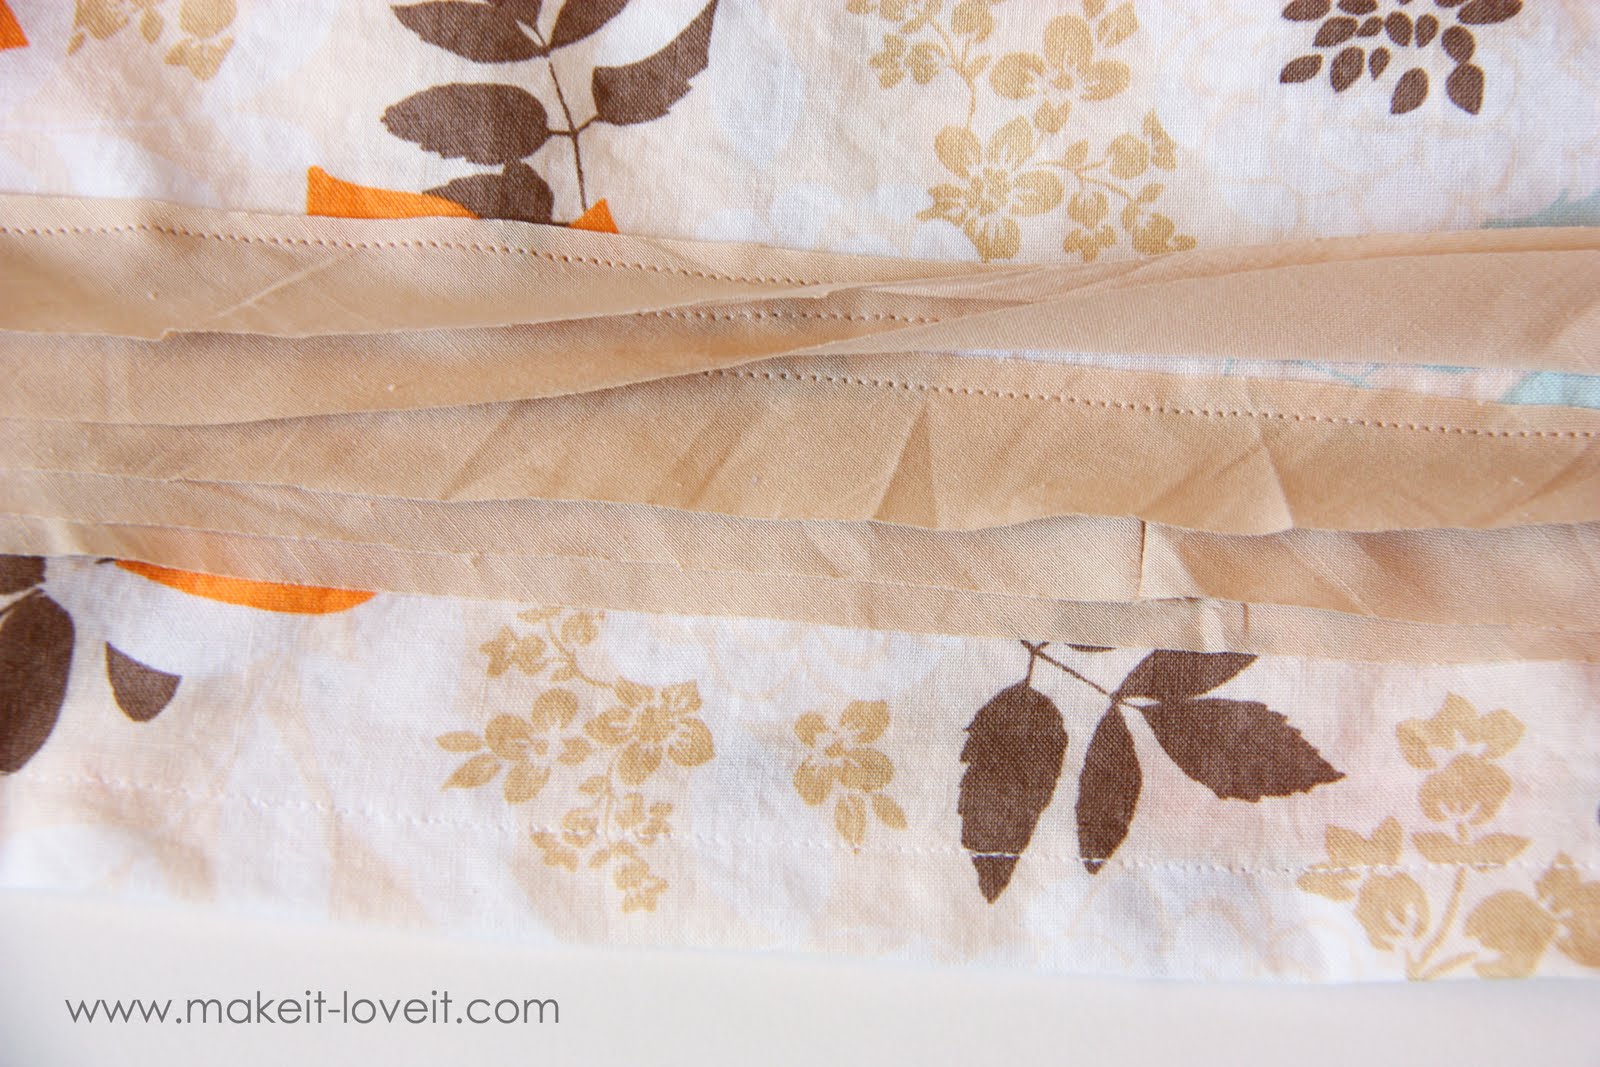
Then lay your two ends down flat and pin the two ends together where it needs to be sewn together.
Then flip the two ends with right sides together, and sew right where you had it pinned in the previous step.
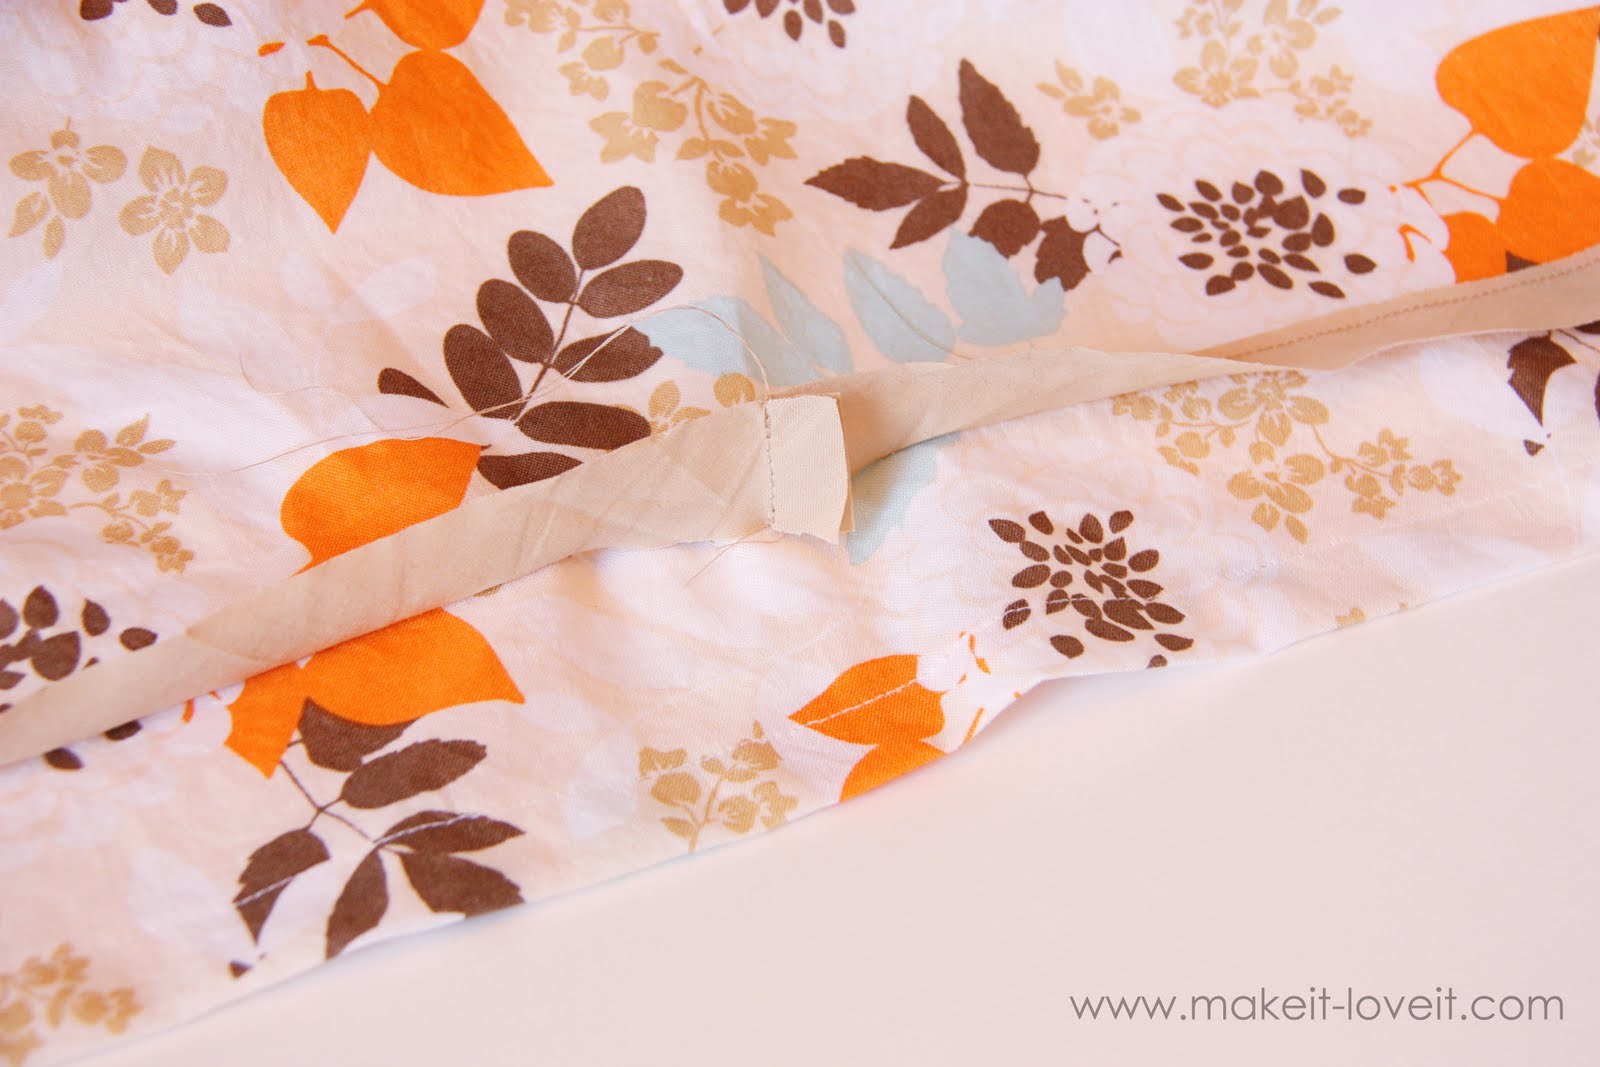
Trim off the excess fabric, lay the fabric flat, and then sew it in place. Now you should have one complete strip along the bottom of your skirt.
Then repeat with several more strips. I did 5 strips total.
Then, iron if desired (or leave the strips wrinkly….).
And you’re done.
Enjoy.
. . . . . . . . . . .
This post is sponsored by: