The ‘MISTER Make It and Love It’ Series: Cardboard Guitars
.. Thank you, thank you, thank you for all of the sweet love (from this post). I sure appreciated all of the lovely comments and well wishes for my new little baby girl……..as well as for our whole family. That sure made this momma feel great. And yes, I read every single one. I could squeeze you all. :) . . . . . . . . . . . . . .
.
During Christmas break, my husband was home for a few weeks…..while P.A. school was out of session. He was able to wrestle, tease, and goof around with the kiddos. And do all sorts of daddy things.
.
During that break, he also transformed into Mister Make It and Love It a few times, and worked on a few projects with the kids…….some with them, some for them. But they were all daddy friendly projects. And since we knew we’d be having a new baby a couple months later, and I’d be a little occupied after she came, he stayed busy with the kids to create a few Mister Make It and Love It projects for future postings. Well, the future is now here, and I’m adjusting to this new little lady who has joined our home.
.
And the Mister Make It and Love It Series is taking over for a few posts.
.
Hooray.
.
Bless that husband’s heart for planning ahead with me, while enjoying a few projects with the kids.
.
Let me explain this first project.
.
Steve (or Mister Make It and Love It….ha!) loves his guitars. His acoustic guitar, his electric guitar, his amp, his gear, his ukelele, his egg shakers… All of it. He doesn’t play them as much as he did before we were married…..but he still loves his hobby. And when he pulls his guitar out, the kids flock to him and dance and twirl as he rocks out for them.
.
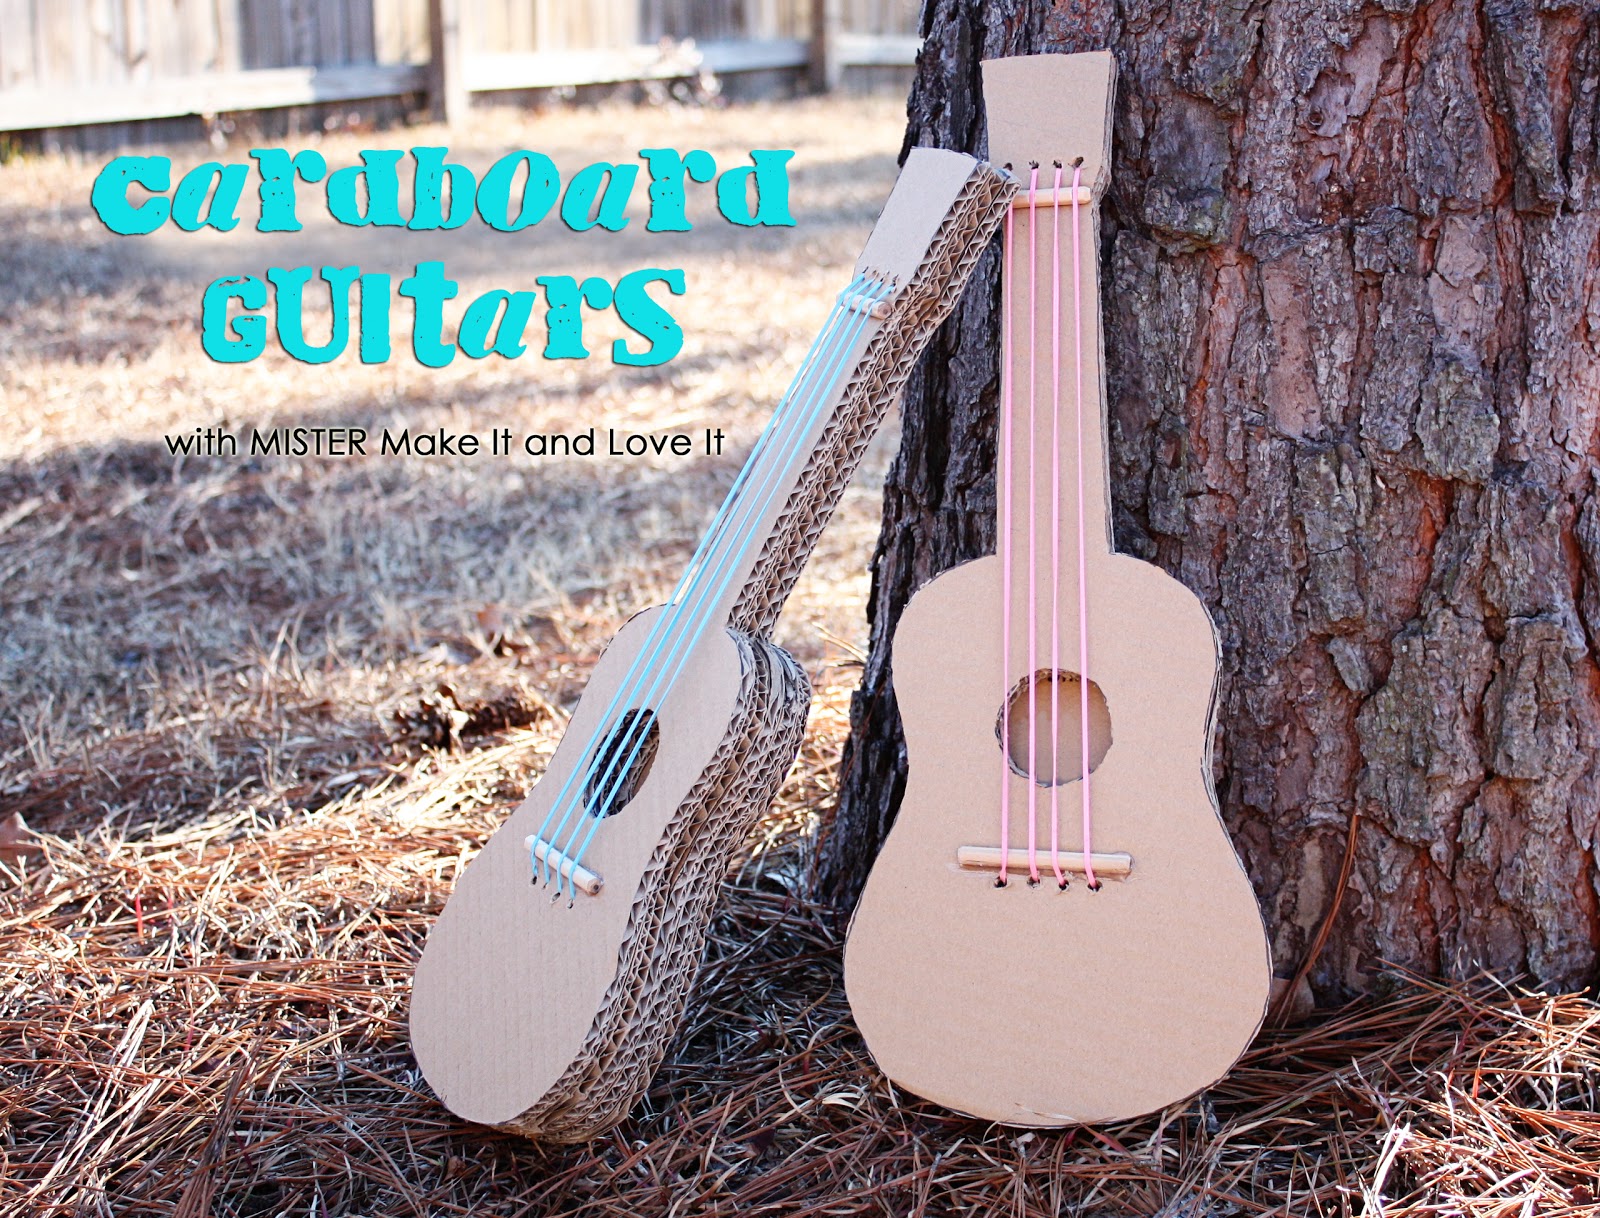
So he thought it would be a lot of fun to make little guitars for the kids…..but in cardboard form.
.
And then jam out with the little monkeys.
.
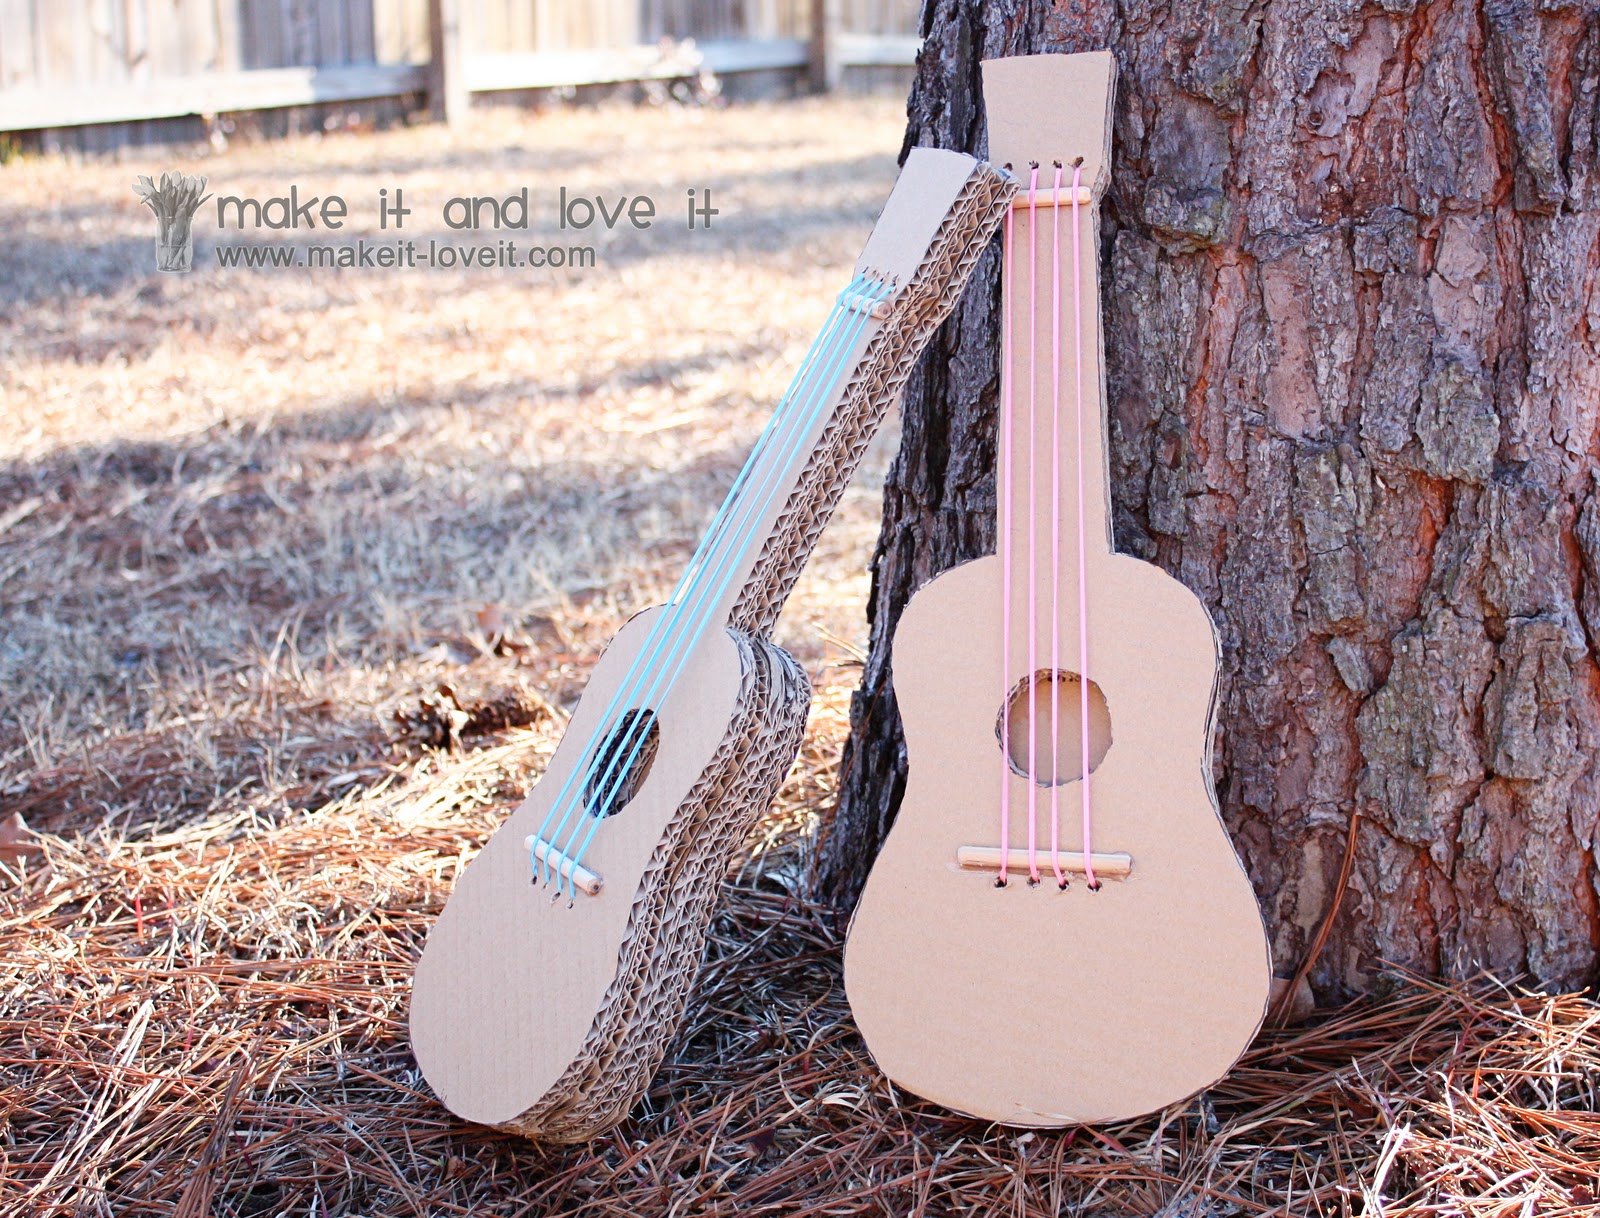
The guitars come complete with rubber band strings………..great for strumming and a small amount of sound.
.
And even a bridge at the top and bottom, to keep the “strings” away from the guitar body.
.
This mini guitar size was perfect for their little strummin’ fingers…
.
.
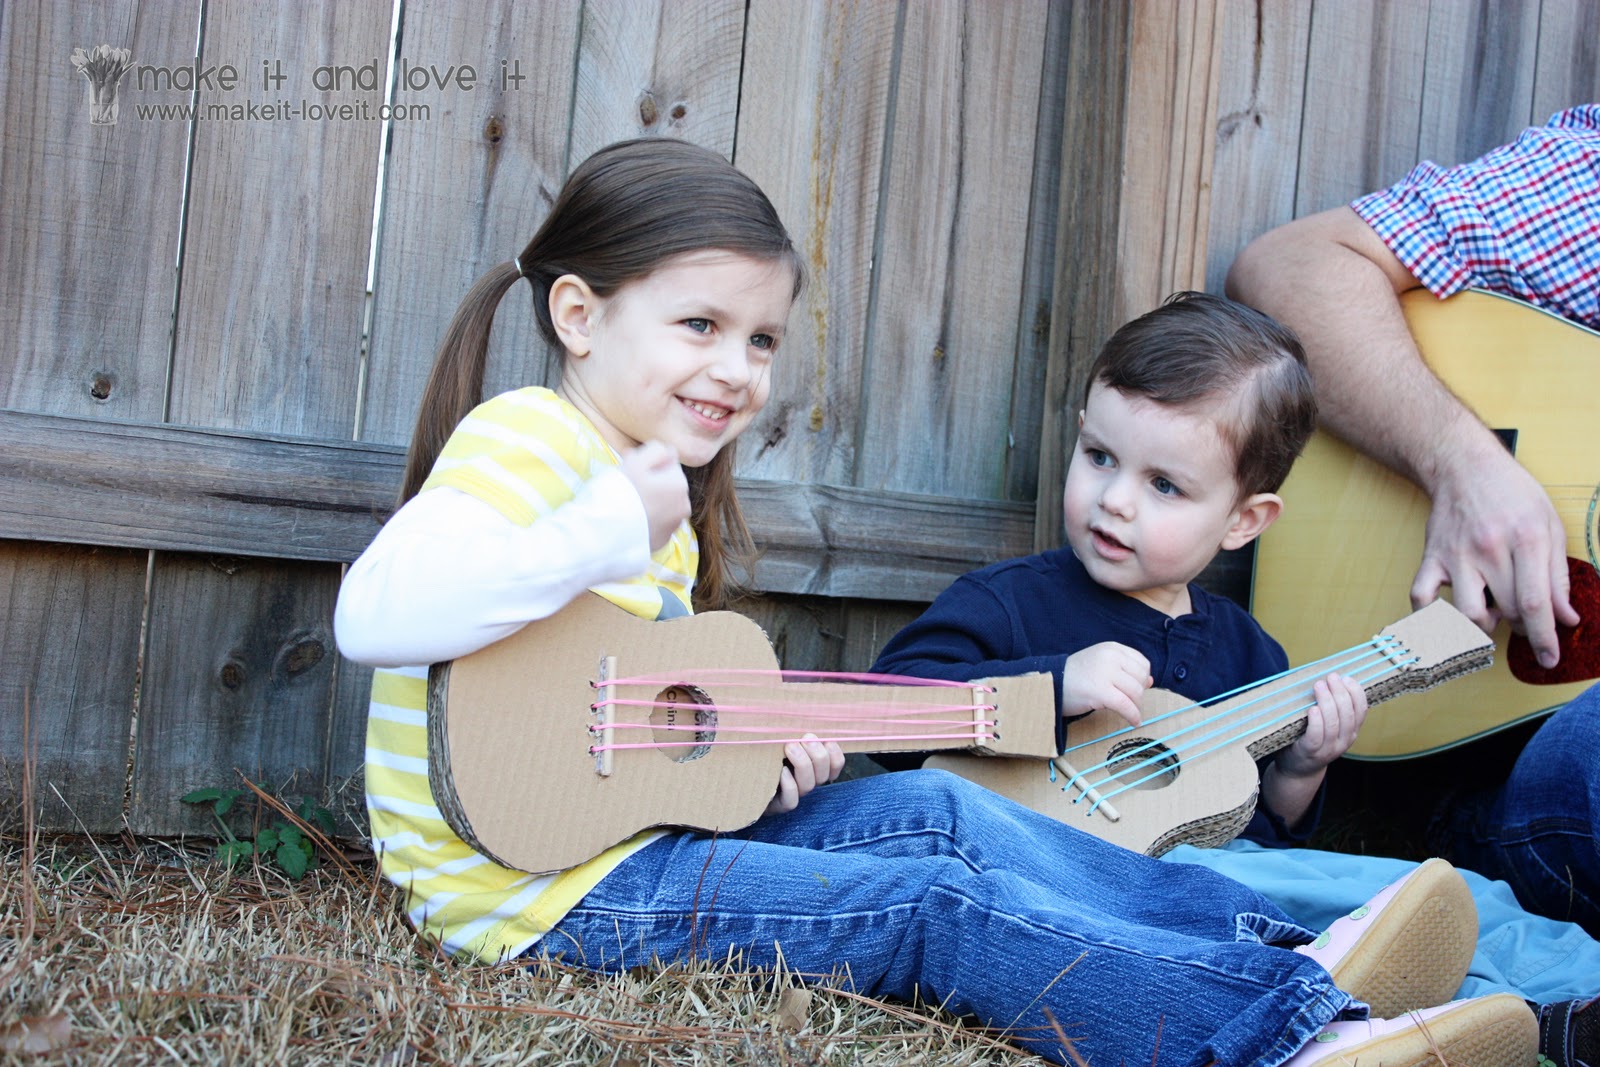
And made them feel like rock stars, just like their daddy.
.
And, of course, the price was next to nothing. And worth every bit of time making them………because the rock session that follows is priceless.
(While he’s playing, they really think they are making all of that sound with him. It’s adorable.)
.
Would you like to make your own cardboard guitar(s)?
(pattern pieces included)
.
First of all, my husband traced his little ukelele to use as a pattern for these little guitars. In case you don’t have a ukelele to trace…….you can find the pattern pieces
here to use. (
Just be sure to copy and paste to a document, reduce the margins to zero, and print out at 100%. Then tape the two pieces together at the X’s.)
.
Next, check out in your garage (or storage space) for some sturdy cardboard. Try and find some without folds or creases. I got mine while at Staples, and just asked for some of their old boxes. Ask at your local store (any kind) and see if they are getting rid of any. You may find some higher quality cardboard there, rather than old squished boxes you may have laying around.
.
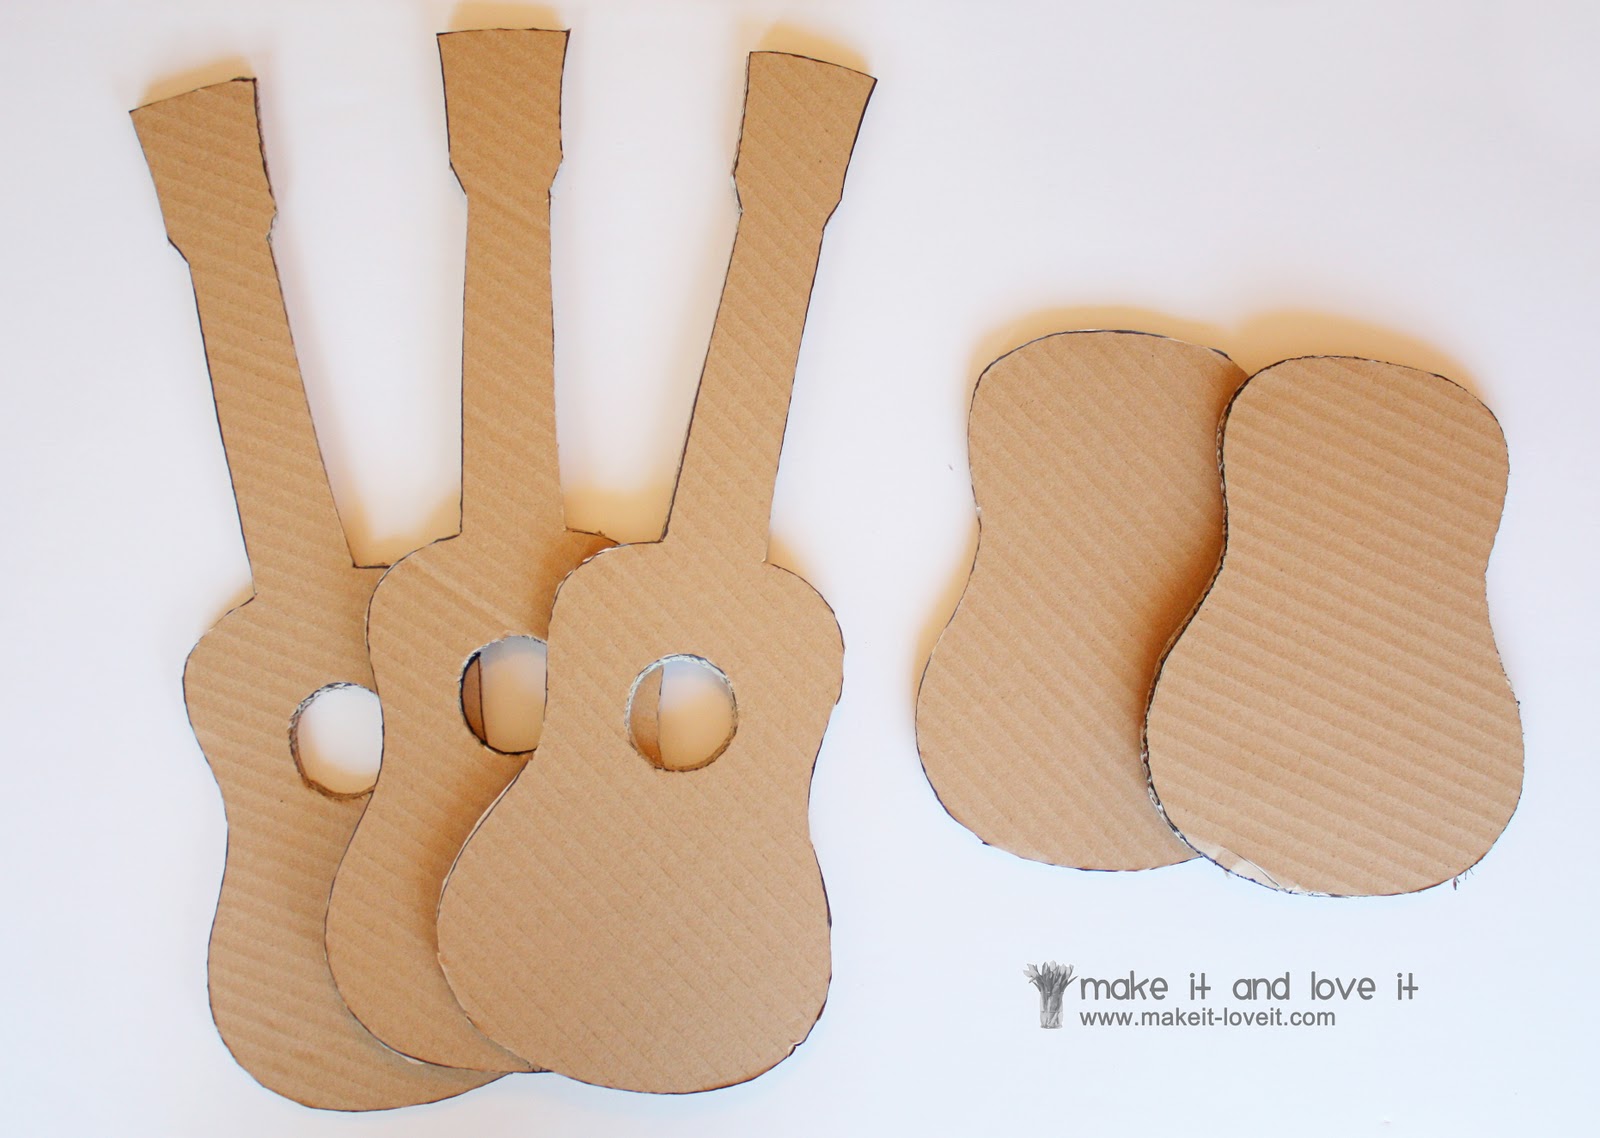
Then trace 3 of the full size guitar shape right onto the cardboard. Then cut off the top part of the guitar, right along the dotted line, and trace 2 of the shortened guitar piece (without the center hole) onto the cardboard as well.
.
Then use a utility (or exacto) knife to cut out the 5 guitar shapes.
.
Then, use a hot glue gun to attach two of the bigger guitar pieces together.
.
.
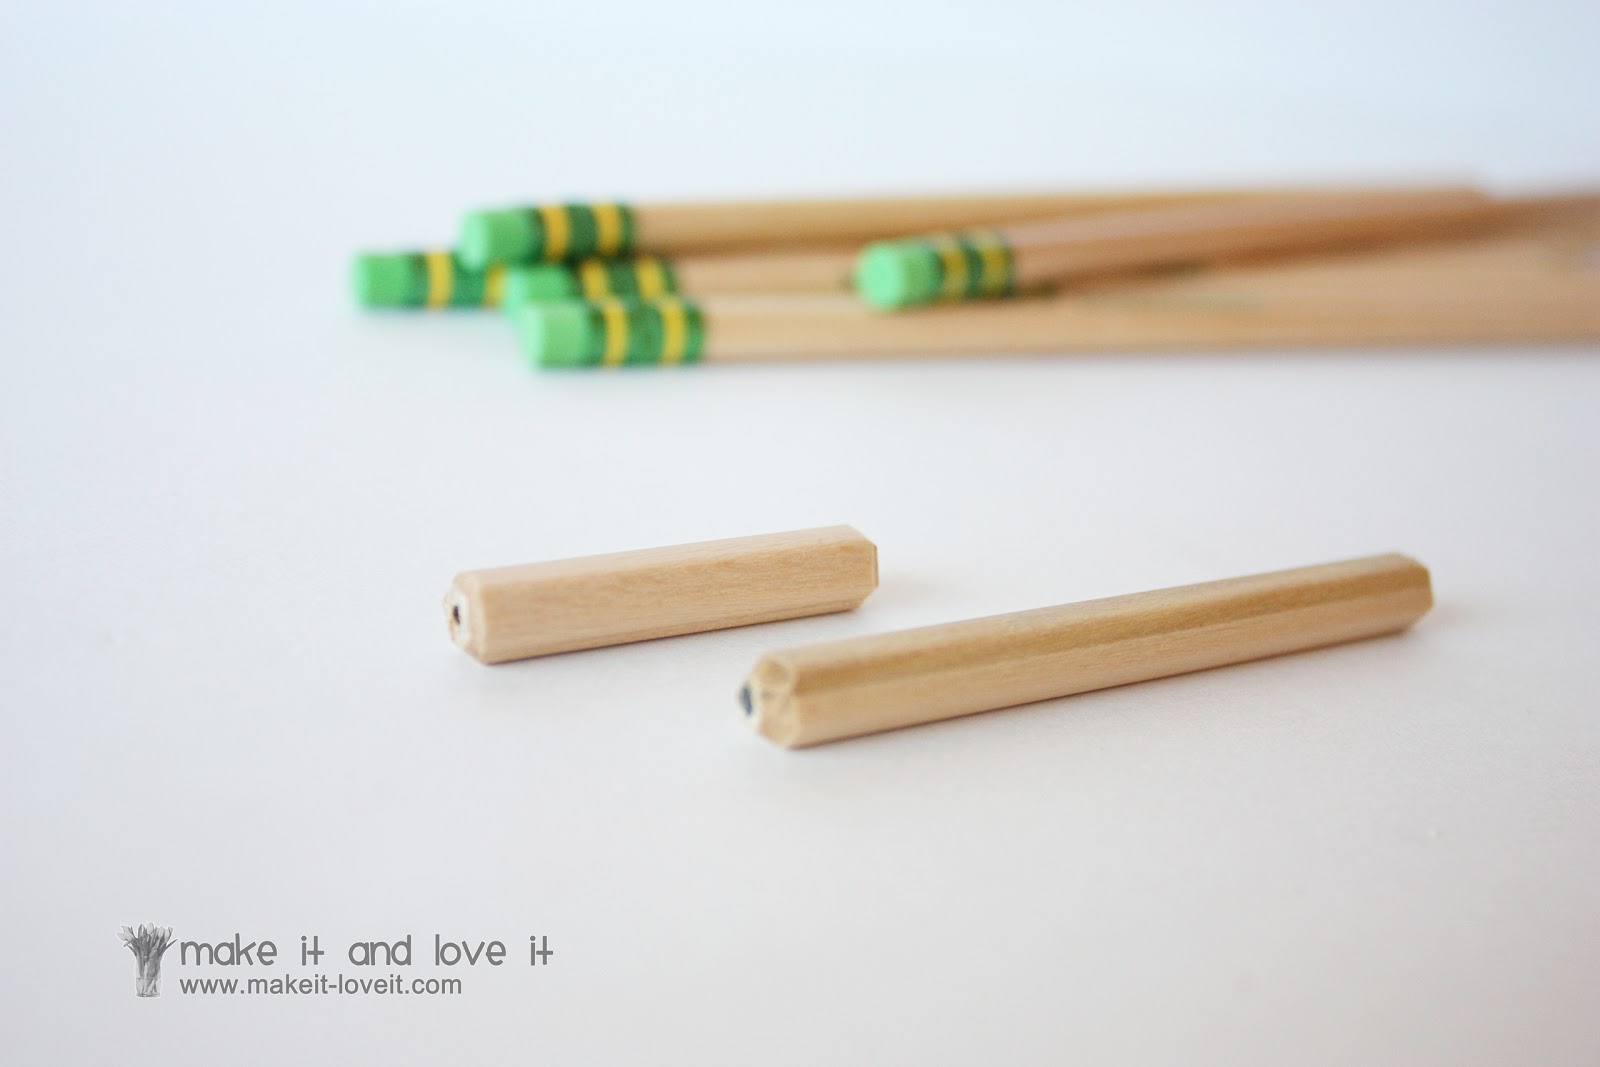
Next, cut up a pencil (or wooden dowel) to create a bridge at each end of the guitar strings. Cut a piece that is 1 1/2 inches and the other one 2 3/4 inches.
.
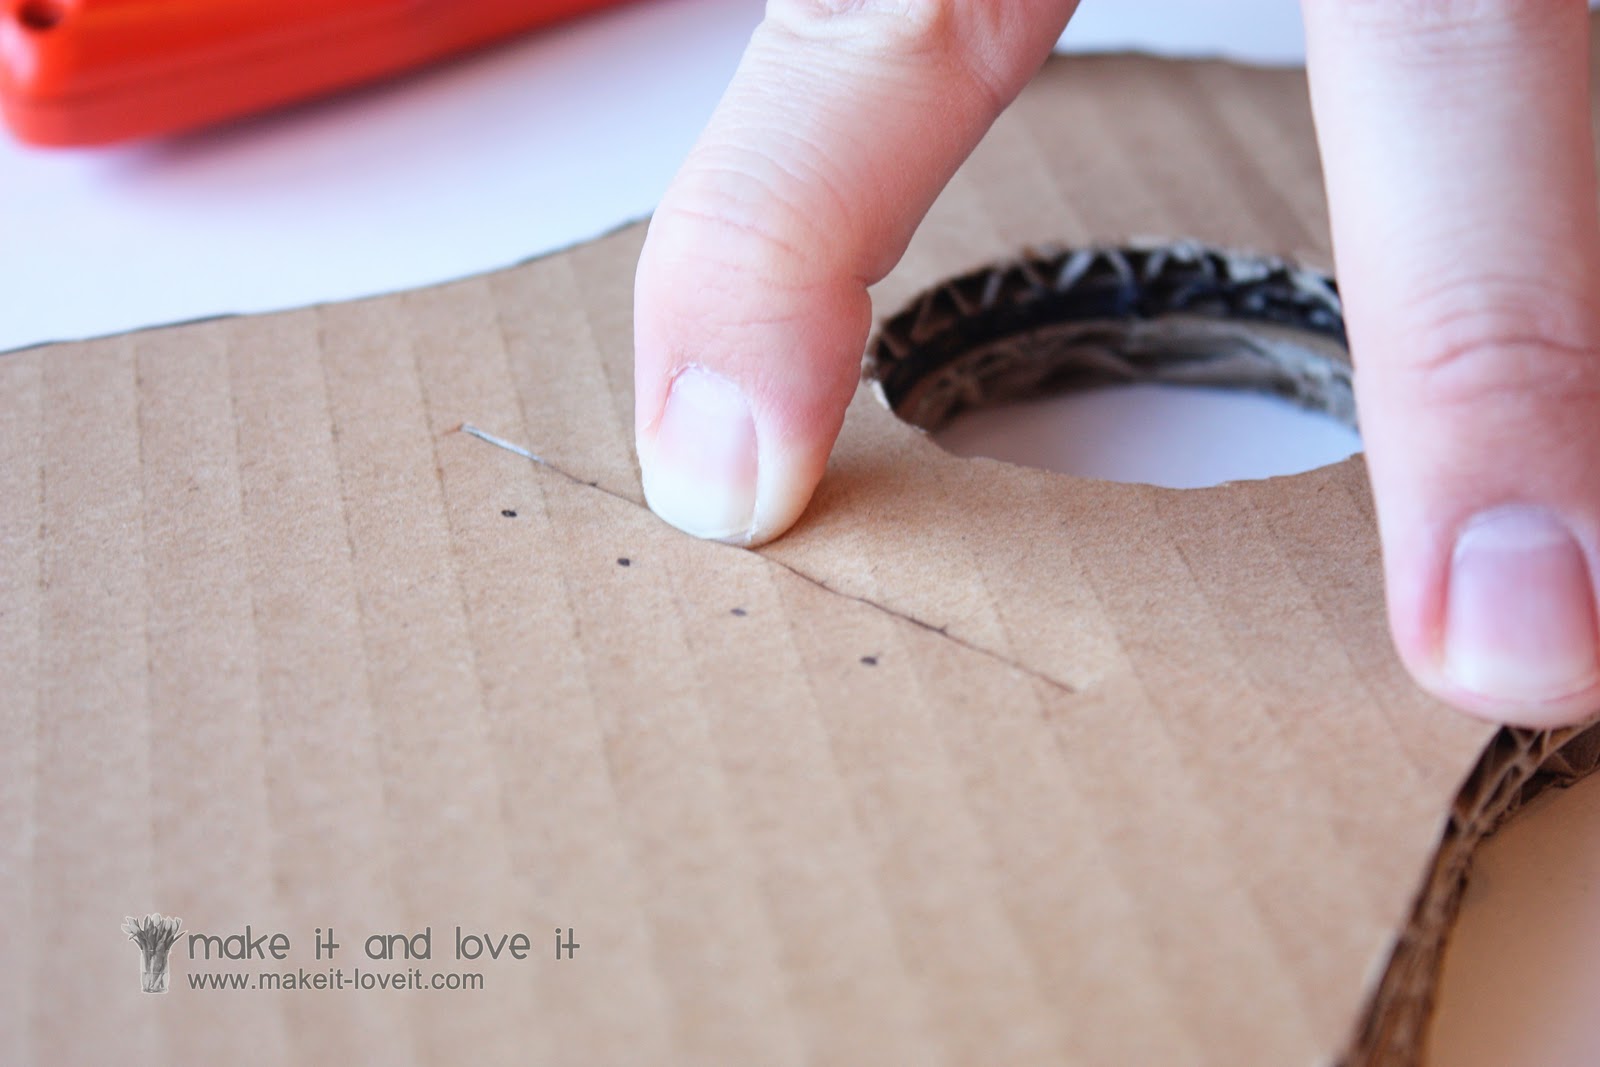
Then, draw a 2 3/4 inch line that is 1 inch below the circle opening on the front side of the 2 guitar pieces that you just glued together. Then draw 4 dots below the line that are about a 1/2 inch apart and about a 1/3 inch below the line.
.
Then use a utility knife to make a shallow cut into the cardboard, right along that line.
.
Then use your finger to push a dent down along that line, to create a little divot for the pencil bridge to lay.
.
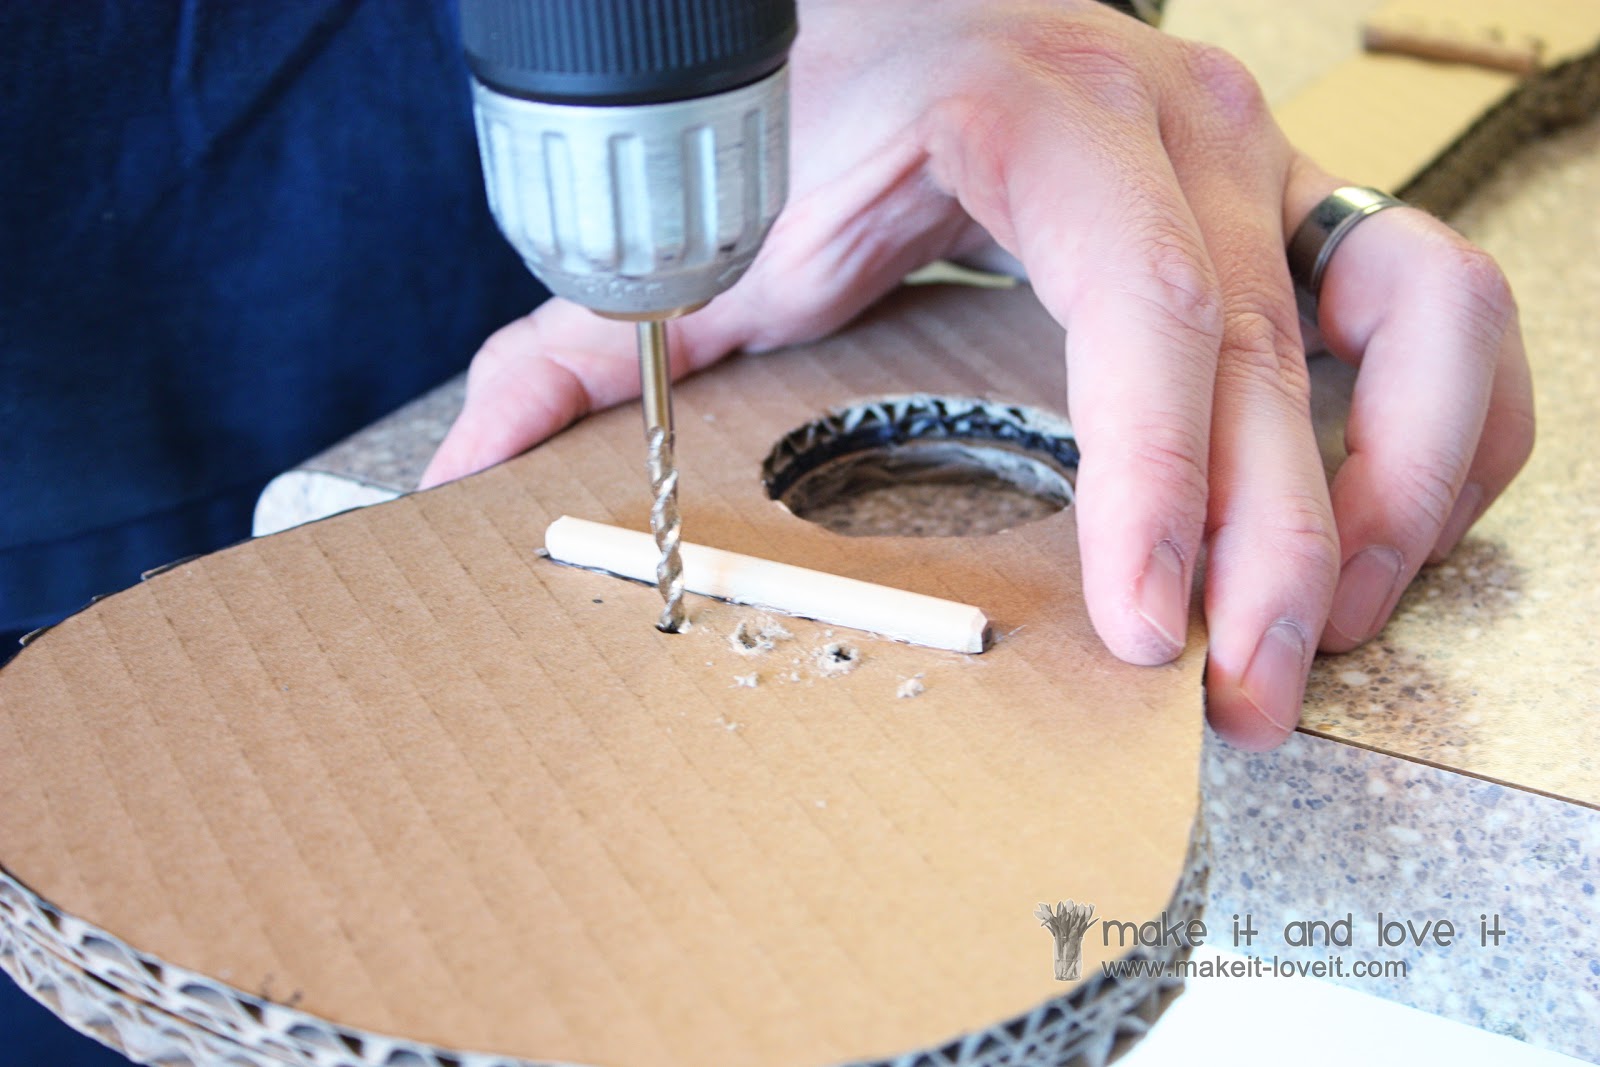
Then hot glue the bigger pencil piece right down into the dented crease, securing the bottom bridge in place.
.
Next, drill some holes through the 2 layers of cardboard, right where your 4 marks are.
.
.
For the bridge at the top of the guitar neck, make a 1 1/2 inch long line right below where the neck curves out at the top. Then make 4 dots about a 1/2 inch above the line, about a 1/3 inch apart. Make a shallow cut along the line, dent it in with your finger, and then hot glue the smaller pencil piece right into the crease……..just like you did above.
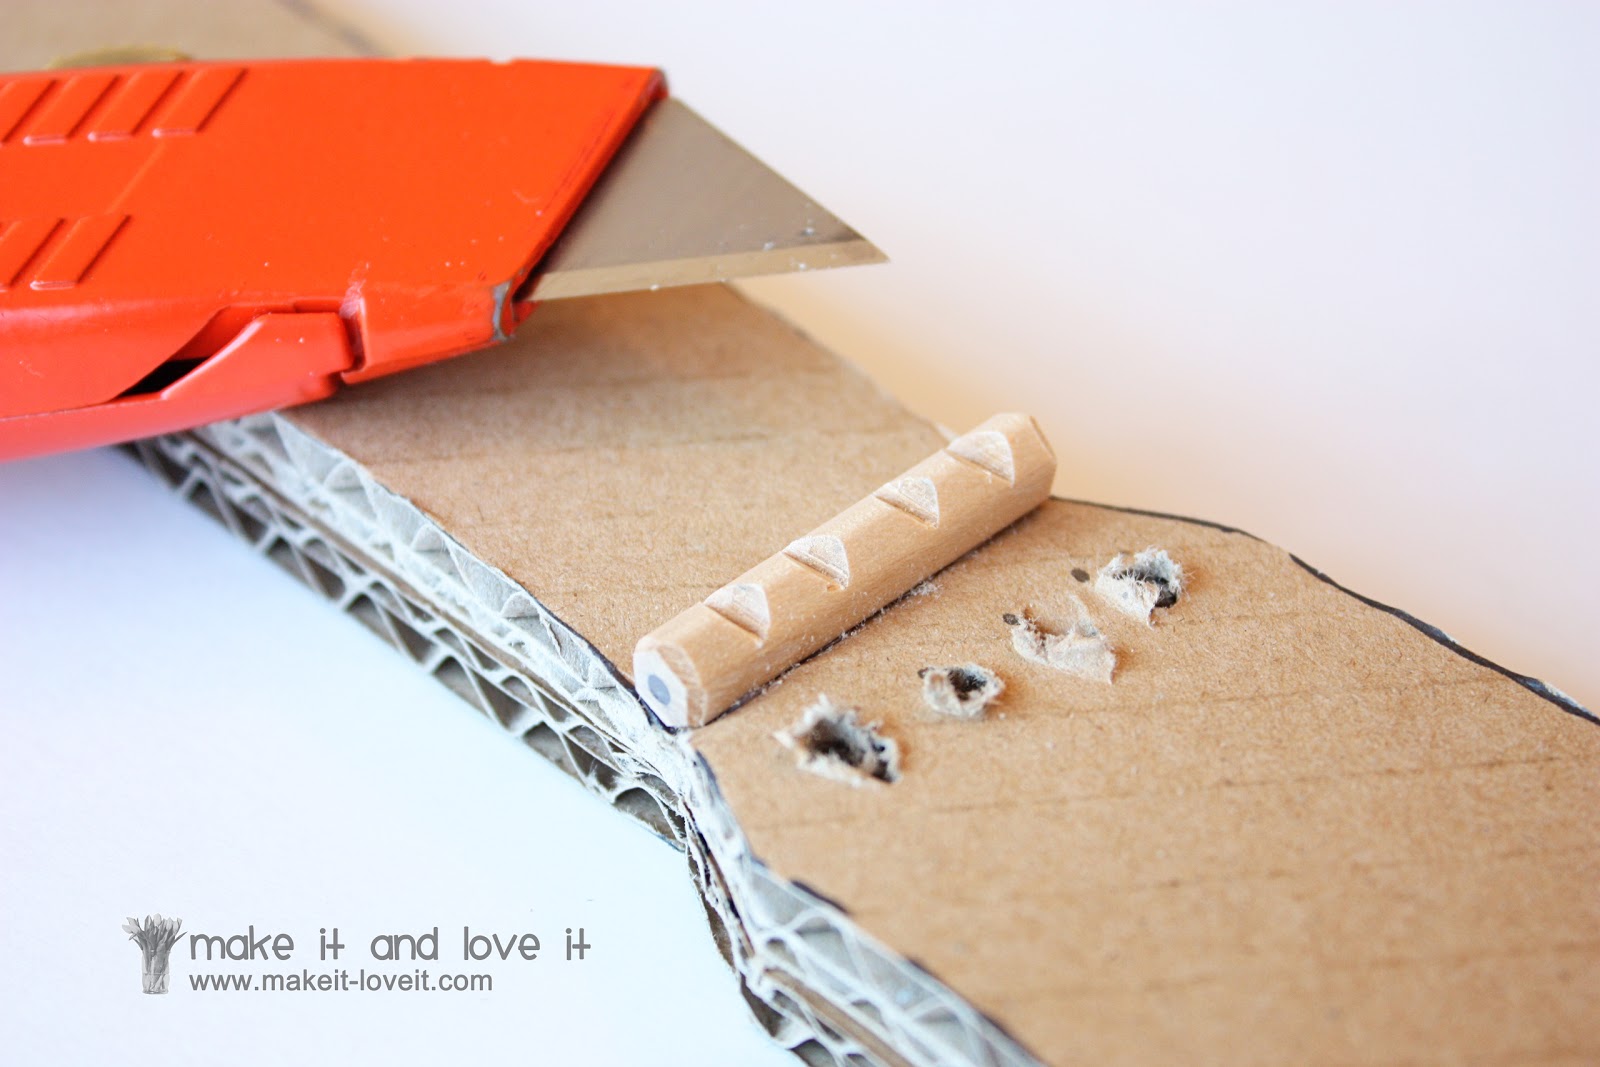
Now, use your utility knife to cut out little dents in the pencil, to help keep each of the guitar strings in place.
.
For the guitar strings, I found some colored file folder rubber bands at Staples. They are jumbo size (7 inch rubber bands) and are the perfect size to use for this project. I cut 4 rubber bands open for the guitar.
.
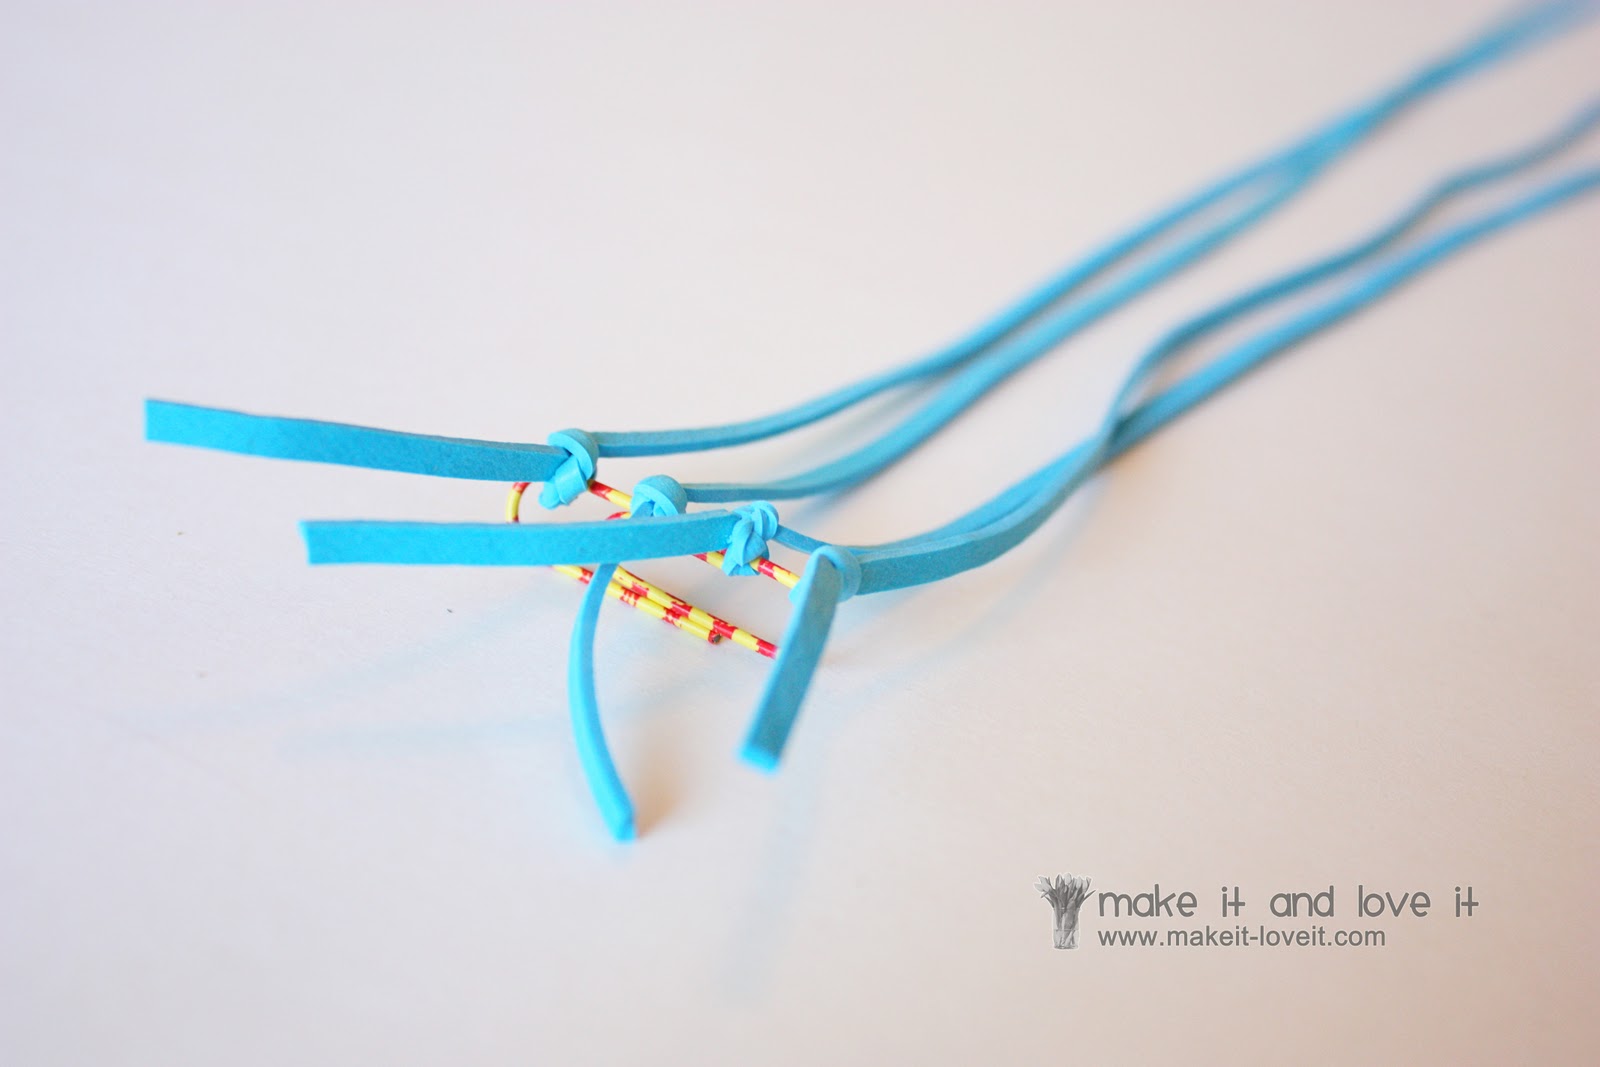
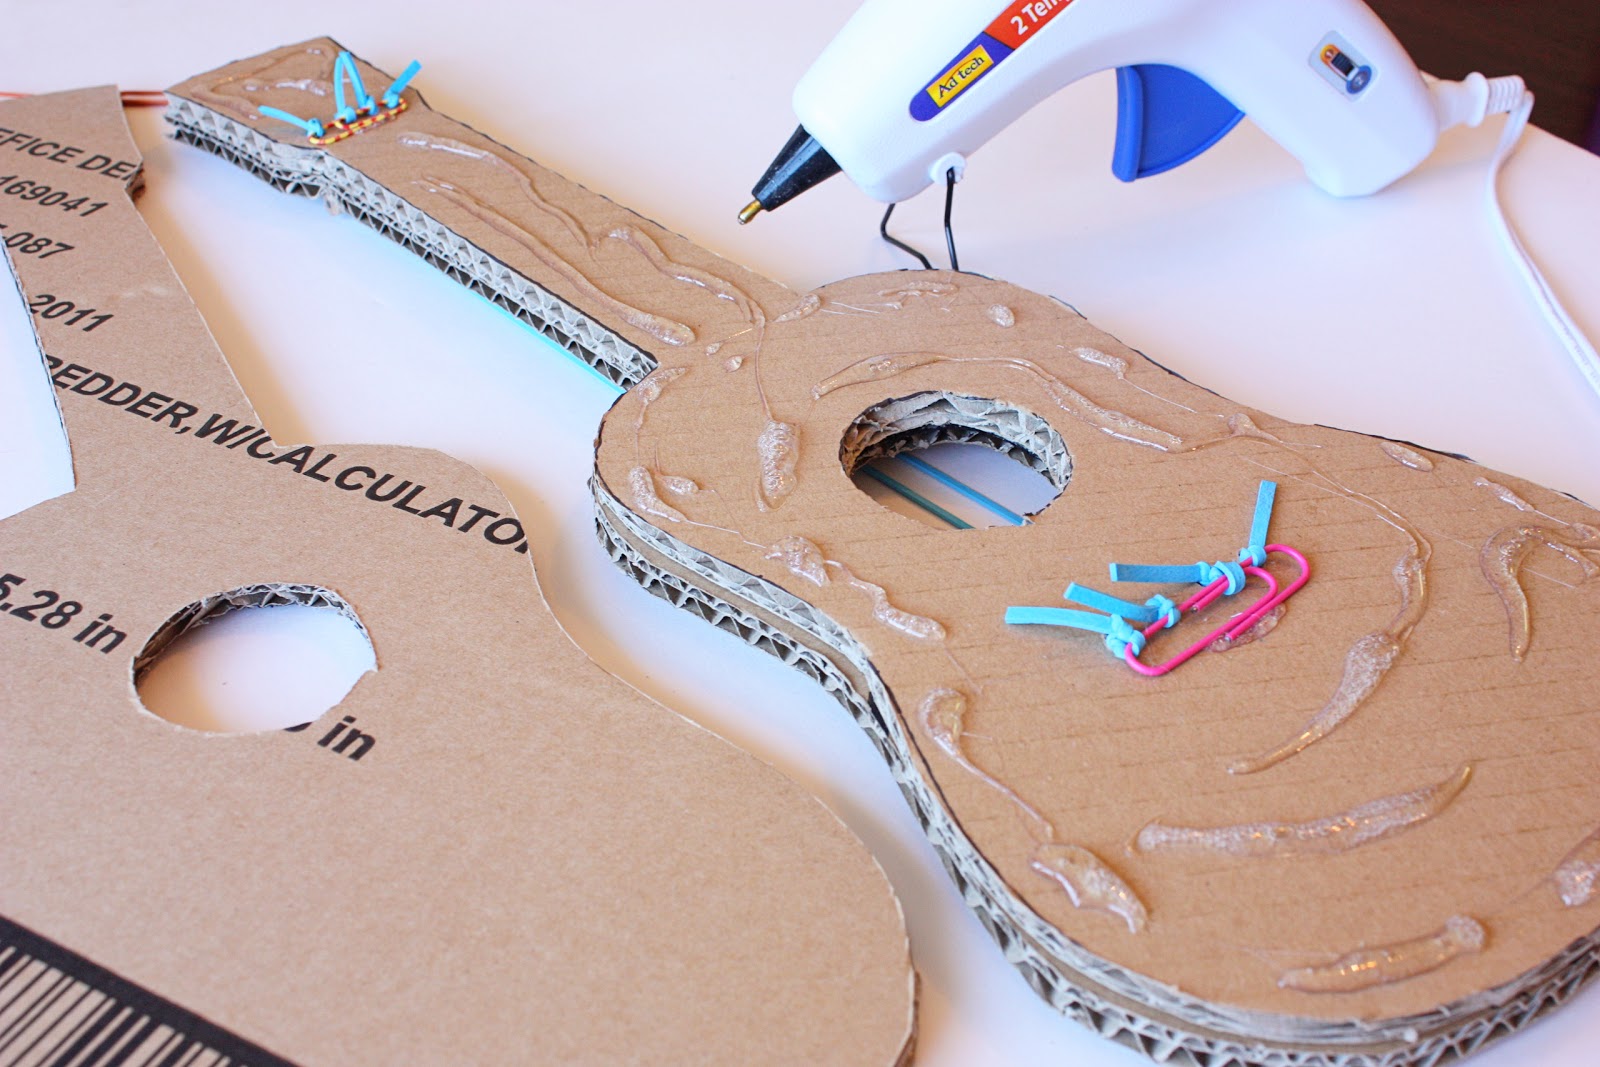
Then, tie one end of each of the rubber bands along the long edge of a sturdy 1 inch (or similar) paper clip.
.
From the back side of the guitar, thread each of the other ends of the rubber bands through the 4 holes at the top of the guitar neck……..and pull them all the way through until the paper clip is flush with the backside of the guitar.
.
Then, one rubber band at a time, pull them along the front of the guitar and through the drilled holes towards the bottom of the guitar. Tie the other end of each rubber band to a 1 1/2 inch (or similar) paper clip that is on the back side of the guitar.
.
My husband Steve was excited to tie each rubber band at different tightnesses, so that each string would sound slightly different, but that detail is up to you. Either way, thread each rubber band through each hole and tie into a knot along the long end of the paper clip. (This is the view from the back of the guitar.)
.
Then trim off each rubber band but don’t cut it too close to the paper clip. Then place a bit of glue on the other long edge of the paper clip, just to secure it down. But don’t let the hot glue touch the rubber band or it will melt it and break it.
.
Then, place a good amount of glue along the backside of the guitar with the strings (but don’t get any glue on the rubber bands) and then place the 3rd full size guitar piece onto the back……covering everything up.
.
Then glue the 2 smaller guitar pieces to the very back of the guitar……giving the guitar more thickness and durability……plus it gives the body of the guitar that fullness like a real one has.
Press the layers together firmly.
.
Trim off any uneven edges with your utility knife if needed.
.
Then make a few more.
.
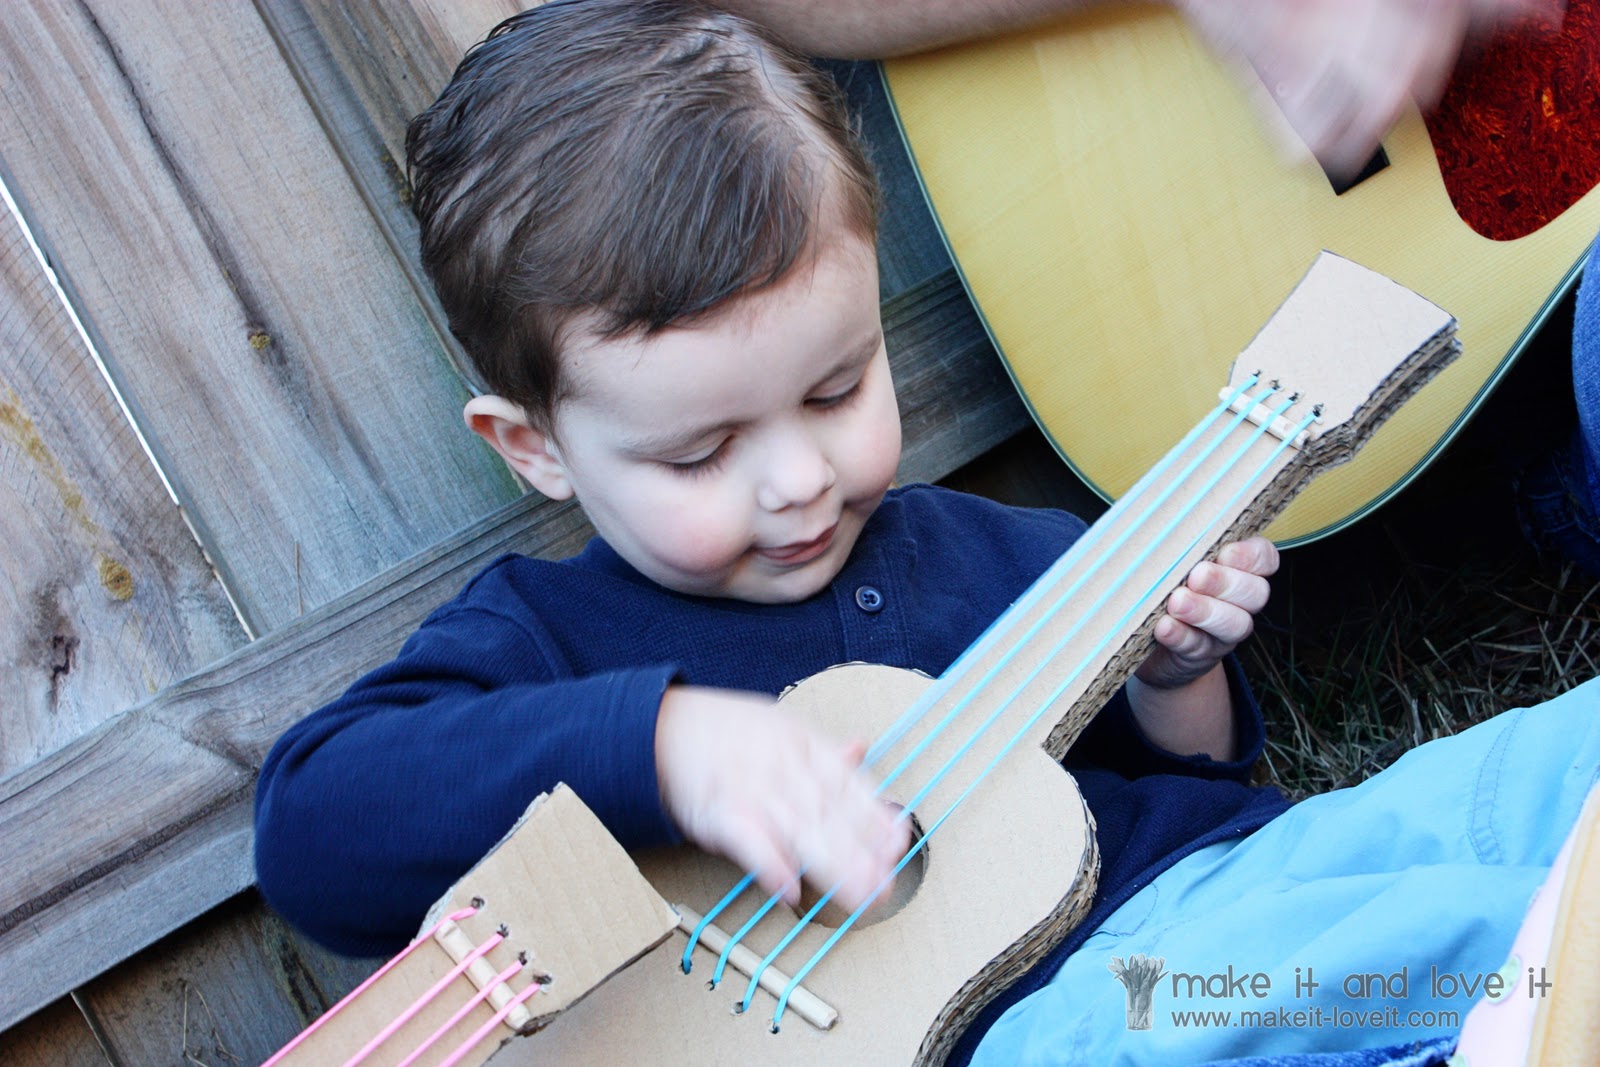
Now it’s time to jam with your little rock stars.
Related posts:
seriously awesome!
xo.kyla
helped with my project
i really need to make a musical instrument for a music lesson and i think i should make a cardbored guitar
it helped me with my prgecd
wow i made it with my dad and it is awesome I added some glitter glue on it for detail
This id so cool!!!!
I’m using this idea for my school project!!!!
:P ;) :) <3 :3
I am also doing this for my science “sound project ” . I can’t wait to try this ! :D
my project too
That's awesome! My hubby would love to do this with our little girl. Can't wait to see the rest of your Mister Make It and Love It posts!
my kiddos will absolutely LOVE this…they love to make music…and I might even have a few made for the nieces and nephews! Grandma is a music teacher and would go nuts to have herself a little band! lol
What a great idea! This is so clever, and so adorable!
♥ Bethany
http://www.happyhomemaker.me
this makes me so happy! i can't imagine my hubs putting this together, but he is a musician too and our daughter does the same thing you mentioned when he pulls out the guitar. she will love one of her own. congratulations on the beautiful new baby girl!
pretty neat! Our 10 year old has high functioning autism and has just got into an electric guitar! But I also have 4 other kids and this is right up my alley..and much cheaper!
So Cool! I don't have little kids any more, but sure wish I did…maybe for the grandkids! GREAT job!
My Mister will be reading these posts for the next little while. So glad you get a little break!
Awe this post just melts my heart. When I was little, My Dad played his guitar all the time and we ( 7 Kids) just loved it. Your children will remember these moments for the rest of their lives. thanks for posting!
Very cute idea. Your creativity has rubbed off on your mister, very cool. Excited to see what else we'll see from him in the near future while you enjoy your new "little" bundle of joy.
We actually made cardboard guitars last week, but not near as cool as yours! Ours were just cut out and then colored on :) Now I want to make new ones!!
Oh my goodness! That is amazing! How in the world do you come up with such clever ideas? I definitely need to try this one.
That's adorable! Thanks for the great idea!
WOW!!!!! SO AWESOME!!!!
How is PA school going? My husband is in PA school as well. My sister in Law said you and Her used to be visiting teaching companions, Irina Nothum. I already followed your blog it is my all time favorite blog to follow. We have 3 little ones too, we dont see much of daddy either. Good luck with the new addition.
so fun! i may have to make this for my pre-school
Oh my goodness I love it! These pictures are precious. :)
Oh my gosh those are awesome!
WOW ! Those are really cool!! Good job Mr!! :)
And congratulations on your beautiful little girl!! I just had my 3rd 3 weeks ago – I thought he was big, (just 9 lb). you are one wonder woman!! Hope the transition is going well!
How adorable! That is so cool.
Amazing idea! I'll be keeping this in my idea folder for rainy/snowy days.
What a great idea!! wooooooow!!!
love it! so glad to find make it projects for the dads!
That's adorable and TOTALLY something my hubby would make! Thanks. :)
Wonderful!! Such a great job. So realistic!
What a great Idea! This will be kept in the folder of ideas.
be still my heart…..
we made wooden versions of this in a much more simplistic way when mine were young. brings back such sweet memories. Mister make it and love it ROCKS!
ummmmmm that's RIDICULOUSLY ADORABLE!!!
yazdığın kelimeler gülünç zekanı kullansana biraz kendim yaratıcı ol
i know right this idea was so AMAZINGGGGG IT CAN DEFINETELTY HELPNOUT WITH MY BMUSIC PROJET
Making some of these this weekend!!! Thanks for the great Idea!!!!!
This is so cute! I just made a guitar for my litte boy but it looks no where near as cool. Just a carboard box with some rubber bands. Oh and your new addition is just beautiful but bless your heart woman. And 11lb baby mine are not that big till 2 months old. Well enjoy your children they are just beautiful
Very cute project, and I must say your children are ADORABLE! (and especially the the cute new squishy one!)
This is cool! Thanks Mr. Make It and Love It, and congratulations on the new baby girl.
Now honestly, who doesn't have a ukulele to trace ;p
I should get my hubby to make a little banjo for my daughter like this, and they can jam together.
(No, I'm not kidding, there's a banjo. One day he decided… hey, I need a banjo! Okay, I say, before realizing that banjo's are neither cheap nor easy to come by. And then came the banjo, and the banjo lessons. Just in case the plaid and the rifles were too subtle.)
So great! Love seeing pics of S.–I miss joking around with him. Congrats on your beautiful baby girl!
Love, Lisa
Absolutely LOVELY !!!
BY THE WAY- I sewed the Pleated Knit Scarf and post about it in my blog with link and credit to your excellent tutorial:
http://rachelgazit.blogspot.com/2011/03/blog-post.html
My husband and son would LOVE this! I'll definitely have to share this with the hubs. Our son loves to "rock out!" Perfect!!
This is amazing!!!!! My son is setting here begging me for one! I guess a couple guitars are in my future! Thanks for sharing it!
This is seriously an answer to a prayer. I wanted to get my little girl a guitar for her upcoming 4th b-day, but did not want to pay $20 for a toy one that would not last. I was trying to figure out how her brothers could make her one for her b-day when Voila! Excited for your (not so) little addition to your family. Thanks to the Mr. for this!
Super fun & love the almost NO cost factor. Sounds like a Easter break project for my girls. Thanks for sharing…
How fun! Now mine can rock out with their daddy, too!
1. Your children are adorable.
2. You have a great husband to do that for the kiddos.
3. Your children are adorable.
4. Keep those memories in your heart!
What a great idea! Way to go Rock Star Daddy!
Becky@ http://rawpotatoes.blogspot.com/
Thanks Mister Make it and Love it… I am a new subscriber and a mom and step mom to 5 boys… Love to see posts that are fun for boys…
Super adorable/awesome. This is totally the kind of thing my husband would love to make too.
WOW! This is a great tute. I love it. Can't wait to make a couple of my own.
What a cute idea! I'm new to your blog and totally love all your ideas. I actually assembled a cardboard box, according to your tutorial, tonight and plan to decorate it really cute. Congrats on your beautiful baby girl!
Good Job Mr.Make It and Love it.
My kiddos would like that one.
Thanks for sharing.
What a fantastic idea! Not to mention that is the cutest thing I have seen today next to my son.
Wow…you are some talented couple! I am impressed. I love how cute this guitar is! NIce job Mister Make It and Love It and congrats on your newest addition!
featured this on my blog today!
http://www.kimboscrafts.blogspot.com
Came across this just in time…my boy needs to make an instrument for a school project tomorrow and this is it!!
Thanks, love that hubbies do this and have a blog!!
I just found the perfect rainy afternoon project. Thanks so much! I can't wait to get strumming.
wow! so cute! We may add this to our prop collection… the kids will love it! thank you for the great ideas/tutorials.
love this! I'm posting it on my blog, The Handmade Experiment cause it's rocking! http://wp.me/pkcUM-EC
Wonderful, joyful project. I knew I'd been hoarding cardboard for a reason!
WOW! I LOVE IT! :)
Truly genius idea!
& here's a tip for cutting thick corrugated cardboard: I have a long thin serrated bread knife I use like a saw for cardboard & styrofoam – it works great – much faster & doesn't get hung up like craft & utility knives do.
Made it. Love it. http://i131.photobucket.com/albums/p288/concretins/NiksRandomPics/Random%20Projects/IMG_5417.jpg
http://i131.photobucket.com/albums/p288/concretins/NiksRandomPics/Random%20Projects/IMG_5423.jpg
C'est tout simplement génial !!! Merci beaucoup pour le tuto !!
Congratulations, your guitars are beautiful. After reading your post I created a cardboard guitar for my baby. Thank you for the idea
this is now on the to do list for the hubs and the girls. Thanks!
I cannot wait to make these for my boys. We had a ukelele from Hawaii for my boys (their "guitar") but my younger son stepped on it one too many times and broke it.
Oh my what a cute project!
This is great! Really creative :)
Pretty darn brilliant! I’ve made milk carton guitars with yardstick necks, but this, my dears, rocks the house. Well done, you.
That is fabulous. What a creative husband. I may attempt this one day. What a cool idea to recycle cardboard. Wow! I am so impressed.
I absolutely LOVE these!! Best cardboard guitars I’ve ever seen :)
I run Fun Family Crafts, a site similar in nature to Craftgawker and Spotlight, but different in that it’s a library of craft tutorials geared only at kids. I would love it if you’d stop by and submit this to be featured! (I link to you, I don’t post your tutorial on the site) Feel free to submit as many kid friendly craft tutorials as you like! http://funfamilycrafts.com/
cool ohhh yeah
cool ohhhh yeah
cool bro
Love your tutorial! FINALLY somebody that gives awesome instructions on something…YEA! My husband is a street musician in the French Quarter New Orleans….I think I could make this myself though for our 12yr old grandson we’re raising. Thank You for this awesome project!!
Just stopping by to let you know that I’ve featured your craft on Family Fun Crafts! You can see it here:
http://funfamilycrafts.com/cardboard-guitars/
If you have other kid friendly crafts, I’d love it if you would submit them. :) If you would like to display a
featured button on your site, you can grab one from the right side bar of your post above.
Extremely helpful! Thanks alot
That looks cool, but I’m a bit skeptical–does it really work? I have a real guitar, but the neck is warped.
müzik performans ödevimde çok yardımcı oldunuz teşekkür ederim.
naber corc
The guitar is cool I might make one!!!
Thank you for this beautiful Idea. I am the Principal and Owner of ANUA School of Music and teach a 3year student in Guitar. It is sometimes hard to find a project to keep him busy and I found your information. Thank you very much I am sure we are going to have great creative fun.
Hope to see more little projects on your site. Good luck and once again THANK YOU!
maybe at the end u could have them decorate the guitars since it is only cardboard.
Merci pour ce beau tuto,
Il va me permettre d’occuper mes petits enfants quand il pleut et ça leur fera un beau jouet à chacun
Gros bisous
béa
cool as
Too cool… I just made this for my 2 year old out of a diaper box and he is in LOVE with it. Thanks!
OMG! Very nice.
aklını kullanırmısı ALLAH akıl dağıtırken nerdeydin
good
thanks, thanks, thanks a lot. helped a lot in my daughter’s music performance project.
awesome for a school project ‘ sound project’
Made it and loved it!!!
this is so cool. i am going to have to make some for my sunday school kids. they will love these. they are 3-5 yrs. old.
tough
I,m doing it for my science project look,s really cool!!!!!!!!!!!!!!
wowwwwwww so awesome
Hello!
This looks like a great activity. The link for the arm is not working though. When you click it, it just opens up another image of the guitar body.
Sorry about that……it’s fixed now! -Ashley
thnx sommuch for his cool website on how to make a carddbaord guitar. i luv it so much . i am definetky goig to get a A+ on muy music project. thnx so much to your husband.
What a great project. I found your site through the Bookish Ambition blog, and am really amazed by your ingenuity. Thanks for sharing it!
thatnx this will help me with my assignment
this will help with my assignment
süper
It only lets me print out the guitar body piece of the pattern
Sorry about that……I fixed it! -Ashley
any advice on threading the guitar strings?
Cant wait to try this
thx 4 the advice my daughter is going to make this for her project
Hi ,
Thank you for the awesome project . I made this little guitar for my toddler`s musical day…he just loved.
Hi i was just wondering, is this able to play different notes?
Does the guitars actually make sound ?
I made it for my son’s school project. Really love it, thanks for sharing this great idea with us
helped me wiv ma music homework
Used spray paint for colored cardboard
çok süper