Home » DIY Tutorials » DIY Sewing » Sewing: Clothing » Accessories » Wool Felt Hair Accessories for Baby
Wool Felt Hair Accessories for Baby
March 18, 2011 - By Ashley Johnston 148 Comments
.
I keep seeing
Wool Felt used to make hair accessories. I have used polyester felt for hair clips (like
here) but never wool. I wanted to try it out with hair accessories, so I ordered some colorful wool felt pieces to experiment with. And I’m so glad I did. It’s so nice and cozy, doesn’t seem to fray a fuzz up like the polyester felt and seems like the perfect choice for those little newborn heads.
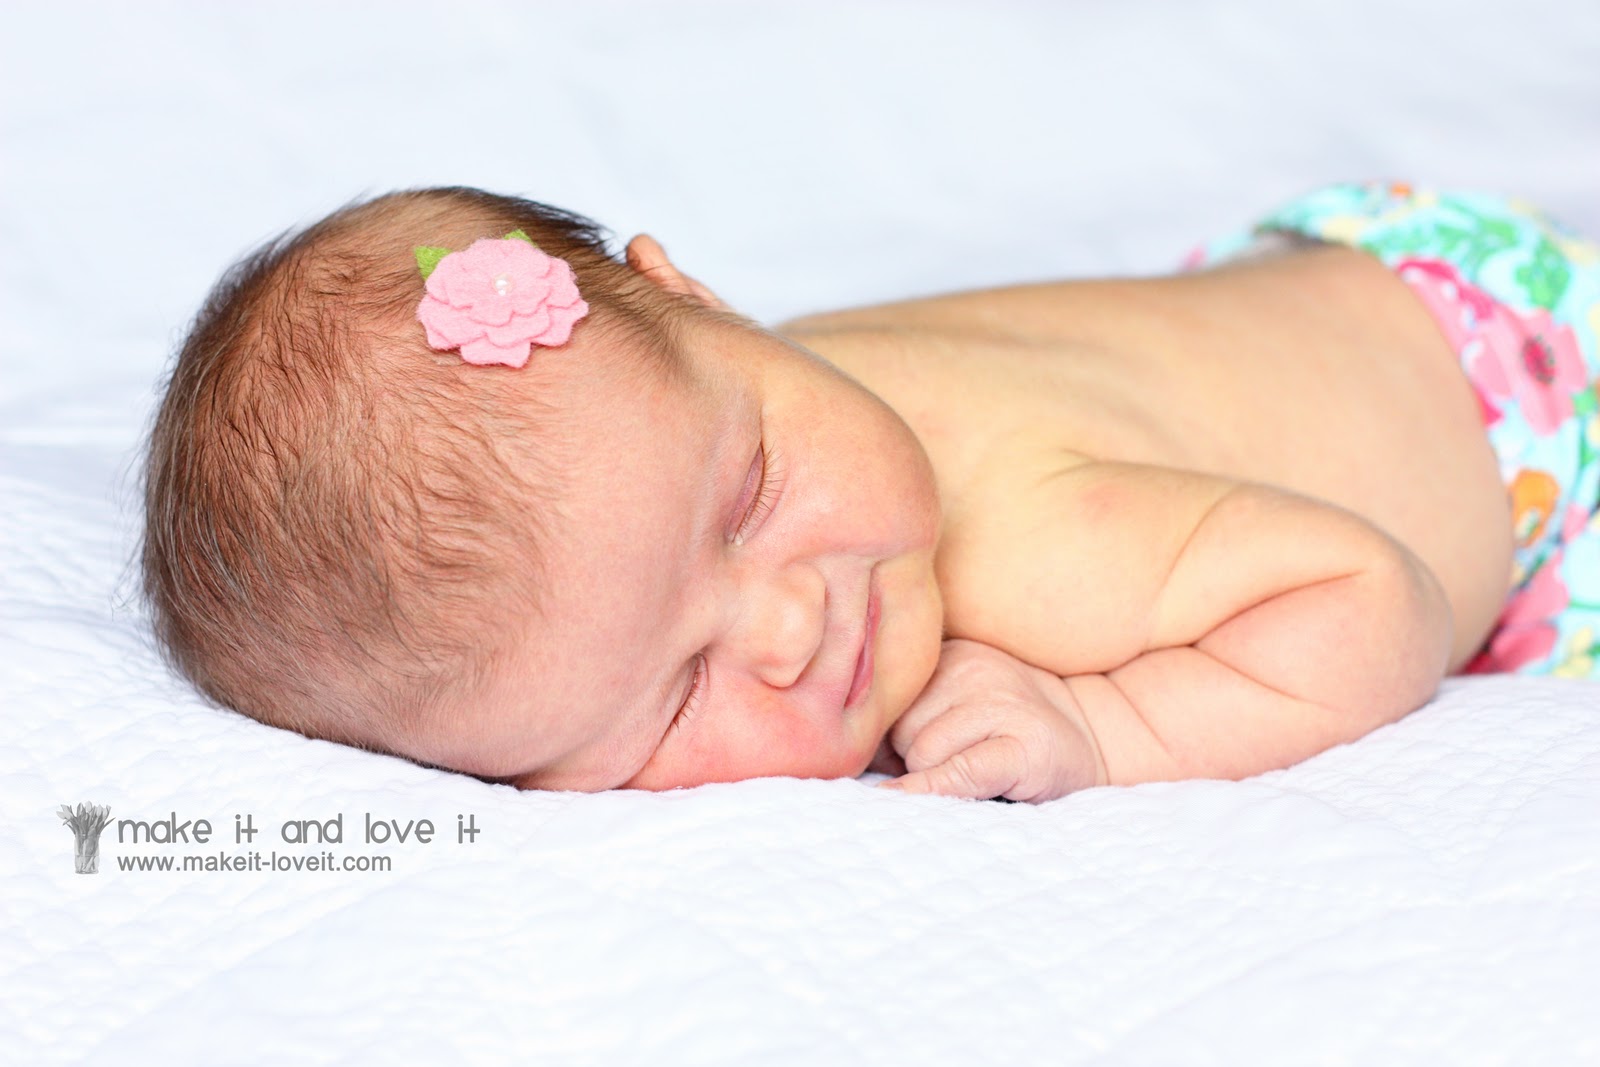
So shortly before our little girl arrived, I made her a few hair lovelies. Oh, because I love a little baby with a simple little bow or flower of some sort. It just girly’s her right up.
This way, no one will mistake her for a him.
Because yeah, that happens often with these itty bitty newborns.
.
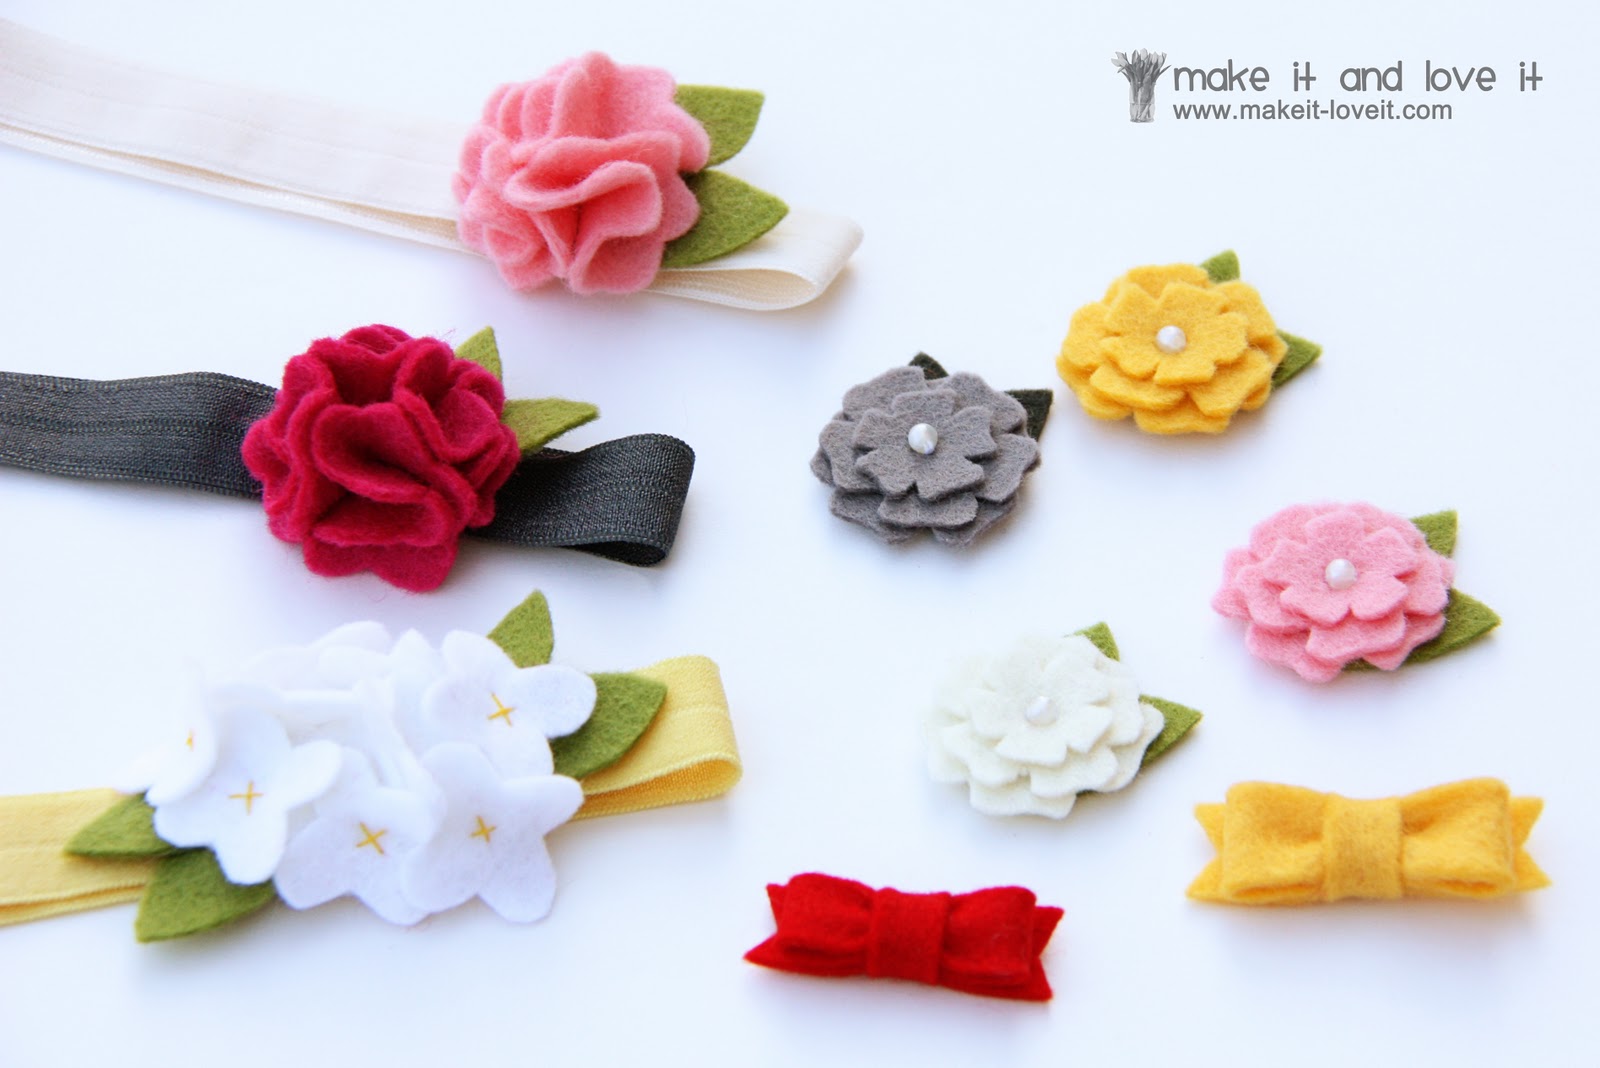
So I created a few accessories that I can attach to a headband……..or just attach right to her head.
(Some use ky jelly, others use karo syrup……….and some people use white school glue. Just add a small dot of one of these to the back of the flower, place on head, and allow to dry. Use a little water to dissolve any of the three to loosen up the flower when done, and remove.)
.
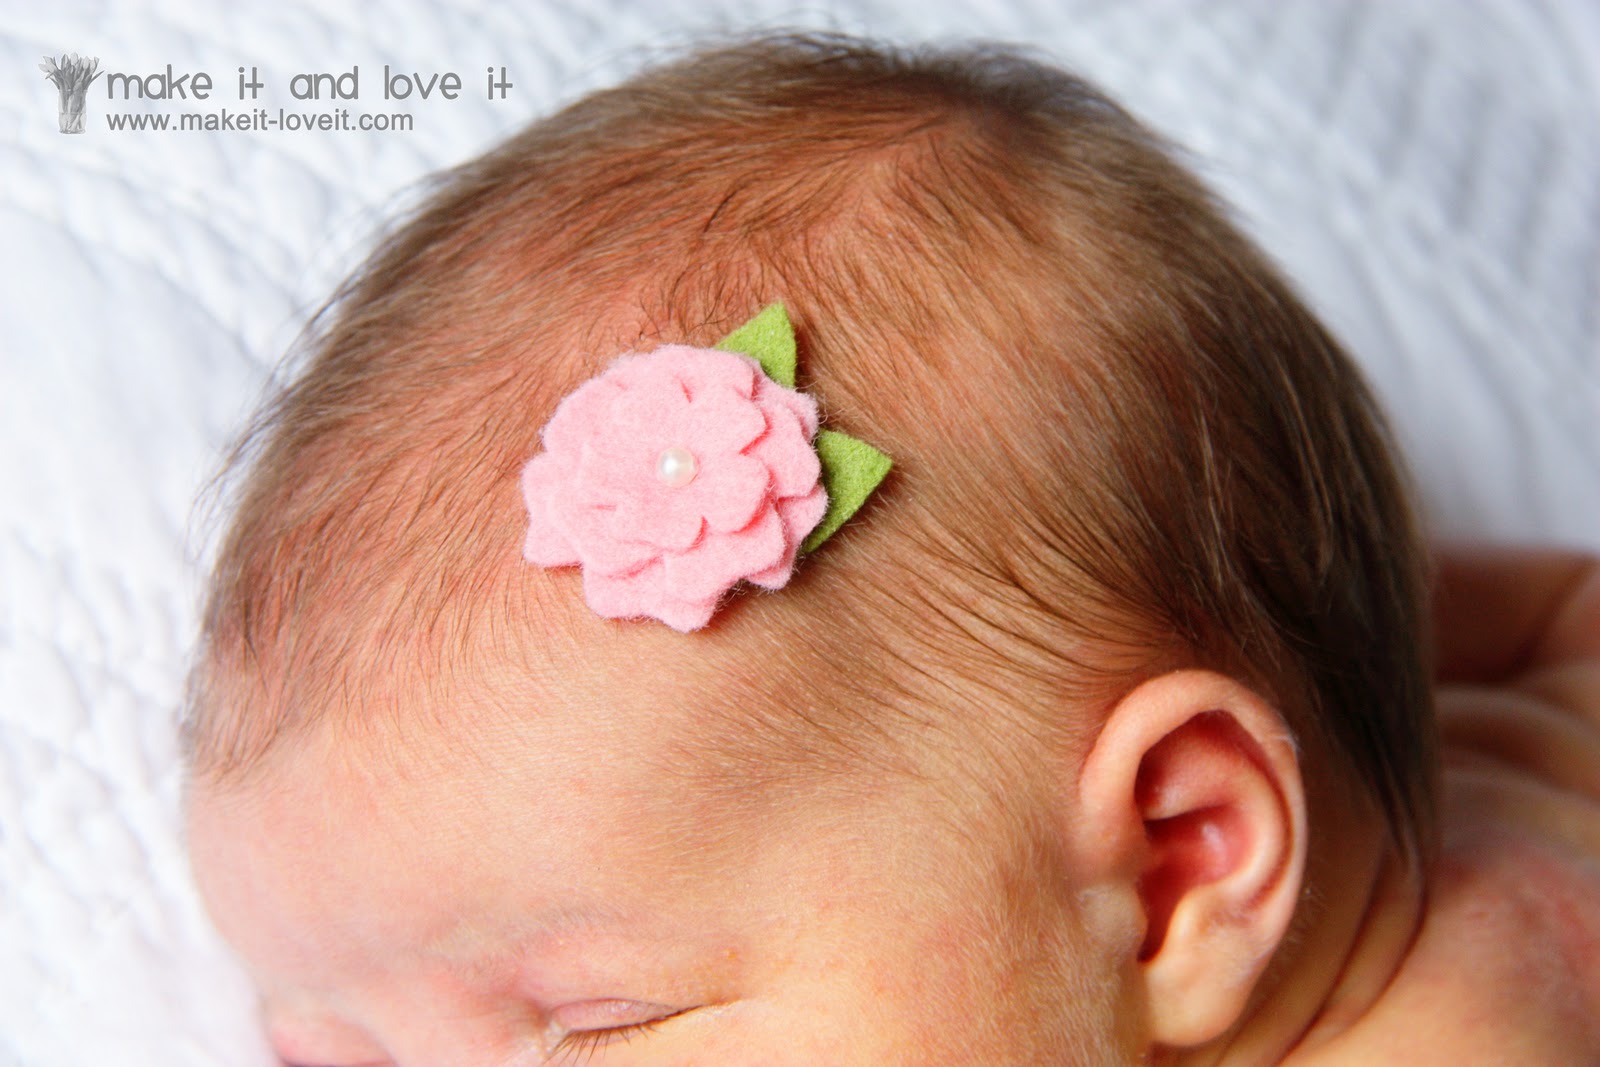
The flowers and little bows sit so nice and pretty atop a newborn head.
.
Something about it makes me smother this child with kisses.
.
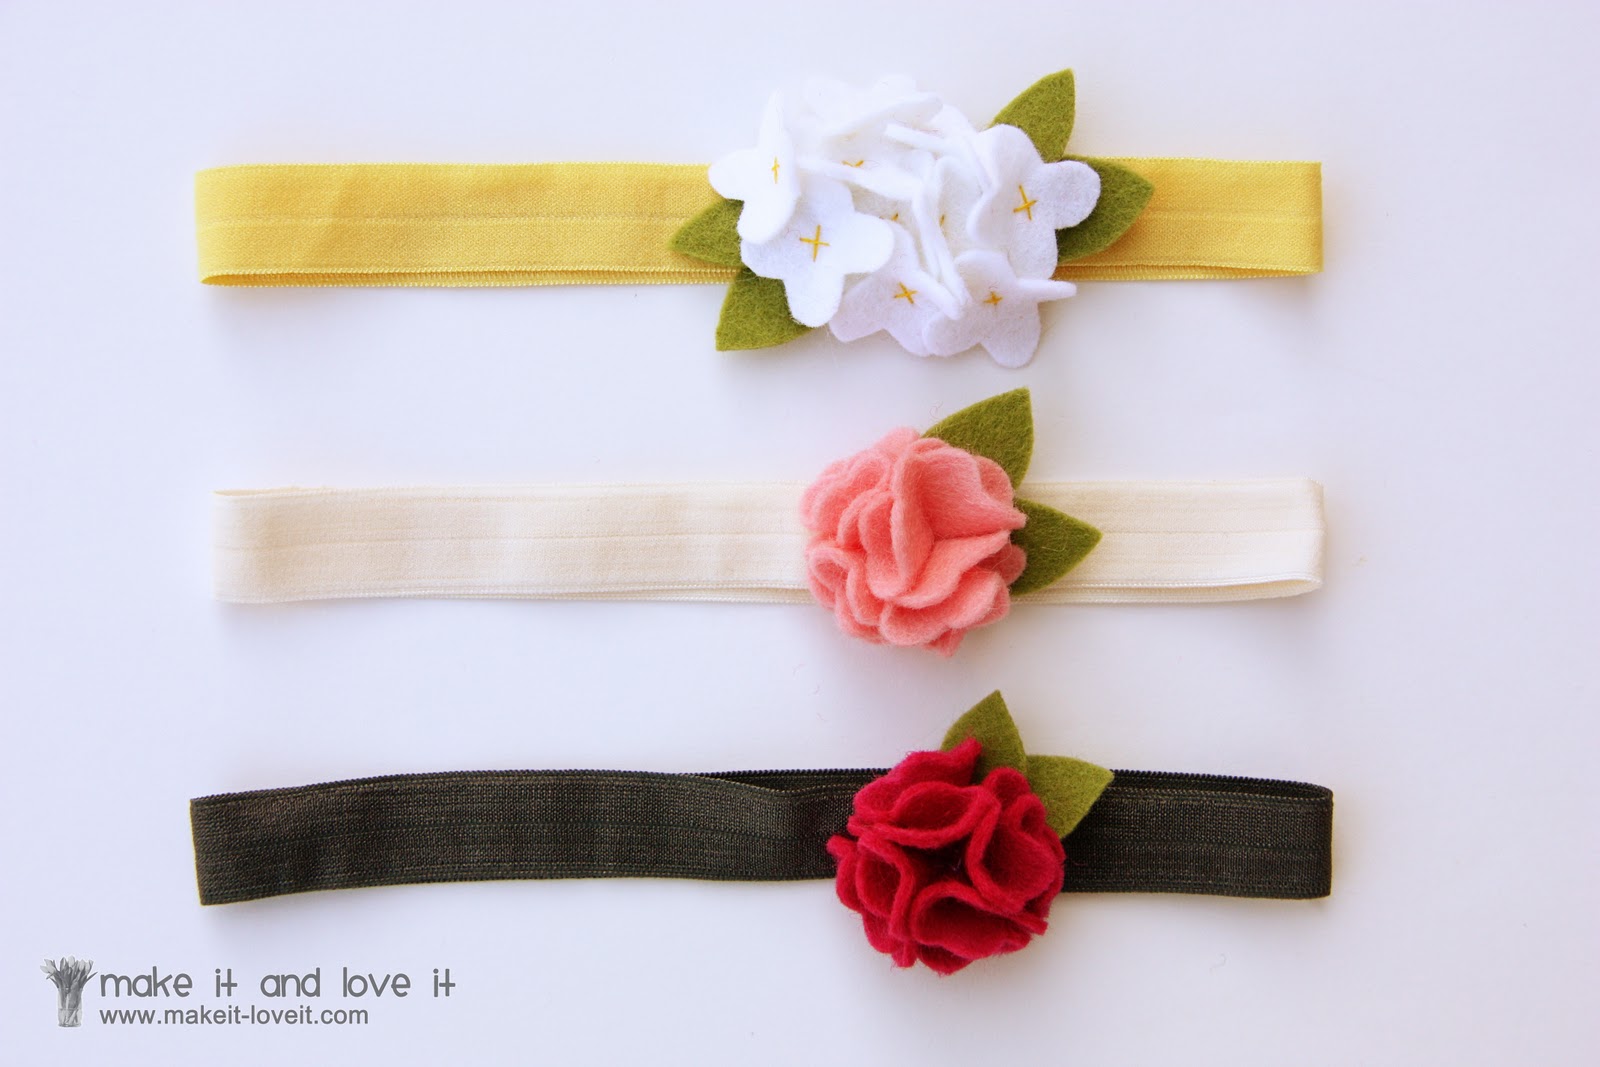
But if you’d rather place them on a headband, attach them to some super soft fold over elastic.
.
Whatever you choose, your little lady will look incredibly sweet.
.
Would you like to make some of your own wool felt accessories?
(These are great for any aged girl. Each of these accessories shown can be placed on clips for thicker hair.)
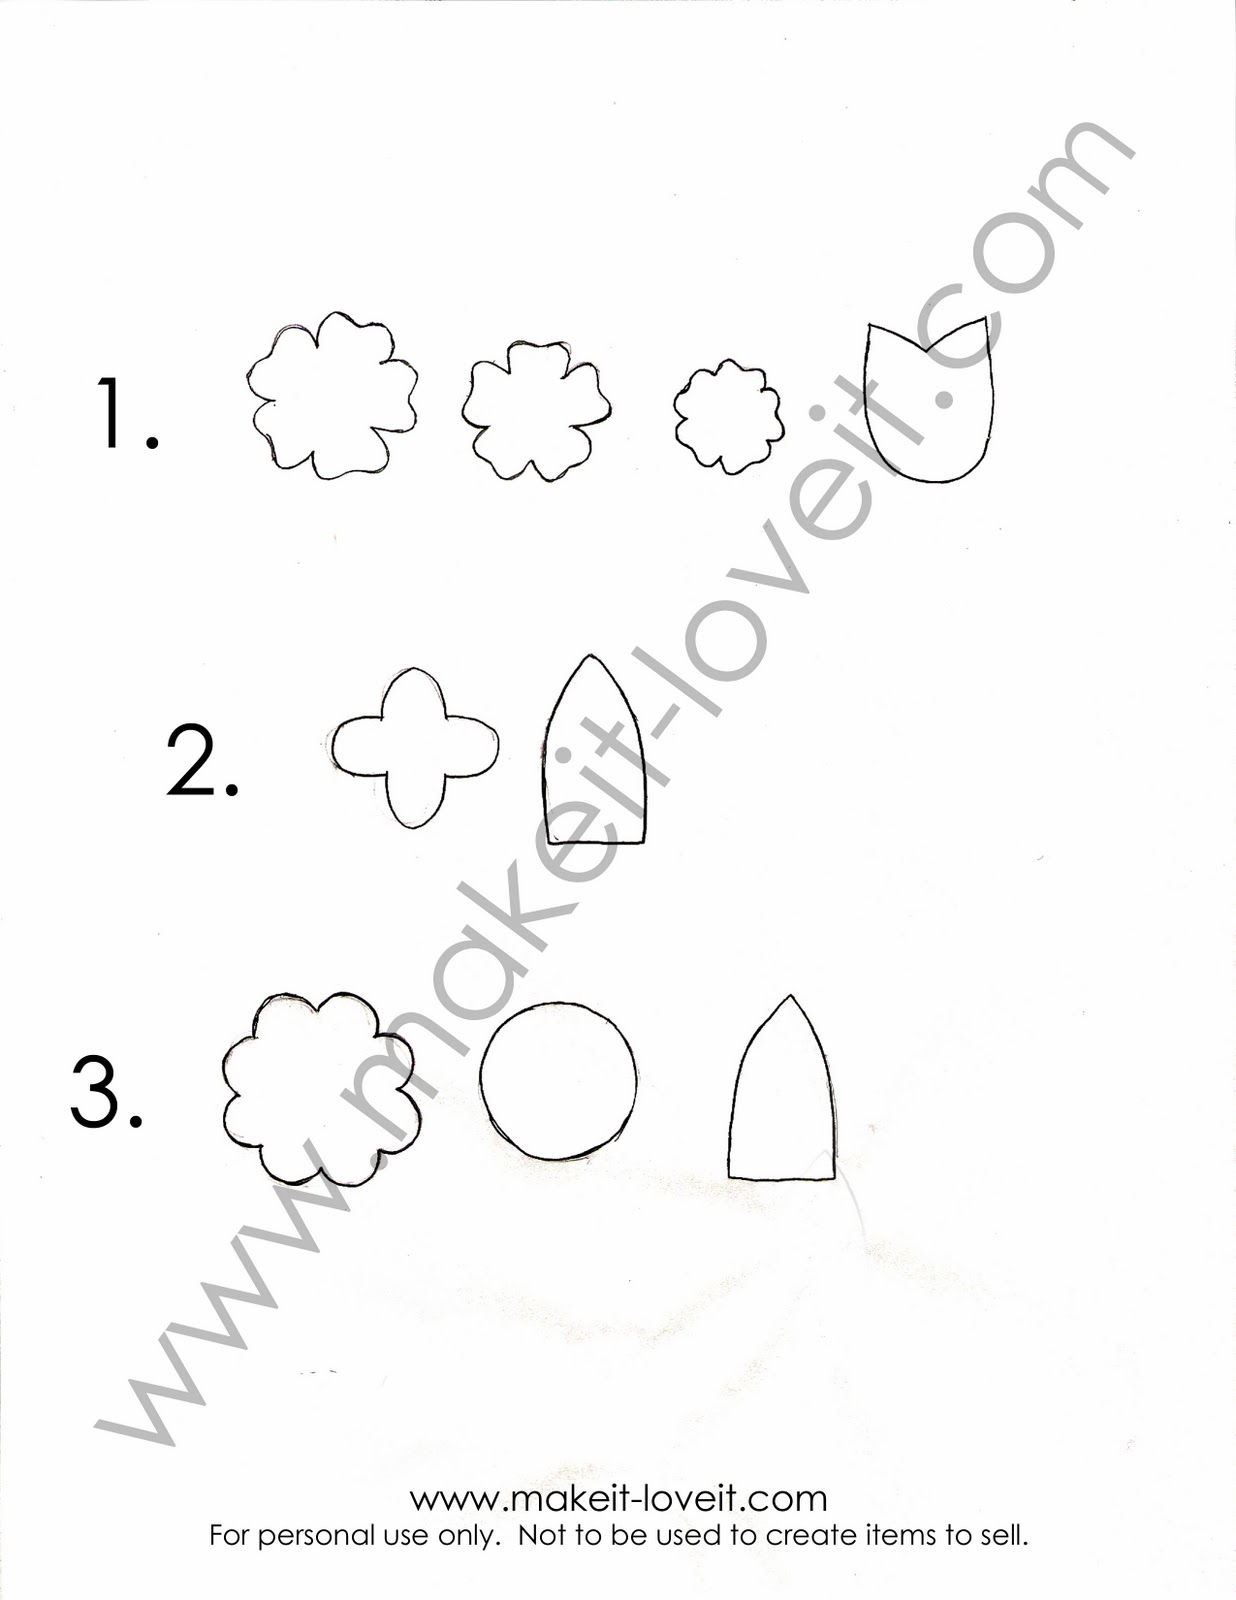
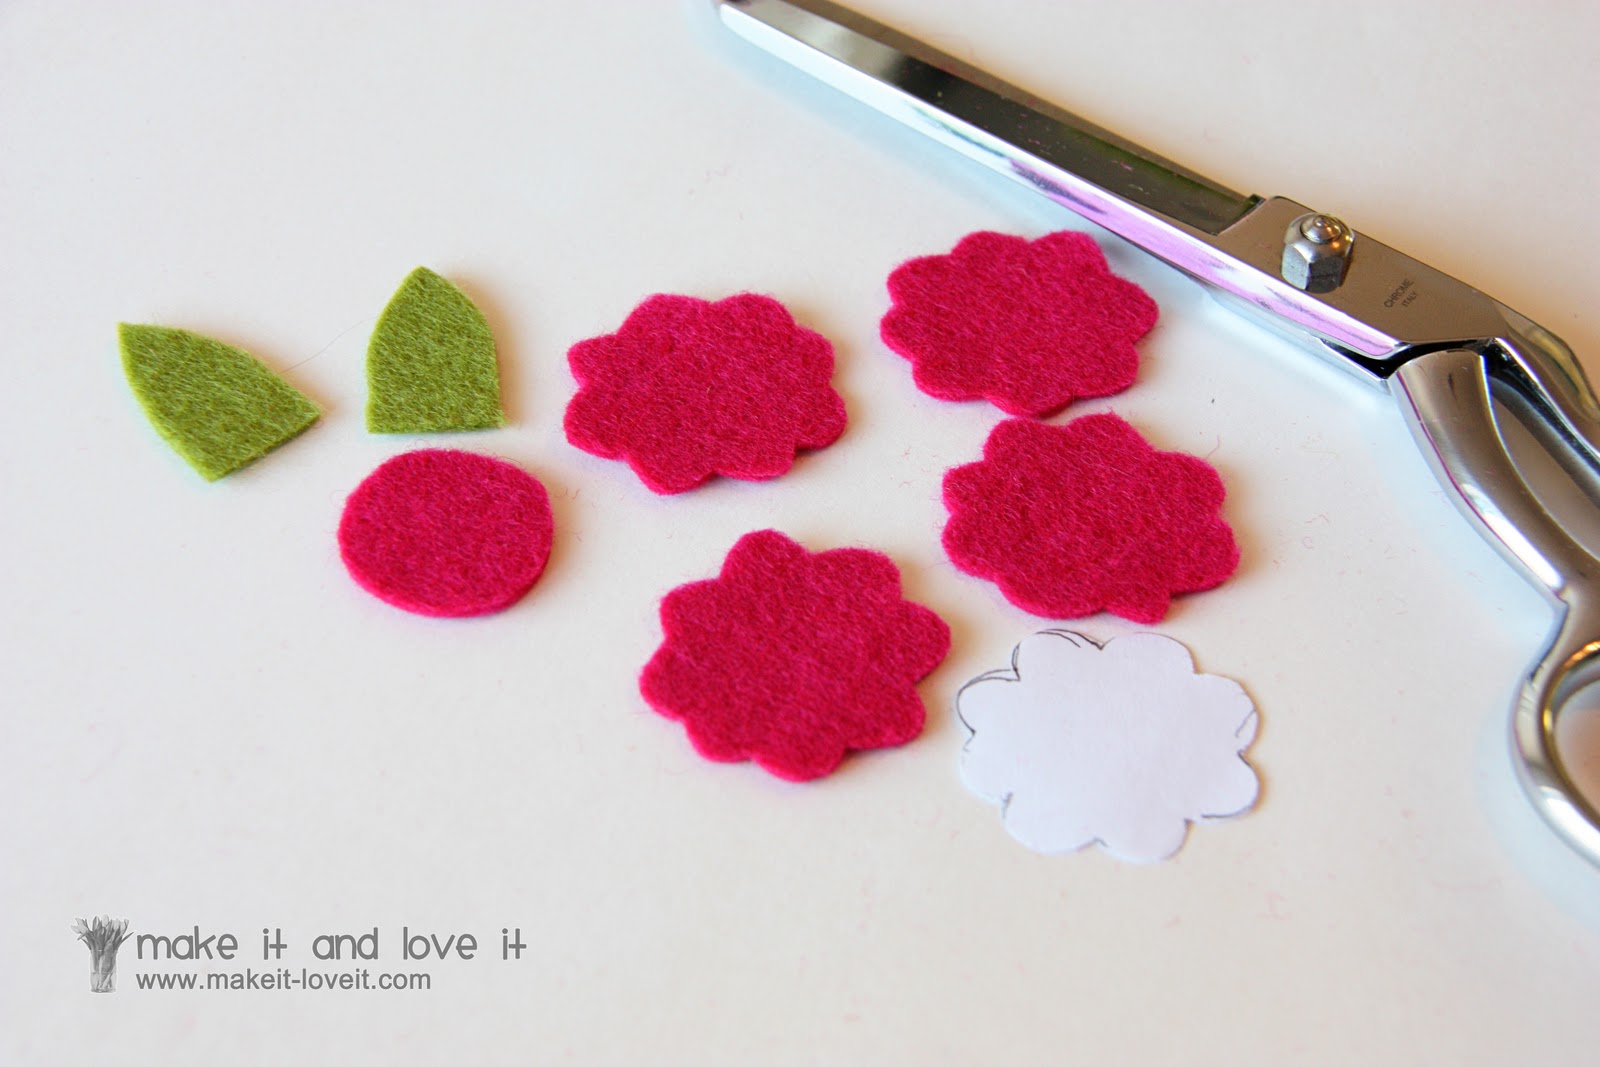
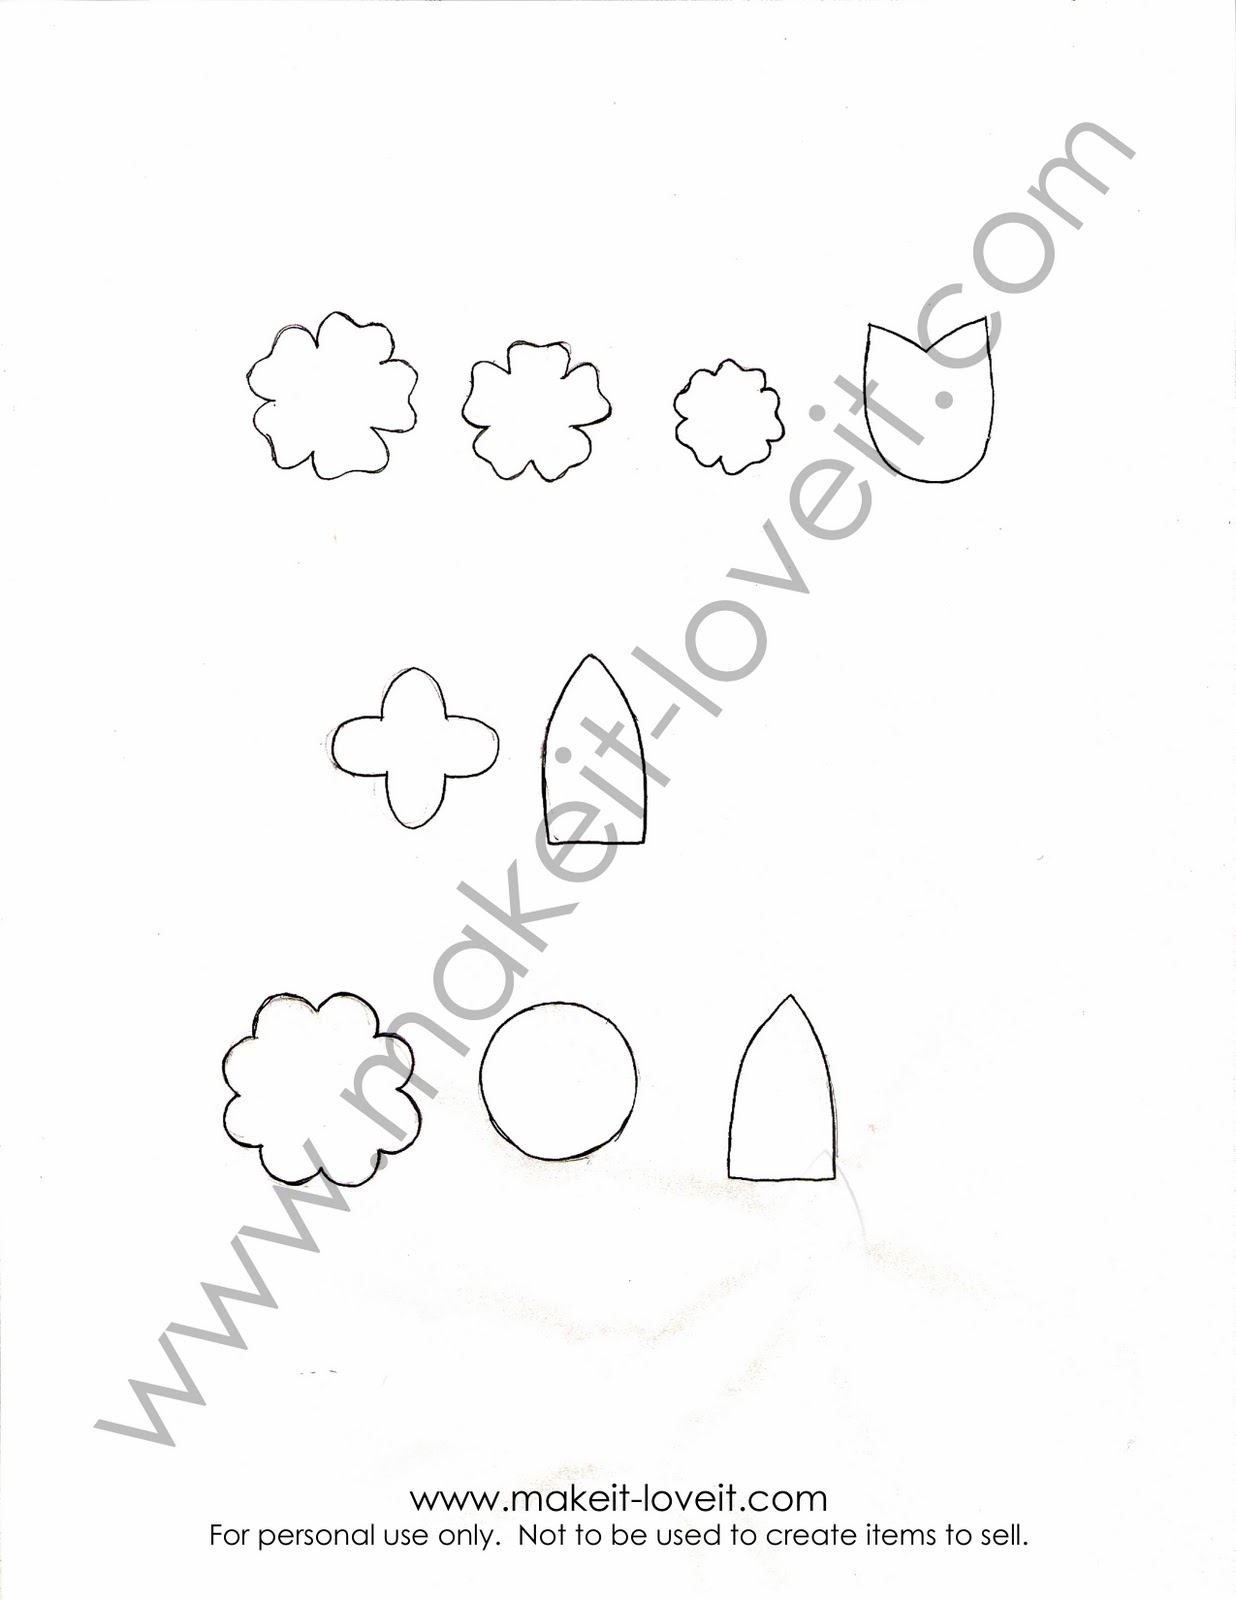
First, here are the little flower cutouts that I drew and cut out to make my little accessories. They are a little uneven and shaky in some spots……but all flowers are a little different, right? :)
(You are welcome to use these for your own personal use. Not to be made and then sold for profit. Click on picture and then copy and save to your computer. Open in a document and reduce your margins to zero. Expand to 100% and print.)
**But, get creative and design more shapes and headband styles if you’d like. And look around in stores or on little baby/girl heads as you walk around in public. You may just get inspired.
As for supplies:
I bought some beautiful
wool felt here. They sell it in a nice variety of colors and is fantastic quality. (You can use synthetic felt too……but wool felt holds up a lot better and is nice and soft.)
I bought the
fold over elastic here.
What is fold over elastic? It’s a really soft elastic that is used for underwear and knitwear. So it’s not like your normal elastic you buy at the fabric store. In fact, I have never seen this stuff at the fabric store……but I could be wrong.
This shop offers the elastic in a nice variety of colors and works great on those soft and sensitive little heads.
**Update: I was informed that the shop where I purchased the elastic has sold out of what she had listed. I imagine she will add more soon…….but until then, go check out the comment section of this post. A link to another shop was shared where you can purchase similar elastic.
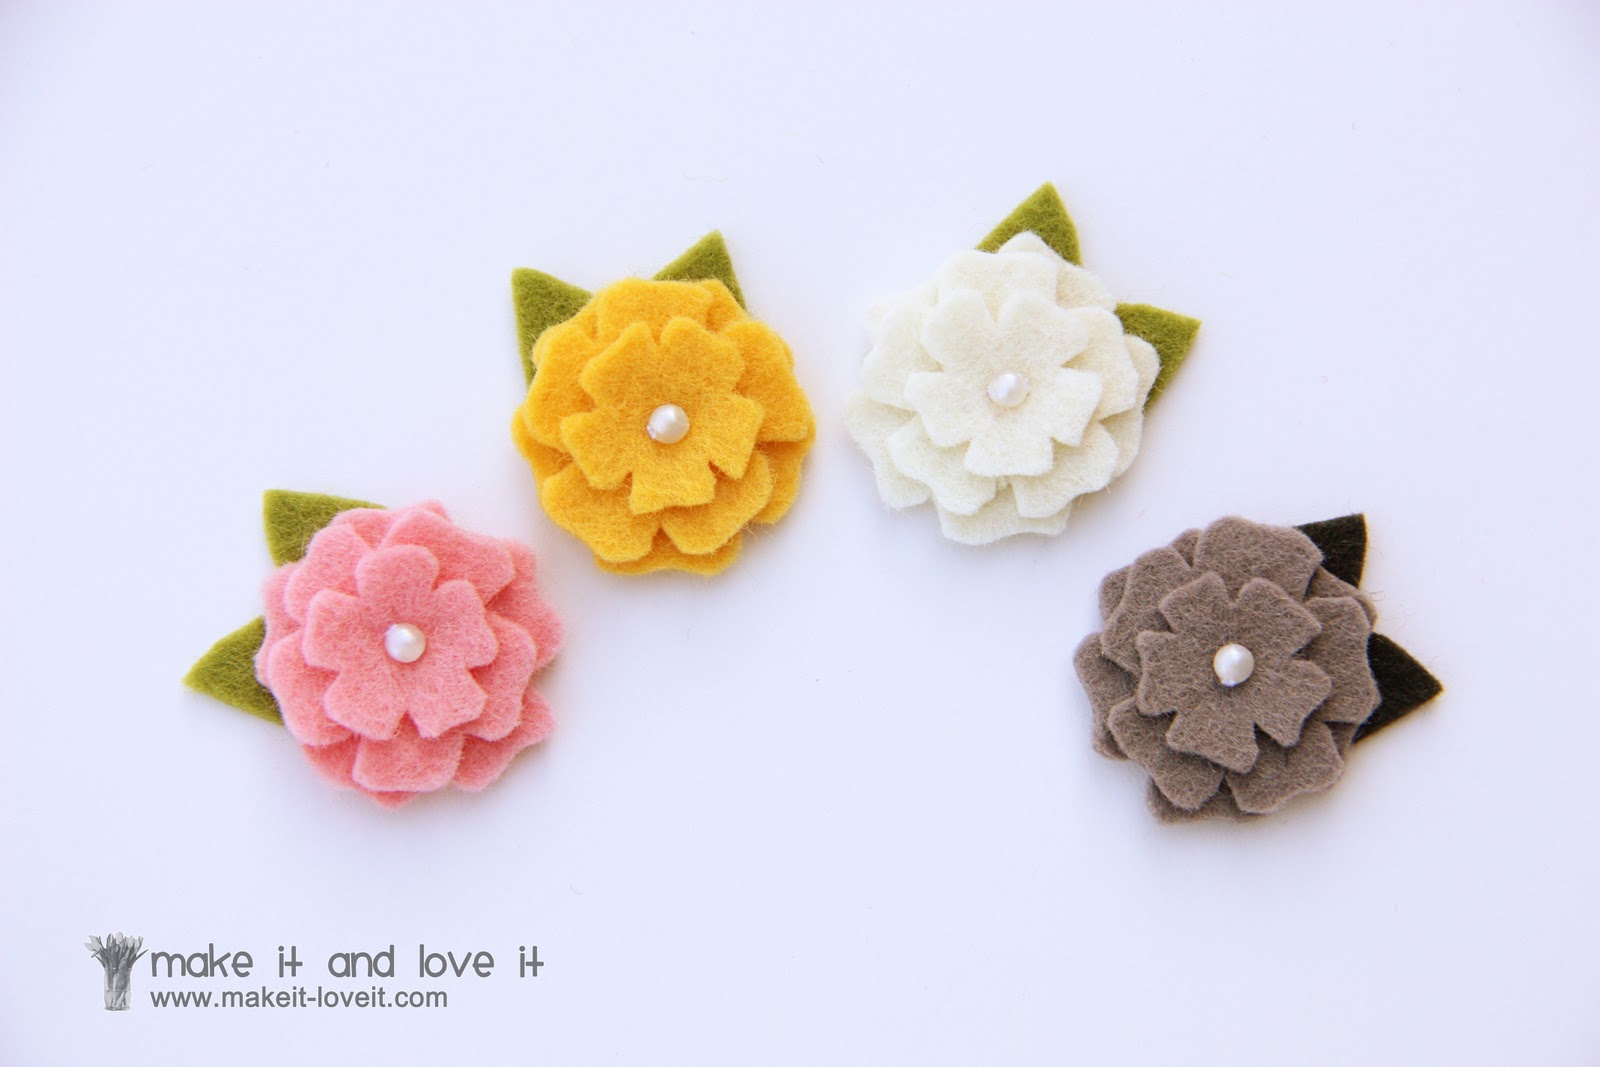
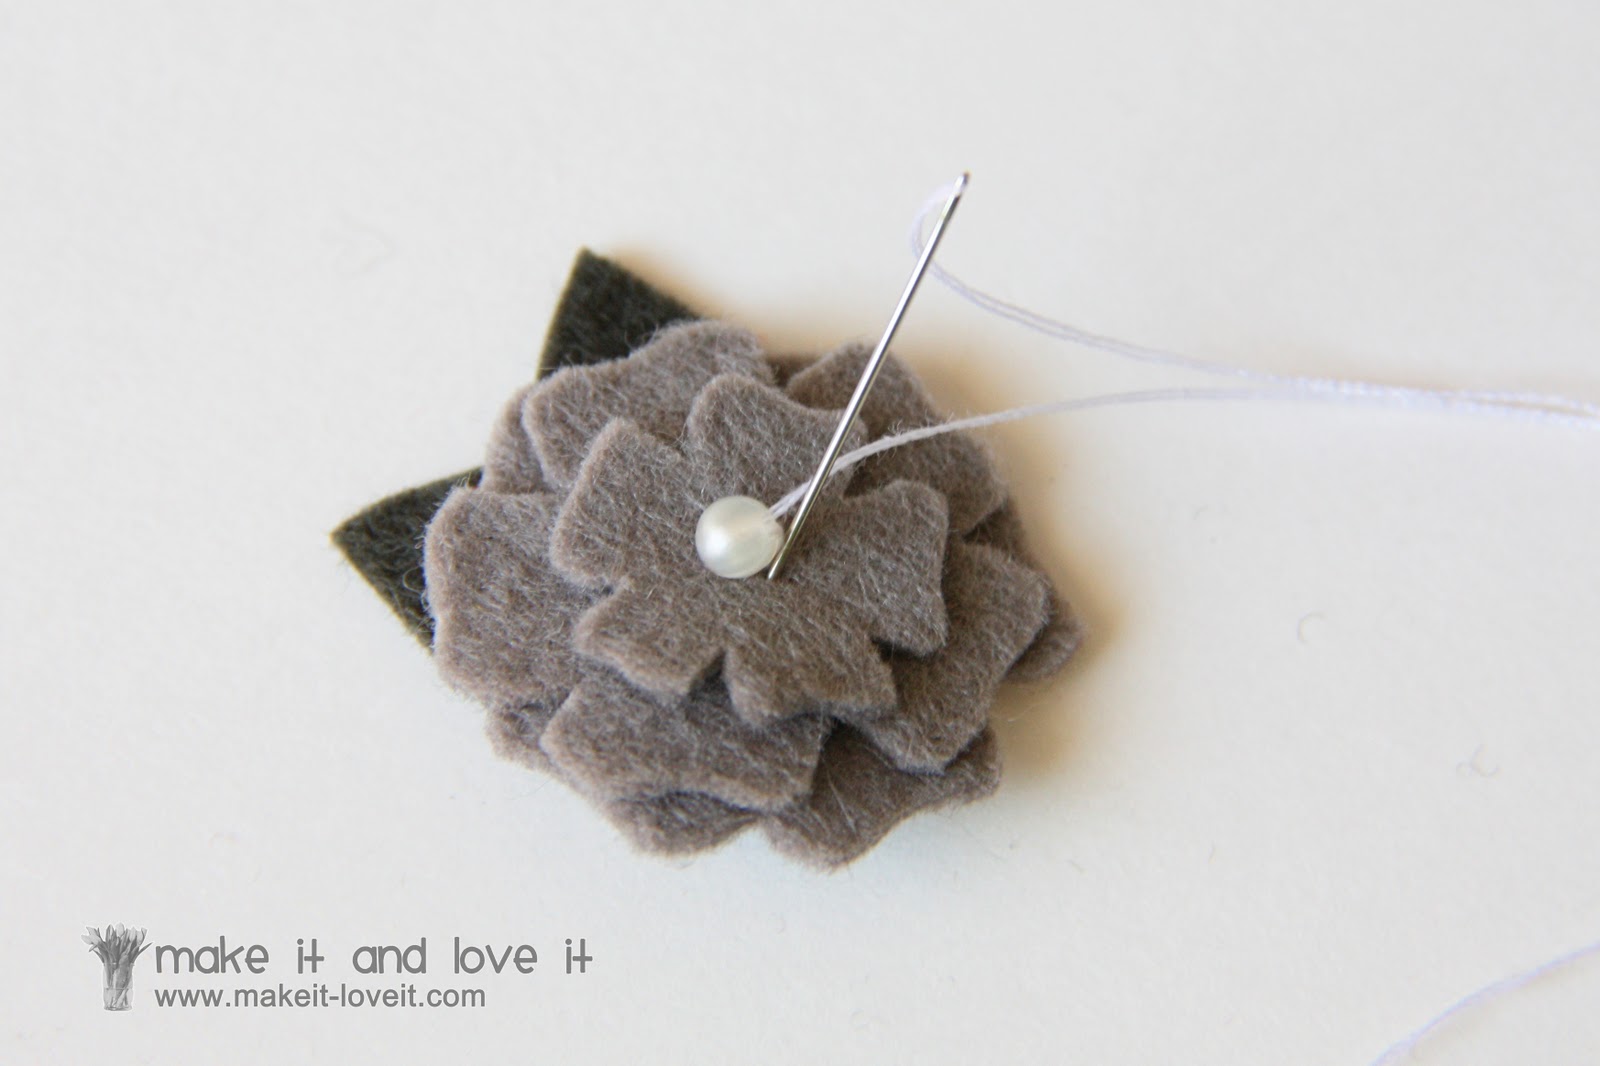
For this first flower, I used the shapes from row 1 of the pattern page. I cut out one of each of the 3 shapes of flowers out of the wool felt. And then I cut one of the leaf shape in a different color of wool felt.
Then I stacked the 3 flower shapes on top of each other. Then I put the leaf shape on the bottom, allowing the tips of the leaves to poke out. Lastly, I hand-stitched a little pearl to the center of the flower, making sure to stitch through all of the layers of felt…..securing it all in place.
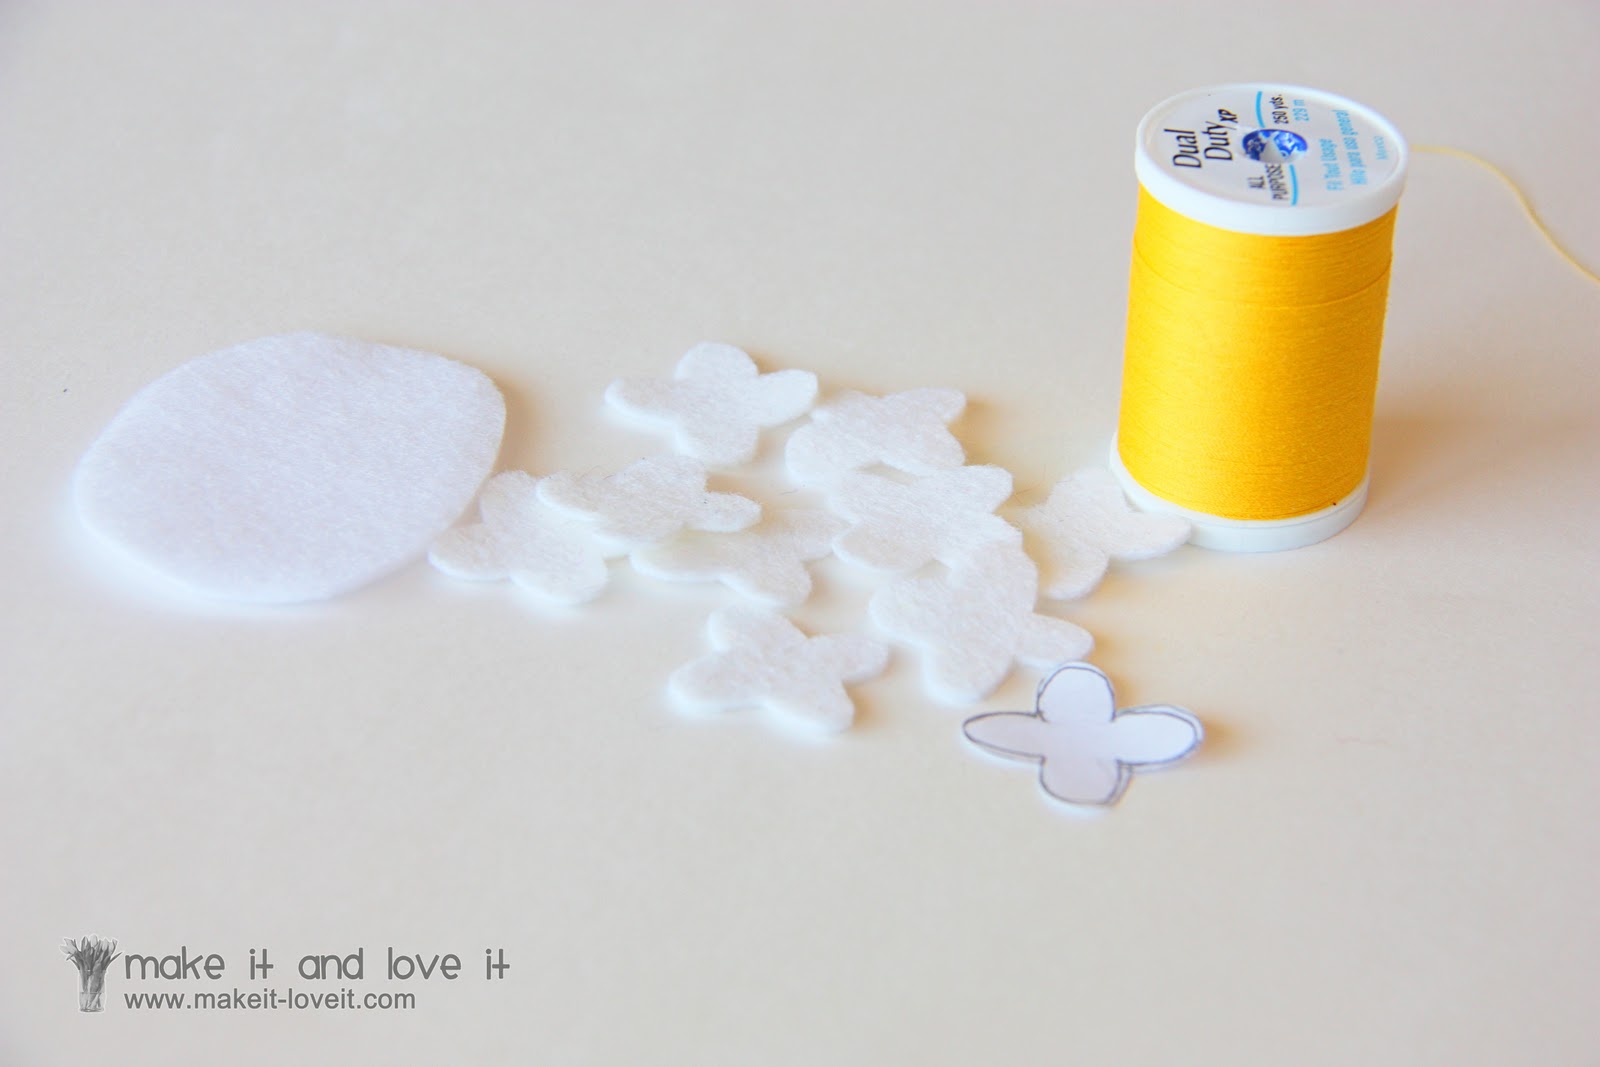
For the next flower, I cut out 10 of the flower shape from row 2 of the pattern page. I also cut an oval shape of felt to be able to sew the flowers to. You can make this flower cluster more circular-shaped or make it oval like I did.
Then, begin attaching each flower to your felt backing, making a small X shape in a contrasting thread color.
Continue adding your little flower shapes…
……..until you have covered your felt backing piece.
Then cut out 4 of the leaf shape from row 2 on the pattern page.
Attach the leaves to the back of the felt backing piece with your needle and thread……….
…………..and then cut out another piece of felt to cover up the back. Either use hot glue to seal it all together or make a few stitches with your needle and thread to secure it in place.
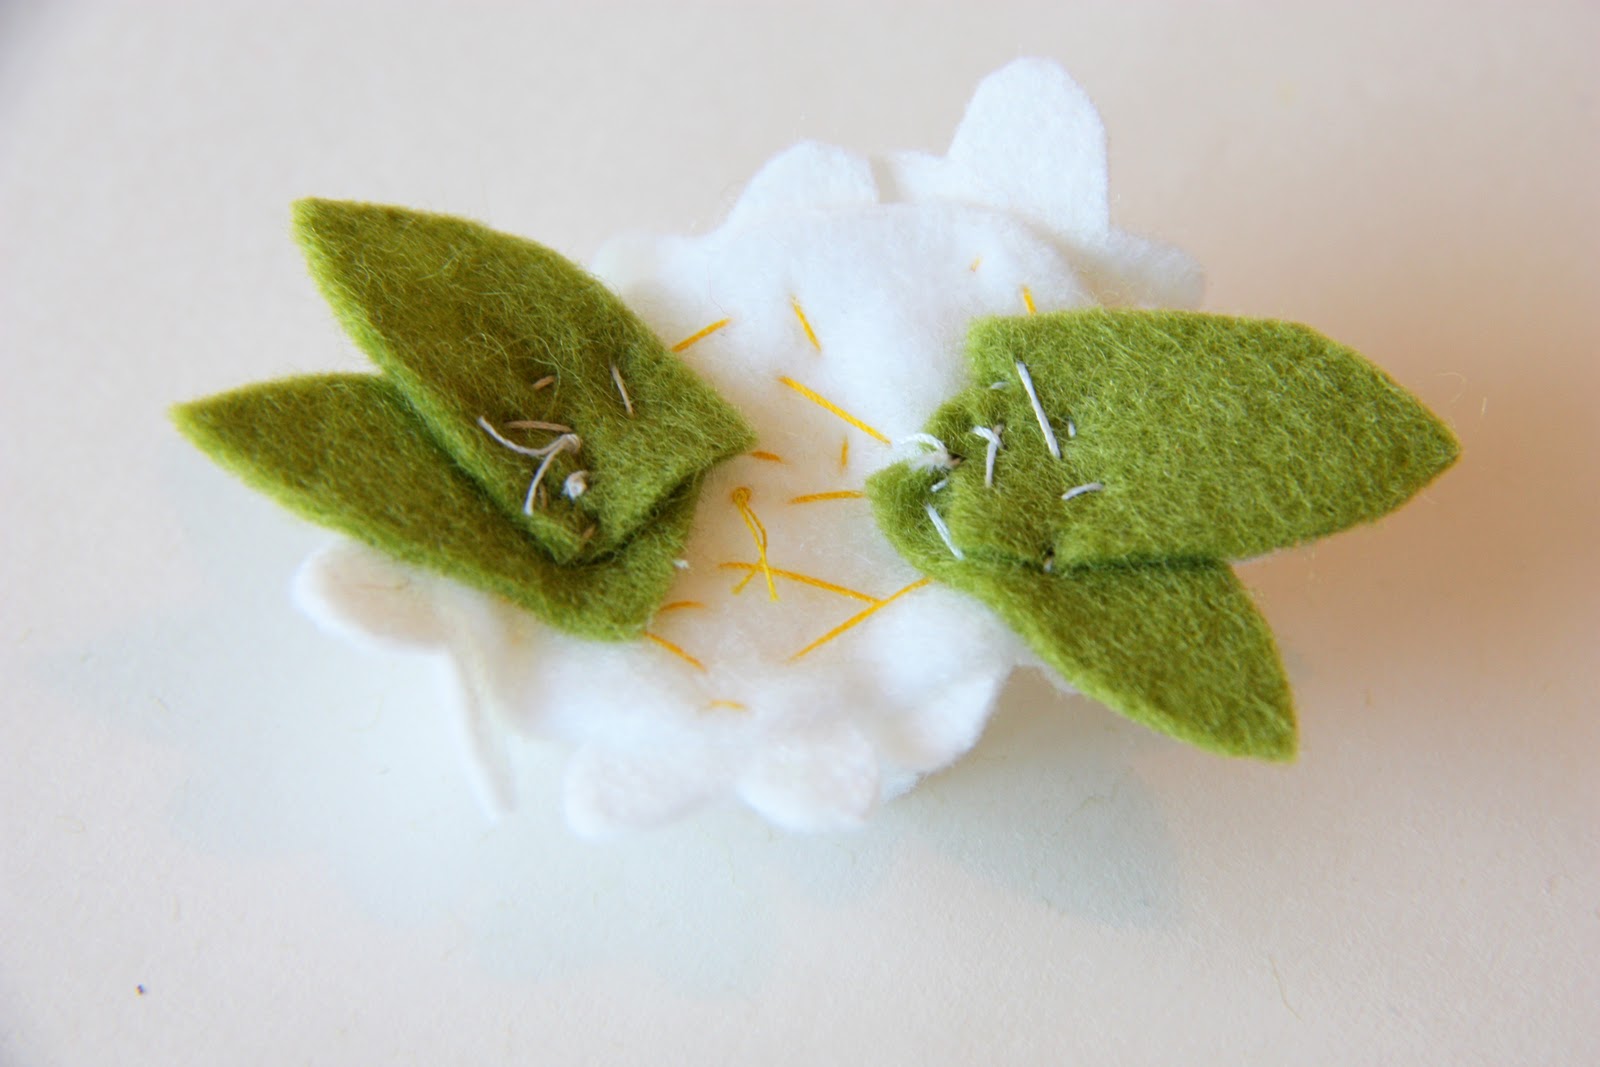
For the last flower, I cut out 4 of the flower shape from row 3 from the pattern page above. And then I cut out 1 circle and 2 leaf shapes from the shapes from row 3 of the pattern page.
First, I attached the two leaves to the front of the circle backing piece.
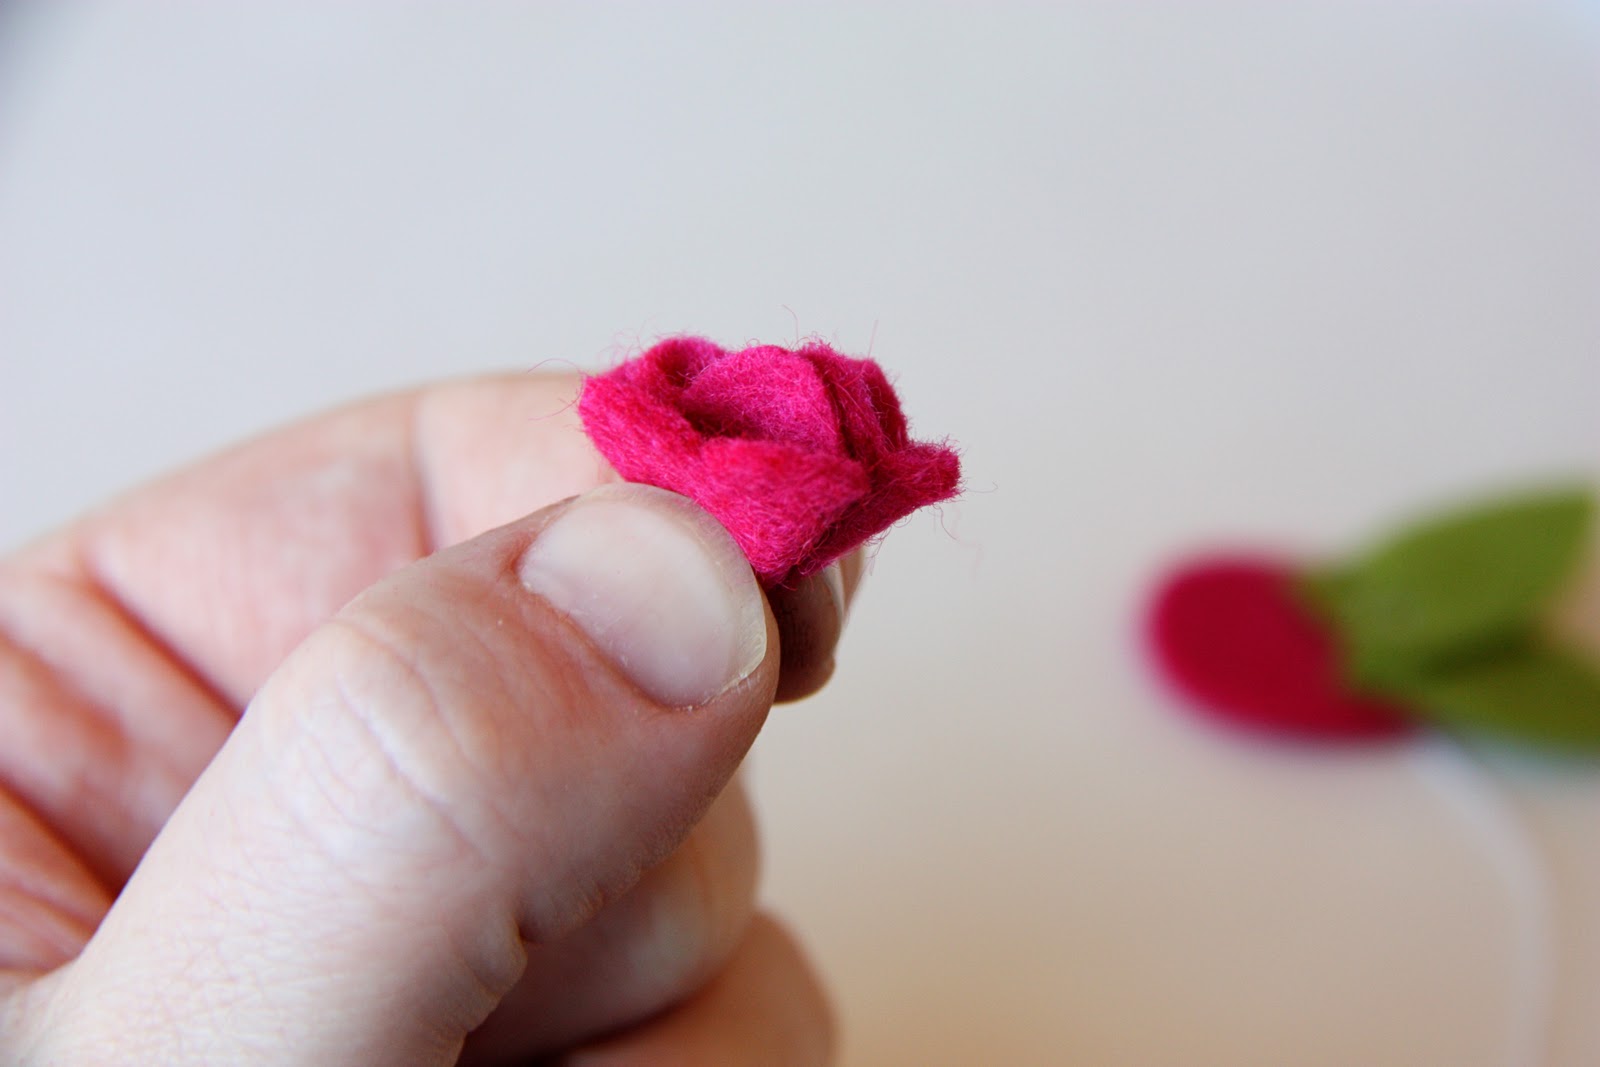
Then, one at a time, I folded each of the flower shapes in half, then in half again…
……then positioned each folded piece in one quarter of the circular backing piece.
Continue adding each folded flower piece to the circular backing piece…..covering up the base of the leaves. Keep your stitches really close to the center, making sure to go through the folded layers, keeping the flowers folded a bit.
After letting go of the folded flowers, they should pop right up, creating a nice full flower.
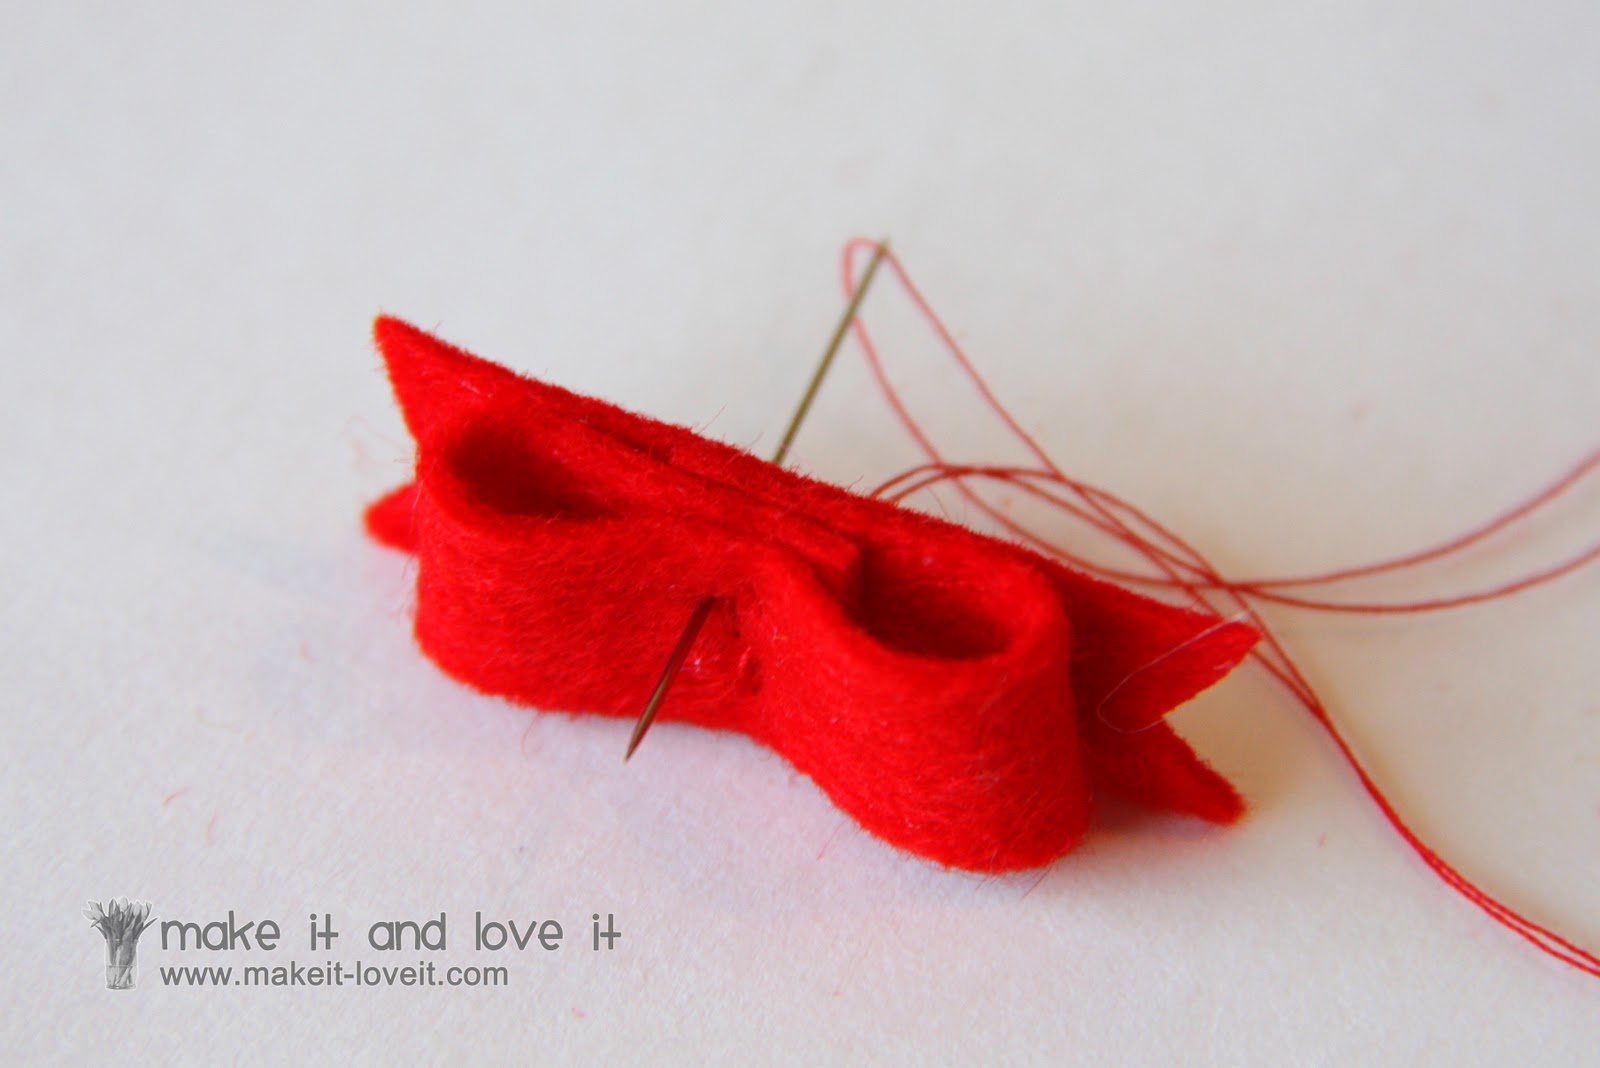
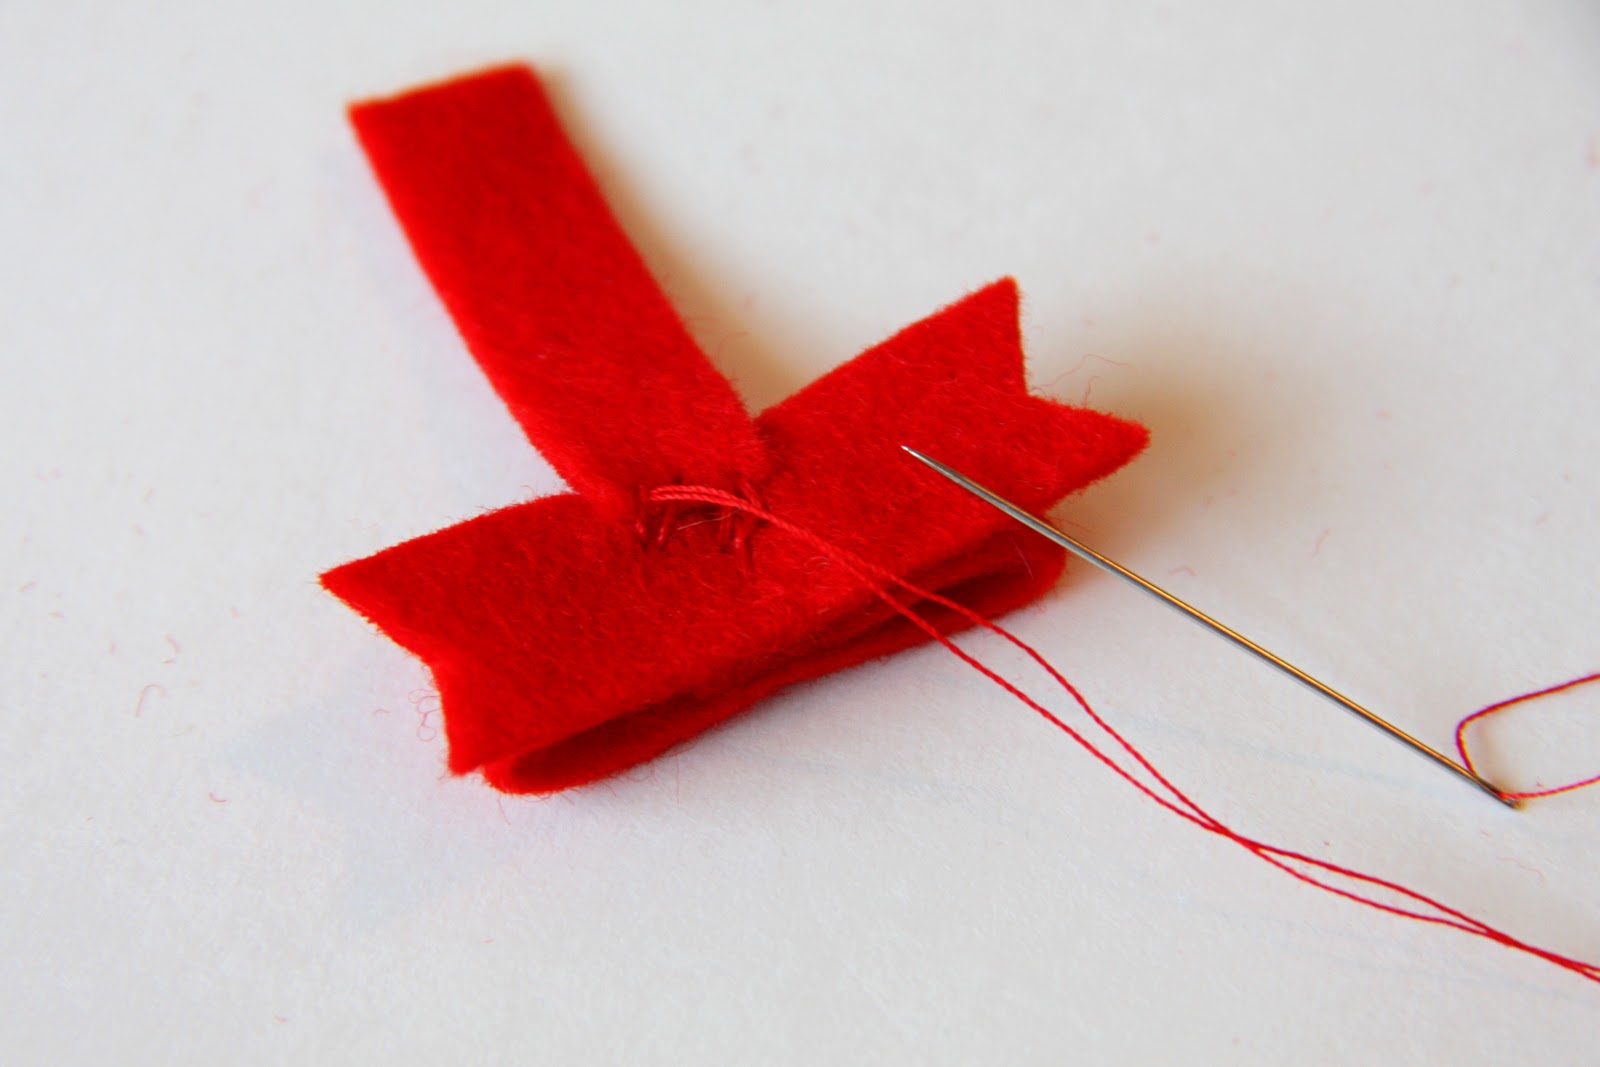
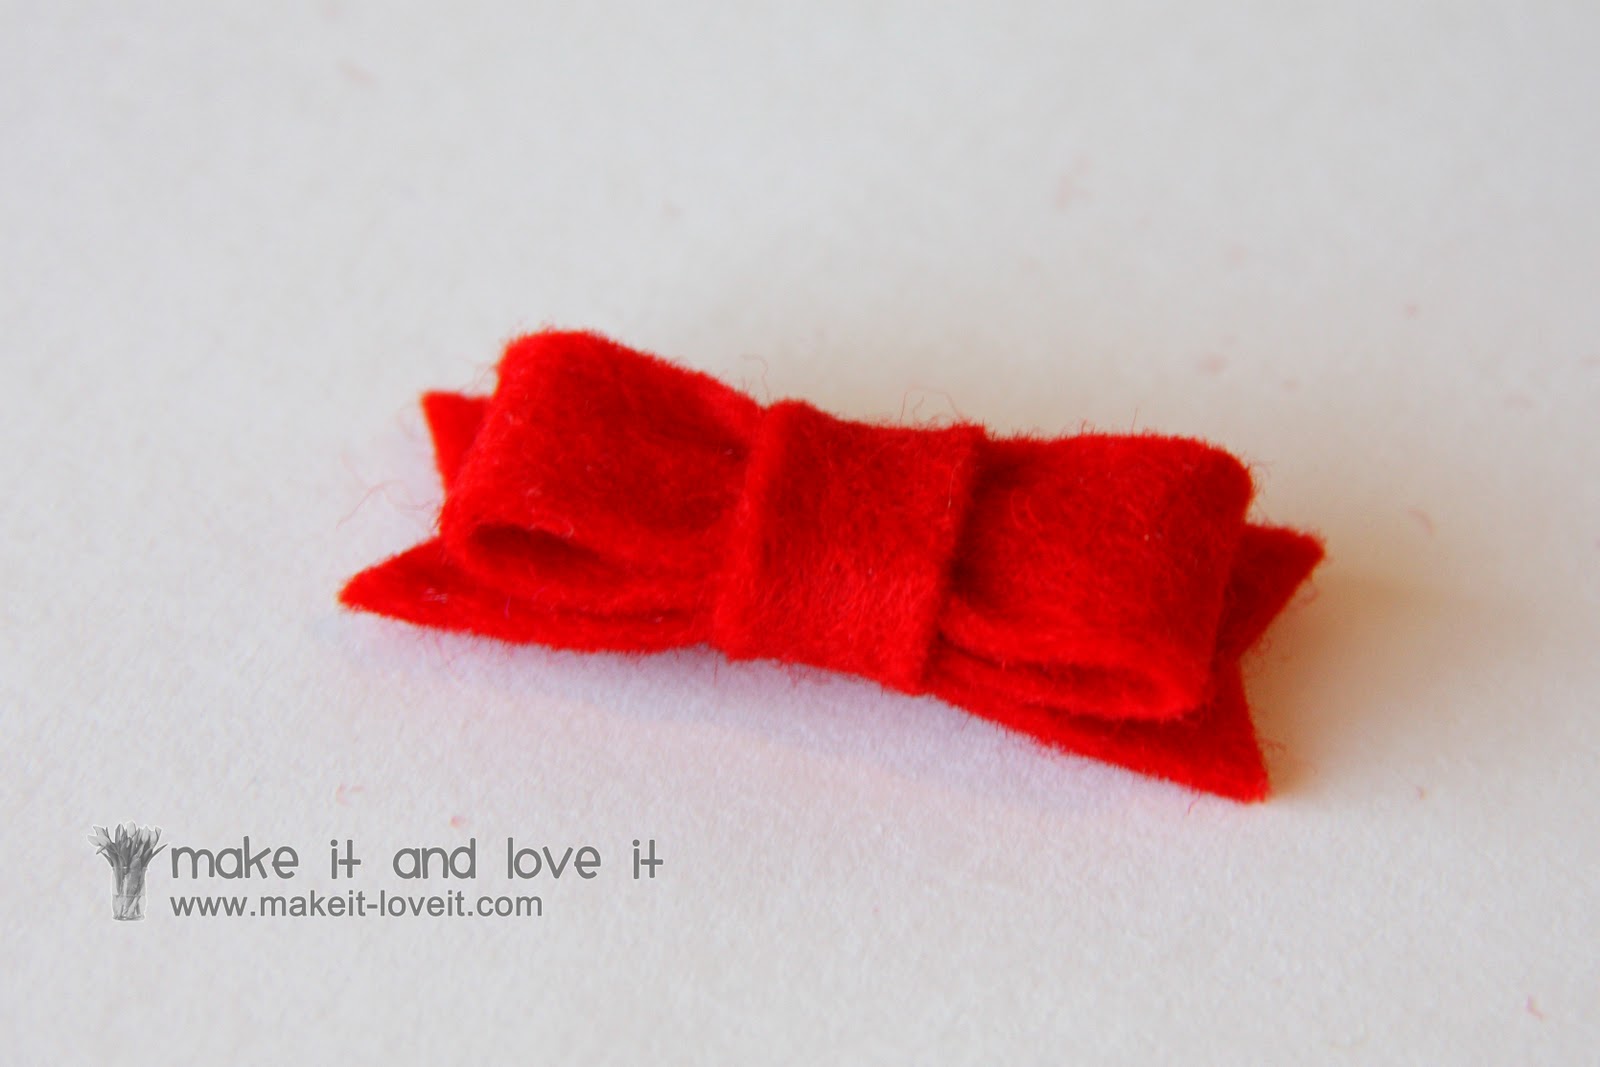
And last, the little wool felt bow. I cut narrow strips of the felt…
The sizing of this bow varies. It just depends on how big/small/narrow/wide you’d like your little bow.
I first folded the longer strip into a flat cirlce and then placed another strip (with pointy ends) behind it. Then I hand-stitched those layers together.
Then I grabbed the last strip and attached one end to the back center of the bow….
Then wrapped it around the front……and then to the back and then hand-stitched the other end securely to the back as well.
If you wrap the center piece semi-tight, it will help the center pucker just a bit.
Then attach your flowers to clips or plastic headbands………..or to some super soft fold over elastic (like I explained above). If using elastic as your headband, just hand-stitch the flowers on with a needle and thread. Otherwise, I would use hot glue to attach to a plastic headband or metal clip.
And enjoy!
. . . . . . . . . . .
This post is sponsored by:


