Home » DIY Tutorials » DIY Sewing » Sewing: Clothing » Baby Clothing » Re-Purposing: Baseball Style Tee from Men’s Tshirts
Re-Purposing: Baseball Style Tee from Men’s Tshirts
February 4, 2011 - By Ashley Johnston 64 Comments
.
I have a little 2 1/2 year old that loves a new mommy creation just as much as big sister. And sometimes I find him trying on her dresses and headbands, just because mommy made them and I’m making a fuss over them. He wants in on the action too.
Today is all about him.
And a new boy idea.
So, I made him a little
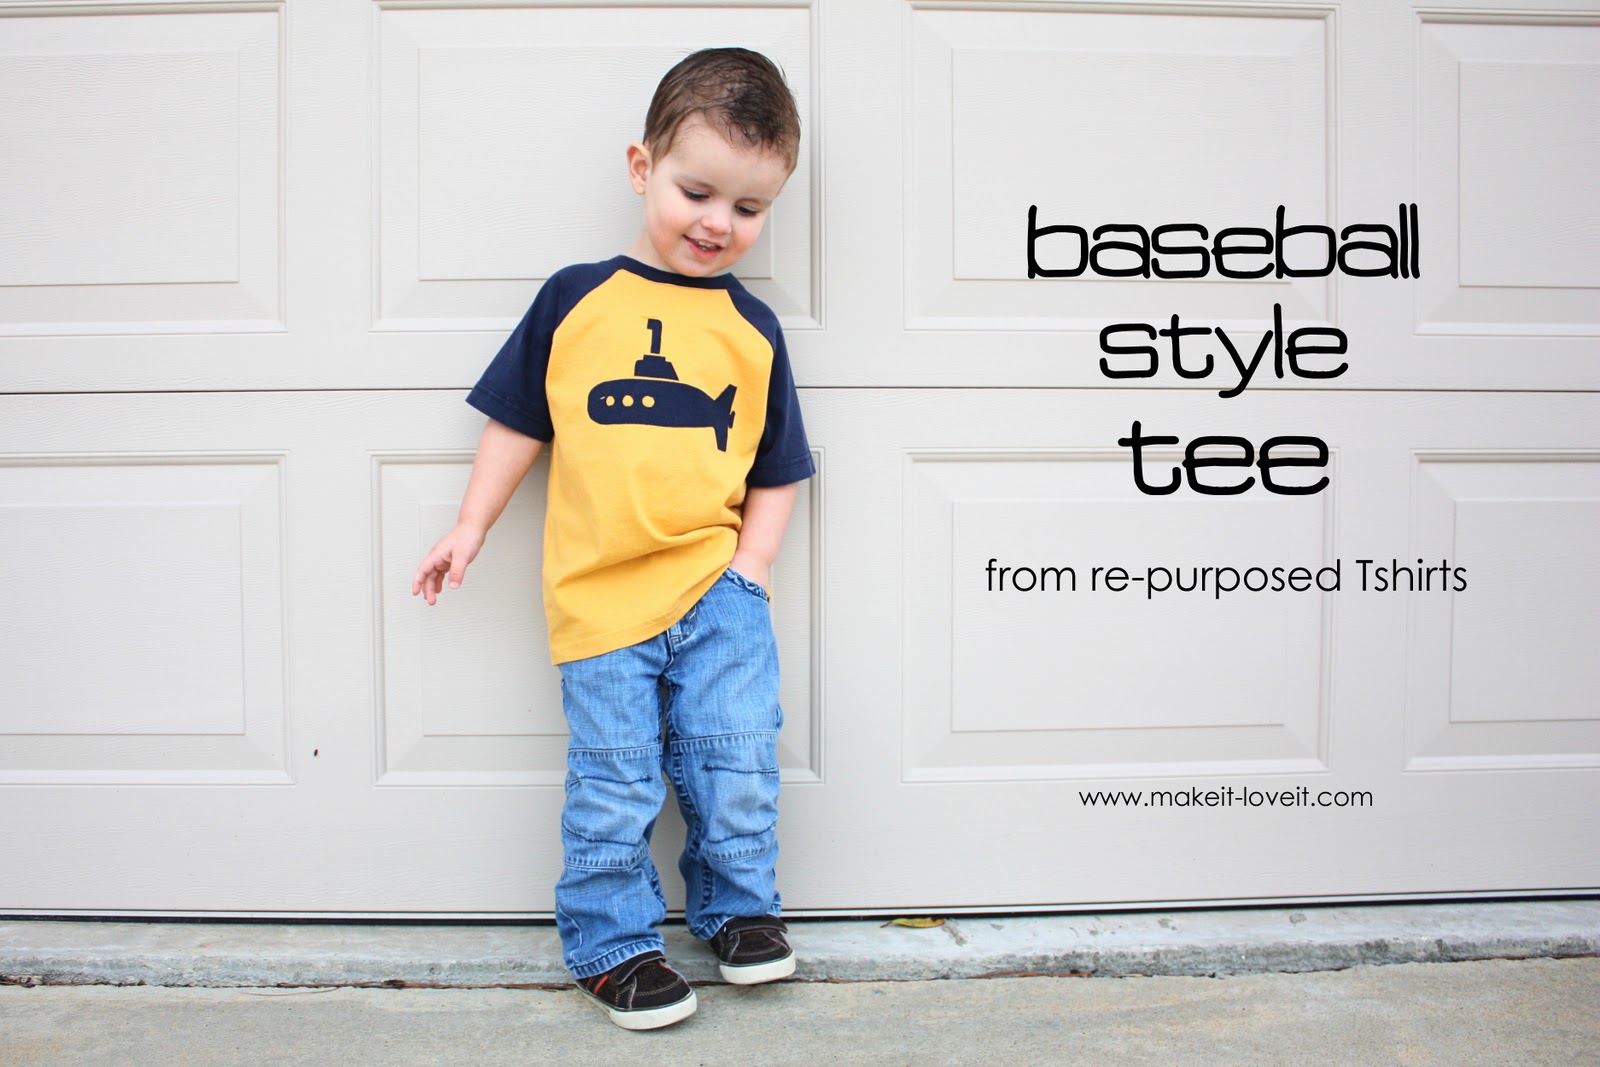
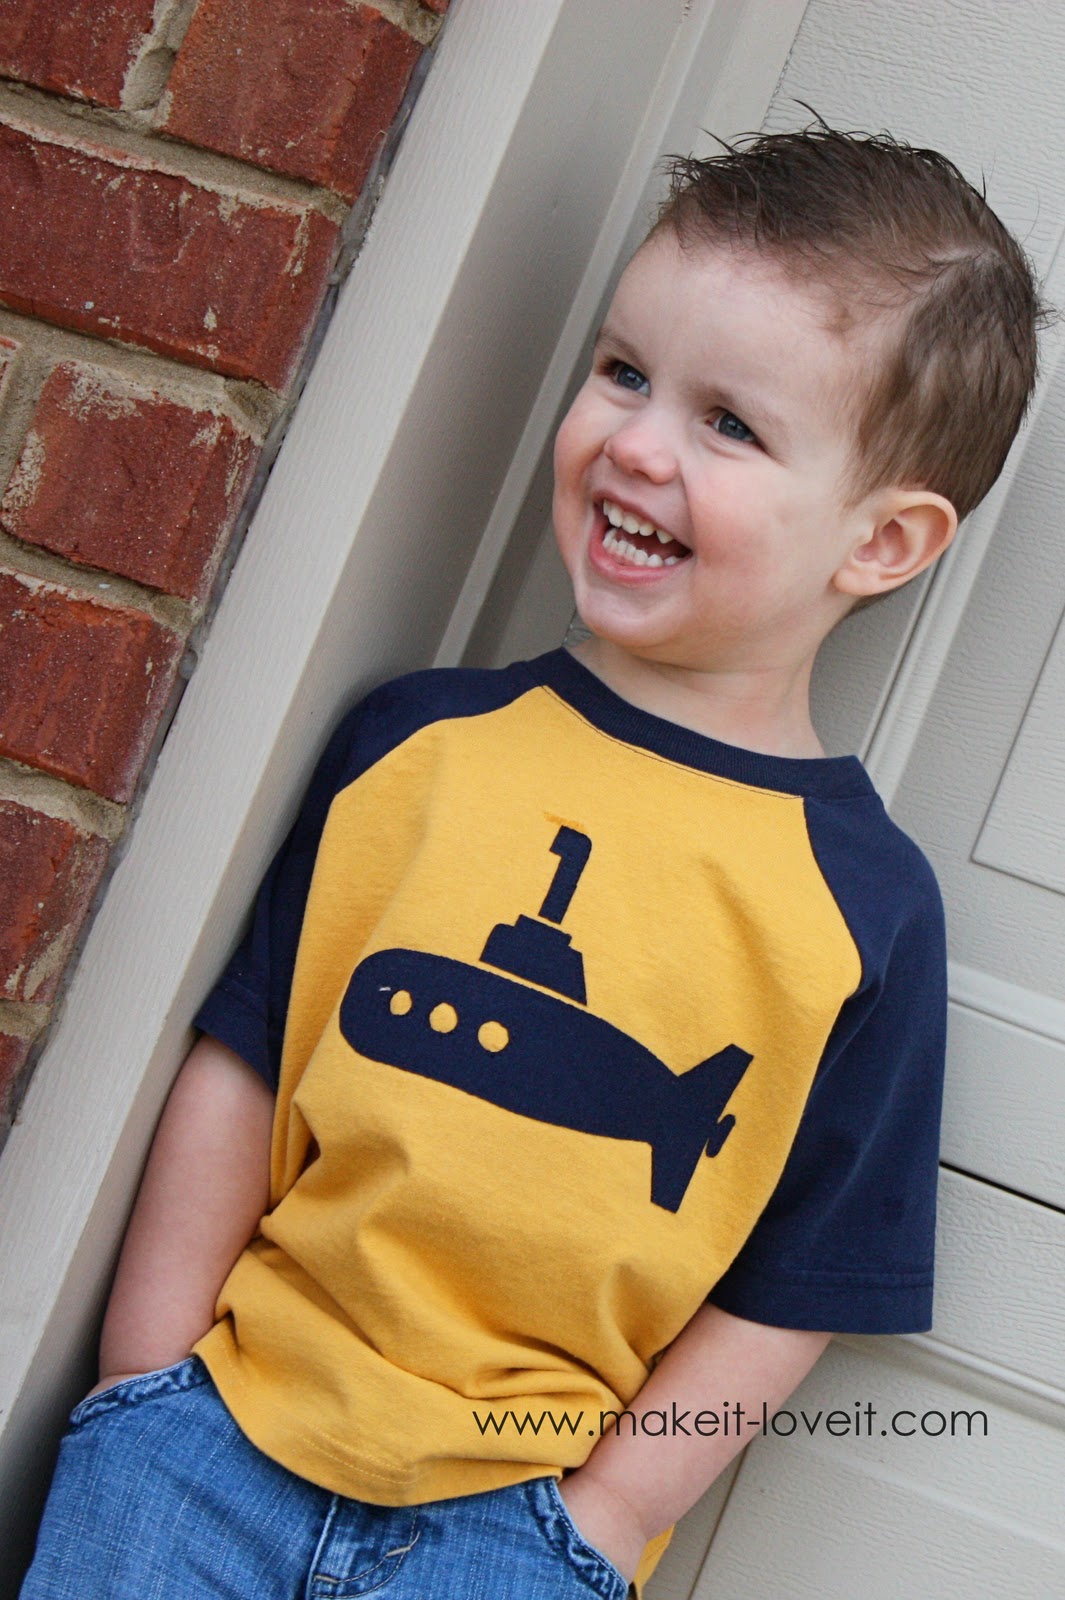
baseball style tee, made from 2 old Tshirts.
(This style is just as darling on girls too. So go for it……girly it up!)
.
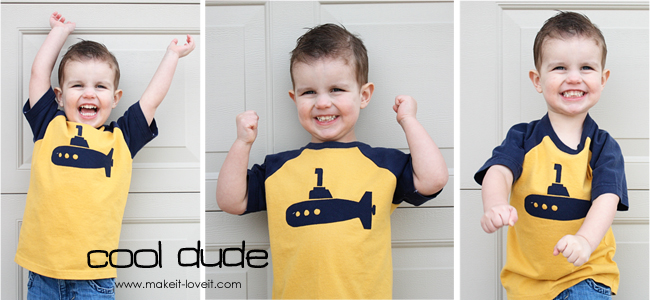
And the little nut was as
happy as ever, to have something new that I created all for him.
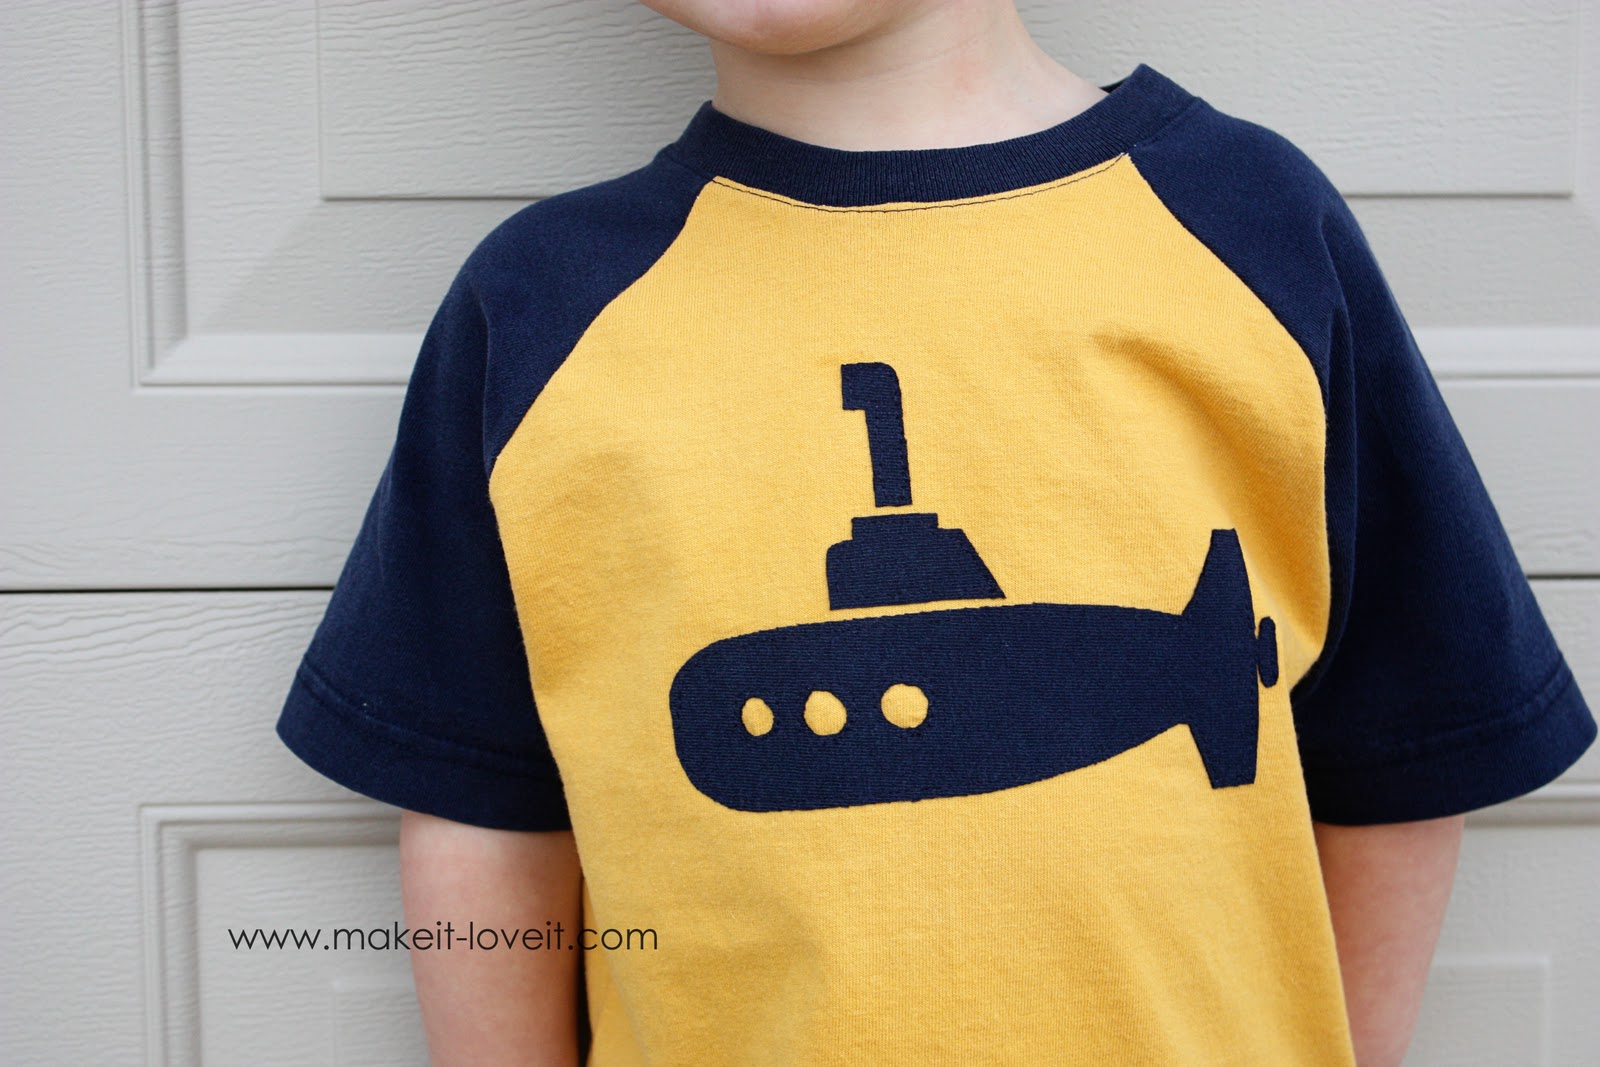
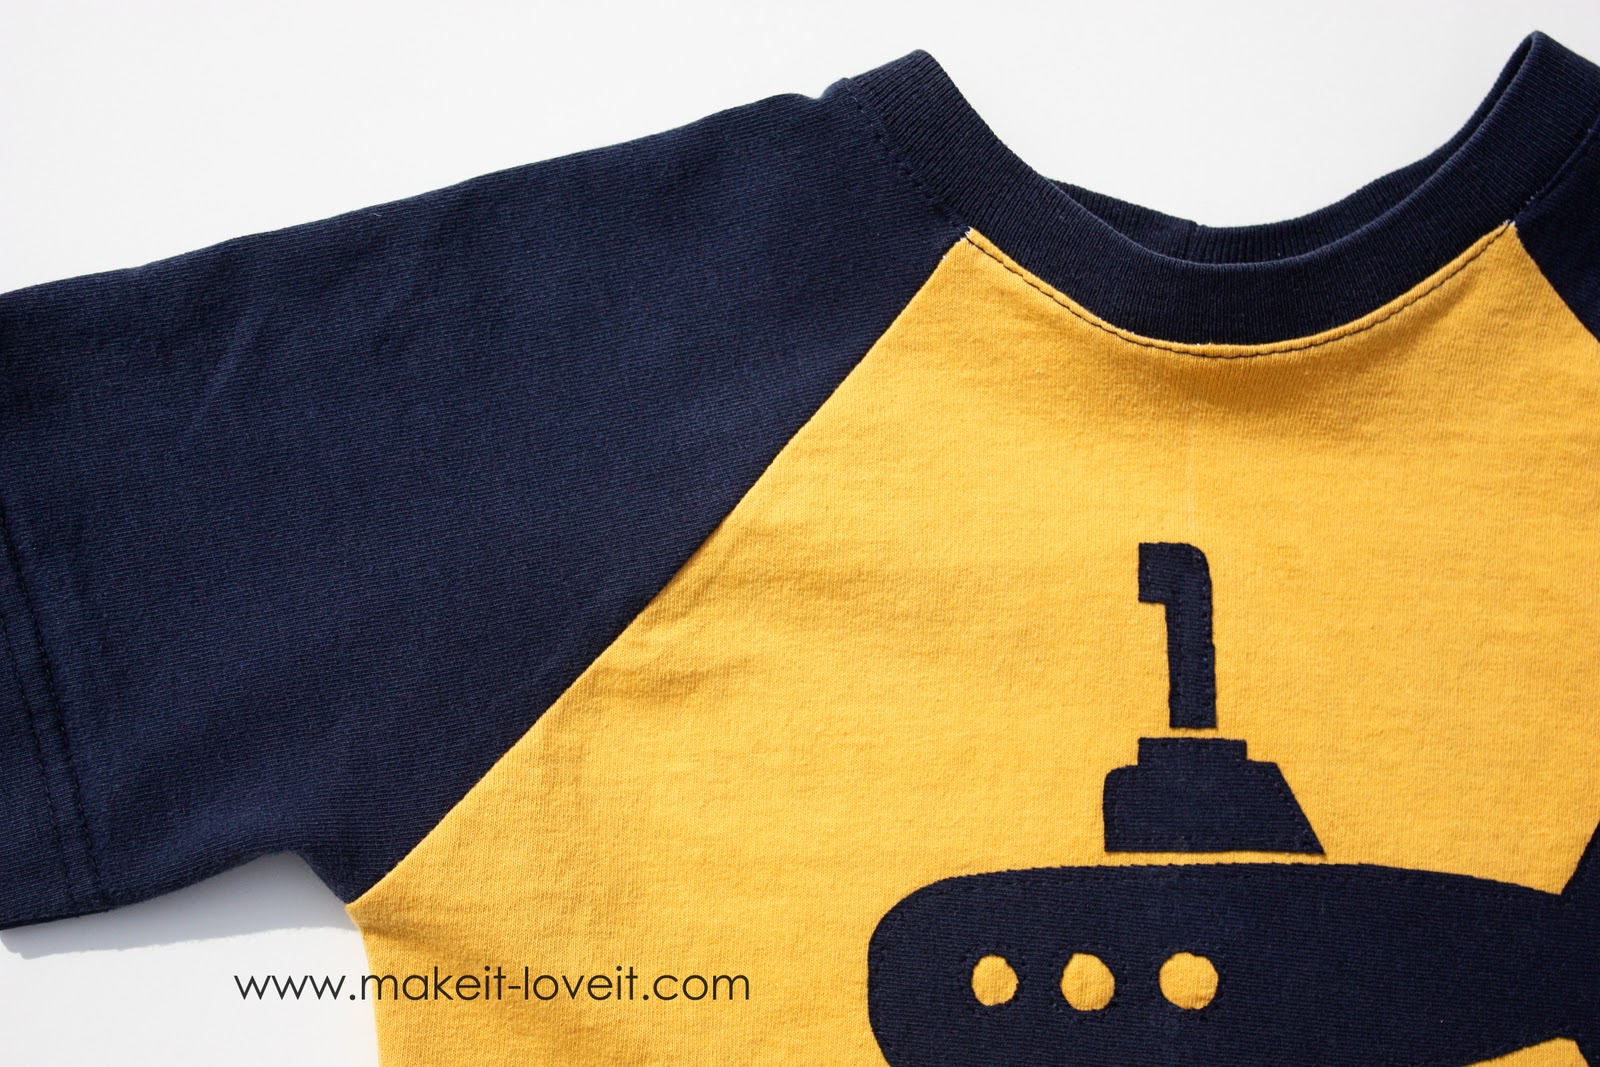
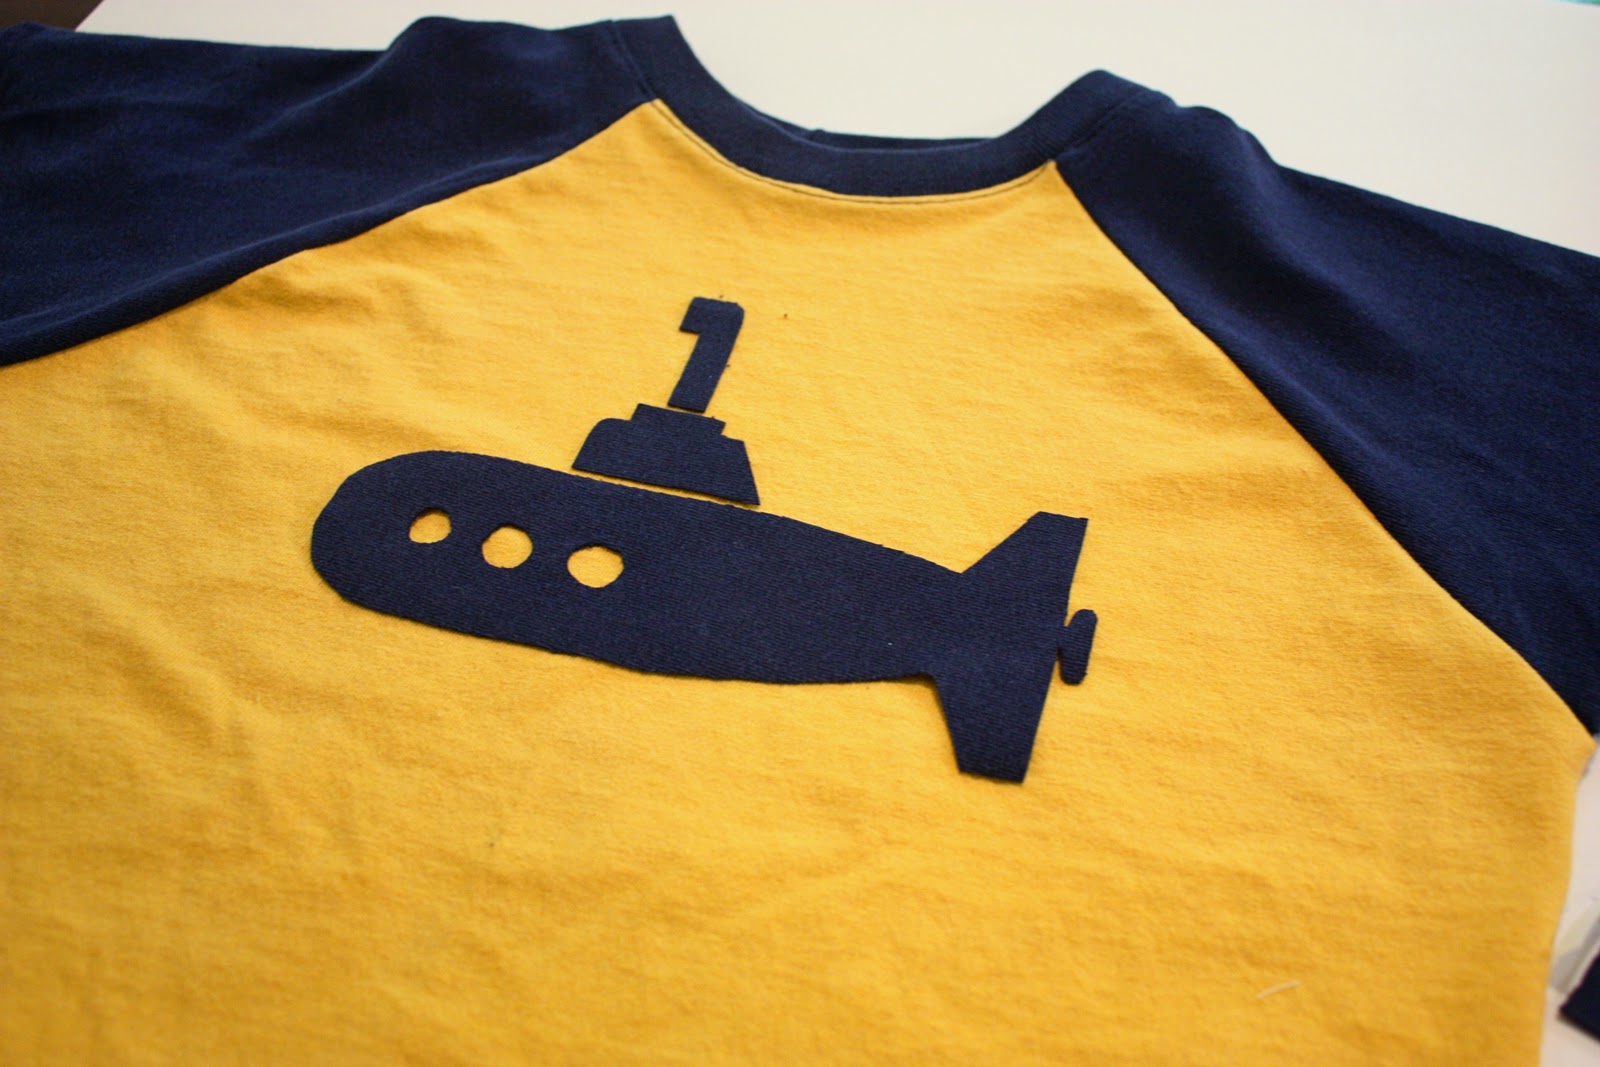
And if you look closely, that little submarine is appliqued right to the shirt…….from some of the Tshirt scraps.
..
.
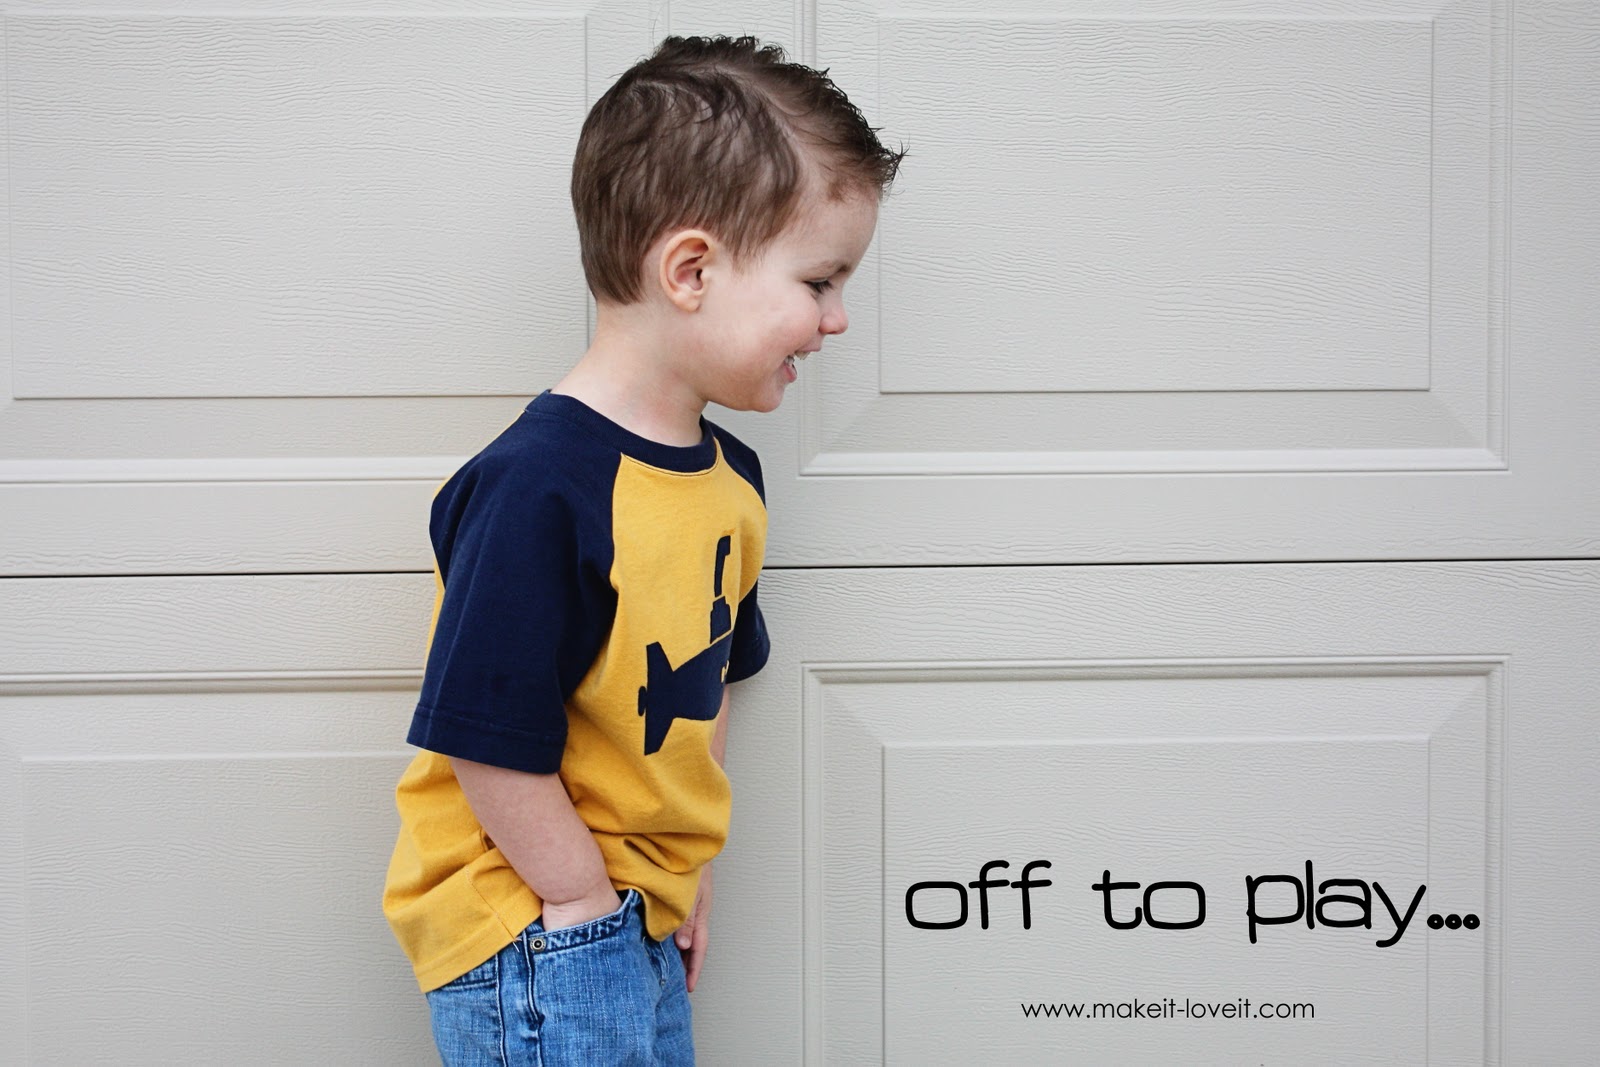
You know those boys, they need something comfy to go exploring in.
Tshirts are perfect for that.
Homemade ones are even better.
.
.
A great 2 color baseball-style Tee…….great for the little guys.
.
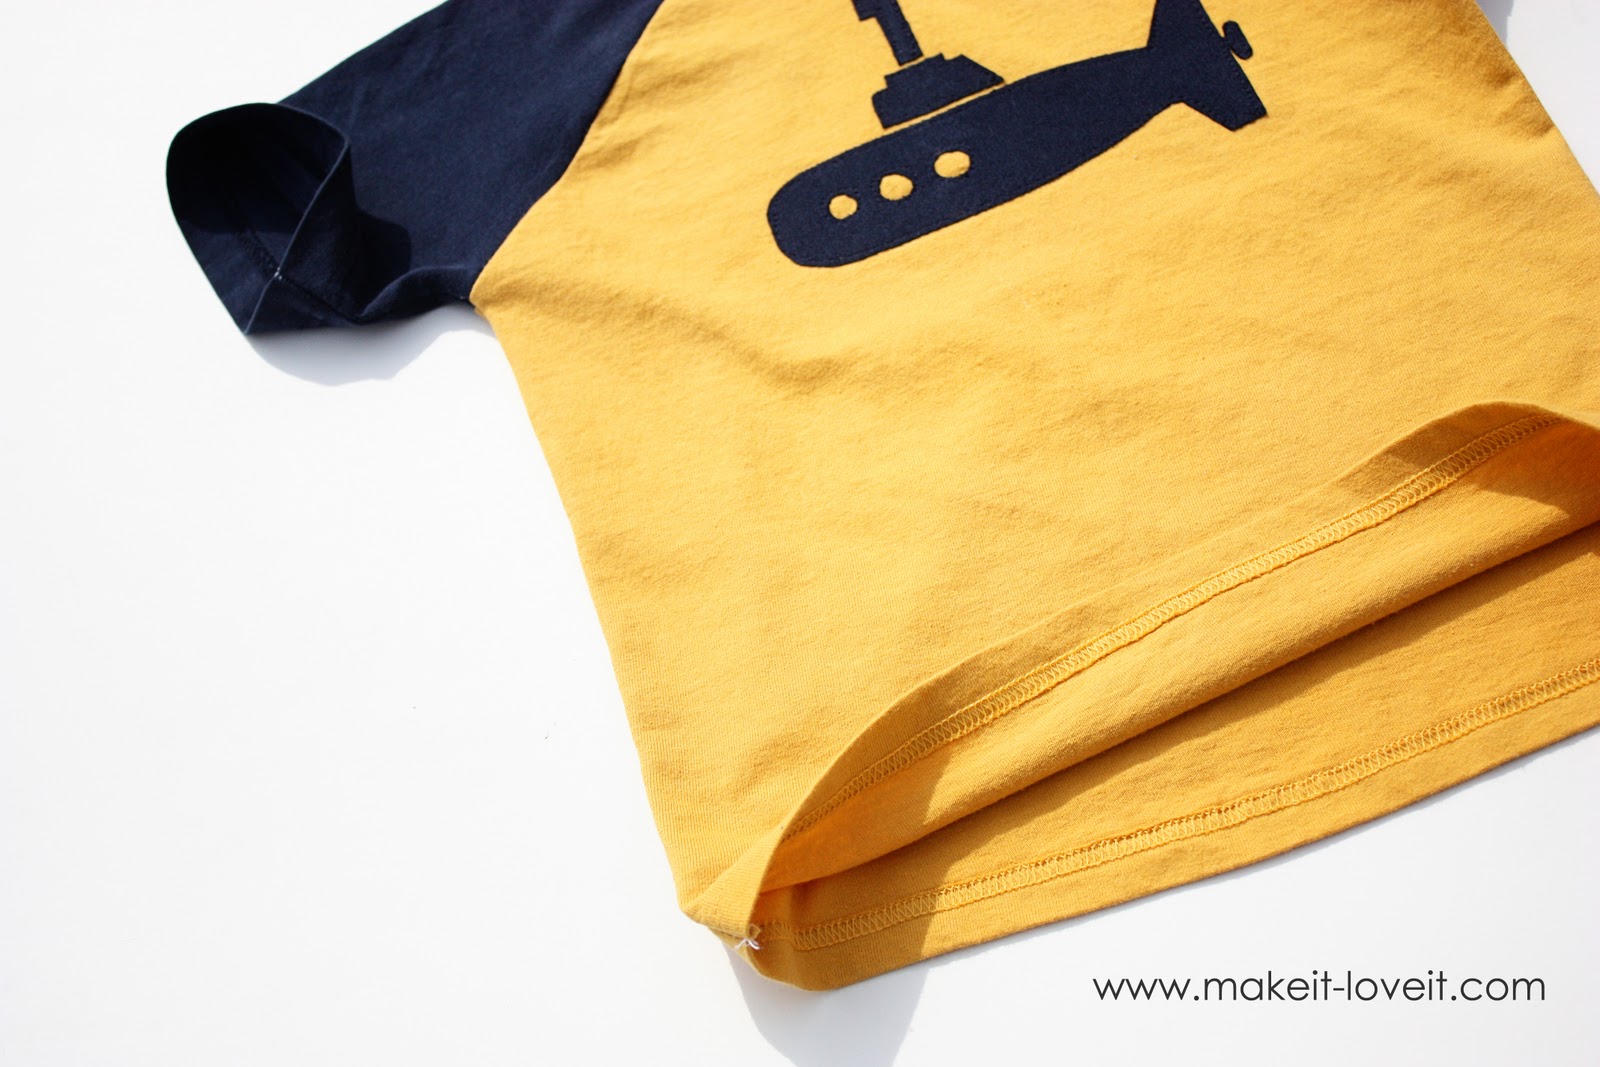
And because the shirt is made from 2 old Tshirts, there was no hemming involved.
Much simpler.
.
Would you like to create your own Baseball Style Tee?
.
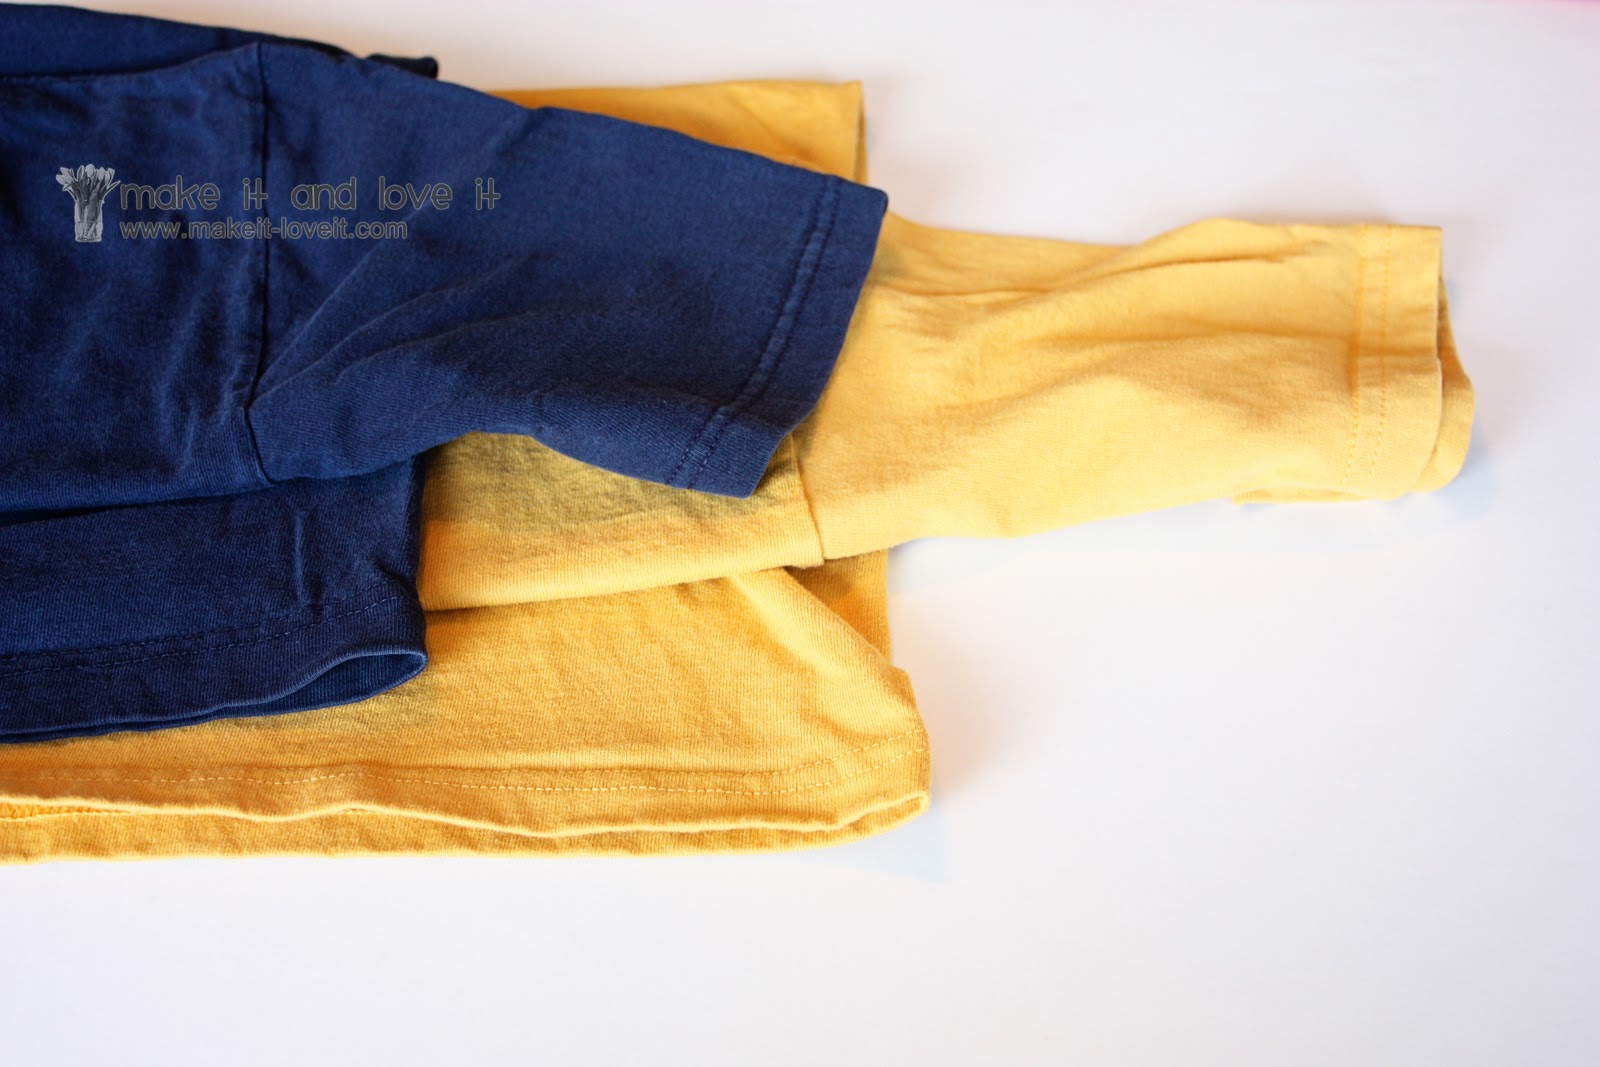
Find a couple of old Tshirts that you’re wanting to get rid of.
(Don’t have any? Check out your local thrift store…)
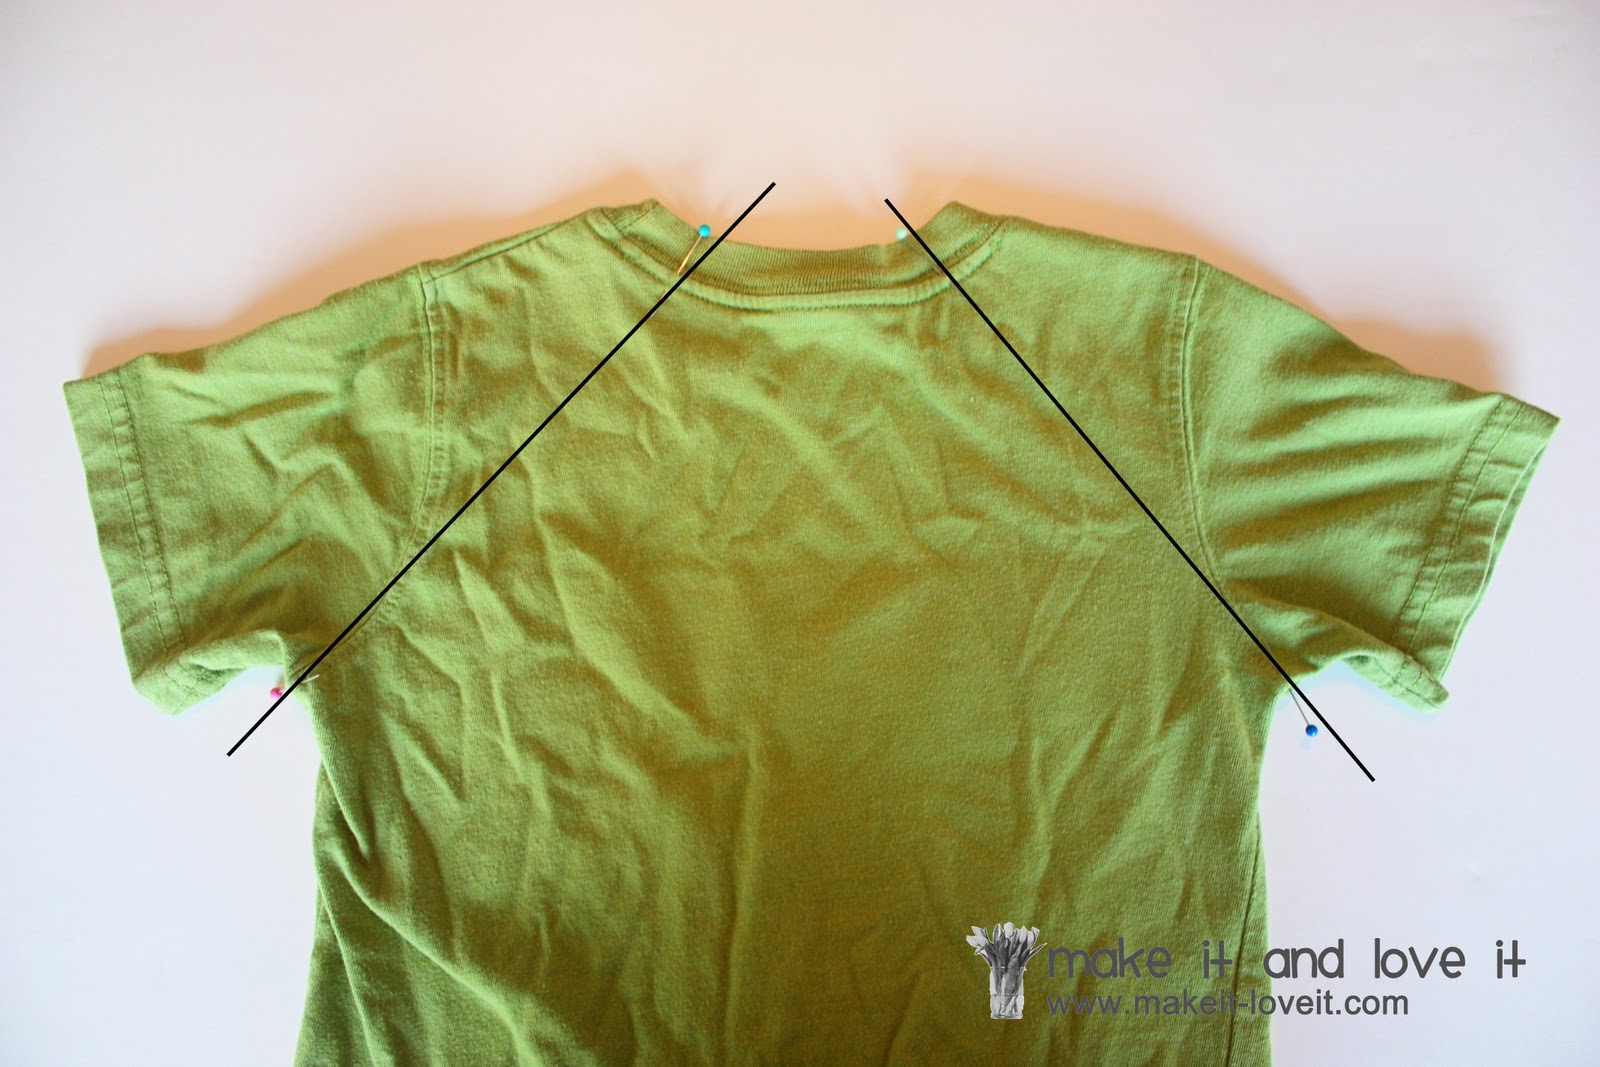
Then grab a Tshirt that fits your little guy to use as a pattern. Place pins up at the neck and down at the armpit seam……..and imagine 2 angled lines that will create the shape of your shirt. This is how your shirt will be divided. Make sure that each pin up at the neck line is the same distance away from the shoulder of the shirt. (If you place a ruler down along these imaginary lines, you will get an idea of how the line will look. Be careful when placing your neck pins……you don’t want to place them too close together or the sleeve section will come in too close and will crowd the center section of the shirt.)
(If you are using an old shirt that you don’t want anymore, you could actually cut up the shirt into these 3 sections to use as pattern pieces…..but I still want that little green shirt, so I had to work around it.)
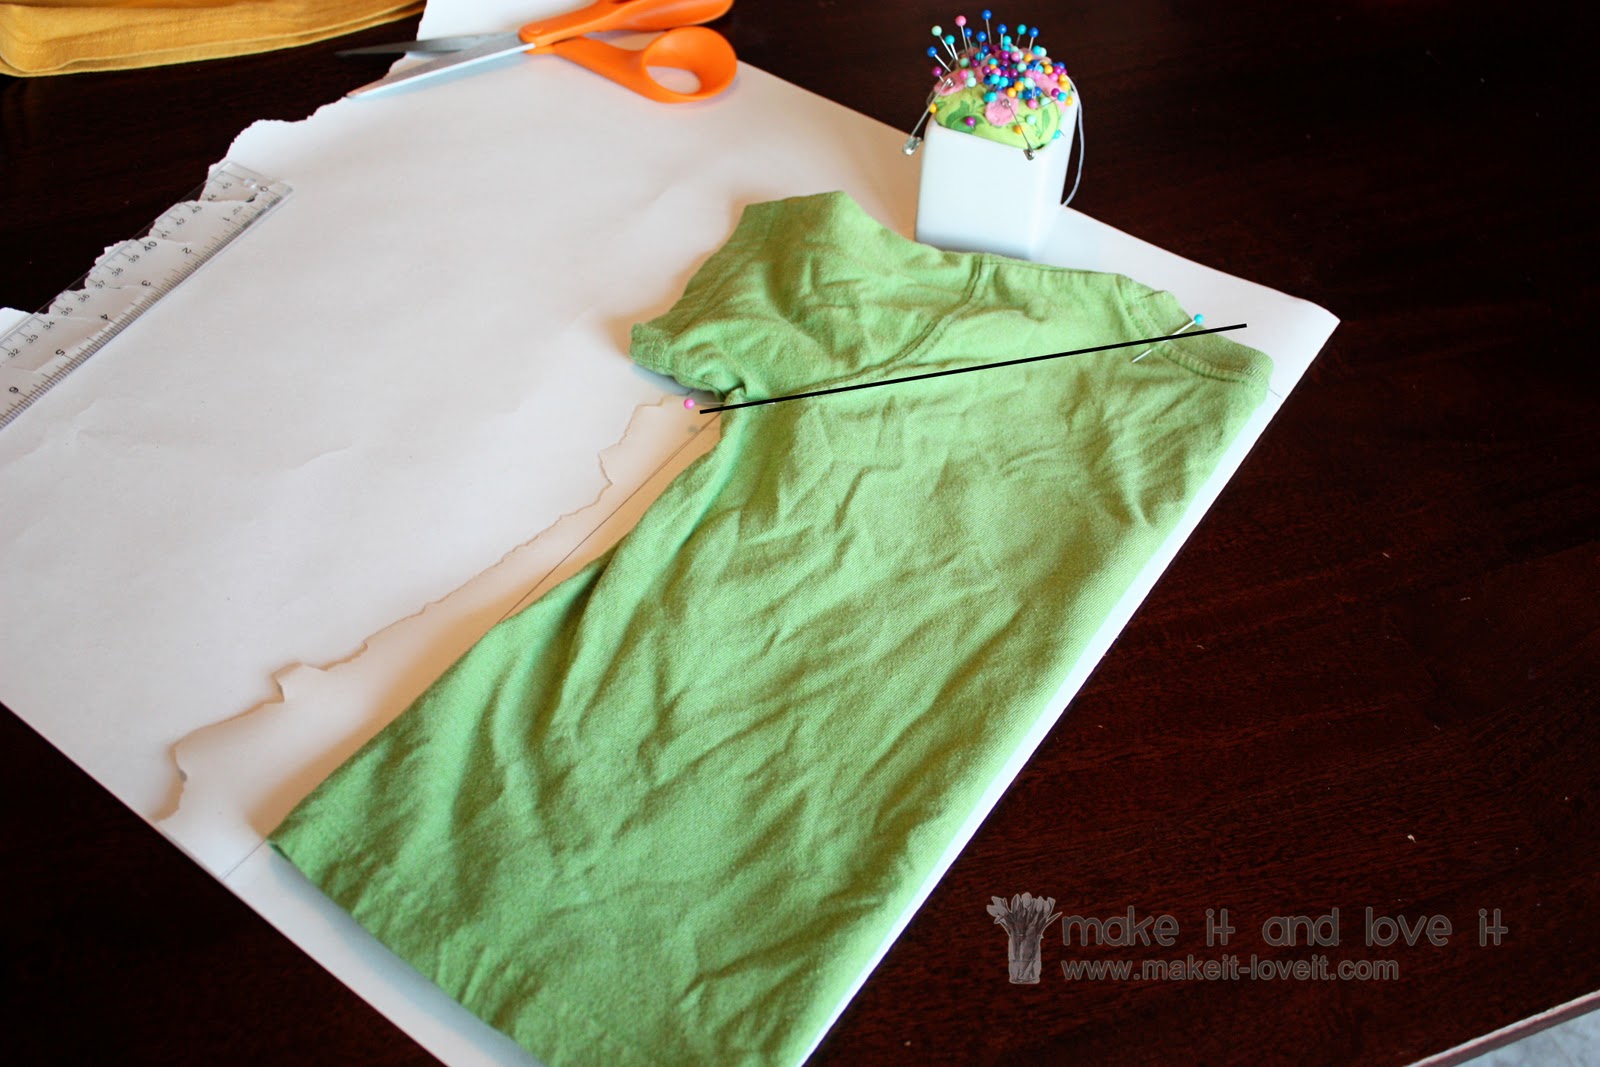
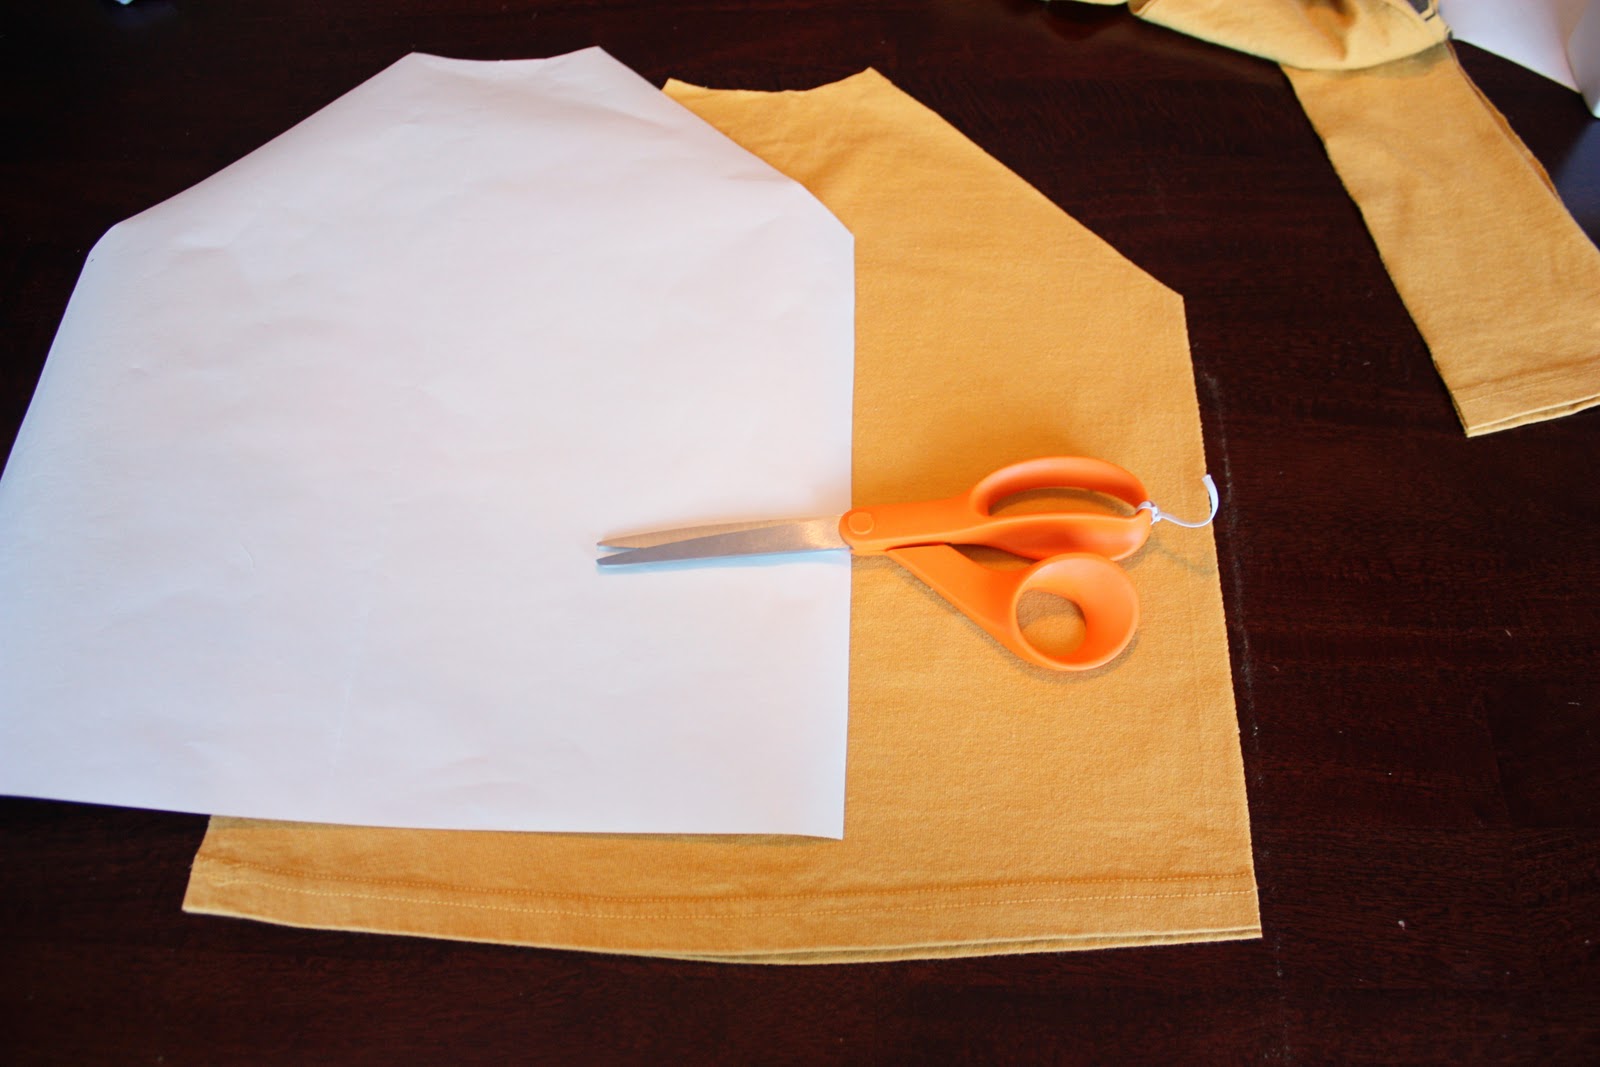
Then I folded the shirt in half (with the back of the shirt on the outside) and placed it on a folded piece of paper……..fold of the shirt placed on the fold of the paper. My pins are still there on the shirt and I am still imagining that imaginary line from the neck pin to the armpit pin. Then I traced around the main section of the shirt……..minus the collar. Be sure to add another 1/4 inch or so all the way around (except along the fold), as your seam allowance. Whatever seam allowance you choose, be consistent and use that same dimension from now on. (And I wanted my shirt a little longer too…..so I made the pattern piece a bit longer.)
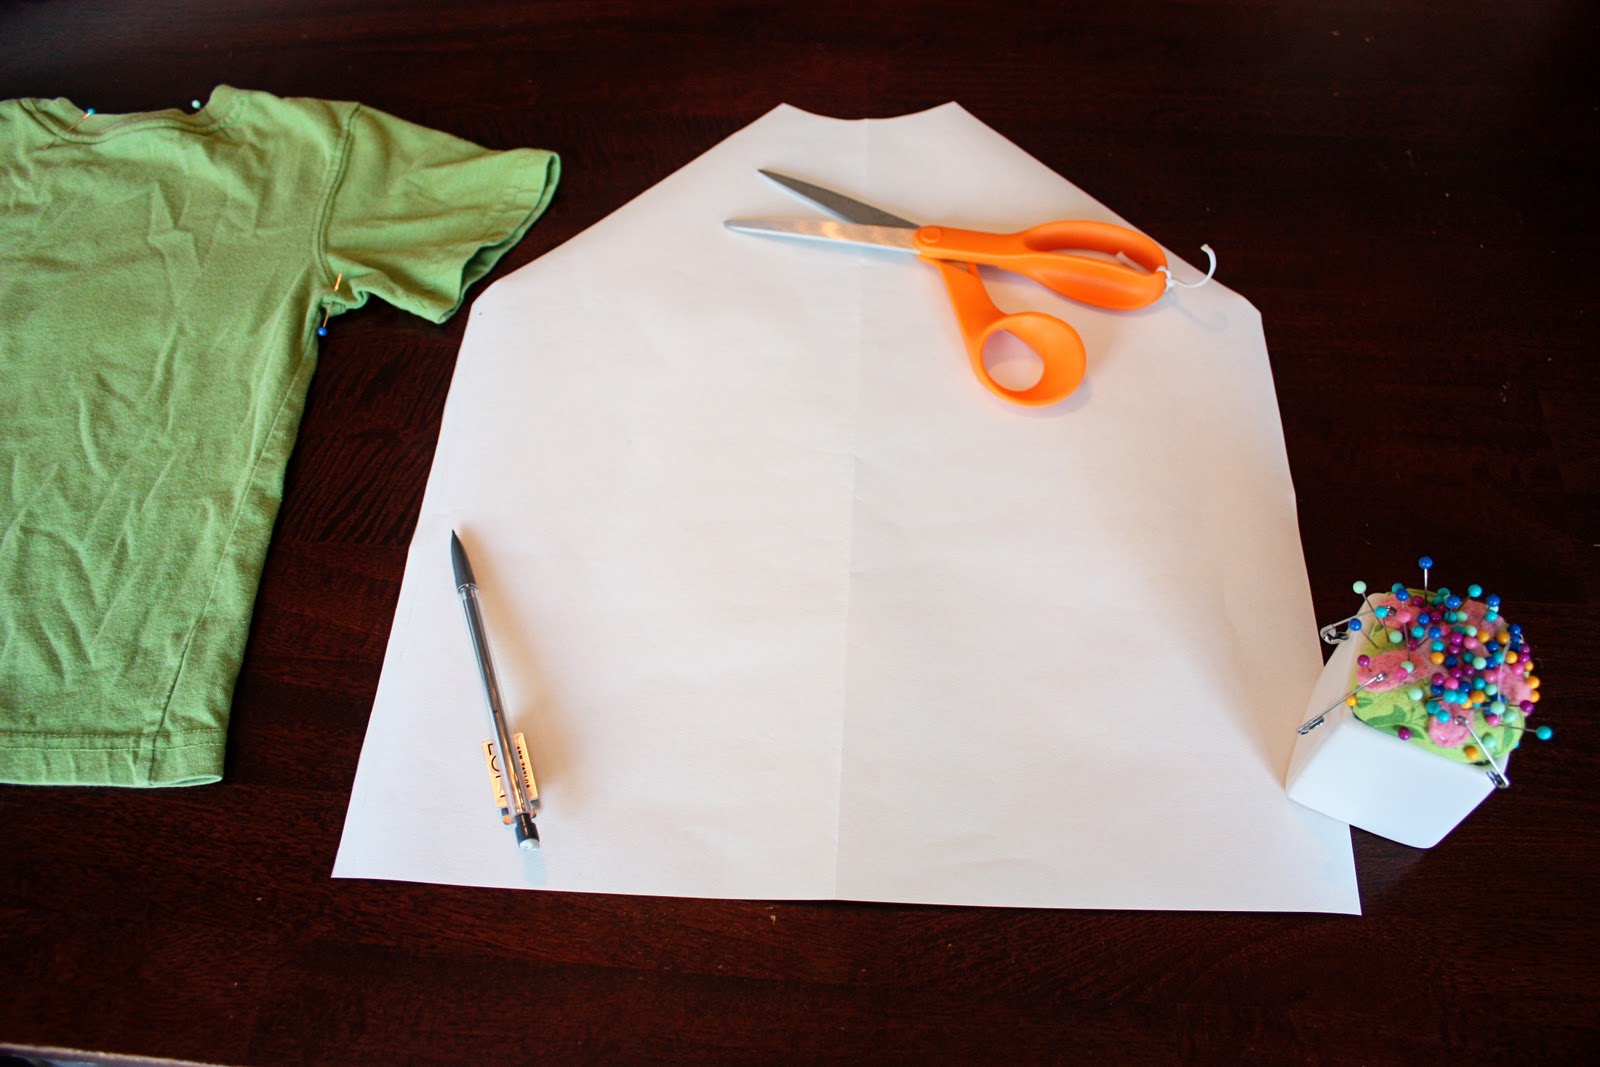
Then cut out the shape and open it up. Now you have your main shirt pattern piece.
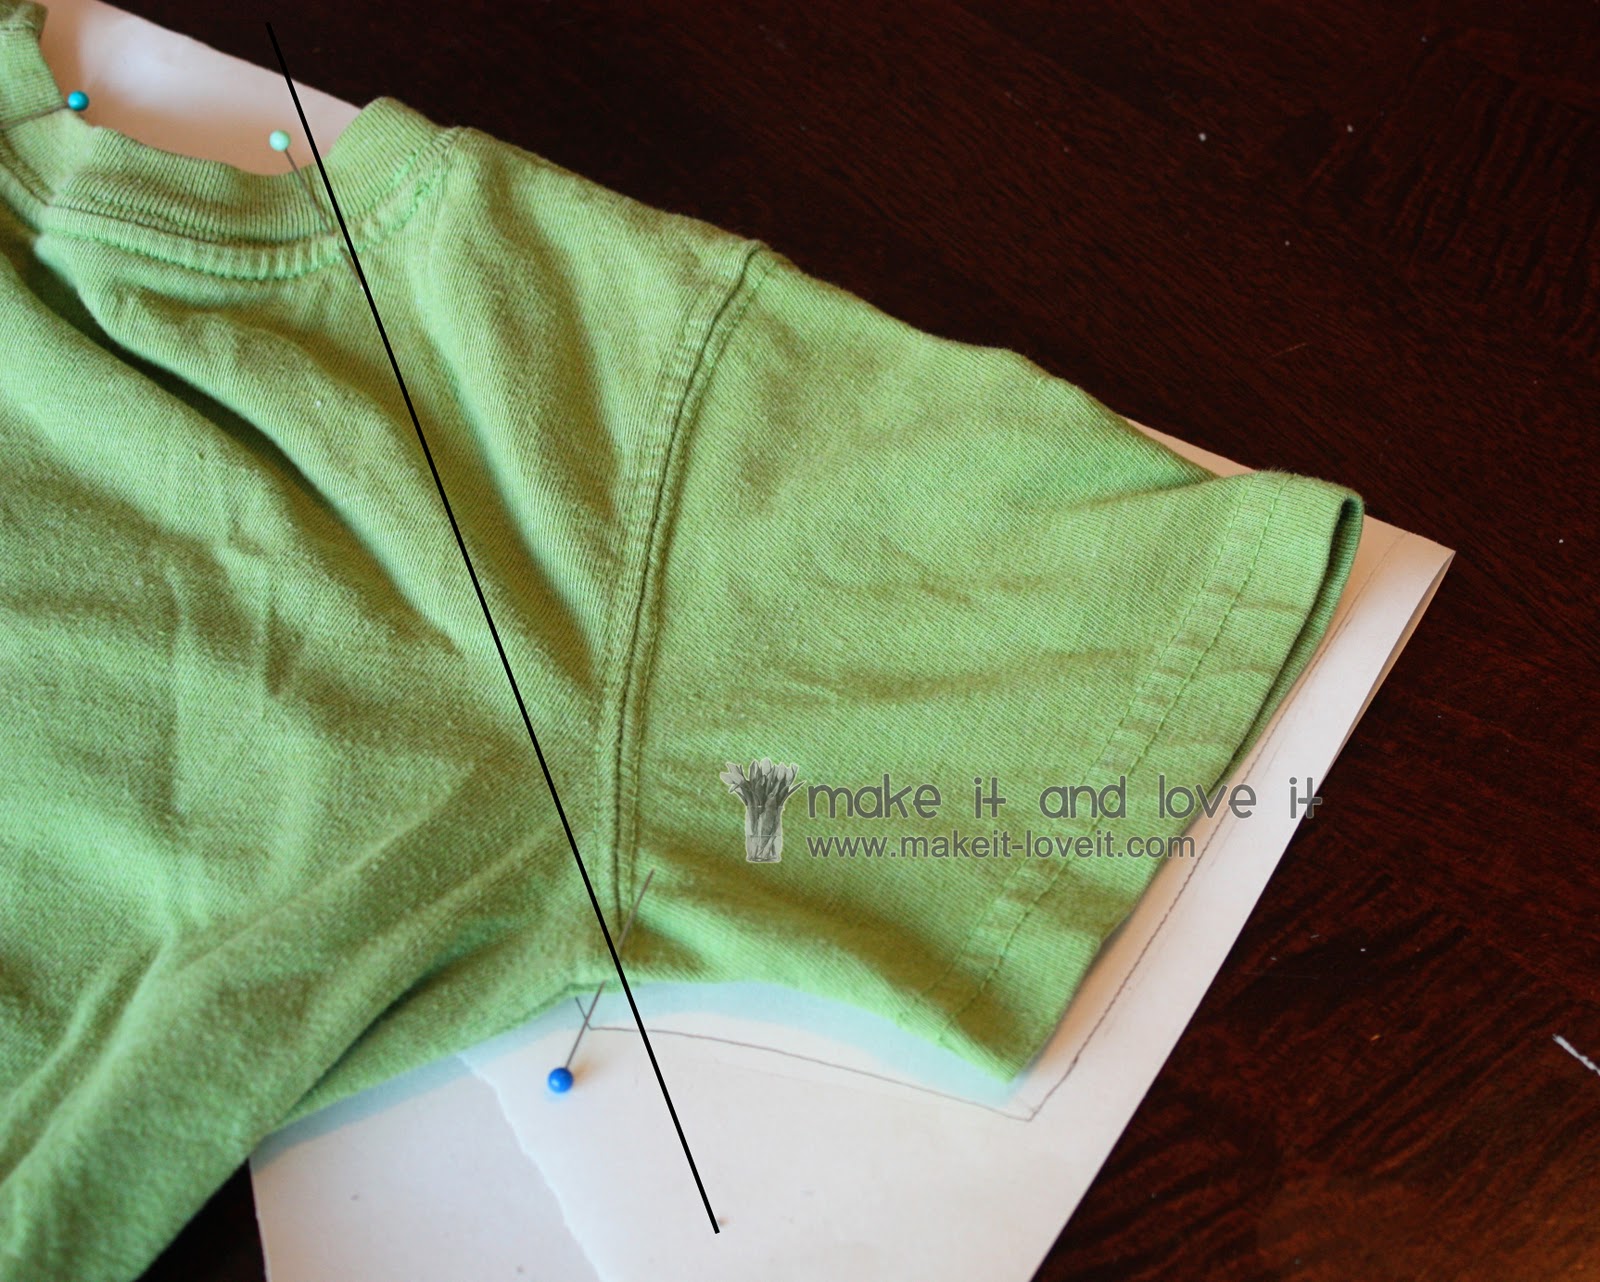
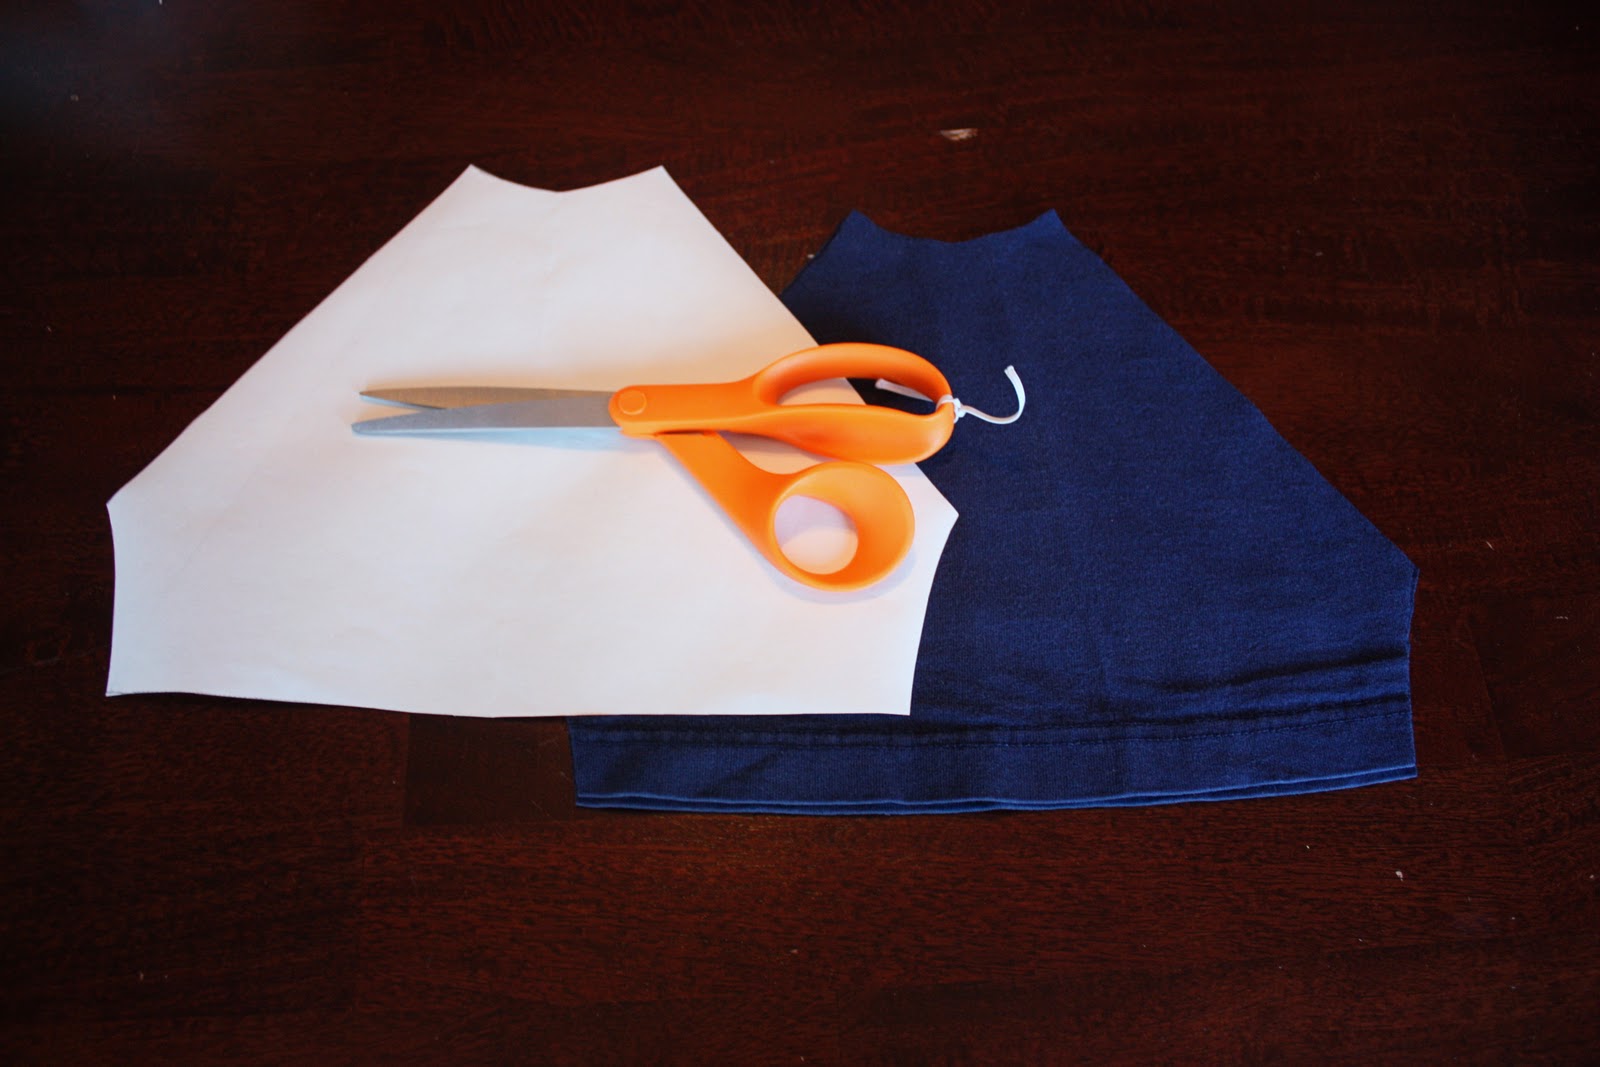
Now, do the same thing with the sleeve. Keep that imaginary line in mind and trace around the sleeve shape…….minus the collar. And again, the fold along the top of the sleeve should be lined up along the fold of the paper. (Don’t forget to add a seam allowance around all of the edges except along the top folded edge.)
Once you cut it out and open it up, your sleeve shape should look similar to the one below, and the pieces should be the same length along the inner arm, where you will be sewing them together. Adjust your pattern pieces if necessary.
Then, with the pattern piece opened up, cut out two pieces of your main shape, matching up the bottom of the pattern piece with the bottom hem of the old Tshirt. Now you don’t have to hem then bottom.
Then cut out 2 of the sleeve shape, matching up the bottom of the pattern shape with the hem of the other old Tshirt.
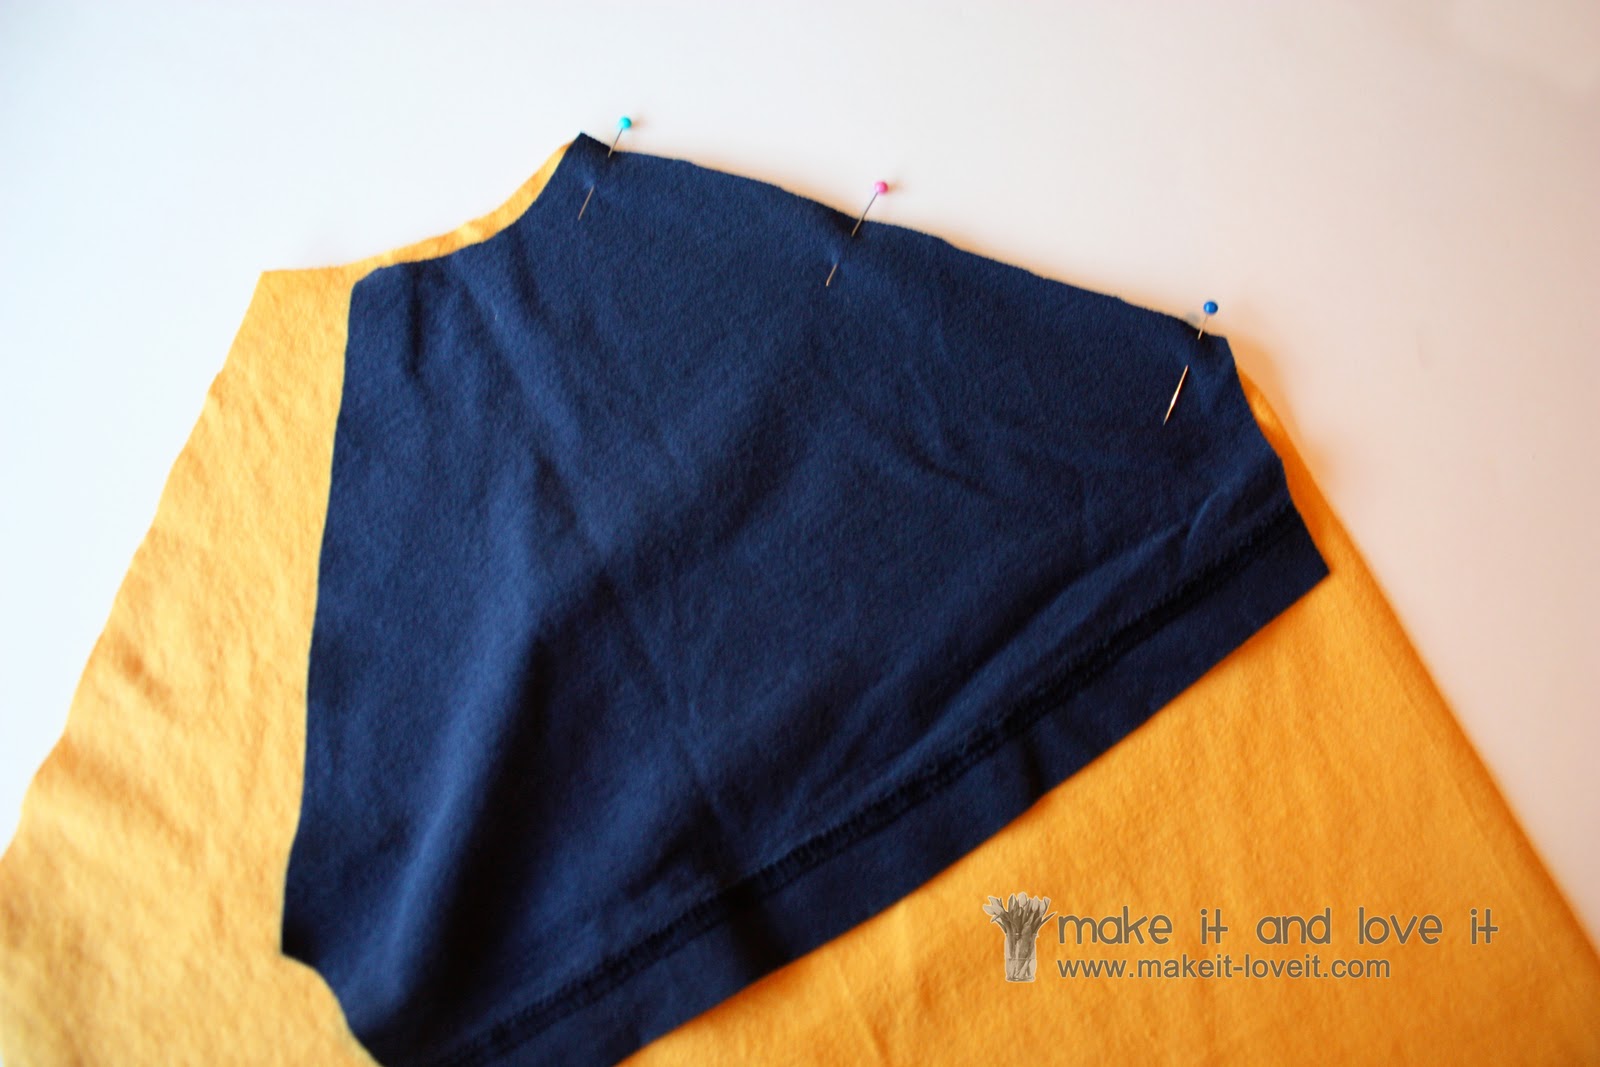
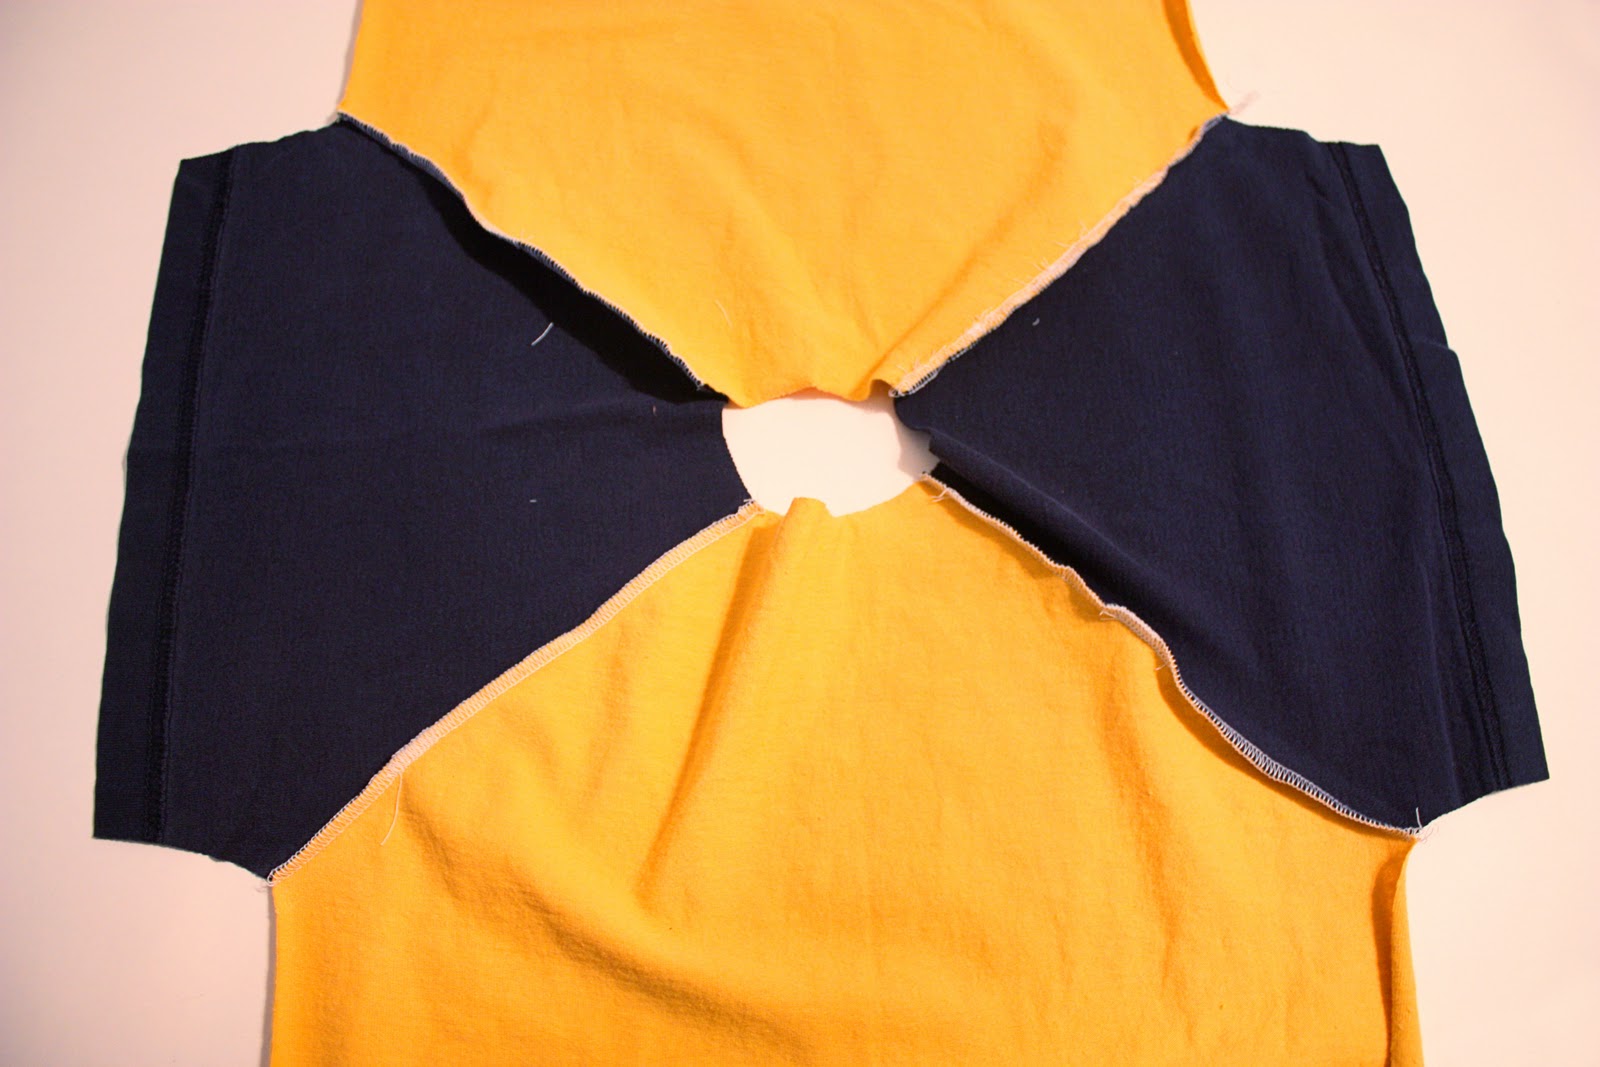
Now place one of your sleeves along one of the main shirt pieces, matching up the inner arm seam with right sides of fabric together. Sew into place, using the seam allowance that you provided yourself with in the previous steps.
Do the same with the other sleeve. Now both sleeves should be attached and look like the image below. (I used a serger but you can create this shirt with a zig-zag stitch. Remember, if the knit is bunching up a bit under your needle, increase your stitch length and try again. Sew slowly. And try other stitch options, like explained
here.)
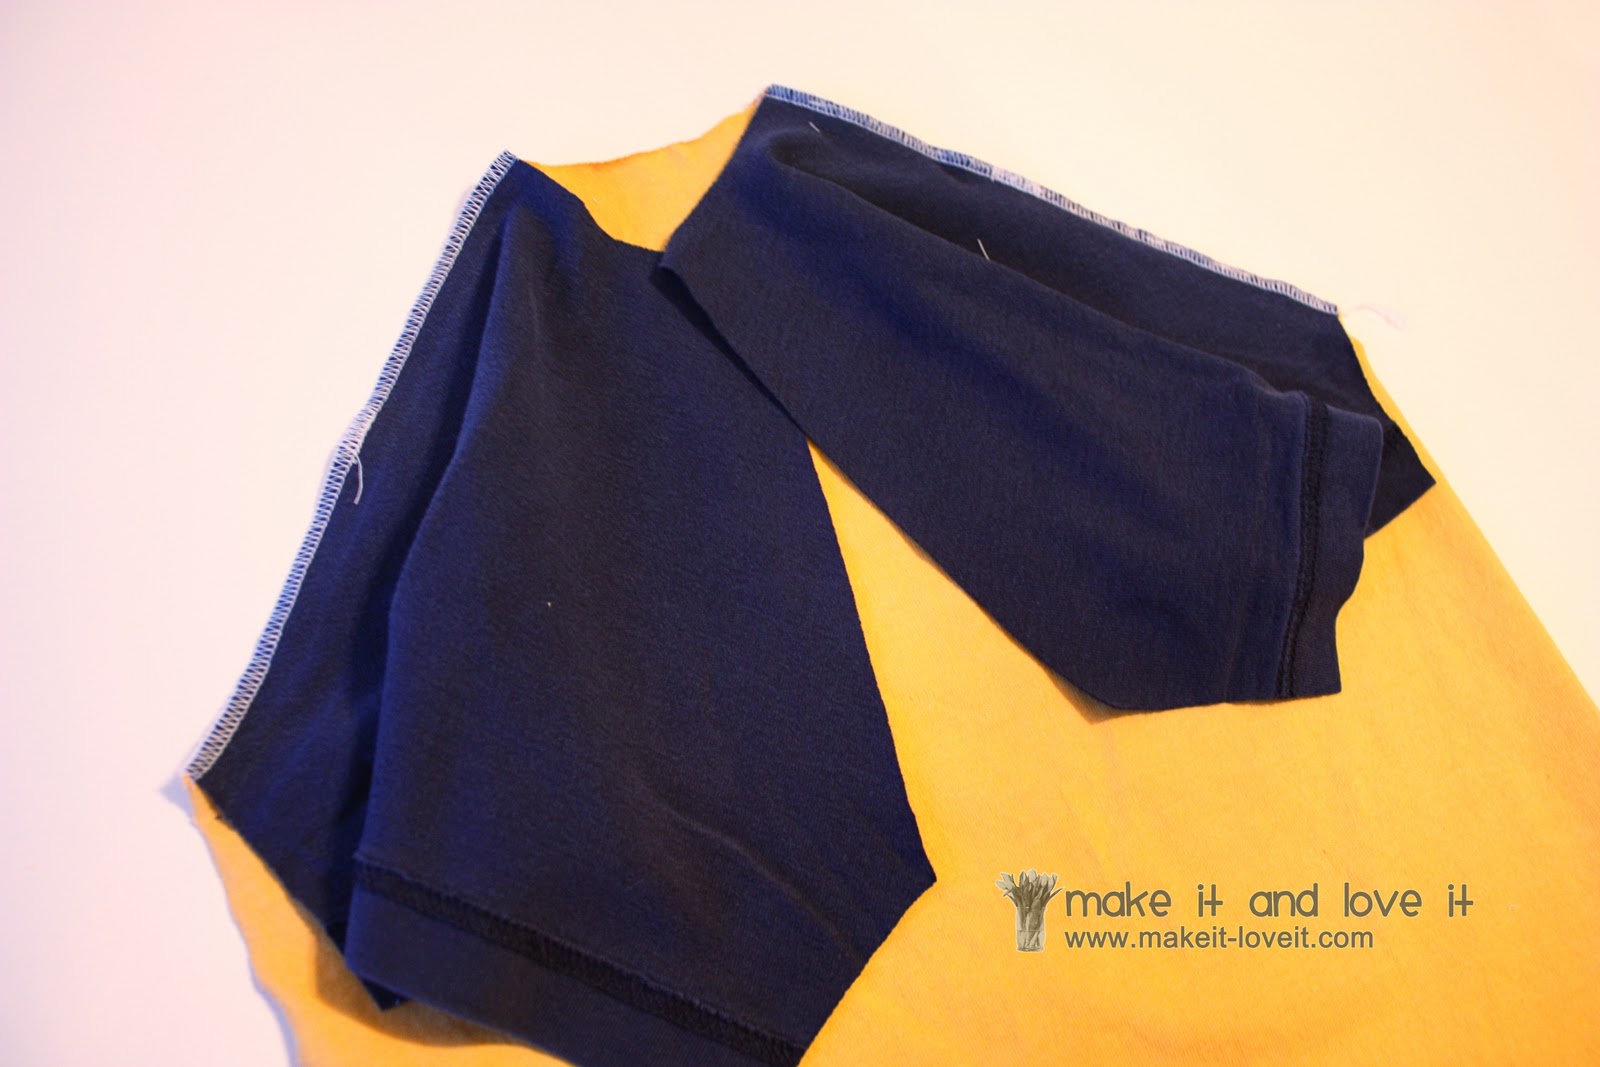
Now, attach the back main piece to the other edge of the sleeves, making sure that you are sewing right sides together. After all of the pieces are sewn together, it should look like this on the wrong side of the fabric.
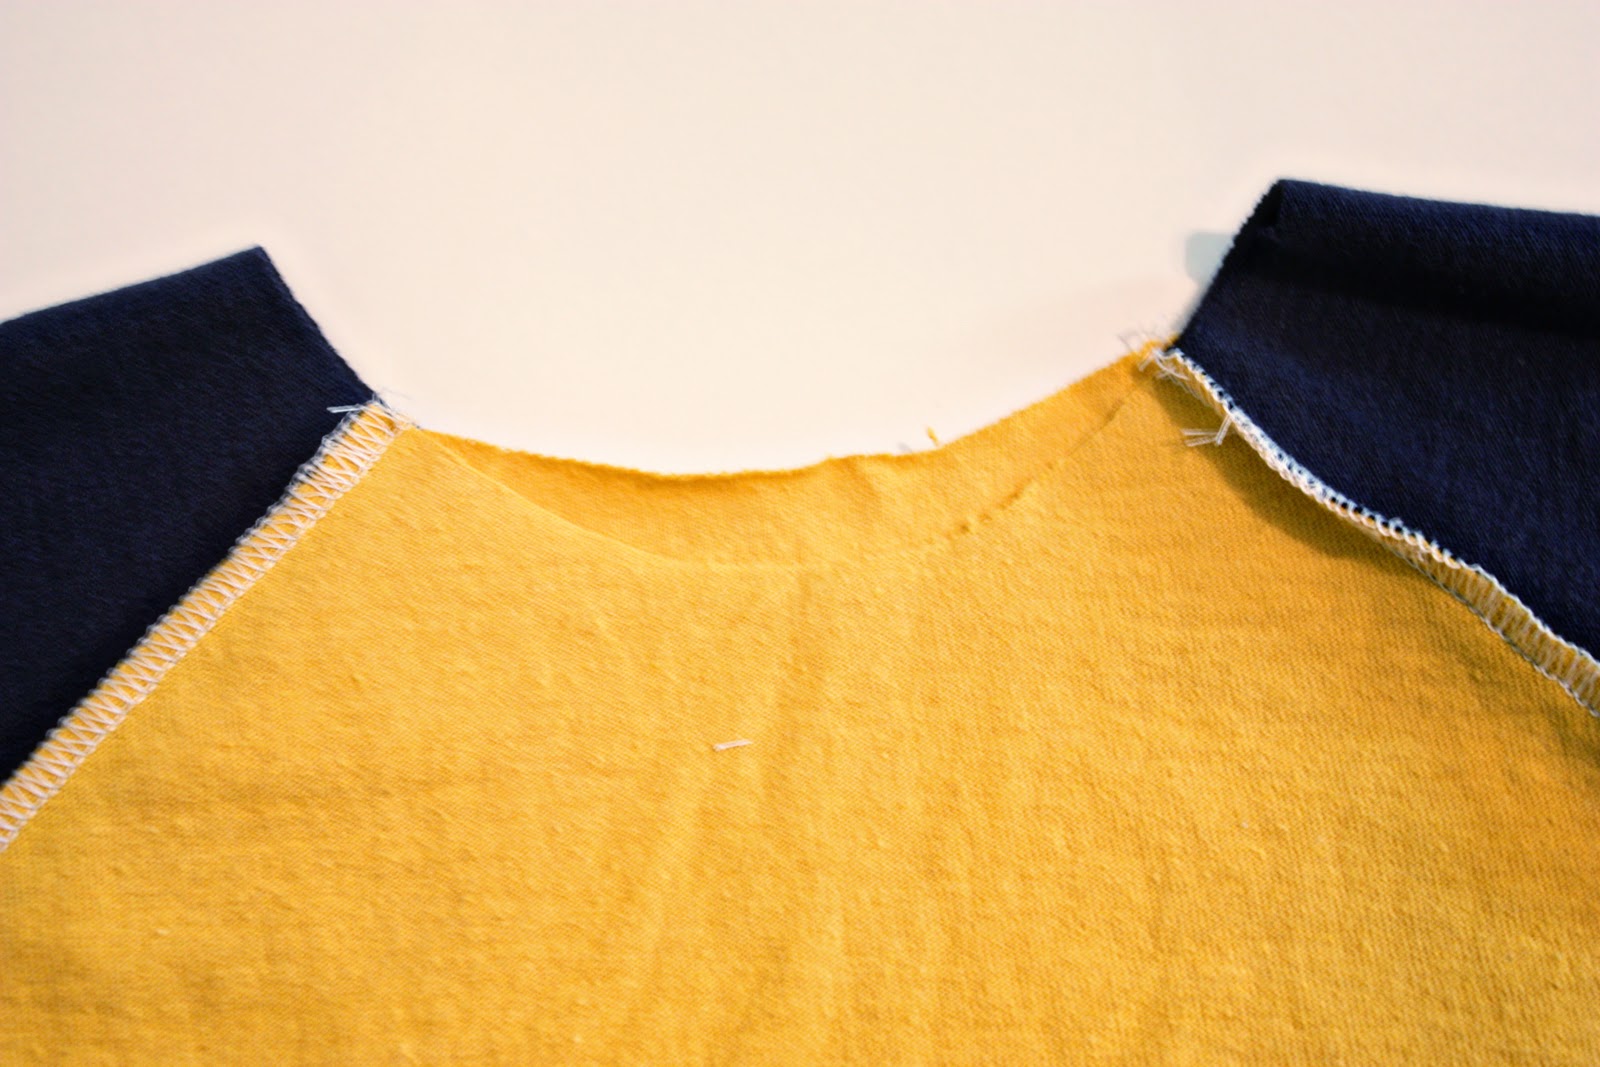
Now, because I traced around the green Tshirt from above, using the back side of the Tshirt, both sides of the neck line are up high. So I just trimmed down the neck line just a bit……..simply because Tshirts necklines generally go down just a bit for comfort. You could have created a whole different pattern piece for this earlier on……..or just trim it down at this point like I did.
(Also, at this point, make sure that the opening isn’t too small. Remember you will be adding about 1/2 inch or so of a ribbed neckline……and you don’t want the opening to be too small to go over a head. And if it’s too big…..it may look a little strange and you may have to start again.)
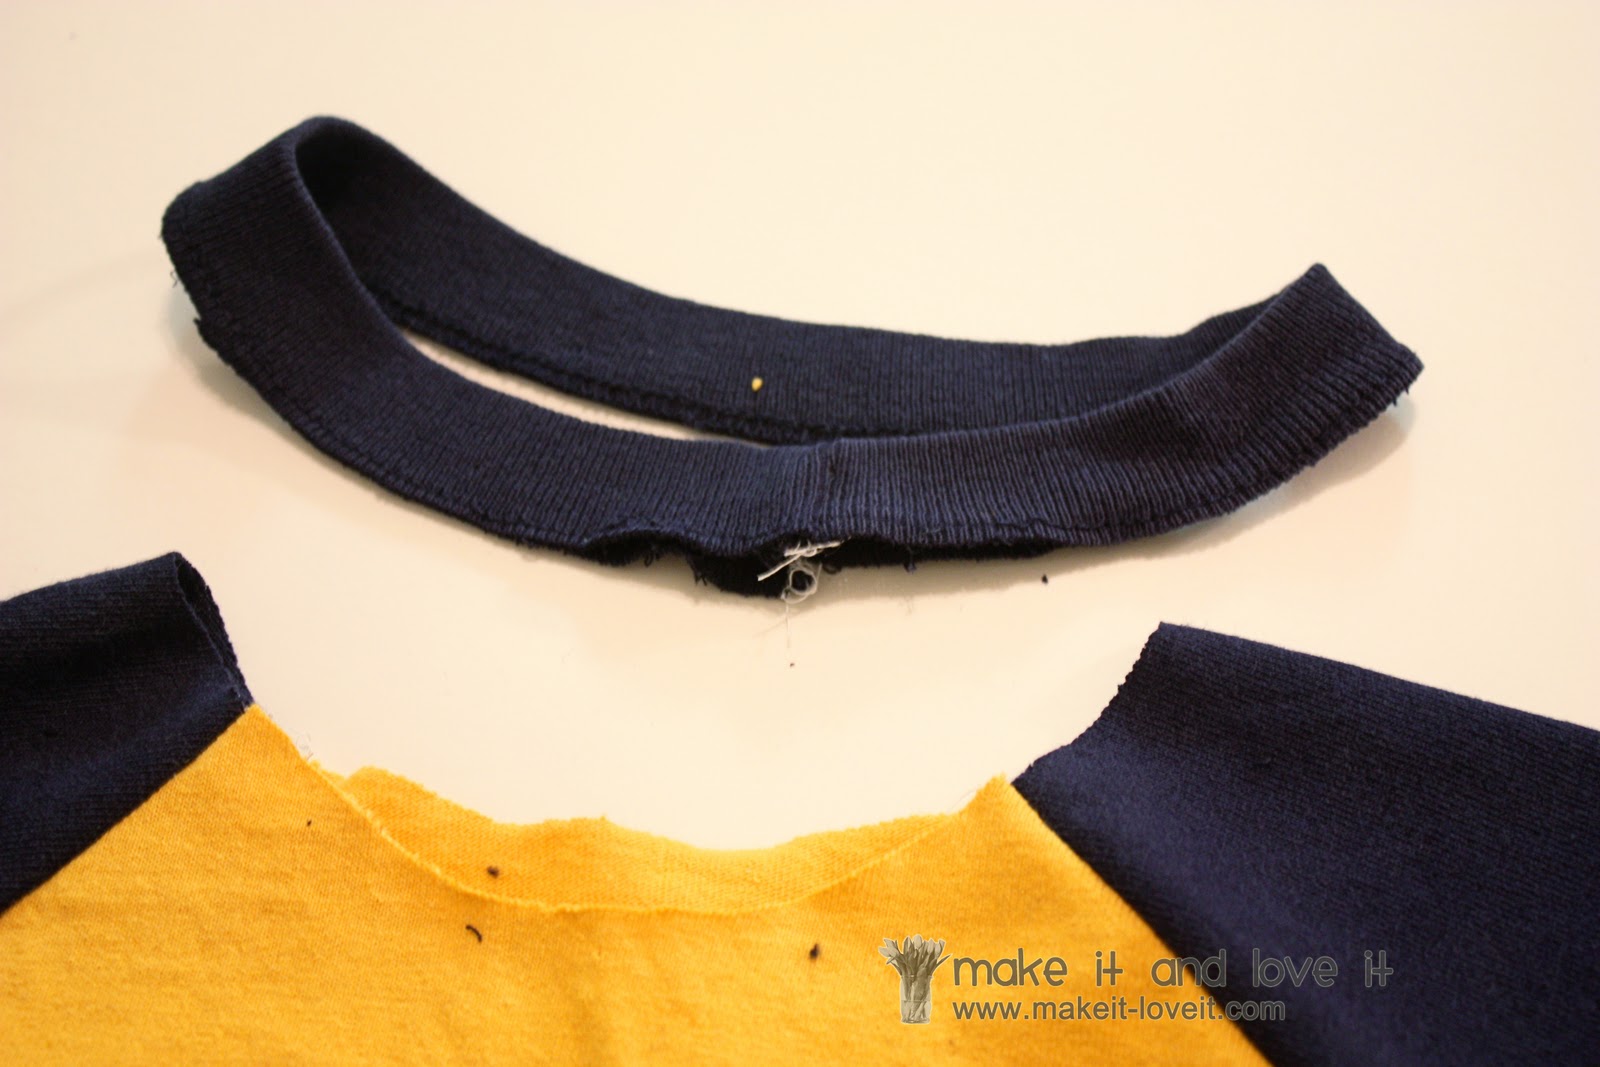
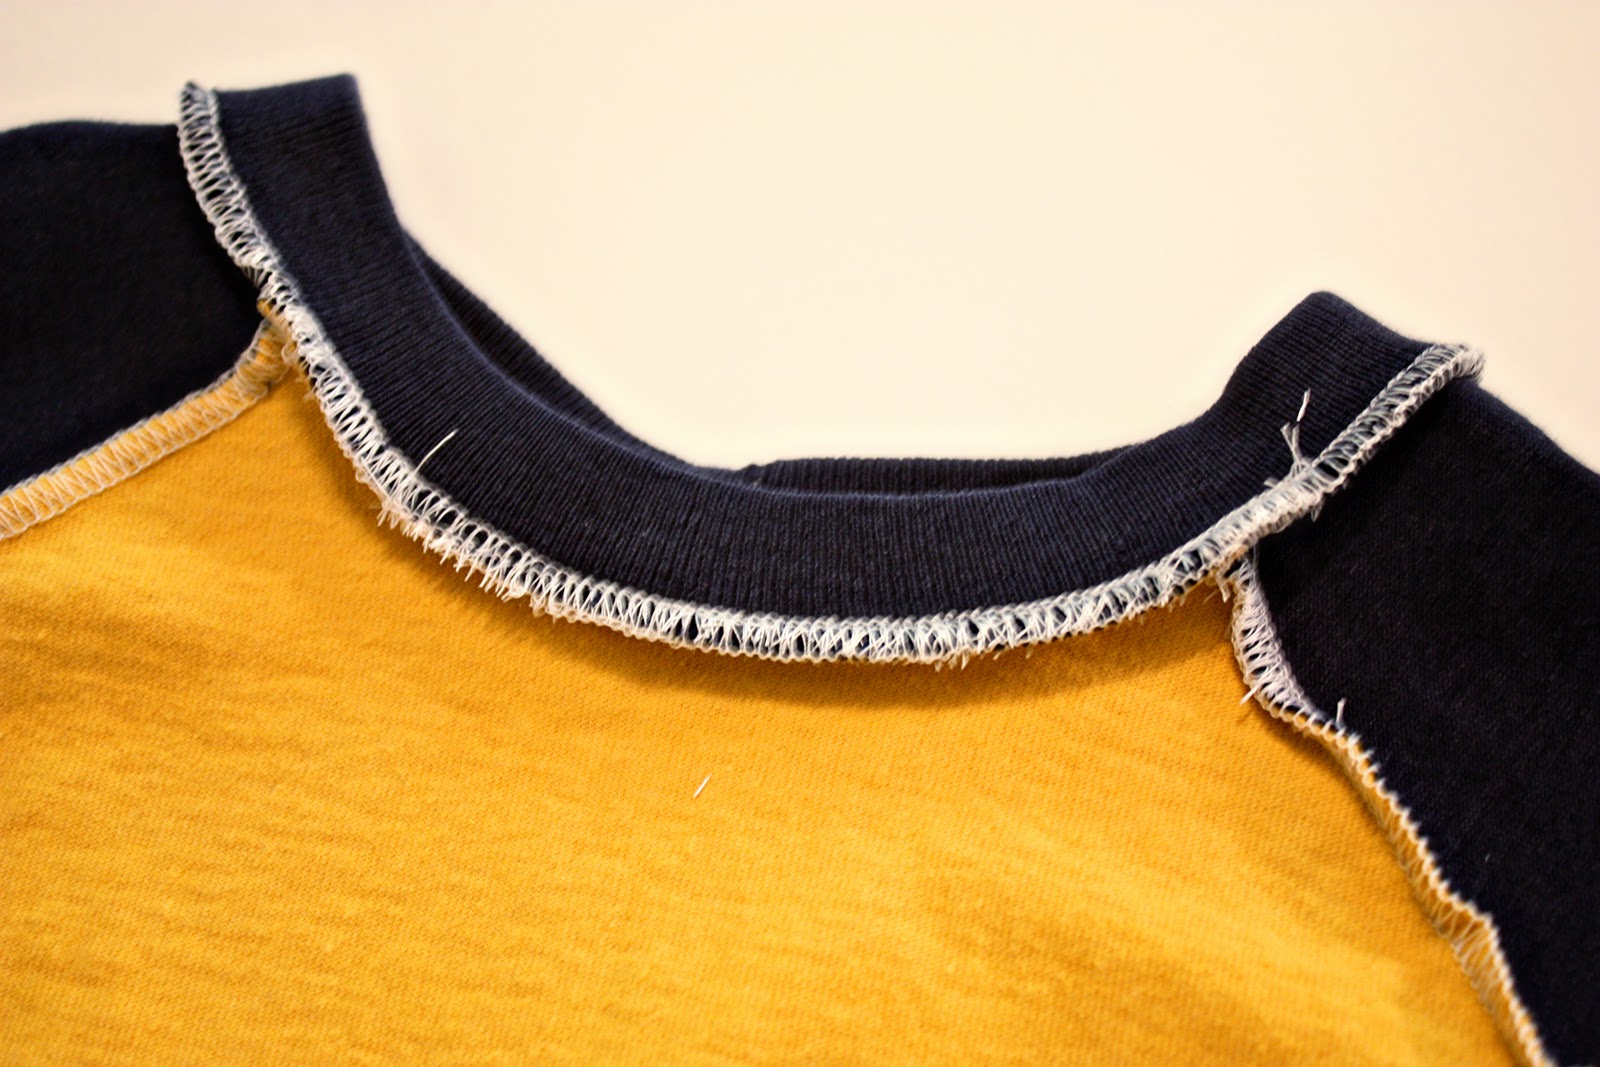
Then cut the neckline ribbing off one of the old Tshirts, as close to the lower seam as possible. (Or pick it out if you need more fabric.)
Because this neckline ribbing was from a men’s Tshirt, I had to make it a little smaller for my shirt. Measure it around your neckline opening and adjust if necessary. (Or cut out a strip of ribbing if you have some and fold it in half lengthwise.)
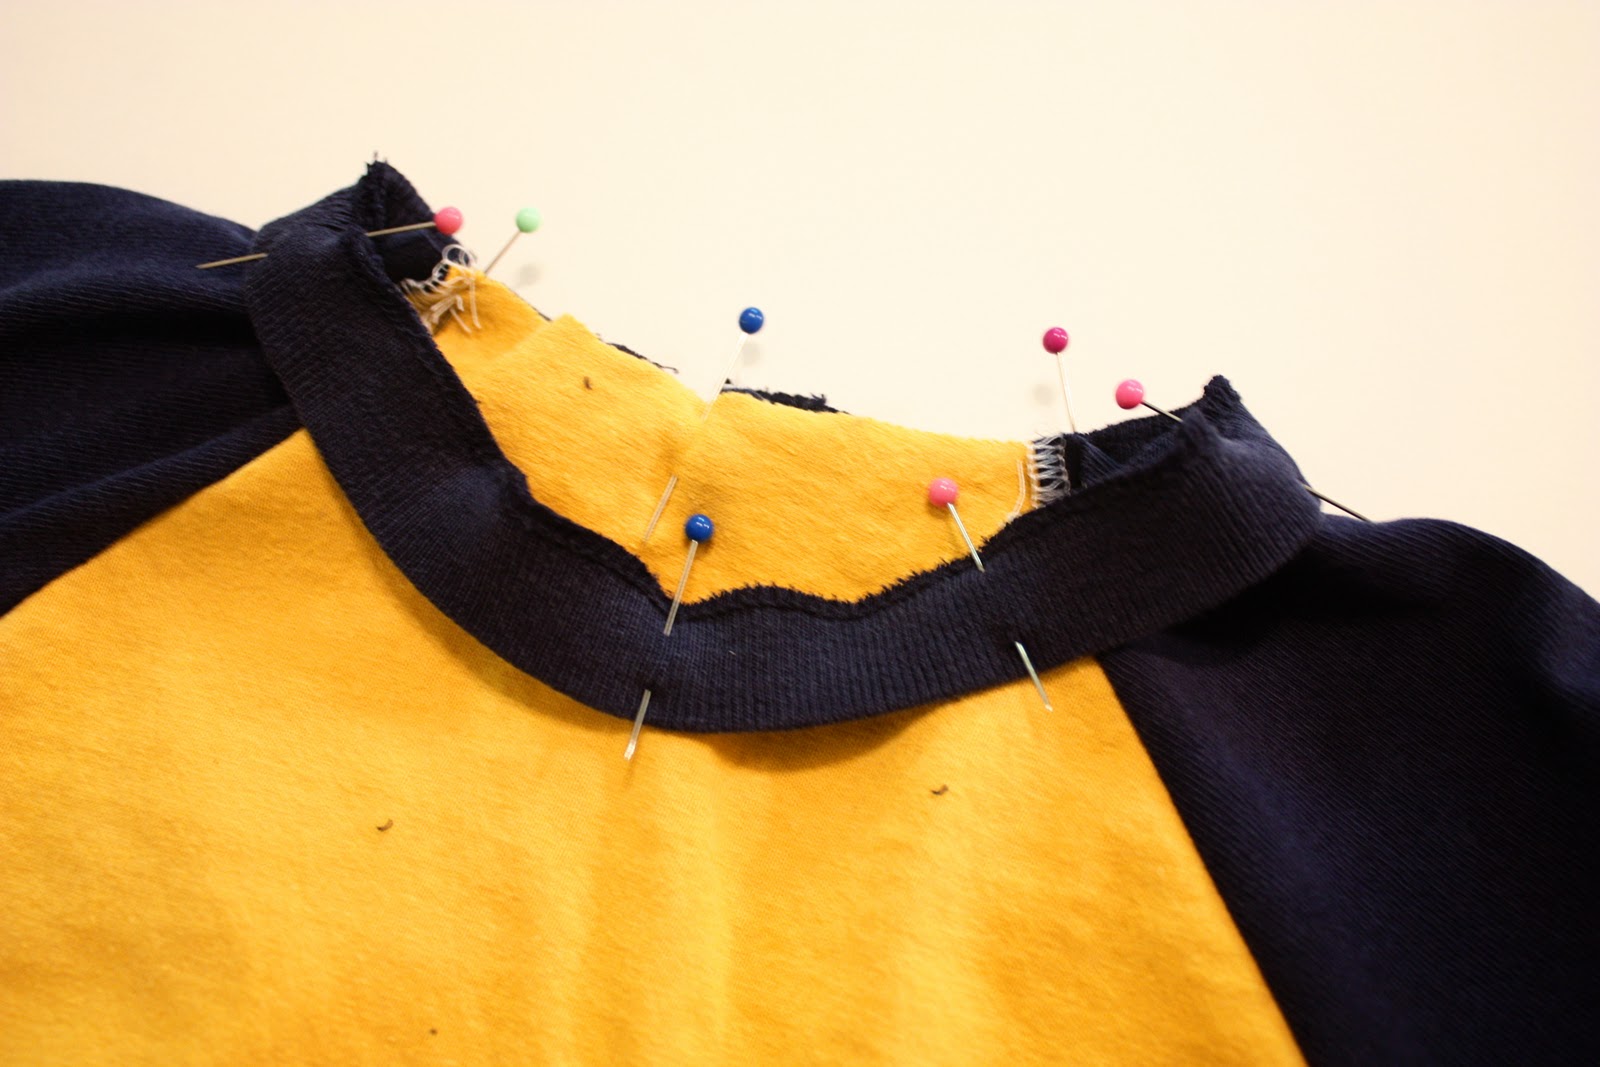
Then pin it to the neck opening of the shirt, pinning the two raw edges together with right sides together.
Then, sew all the way around those 2 raw edges, using a zig-zag stitch or a serged seam.
Now turn the shirt right side out, fold the inside seam down towards the bottom of the shirt and then *topstitch right below that outer seam that attaches the collar to the shirt……making sure to include that inner seam allowance that’s on the inside of the shirt. This will keep your collar upright and in place. Use a larger stitch length to allow for more stretch. If you notice that your stitch is too tight and not allowing for any stretch, you can always put a cute zig-zag around the collar.
(*Top stitch is just a fancy word for sewing on top of the fabric, giving the clothing a nice finished look.)
Then steam your collar flat with your iron………I promise this will help shrink down the ribbing a good amount if it has stretched and if your seam pulled at all while sewing.
Now, it’s time to add some interest to the front of the shirt. (You can skip this if you want to.)
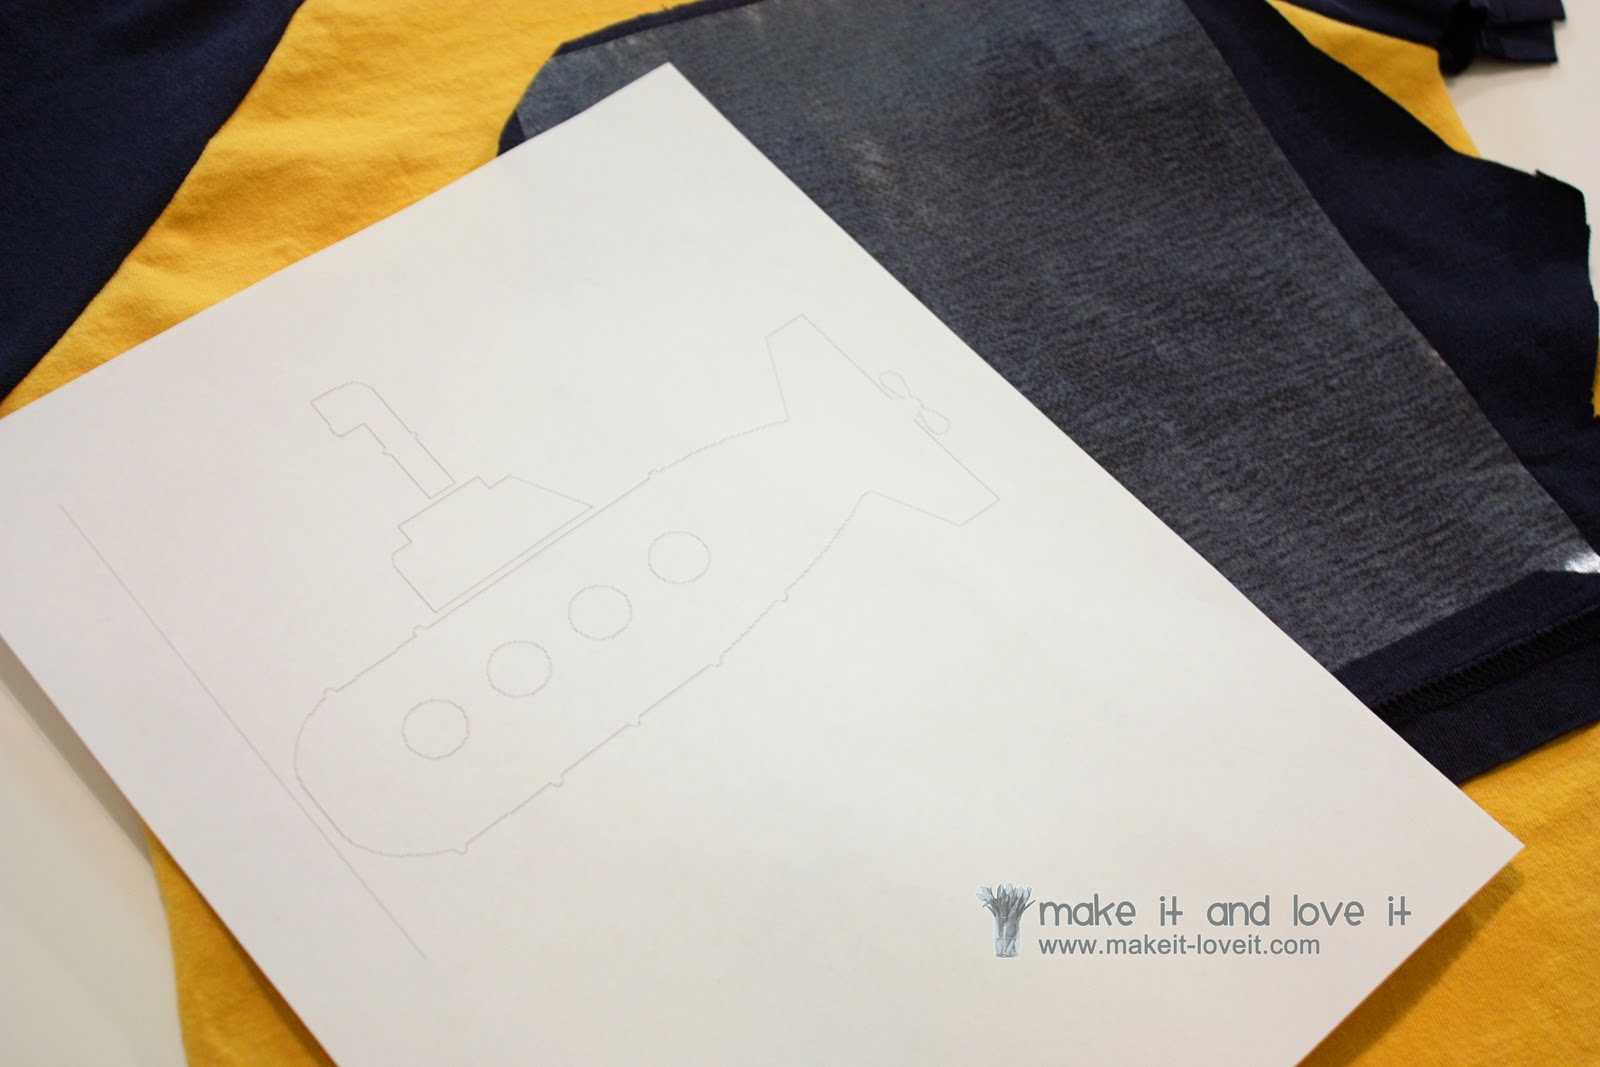
I placed some iron on adhesive to the wrong side of some of the blue fabric scraps. Then I printed out a submarine shape from the computer (image taken from my Silhouette program). I cut out the submarine shapes and used them as pattern pieces to cut out the same shapes from my blue knit fabric with the adhesive on the back.
Then I placed the shapes on the front my shirt (with the adhesive side facing down) and then ironed them right to the shirt.
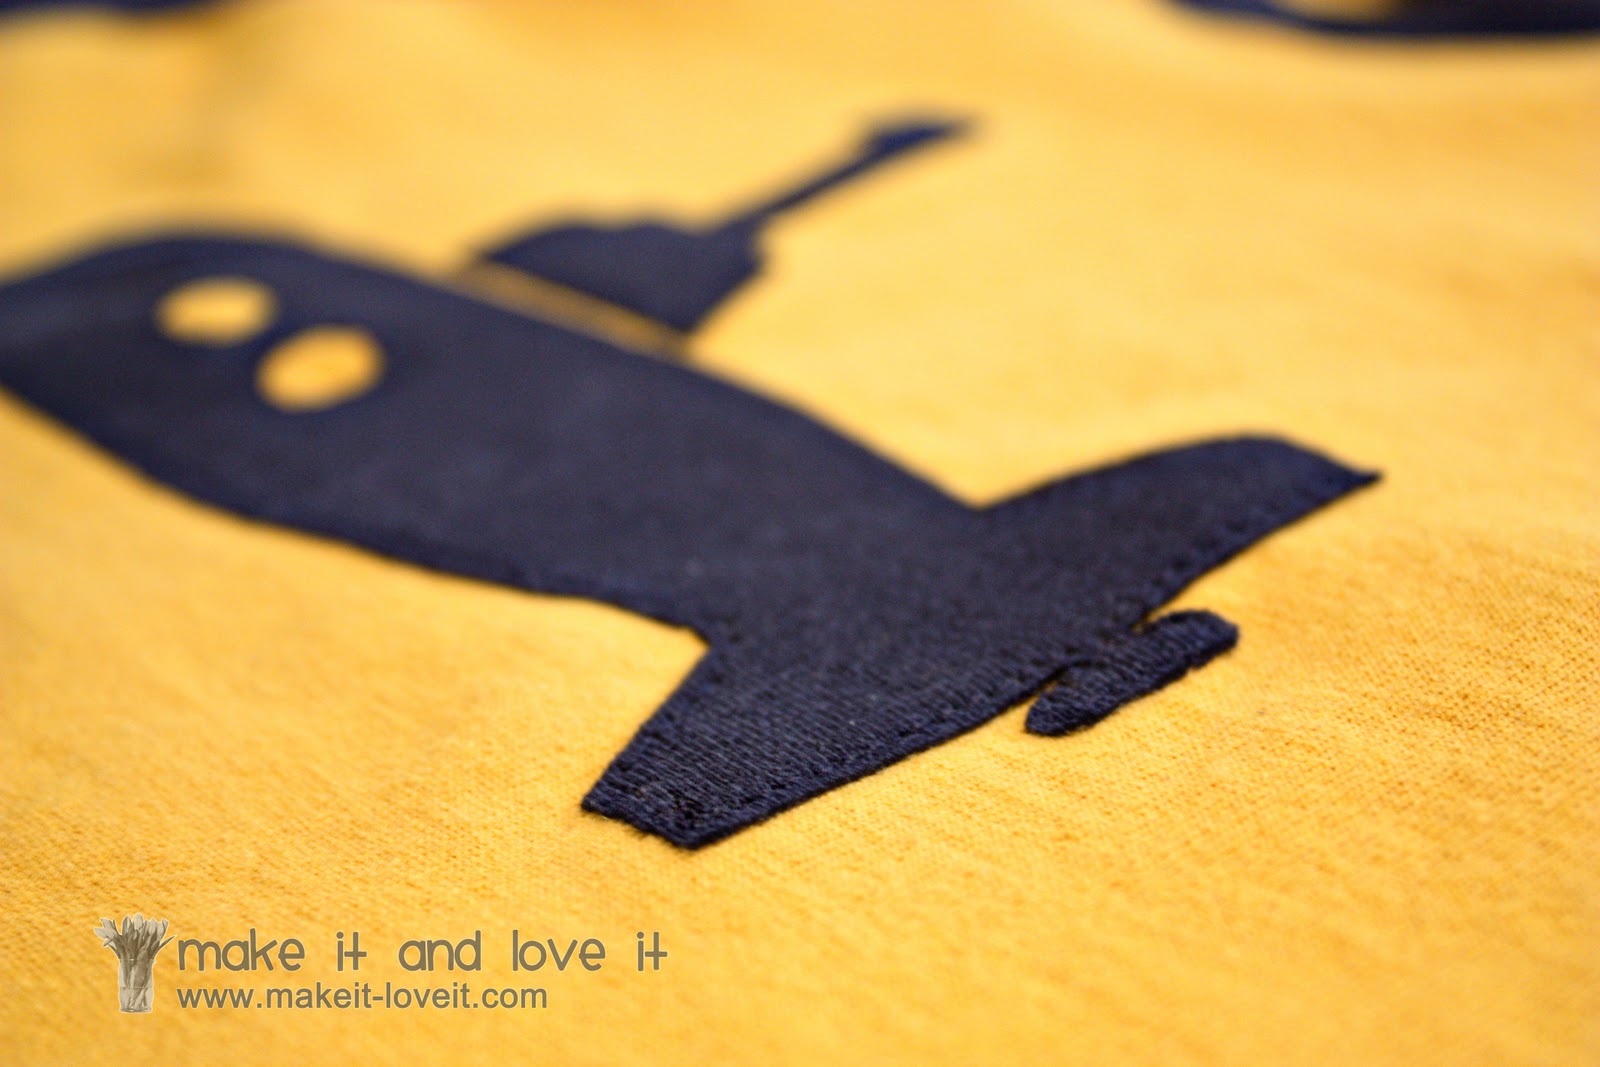
Then I stitched around each piece, securing them a bit extra to the shirt.
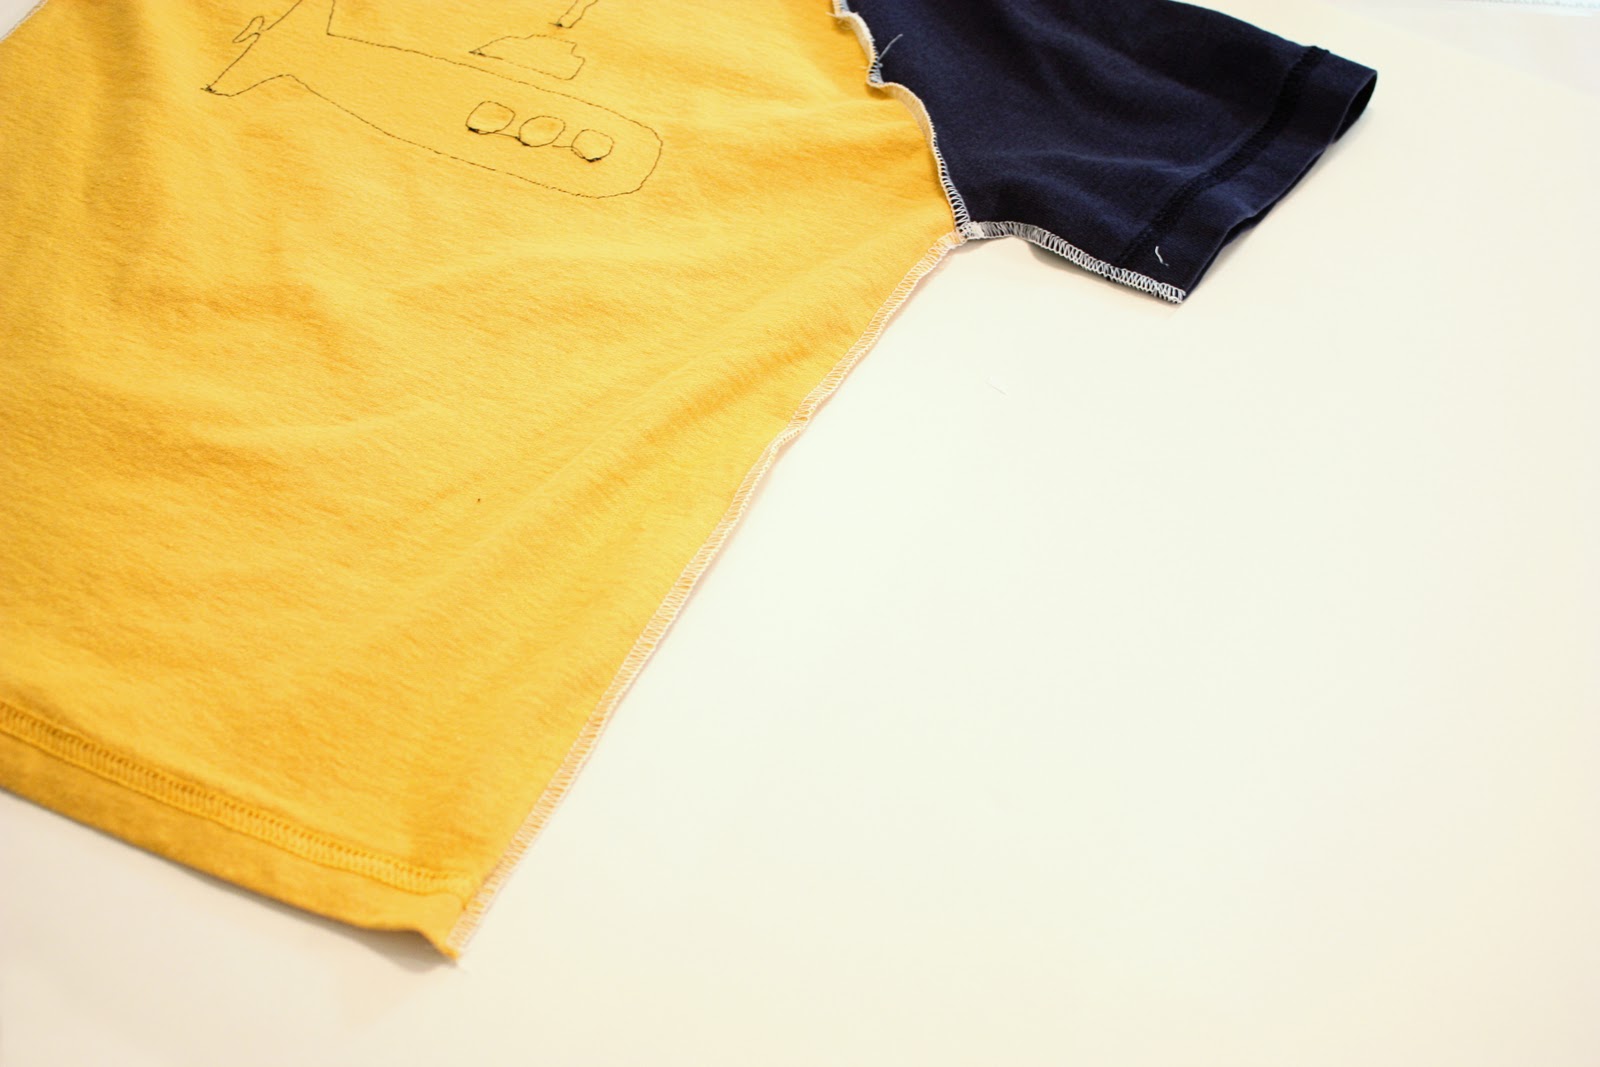
Then, I turned the shirt inside out, lined up the side edges of the shirt and sewed along both sides of the shirt. I started at the end of one of the sleeves and sewed all the way down to the bottom of the shirt with one seam. Then repeated on the other side.
Then I turned the shirt right side out, ironed and steamed all of my seams (trust me……this helps a ton) and then admired my little baseball style tee.
Cute as ever.