Home » DIY Tutorials » DIY Sewing » Sewing Tips: What is Selvage, Bias and Grain?
Sewing Tips: What is Selvage, Bias and Grain?
January 27, 2011 - By Ashley Johnston 99 Comments
.
Sometimes fancy words are used in an online sewing tutorial or in store bought patterns.
And unless you’ve heard them used before……they probably sound like a big ‘ol mess. And may really frustrate you. Uggh.
So, just to get a few very common sewing terms out of the way,
here’s another little ‘sewing tips’ post to add to the collection.
(
Remember, you can click here to view the other ‘sewing tips’ tutorials I have done in the past.)
**And I have also jotted down notes of many of your questions that you asked in the last ‘sewing tips’ post. I will try to answer as many as I can, in upcoming ‘sewing tips’ posts.
First off, what is selvage?
According to Wikipedia, “The selvage (US English) or selvedge (British English) is the term for the self-finished edges of fabric. The selvages keep the fabric from unraveling or fraying.”
Often times, the fabric designer and company are printed right along the selvage…..making it easier to remember what type of fabric you bought. So if someone falls in love with something you’ve made and wants to know where you got that darling fabric, just take a peek at your selvage.
In most fabric stores, you will find fabric folded in half lengthwise and then wound around a bolt. And then you’ll see rows and rows of bolts of fabric. When the fabric store cuts fabric for you, they will cut you off a piece that is perpendicular to the selvage. So you will will always have a selvage along both sides of your piece of fabric.
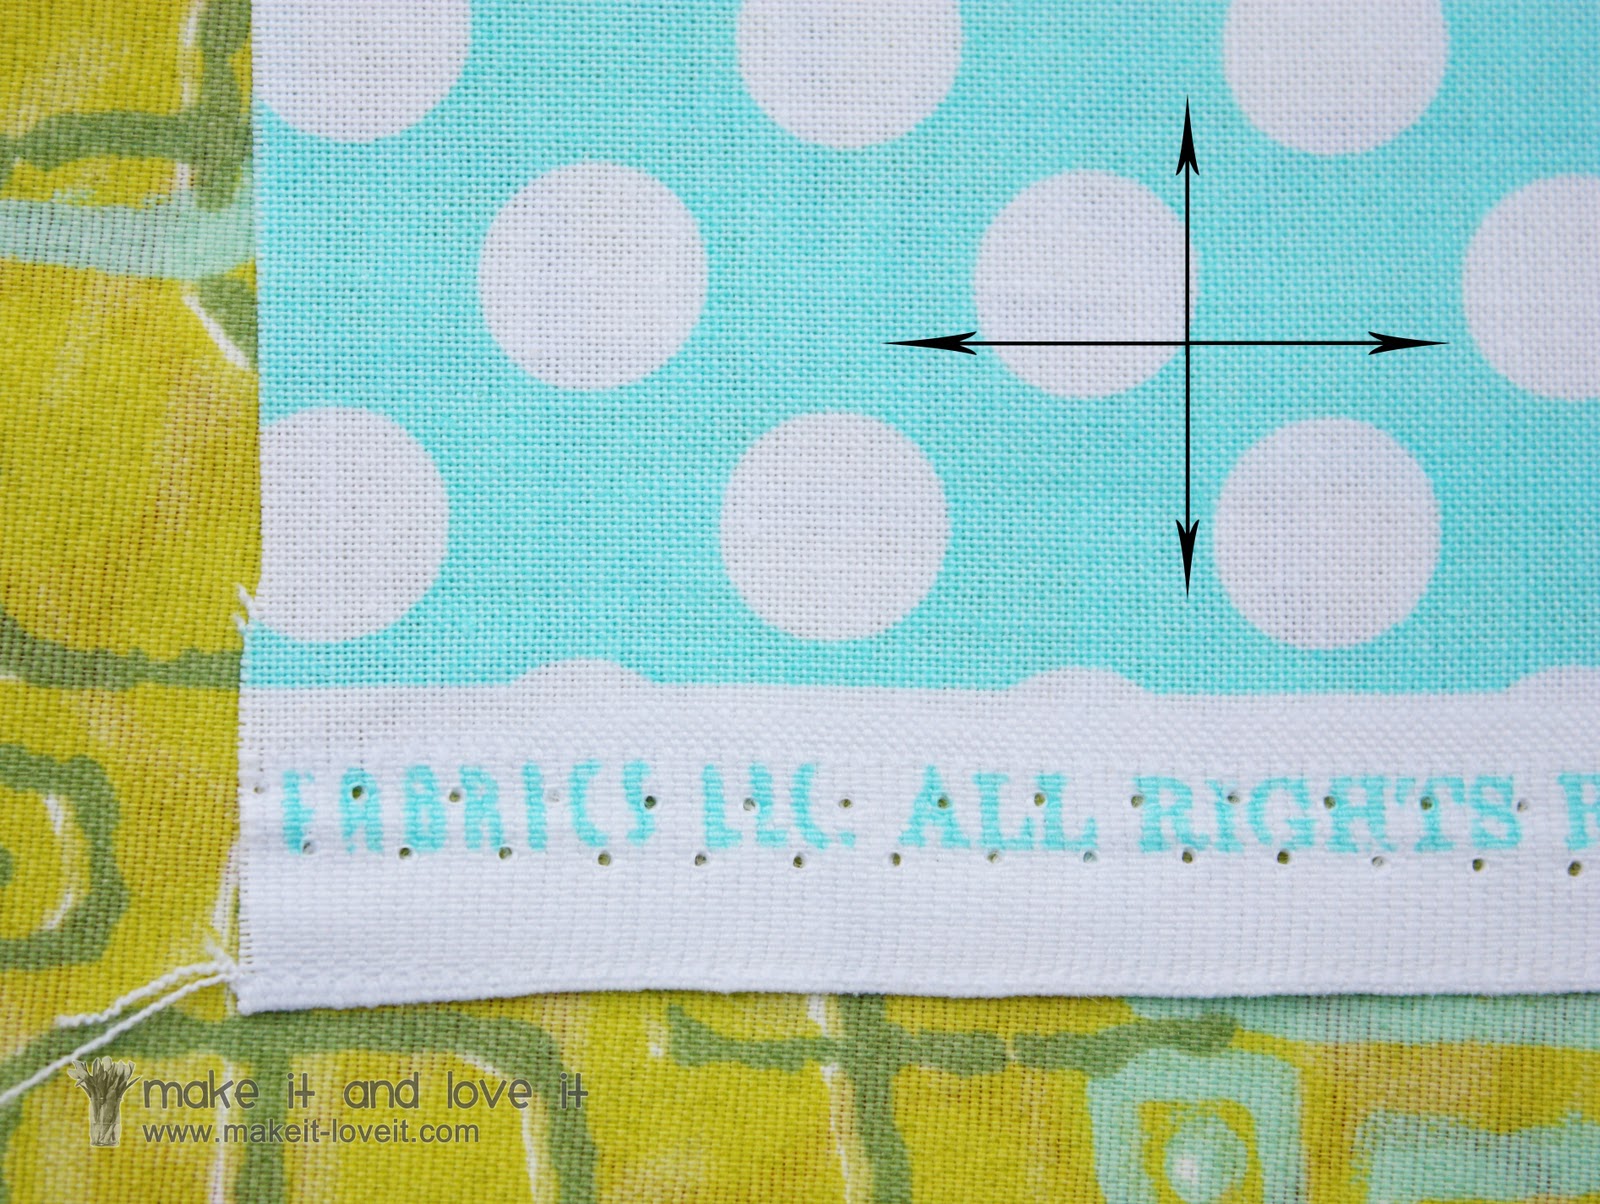
Now, what is the fabric grain?
Grain is the way the fabric is woven or knit together. If you look really closely at the polka dot fabric below, there are little threads that run parallel and perpendicular to the selvage. This is the grain of the fabric.
If you cut right along the threads of fabric that are running perpendicular to the selvage, you will get a straight line……and will make a nice 90 degree angled corner. In fact, sometimes the print of the fabric (like stripes) are printed onto the fabric a little crooked and will not run exactly perpendicular or parallel to the selvage. But if you look closely, the grain still will……….and you can use that as a guide.
And even though knits are woven, they still have a grain to them.
And finally, what is the bias?
According to about.com, the “bias grain is the thread line that is at a forty five degree angle to the lengthwise and crosswise grain of the fabric as it is on the bolt”.
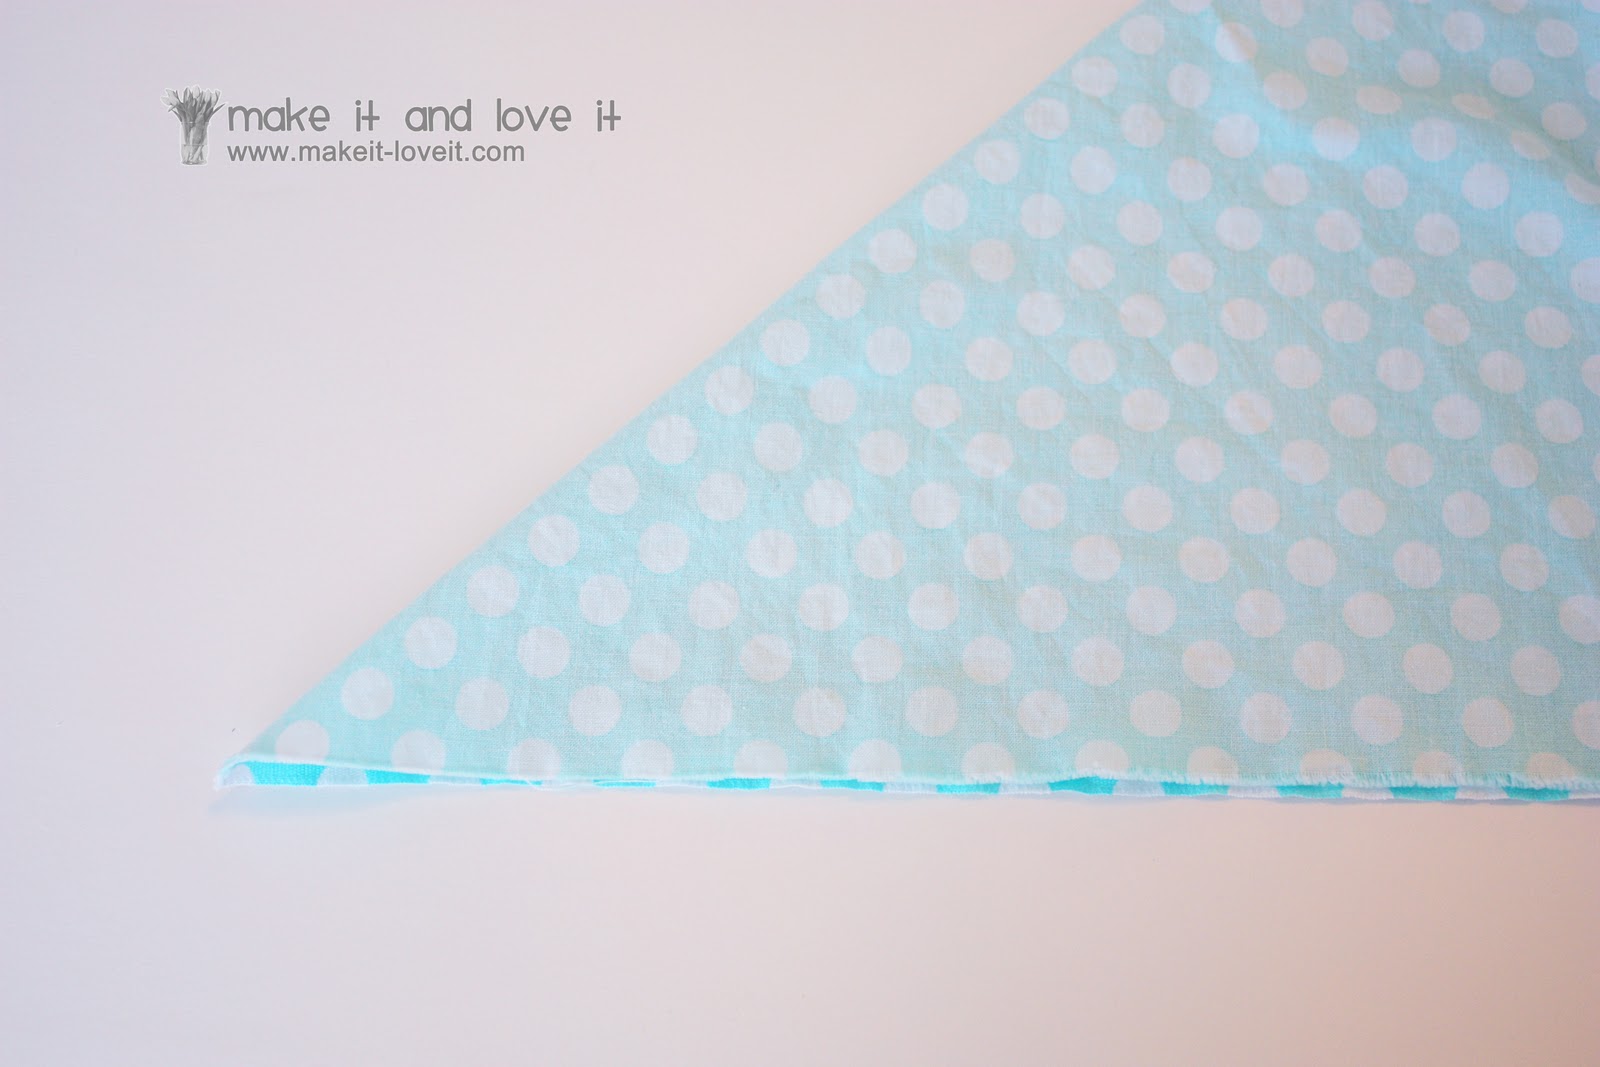
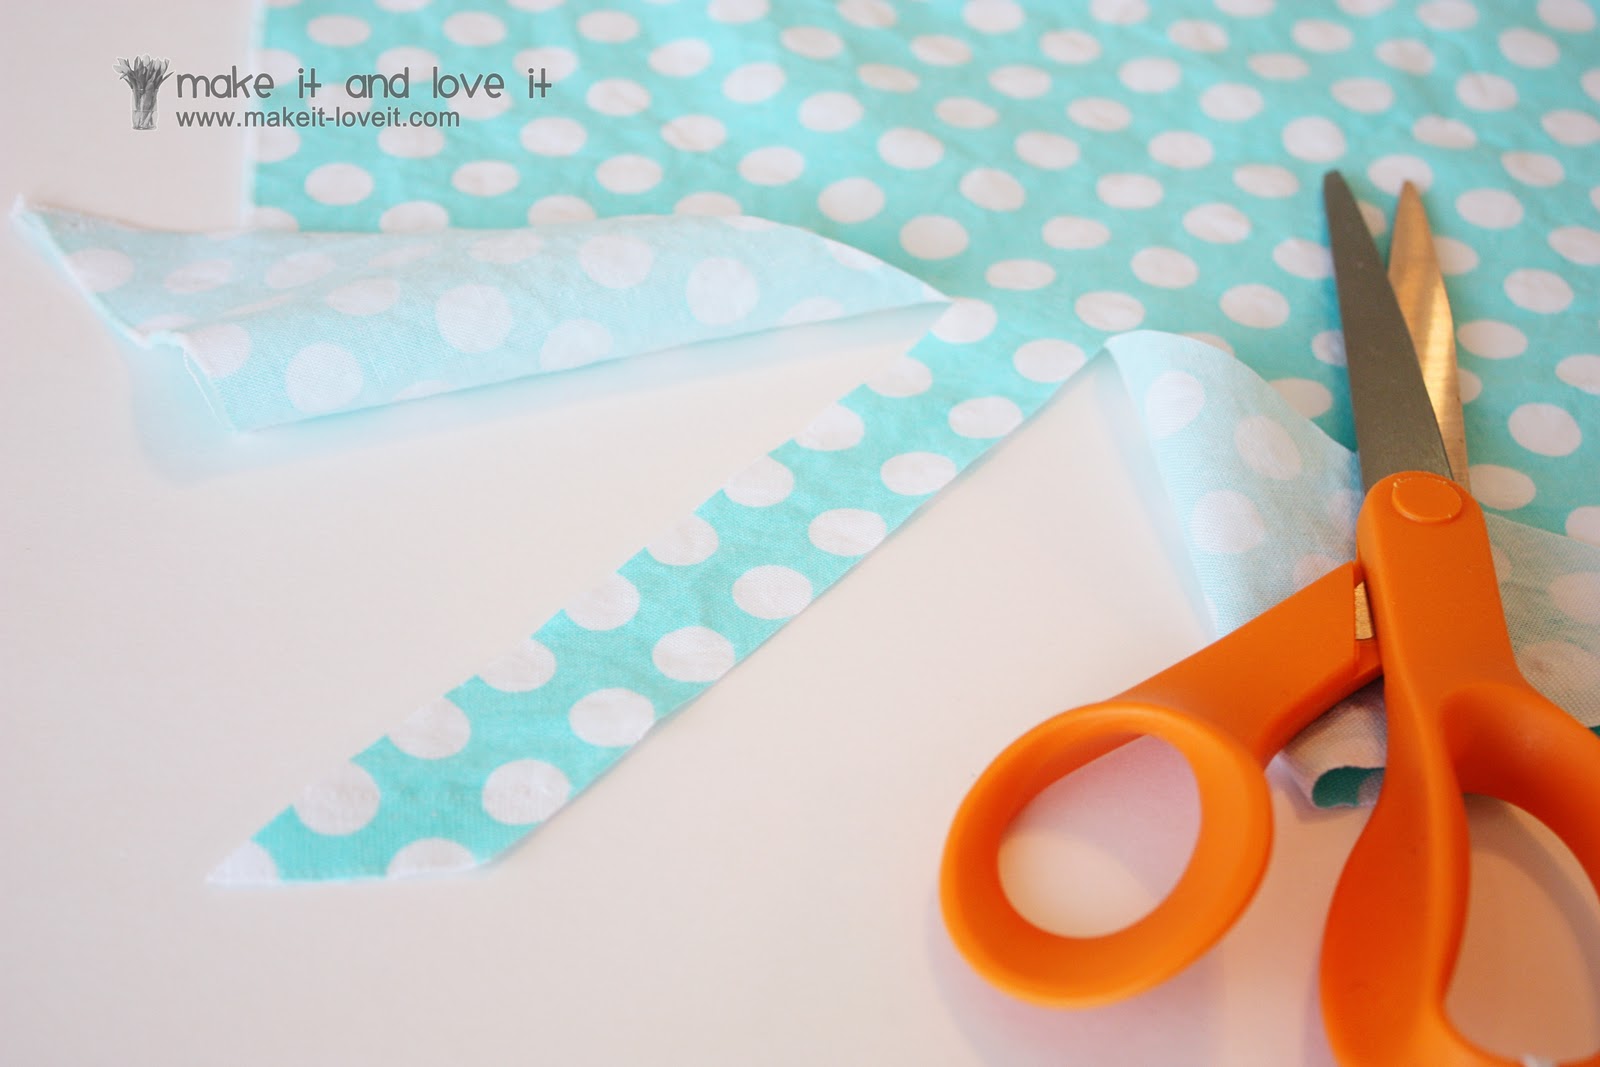
So if you have a piece of fabric laying down flat, and your selvage is along the bottom……..
Then you can fold edge of the fabric on the left, down to the selvage edge, creating a diagonal fold.
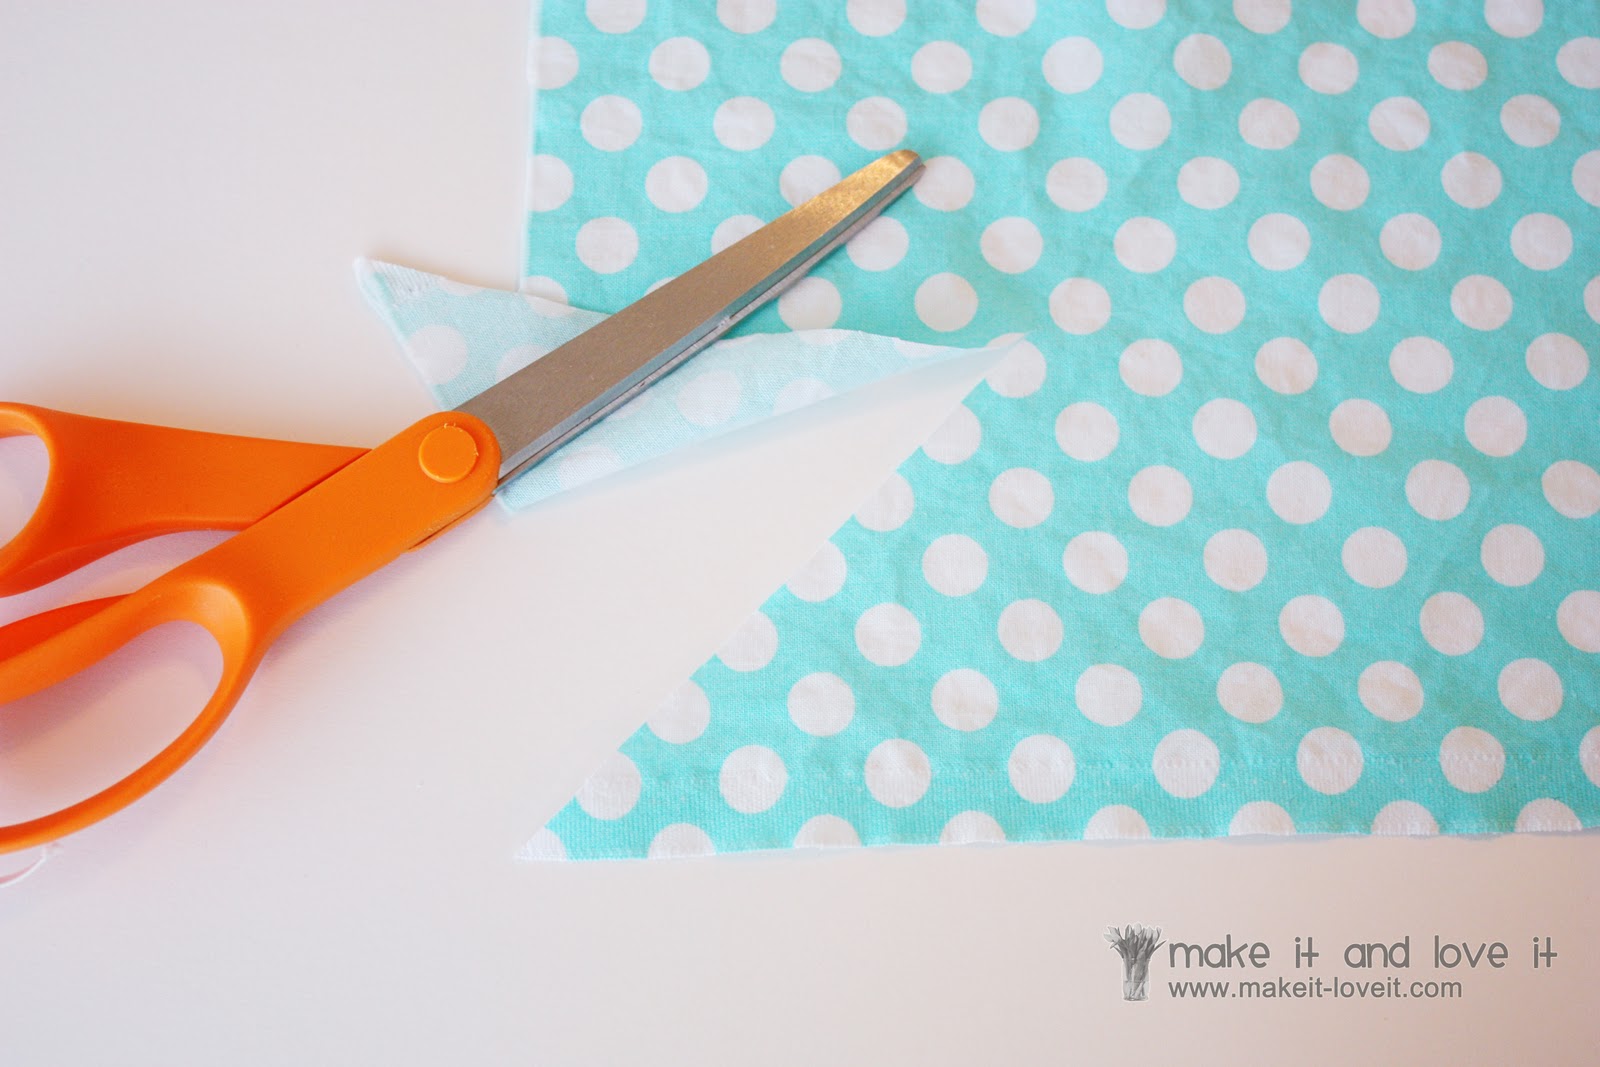
If you cut right along that diagonal fold, you are cutting on the bias……or a 45 degree angle to the selvage.
Then if you cut a parallel cut next to the original cut, you can create a strip of fabric cut on the bias. (Just keep cutting it to make it as long as you need.)
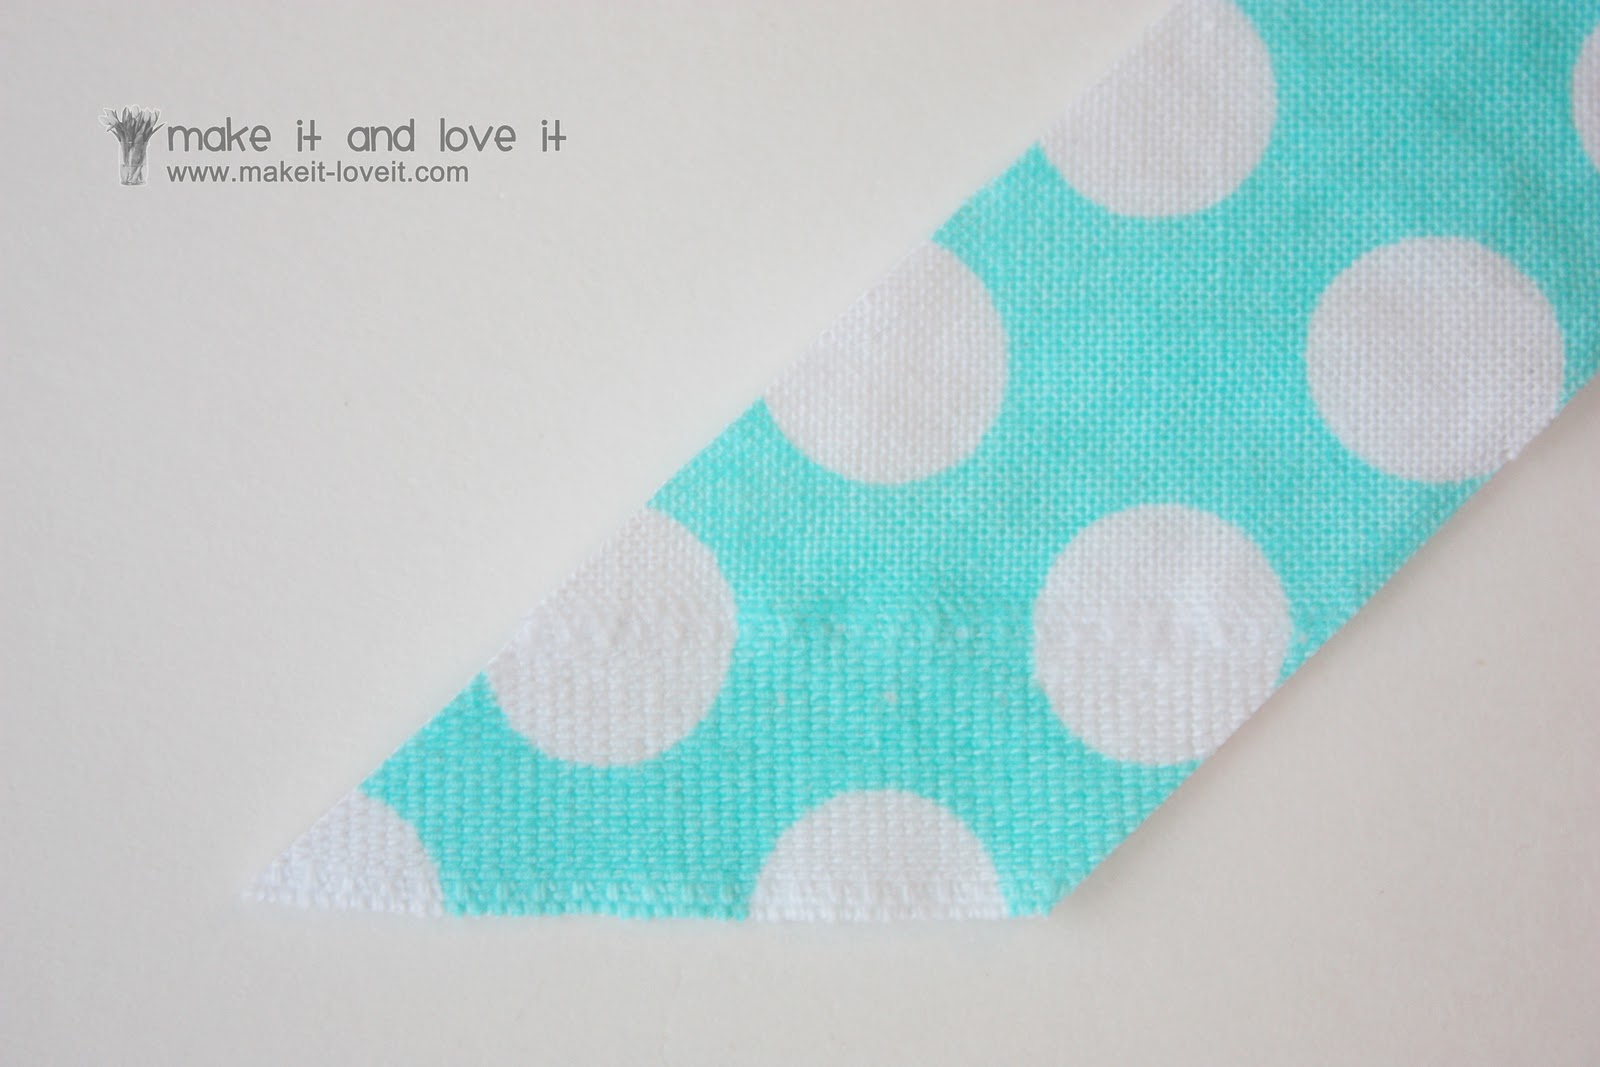
So if you look closely, you can see that the grain of fabric is cut off at a 45 degree angle all along the diagonal edge.
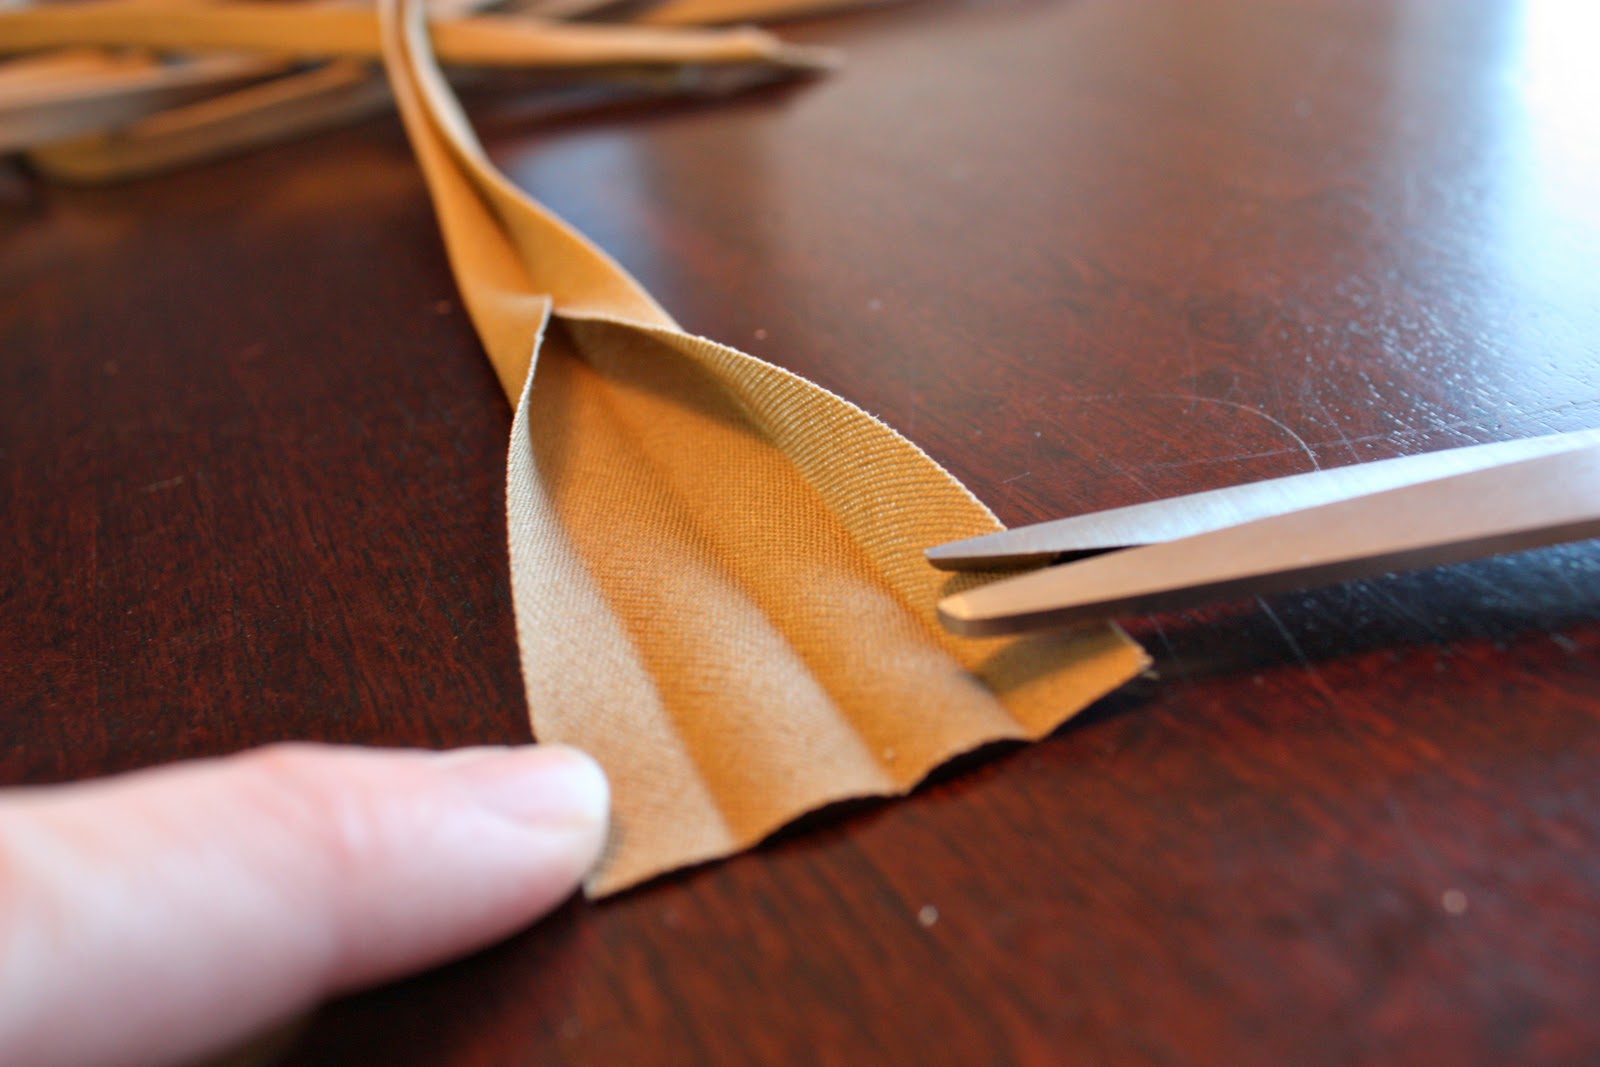
And why do we care if the fabric is cut on the bias or not? Well, fabric cut on the bias actually has more give/stretch to it. If you hold a square piece of cotton fabric in your hands and pull along both selvage sides away from each other in your hands, your fabric won’t stretch at all. But if you pull along two opposite corners, or along the bias, the fabric will stretch just a bit.
When do we use fabric that’s cut on the bias? Well, sometimes you’ll need little strips of bias cut fabric to finish off a quilt (like I did
here), an apron (like I did
here), or you can even use them to make strips of un-hemmed ruffles…..because bias cut fabric doesn’t fray much and then you don’t have to hem the edge of the fabric. (
But that depends on if you like the look of a raw edge or not.)
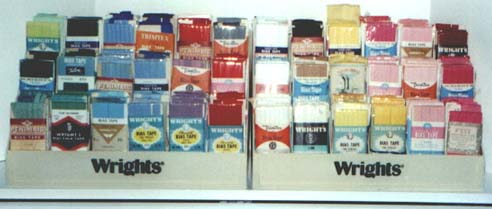
Have you heard of Bias Tape? Or seen it at the fabric store? It’s just strips of fabric cut on the bias like shown above, but then the edges are folded in once or twice towards the center.
They’re usually found in little packages of varying widths and colors at the fabric store.
Bias tape gives and curves nicely as you use it along curved unfinished edges……whereas strips cut along the grain will pucker and bulge. You can use bias tape as apron or dress straps too…..or even as a fun decorative edges on something.
And that’s about it for today. These are all questions that I receive here and there. Mostly from people who are wondering what in the world I’m talking about when I use the terms Selvage, Grain or Bias.
So I hope this helps.
And if you have any other tips or additional thoughts regarding this post, please feel free to leave a comment.
Now, get that sewing machine out and feel confident with those sewing instructions.