Home » DIY Tutorials » DIY Sewing » Sewing: Repurpose/Upcycle » Embellished Tee: with Multi-Layered Flowers
Embellished Tee: with Multi-Layered Flowers
November 11, 2010 - By Ashley Johnston 61 Comments
.
Did you notice the winner of the Much Ado About You giveaway? Scroll down or click here.
. . . . . . . . . . . . . . . . . . . . . .
So, I know embellished Tees have been done again and again and again.
So really, this concept is nothing new.
But with a growing belly (
see post here) I seem to run out of tops that fit.
(And pants too but that’s another issue.) But maternity shirts tend to be pricey. And that’s frustrating. Because anyone knows when a pregnant woman gets cranky and doesn’t have anything to wear, she’s willing to spend triple what she normally would.
Or is that just me?Anyway, I needed to bulk up the maternity shirt section in my closet………so this was my solution.
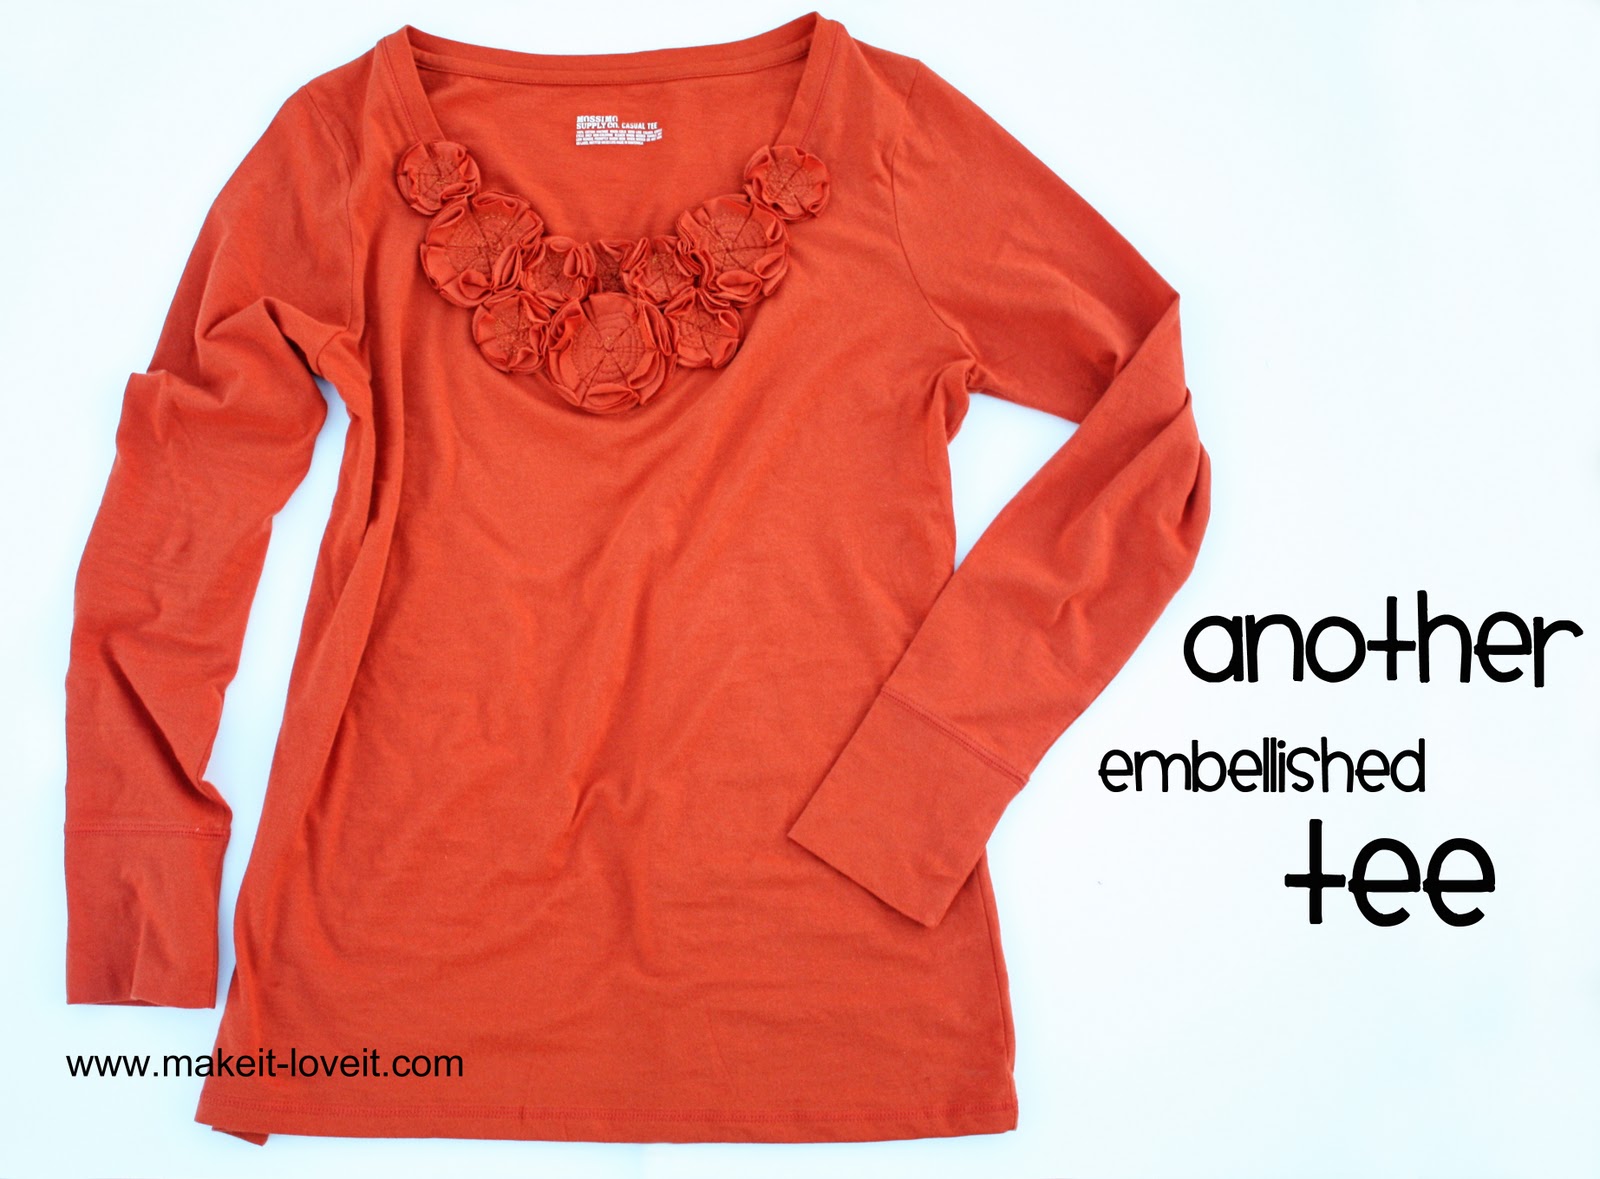
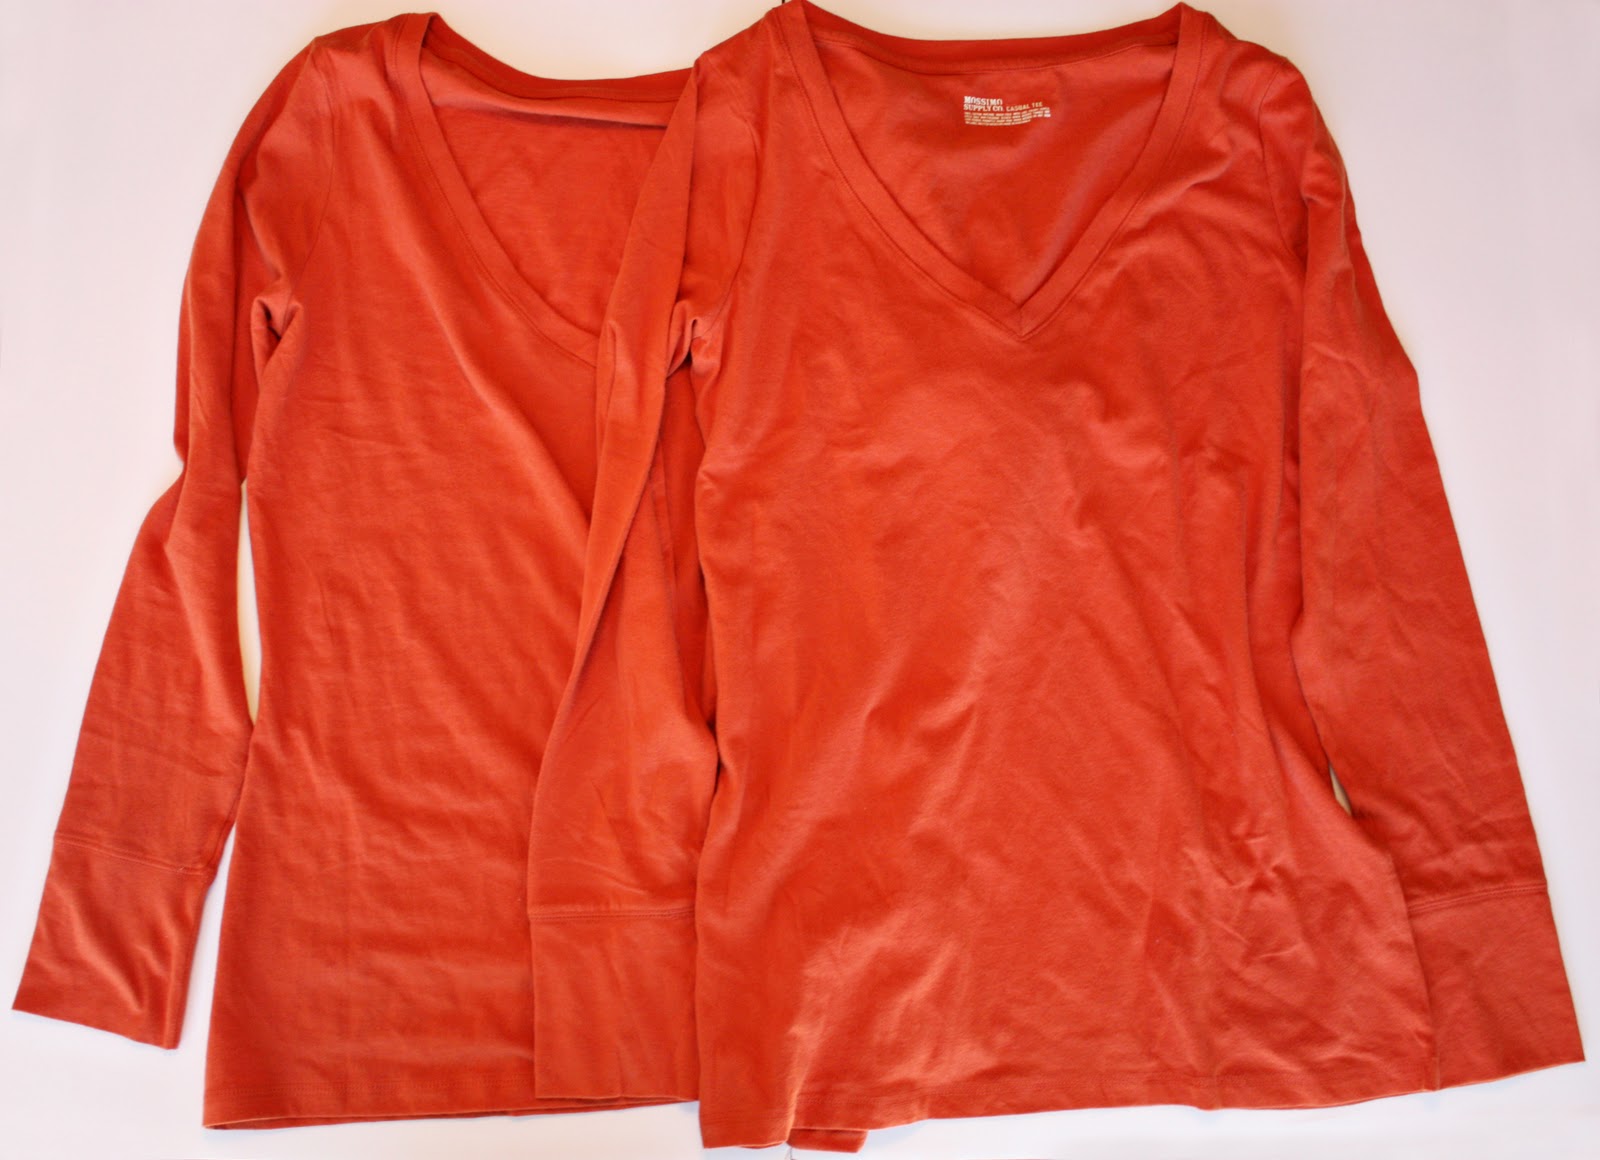
I purchased a long sleeved knit Tee that was a size bigger than I normally wear, to fit my growing belly, and also bought another one to use as the extra fabric. (Both were purchased on sale at Target and ended up still being cheaper than buying a new maternity shirt.)
And then I cut up one of them and used it to add some love to the front of the other one.
Sure made me happy.
Especially to have something more interesting than just a plain ‘ol Tee.
And maybe that burnt orange color kind of makes me love November.
And those full and messy flowers? I adore them.
**EDIT: I would recommend not drying this shirt in the dryer. Press the flowers flat after washing and allow to air dry flat or on a hanger.
And maybe I have been embellishing a few other Tees to add to the wardrobe as well.
Check back for more in the next few days…
Would you like to make one of your own?
Start with two shirts in the same color…….(wait for them to go on sale).
Or buy enough knit fabric to make your shirt like the tutorial
here.
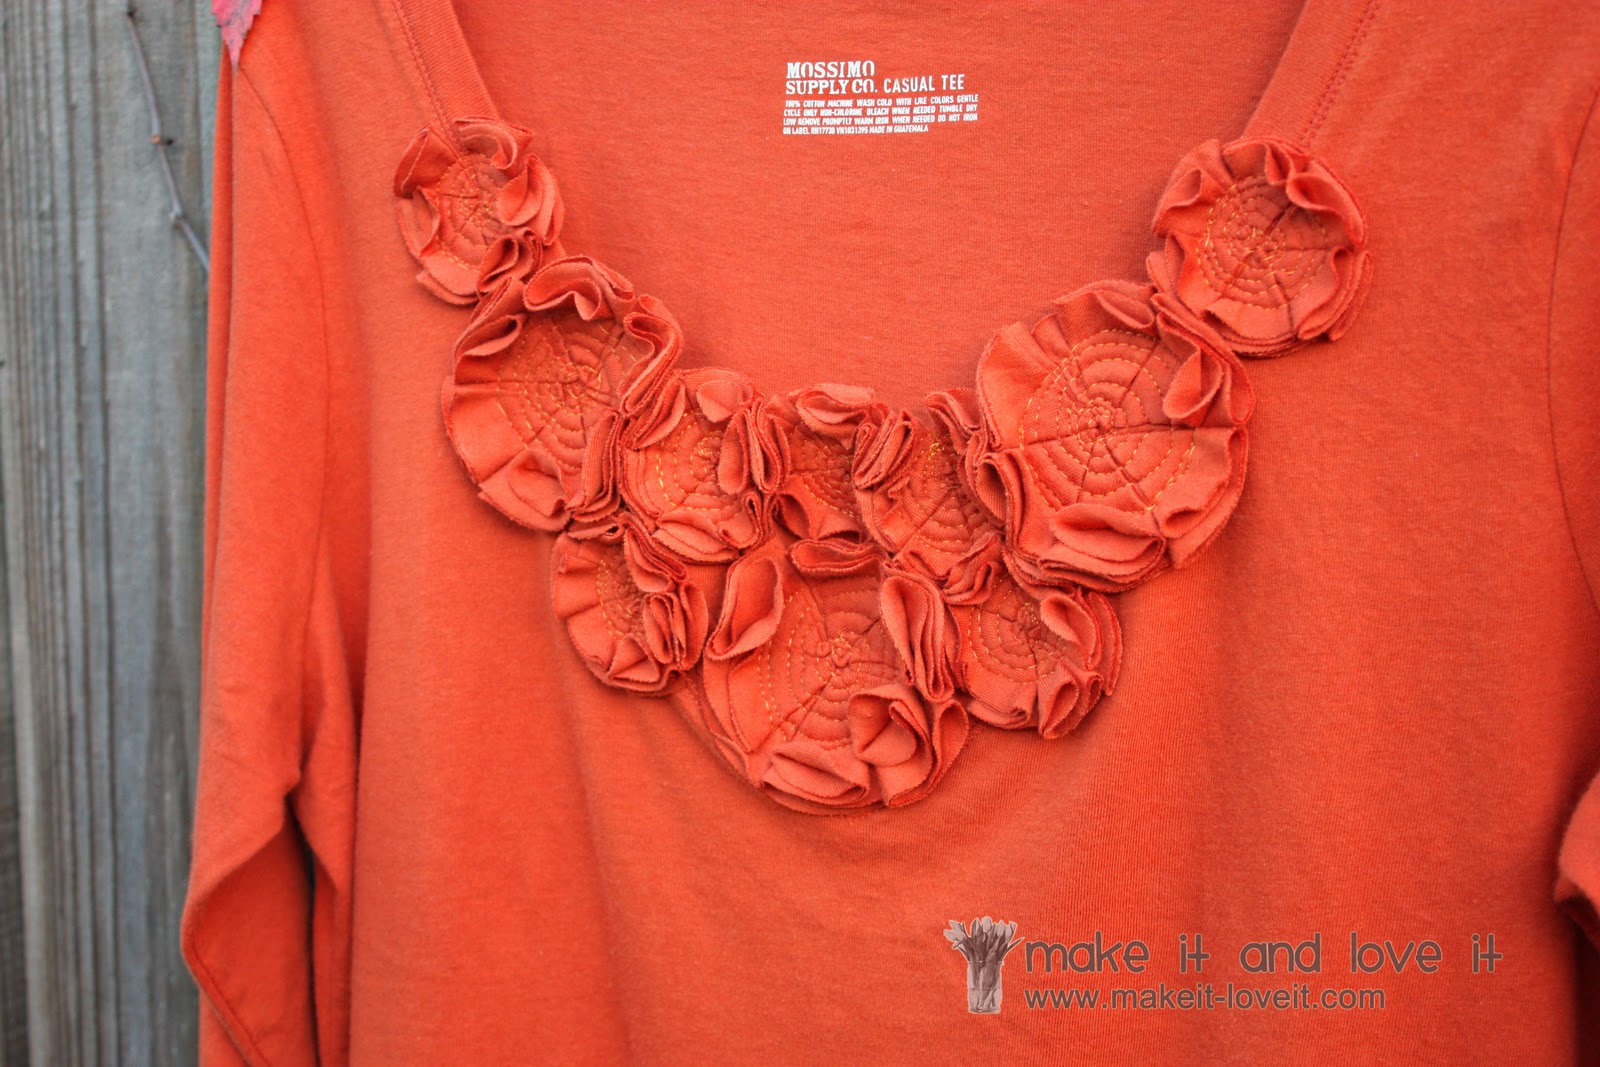
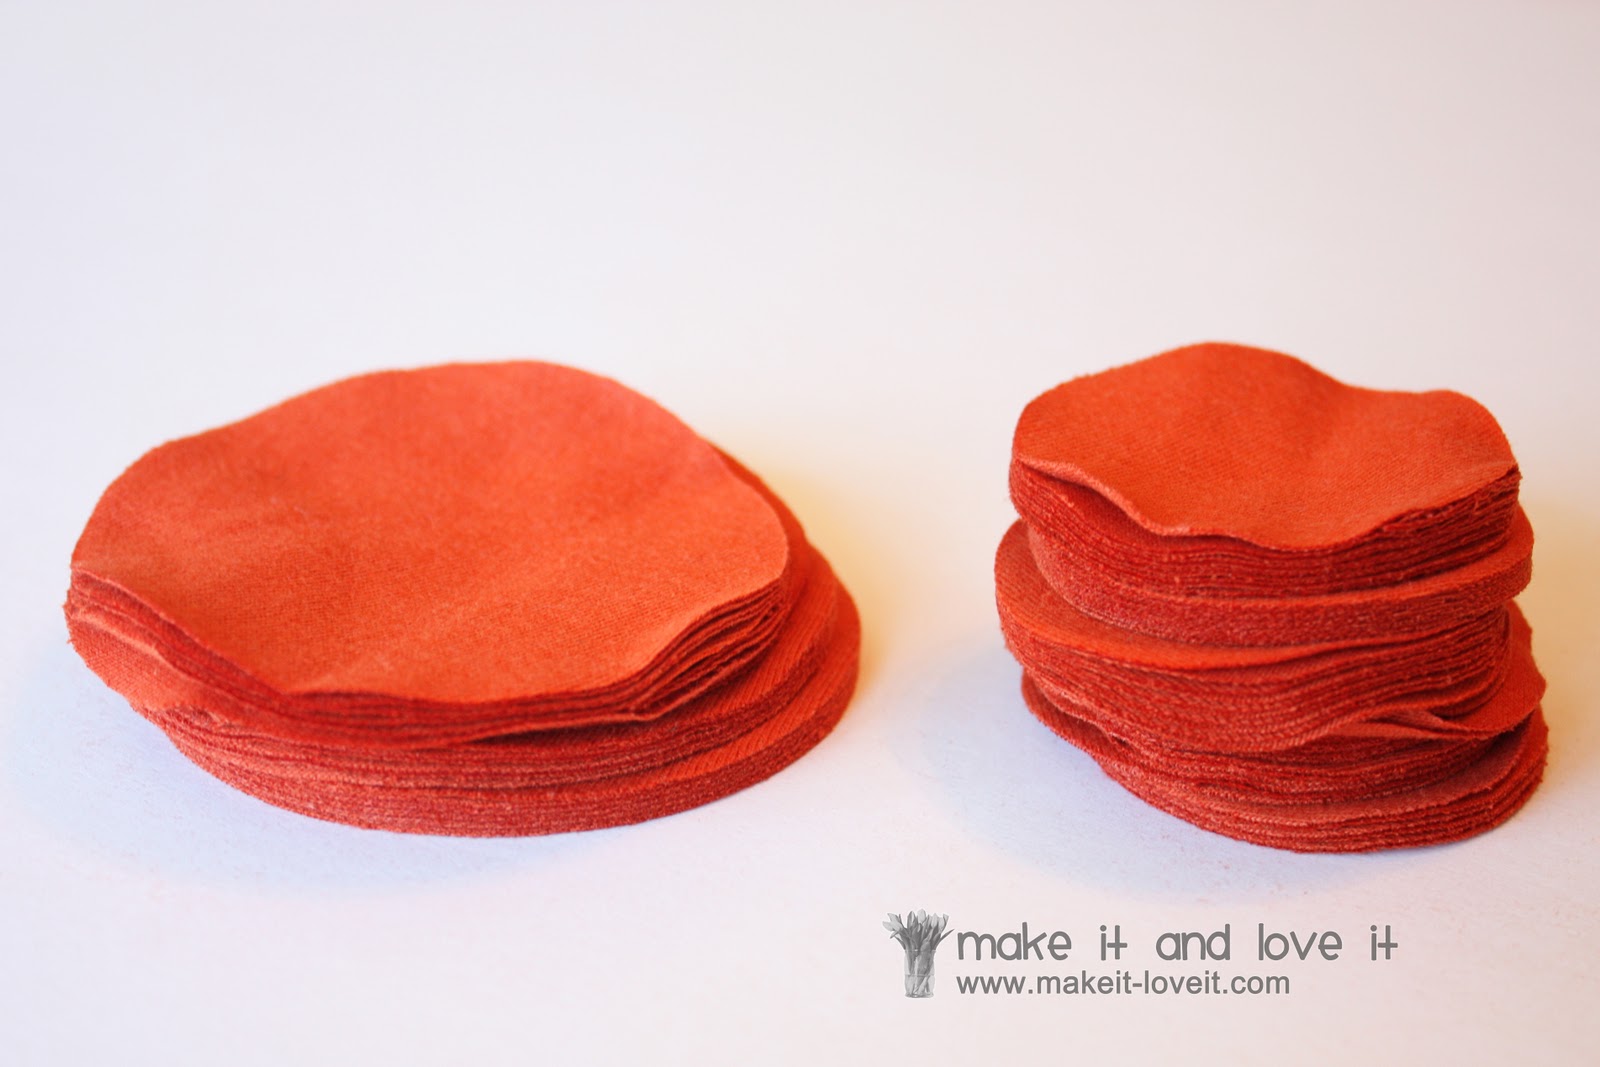
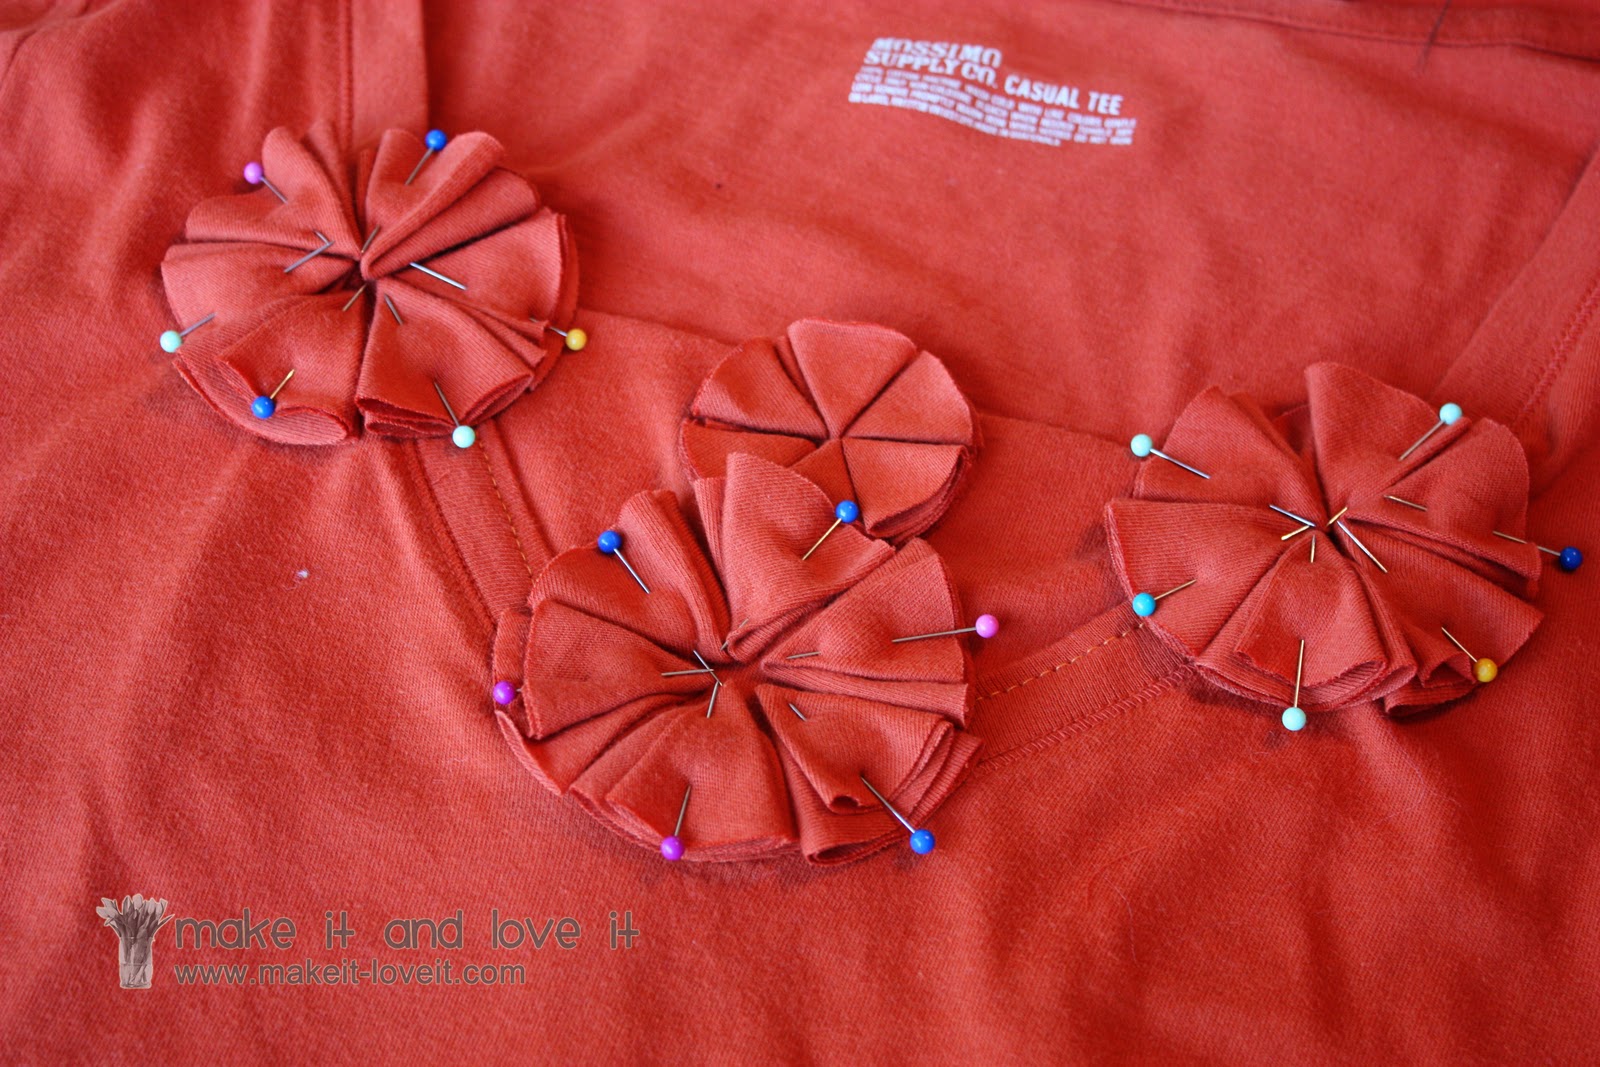
Then, begin cutting out 2 different sizes of circles out of the extra Tee. If you make it like mine, you’ll need 42 of the small circles (2 inches in diameter) and 18 large ones (3 inches in diameter).
I used my Go! Cutter to cut out the circles, just like in the tutorial here.
I couldn’t find a scoop neck in the color I wanted, so I had to buy a Vneck. So I used some scraps from the scrap Tee to create a panel behind the lower portion of the V……..to give the neck line the shape that I wanted. Otherwise, I would have had to create a V pattern with my little flowers…..which I didn’t want. But it’s up to you. Or you can get lucky and find the exact scoop neck that you want.
Next, place the circles in the arrangement that you want……..3 big ones and 7 small ones.
Then, using the same technique as the tutorial
here, fold 6 separate circles for each flower……and pin them in place.
And then attach them to the shirt, just like the tutorial mentioned above.
And that’s it.
So if you have a new expanding belly or not………..
……..throw that new Tee on and love it.
Every part of it.
**EDIT: I would recommend not drying this shirt in the dryer. Press the flowers flat after washing and allow to air dry flat or on a hanger.