Home » DIY Tutorials » DIY Costumes » Our Last Minute Adult Costumes: Pregnant Skeleton and Matching Husband
Our Last Minute Adult Costumes: Pregnant Skeleton and Matching Husband
October 29, 2010 - By Ashley Johnston 170 Comments
.
My husband and I usually scrape up scraps of something to wear as a costume before going to any Halloween party each year. We love to dress up and we love to celebrate……but any costumes for us just seem to get set aside until the very last minute.
I was thinking that being pregnant for Halloween could be a fun thing to work around. So I googled ideas a couple of days ago……looking for something that would be easy enough to do last minute. Then I remembered that last year, I had seen a particular homemade costume online (
one was even in the virtual costume parade last year……..thanks Wendy!) and wanted to give it a try.
So, then, the hard part.
Finding a template. Or some sort of tutorial.
Aaaaggh, nothing…….so much for saving some time last minute. ;)
So I sketched something out, tried my hand at freezer paper stenciling (now I understand the craze of freezer paper stenciling) and came up with this:
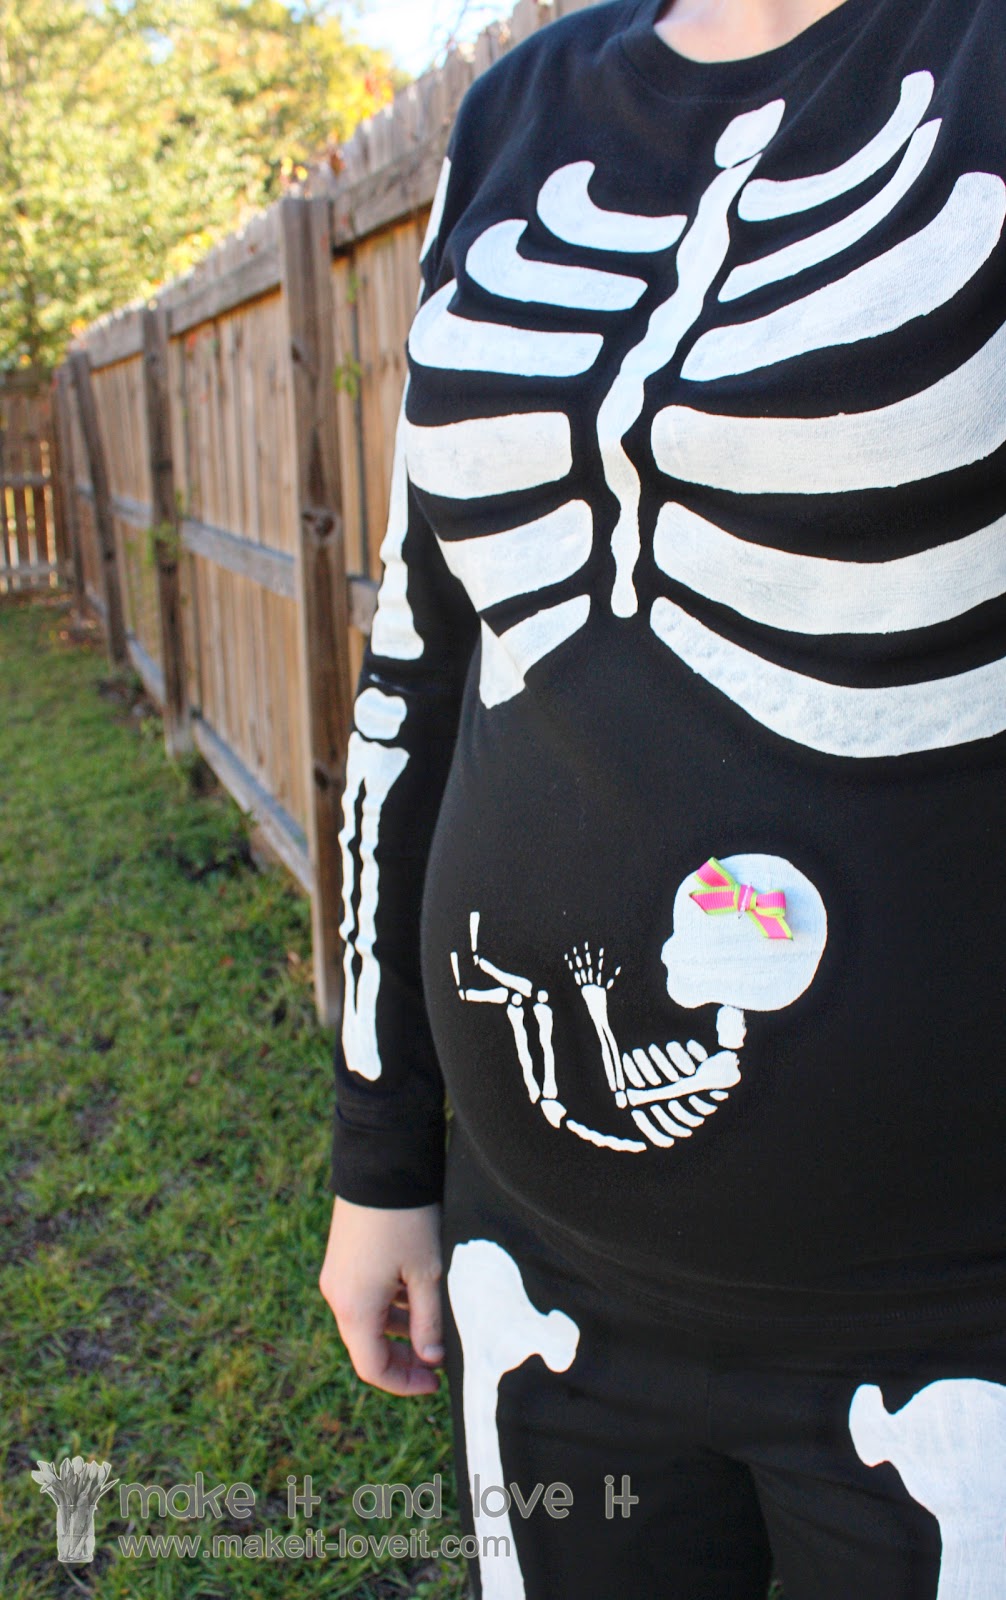
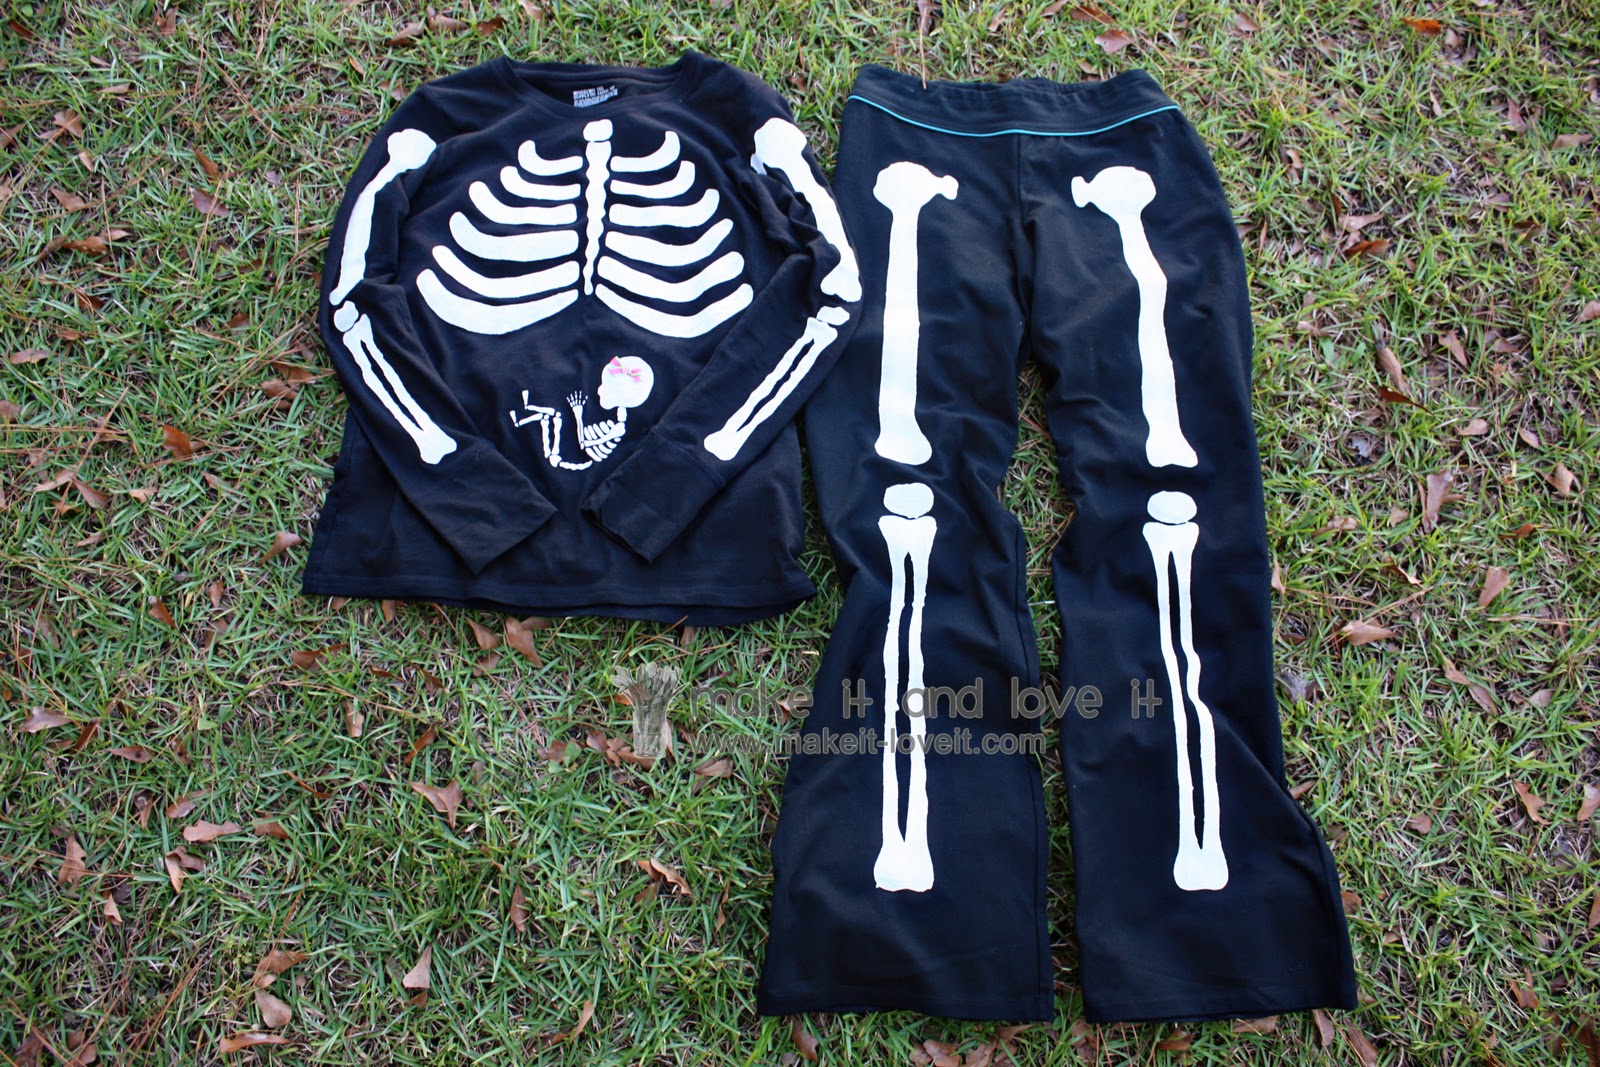
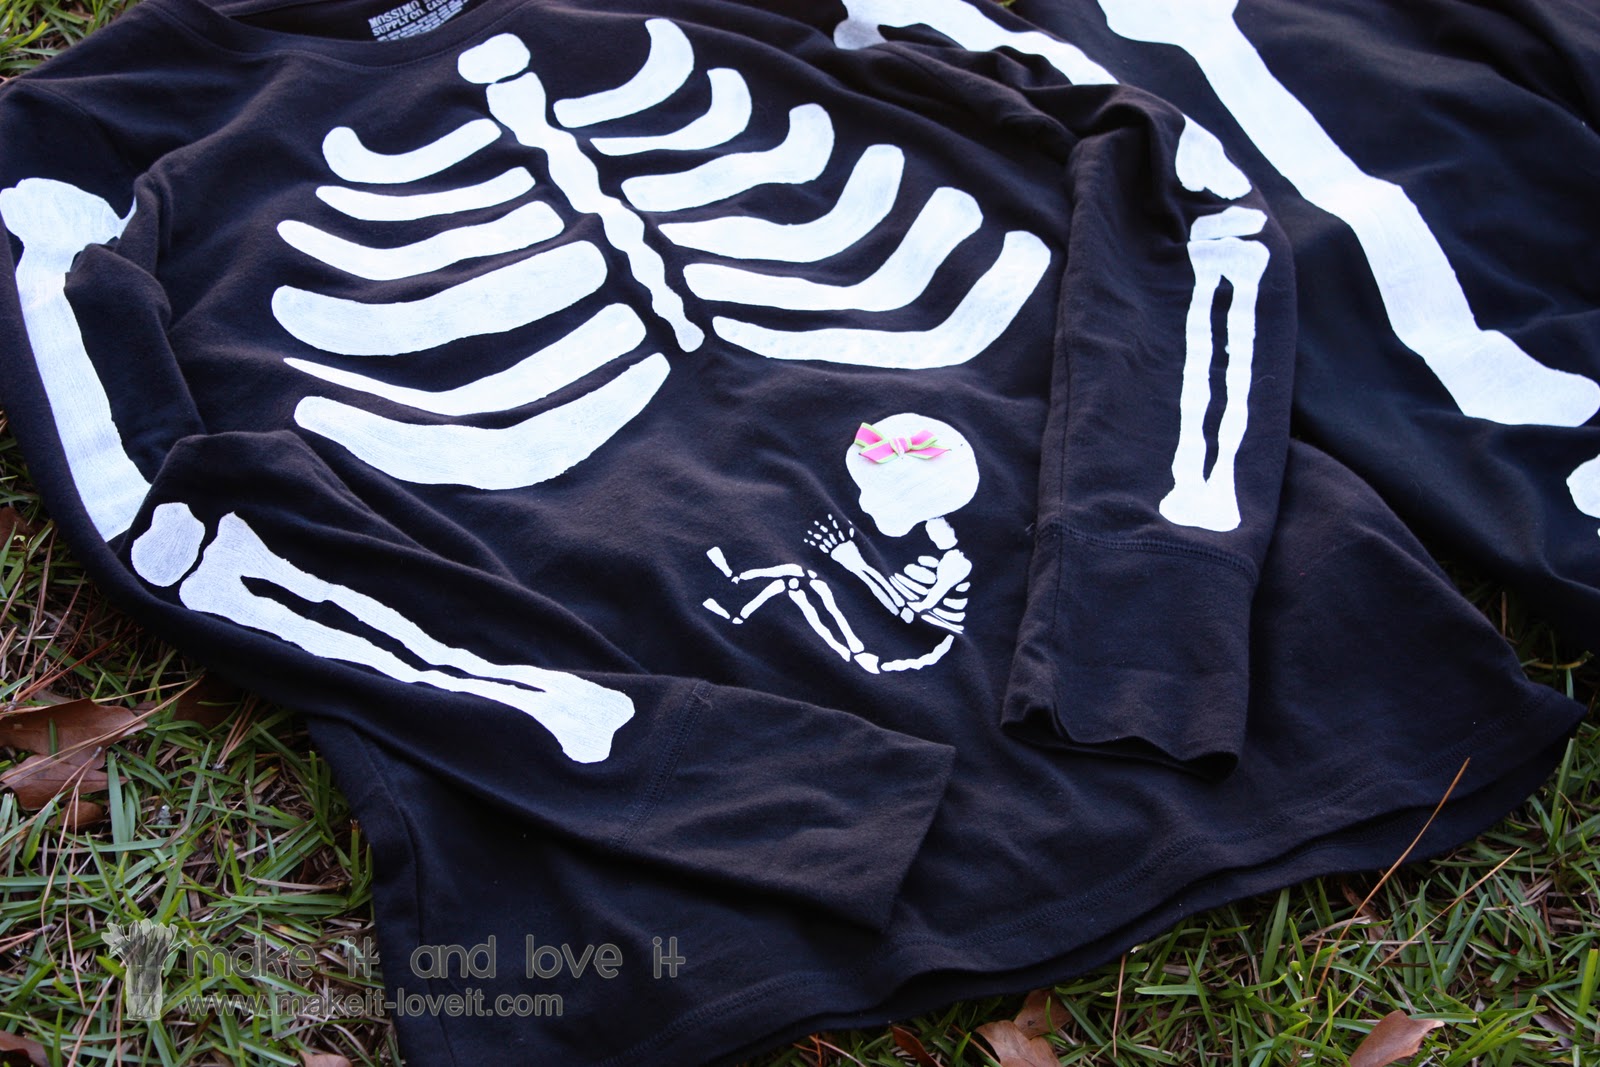
The pregnant skeleton costume.
.
Complete with a little baby skeleton…….and her sweet little bow.
.
No more hiding, baby girl…….we can all see you now.
.
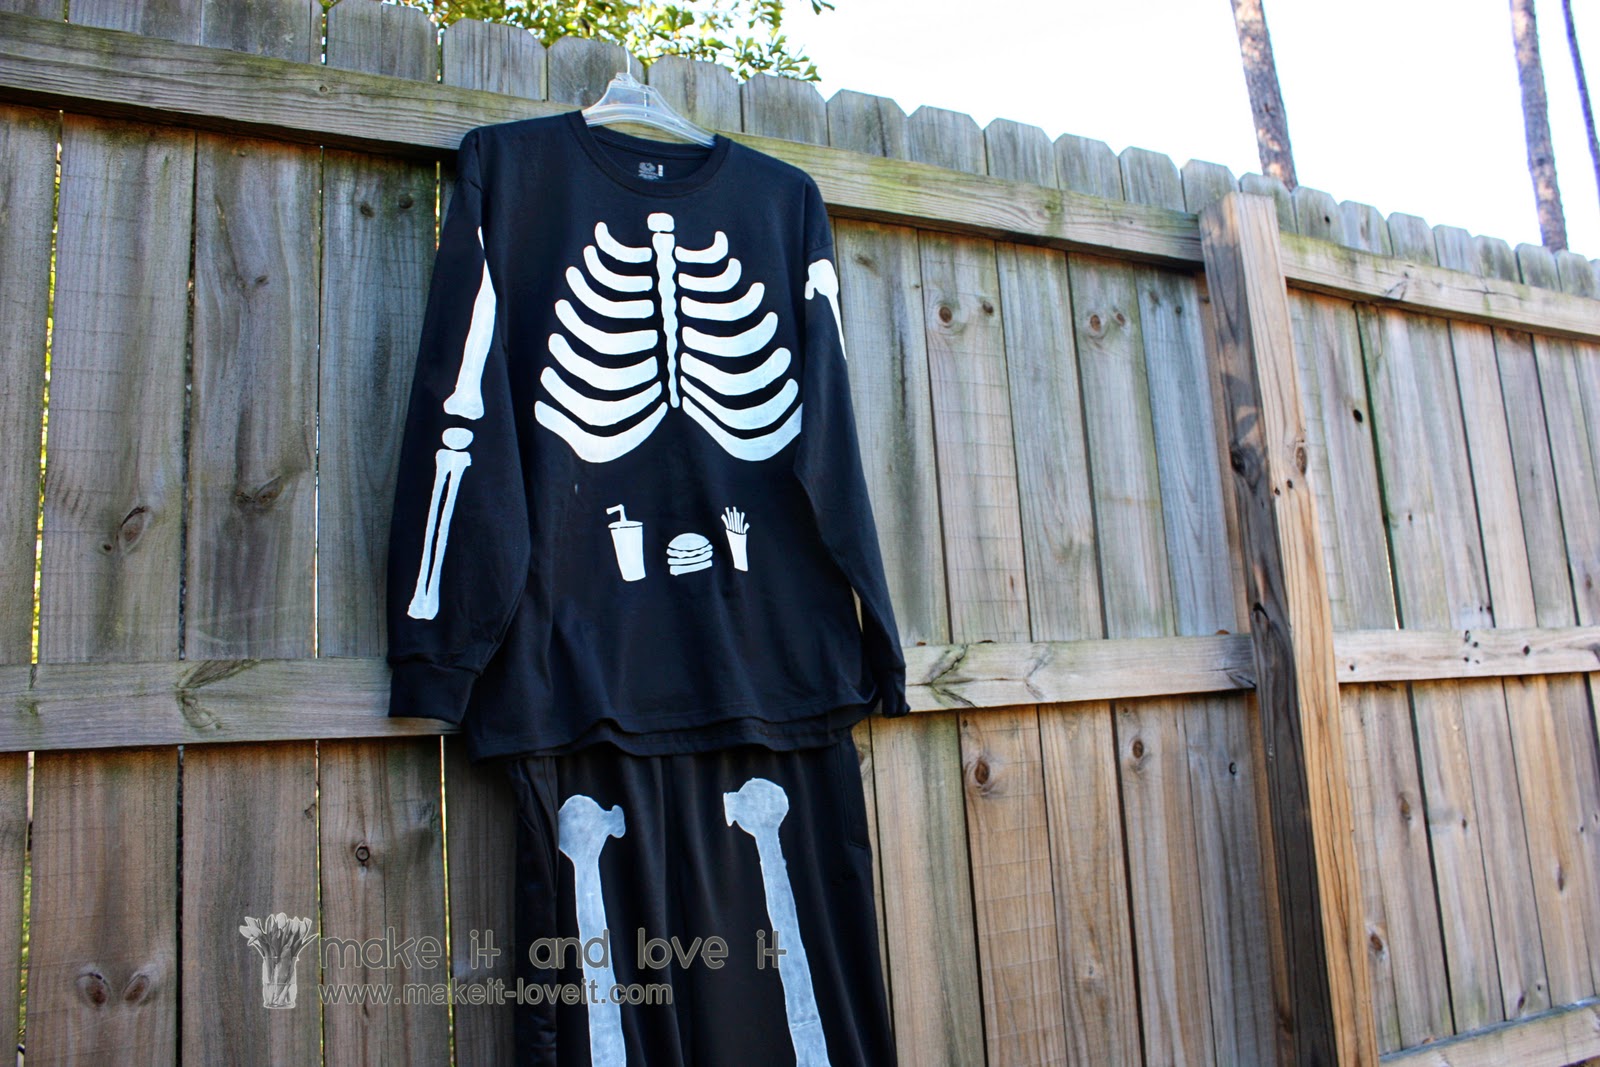
And of course, my husband wanted in on the fun.
(Darn him for being at school while needing some photos of him in it.)
.
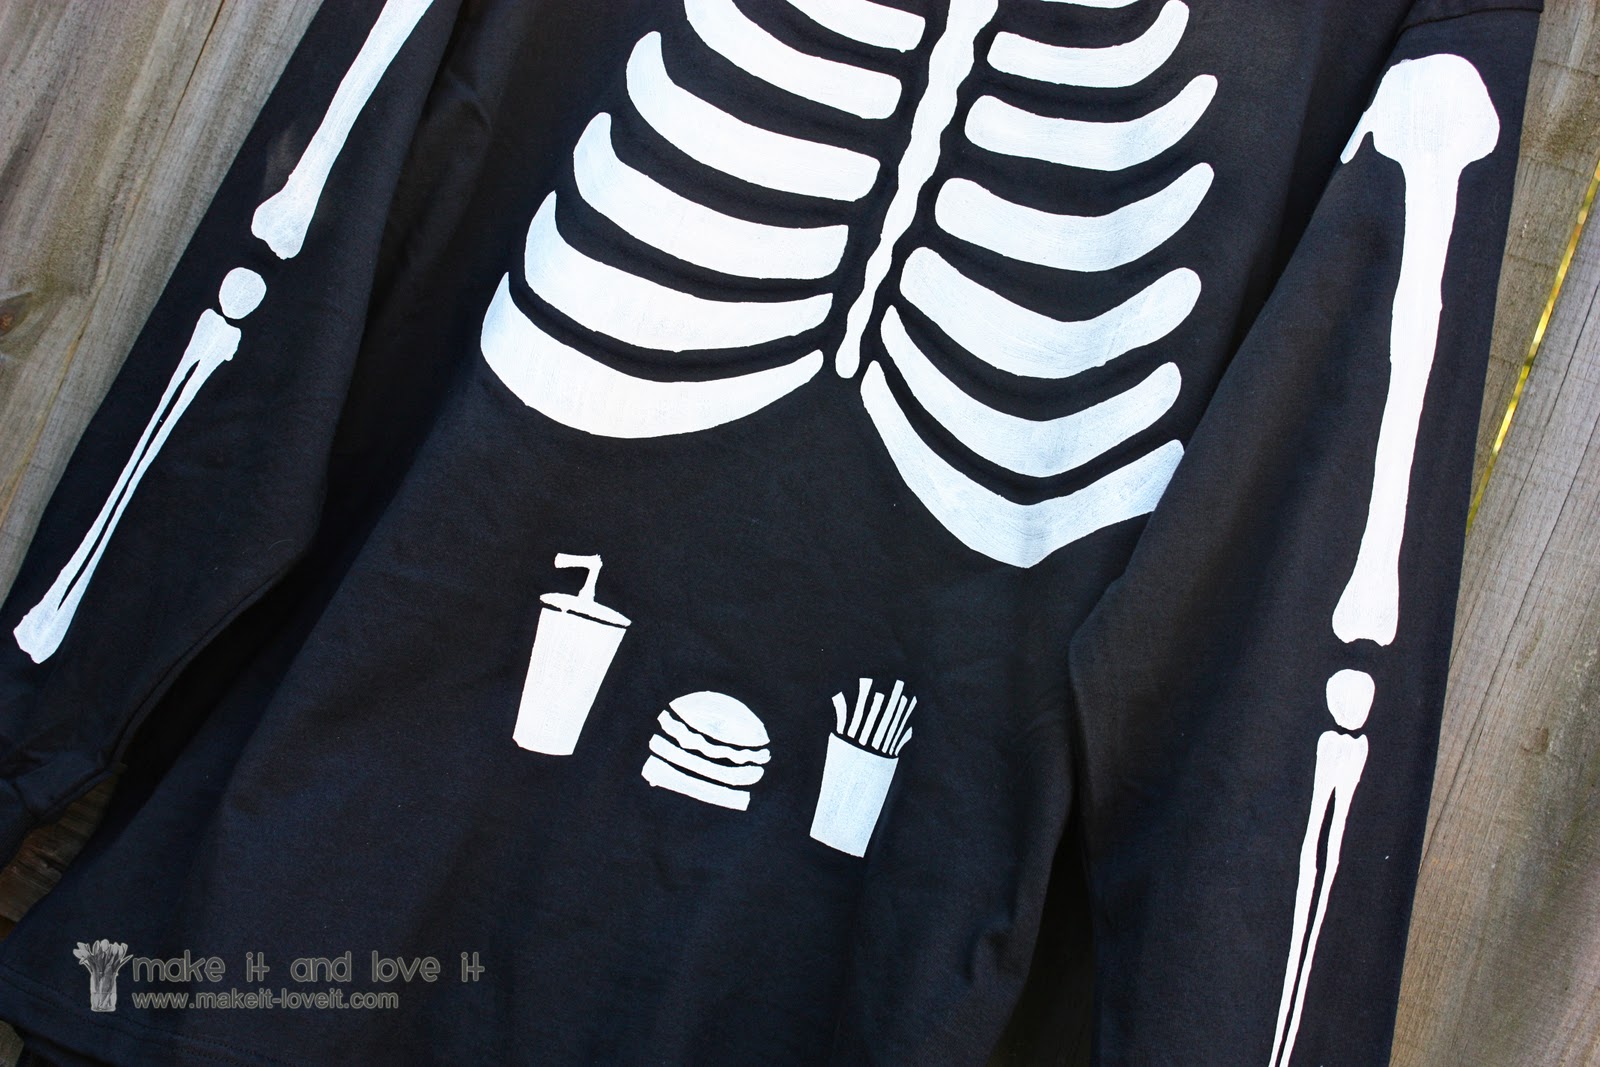
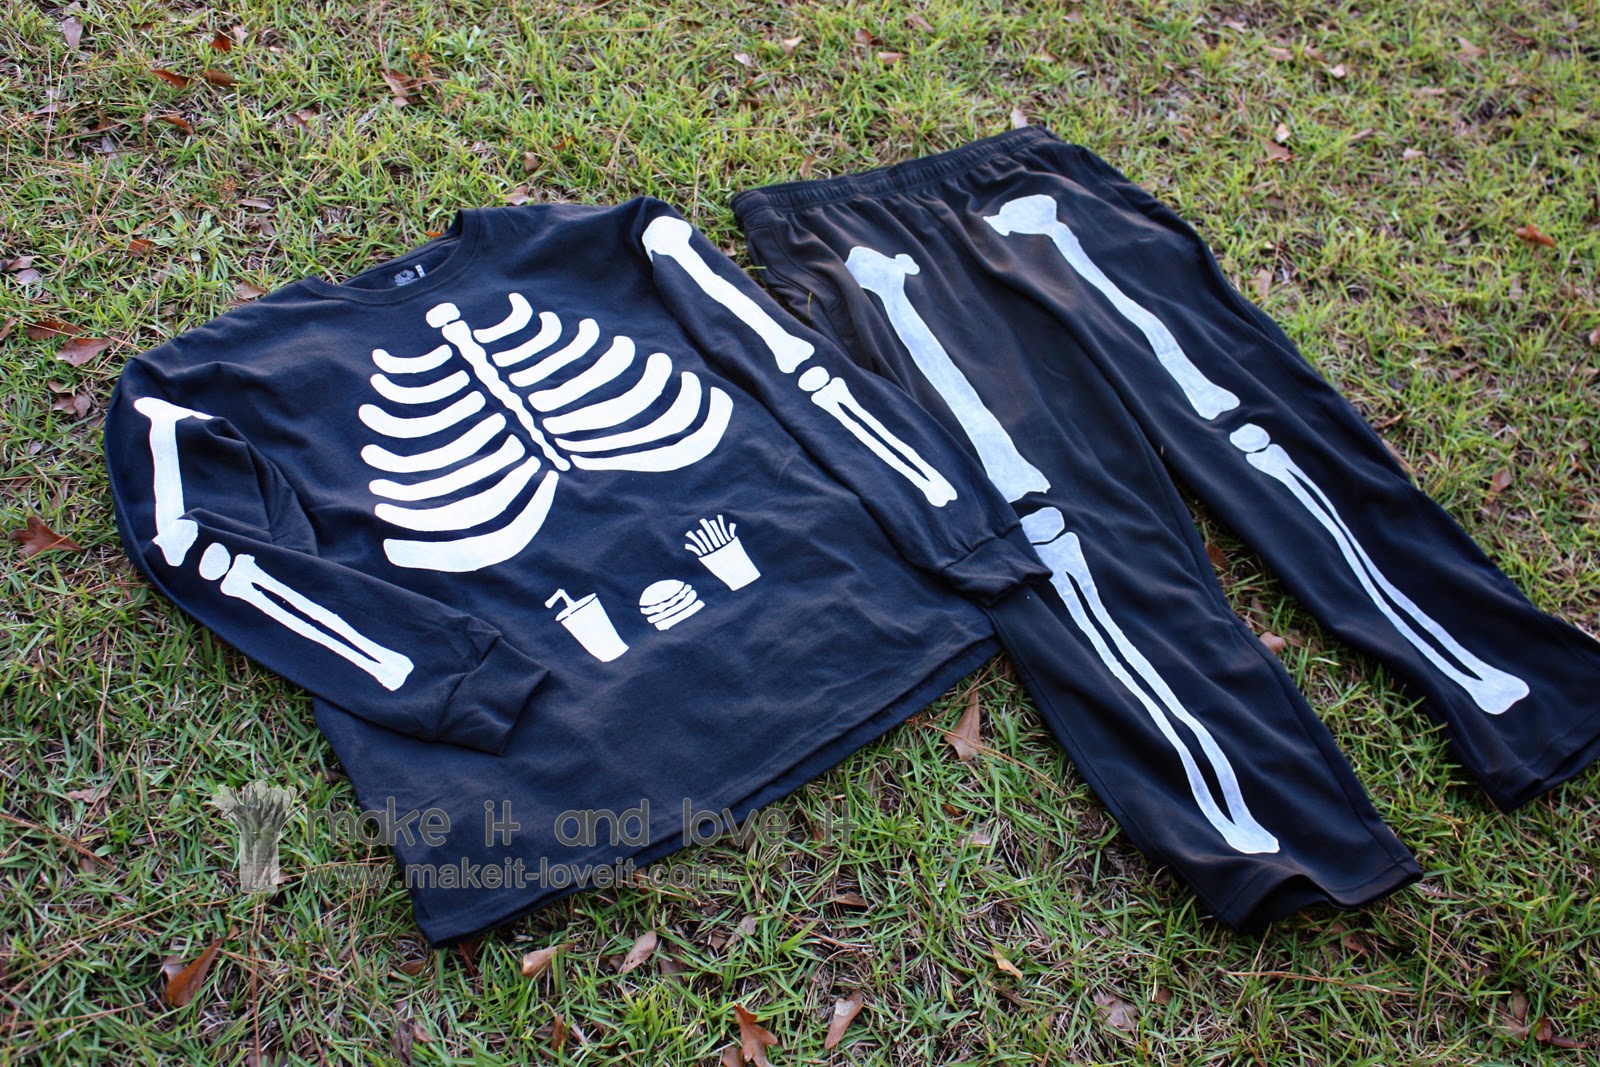
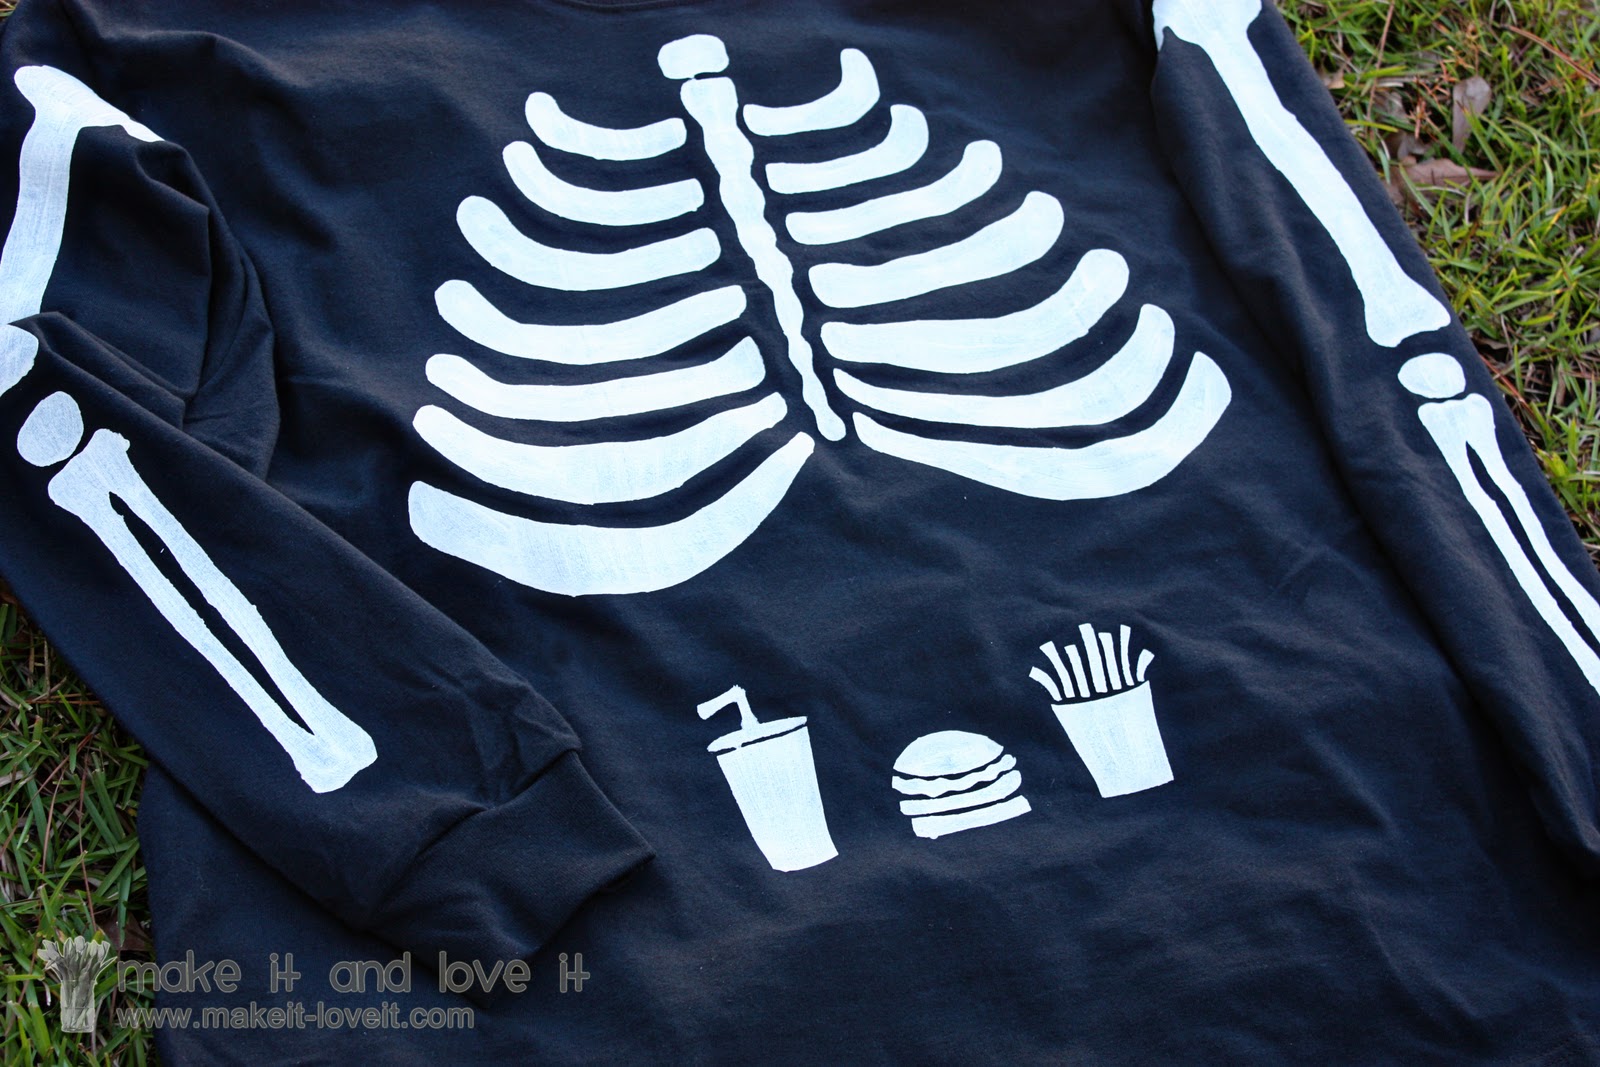
So, we of course added his favorite thing to put in his belly. Mmmm.
(This husband of mine is not a steak and potatoes kind of guy. He prefers a big ‘ol hamburger. Ha.)
So, a skeleton costume for a pregnant lady…….
.
And a costume for her “wanting to match” husband……..
Now we have a little “last minute” something to wear to our little party tonight.
It’s all the more fun to enjoy Halloween with the kiddos.
Right?
Want to make one too?
Try your hand at some freezer paper stenciling and make a skeleton costume too…
(And depending on how detailed you make your stencils, this can become a lengthy project to cut out all of those pieces…..and then painting it and letting it dry. Keep that in mind.)
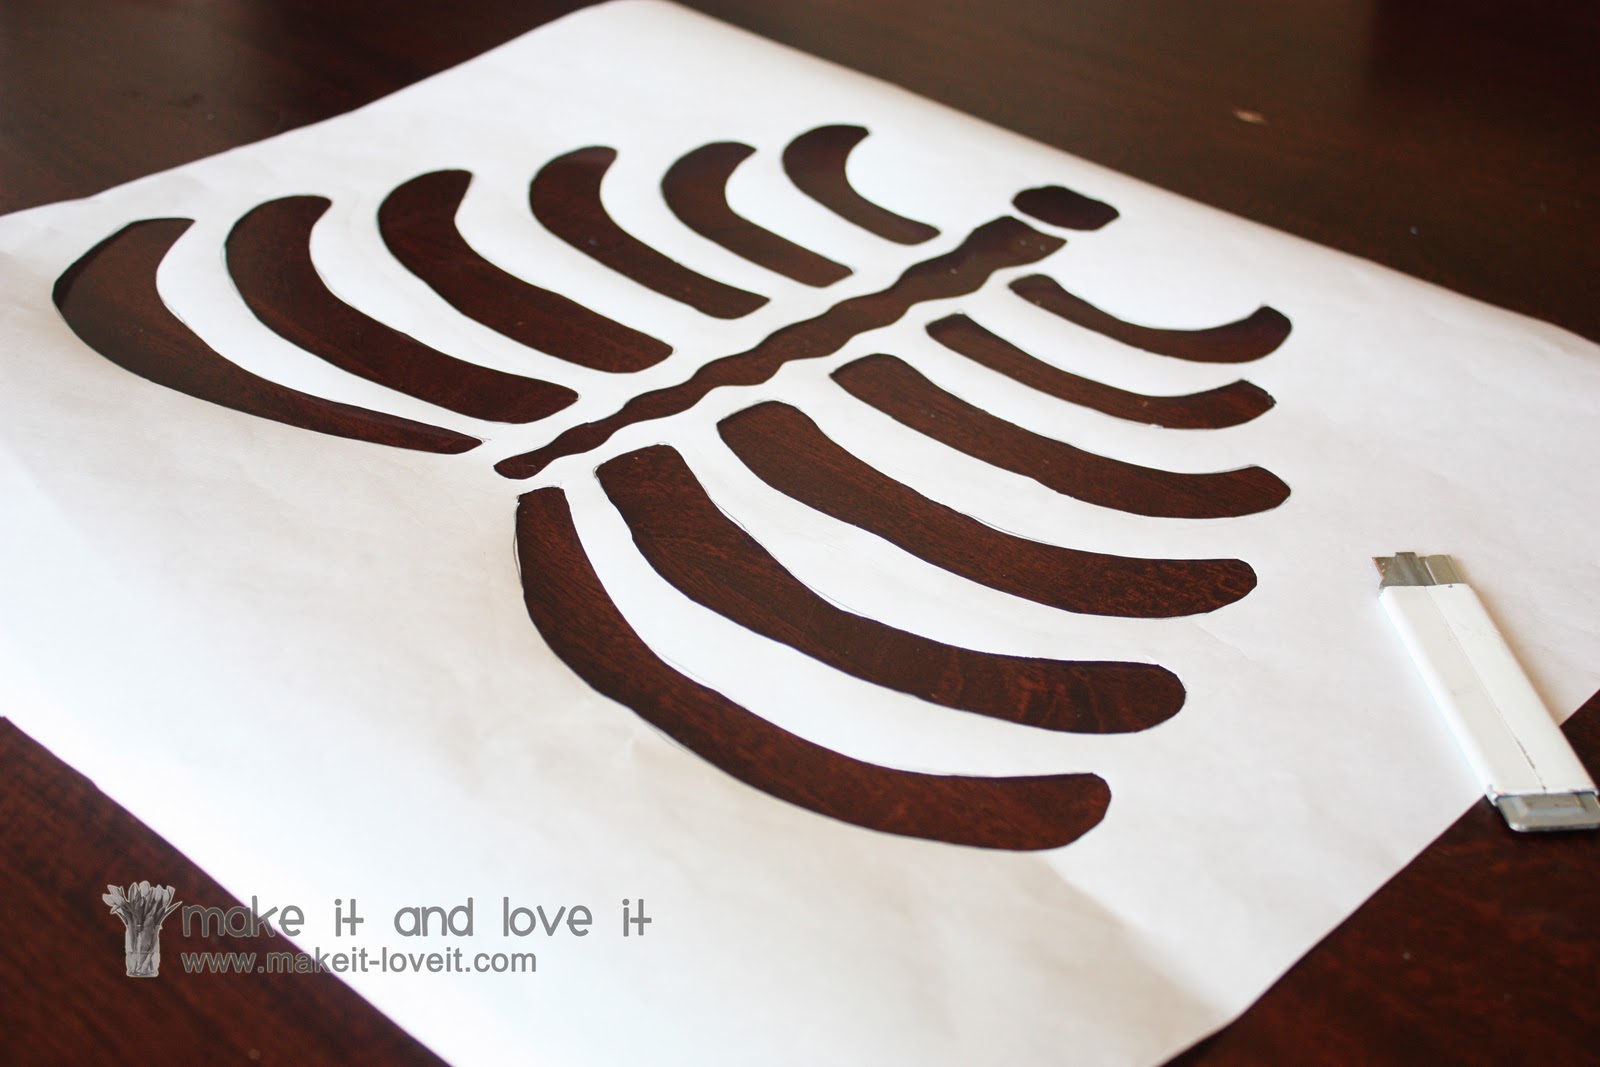
First, I bought a roll of freezer paper (by the tin foil and saran wrap at the grocery store) and sketched each of my skeleton parts on the paper side of the freezer paper.
I looked at the
adult skeleton image
here and the
baby skeleton image
here for help.
(I just used those images as a guide and sketched it out. You don’t have to make it perfect……just a general skeleton shape. Sorry, I don’t have the actual sketches to share.)
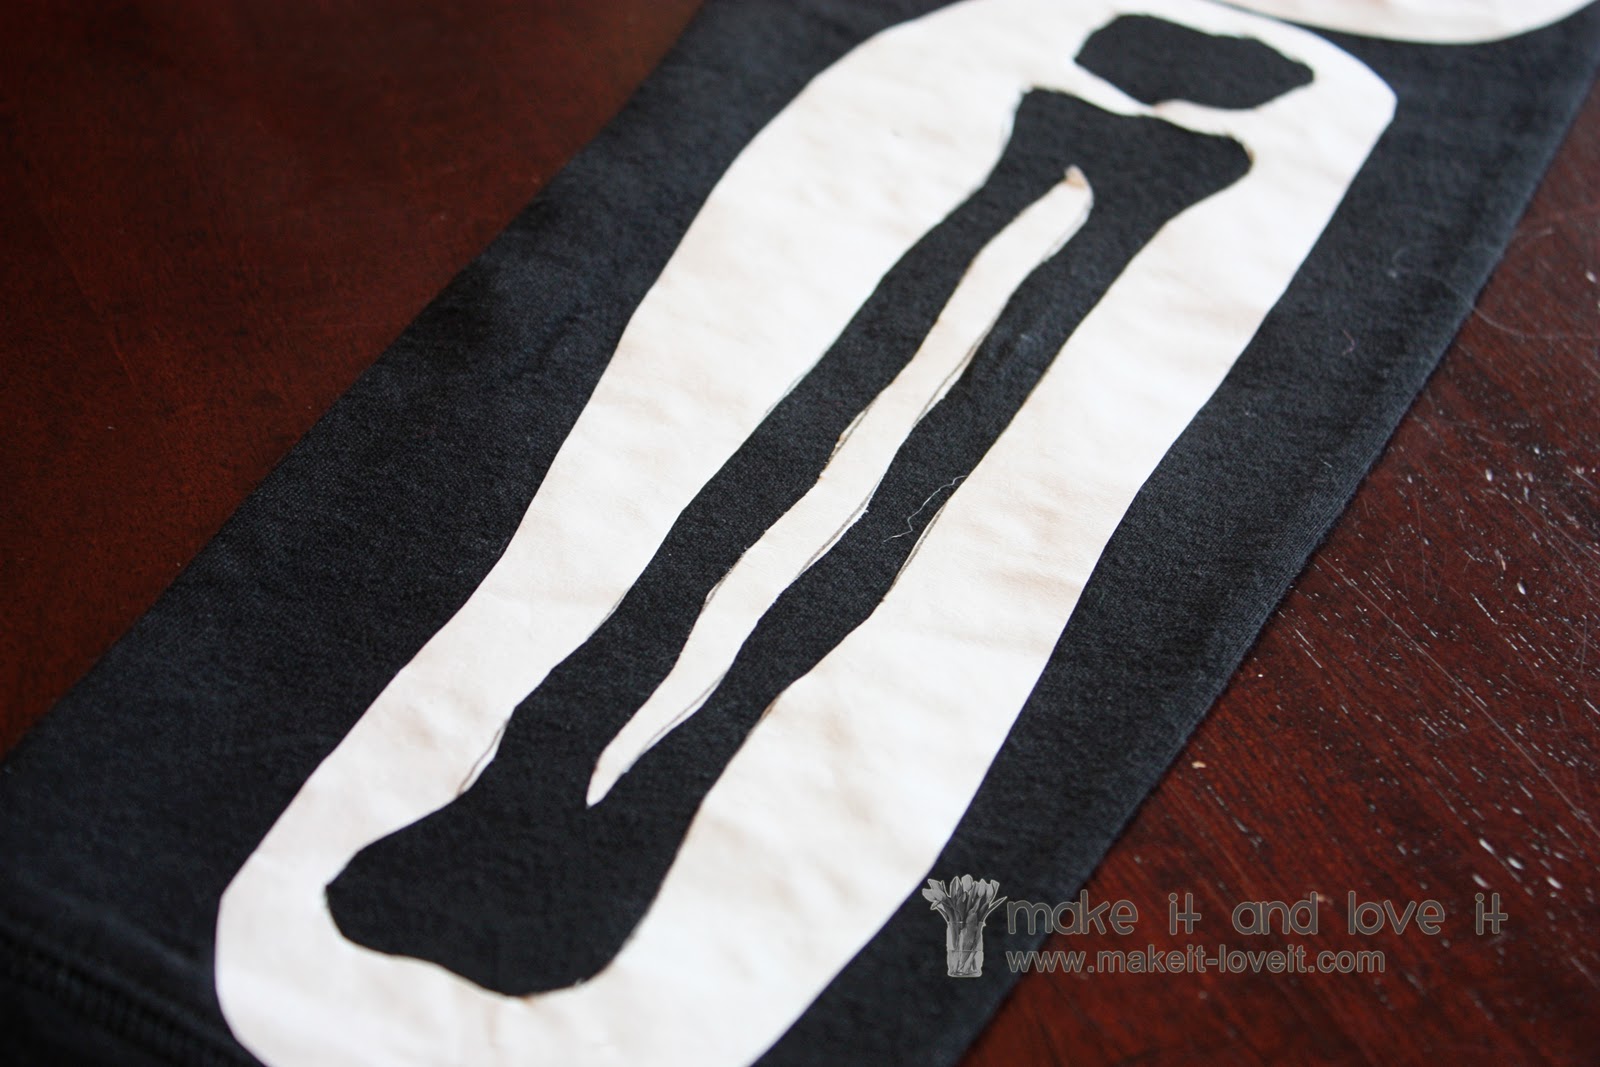
Then I used a razor blade to cut out the shapes (placing a rotary mat or large piece of cardboard underneath the paper)……making my template.
Then I placed the shiny side down onto the clothing and positioned it right where I wanted it. Then I pinned it down while I carried it over to the ironing board………
…….then ironed the freezer paper down, without using steam. Also, be sure to iron really well around those inner edges of your shapes…..you don’t want paint to seep under.
And if you have any extra pieces that aren’t connected to your main piece but will complete your image, make sure to position them where they need to go and iron them down too.
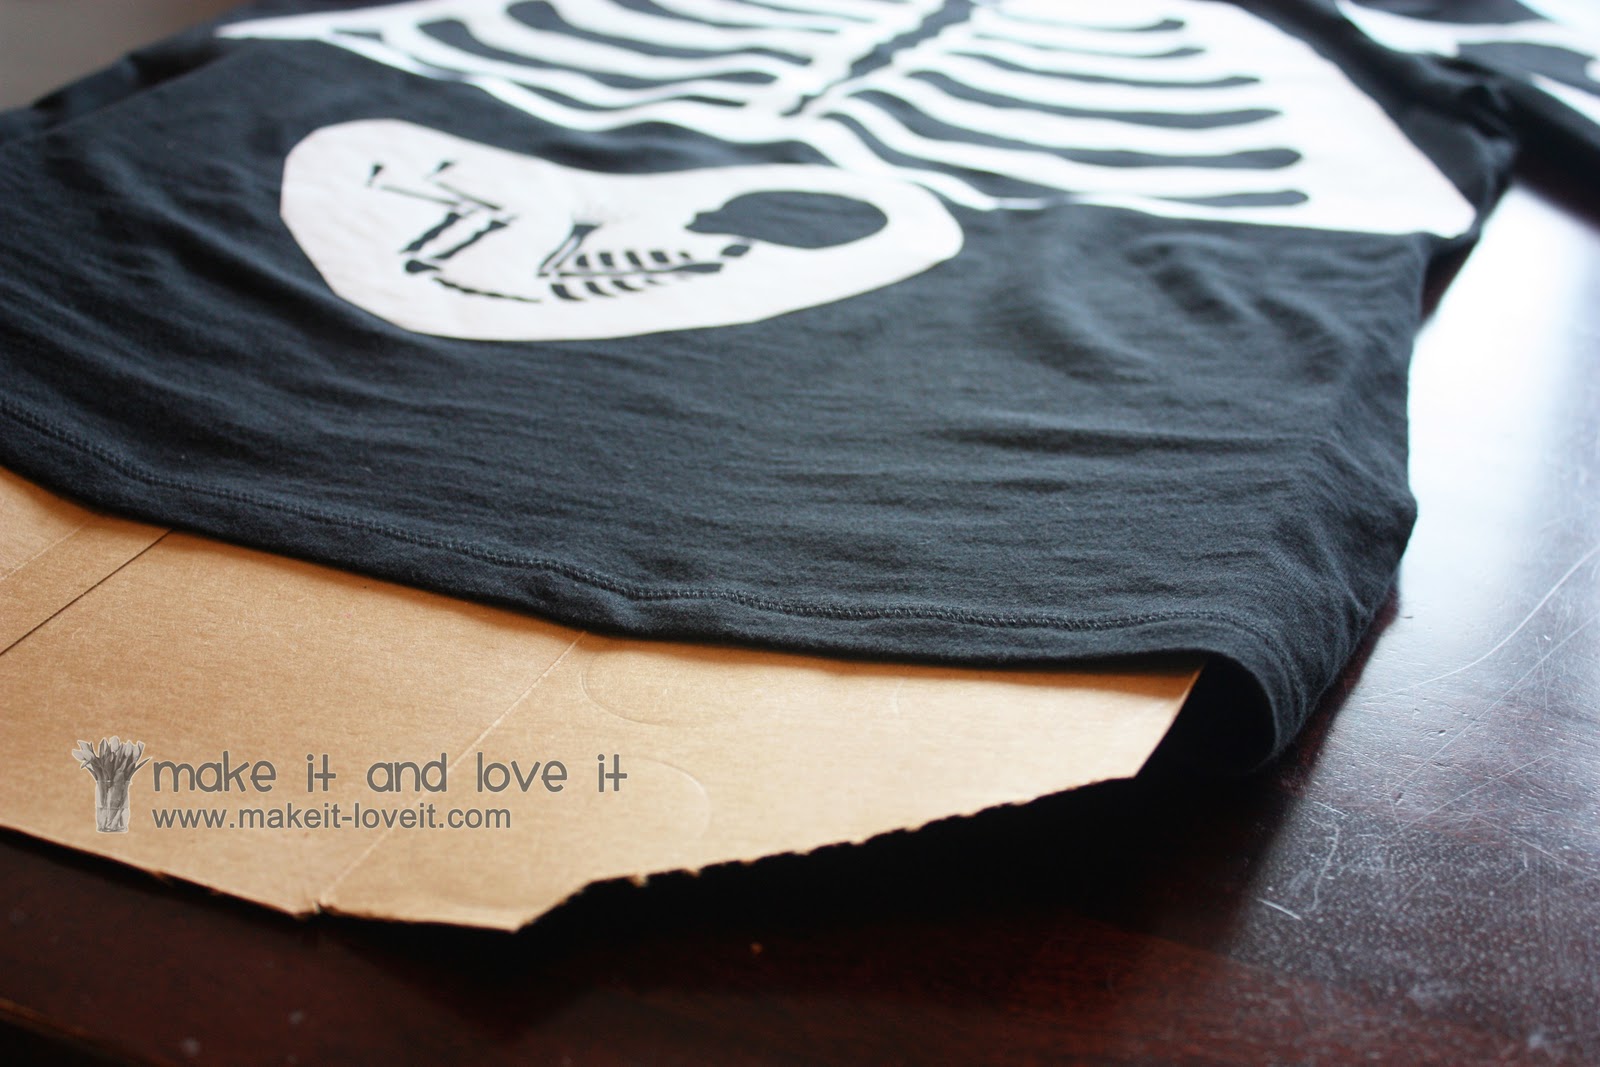
Then, lay your shirt down flat and slide cardboard in between the shirt layers, to keep the paint form seeping down through both layers.
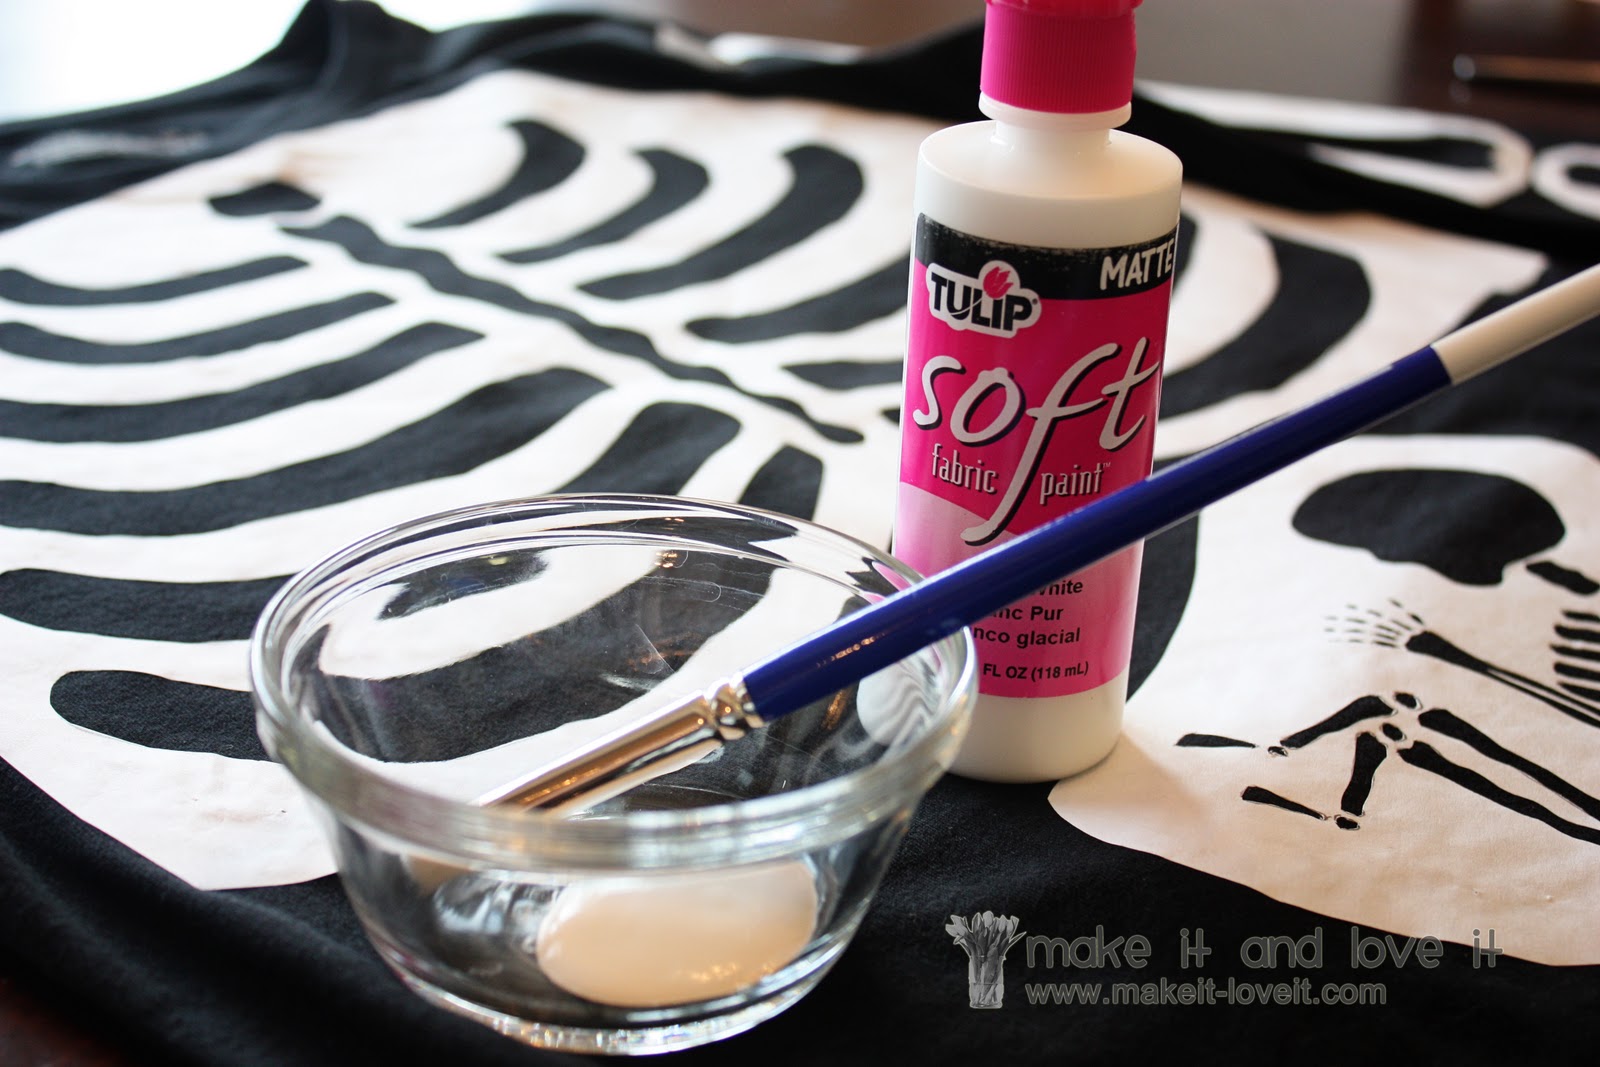
Next, you will need permanent fabric paint. I bought mine at Michael’s, along with a fabric paint brush. They were selling it right there with the fabric paint and it has short even bristles that are nice and stiff.
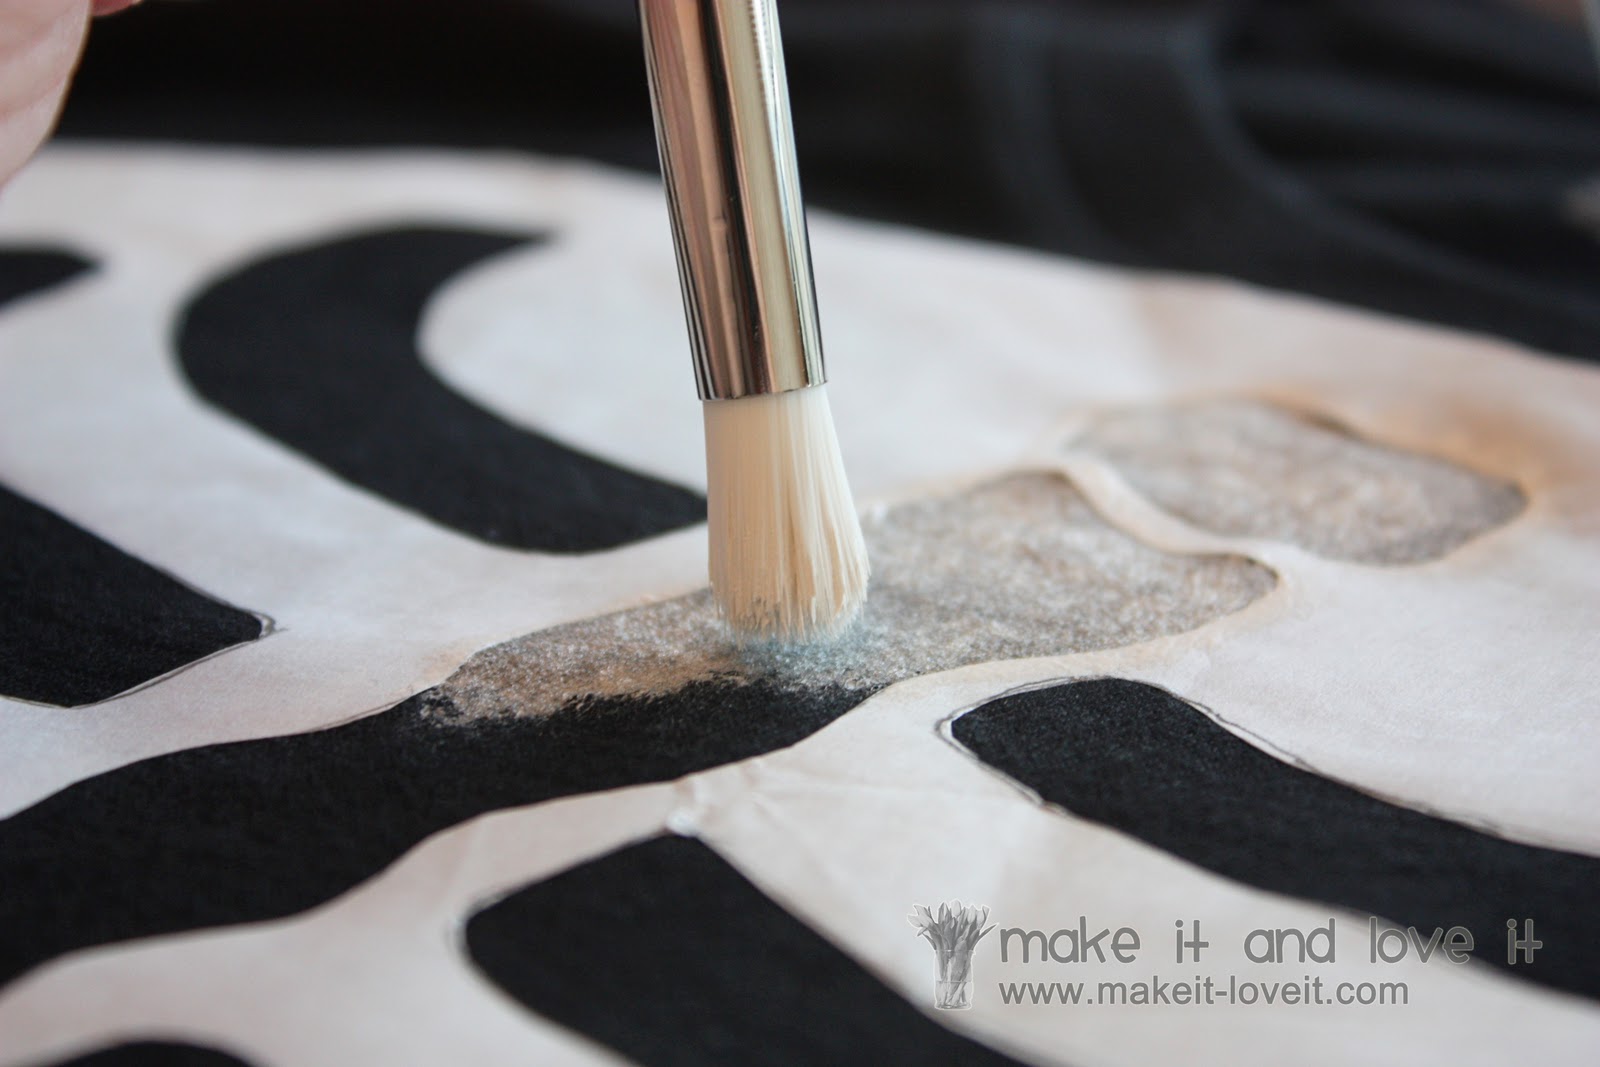
Then I blotted the paint on for the first layer, making sure to get an even line of paint along all of those inner edges of the freezer paper. Then I applied a second layer, brightening up the white paint. (In the bigger spaces I could use brush strokes but for some of the little holes and slits, the blotting technique worked much better.)
Then I let it dry overnight (instructions said at least 4 hours) and then peeled off the paper…..leaving the stenciled image behind. It leaves such nice precise lines. I love that freezer paper stuff.
Lastly, I placed a thin piece of fabric over all the painted sections on the shirts and pants and heat sealed (without steam) the images right to the shirt with my iron.
(And for the baby skeleton, I just tied a bow out of ribbon, heat sealed the ends with a lighter, and sewed it right to the skeleton head.)
And that was it.
Happy Halloween!