Home » DIY Tutorials » DIY Sewing » Sewing: Clothing » Baby Clothing » Sippy Cup Leash: Re-visited and Improved
Sippy Cup Leash: Re-visited and Improved
September 24, 2010 - By Ashley Johnston 71 Comments
Remember when I made the
sippy cup leash over a year ago,
here?
Well, it needed some improvements.
Before moving across the country last winter, I realized that the sippy cup leash needed an upgrade. The velcro on the old one was finicky and didn’t stick as well after a while…….especially if the sippy cup was completely full and heavy. (Sorry if you made one and had the same trouble…)
Anyway, I created a new one for our long trip cross-country 9 months ago, eliminating the task of retrieving dropped/tossed sippy cups from little hands back in their car seats. And there the leashes have stayed. Permanently.
And I never shared my newest upgrade. Until now.
It hasn’t been a secret, I just kept forgetting to share.
I now make them with elastic. And with this style of sippy cup (from Gerber, found at Walmart) the elastic keeps them perfectly in place.
And oops, if the sippies take a tumble, they won’t go far.
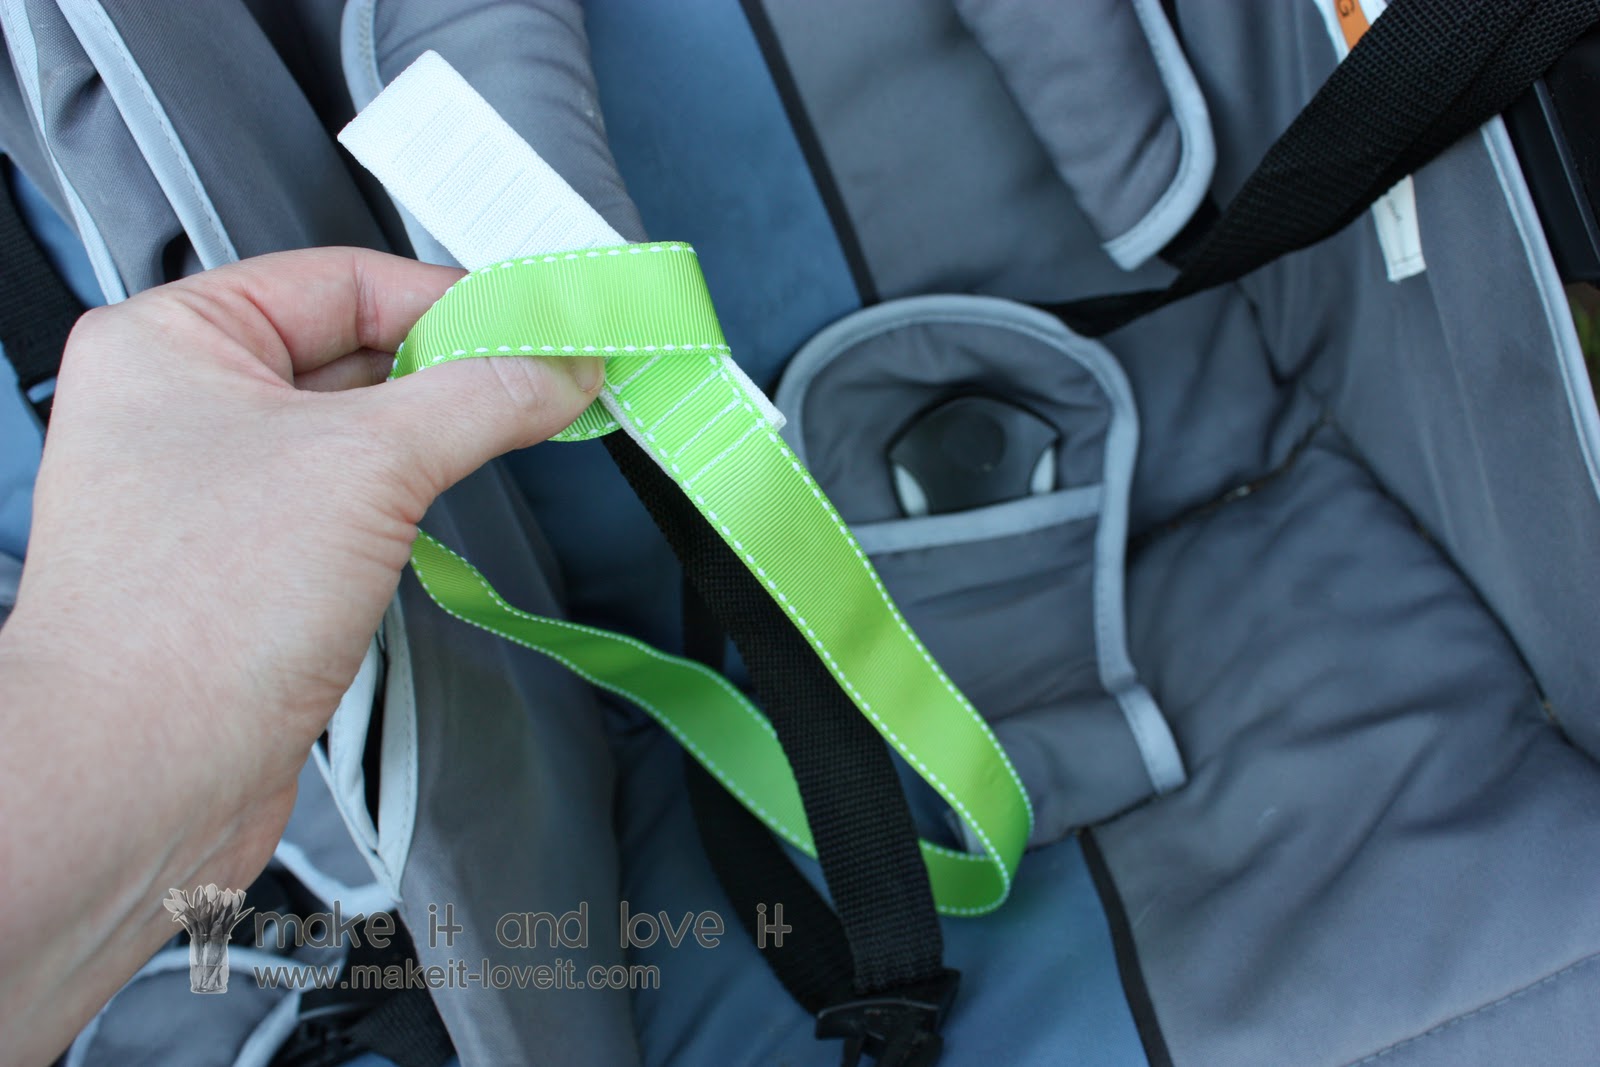
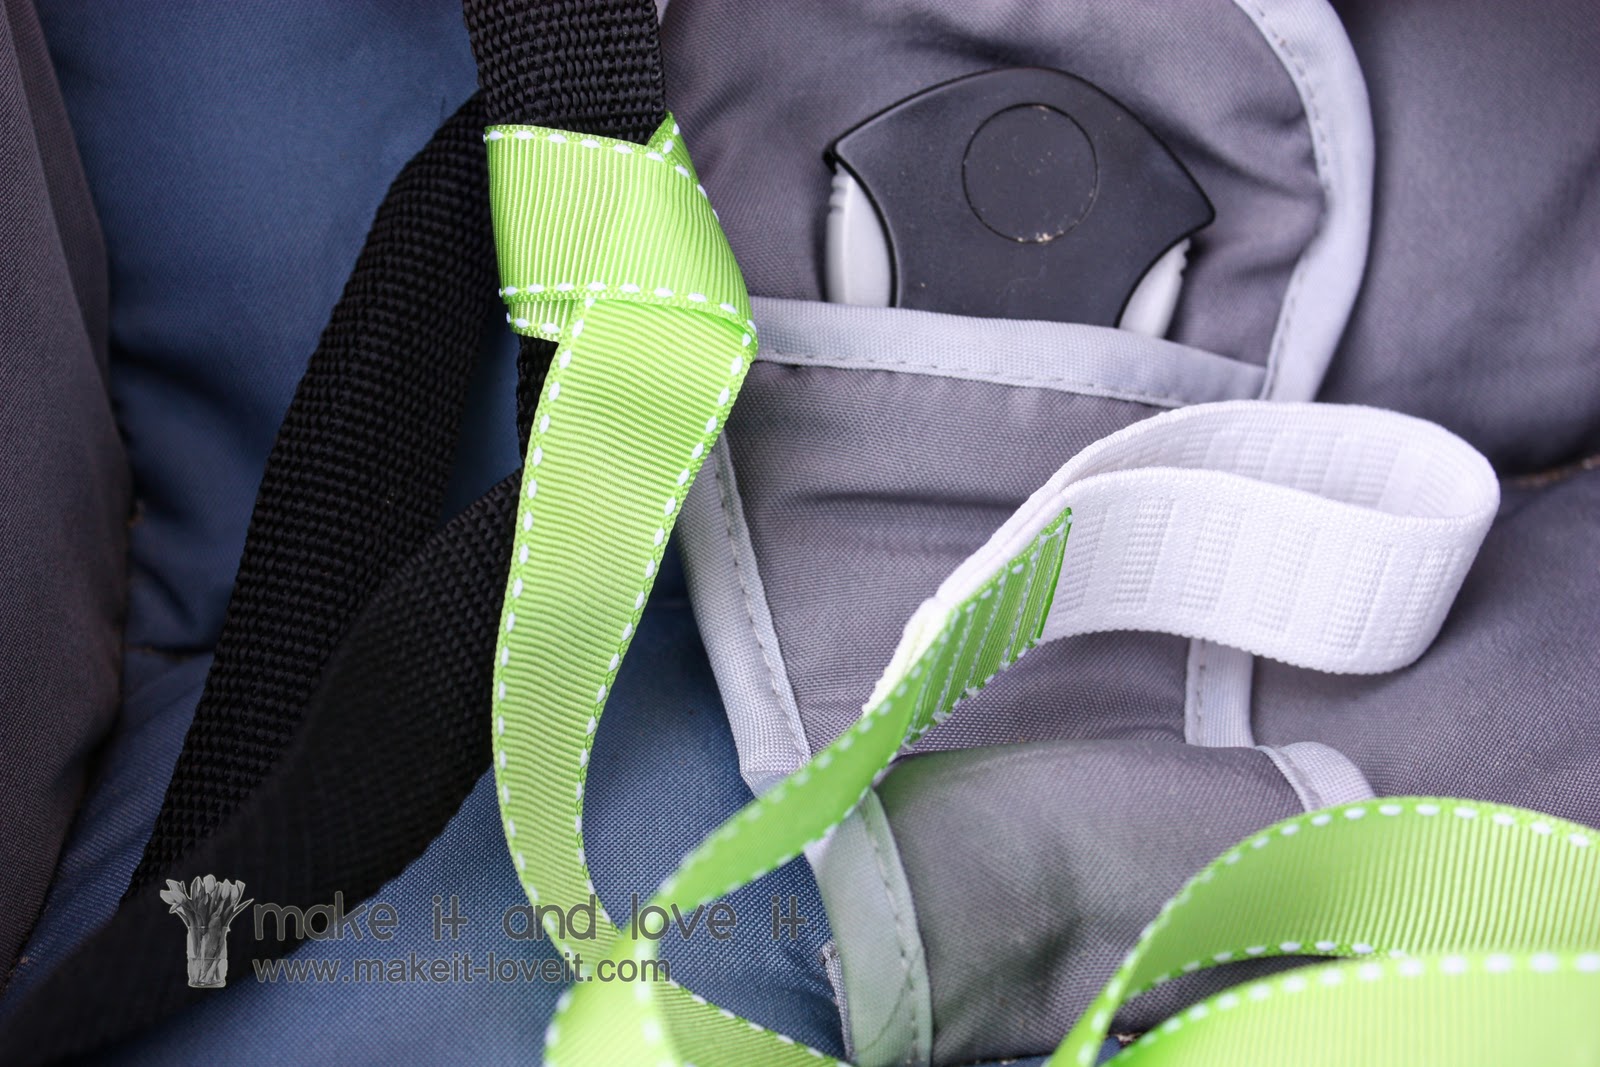
And they attach simply to any sort of bar or strap…..by simply pulling the elastic portion through the loop at the other end.
Then pull tight to secure the sippy cup leash in place.
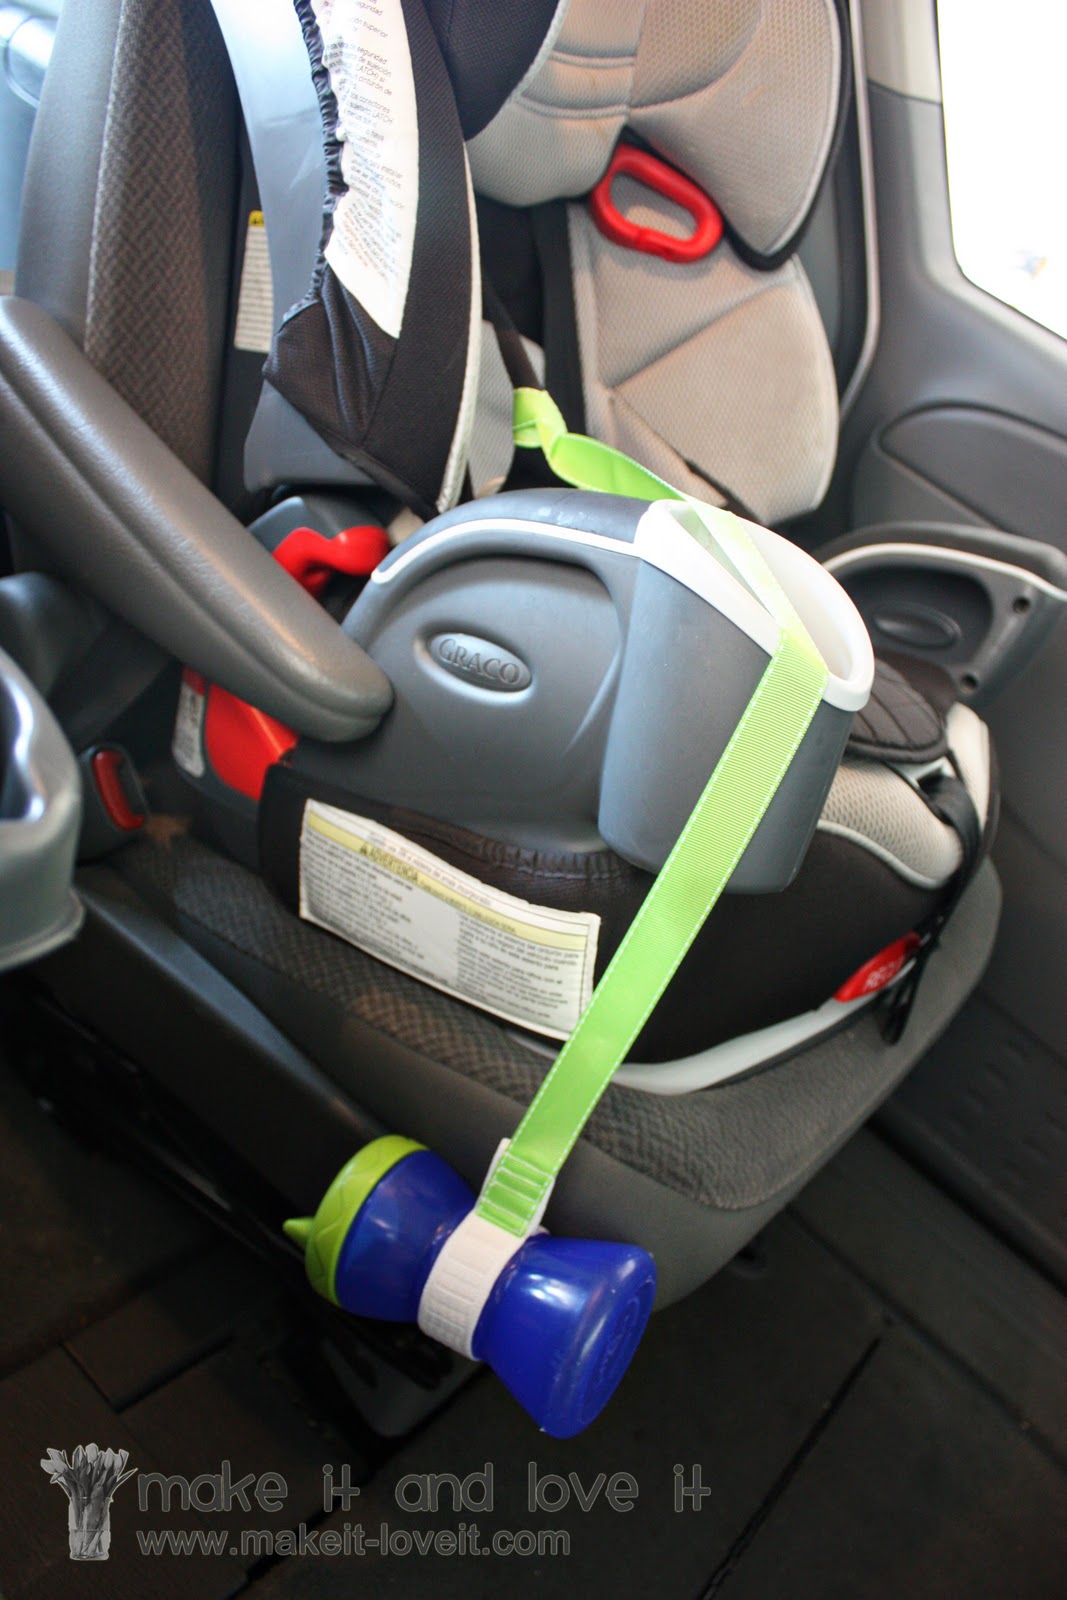
Our leashes spend most of the time in the car, attached to the car seats.
Then I just remove the sippy cups and wash them as needed. The kiddos love having water in the car anytime they want it. Works for us.
***If you’re concerned with the length of these Sippy Cup Leashes posing a choking hazard, keep the length short enough to not wrap around a neck but long enough to still reach the child’s mouth.
(I just made these new ones to show the actual process but the previous ones spent every day attached to car seats for the past 9 months. And were still working great.)
Would you like to revamp yours?
Or create some for the first time?
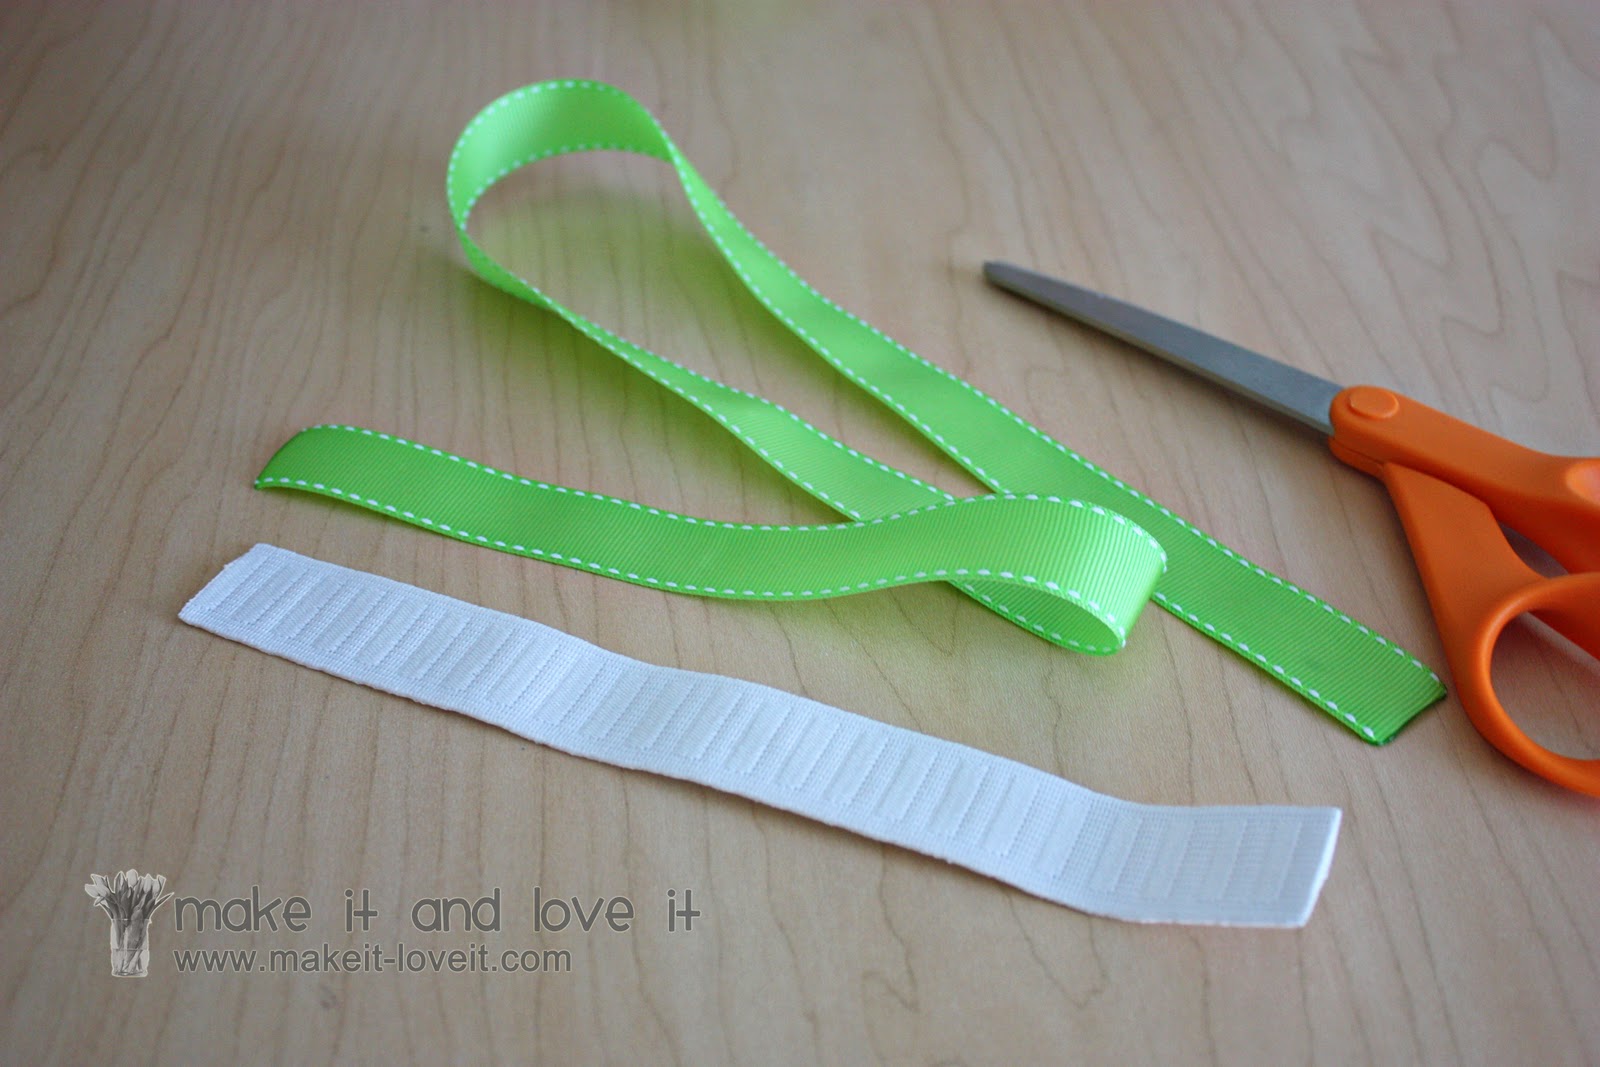
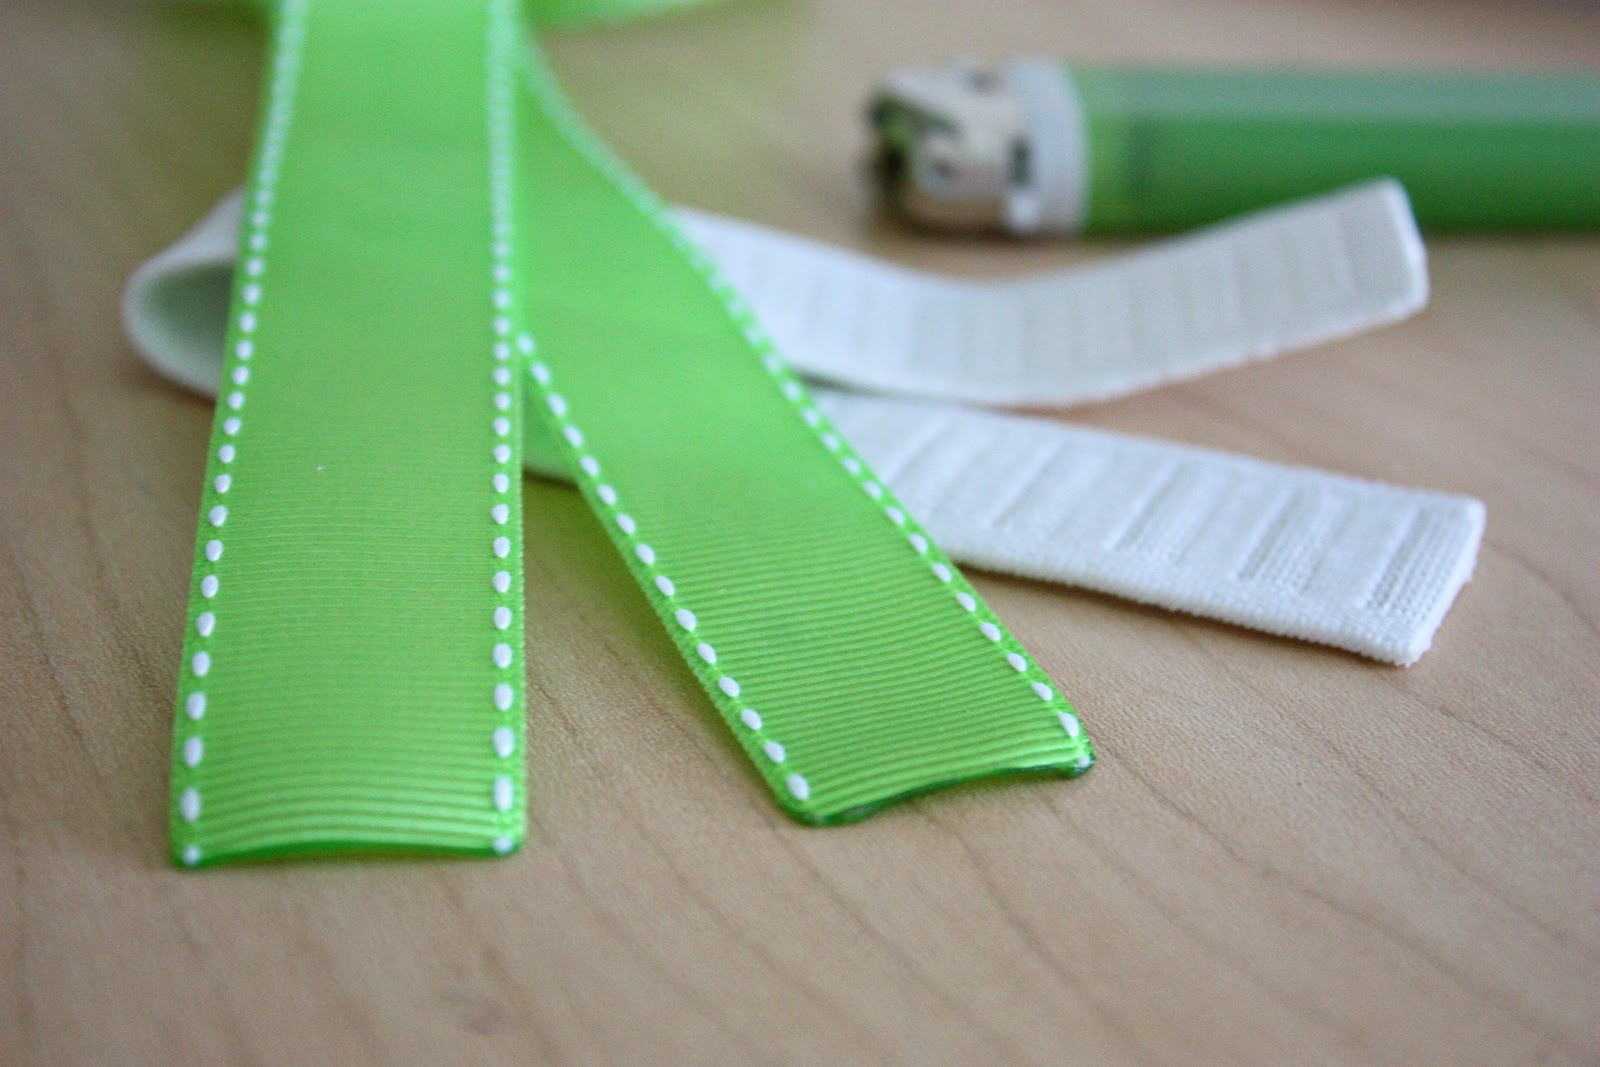
I started with a piece of ribbon that was 28 inches and a piece of sturdy elastic that was 9 inches.
Then I heat sealed the ends of the ribbon and elastic. Don’t hold it on there long enough to catch fire…..only long enough to melt the edges and keep them from fraying.
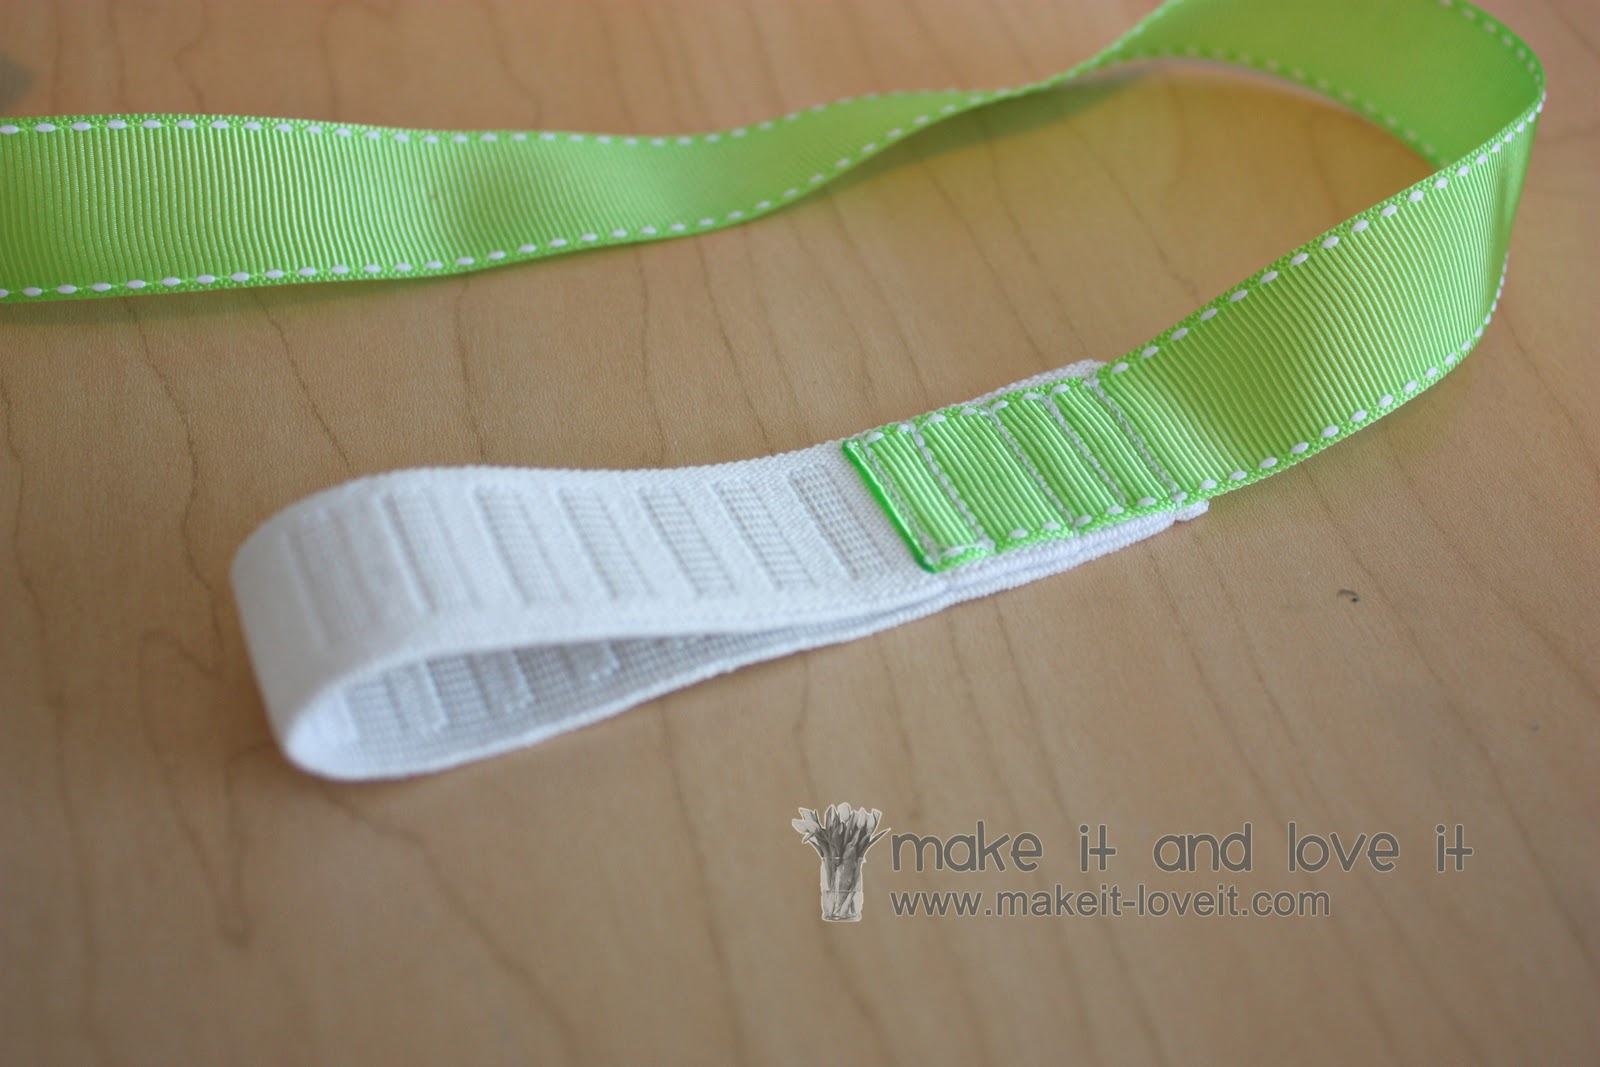
Then measure how much of an elastic loop you’ll need to keep the cup securely in place but also to be able to still slip the cup in and out of the loop. I needed a loop that was about 6 inches around so I pinched my fingers there………
…….then attached it to one end of the ribbon, overlapping about 1 1/2 inches. I made several seams to secure the elastic to the ribbon.
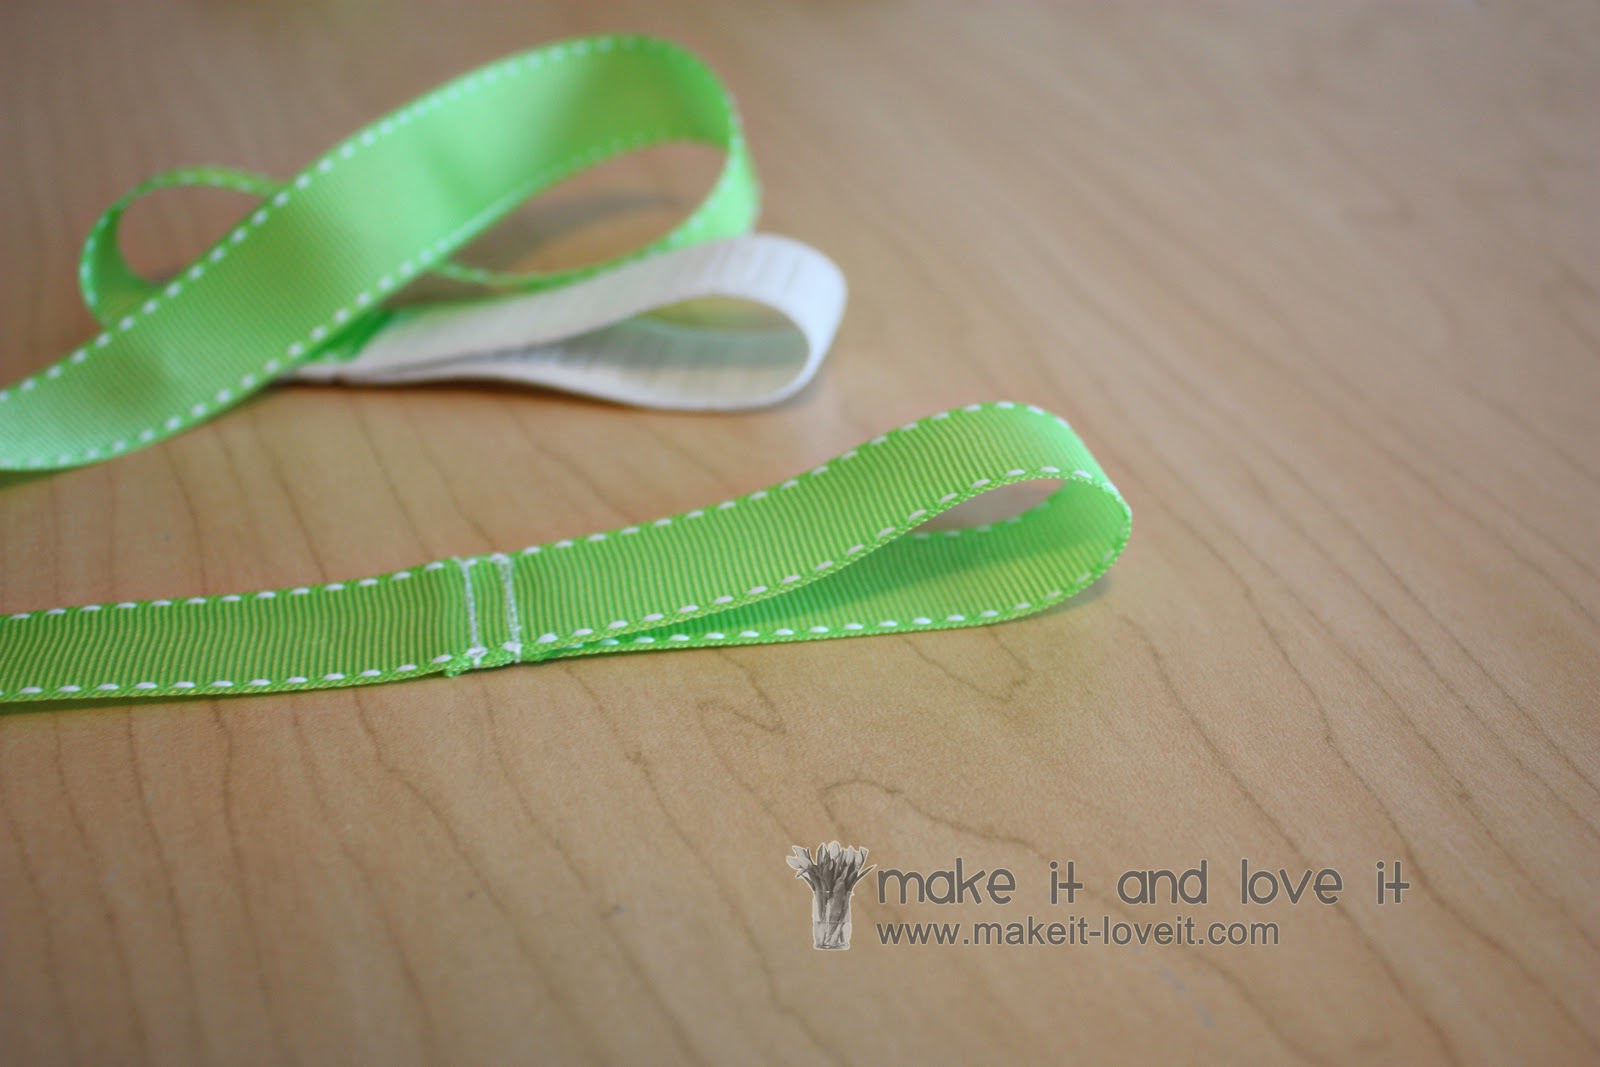
At the other end of the ribbon, I tucked under the end about a 1/4 inch, then folded it over 3 1/2 inches….creating a loop. Again, I made several seams to secure the loop into place.
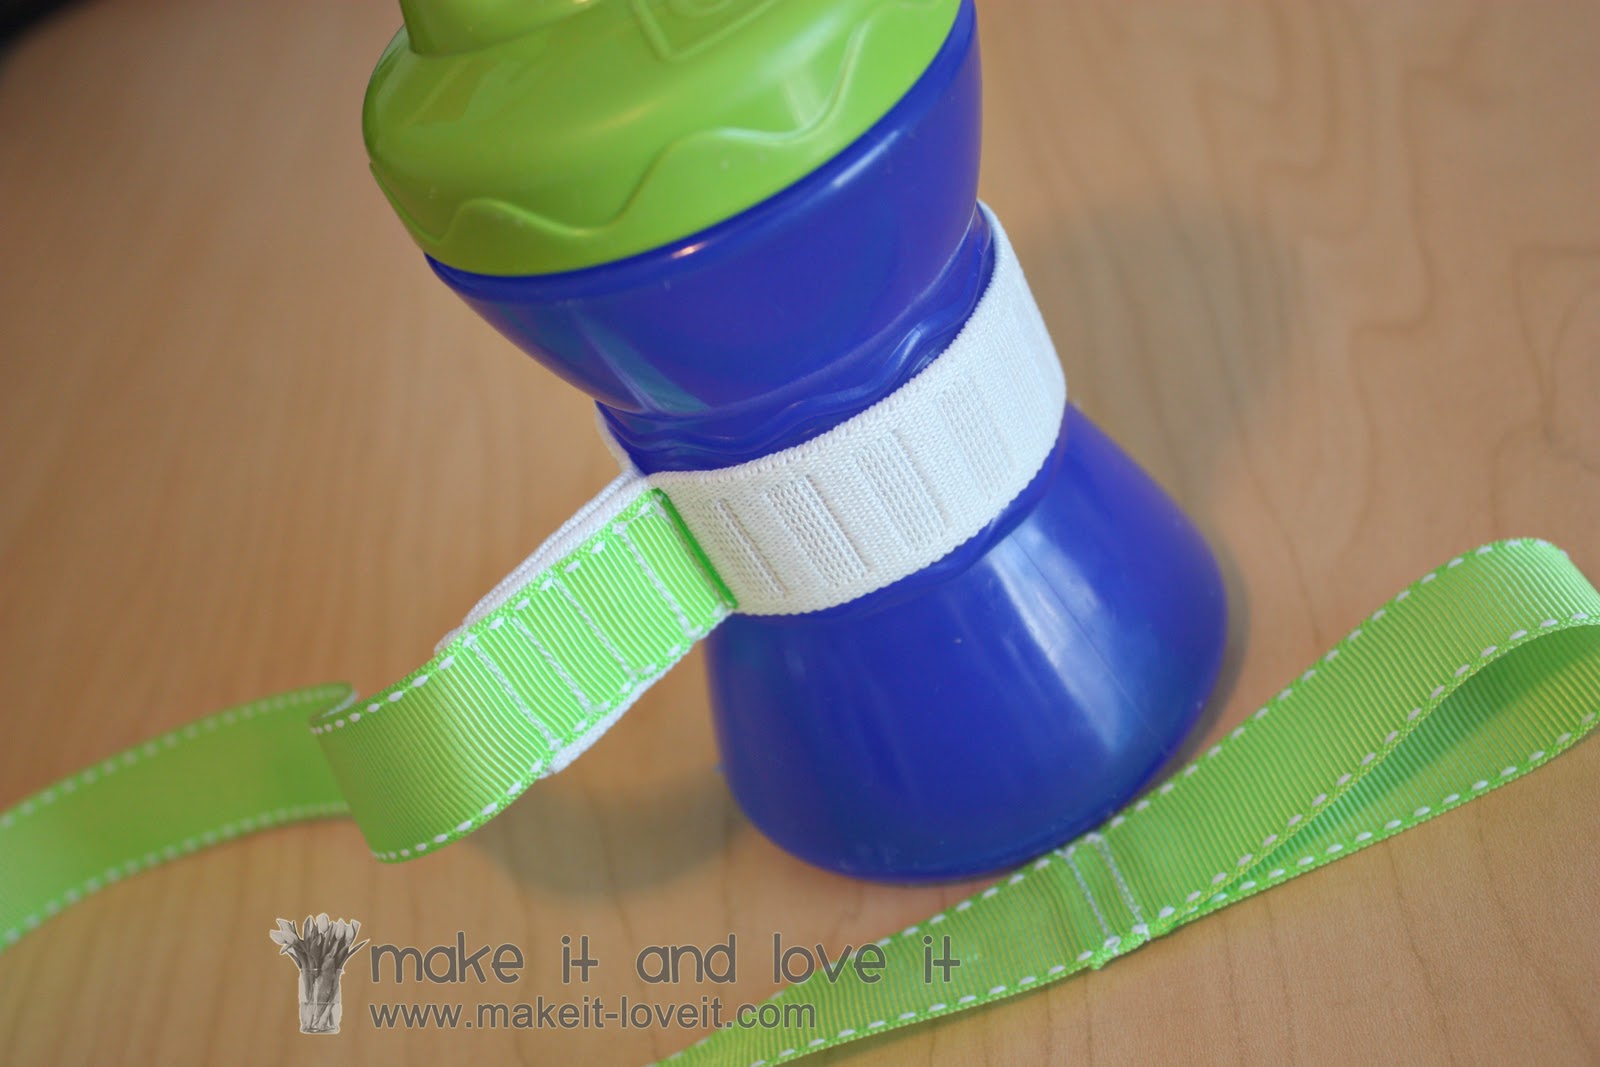
Then I slid the leash right onto the sippy cup.
Perfect fit.
And really, a much better version than the last one.
Give it a try.
**Alteration for different sippy cup shape:
My sippy cups work great for these elastic style of sippy cup leashes. If your sippy cups are straight and not contoured, try adding small pieces shelf lining like I did with the last sippy cup leash version, found here. But place little pieces of the shelf liner along the inside of the elastic loop (before sewing it into a loop) about every inch. The tackiness of the shelf liner, along with the tightness of the elastic, should keep the sippy cup leash in place……even on straight sippy cups. This technique just wasn’t necessary for mine.
Good luck!