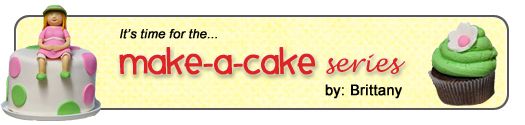
Make-a-Cake Series: Gumpaste Bow, Part II
I now bring you part two of my bow making skills, of which I am calling The Present Bow.
It looks like this:
However, I had a few bumps along the way.
The instructions below are for a larger bow than the bow that I actually used on the cake above.
After I made the bow (and took all of the pictures for this tutorial) and then assembled it on top of the cake, it cracked in half! I almost cried. I had a backup bow but it was a smaller size. So the finished cake received the smaller backup bow.
These instructions will work for all size bows. But the instructions are for a large bow.
So adjust the measurements to make it work for you.
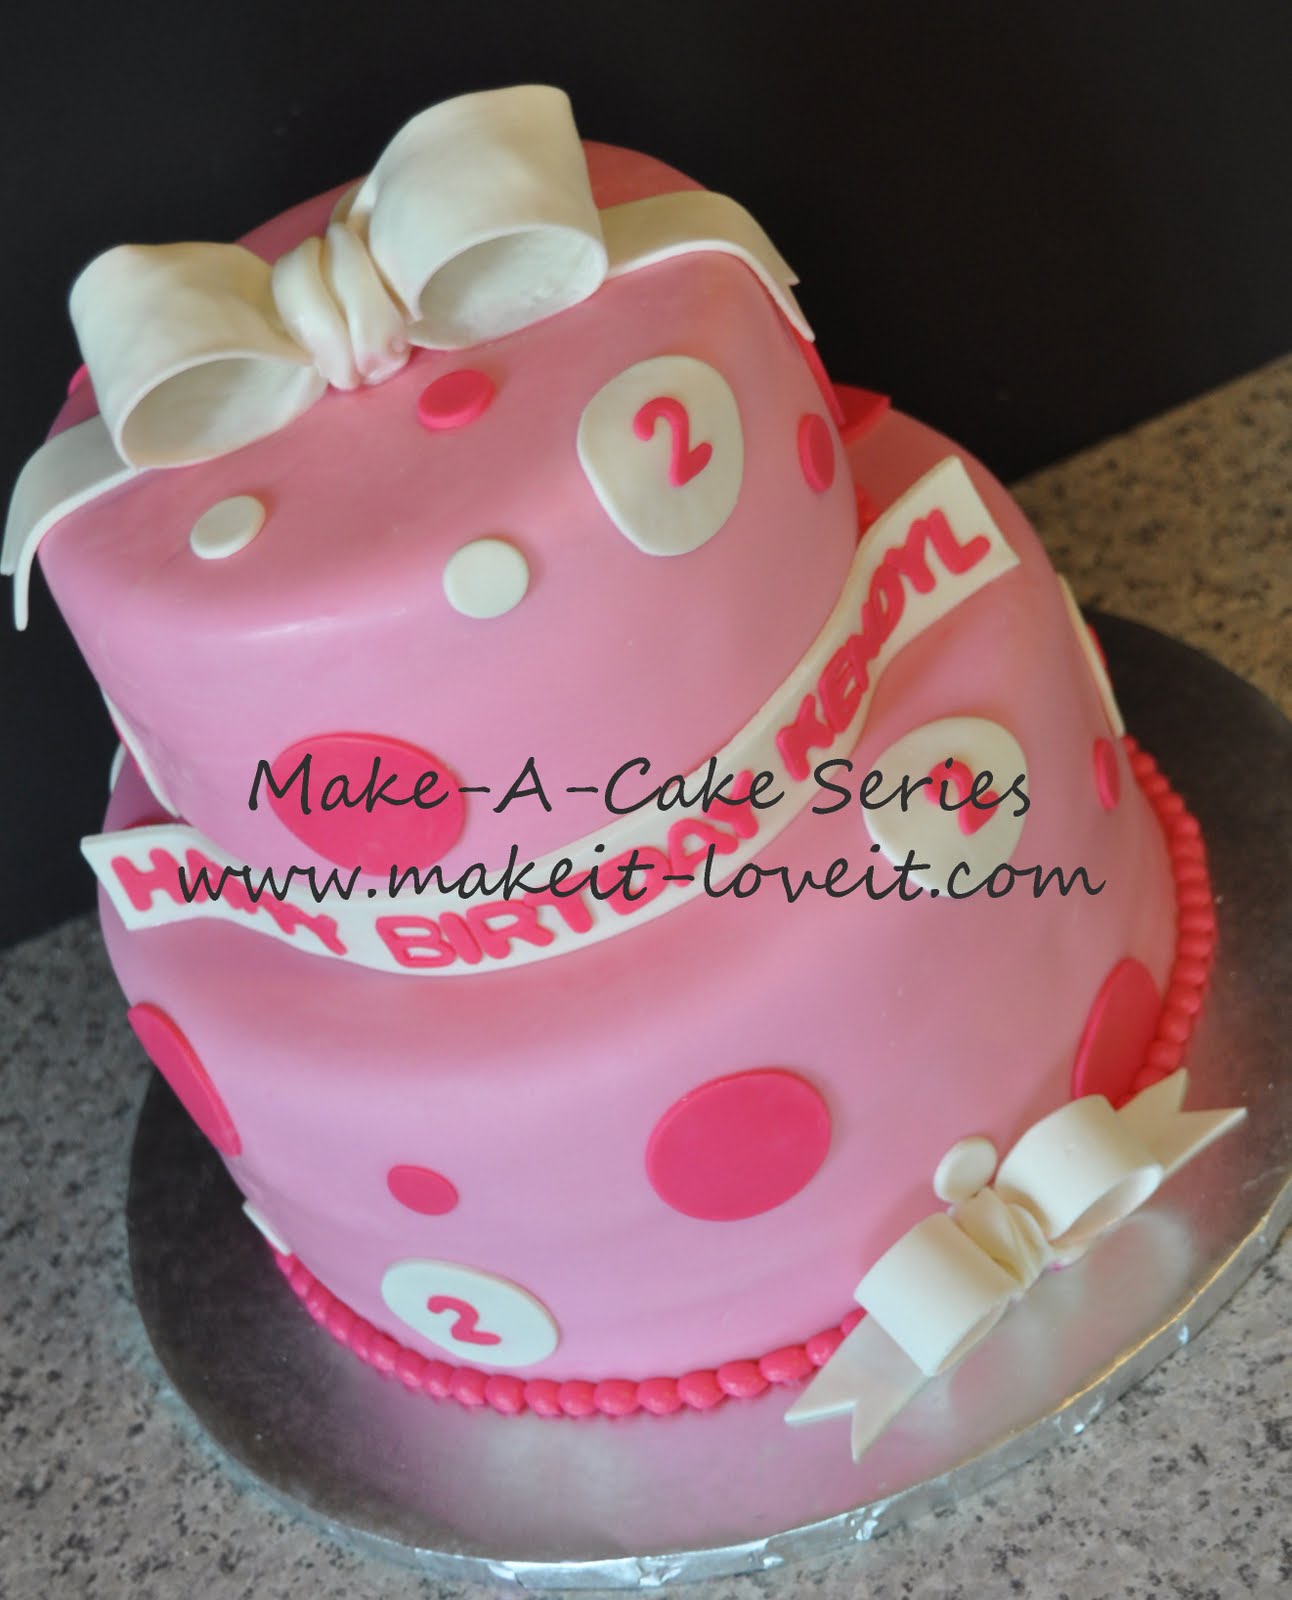
Here is what you need to make a present bow cake topper.
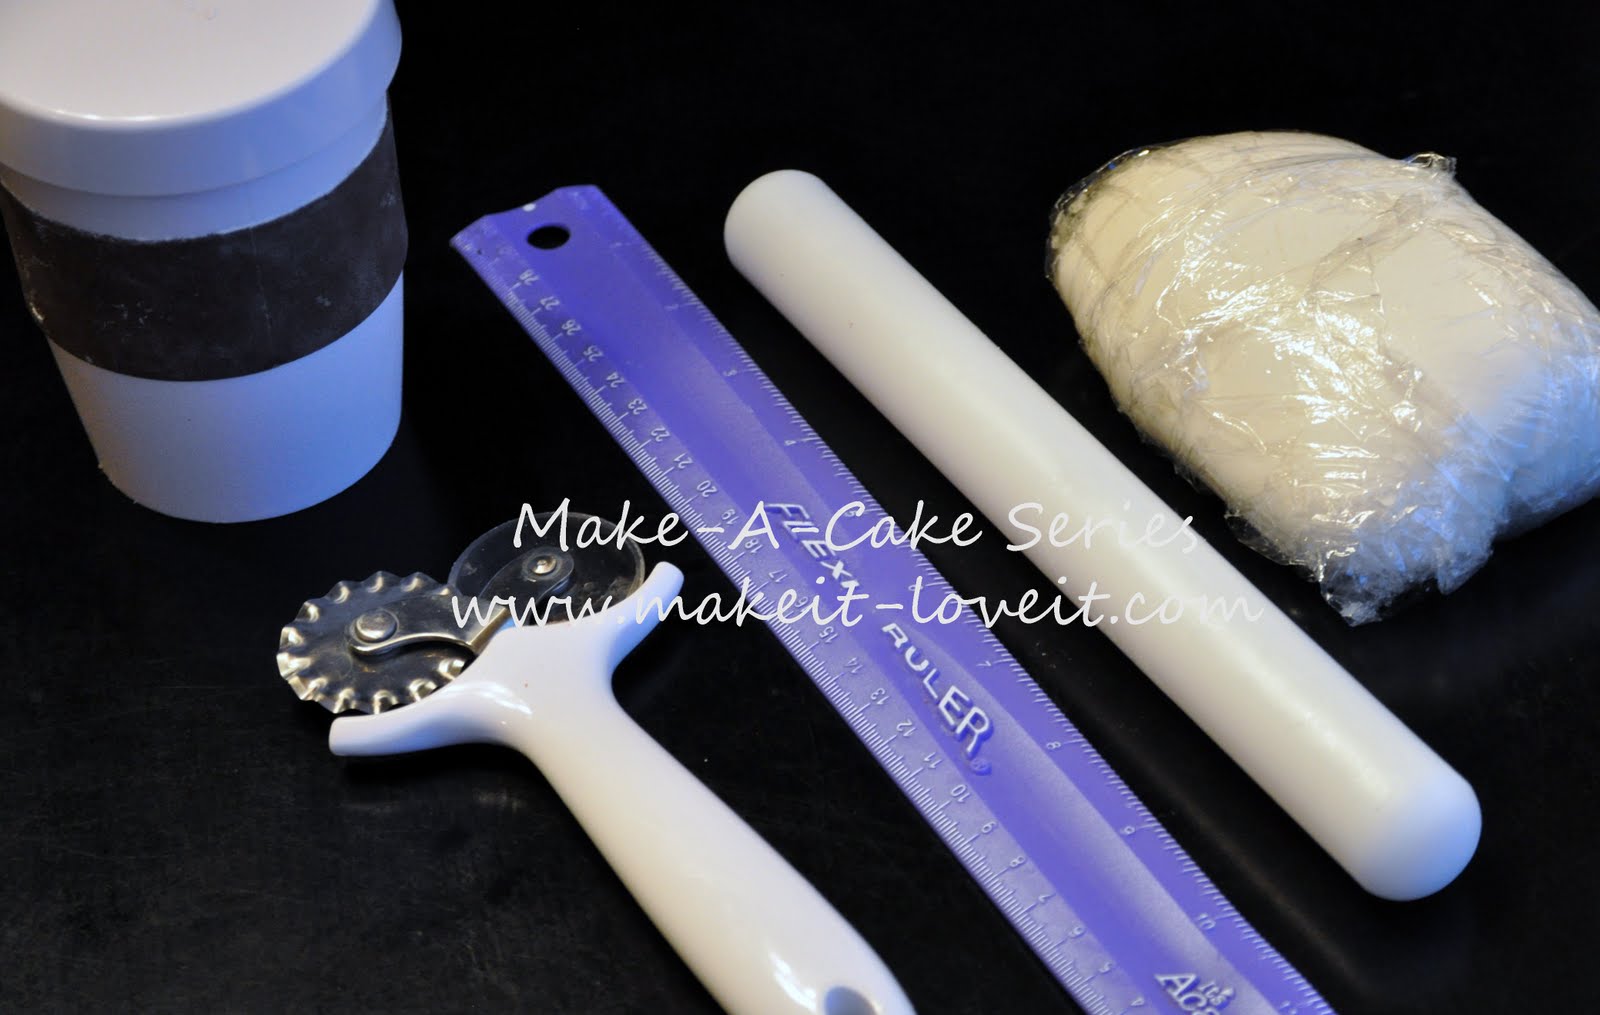
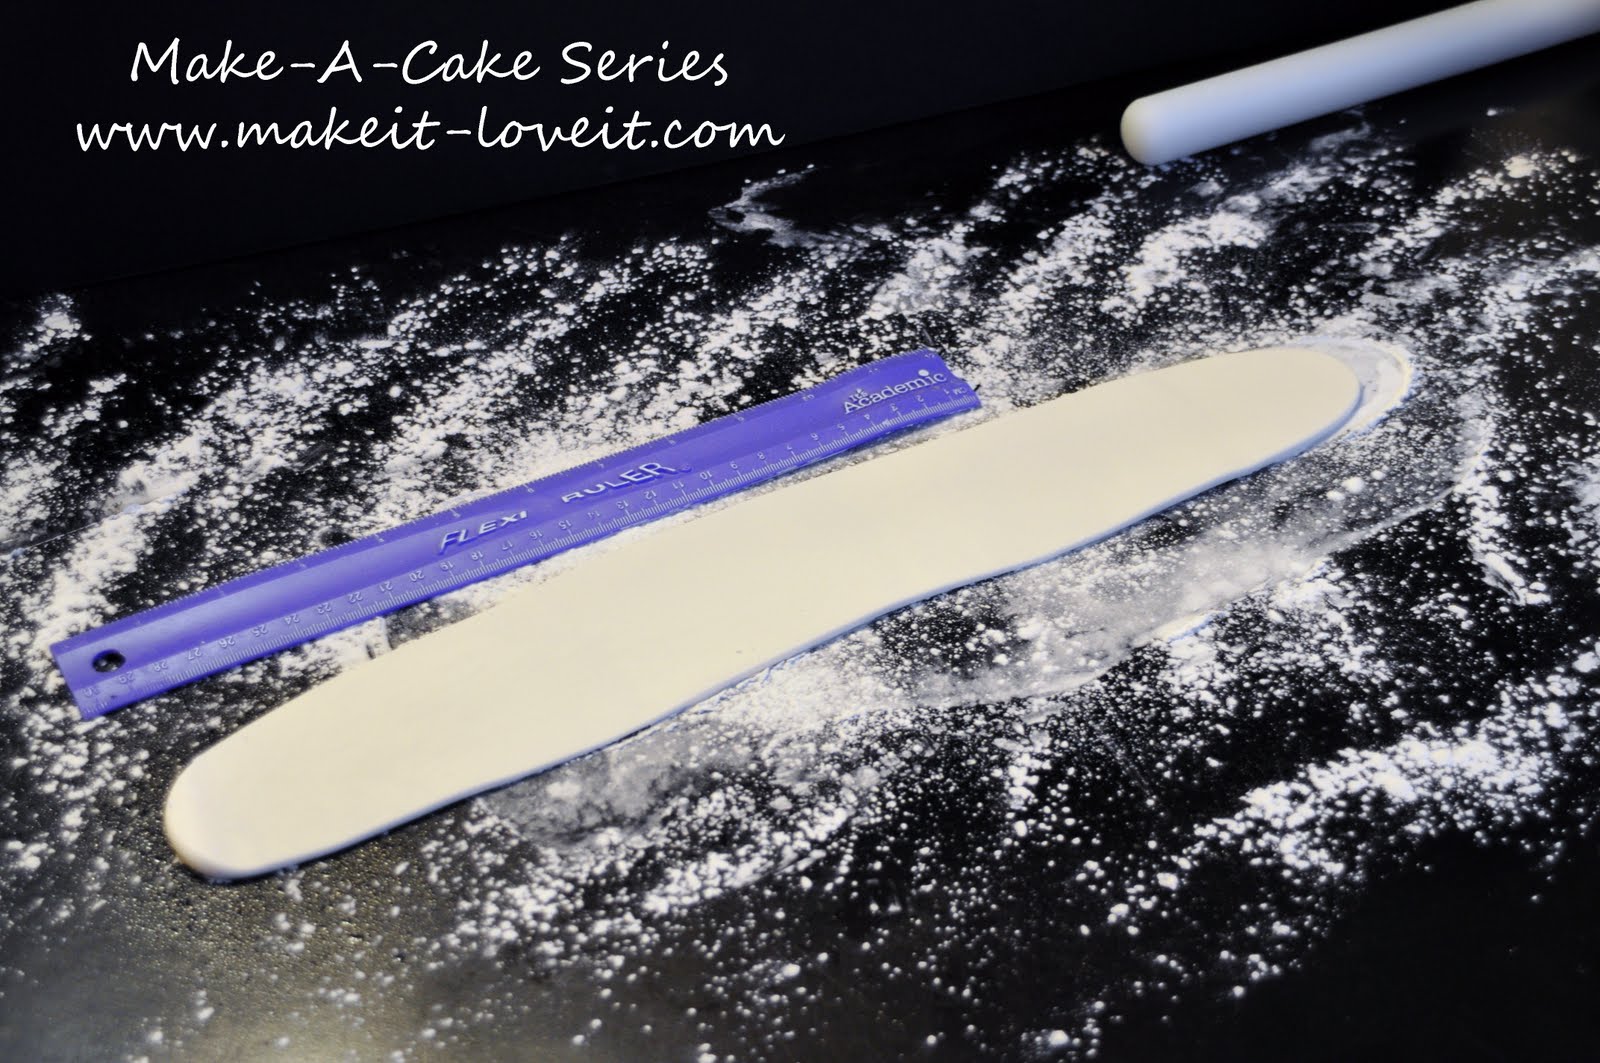
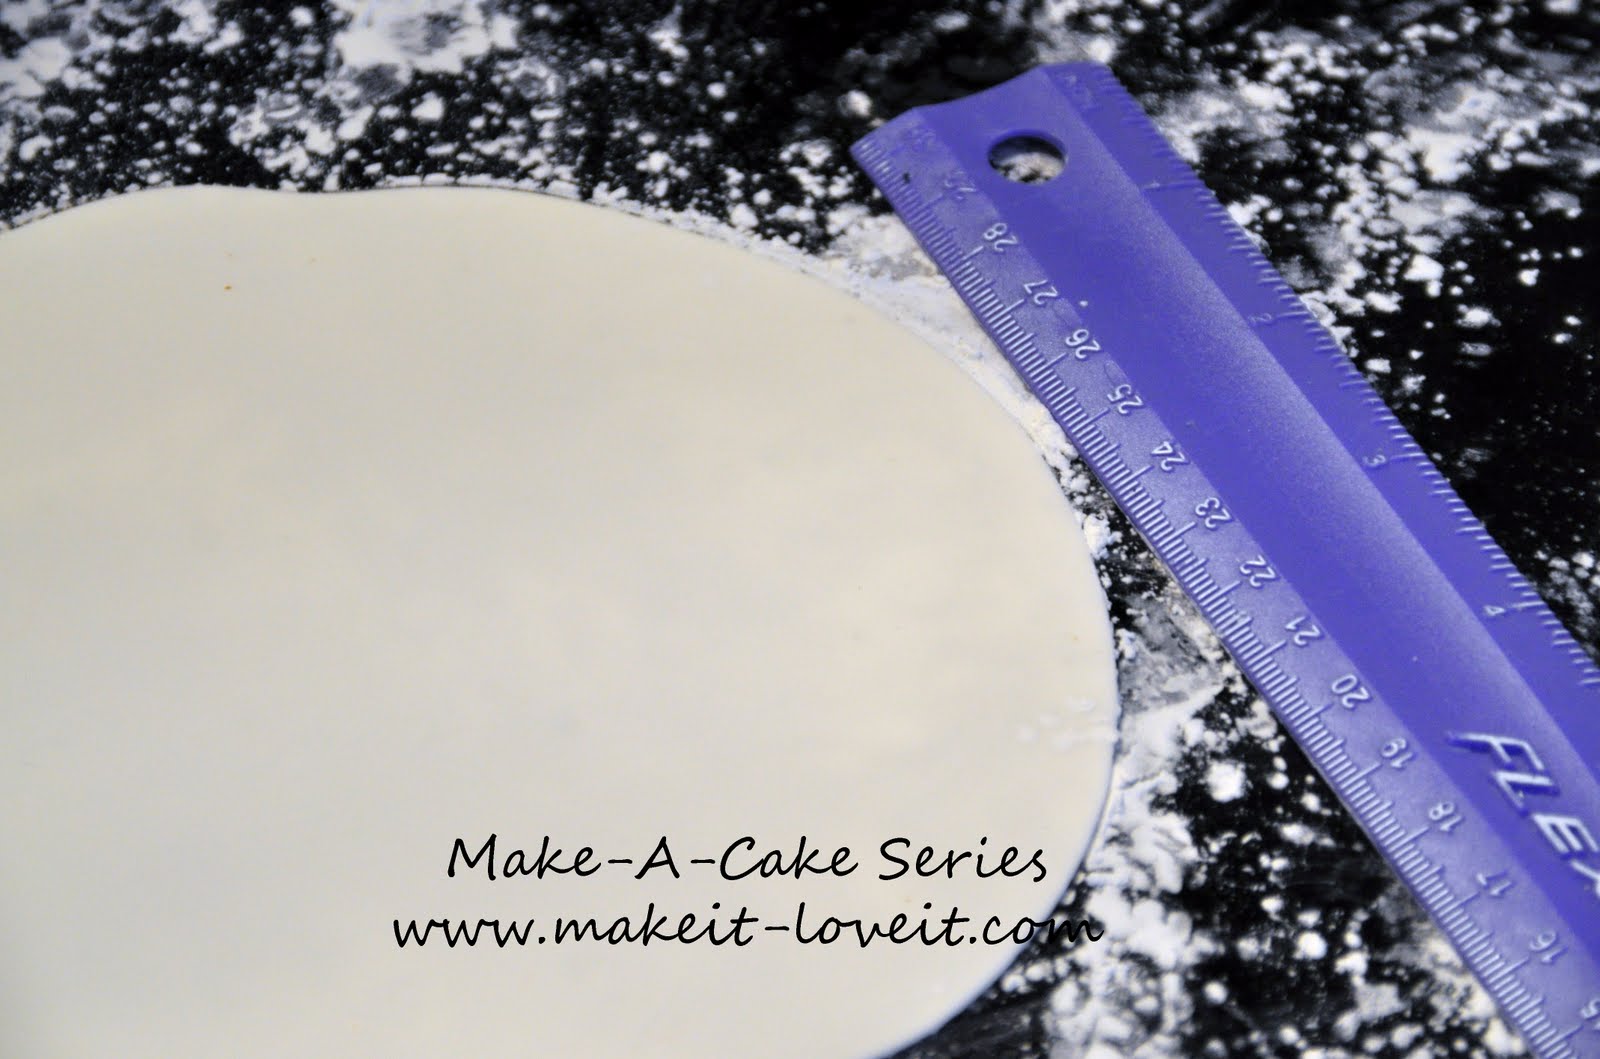
Roll the gumpaste out to over a foot long.
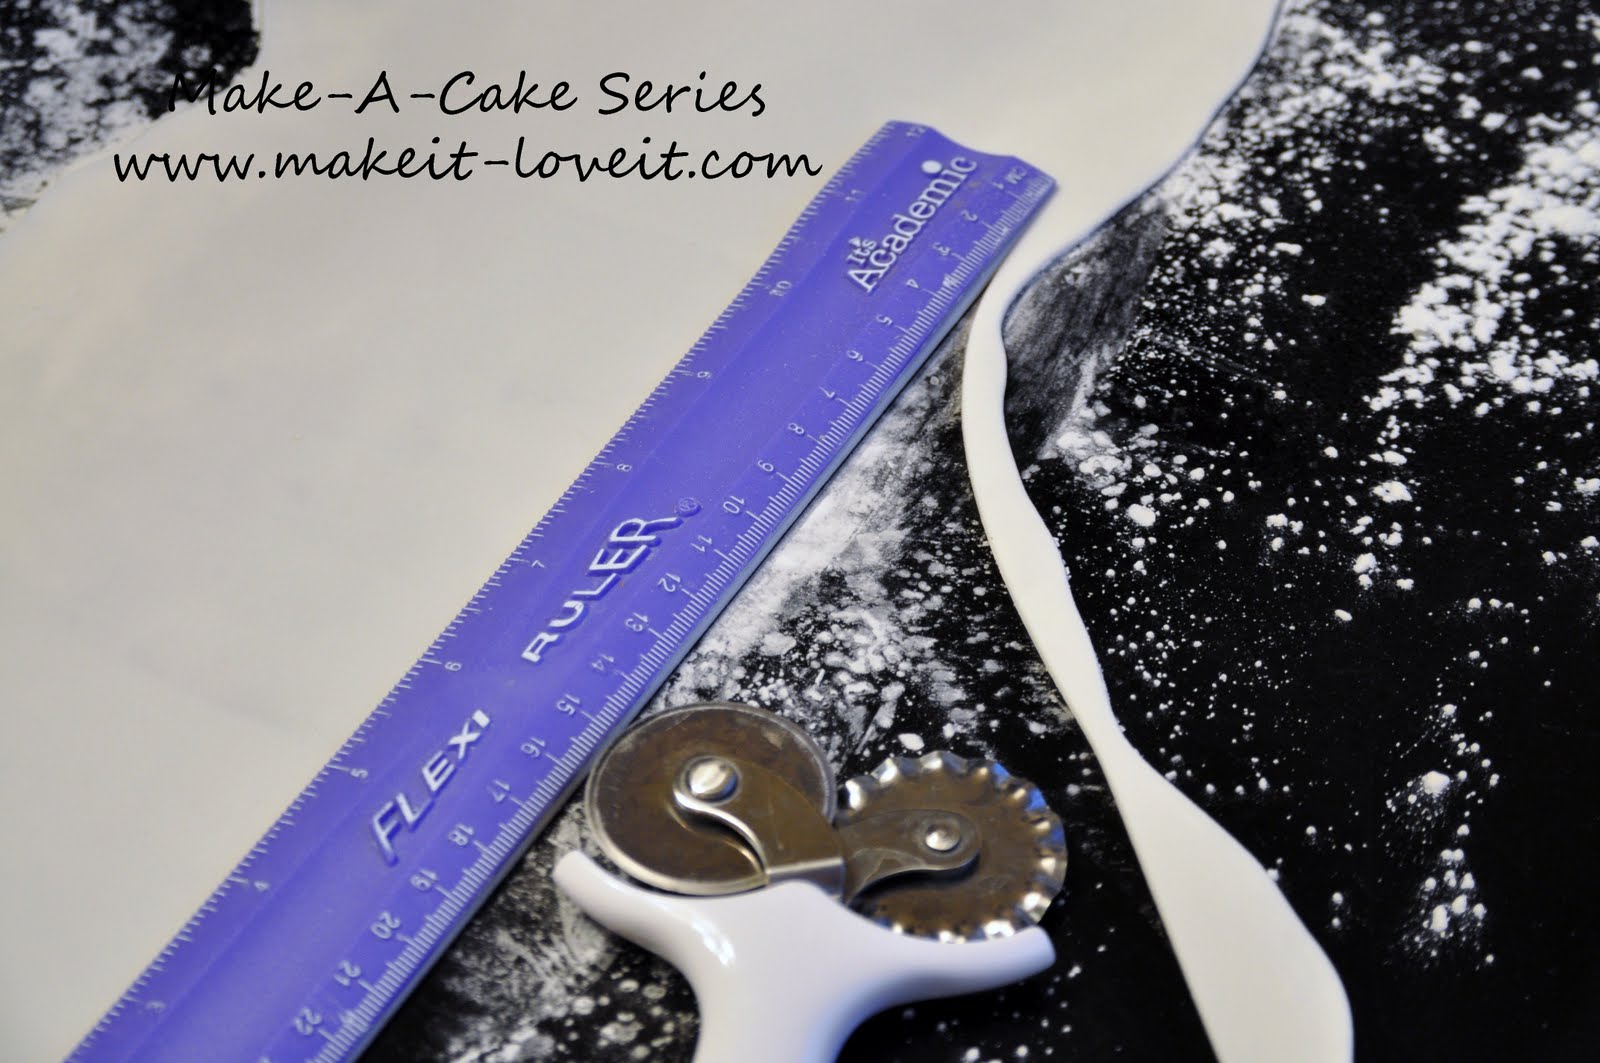
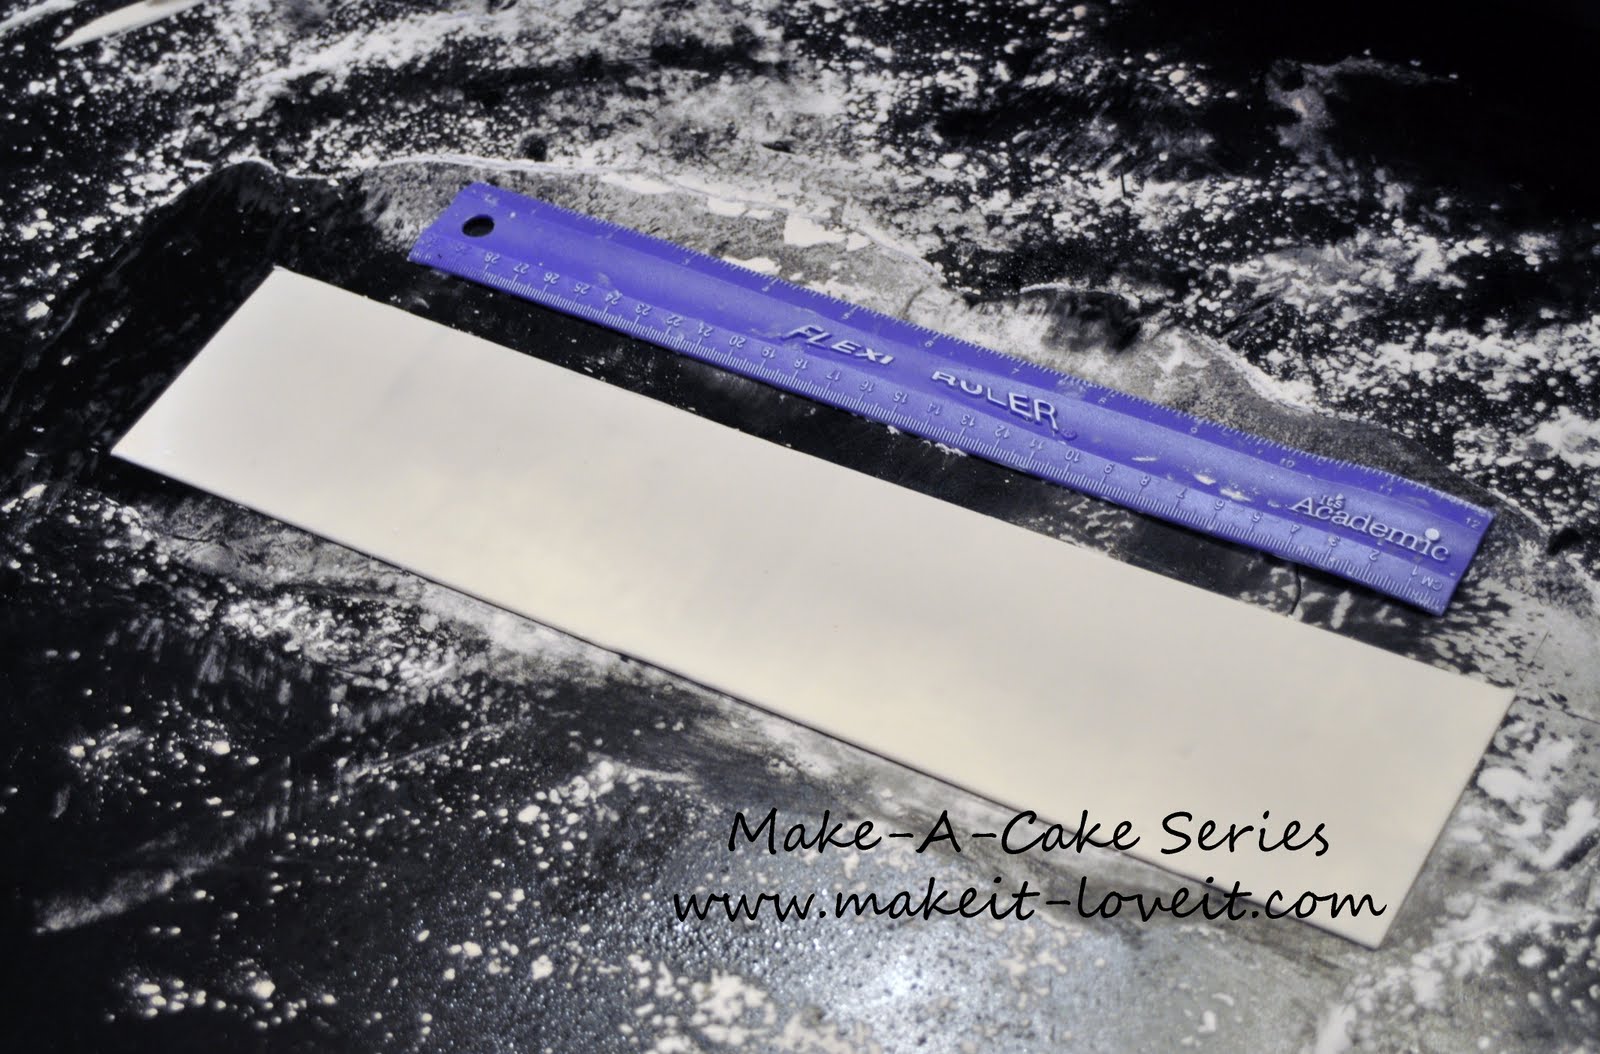
Then cut your gumpaste into a rectangle. For my large bow I cut my gumpaste 13 inches long by 3 inches wide.
For the small bow I cut the gumpaste 6 inches long by 1.5 inches wide.
This bow went on top of a 7 inch cake. When I made the loop shape of my bow I did it on top of my 7 inch pan as a size reference. This way if the bow was a little big or long, I could adjust it while the gumpaste was soft.
Its a nightmare to find out the bow is too big or small after the gumpaste is dry and hard.
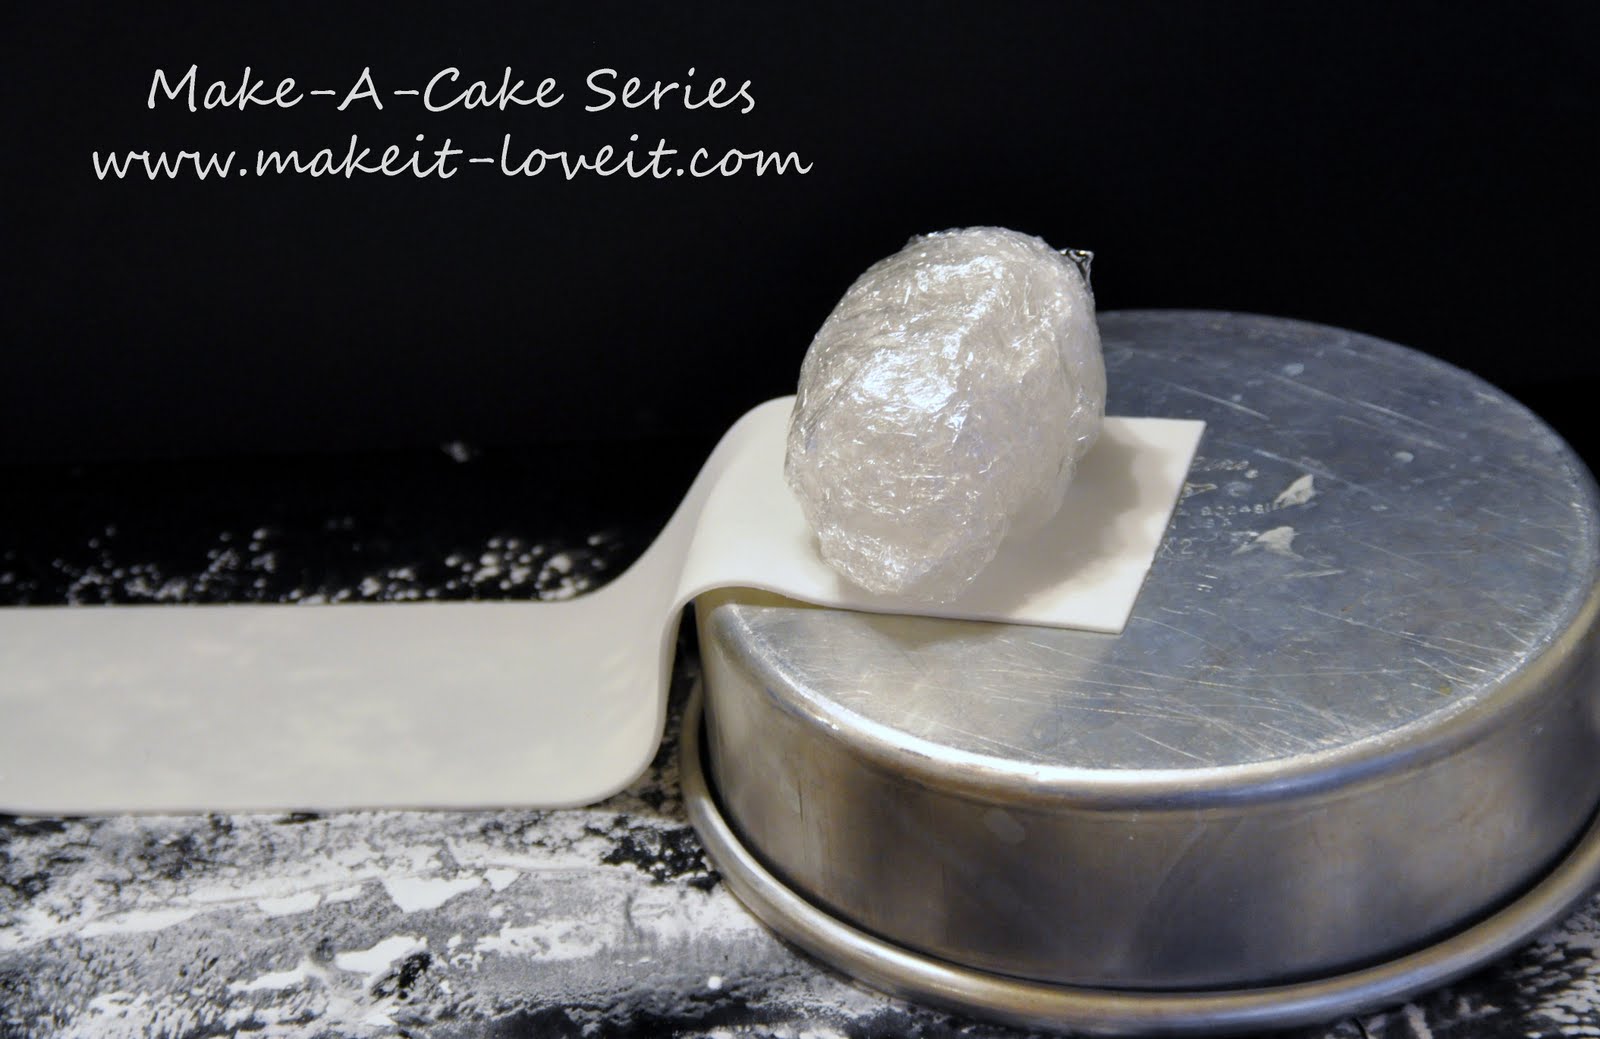
Ball up saran wrap or a paper towel to the size and shape you want the bow.
**HINT**I have used both saran wrap and paper towel for this task. The saran wrap gives me a more oval shaped loop and a paper tow a more circle shaped loop.
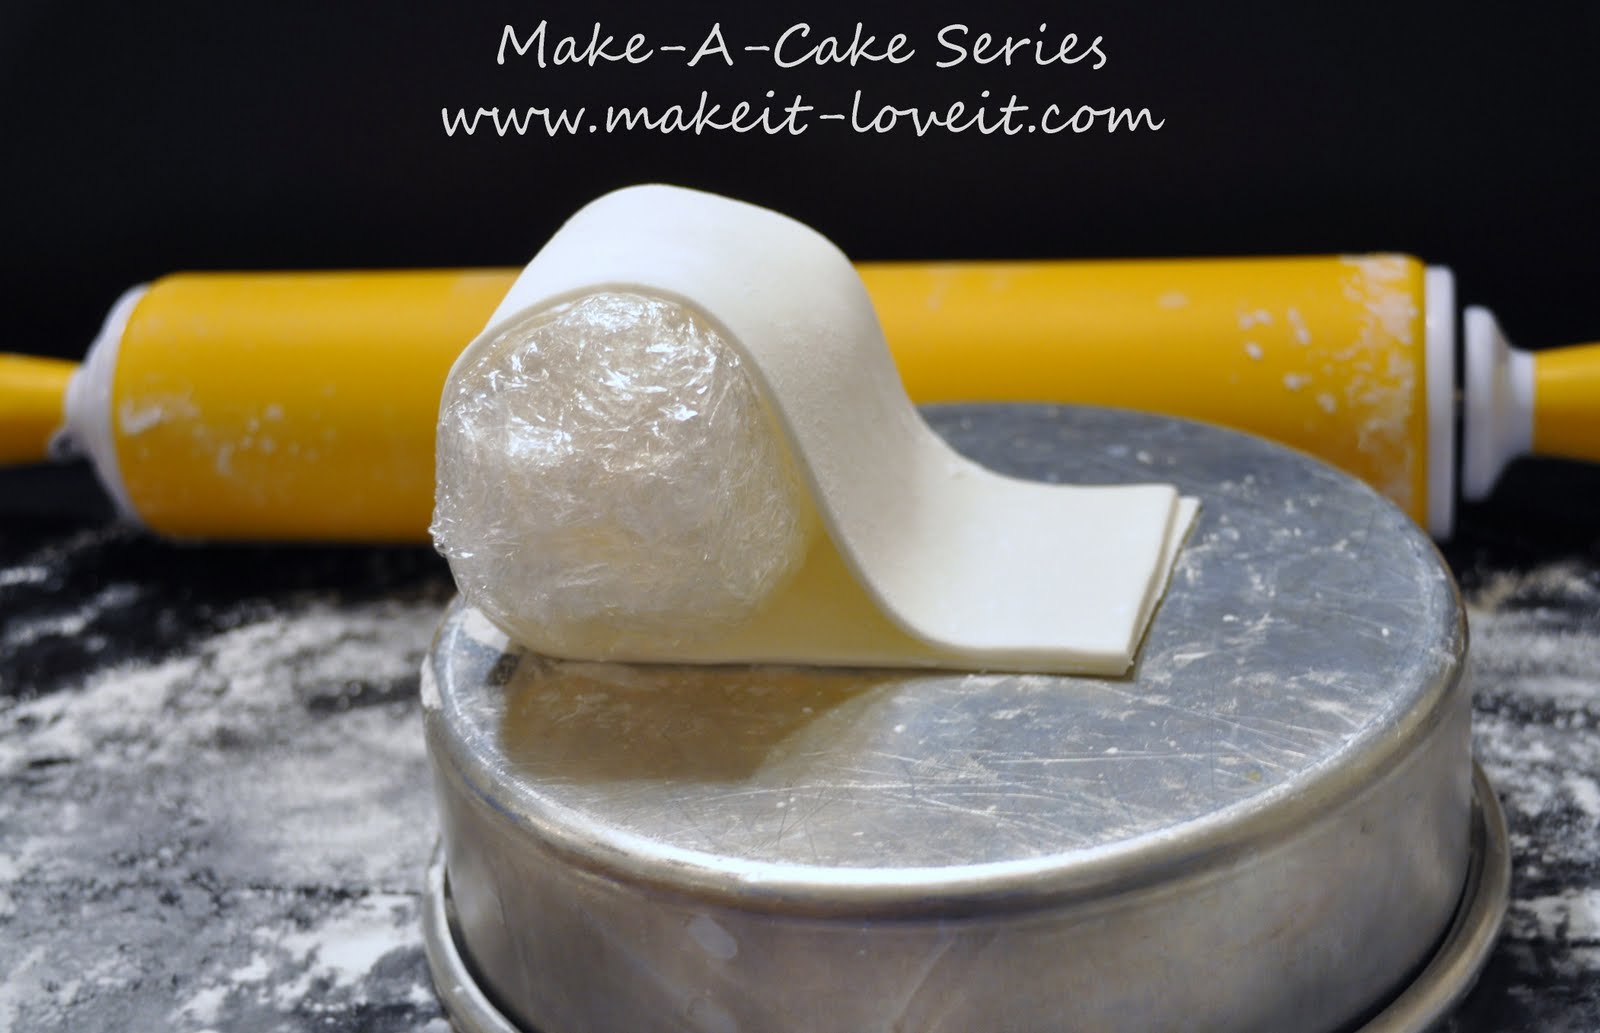
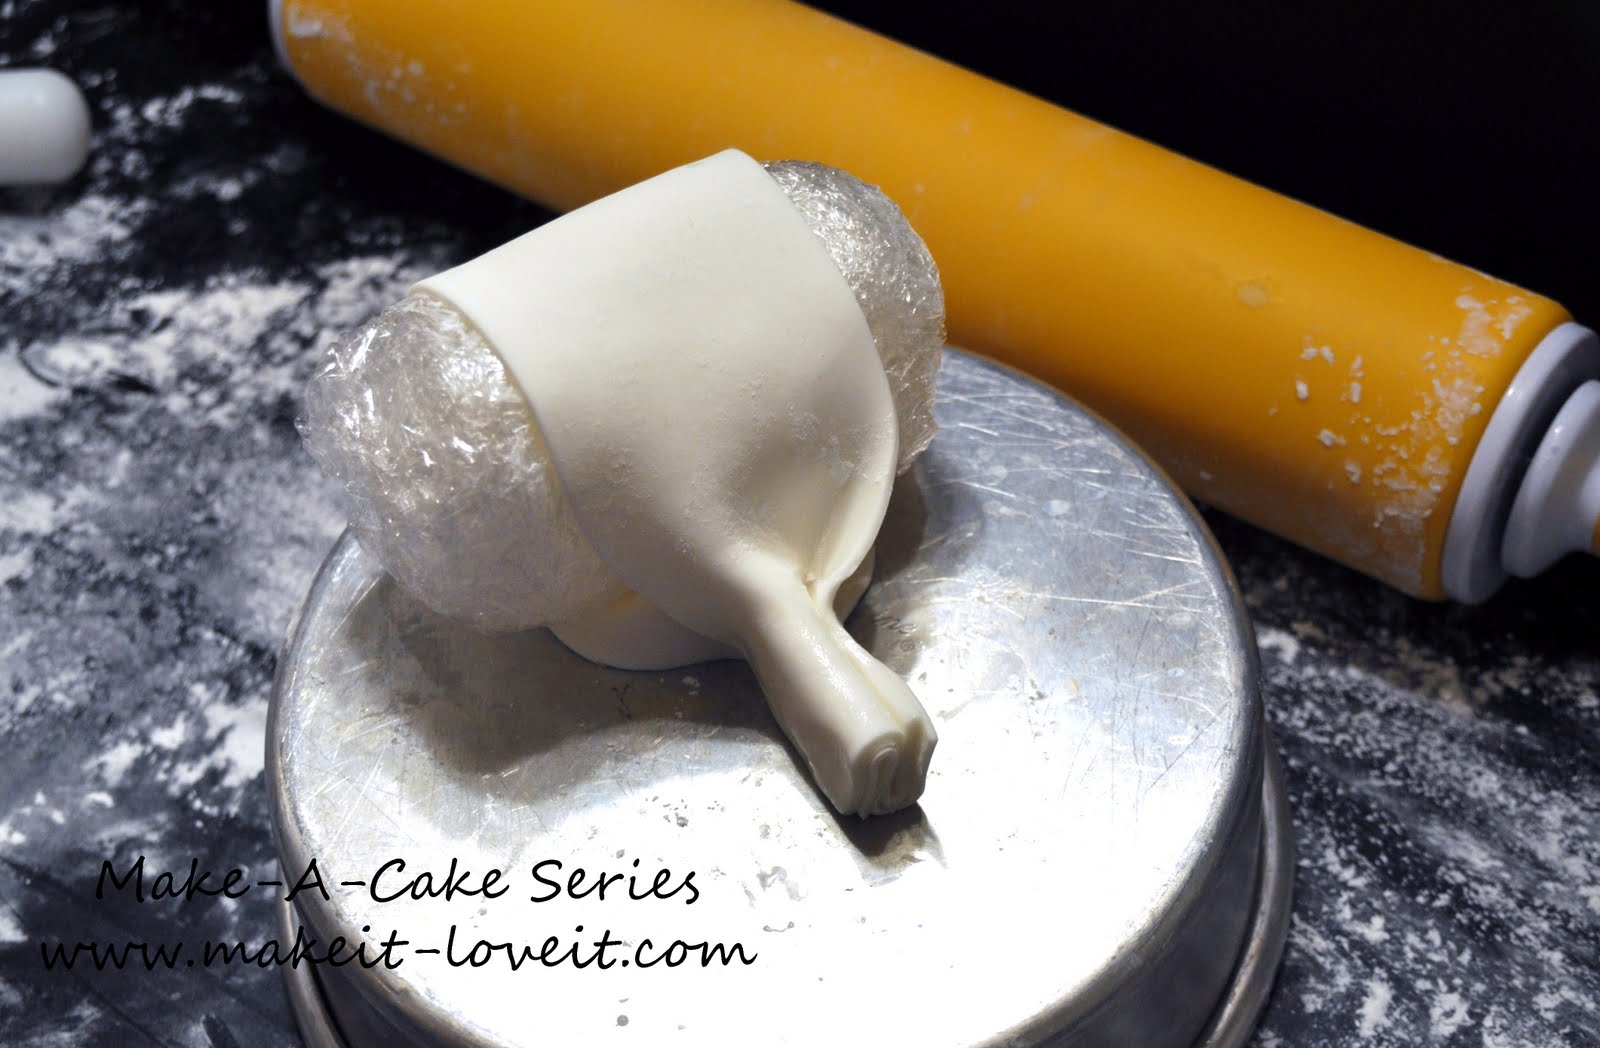
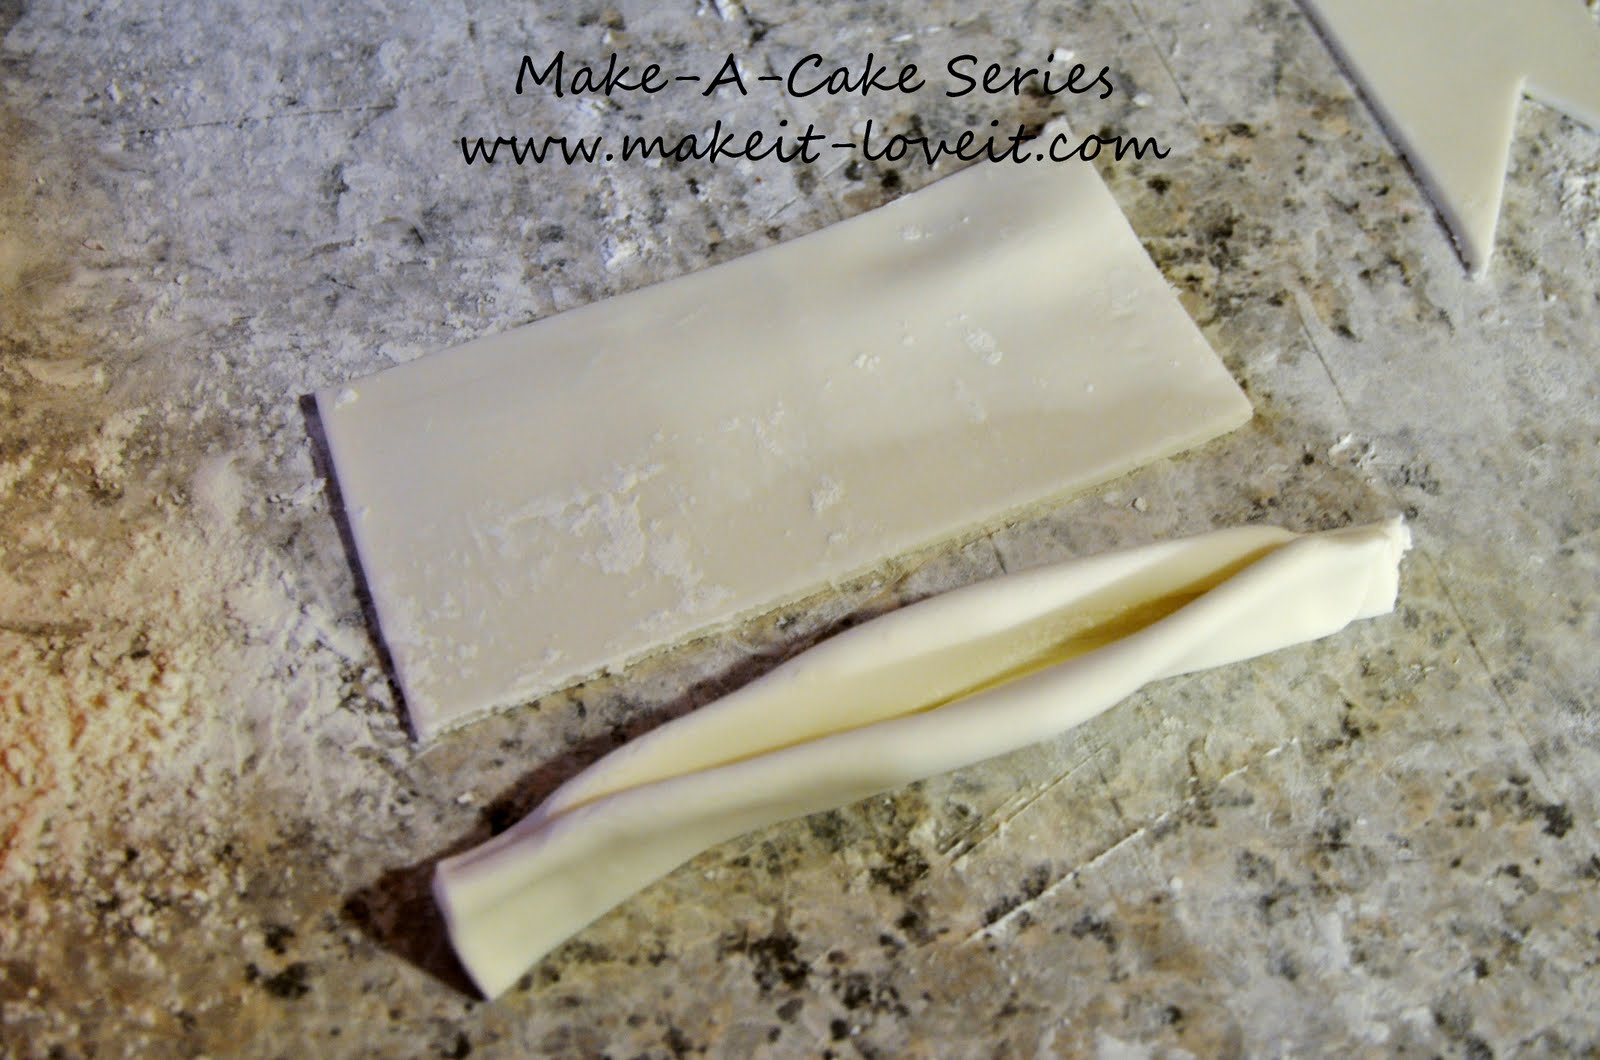
Lay the gumpaste over the saran wrap and glue the two ends together with a bit of water.
Add more water to the top of the gumpaste end and pinch together, pleating as you go.
Set this loop aside to dry for 24-48 hours. Now make the other loop for a set.
I would advise making at lease one extra!
You are ready to assemble your bow when everything else on your cake is done. I only had the border left to pipe when I put my bow on top.
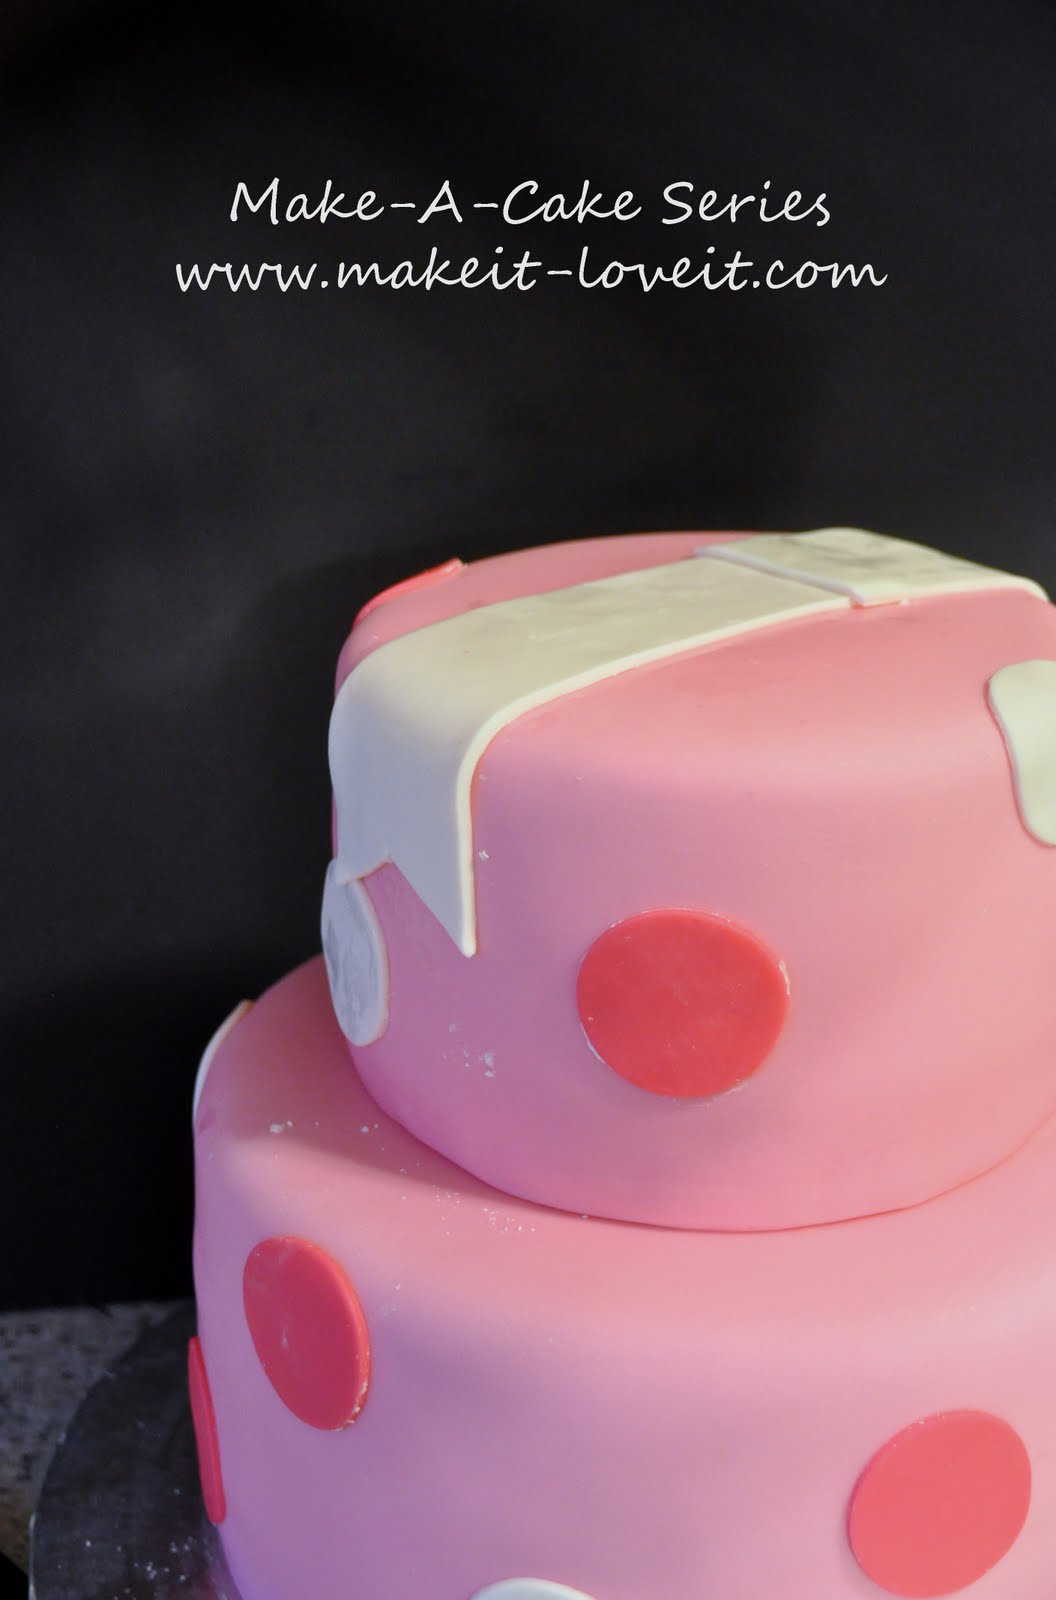
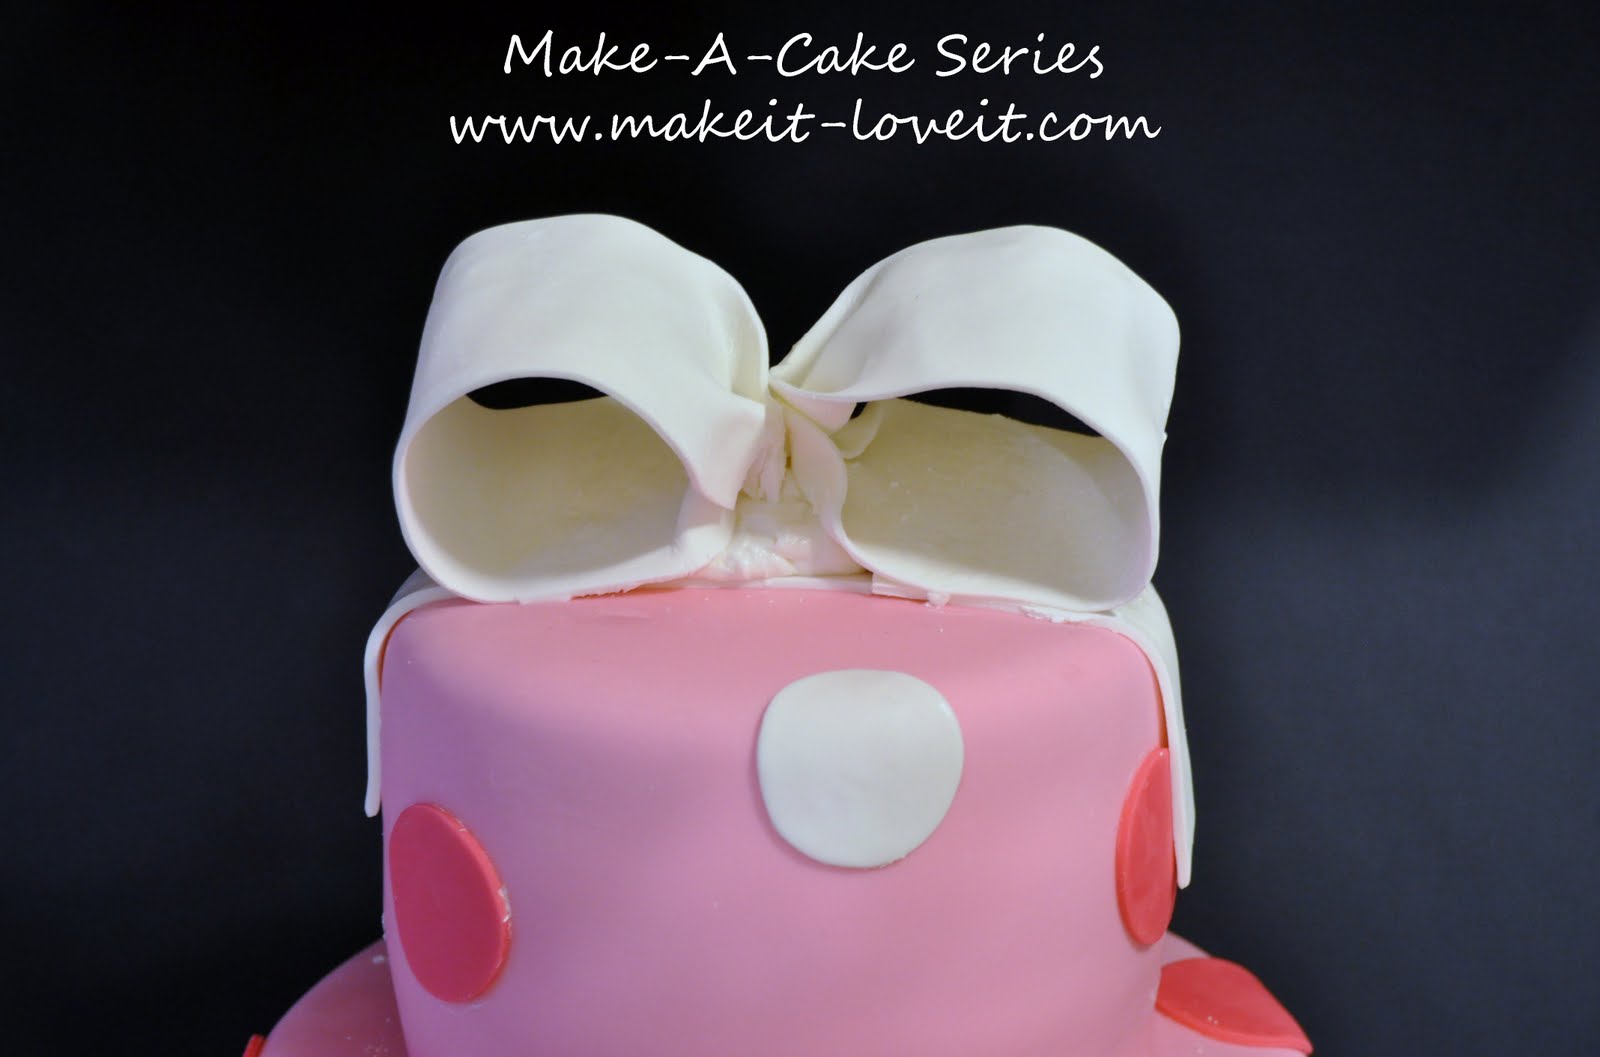
Make tails for your bow out of fondant and lay them on top of your cake, attaching with a little water.
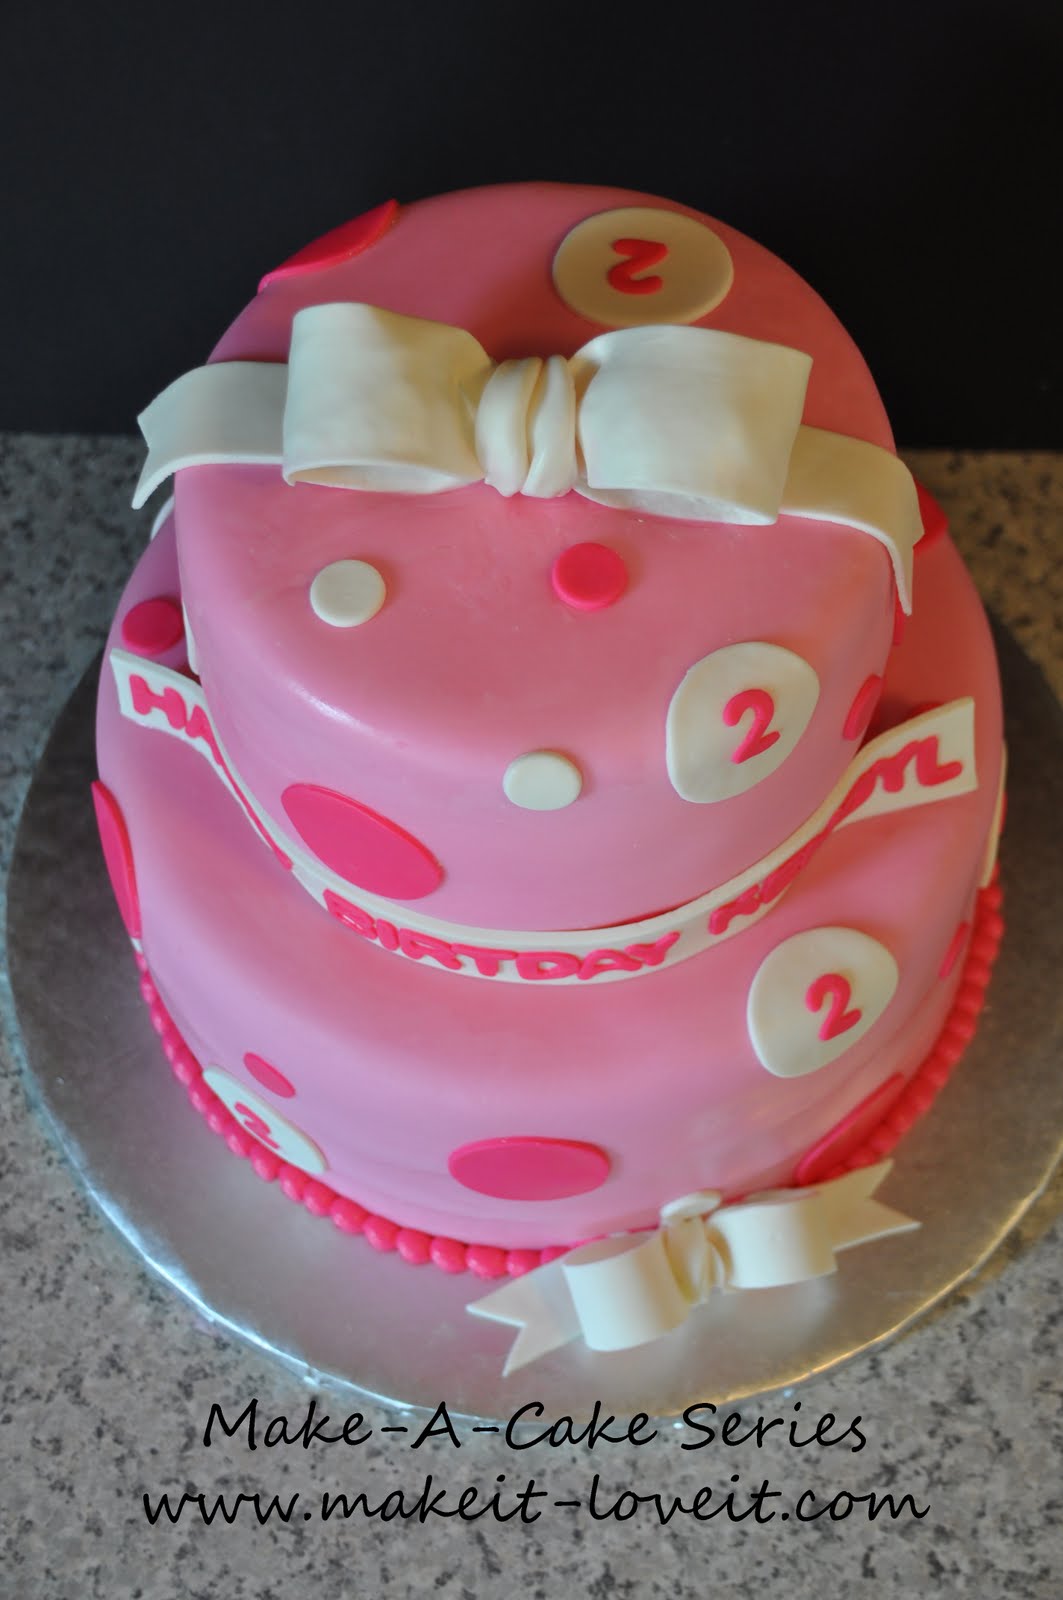
I made mine so I had one on each side of the cake and the bow in the middle, facing front.
Next, make a pleat out of gumpaste that is 5-6 inches long. This is for the middle of the bow. Set this aside until you need it.
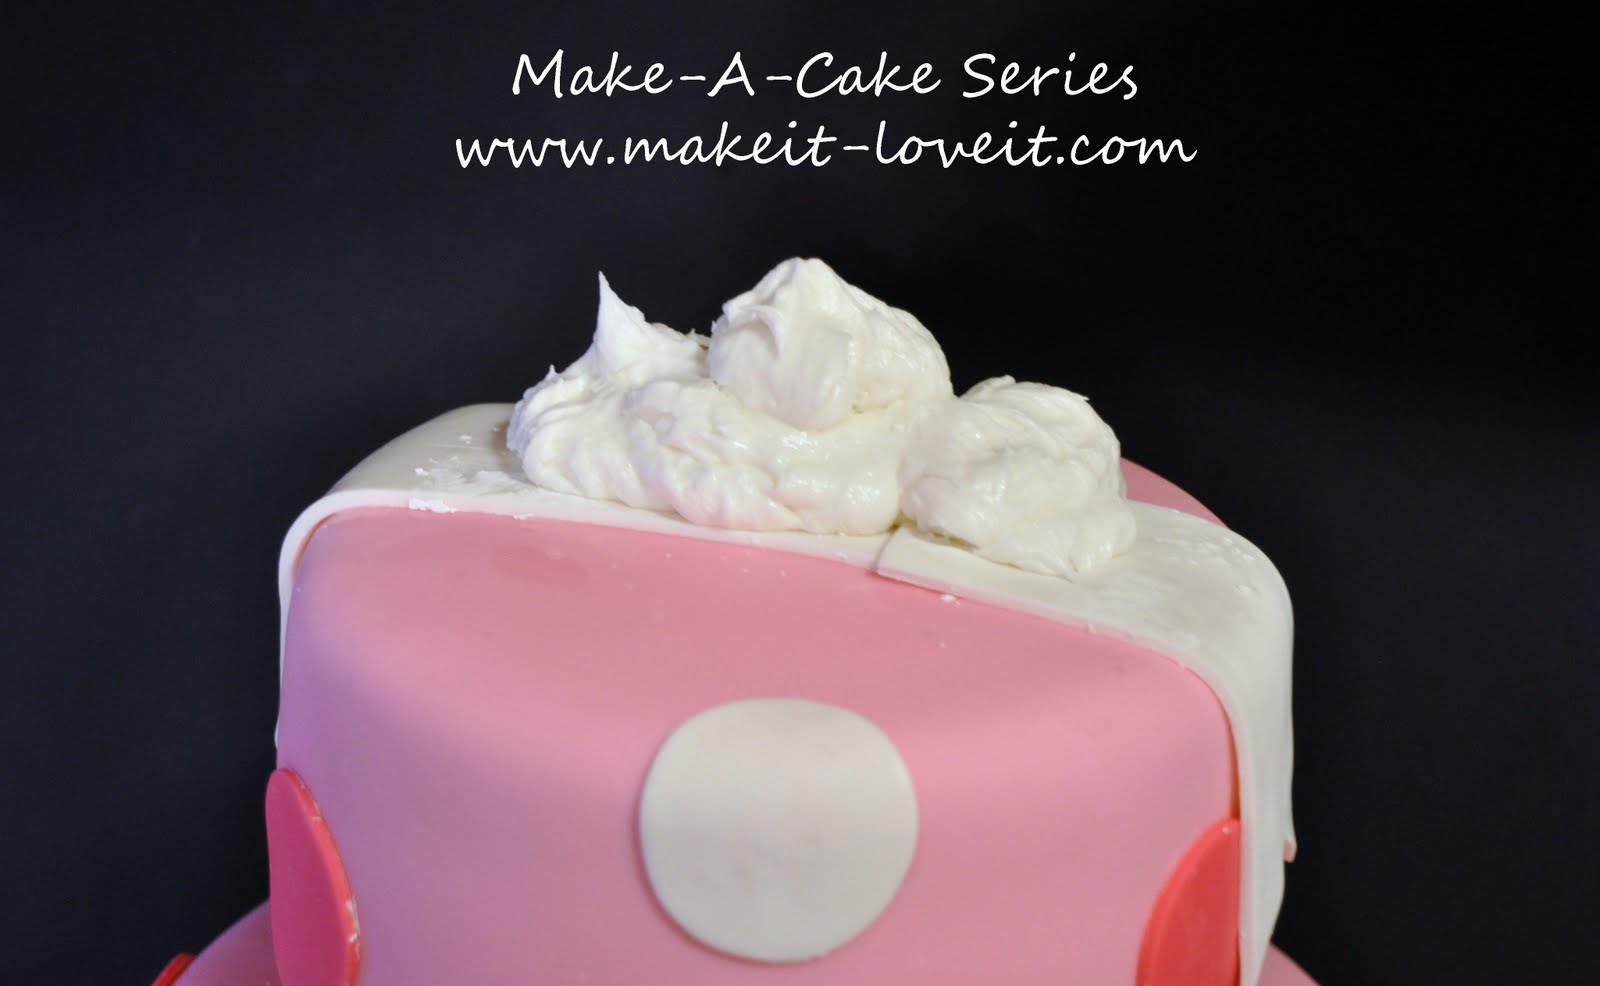
I wanted my bow to tip forward a bit and not to lay flat on the cake.
If you would like your bow to lay flat, skip this step.
I made a pile of buttercream on top of the cake to support my bow tipping forward. This worked for the large bow (until I broke it). When I did this again with the small bow I just used two small balls of fondant under each loop. Both methods work…………use what seams easiest to you.
Remove the saran wrap carefully from your loops. Trim the ends with scissors to make the loops shorter.
Lay them close together on top of the cake.
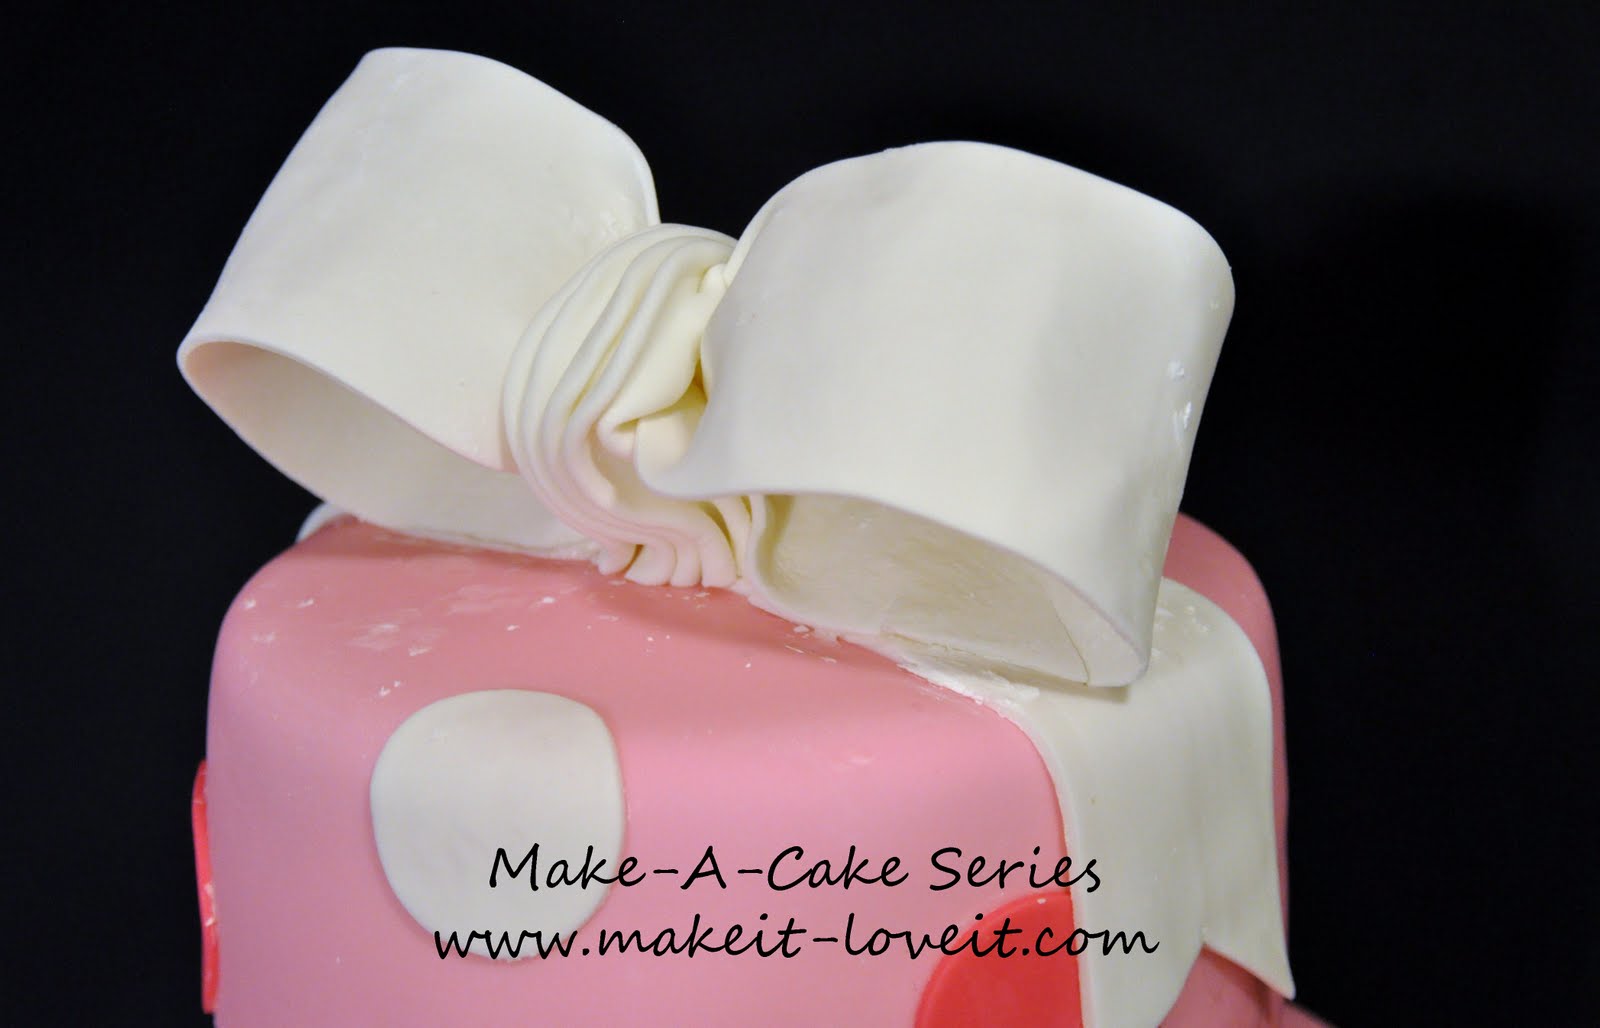
Take the piece of gumpaste you pleated and then set aside and work it in between the loops to create the middle. You have to tuck it under the bottom a bit and all the way around the back.
This is where it all went wrong for me.
Do you see the crack? In the bottom right corner?
When I tried to tuck the loop broke in half and I had to start over.
Ack, so be careful! :)
Luckily, I made more loops in a smaller size.
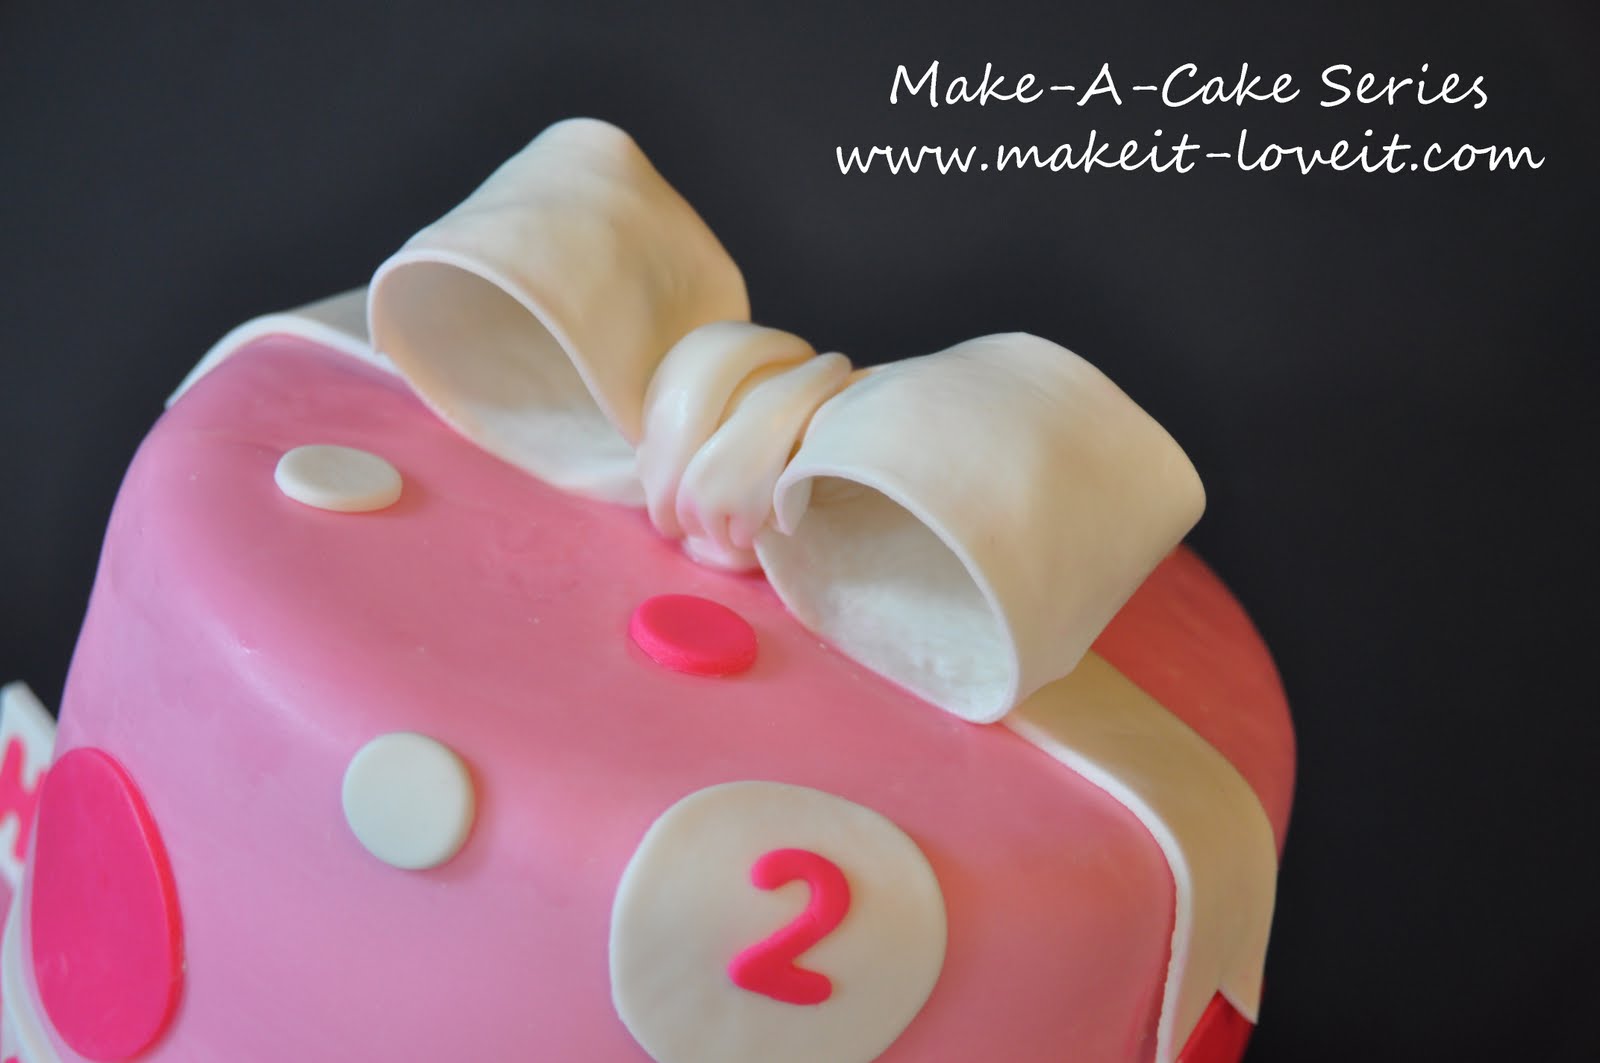
Here is my finished smaller bow after I successfully tucked the middle pleat under.
Your bow is done!
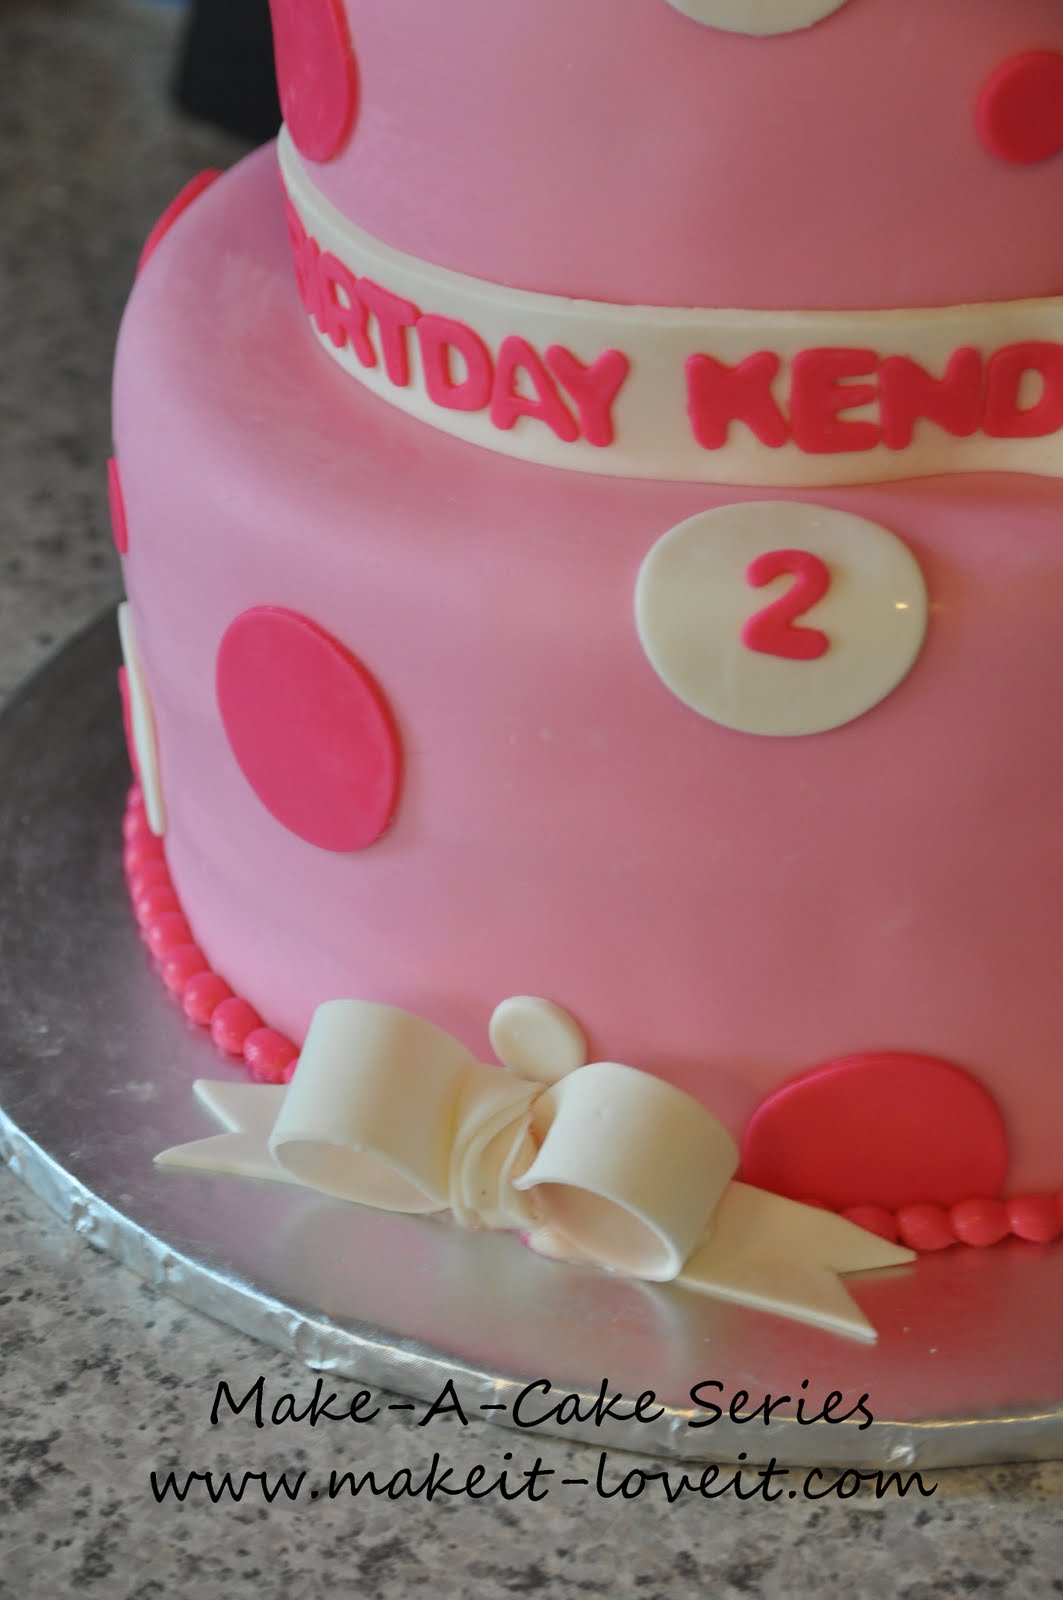
I had even made a third set of loops for the cute bow on the bottom of the cake.
I think it turned out for the better. I really liked the smaller bow.
With every cake I make, I am learning more about this art.
It does not always go as planned.
But we are all learning together, right?
Happy Decorating!


Çok güzel açıklamışsınız teşekkürler
the cake turned out gorgeous! thank you for this great tutorial =) God bless.
Kierston
http://beautifulmisadventure.blogspot.com
I have a question for you…whenever I make fondant, it seems too dry. When I roll it out and put it on the cake, I get cracks all over the edges where it rounds the corner of the cake. What am I doing wrong? Should I add more water? …. help!
Teandra- Yep I would add more water when you make the fondant. Add one more tablespoon at a time. If you make a batch with more water and is still seams dry, knead in more shortening before rolling the fondant out. You can use up to 1/3 cup more shortening to make your fondant smooth. Good luck, I know that can be so frustrating!
I like the smaller bow better too. :D Very Very CUTE!!!
Is it okay that I mention that birthday has an H? Or was Birtday intentional?
Regardless, beautiful cake!
Robyn- A few years ago this family ordered a cake from a grocery store. That cake was missing the H in Birthday too. So they have all of their birthday cake missing a H. It has become the running family joke. I have done a few cakes for this sweet family and I leave out the H. Too funny right? Good eye!
U R SERIOUSLY AMAZING. I couldn't make that cake if i tried. Every time you post I am soo excited to see what's next. Love it
Thanks for sharing :)
You make that look easy!
WOW!! Fabulous job! And thanks for the bow tutorial!!
can't you just make my cakes for me and have them shipped for all my party/catering needs?
Love it and this series really has made me want to start making all our cakes instead of buying them.
I love this! I made a surfboard cake once for my Nephews birthdays and I wish I was this talented!
Please stop by and see my blog. After reading your posts for a long time I have started one of my own. I hope that one day it is as nice as yours!
Karen
http://needdistraction.blogspot.com/
A very beautiful cake… luv the shades of pink used… And the bow s soo cute..
Brittany do you make your own fondant? If so would you share your recipe and how to? I have tried a couple recipes and they are never the right consistency! Also what do you think of the cricut cake machine?
What fun my grandsons and I wold have. They love to help in the kitchen with Mommy and Daddy. The boys 5 and 7. Parents are wonderful chefs. If they ever wanted to change careers, they would be glorious chefs. But, would attend a chef's school.
Thanks for the opportunity to enter.
auntiehenno@aol.com
Megan- Hi! I checked out your site and your cakes are great! Way to go!
My fondant recipe is under the "tutorials" button on top of the page and then under "Make-A-Cake Series" it's one of the first tutorials. I hope it helps.
I think it would be really fun to try out a circuit cutter but I don;t think I could justify buying one until I had my own bakery. I think they are cool and would make my life easy but it takes out some of the art too.
Beautiful. I want to learn to make these. Years ago I took a cake decorating class. I need another one!!!
Hey Brittany – - if you're taking suggestions on post ideas, I'd love to see a tutorial on how to do that zebra fondant everyone seems to be using. Do you just take one color, mash some pieces of the other color on it and then roll it out?? My daughter's birthday is at the end of October and I think that would make a cute cake…
Beautiful!!!
@Brittany Thank you for clearing that up!
Brittany, So beautiful… If only I could do that.
Smiles, Deena
this is the cutest cake ever! I want to make cakes :)
Love the cake, it's very yummy
thank you ……… thank you very very much i’m sooooooooooooo happy to find this website i have been looking for it for sooooooooooooo long time thank you, you are an amazing person <3 <3 =) =)