Home » DIY Tutorials » DIY Sewing » Make-a-Cake Series: Cut-out Flowers
Make-a-Cake Series: Cut-out Flowers
August 17, 2010 - By Ashley Johnston 11 Comments
. 3 of my patterns have been donated to the “Keeping Kolby” auction (found here) and will be available to bid on starting August 18th. Kolby is a beautiful young 15 year old girl, fighting her very best to beat cancer (a rare form of lymphoma). And while you’re there, check out everything that is up for auction…..because all proceeds are donated to help pay bills and a possible bone marrow transplant.
. Looking for the Honeybear Lane giveaway? Scroll down or click here.
. . . . . . . . . . . . . . . . . . . . . .
Some of you were curious about making the paper bag skirt (found
here) in adult sizes. I added a few notes about how to adjust the size, at the very end of the post.
Okay, enough from me.
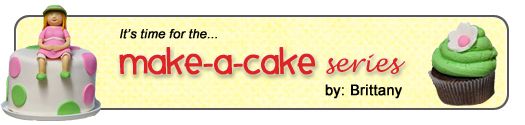
You are now in for a treat. Brittany’s little cupcakes below remind me of sassy little flamenco dancers, ready for a vivid and colorful night out.
Love. Every. Single. One.
-Ashley
Have you ever seen those beautiful sugar flowers on the food network?
Do you find yourself thinking “How do they do that?” or “I could never do that!”
I think that same thing!
I have not reached the level yet where I am brave/patient enough to master flower art.
However, I create some simple cut-out flowers for my cakes, that create such a fun detail.
Here are four simple flowers we can all do until we are ready for the Food Network flowers!
** I’m going to be showing you a variety of really great tools that you can use with your cake decorating. I thought it would be fun to show you how many of them work. I made links to all the tools so you can see what they look like before buying them. So click on each highlighted tool below. Everything I use for this post you can find at Micheals, Joanns or online. **
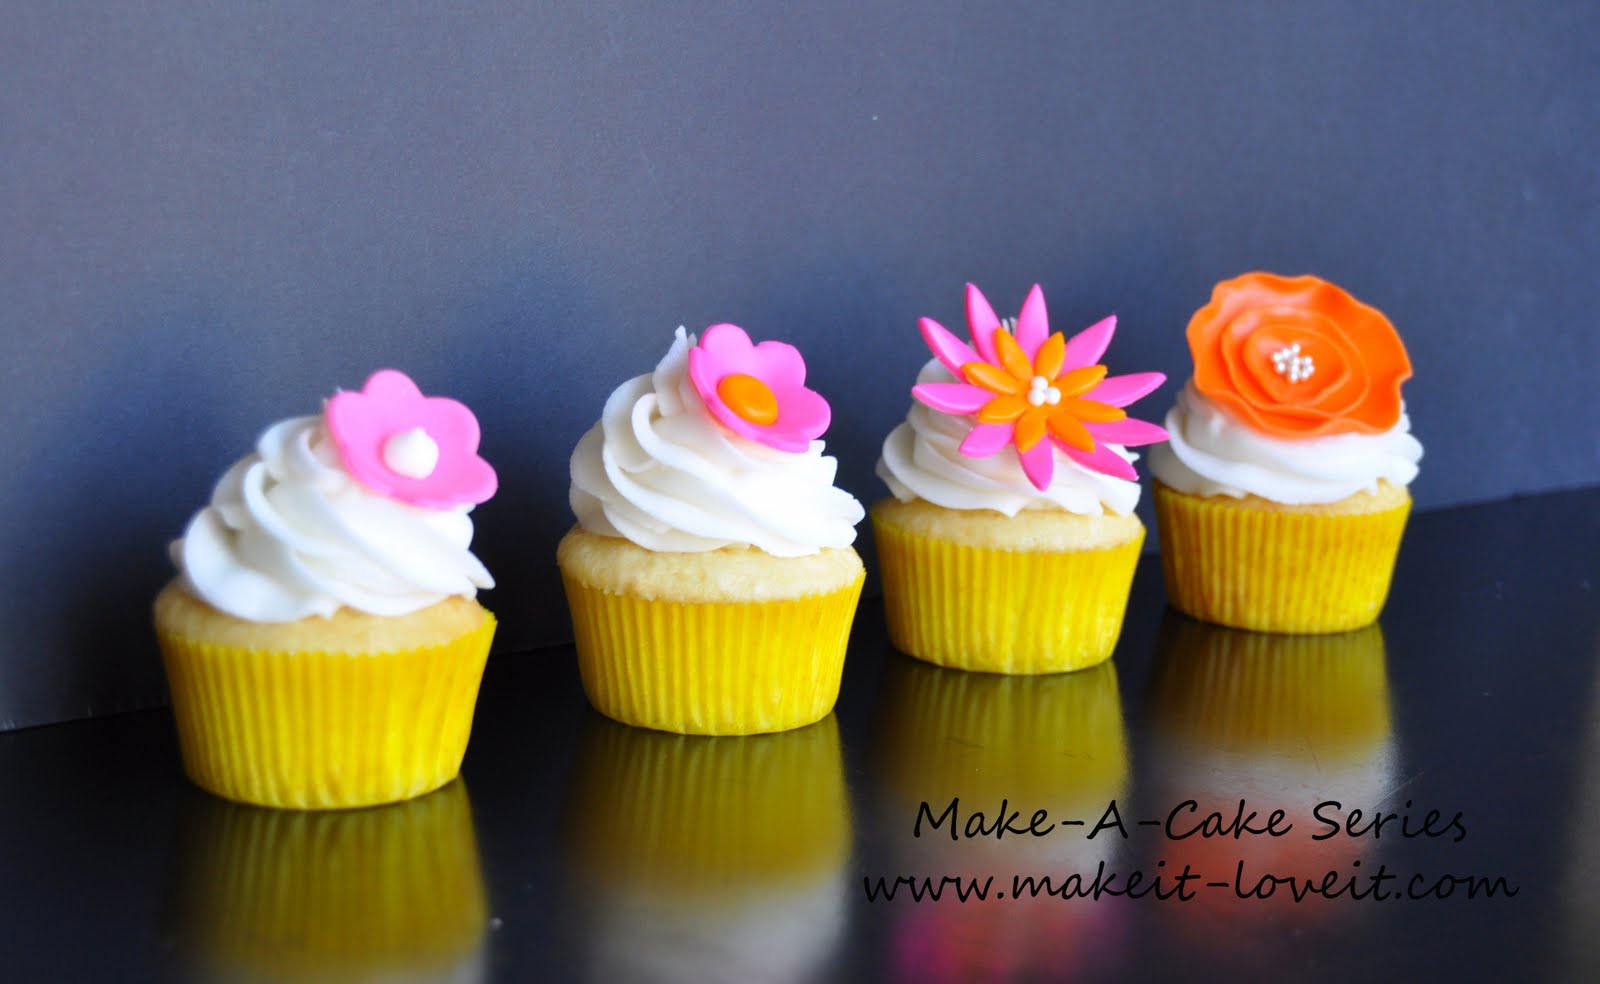
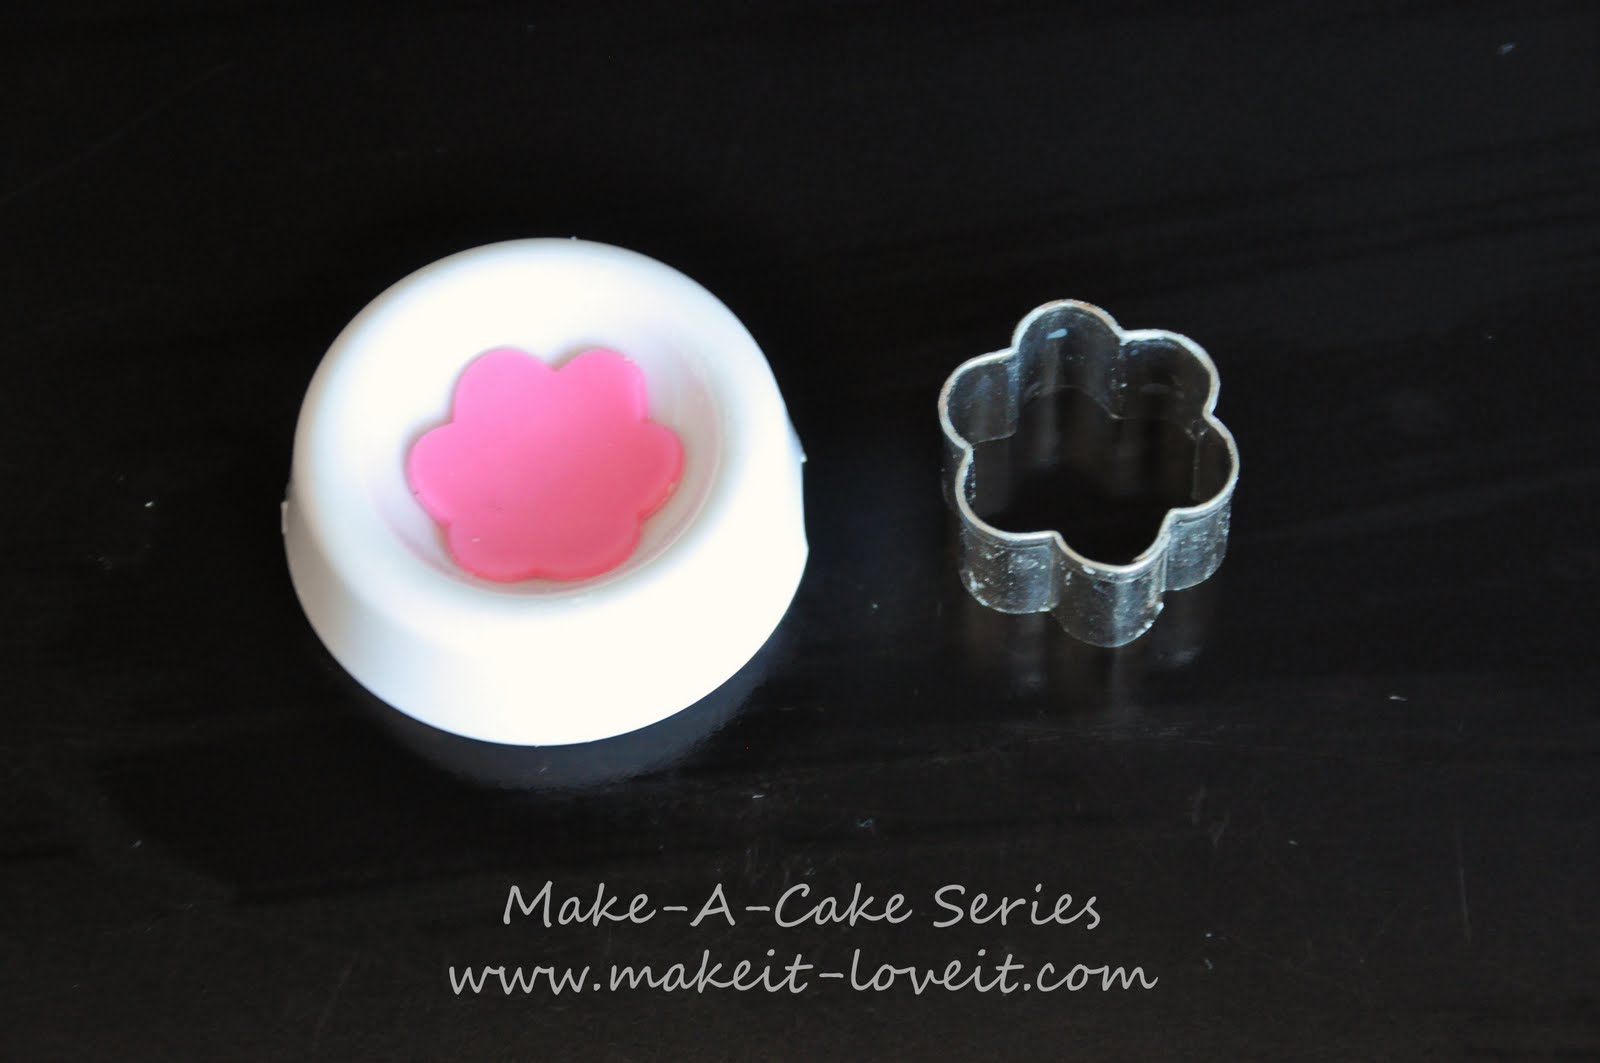
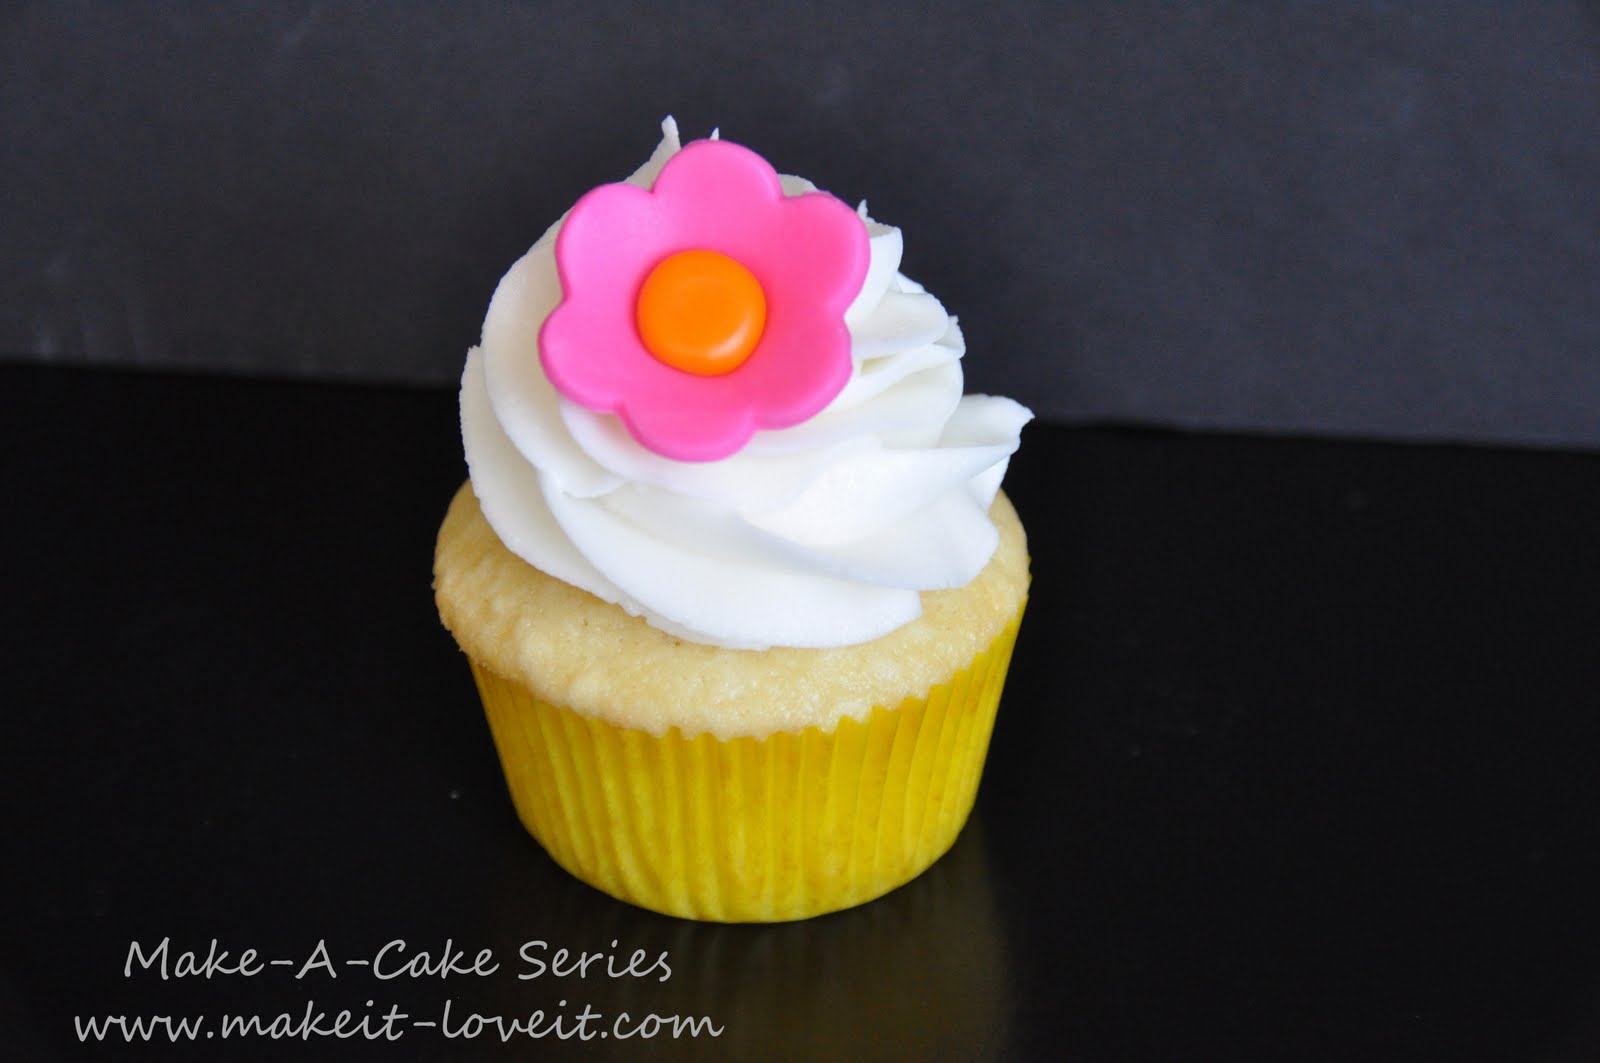
First, is a five petal cut out.
You need:
Gumpaste
Roll out your gumpaste and cut out your flowers.
Lightly press the flower in a small forming cup. Let it sit for 5 min to get a round shape.
Remove the flower and set aside until dry (12-24 hours).
See the shape the flower is now? That is what the forming cup does.
Pipe a dot in the center with buttercream.
Can you tell I have been into cupcakes lately? These were my first choice to display the little flowers.
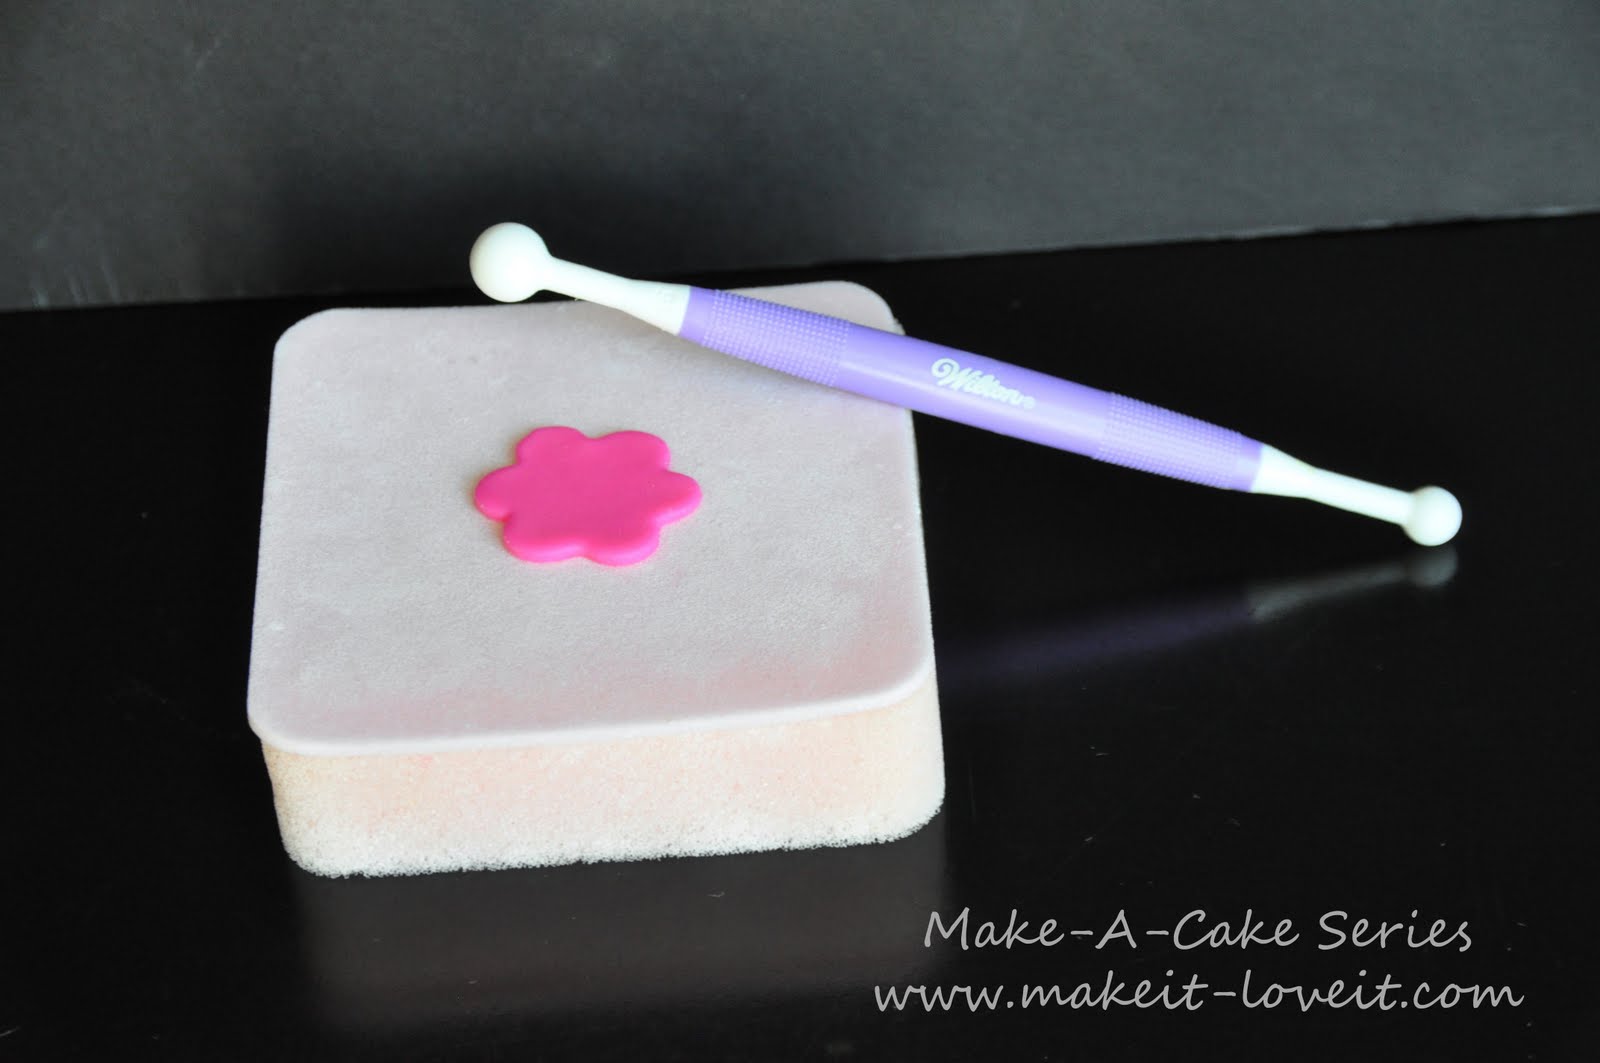
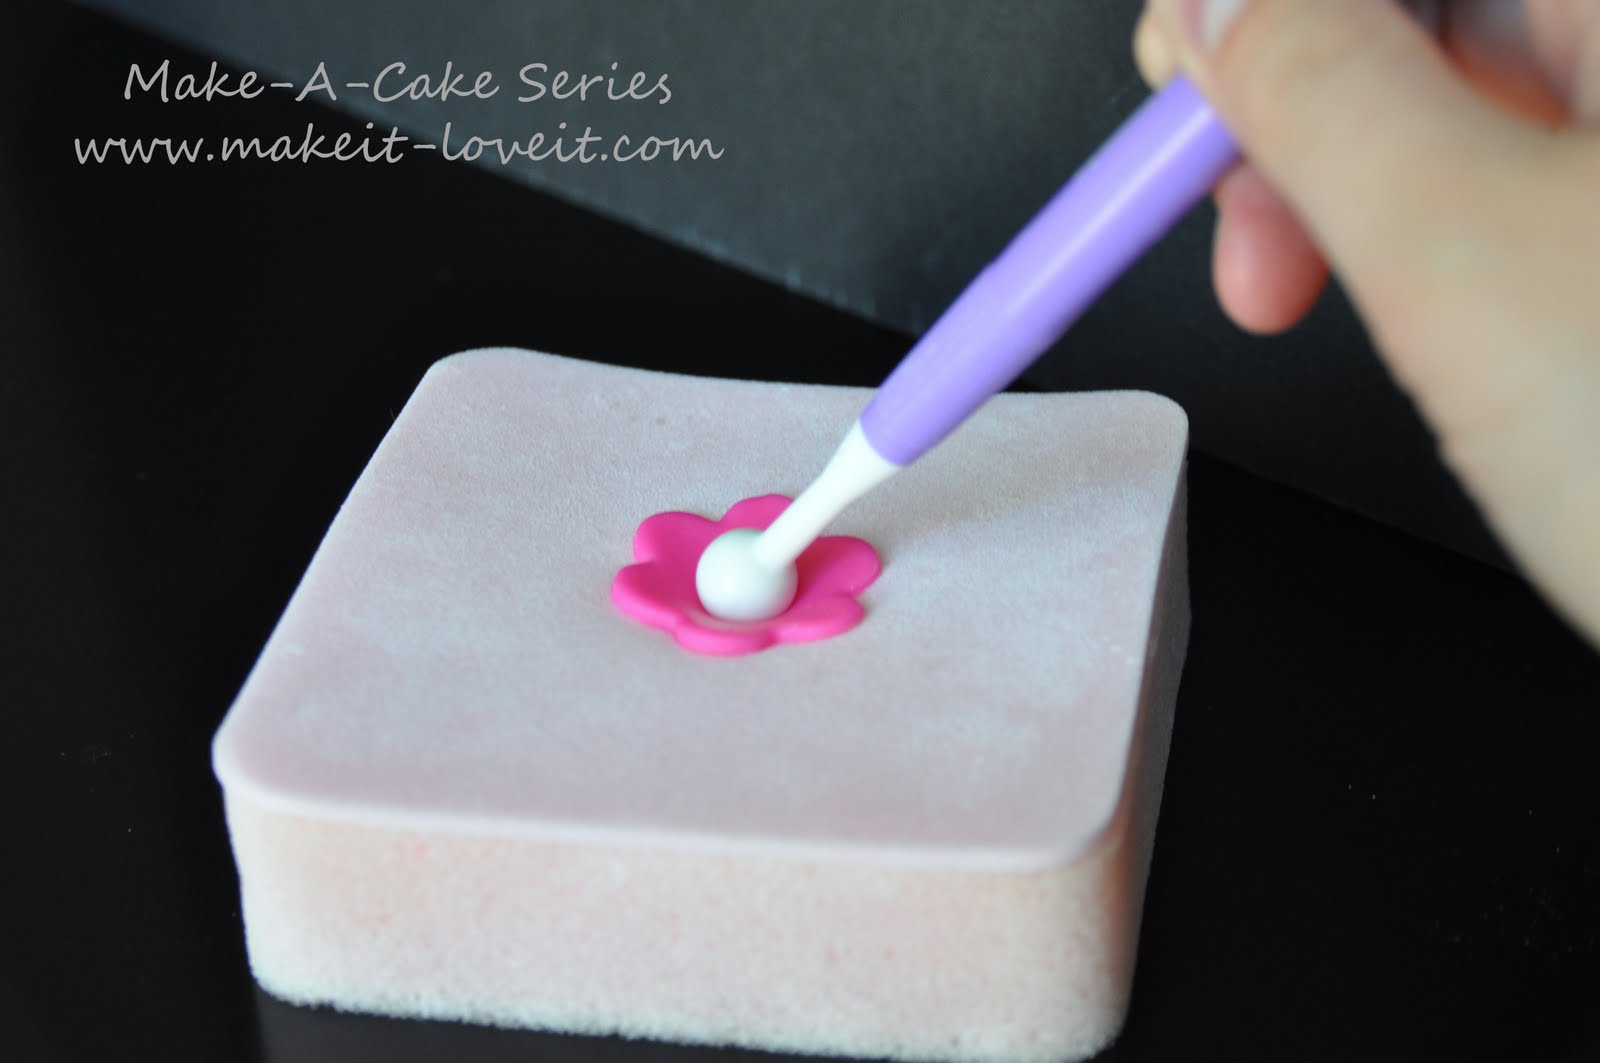
Second, is a variation of the 5 petal cut out.
But, this time we are not going to round the whole flower……just the center.
You will need:
Gumpaste- colored as desired
Flower cutter
Again, roll out your gumpaste, cut out your flowers, and lay them one at a time on the forming foam.
Press the large end of the ball tool into the center of the flower.
Spin the tool until it makes a cup in the middle of the flower.
Set the flower aside to dry for 12-24 hours.
For this one I filled the center with fondant balls.
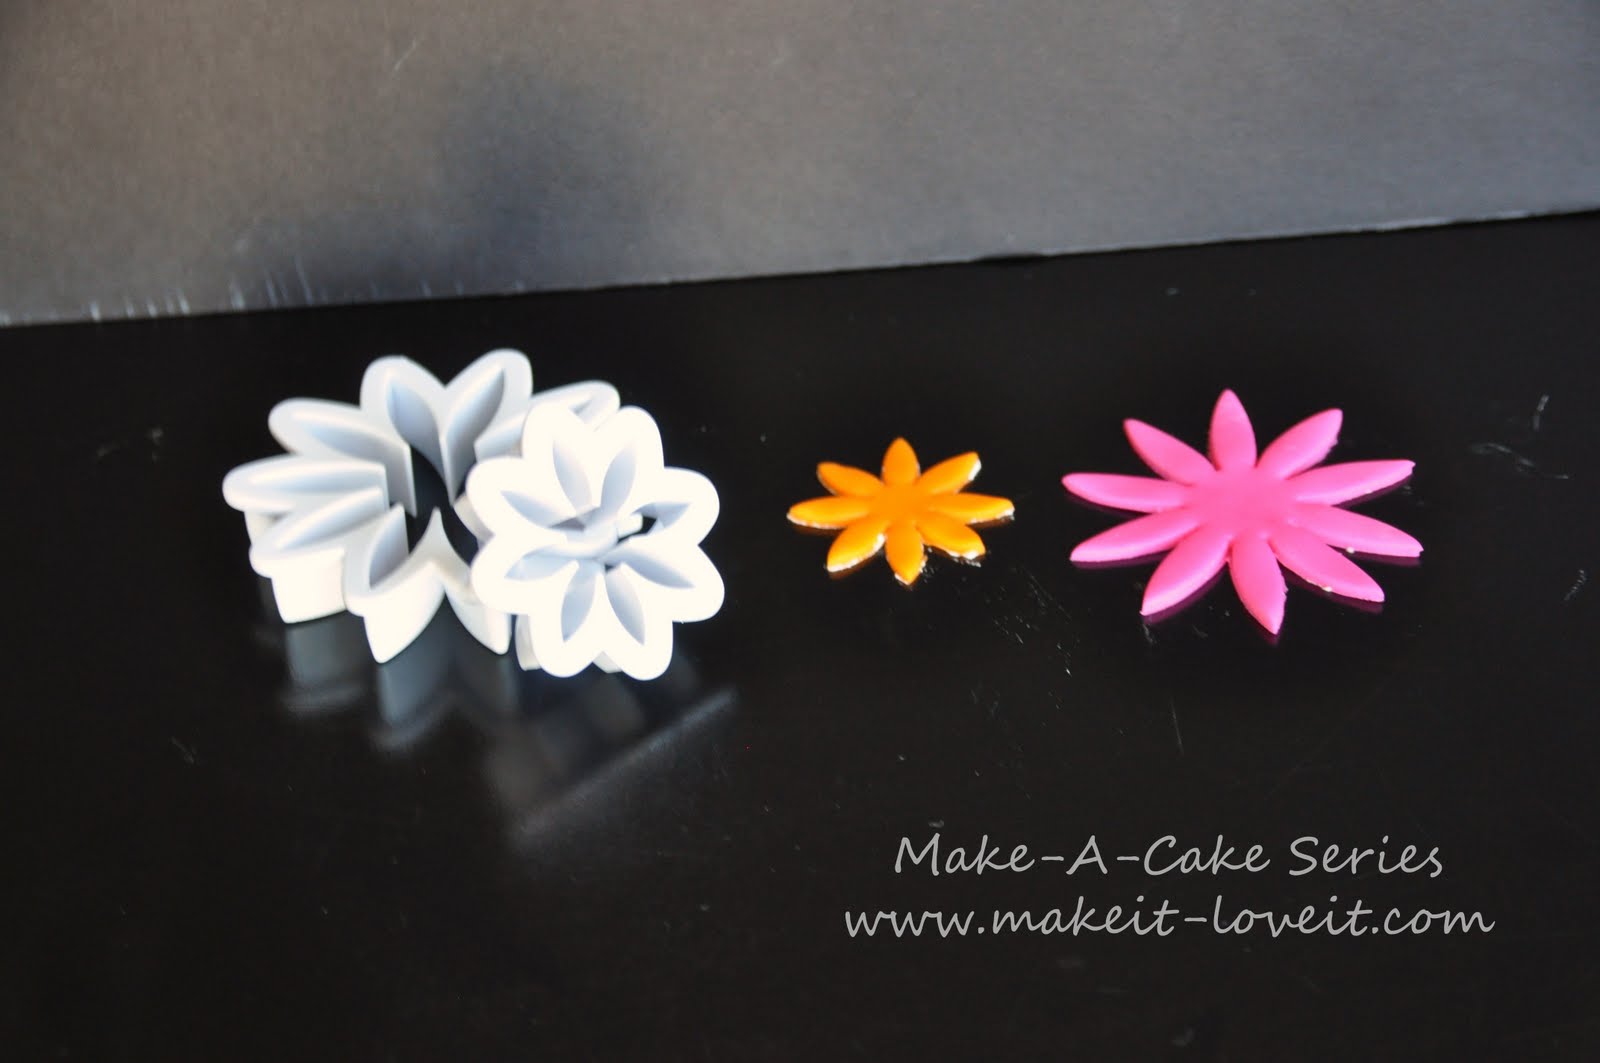
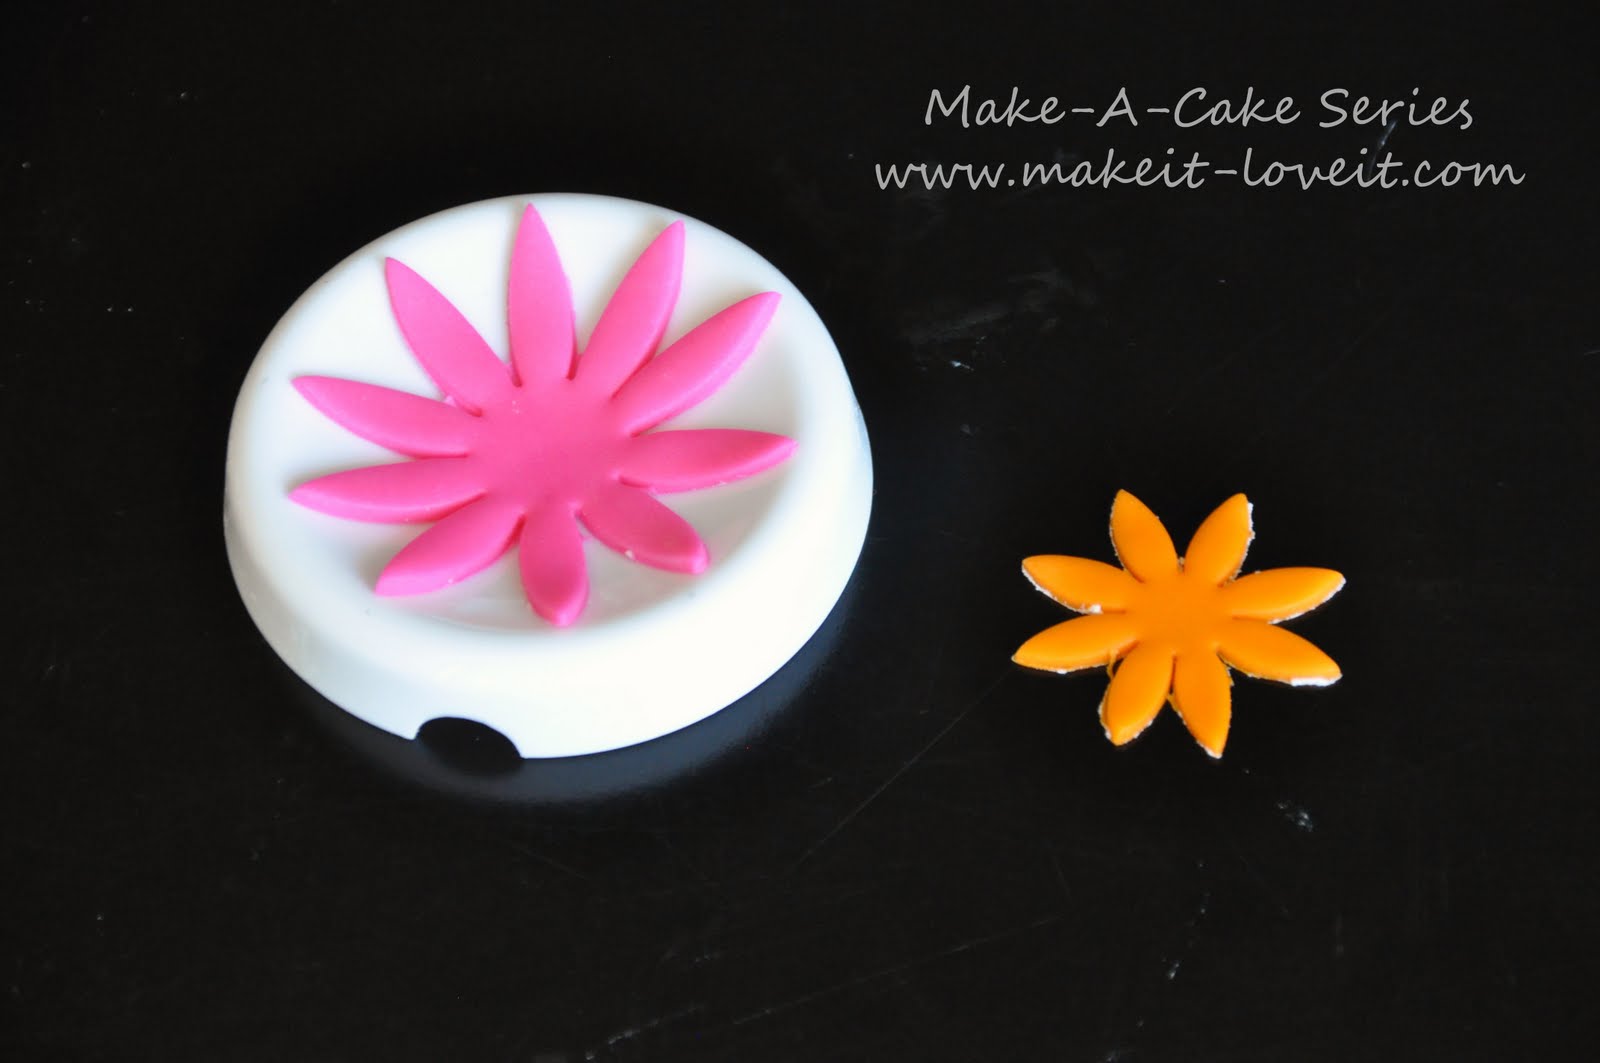
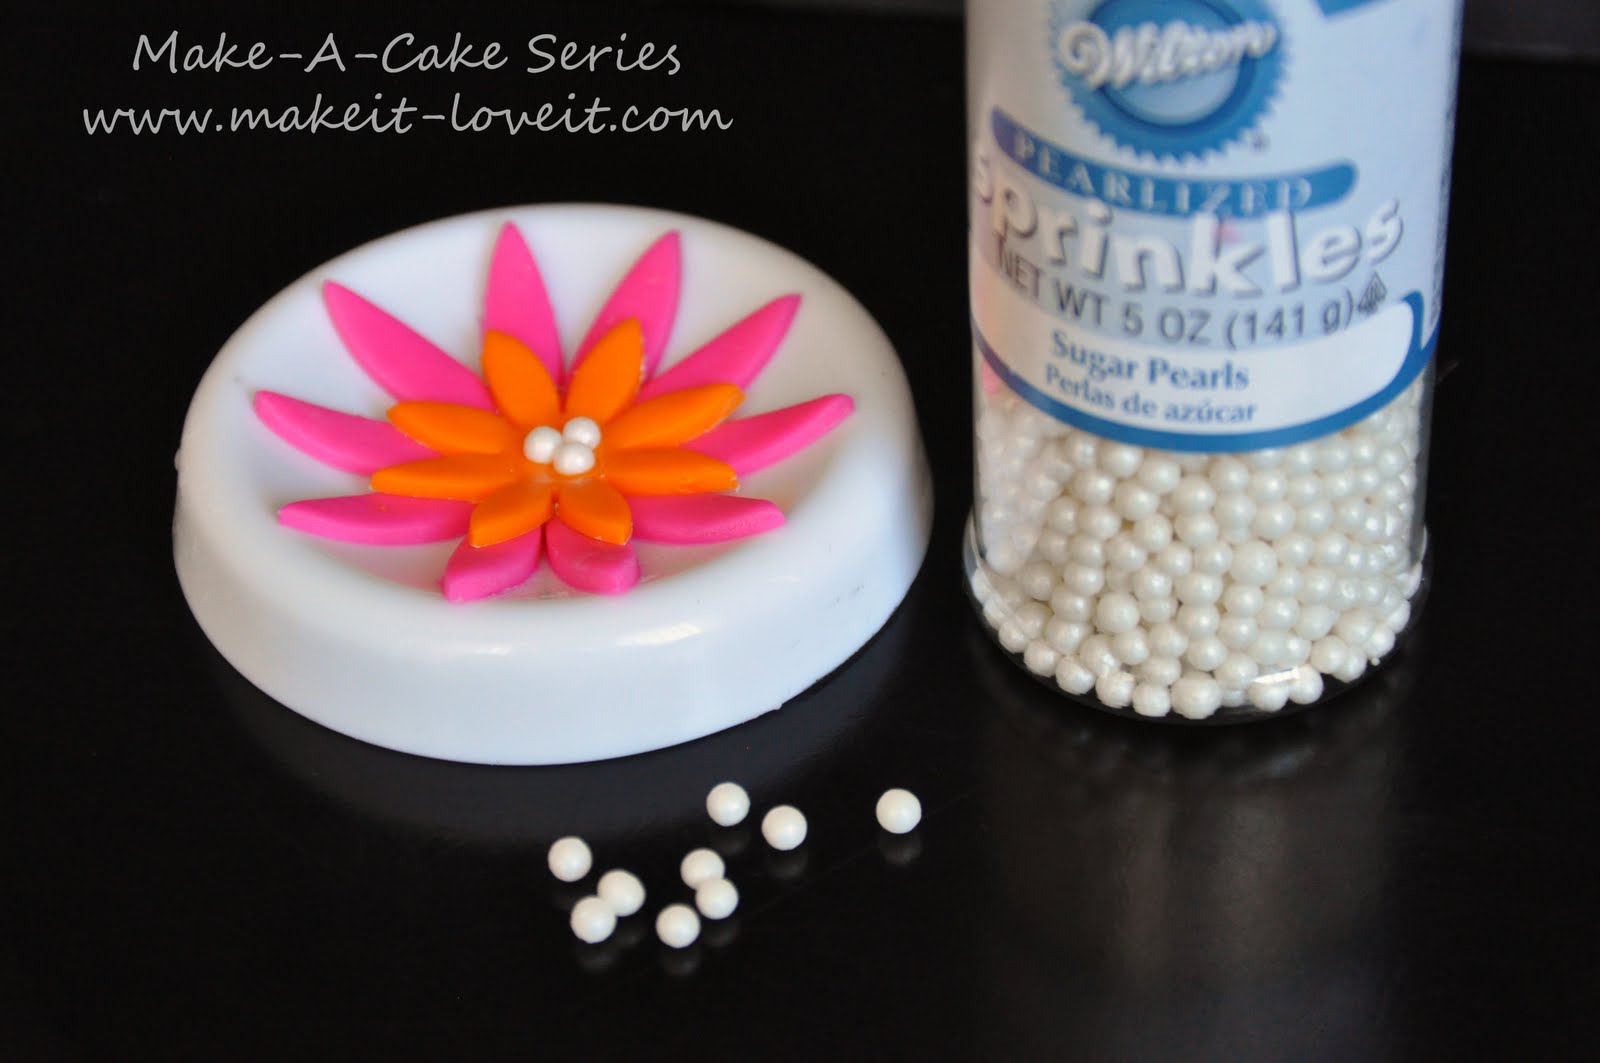
This, is a Layered Daisy
You need:
Gumpaste — in one or two colors
Pearlized sprinkles –you can see these in a picture below
Using the two larger cutters, cut out your flowers in different colors.
Place the larger flower in a large forming cup.
Add a tiny bit of water to the center and place your smaller flower on top.
Again, add a tiny bit of water to the center of the flower and then press three pearlized round sprinkles into the gumpaste.
Let the flower sit for 5 minuets to get it shape. Move it aside and let dry for 12-24 hours.
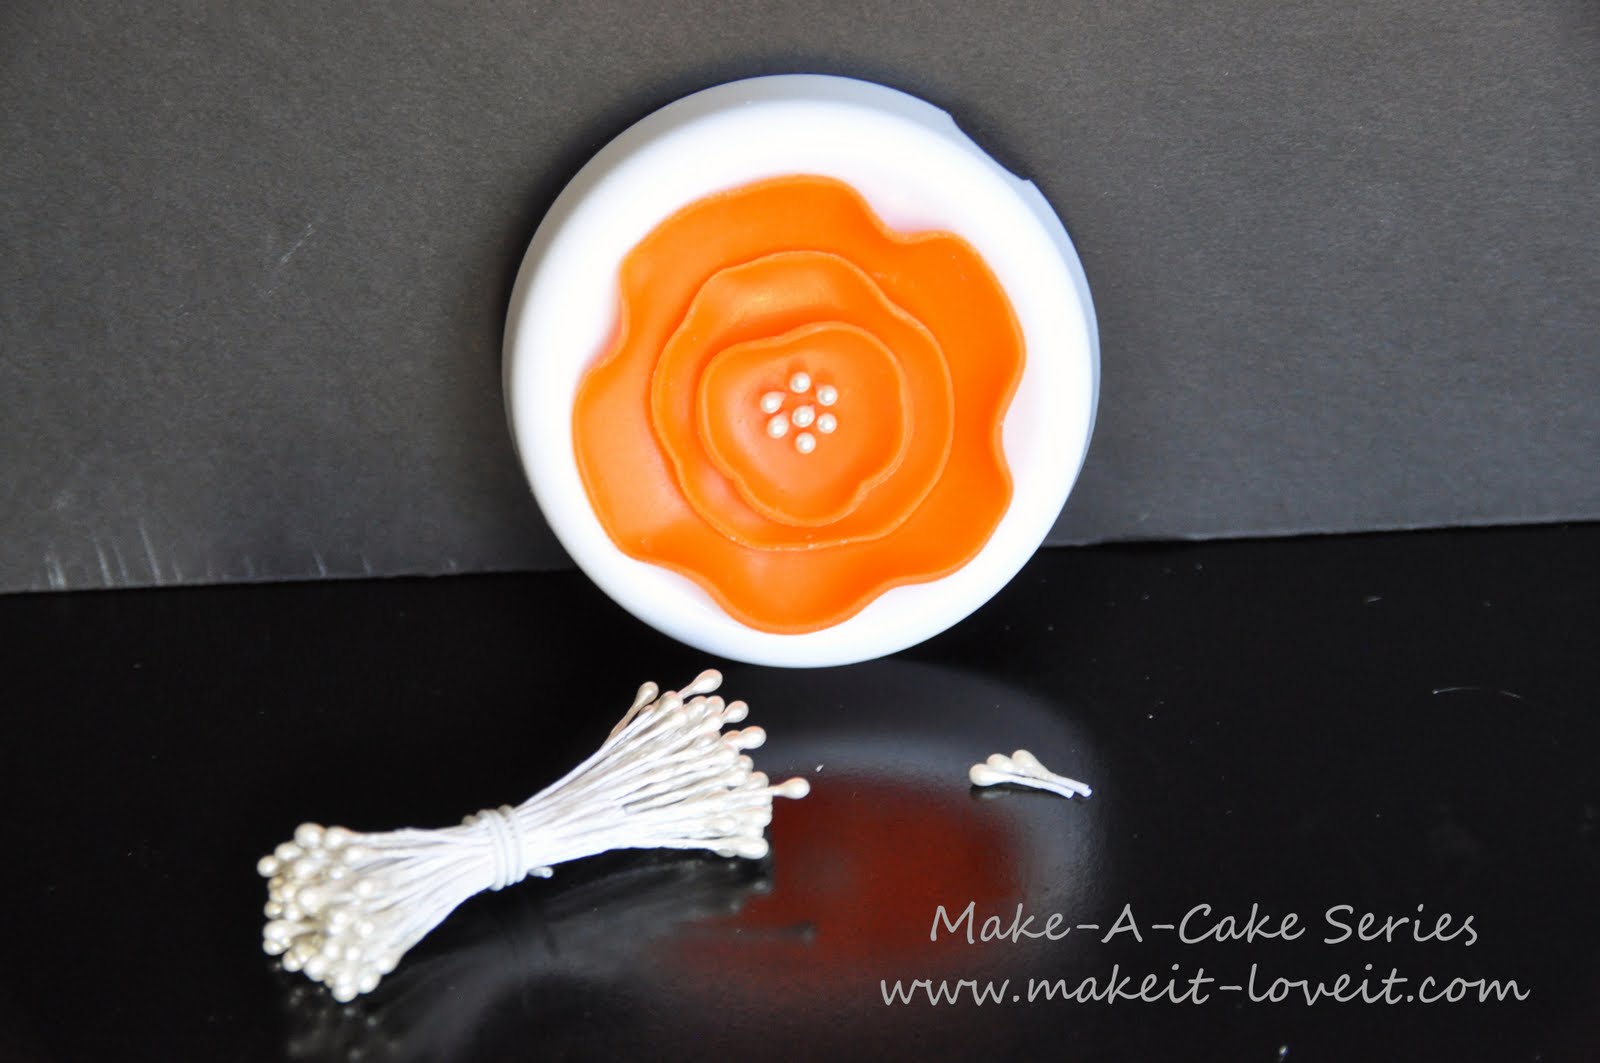
Fourth, is the poppy flower.
This was inspired by Ashley’s Satin Flower Headbands.
I thought they were SO cute! I want one in every color!
I actually made these edible flowers with a few less layers than the headbands.
(You could make this flower with more layers if you wanted to. I’m sure it would be beautiful!)
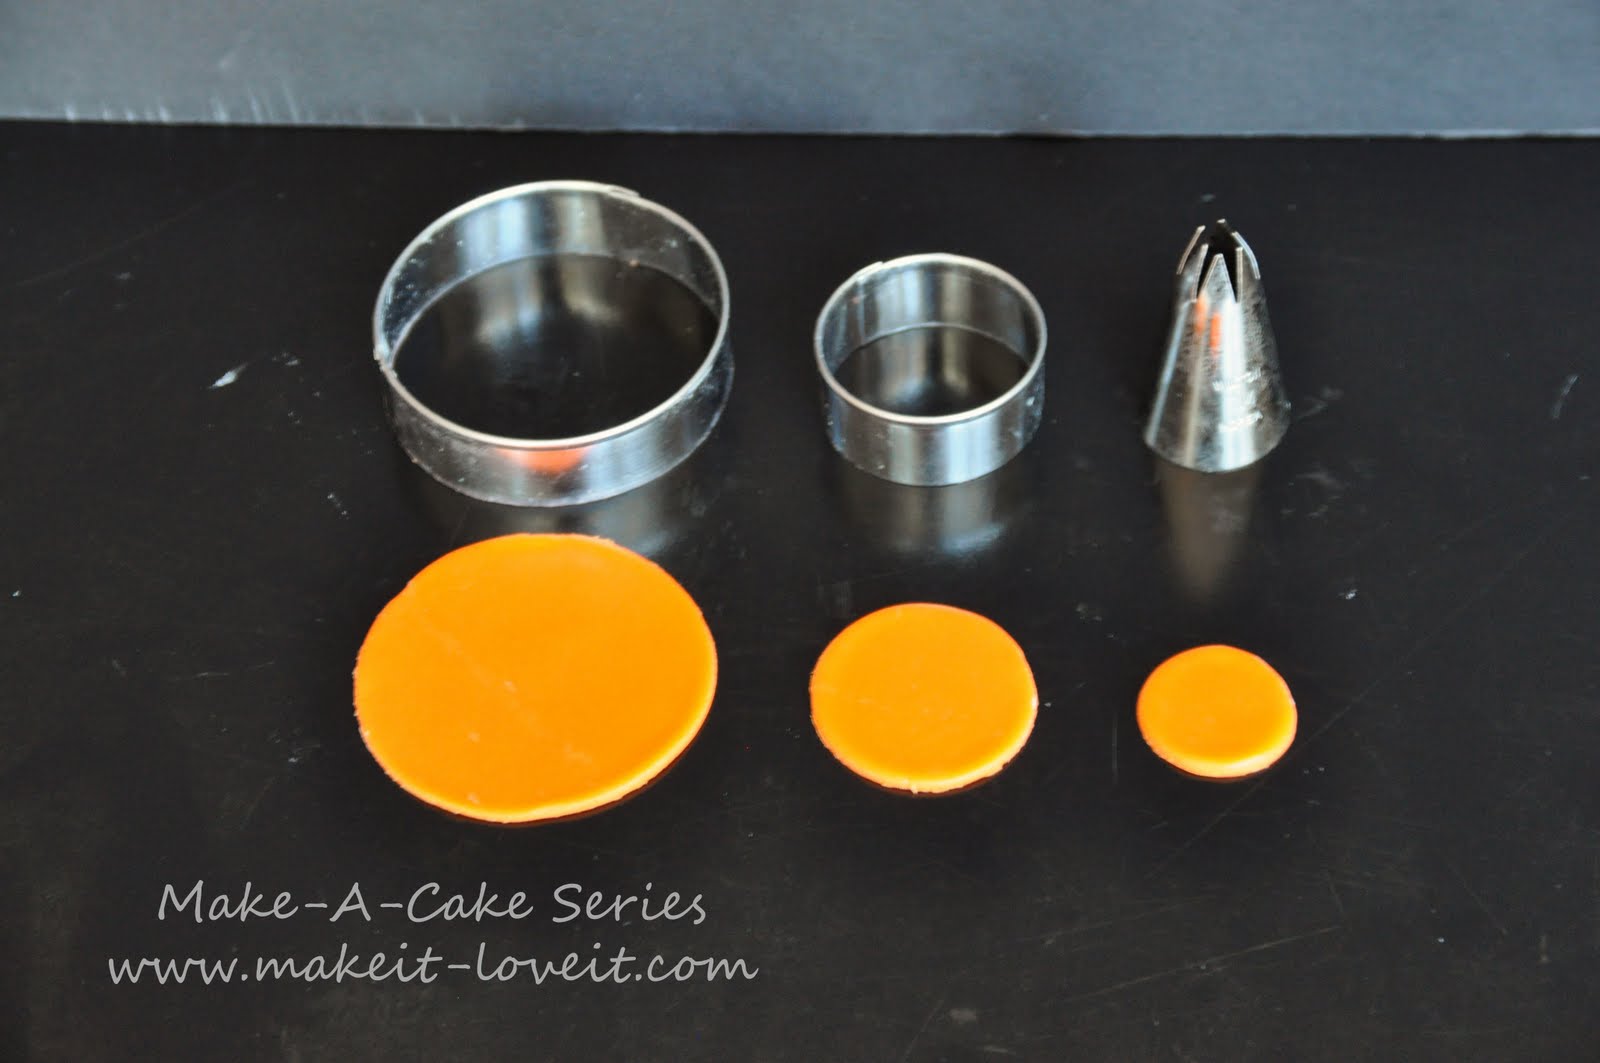
You need:
Gumpaste
I cut out gumpaste circles in three sizes.
I didn’t like the size of the small circle cutter so I used a piping tip.
(It was tip 1M)
TIP** the gumpaste will need to be rolled out fairly thin for this flower.
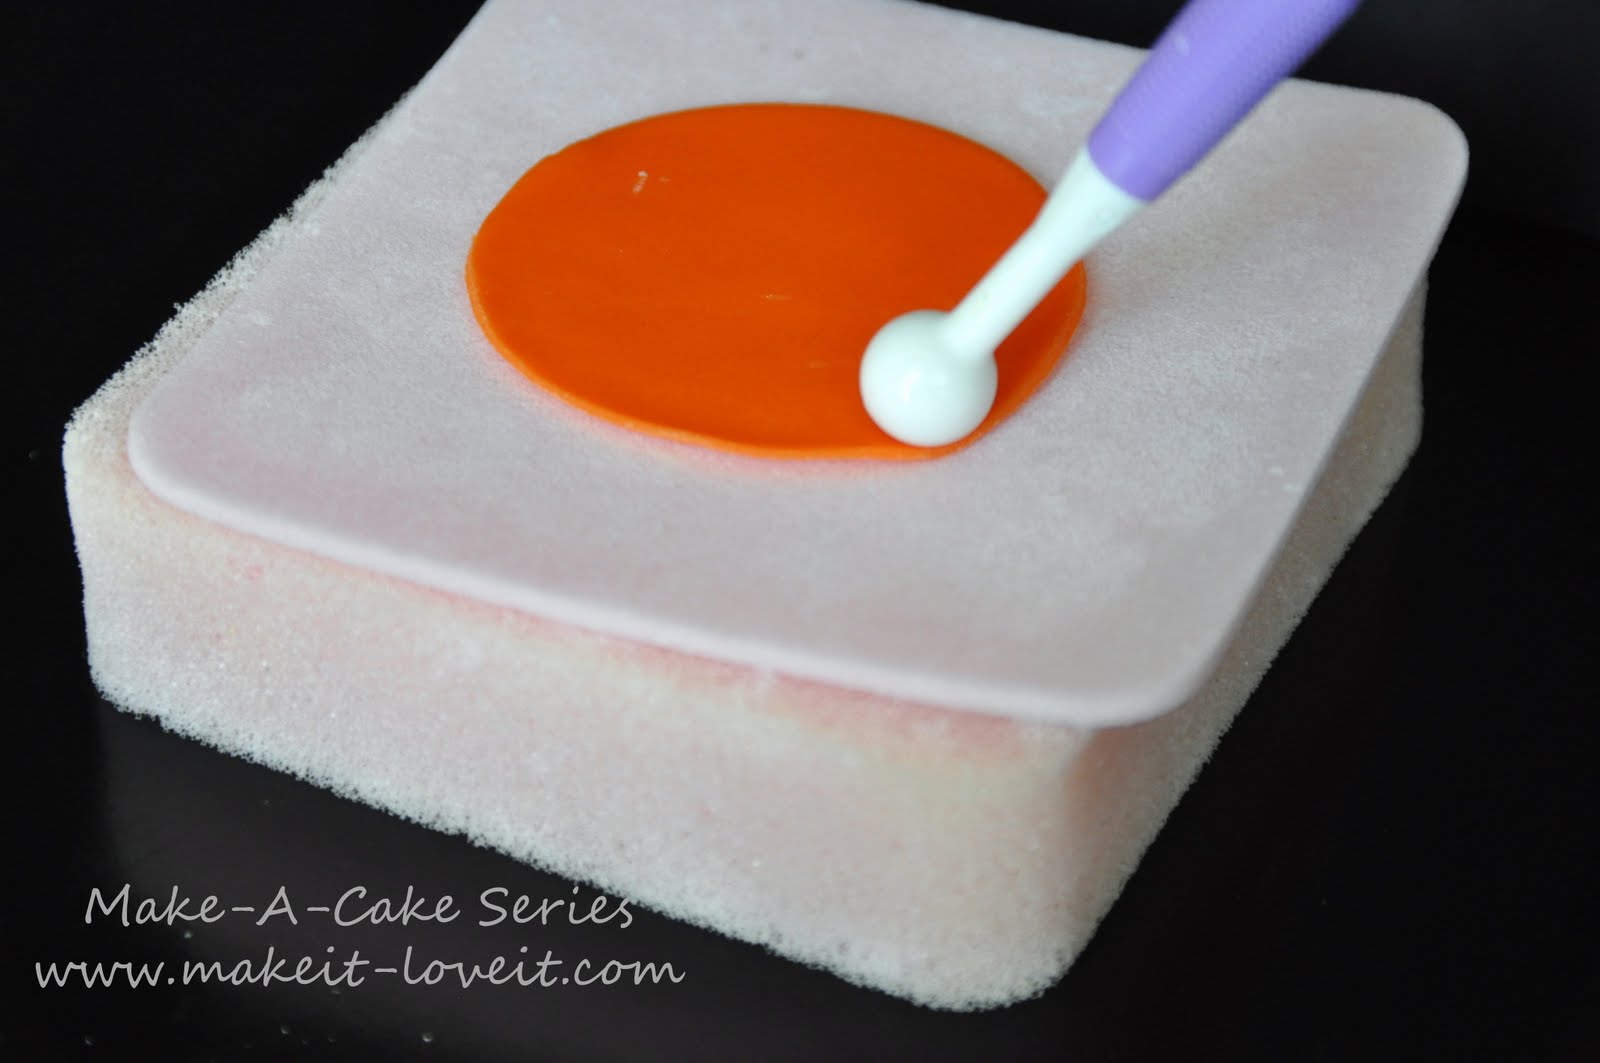
Place your largest circle on the forming foam. Take the large end of the ball tool and go around the ouside of the circle with even pressure.
This will start to thin out the edges of the circle and curl some of them up.
Now go back and spend a little more time going over a few spots on the circle to get them to lift up.
Then place the large circle on your large forming cup, to give it more shape.
Now place your medium circle on the forming foam and repeat the same steps. Then, attach it to the larger circle with a little bit of water and then repeat the steps with the smaller circle.
When your “petals” are all stacked up, use you fingers and pull the edges up if needed to get the look you want. Adjust just how you like it.
There is no right or wrong way. In fact, the more different and unique each petal, the better.
Next, cut little stamens pretty short and insert them into the center of the flower.
(these are not edible–so warn the person eating your flowers)
Let the flower sit in the cup for 5 minutes before you move it and work on the next flower.
Let them dry for 12-14 hours.
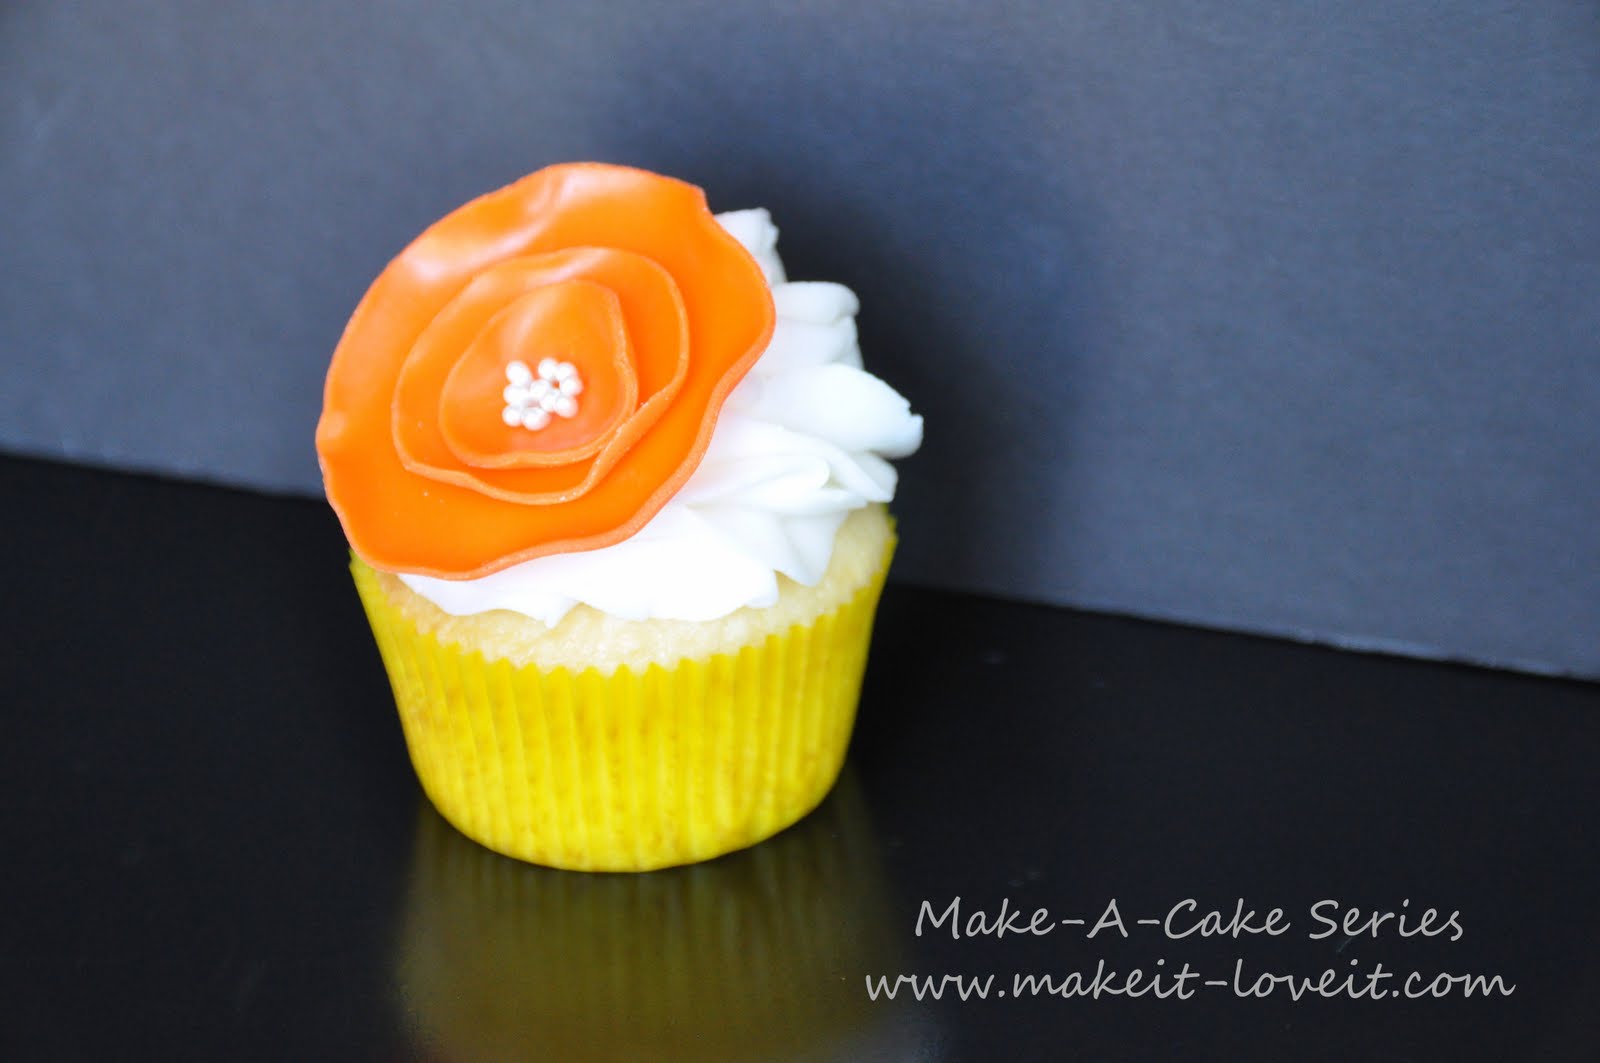
She is ready for the party!
(Did I just make that cupcake a “she”? I think I am too attached! At least I didn’t give her a name!)
And everyone else is ready for the party too!
Happy Decorating!