Home » DIY Tutorials » DIY Sewing » Sewing: Clothing » Accessories » Faux Leather (ahem, vinyl) Hair Accessories
Faux Leather (ahem, vinyl) Hair Accessories
August 18, 2010 - By Ashley Johnston 63 Comments
.
Did you see the winner of the Honeybear Lane giveaway? Scroll down or click here.
3 of my patterns have been donated to the “Keeping Kolby” auction (found here) and will be available to bid on starting today, August 18th. Kolby is a beautiful young 15 year old girl, fighting her very best to beat cancer (a rare form of lymphoma). And while you’re there, check out everything that is up for auction…..because all proceeds are donated to help pay bills and a possible bone marrow transplant.
. . . . . . . . . . . . . . . . . . . . . .
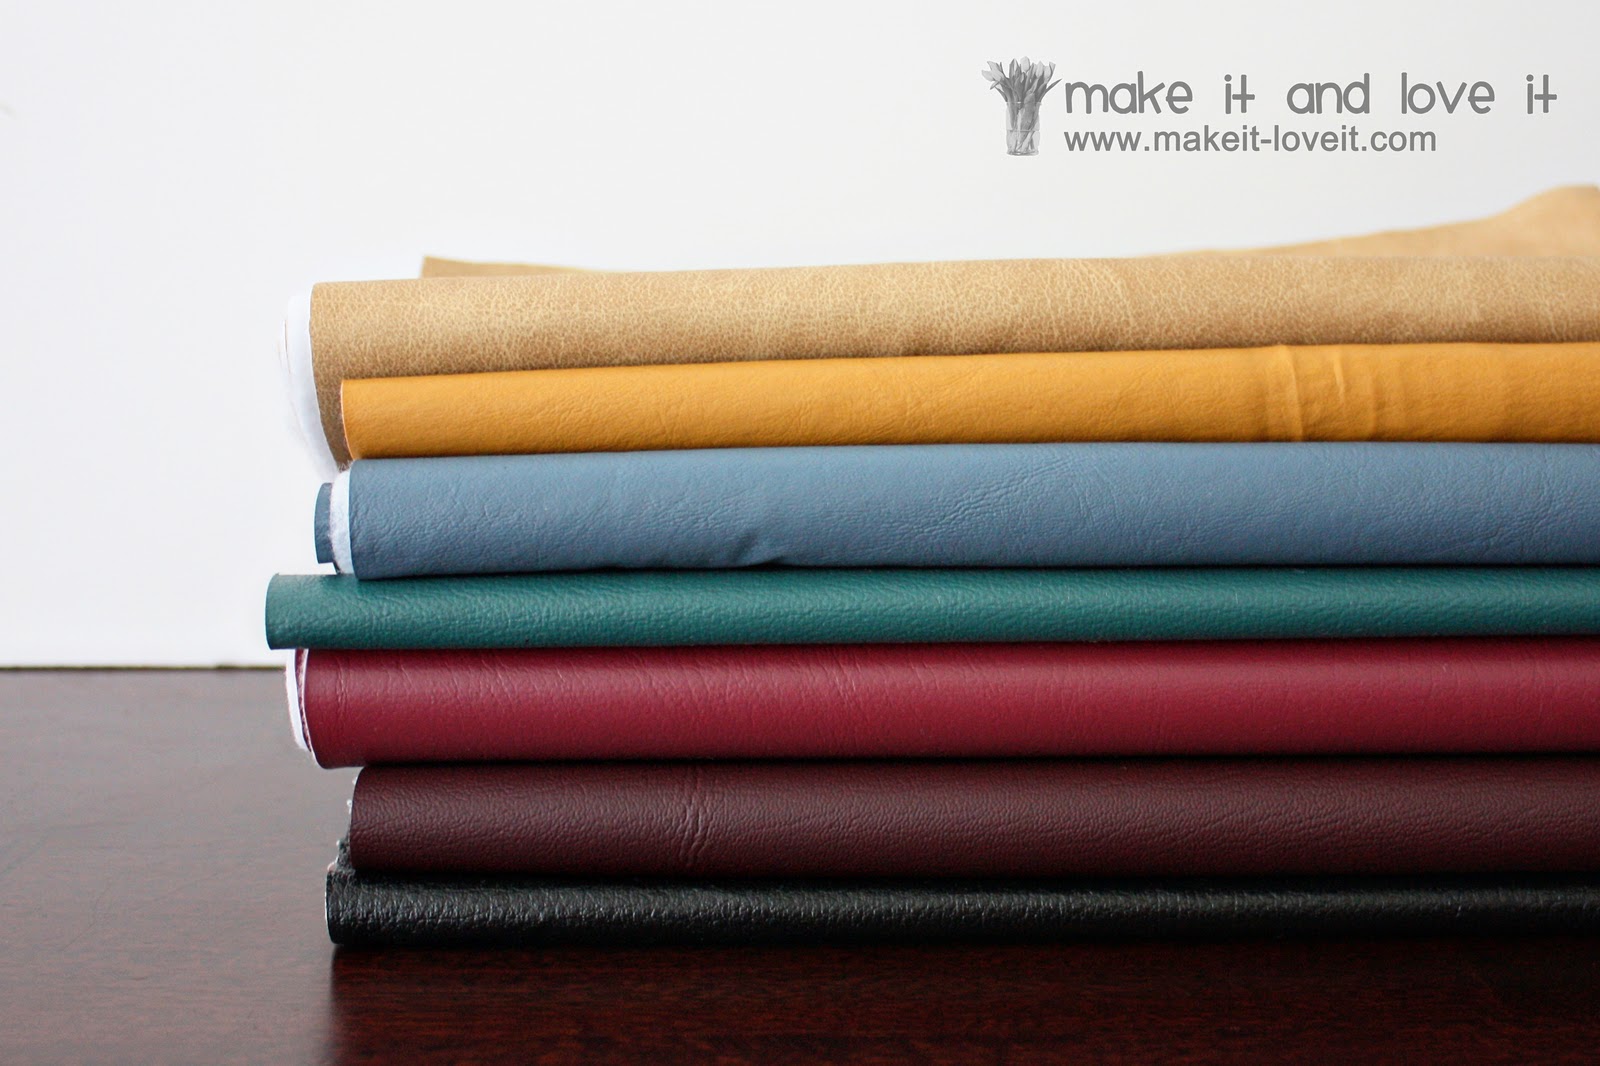
I stopped by Hancock Fabric the other day.
They had piles of clearanced vinyl for $3 a yard.
I figured I’d take some off their hands.
So I bought 1/4 yard of 7 different colors.
(The cutting lady was bugged with all the 1/4 yard cuts…..sorry Margaret!)
So $5.25 later, I had my faux leather pile to work with.
I remembered why I like working with vinyl. There’s no fraying, it holds it shape really well, and some are nice and soft……and almost look like real leather. Almost.
And turns out, I liked the look of it as a hair accessory.
Nice and clean and simple.
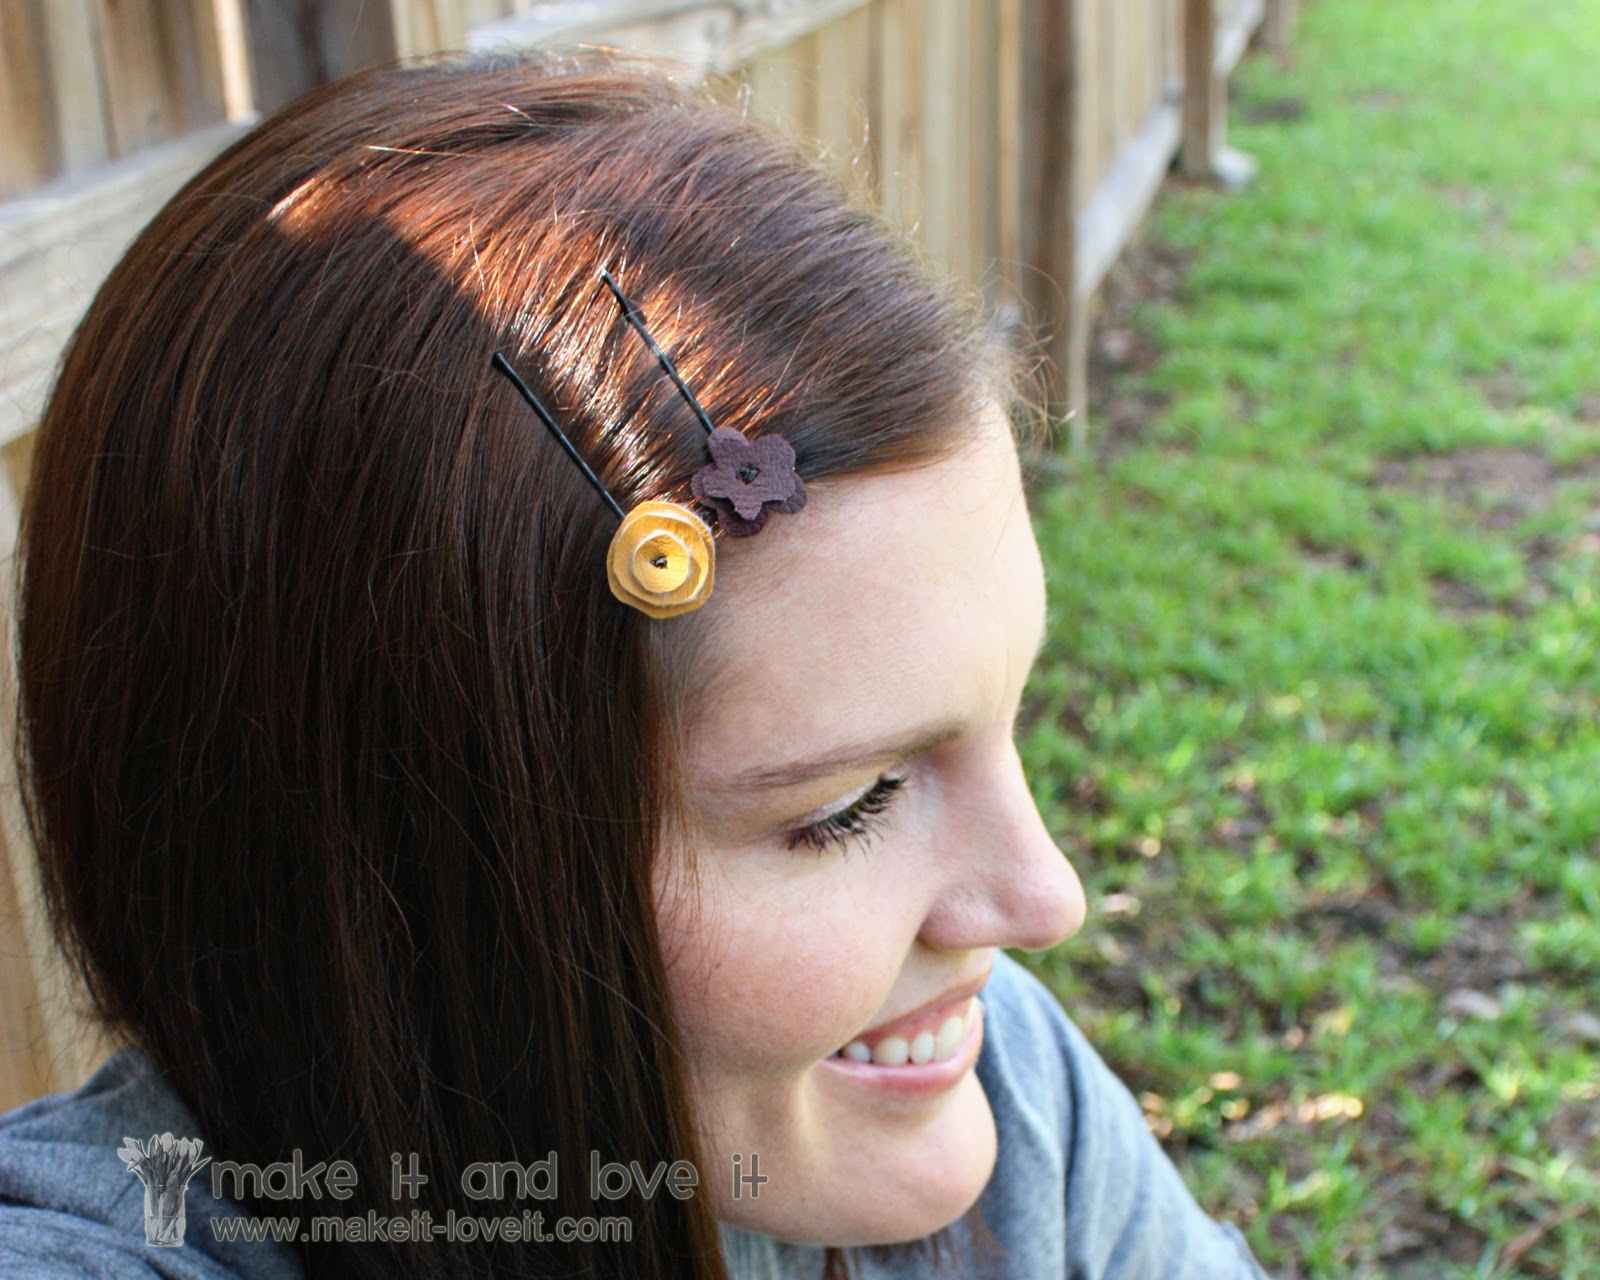
Just throw in some simple little pins to really liven up that blah hair…
(Do you feel nerdy taking pictures of yourself? Haha…I do.)
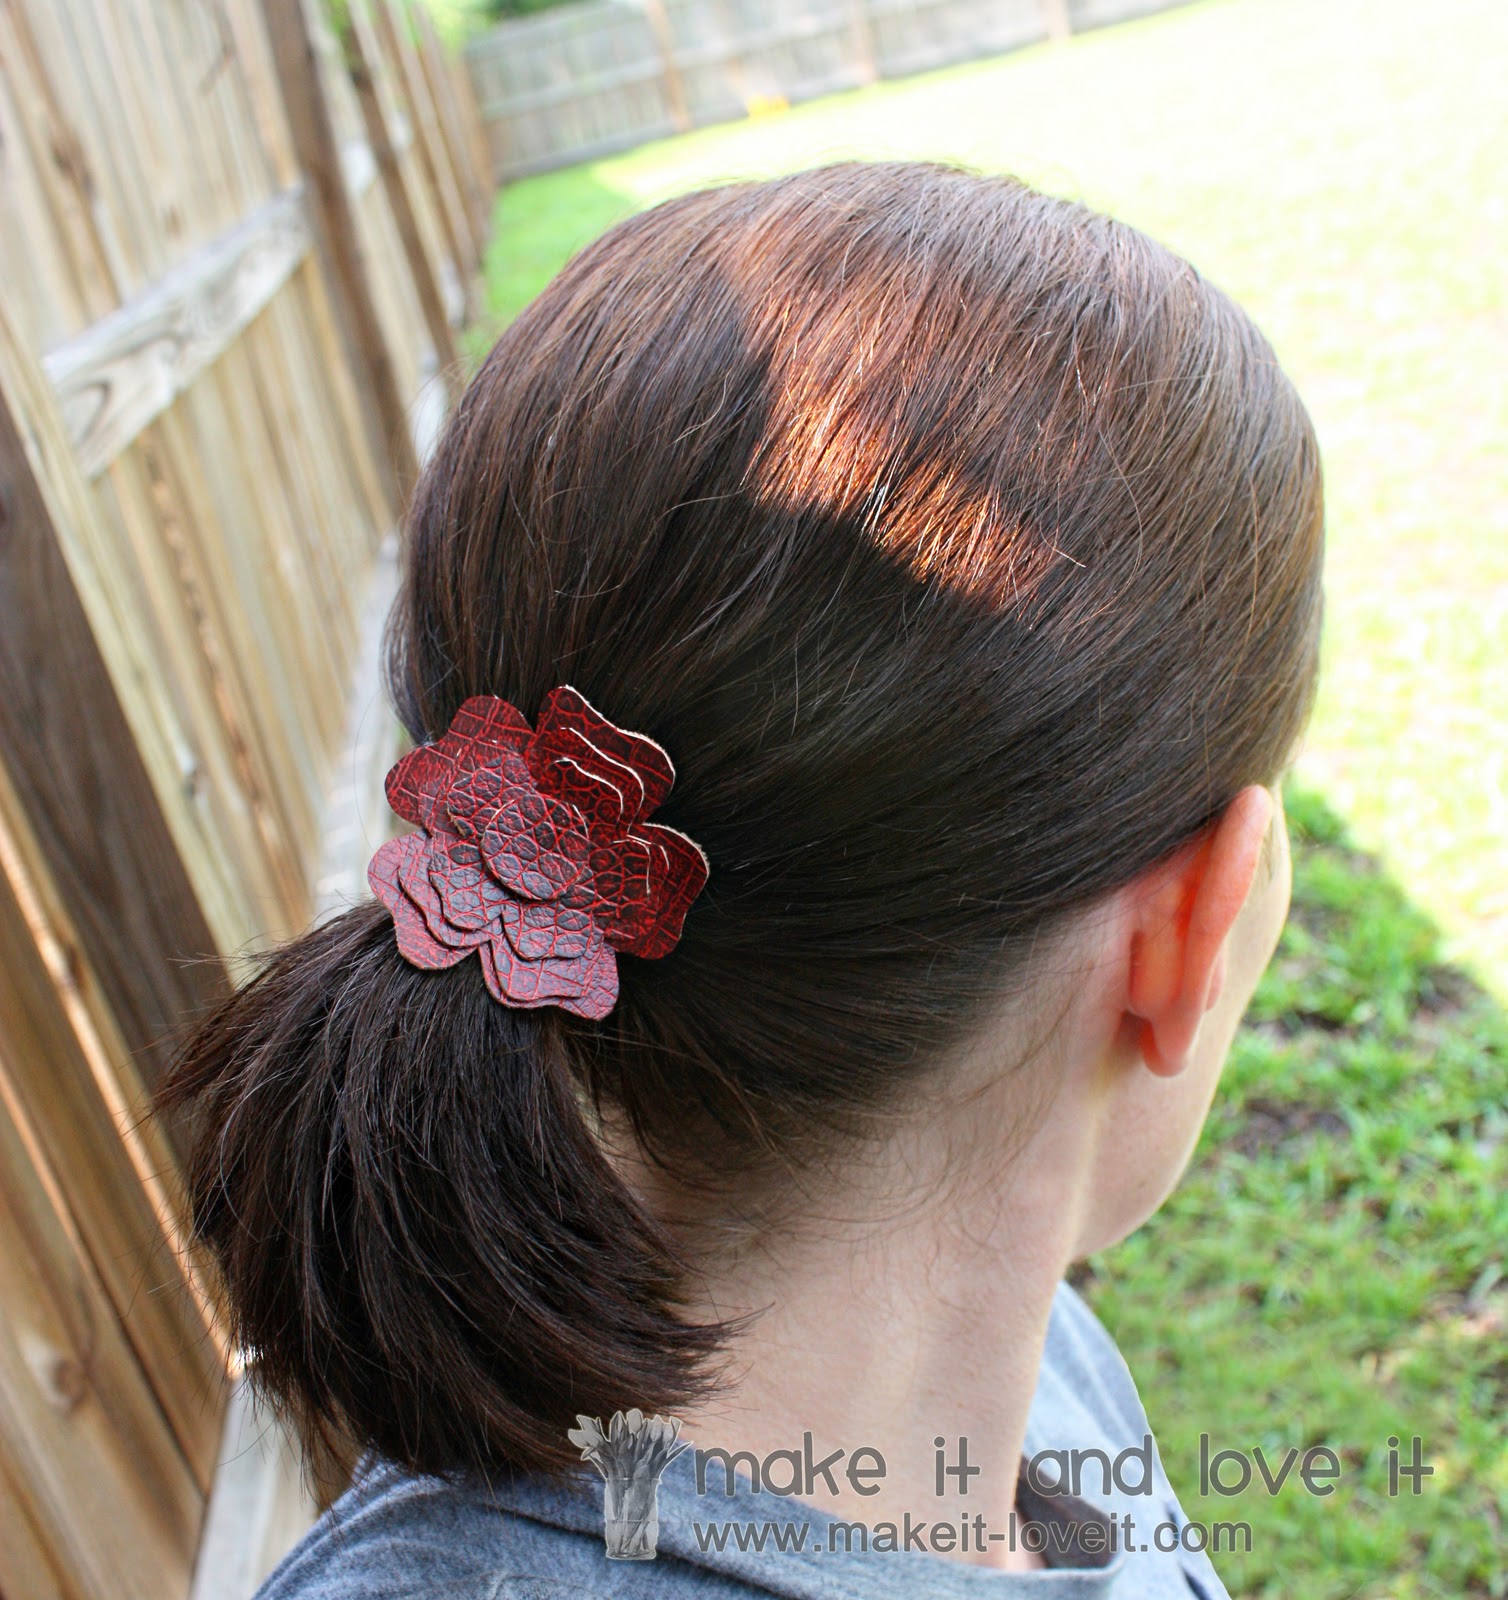
Or attach a flower hair band into that hair, to change that last minute pony tail into something more fun.
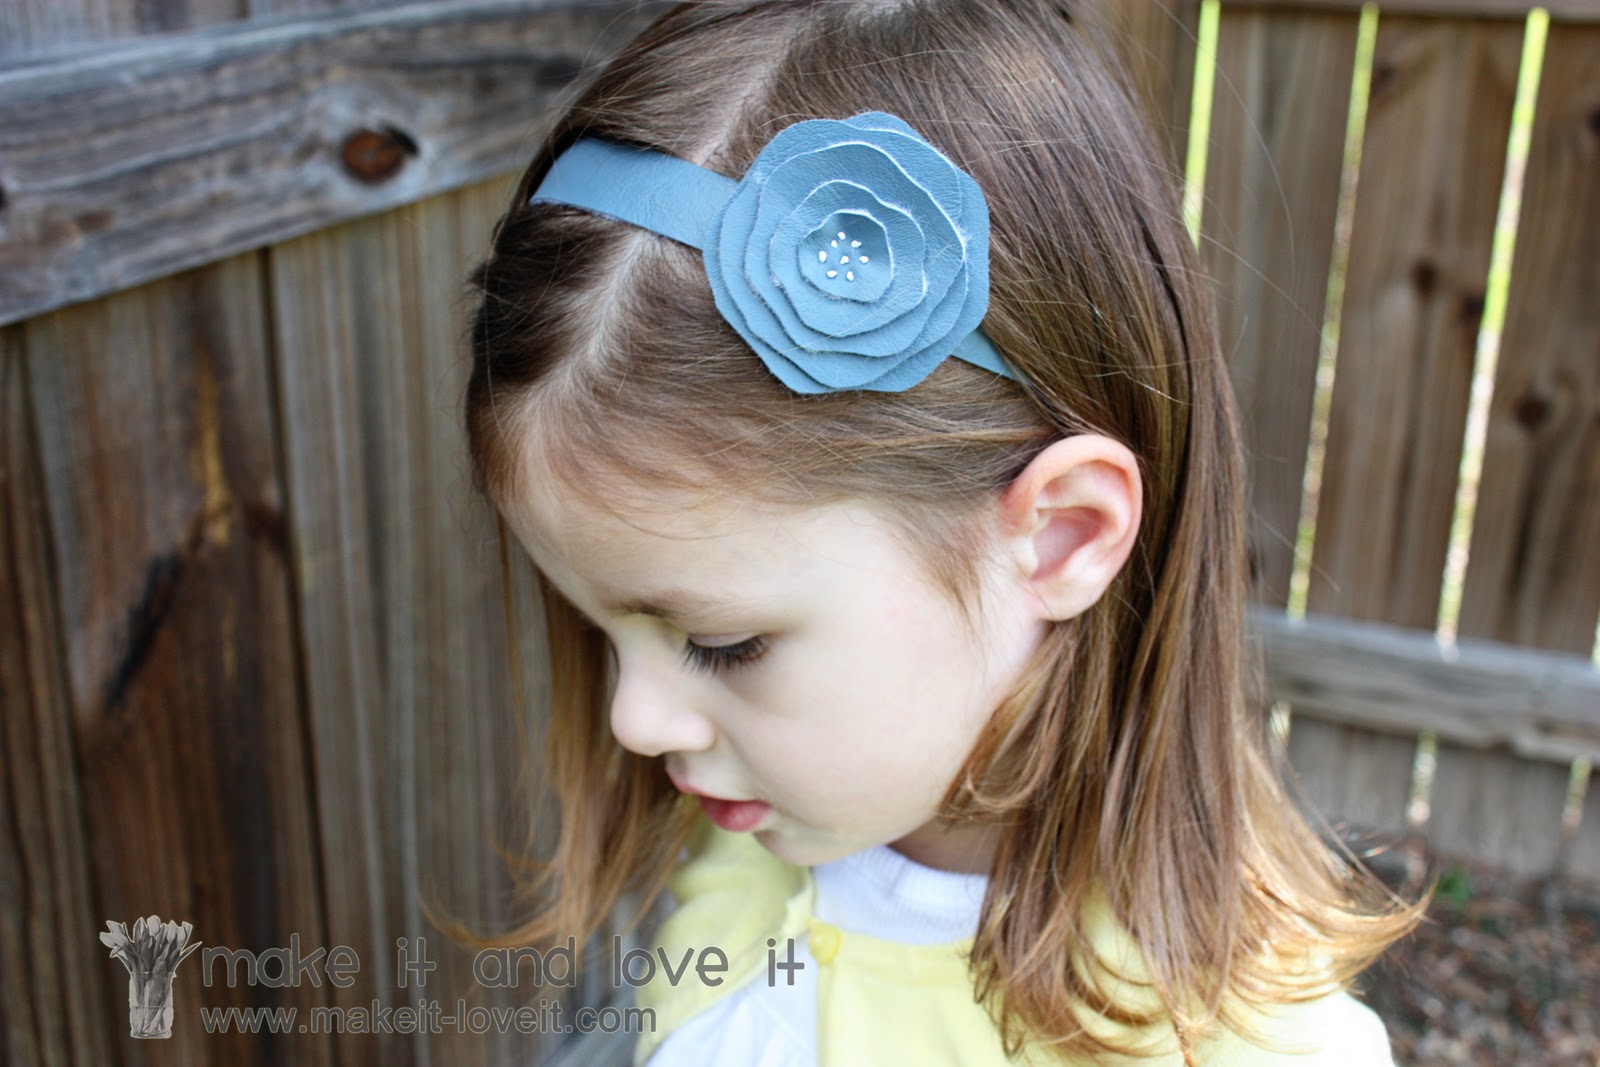
Or how about a nice and sweet headband.
Love the leather-ish look…
Ready to try your hand at some vinyl accessories?
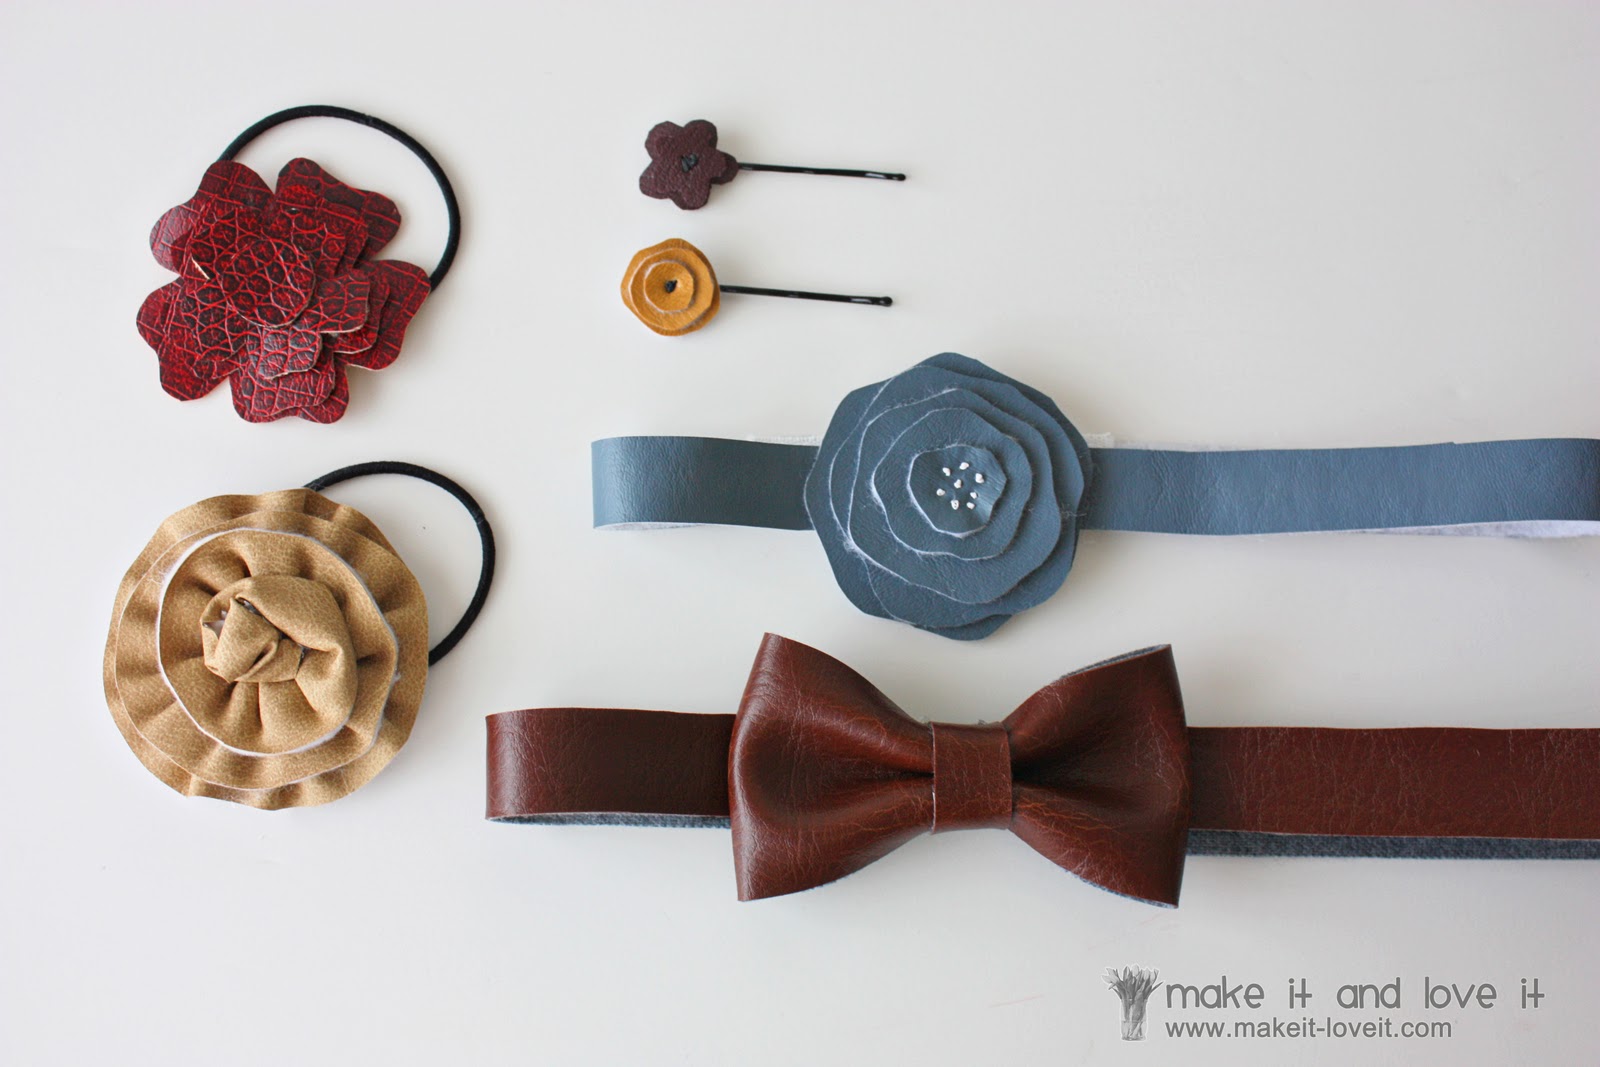
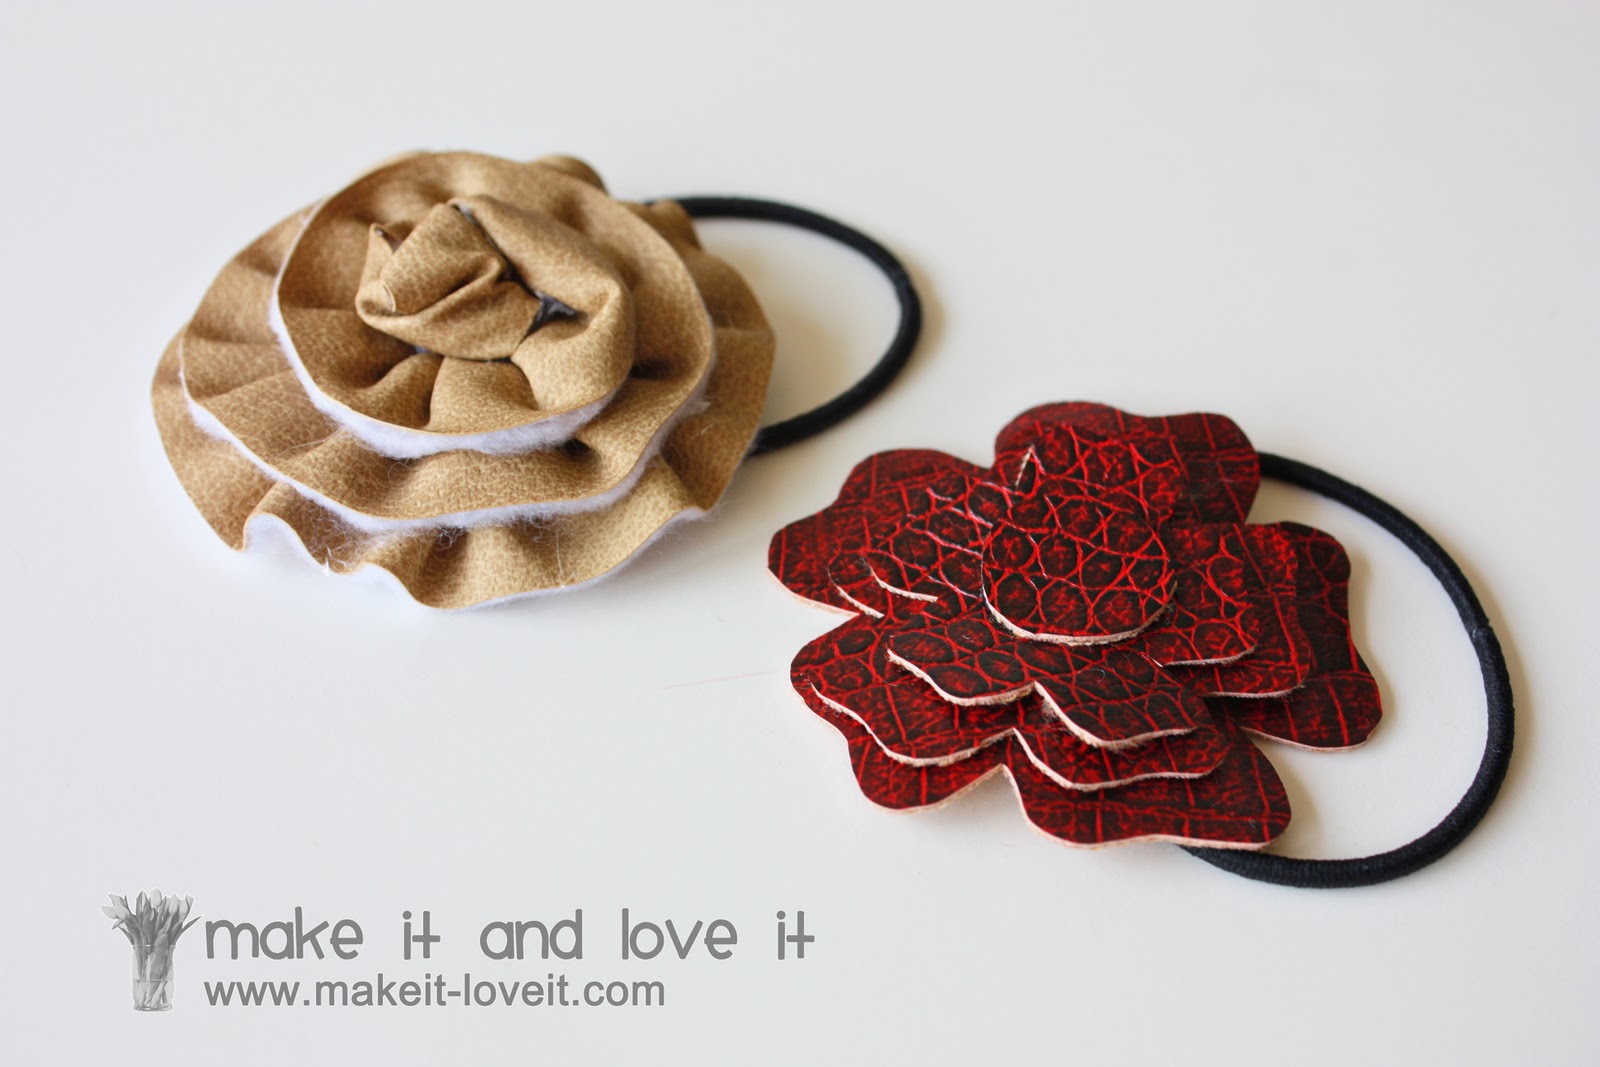
Let’s try some accessorized hair bands first:
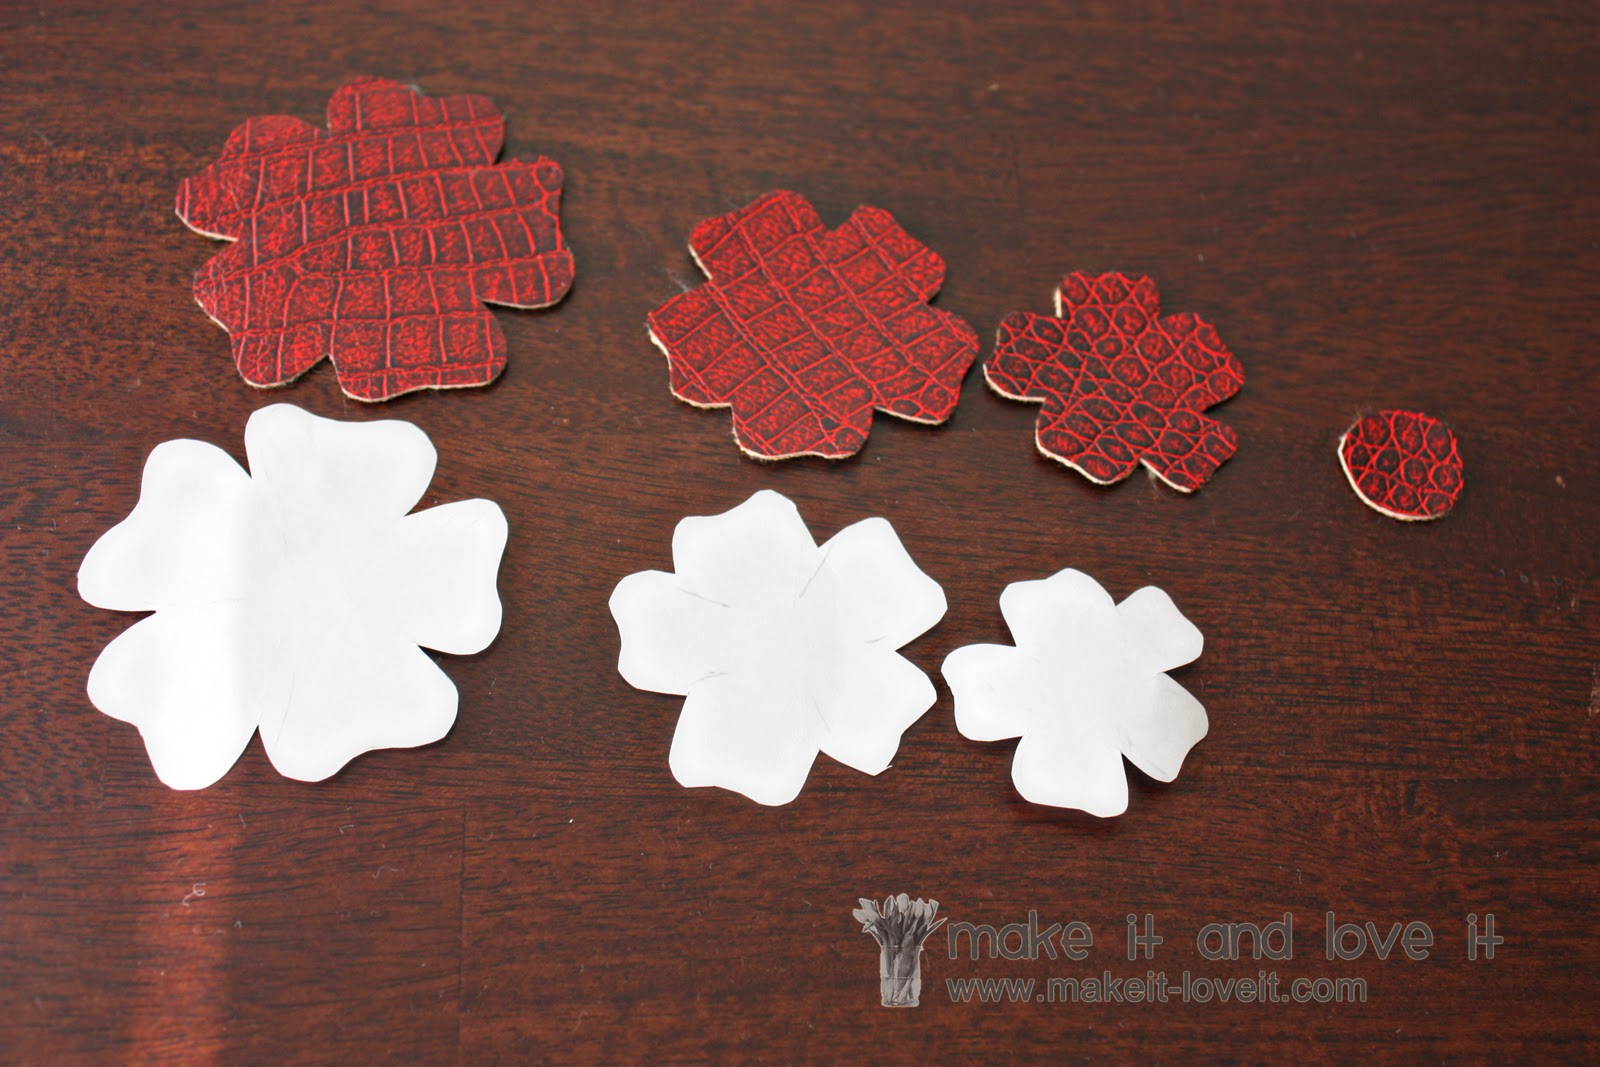
To make the red flower, I cut out a flower shape from paper and cut three different sizes so that I could stack them. Then I used the paper cutouts as templates to cut out the vinyl. And then I cut a little circle for the middle.
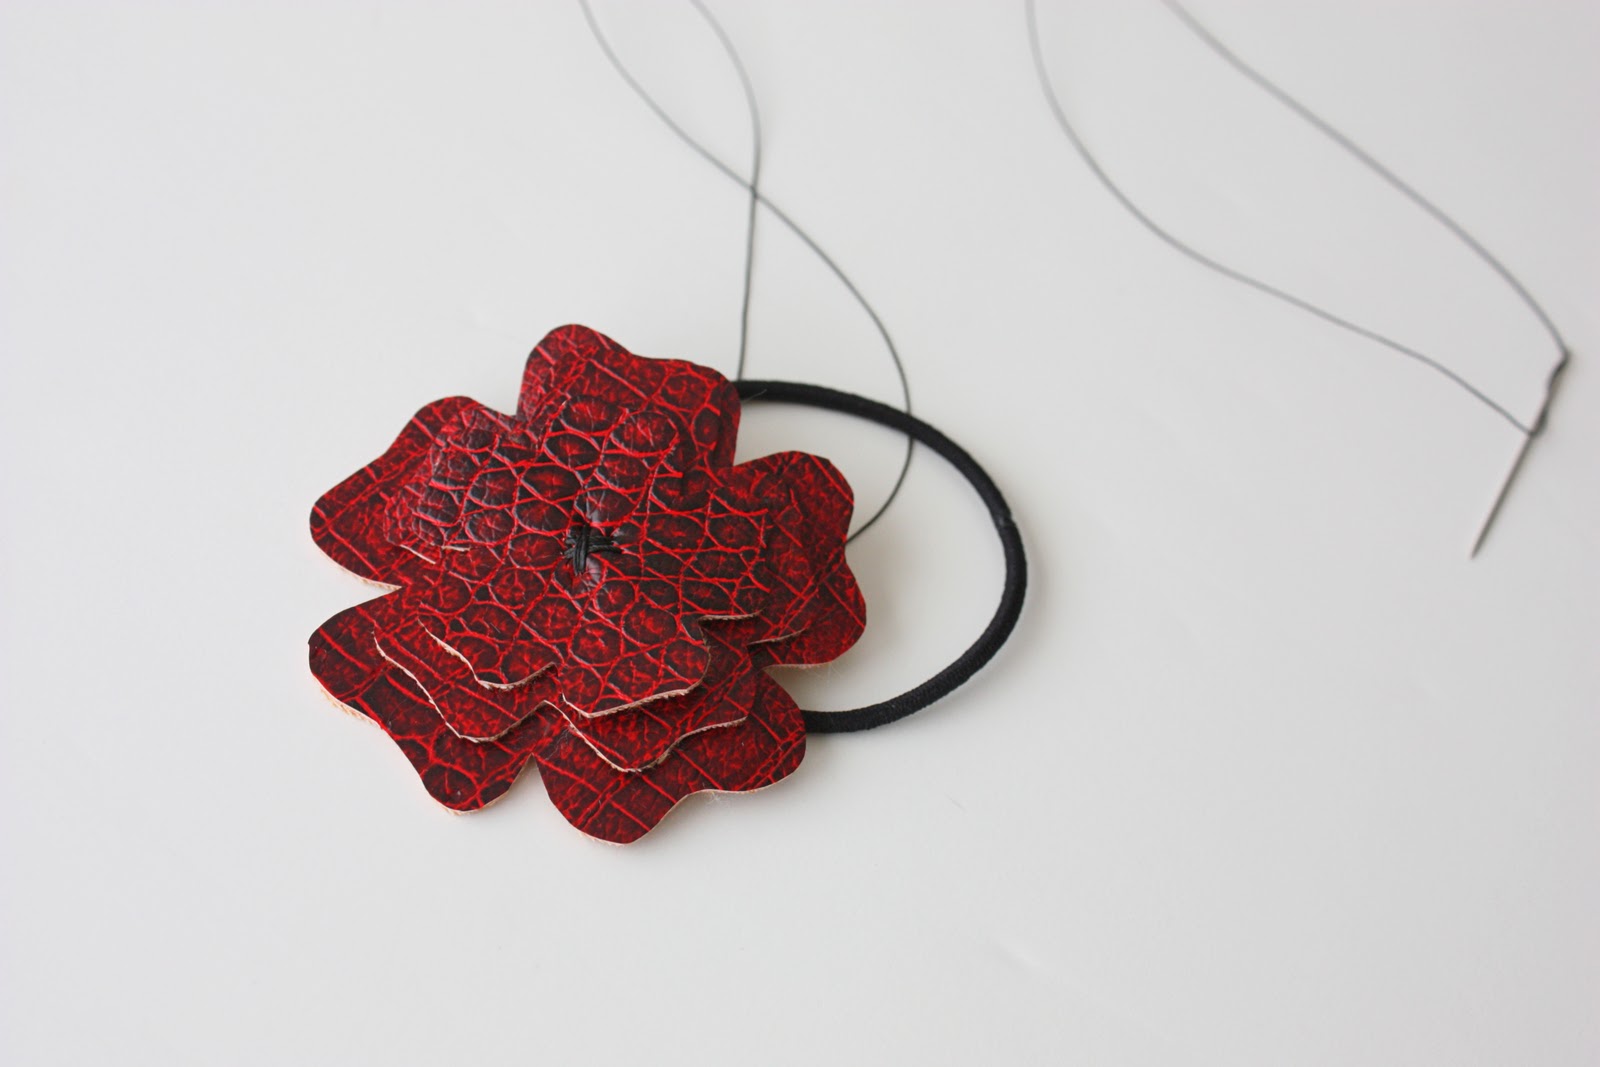
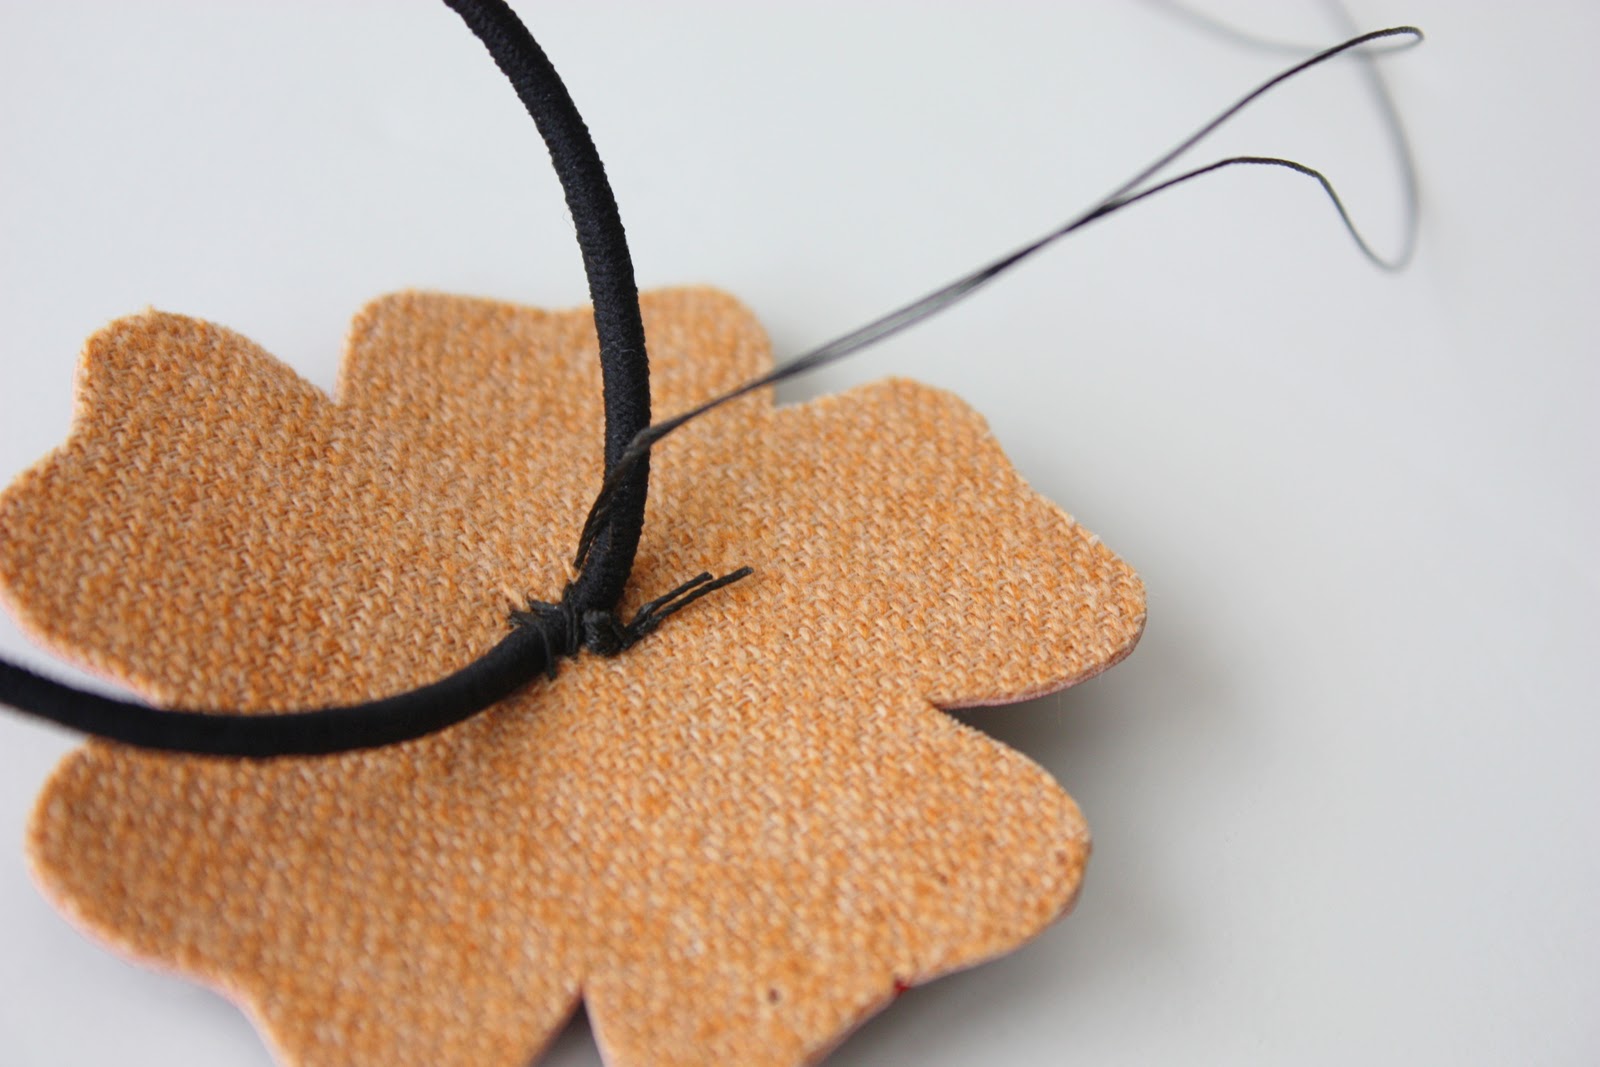
Then I stacked the 3 flowers and used really thick quilting thread to sew the 3 pieces together.
And as I would sew to the back, I looped around the hair band each time, securing it in place.
Then I used hot glue to attach the circle to the front.
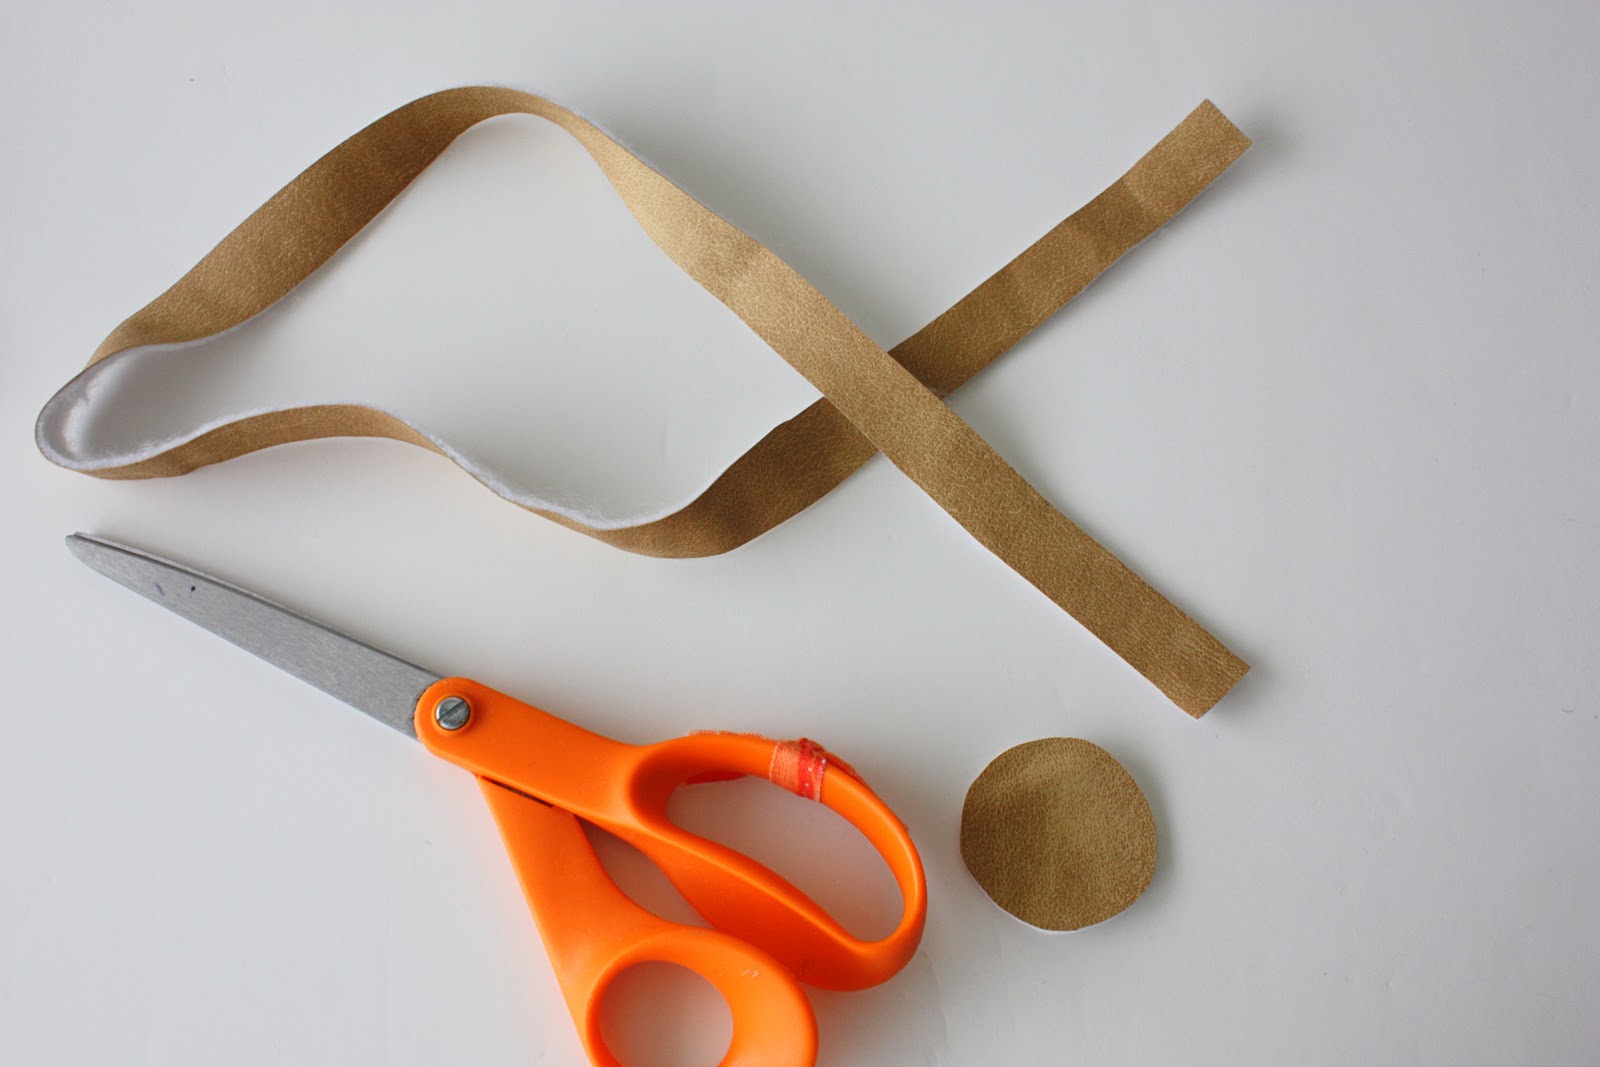
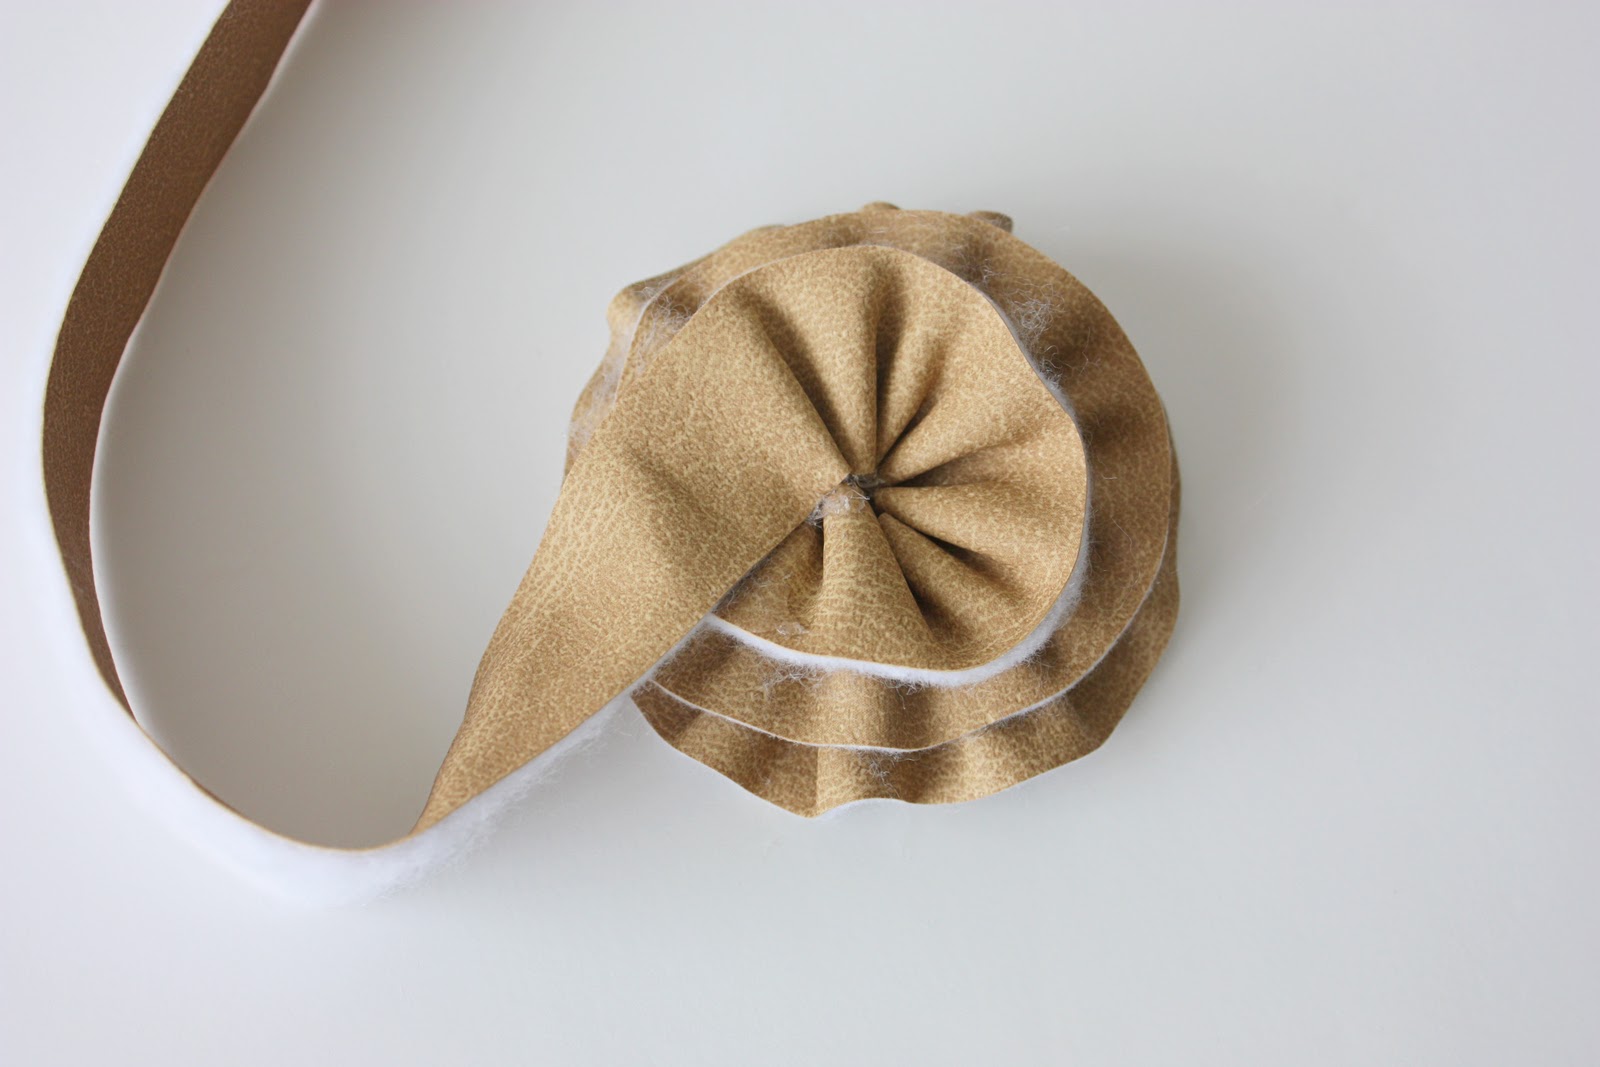
For the fluffier flower, I cut out a circle and a long strip of fabric.
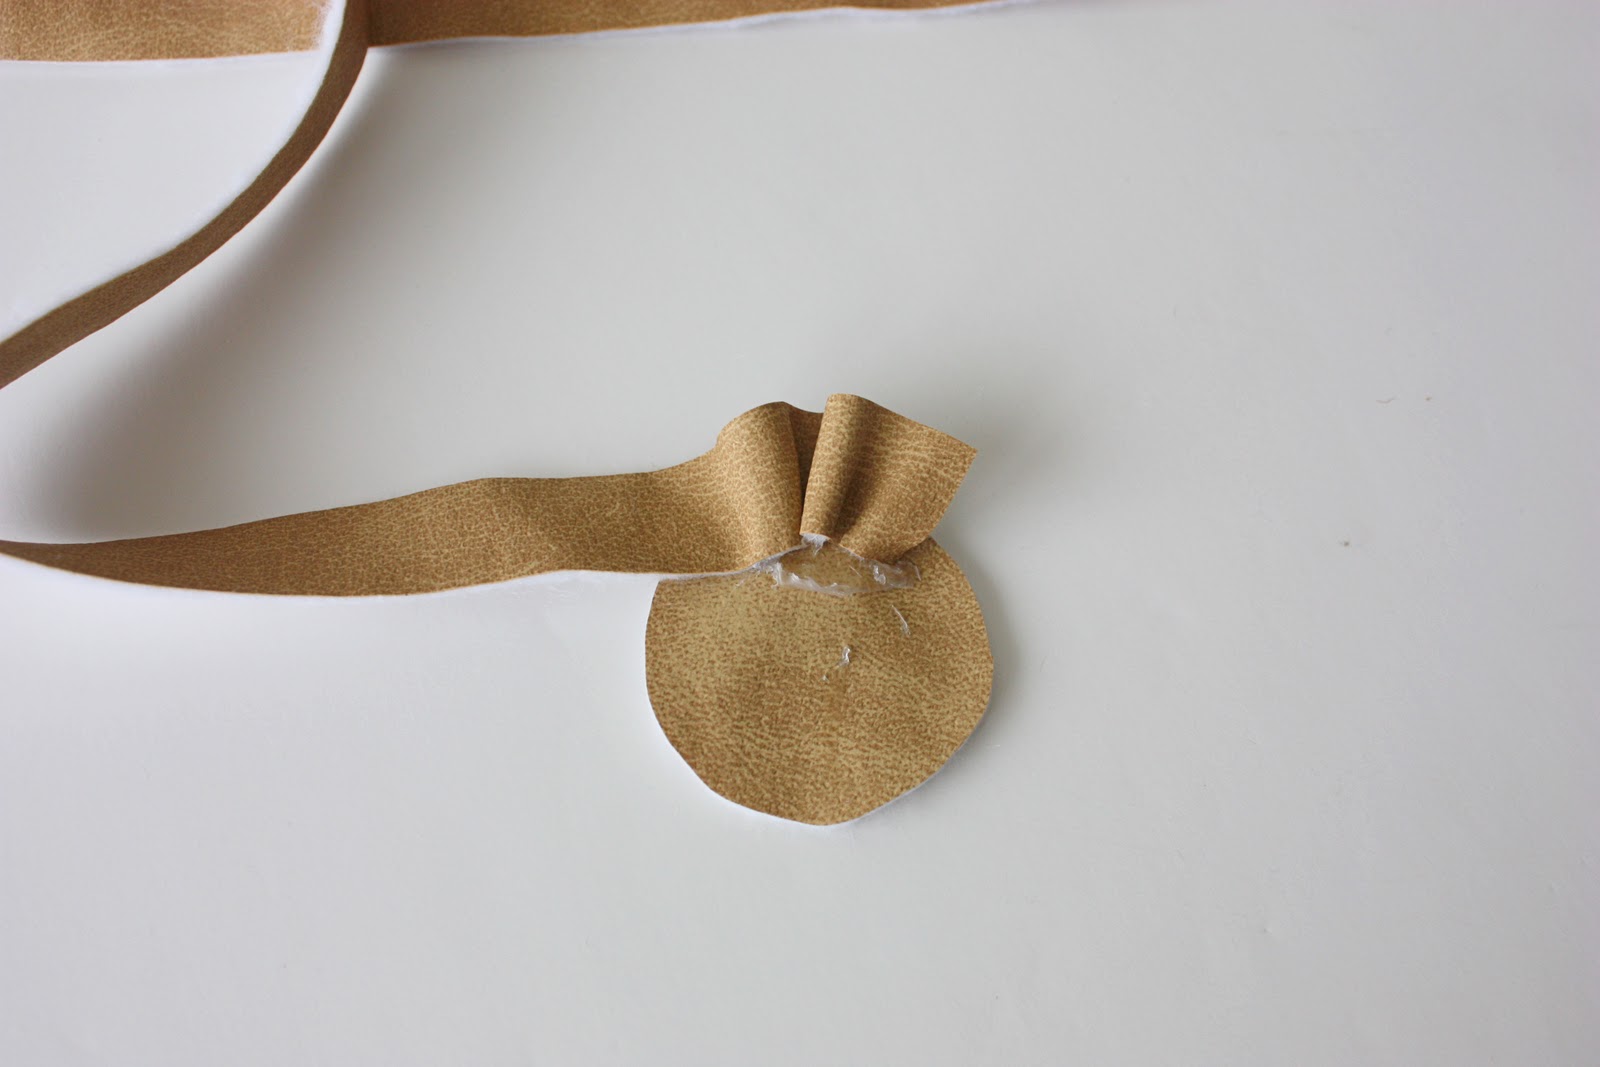
Then I used hot glue to start attaching the strip to the outside of the circle……and gathered it in the glue as I went around.
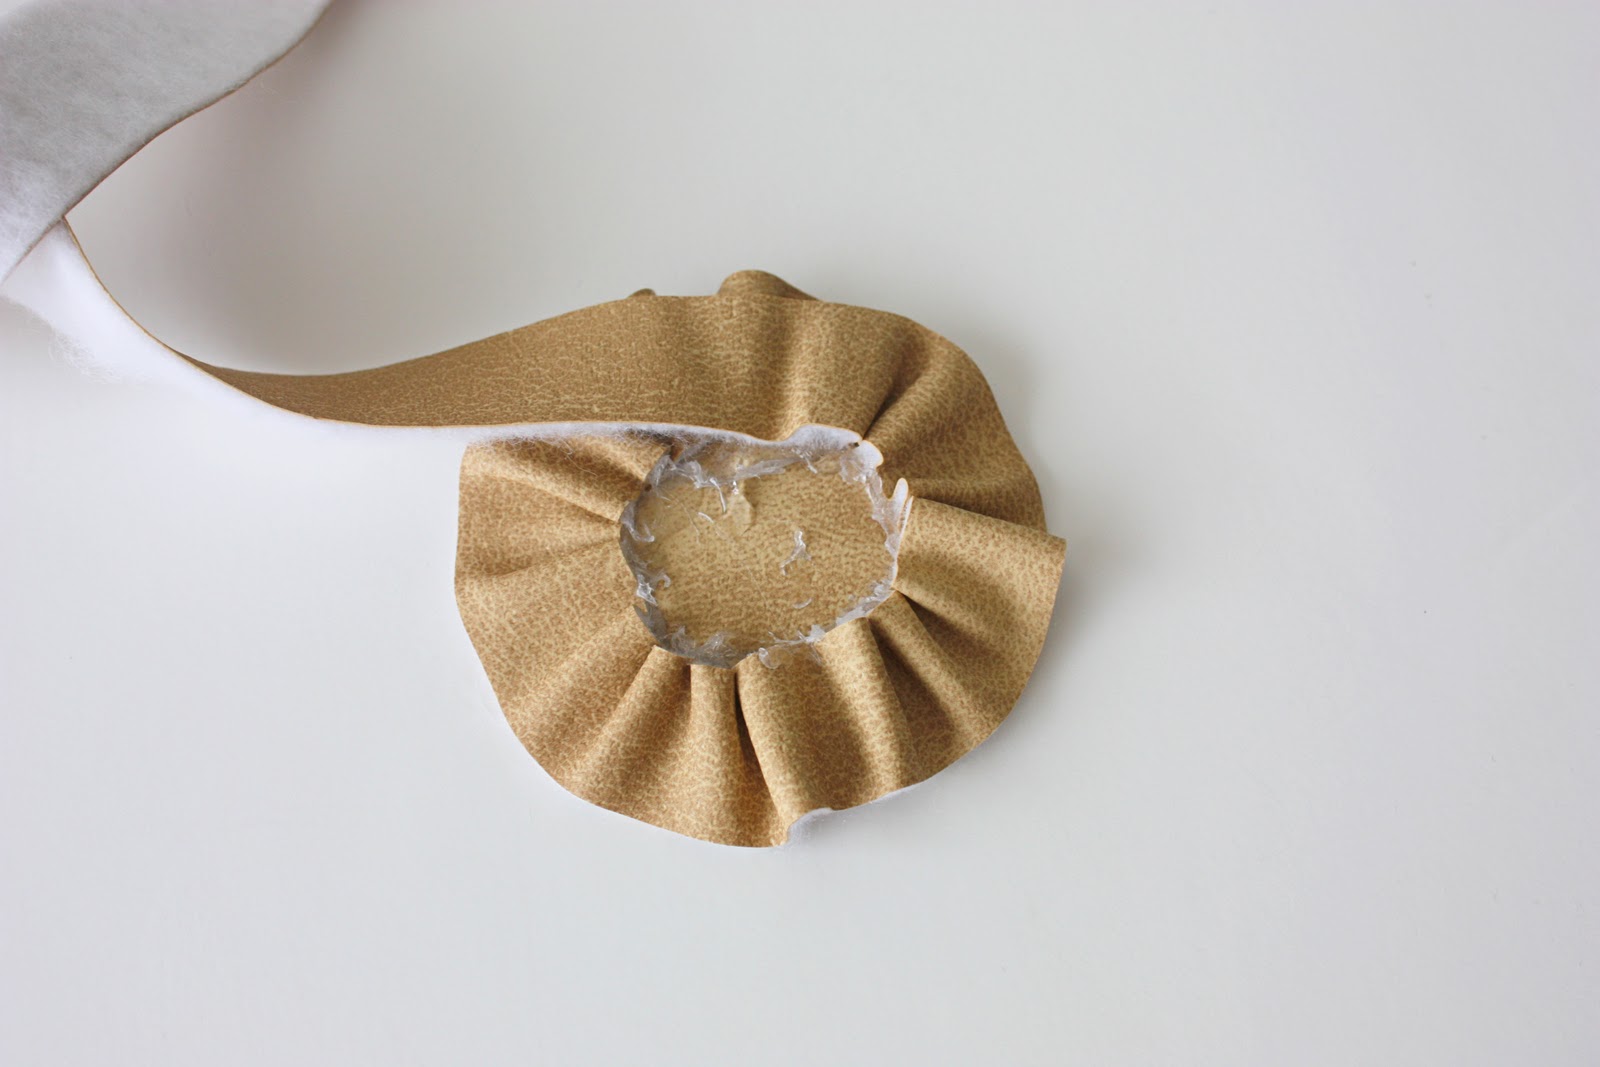
I continued around…..
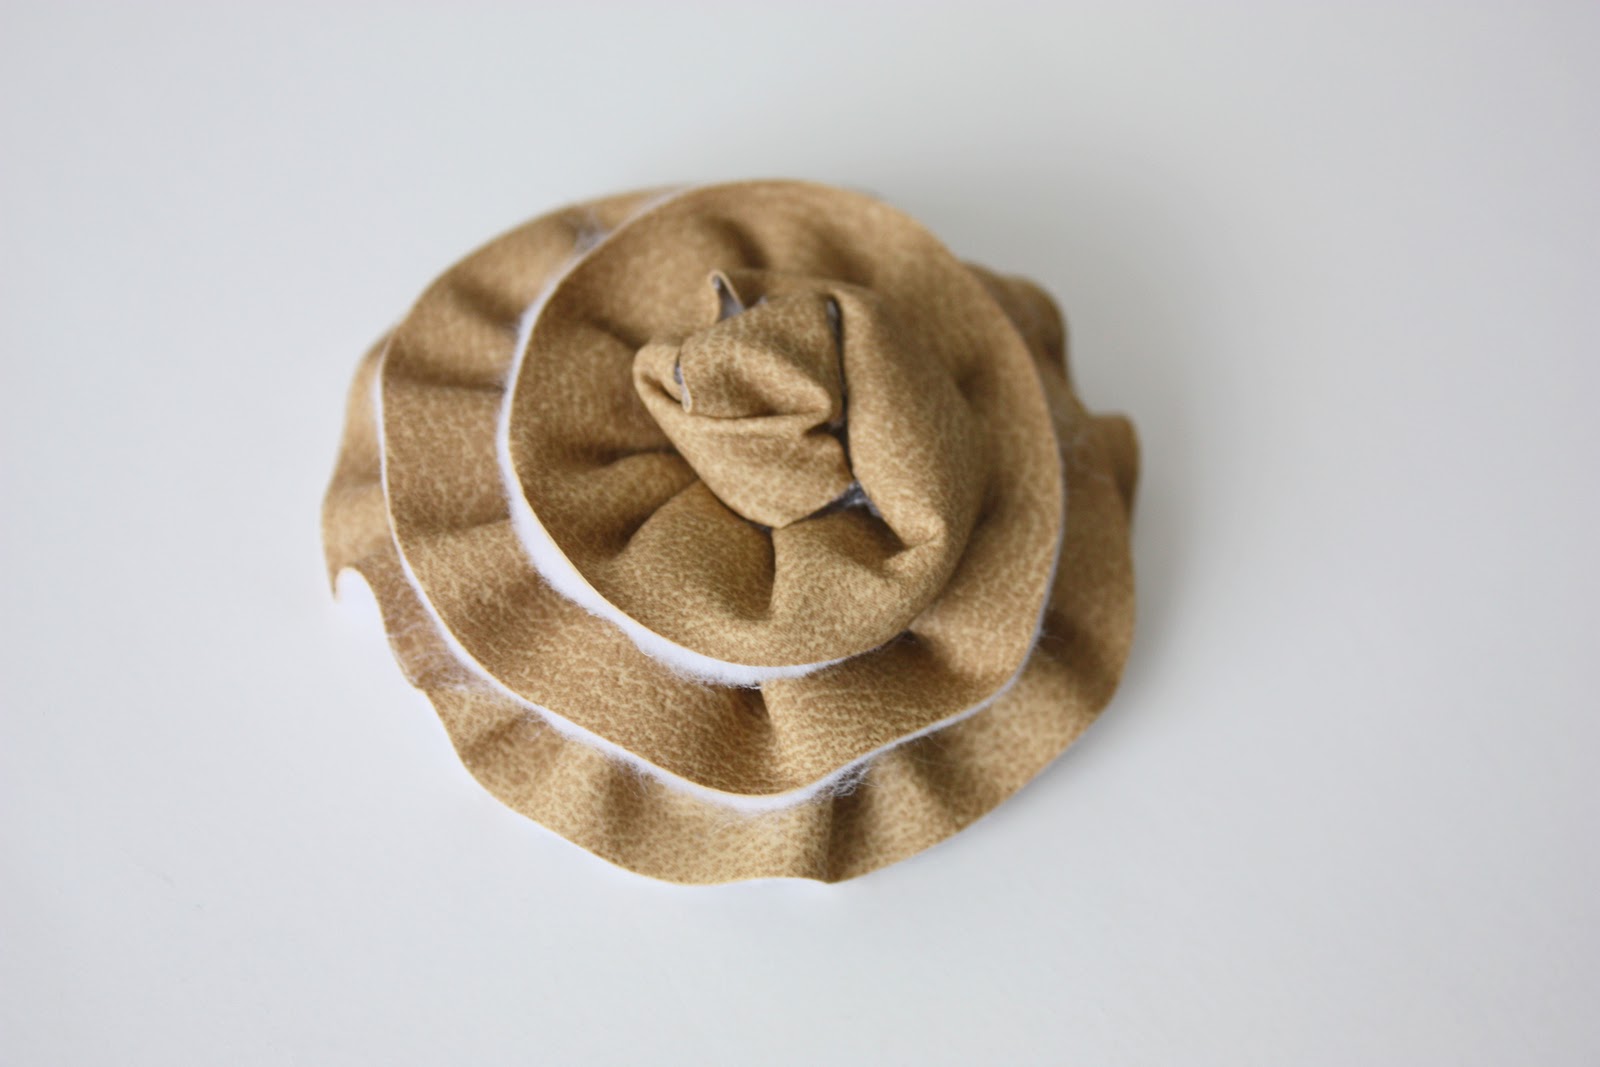
…..and overlapped the layers as I made my way to the center.
Then I just bunched up the middle and glued it into place. You could also skip the bunched up middle and cut out a circle and glue it down to the center.
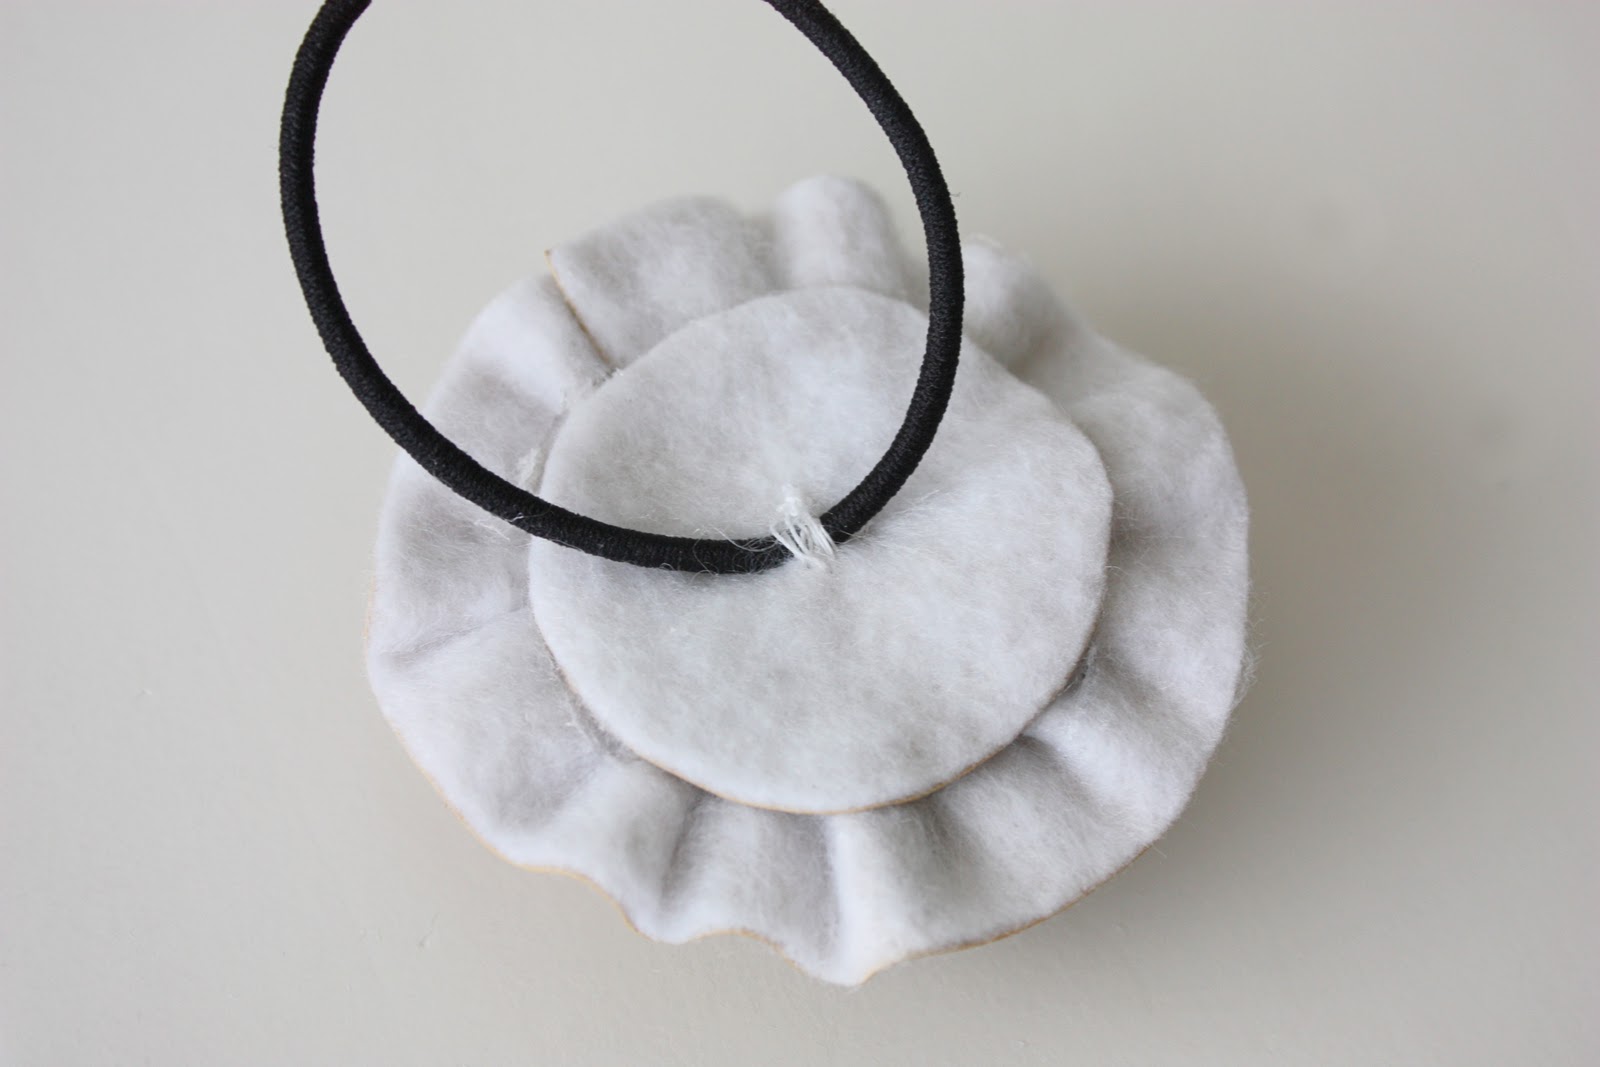
Then, I stitched the hair band to the back a few times.
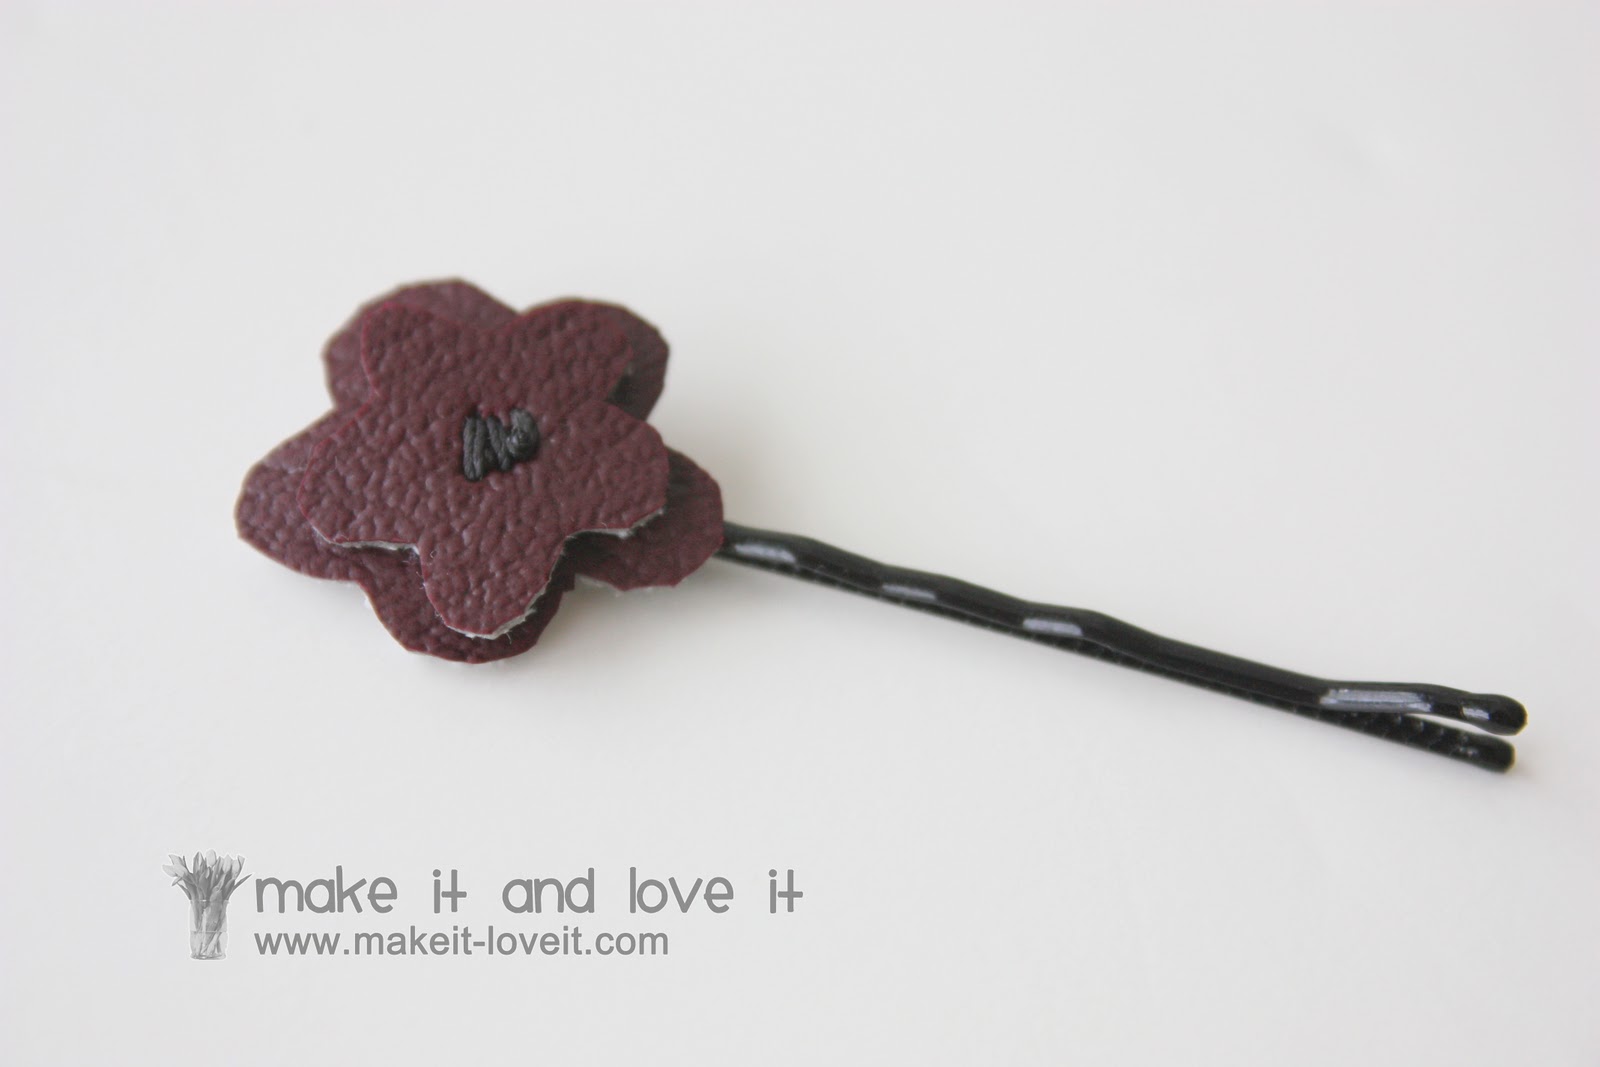
Next, let’s add some vinyl to bobby pins:
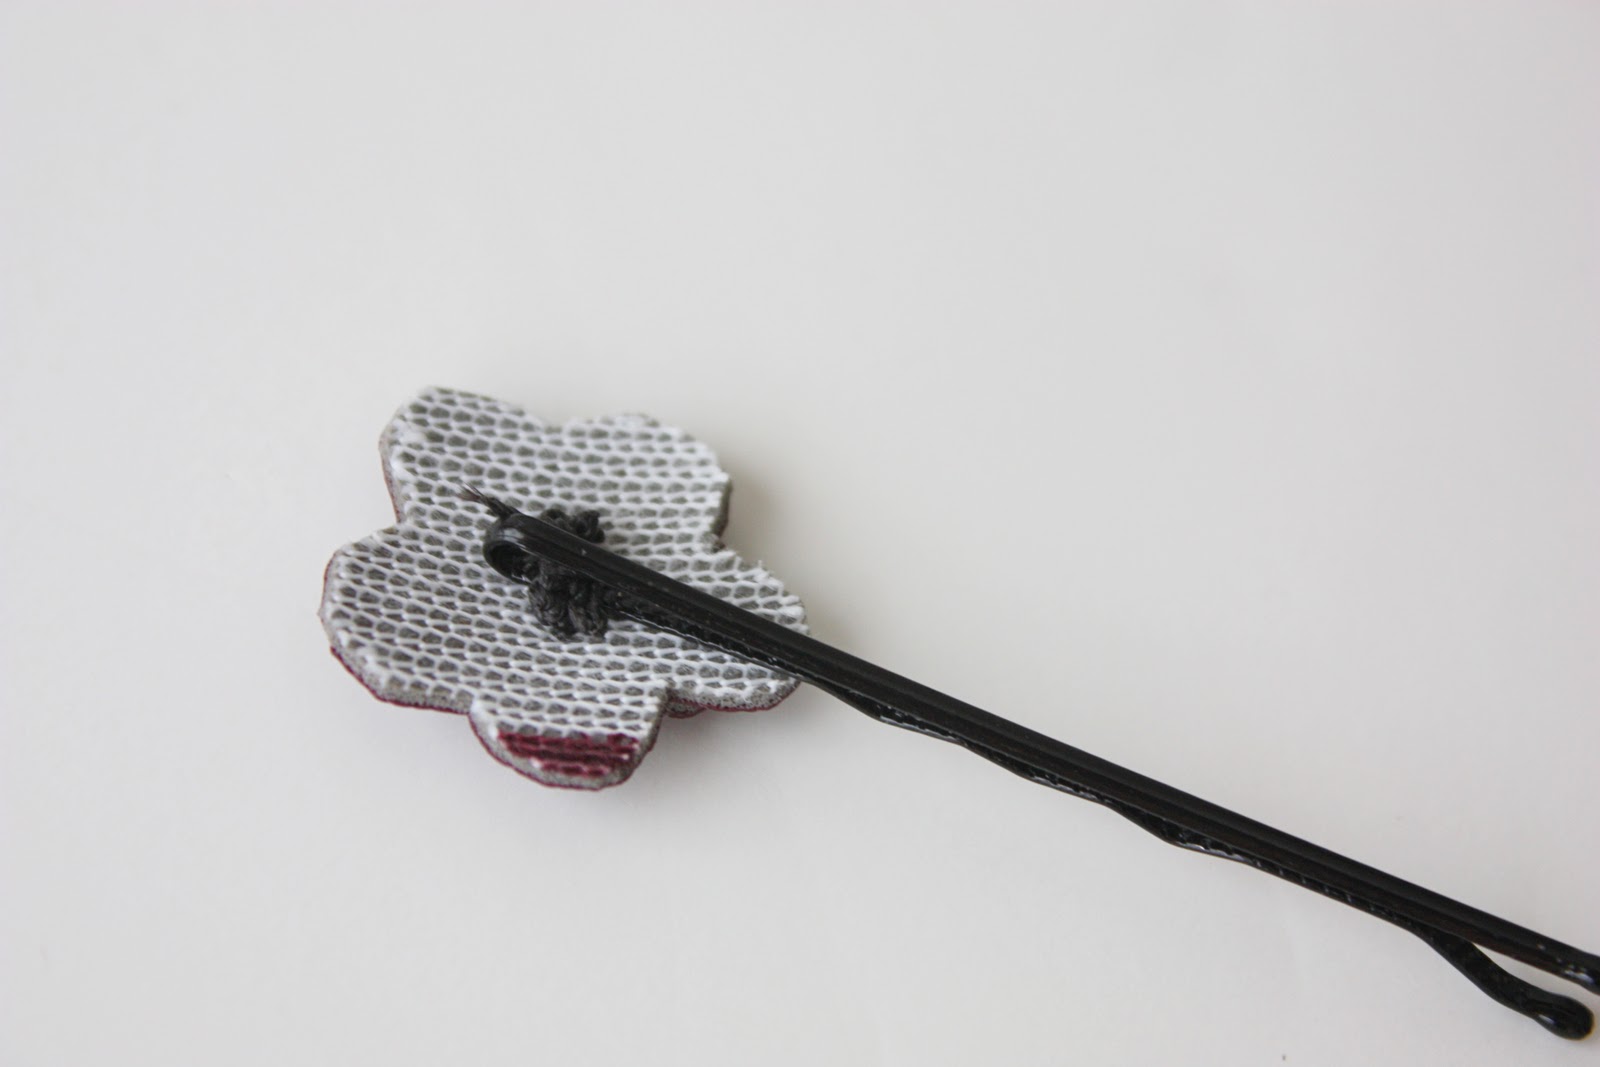
First, cut out a flower shape out of paper, to get the exact shape and size you’d like. Then use it as a template to cut out some vinyl flowers. Stack them and start stitching them together.
Make sure to include the end of the bobby pin each time you sew to the back.
The yellow pin was made the same way, but with a more circular shape.
Have fun with any sort of shape!
Lastly, let’s create some fun little headbands:
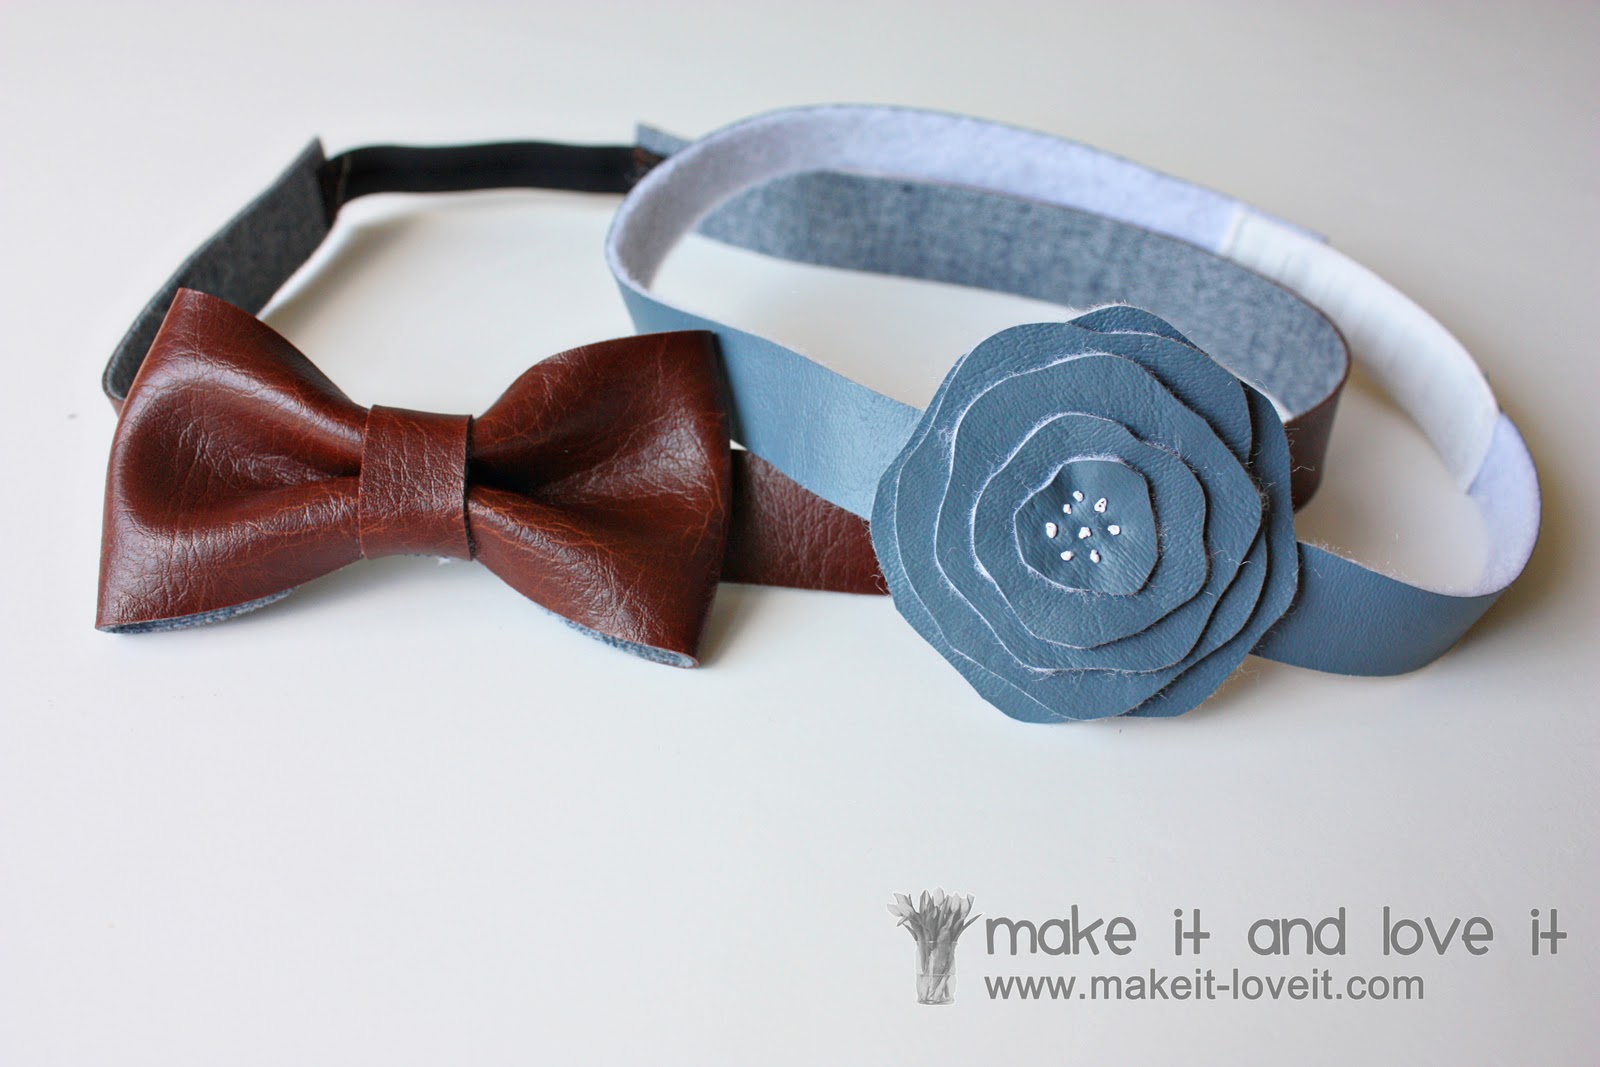
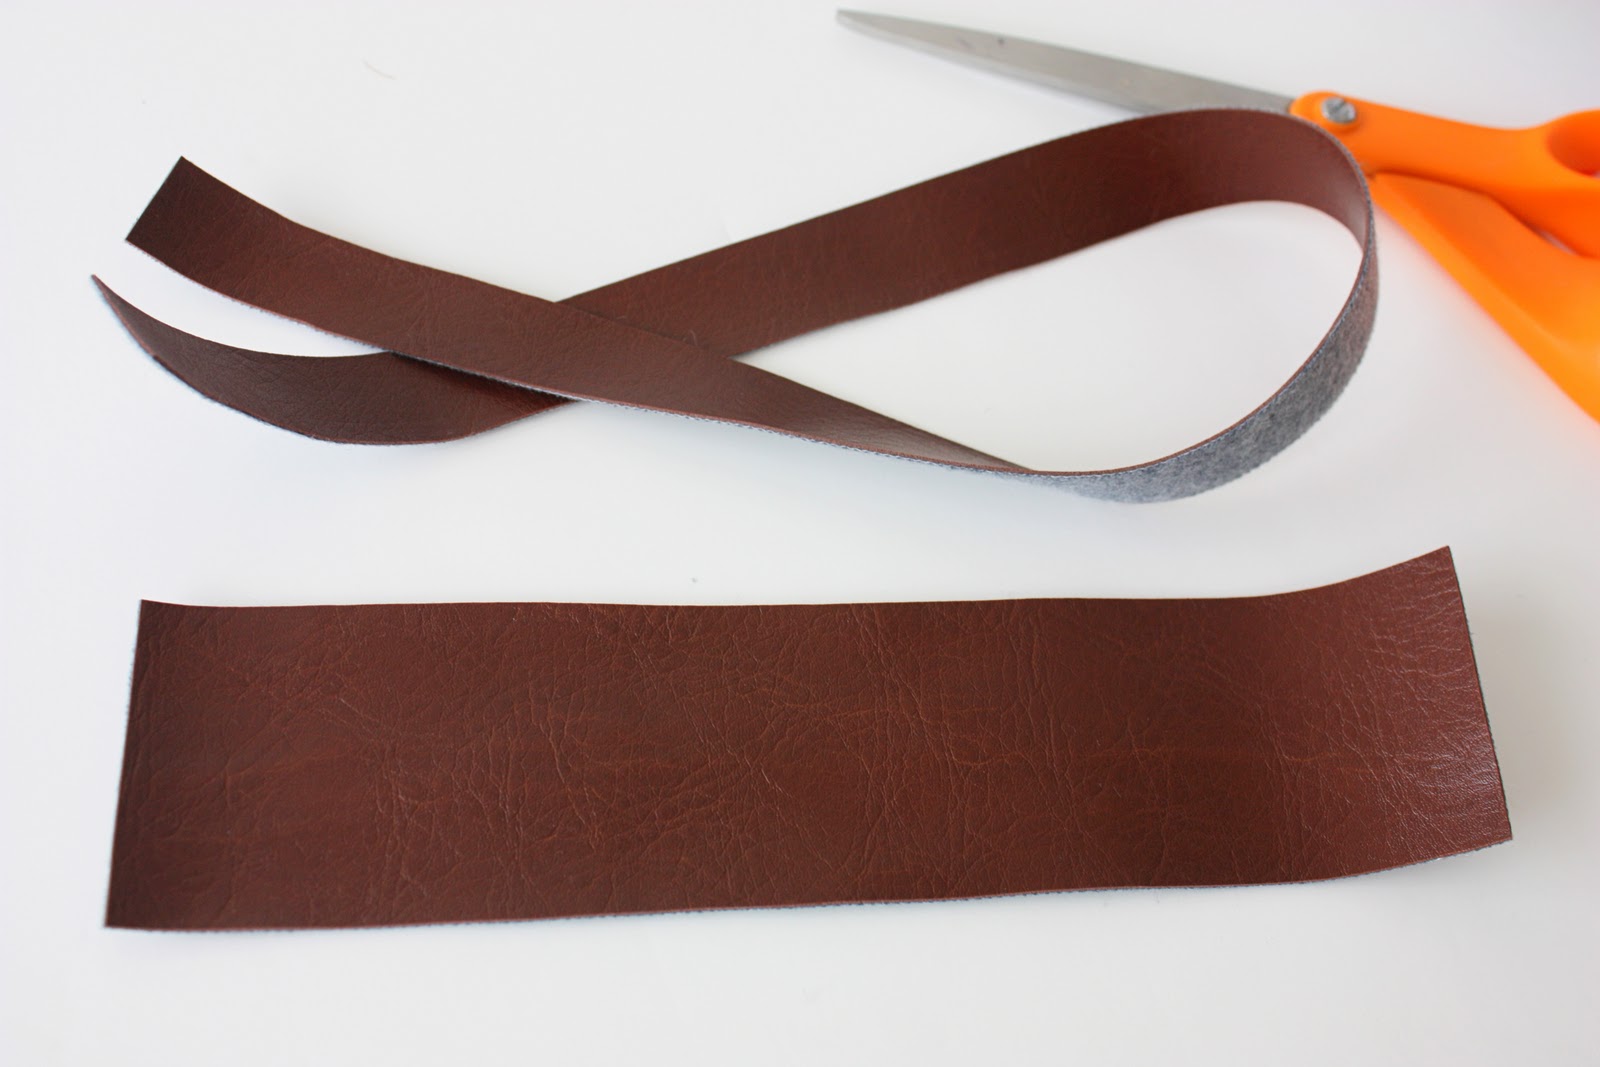
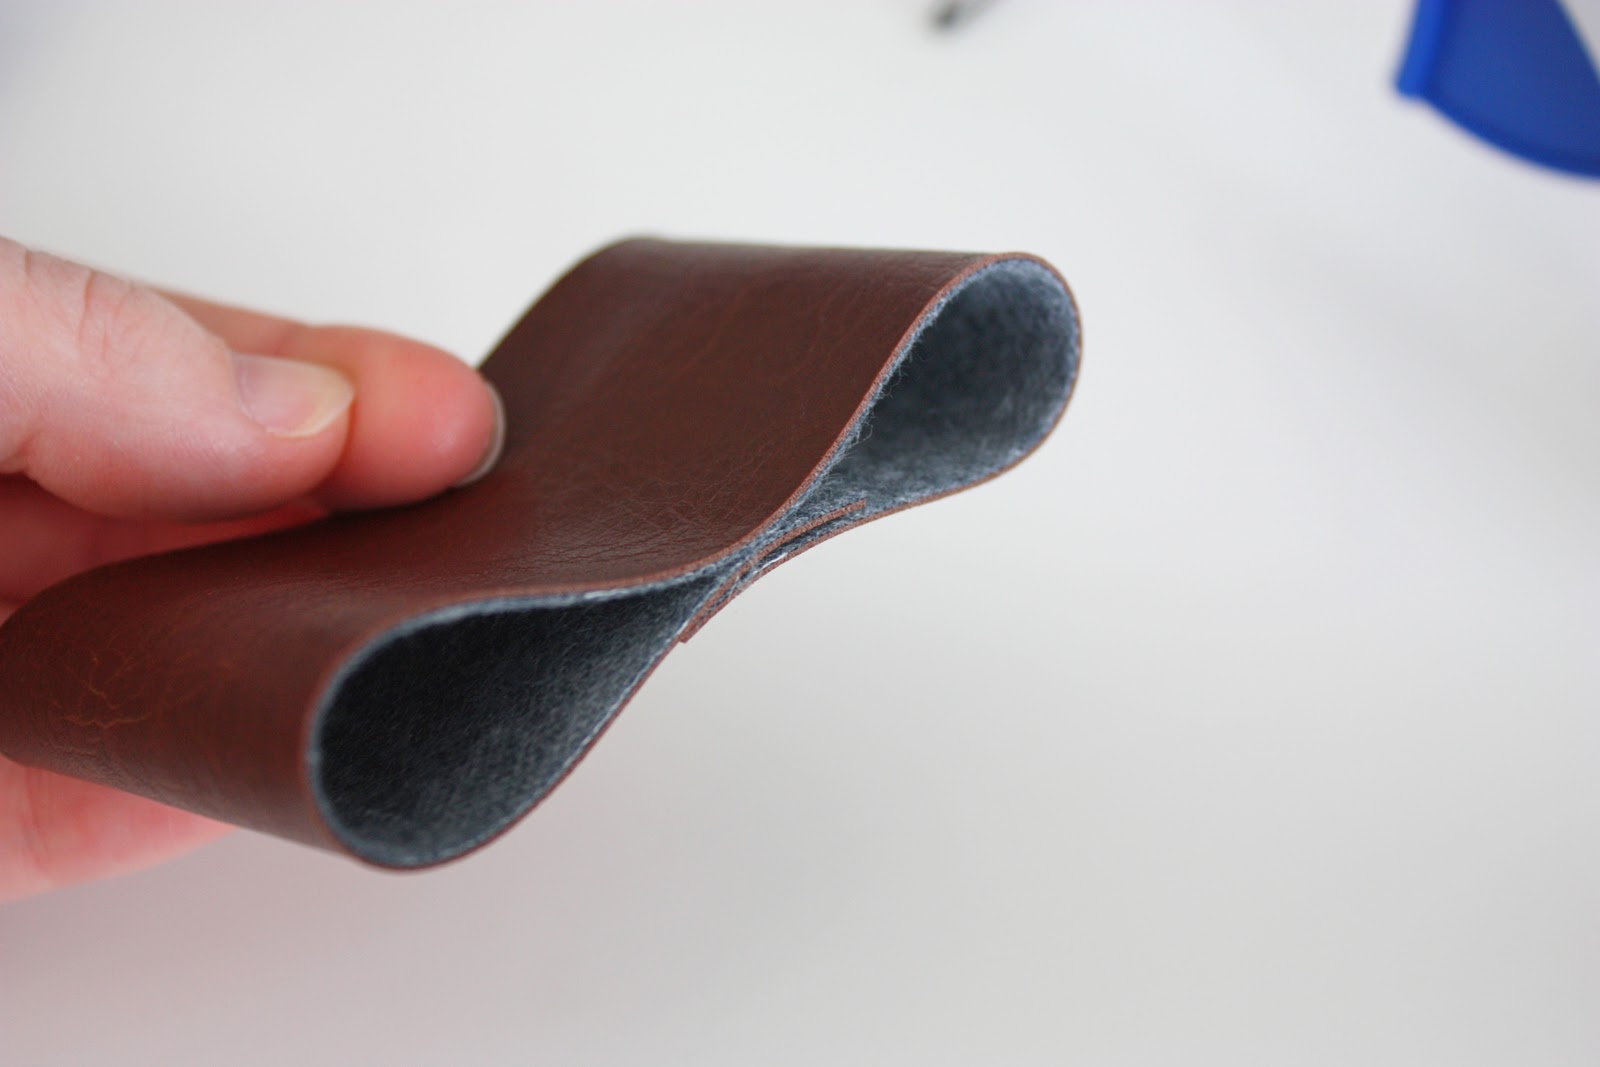
For the bow, I cut out a long strip to go around the head and then a shorter wider strip to make the bow.
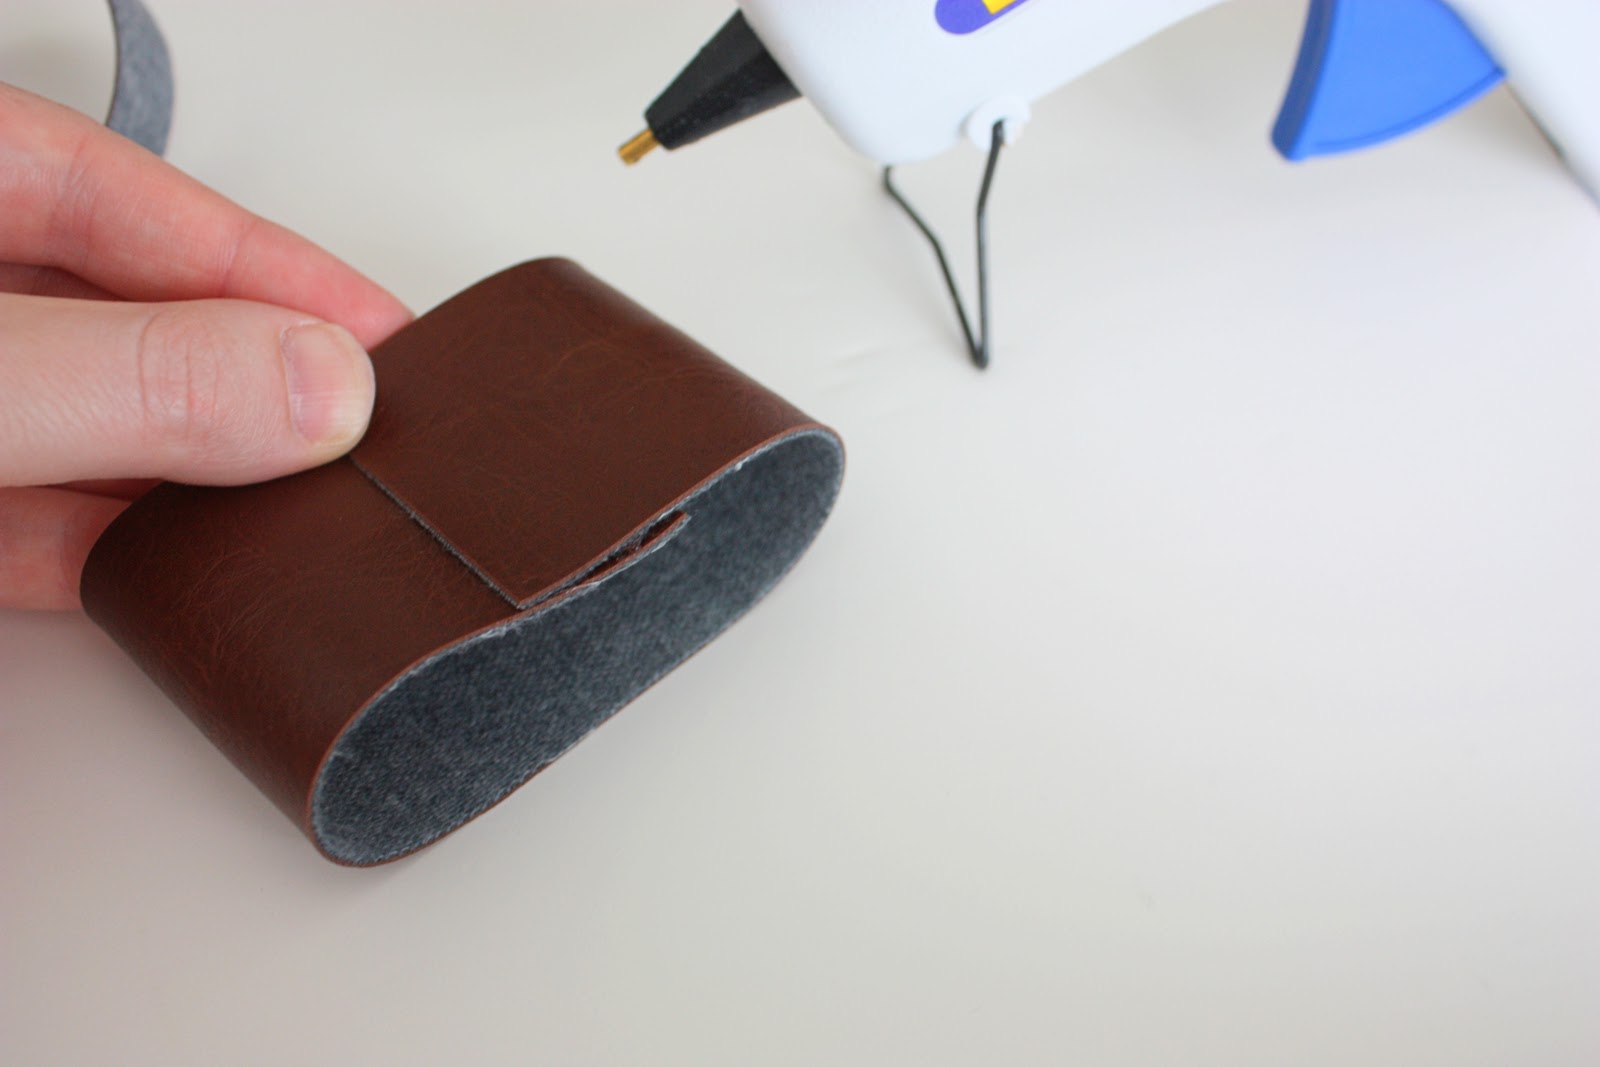
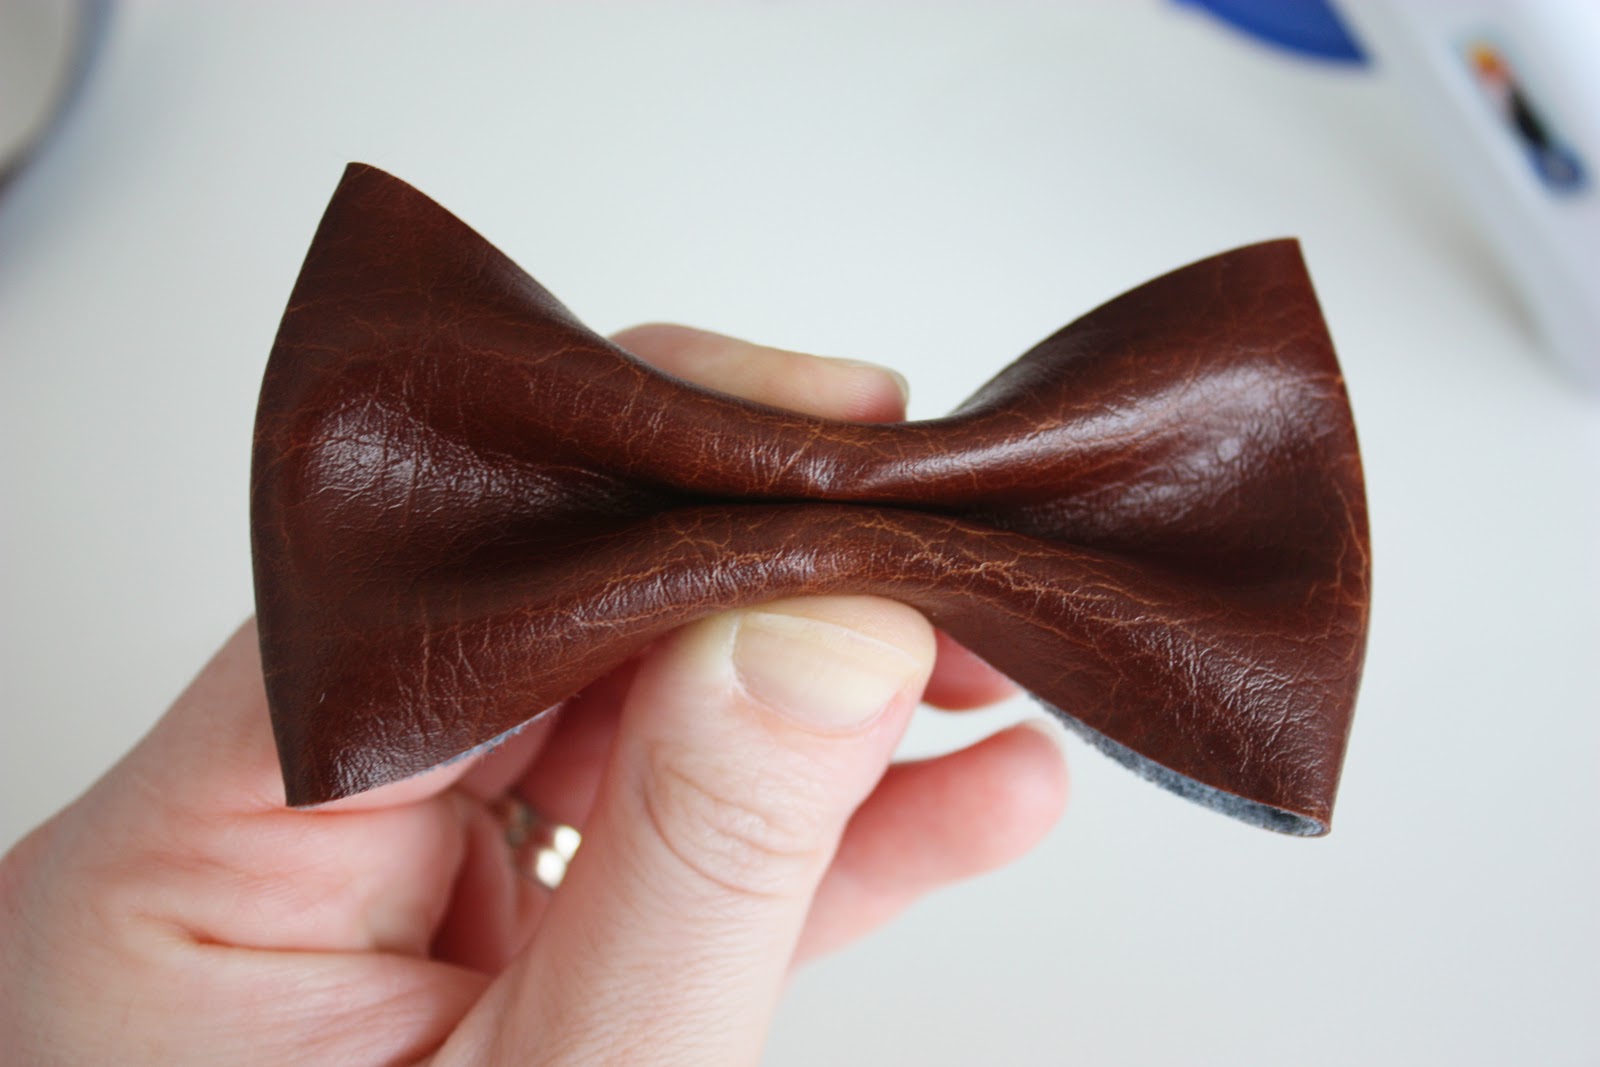
Then I hot glued the two ends of the shorter piece together.
Then I placed a little glue in the middle and pressed the two sides together at the middle.
Then I pinched the center together……
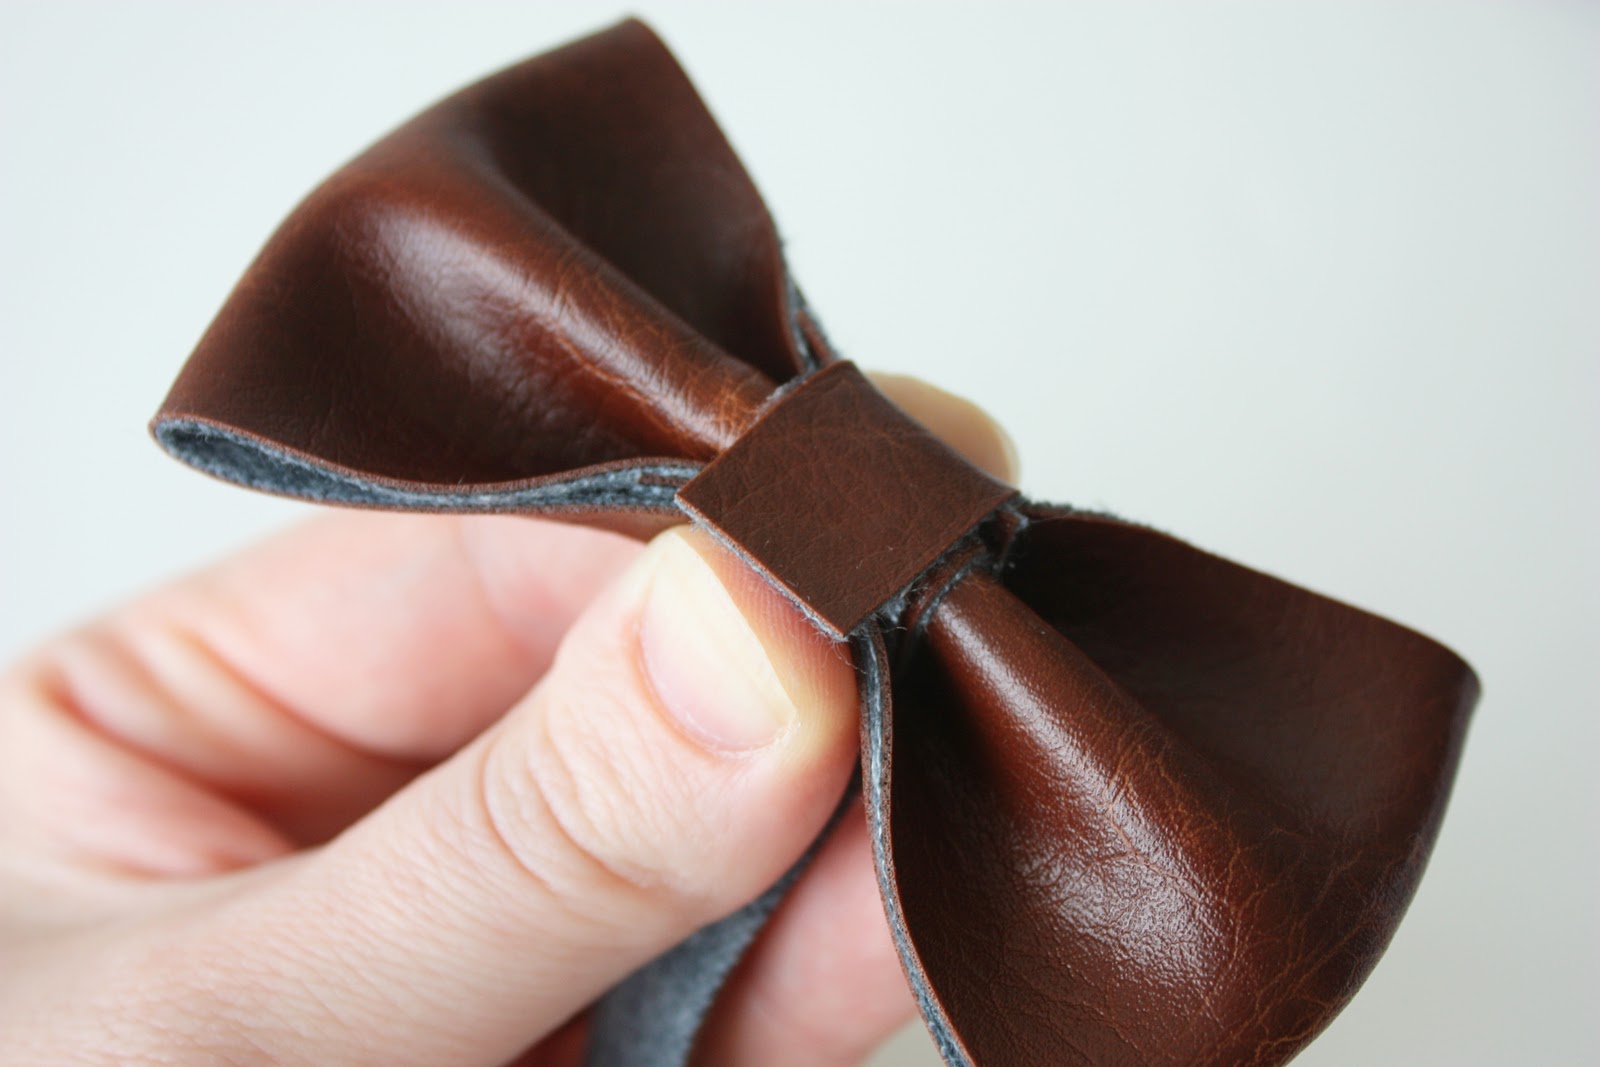
……..and cut out a thin strip to use for the center and hot glued it down at the back first.
……then wrapped it across the front and glued the other end down at the back too.
Make sure to keep the center strip tight as you’re gluing it down.
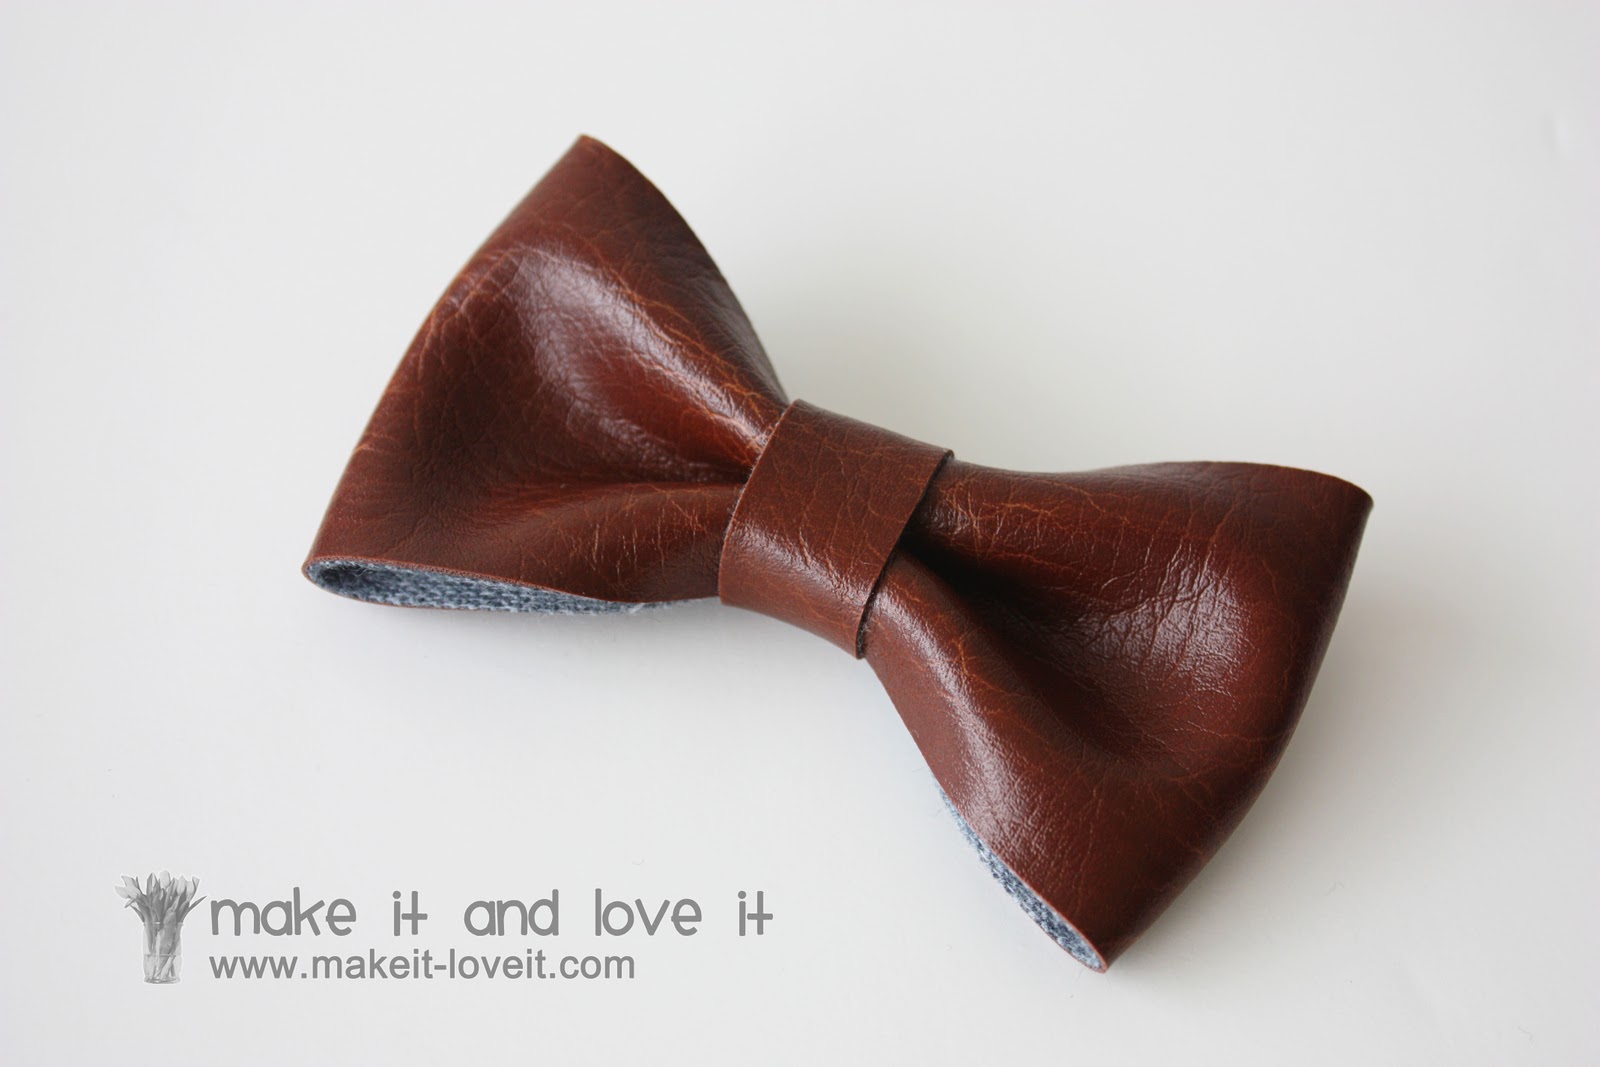
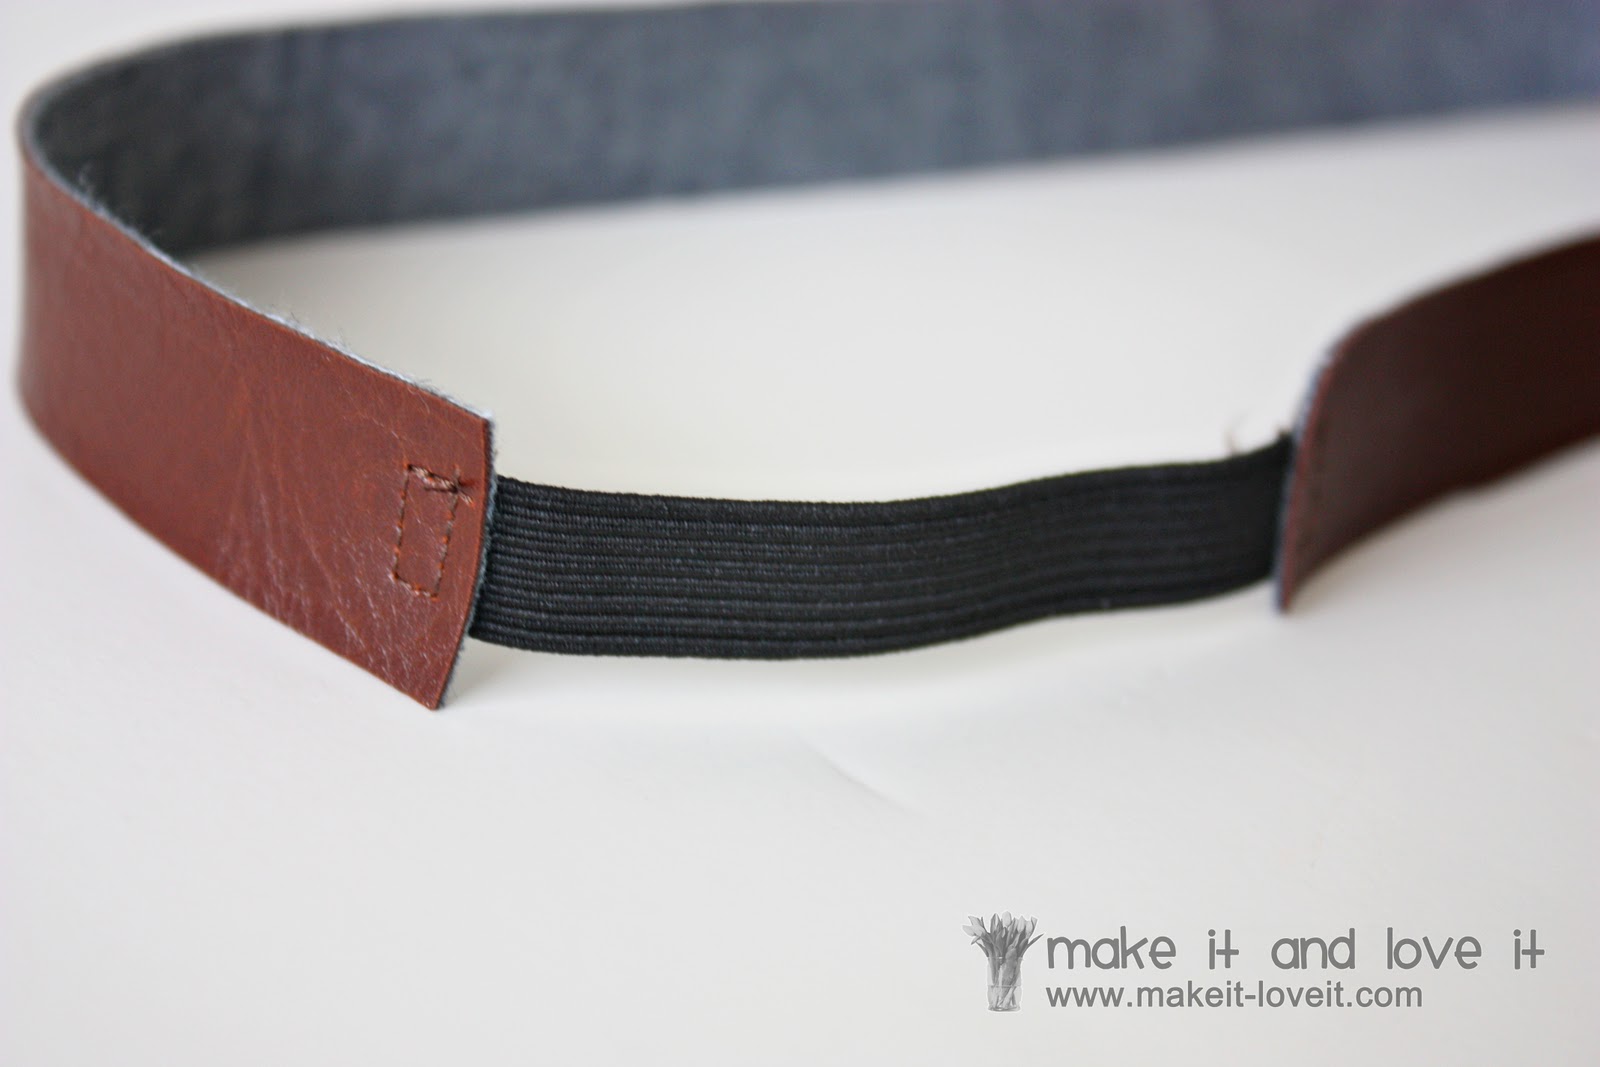
Then I sewed a bit of elastic to each end of the headband strip. Then hot glued the bow onto the headband.
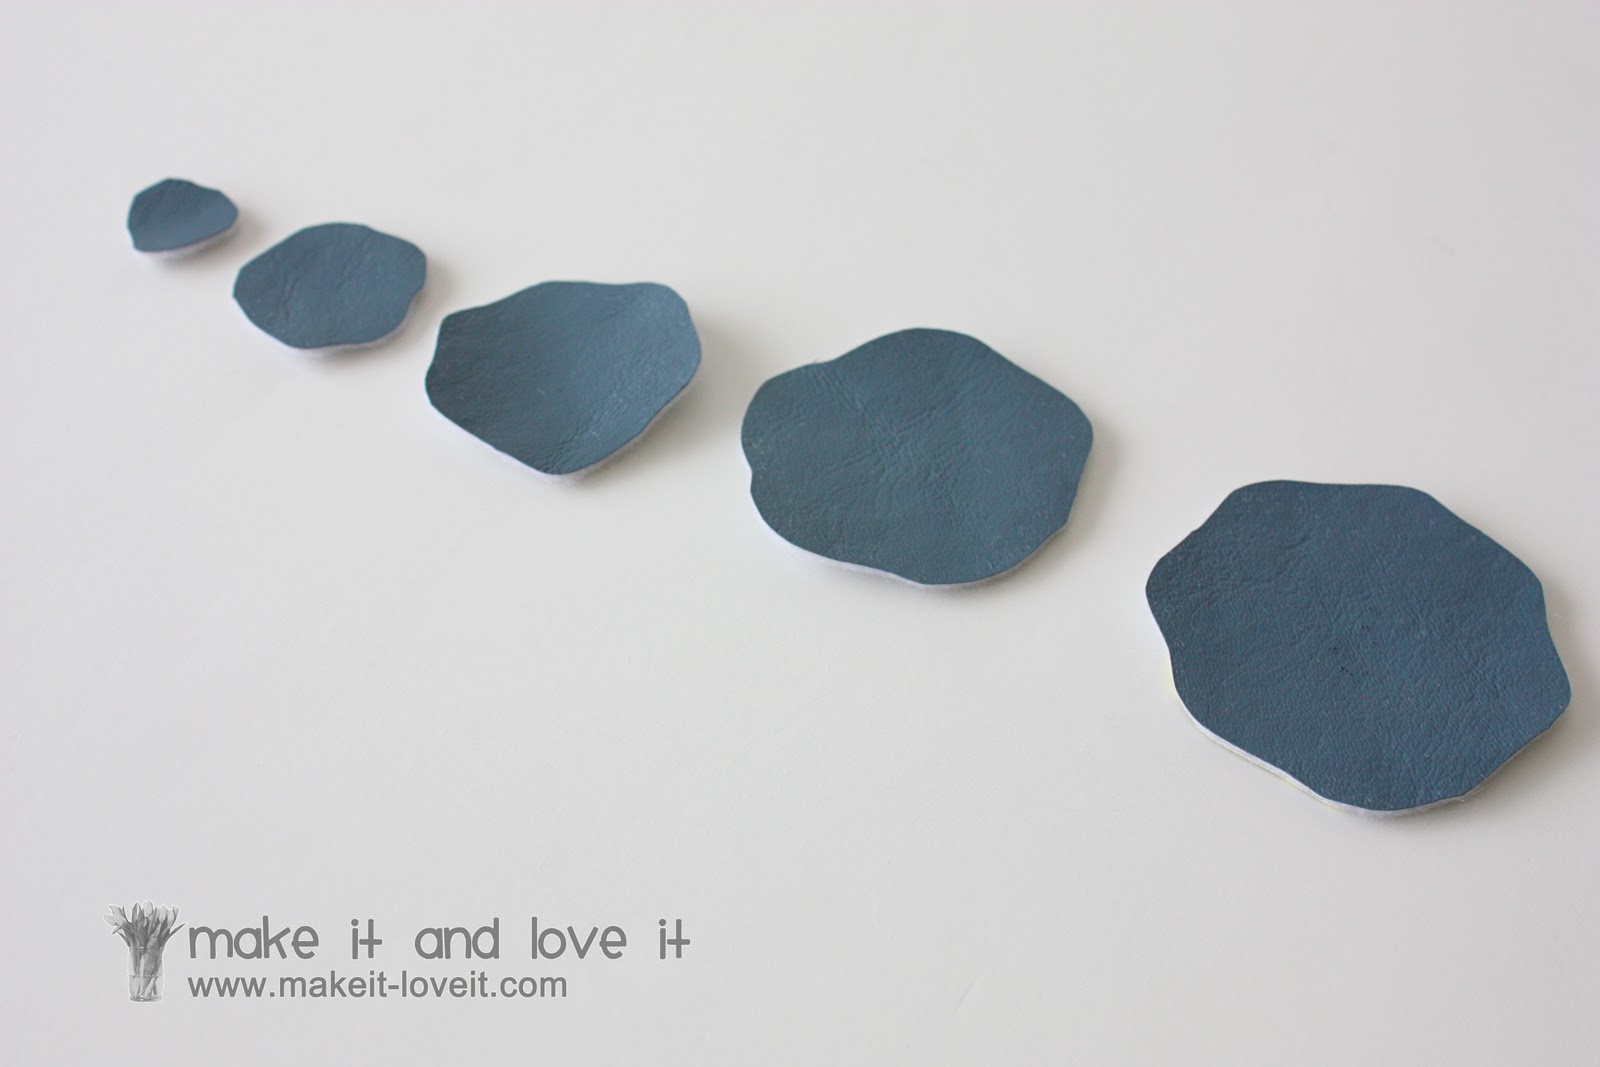
For the blue/grey flower……I cut out 5 wavy petal-like circles that gradually got smaller and smaller.
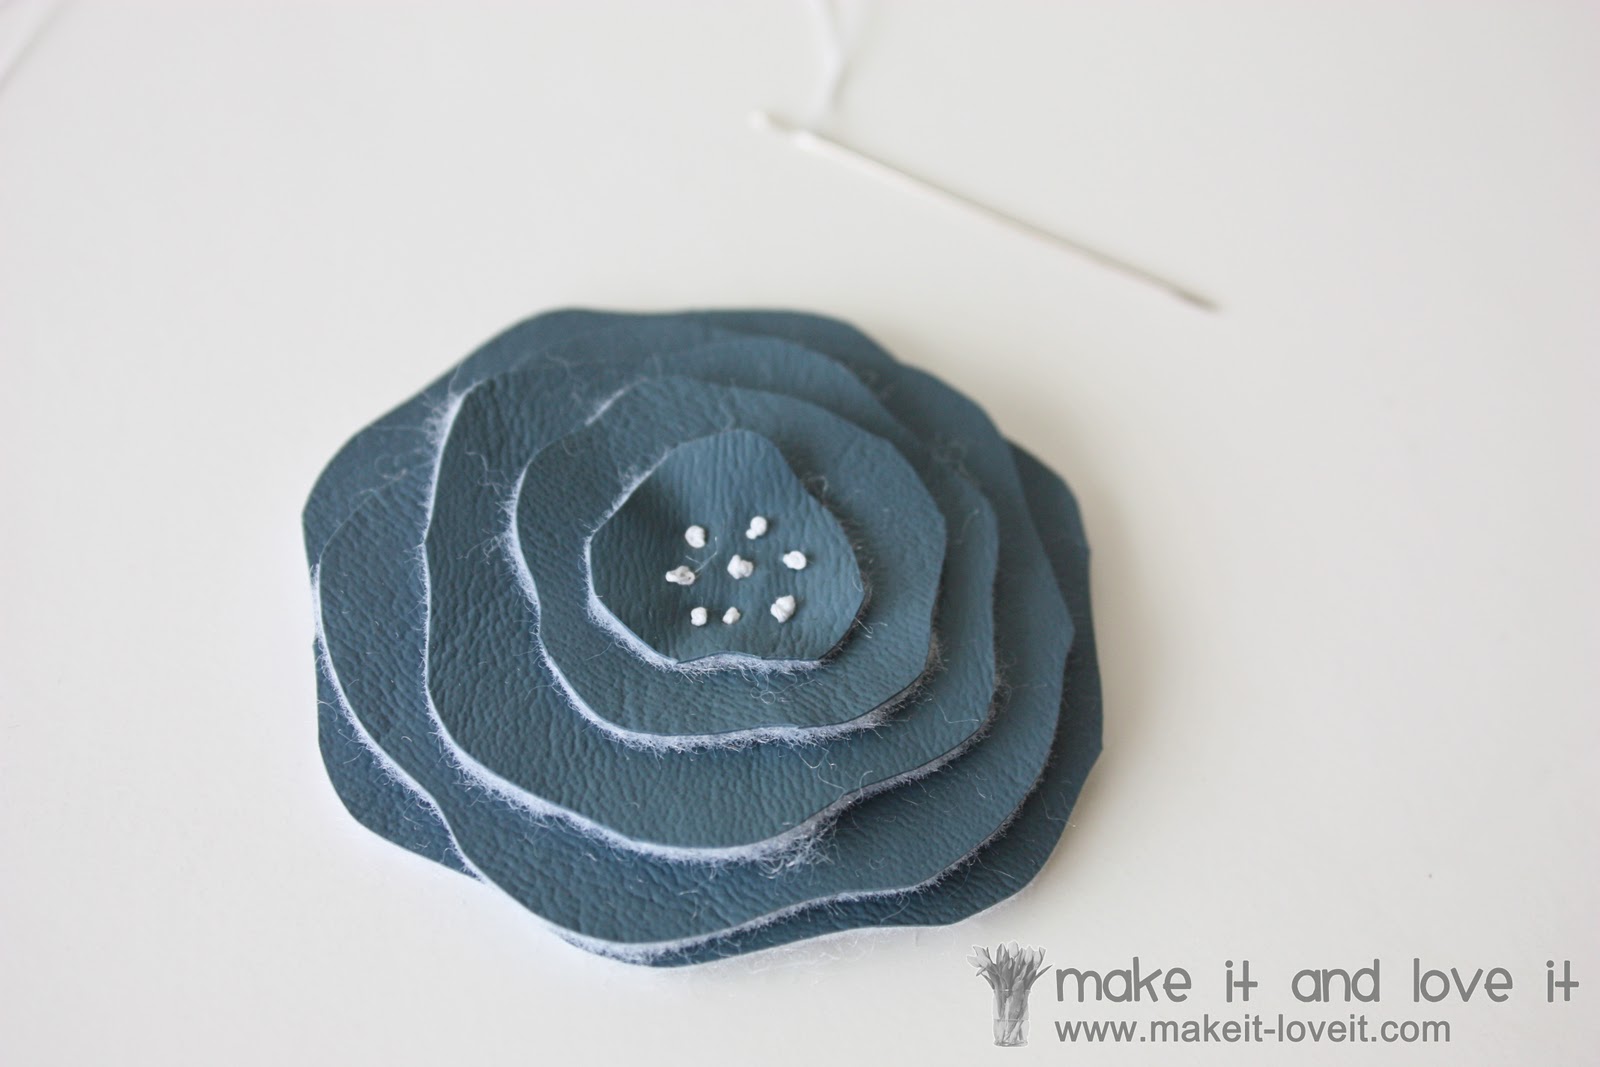
Then I stacked them and sewed them together, making little knots as I came up to the front with my needle each time.
Then I attached the flower to a long strip of the vinyl with hot glue, and added elastic to the back…..just like the one above.
Edited: A reader created a template to use for the blue/grey poppy shaped flower and also the red stacked flower. She graciously offered the use of the template to anyone interested. So now you can click on the image below and print it as a pattern, if you’d rather not free-hand the shape. (Thanks Mindi!!!!!)
And that’s it.
But yeah, there’s probably 7,000 other shapes and ideas that you could come up with.
So go on, give it a try.
And with little or no sewing required,
we can all make a few to add to our hair accessory drawer.