Home » DIY Tutorials » DIY Sewing » Sewing: Clothing » Baby Clothing » Full and Fluffy Pettiskirt
Full and Fluffy Pettiskirt
July 30, 2010 - By Ashley Johnston 255 Comments
I used to love to dance around in skirts as a young girl.
And I always wanted a pettiskirt.
My childhood friend had one, and we would wear it, then trade, then dance, then trade, etc.
What a pain…….but I loved that thing.
And wished it was mine.
So making my little girl her own, was kind of like fulfilling that childhood dream of having a full and fluffy pettiskirt, all my own. Ha……forgive me!
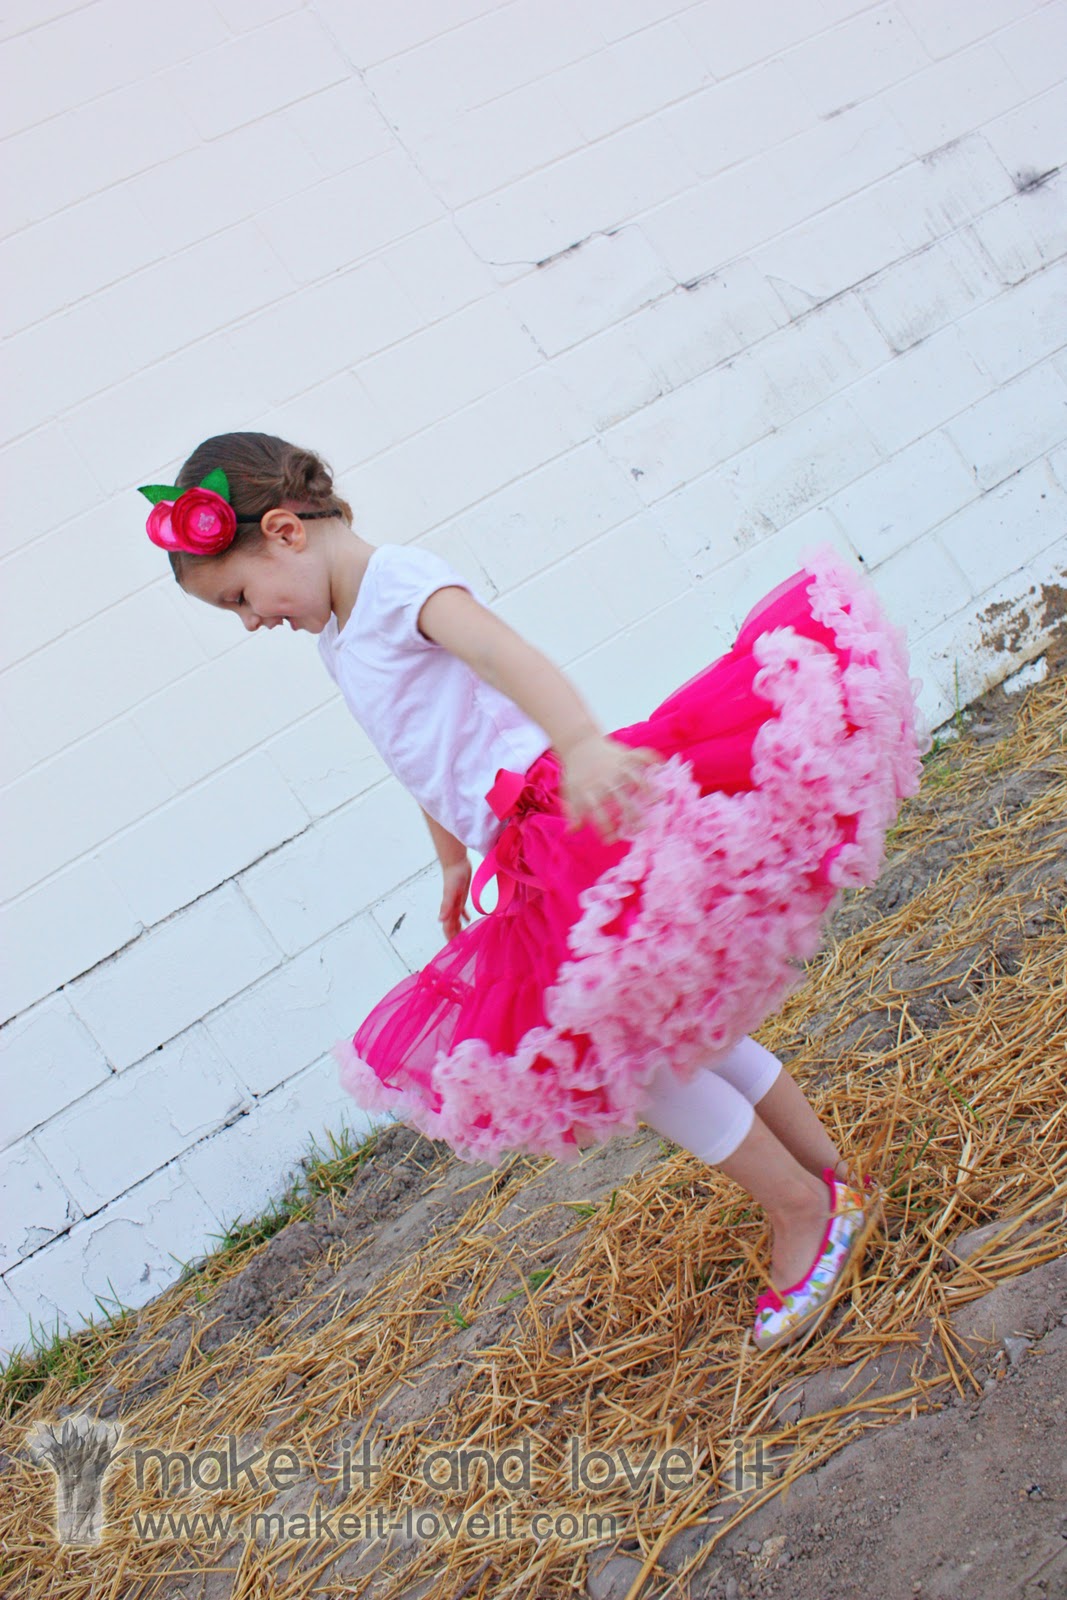
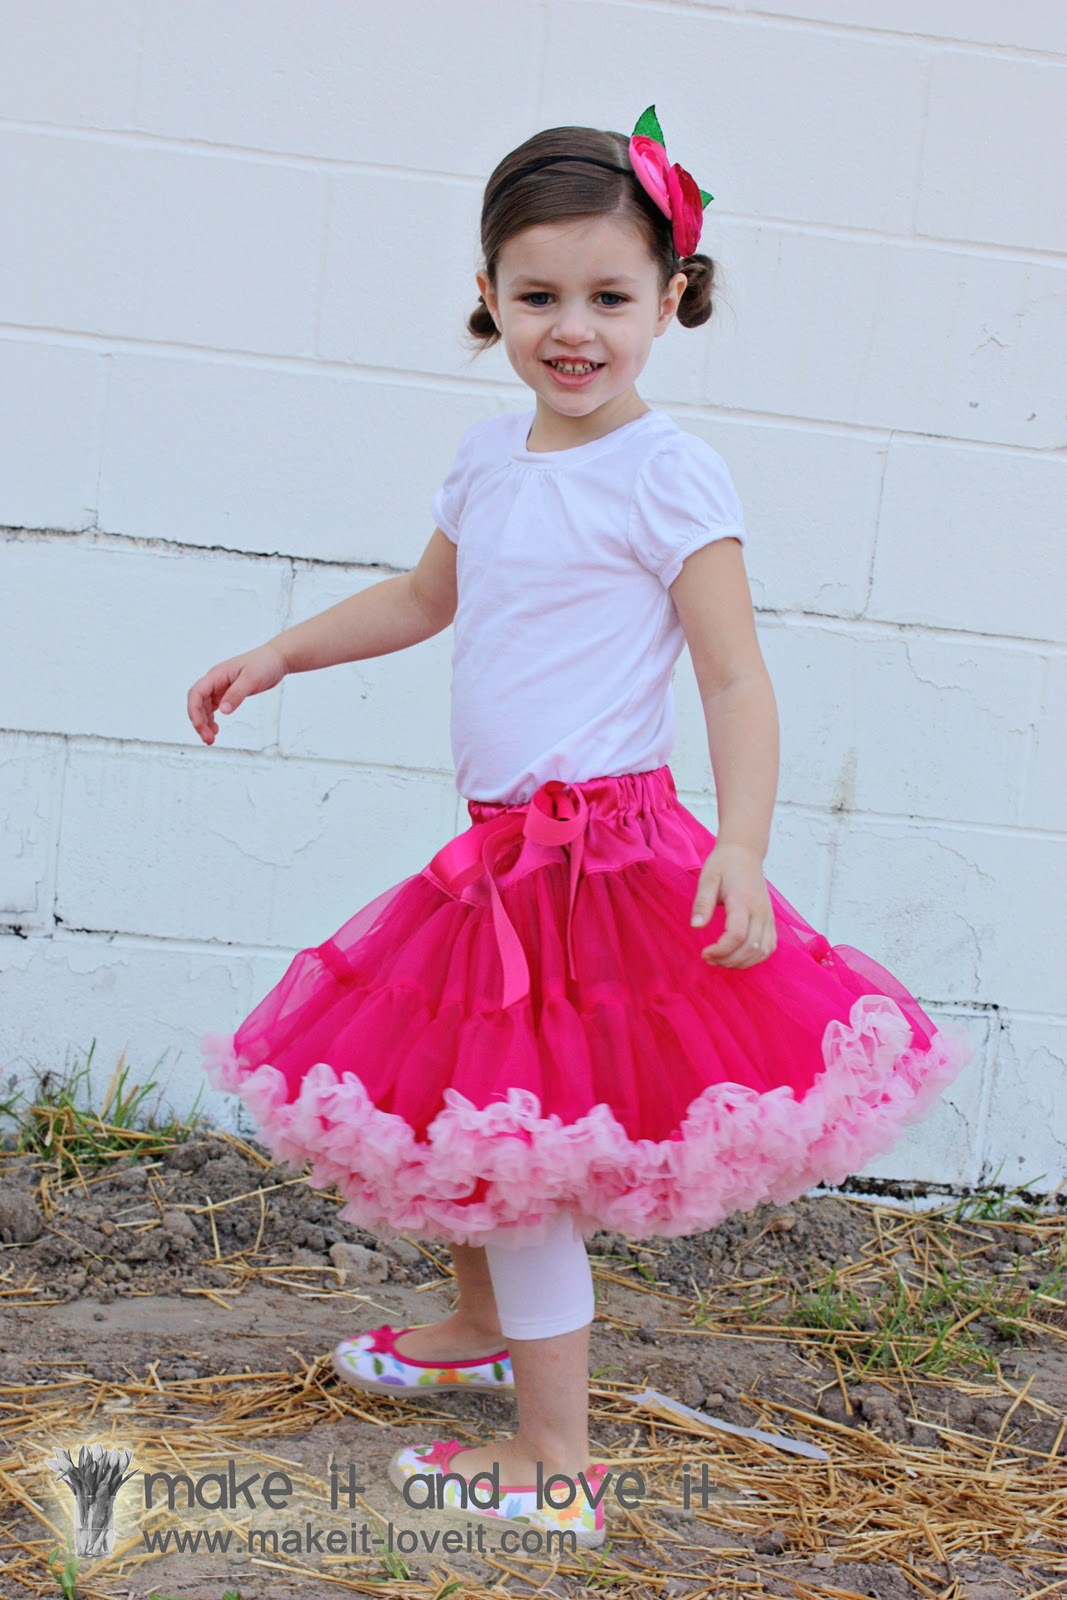
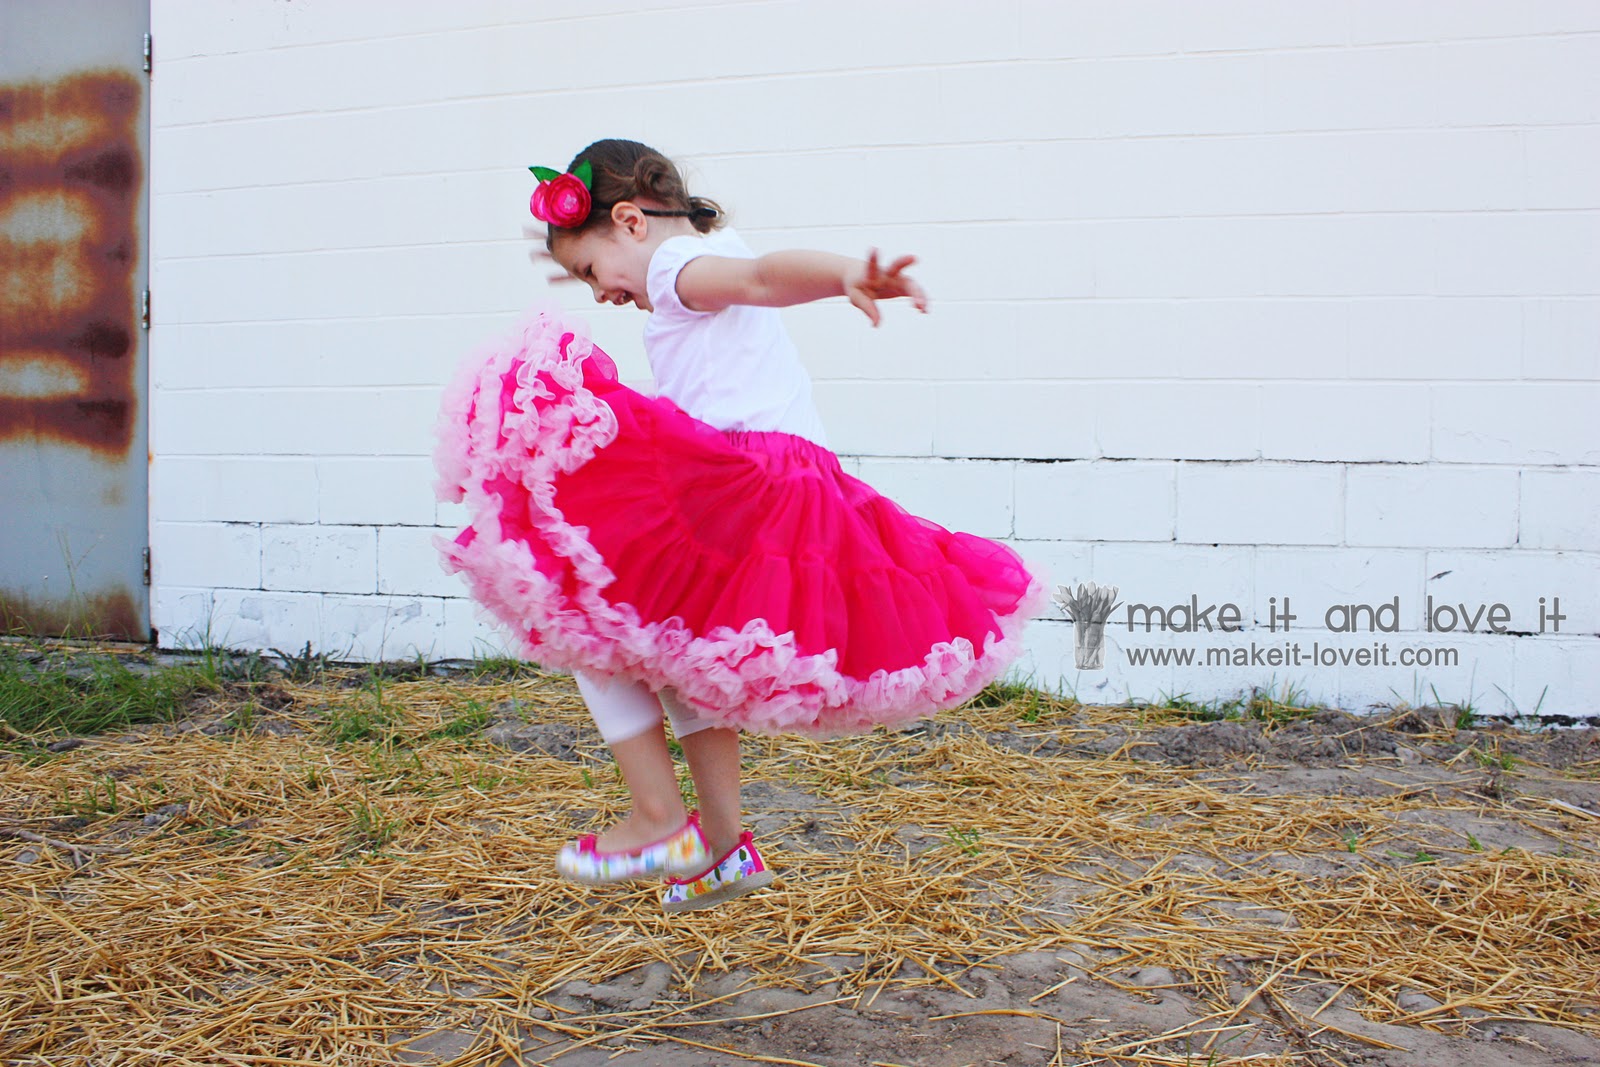
What could be better? A full pettiskirt to dance in, twirl in, pretend in……
All of the ruffles, all of the layers………they will bounce right along with your free-spirited little girl.
With all those soft layers, girls of all ages are bound to feel happy and free….
Made my heart so happy to watch this little lady enjoying the fullness and fluff, every bit as much as I did so many years ago. (Why didn’t I know now to sew when I was a teeny little girl?)
Would you like to make one too?
I found a video on Martha Stewart
here a while ago, where a guest came on and showed how to make her pettiskirts.
I wish she had more time to share….but such are TV segments. Short and sweet.
So I watched the video several times, adjusted the measurements given (just a bit), and came up with a step-by-step tutorial…..just to help explain the process a bit more.
And before we begin, make sure you purchase
a non-fray chiffon….you don’t want to have to finish off every edge. WAY too much work. I found my chiffon
here. And actually purchased rolls of it, in the exact width that I needed,
here. There are many colors to choose from and the prices are great! (If you don’t buy it on rolls, get ready to make lots of 2 inch and 5 inch wide strips that have to be sewn together to make longer strips. But it can be done…..don’t worry!)
If you’re making a size similar to mine (about a 3T/4T….maybe even big enough for a 5T) I followed the links above and purchased one 2 inch roll (light pink) that was 60 yards long and one 5 inch roll (bright pink) that was 30 yards long.
Also, you will need to purchase a 1/4 yard of satin, some 7/8 wide elastic, and some ribbon.
Now, to get a visual of how the skirt is made……..it is a 3 tiered skirt, with a ruffle around the bottom. The 1st tier is satin, the 2nd and 3rd tiers are 5 inch wide chiffon, and then you use the 2 inch wide chiffon as a ruffle along the bottom. And then you actually make the chiffon section of the skirt twice, and put them together and make a 2 layered, 3 tiered skirt. Make sense?
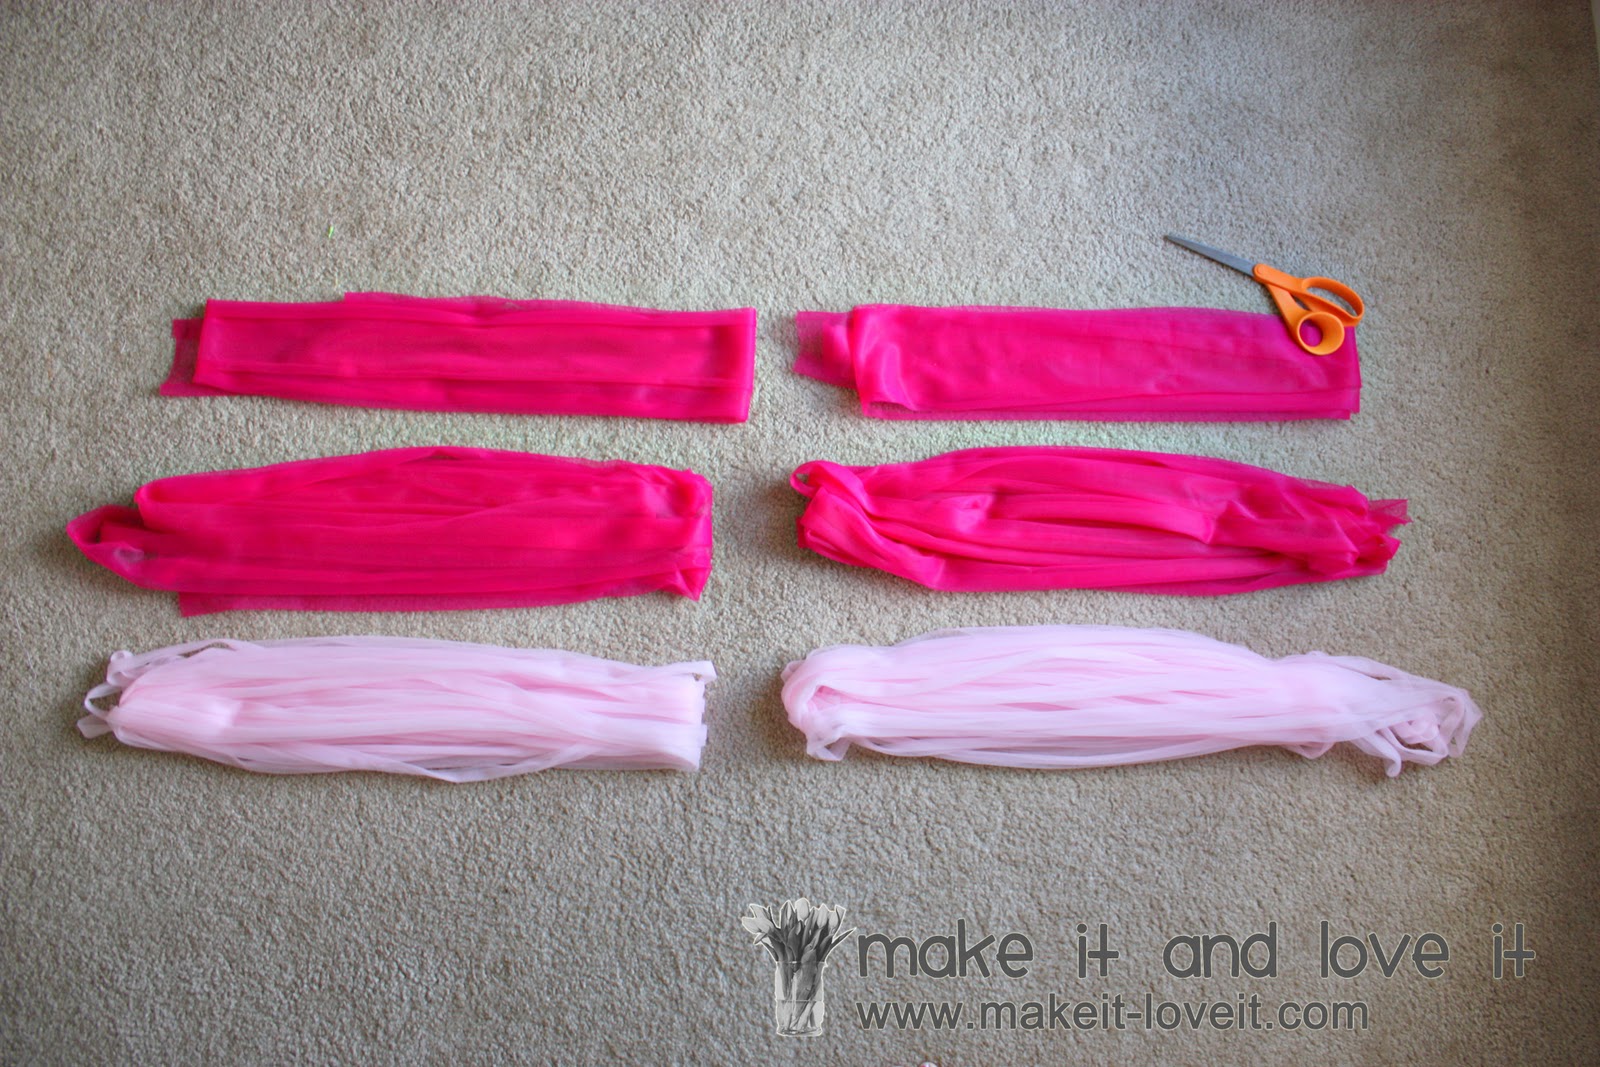
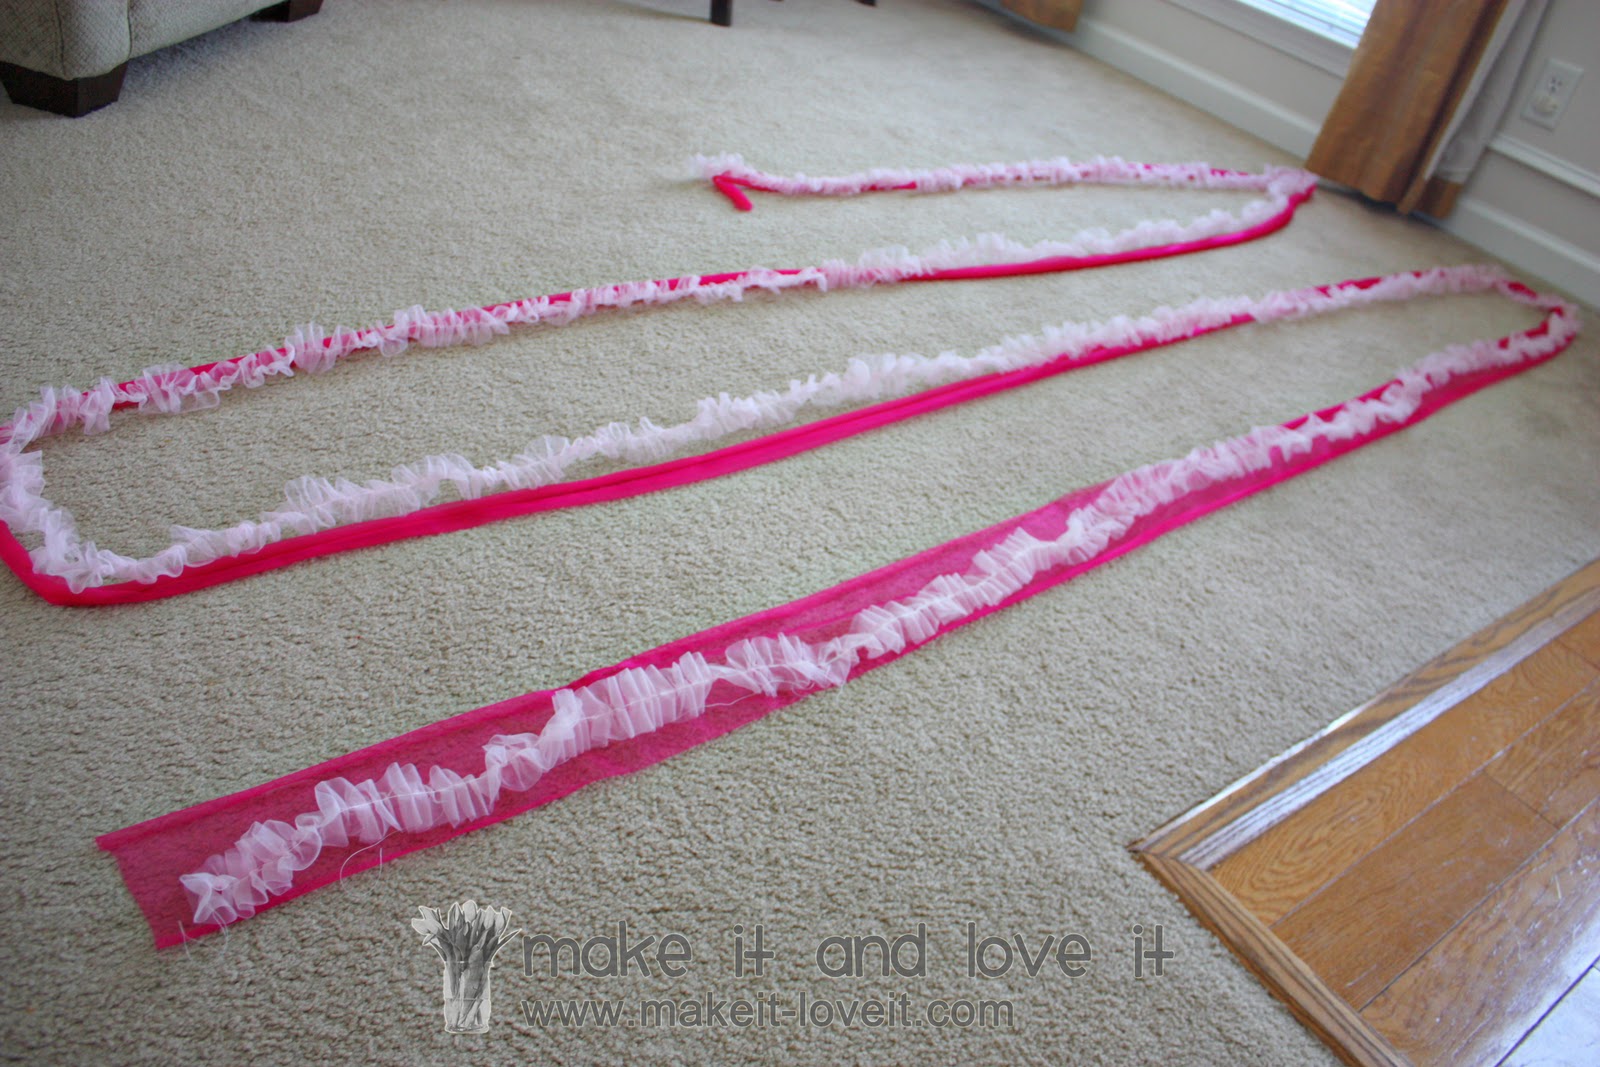
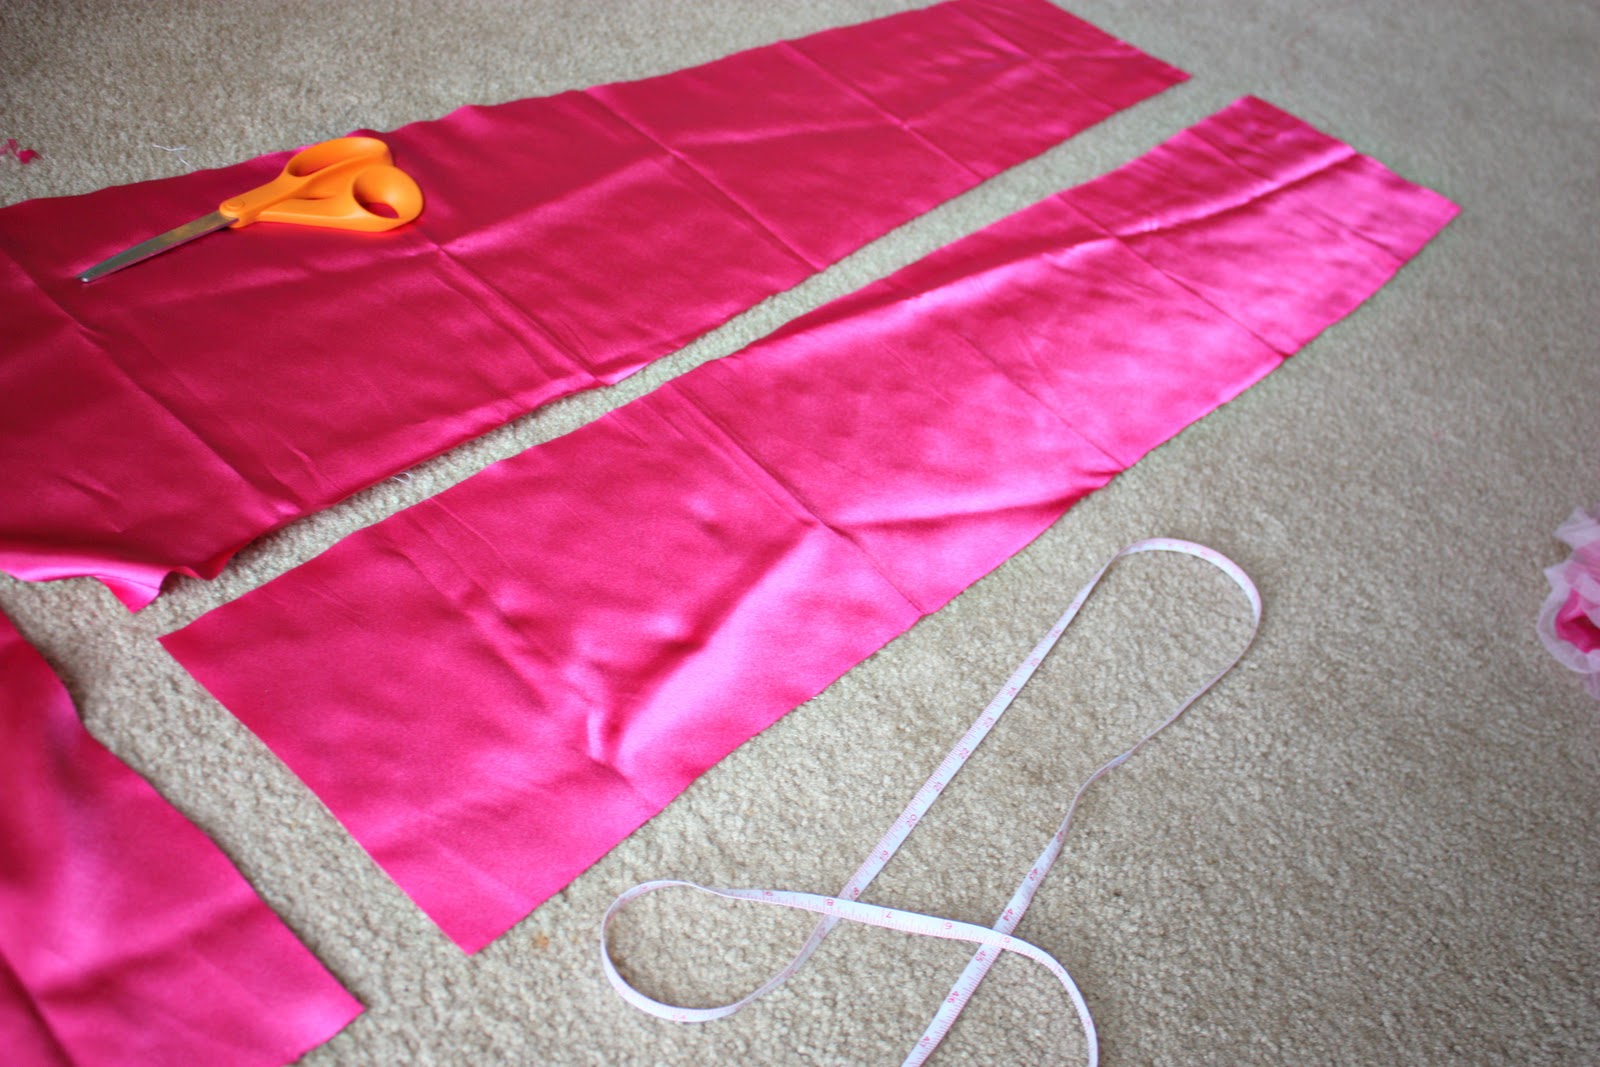
So first, I measured and cut enough strips of chiffon to make the two separate skirts.
The hot pink layers are 5 inches wide (though they look a little scrunched) and the pink layers are 2 inches wide.
The top chiffon tier is 180 inches (5 yards) long, the 2nd chiffon tier is 360 inches (10 yards), and the bottom ruffle is 1080 inches (30 yards). Then do that twice……so you can make the 2 separate skirts.
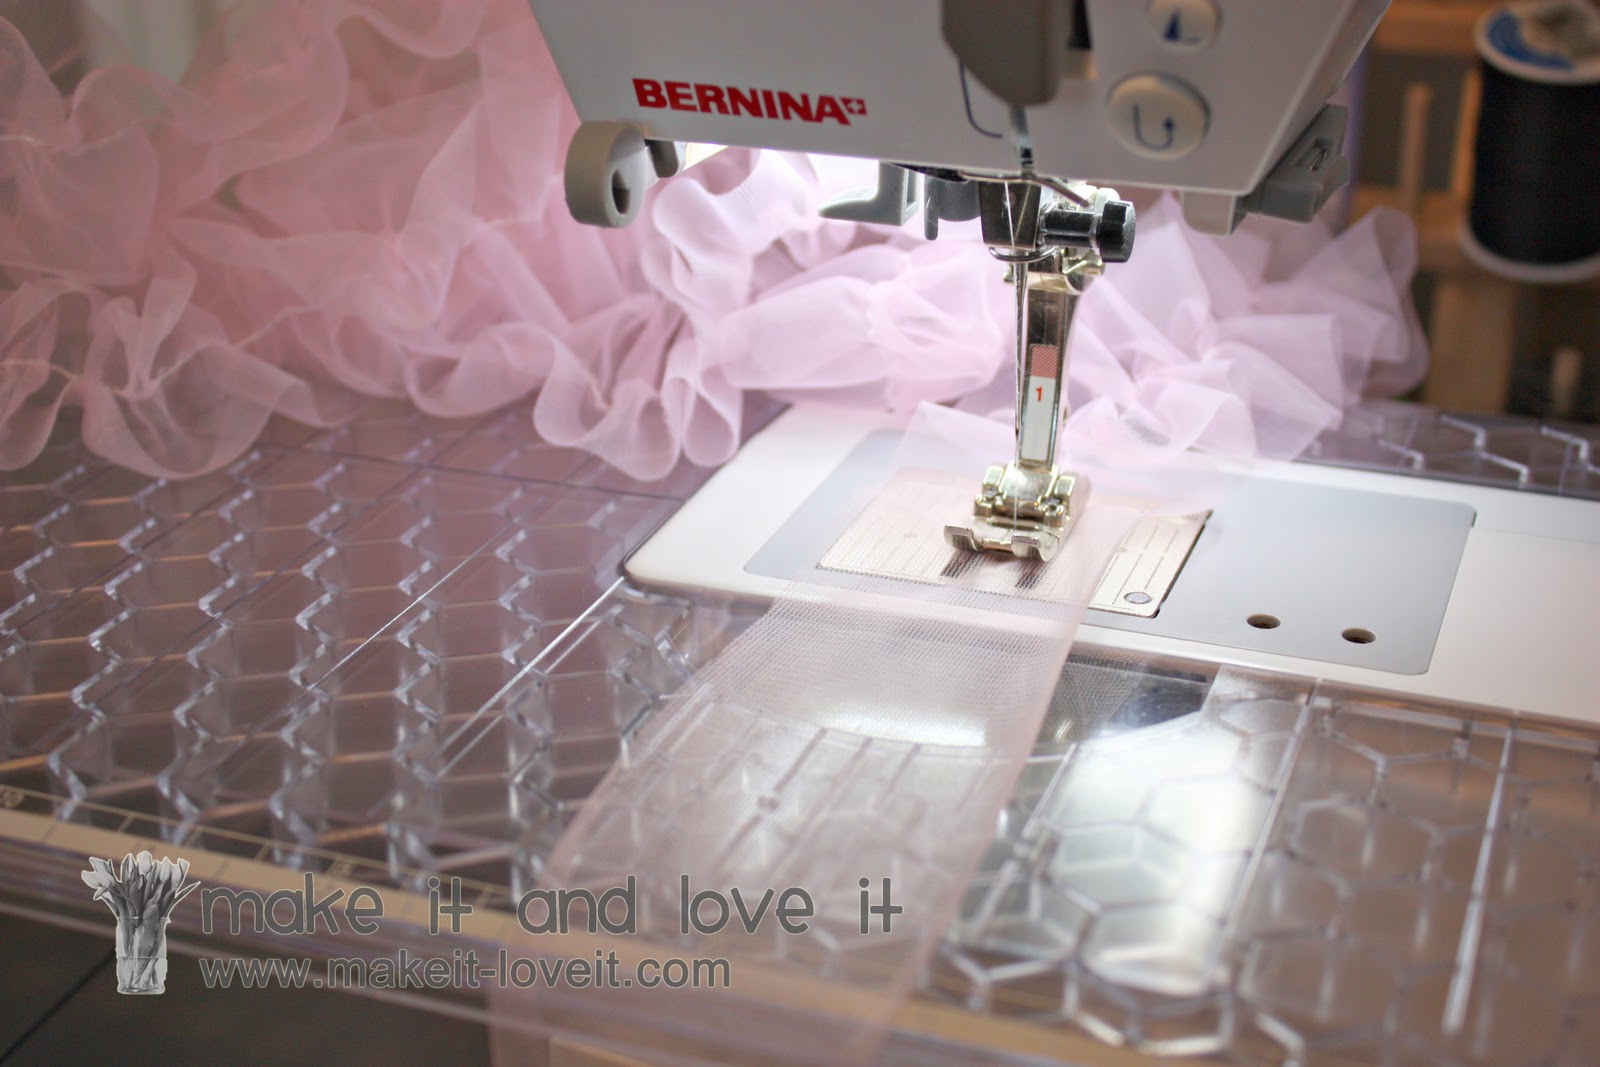
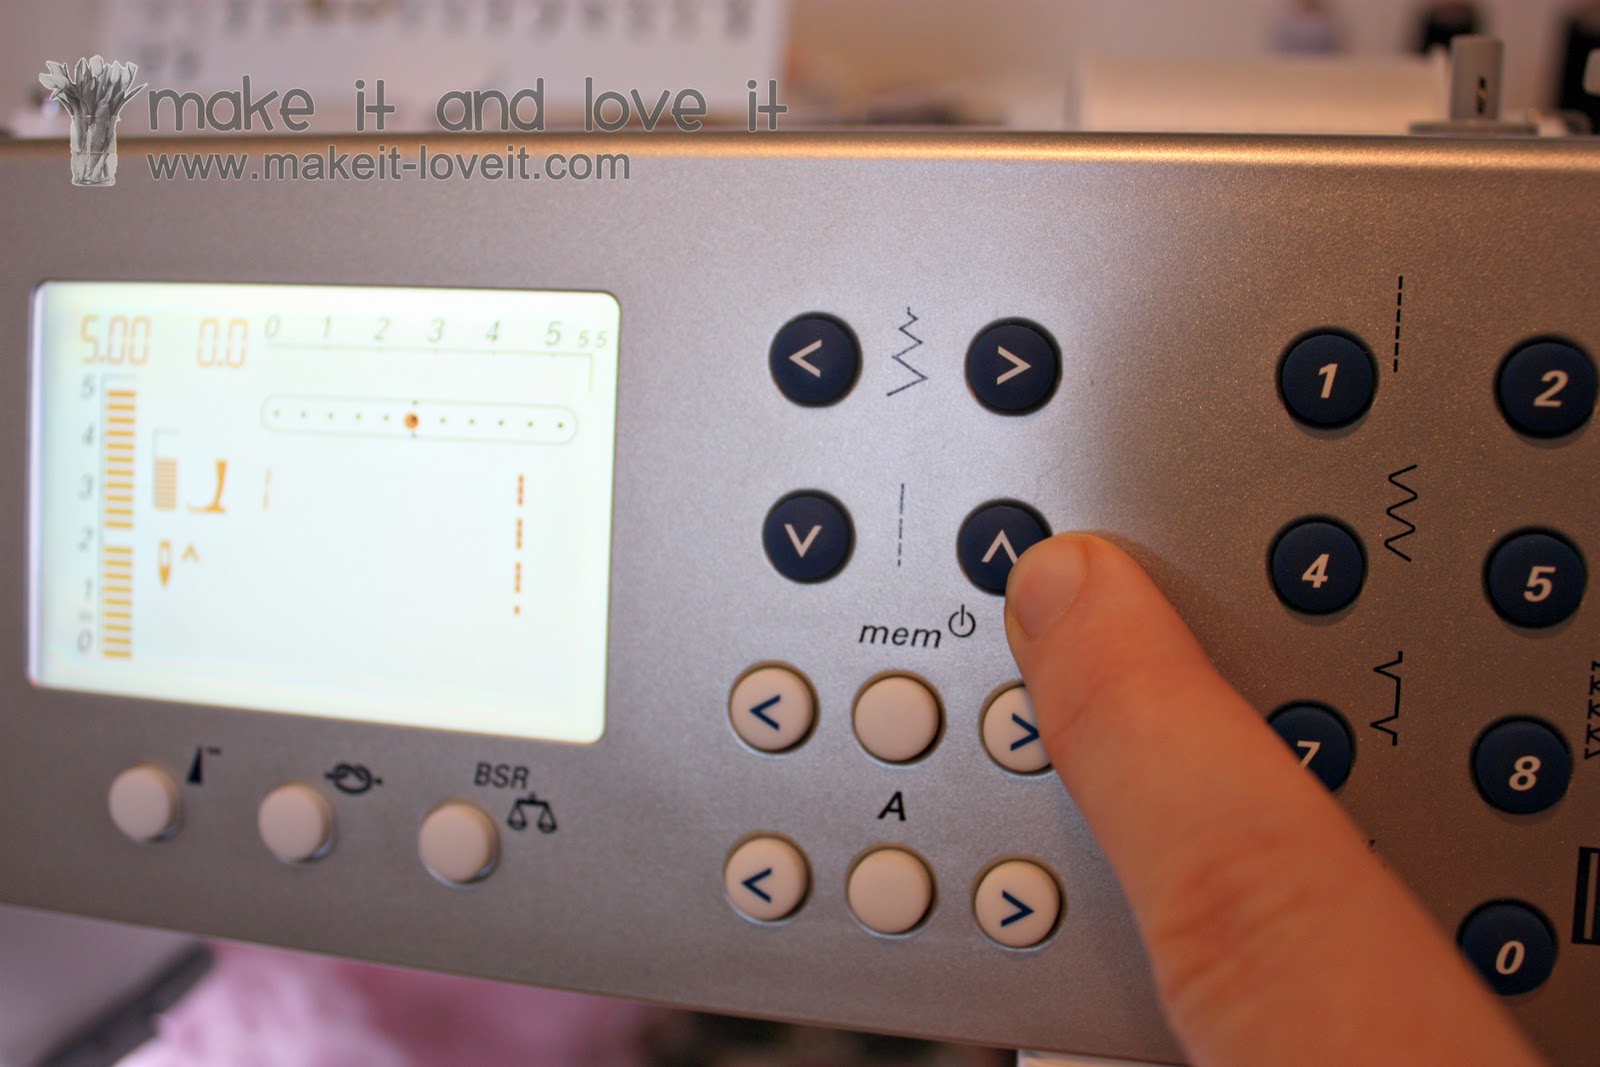
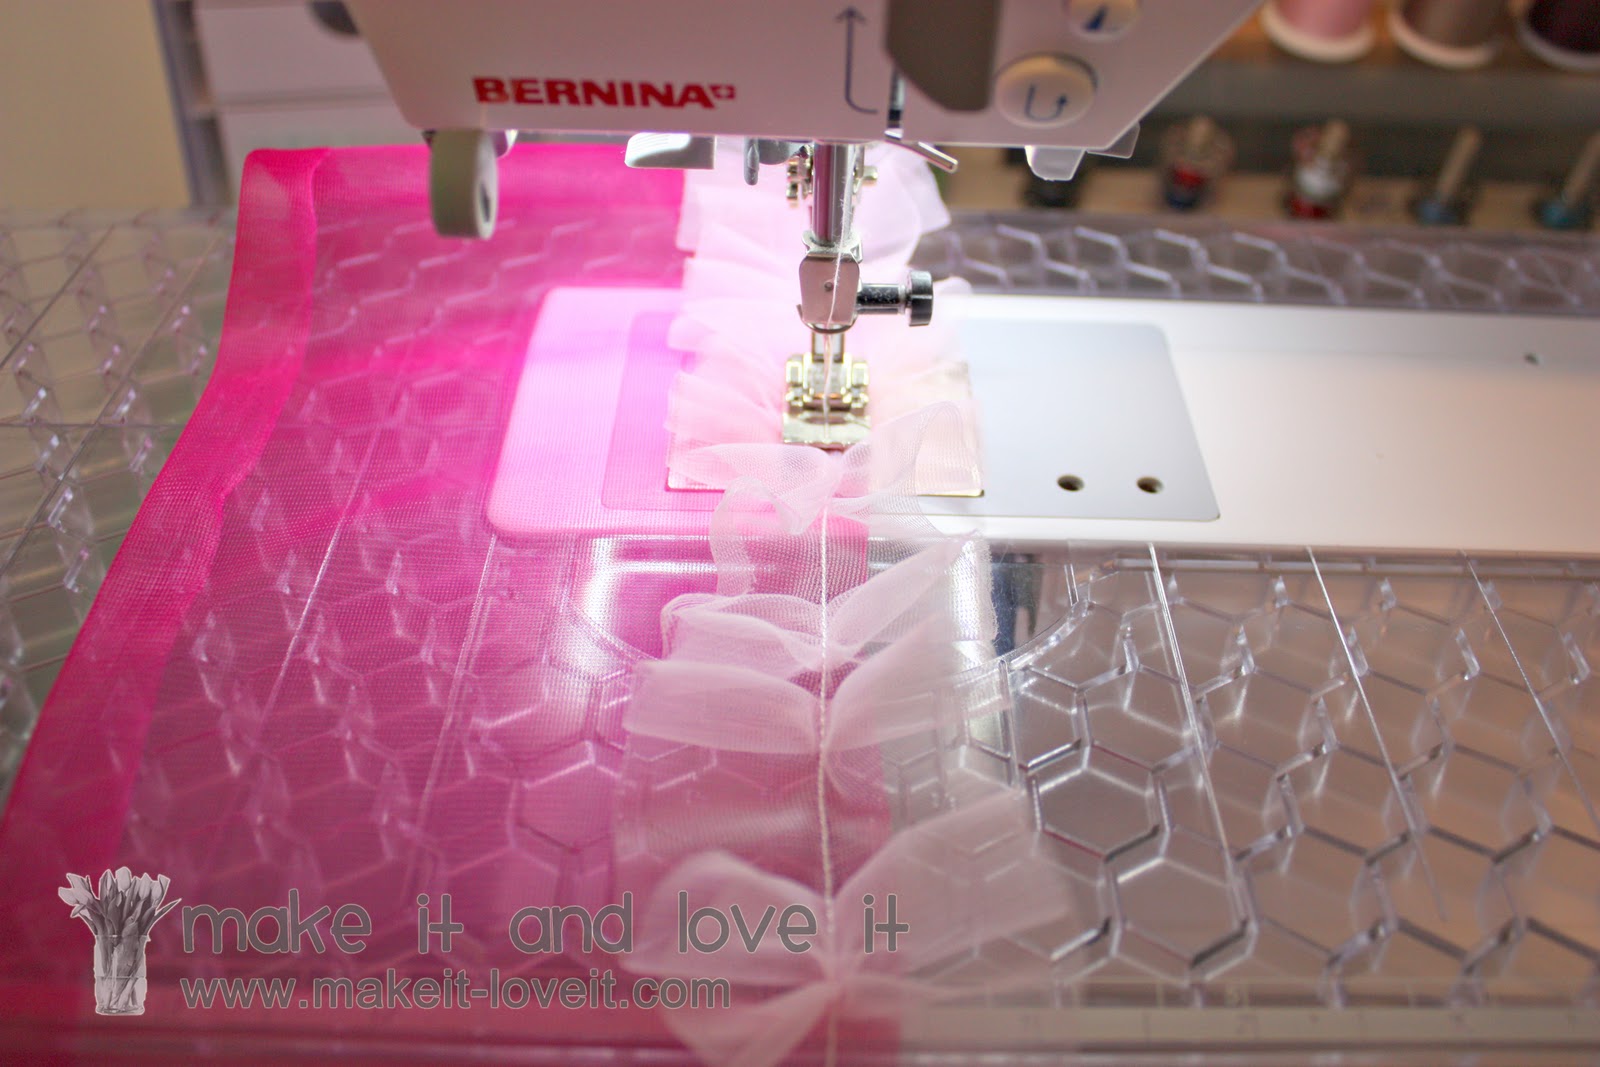
Then, I learned a little trick on my Bernina to help the process (because I don’t have a ruffler foot but may invest in one after making this pettiskirt). I adjusted the stitch length to the longest it would go…….
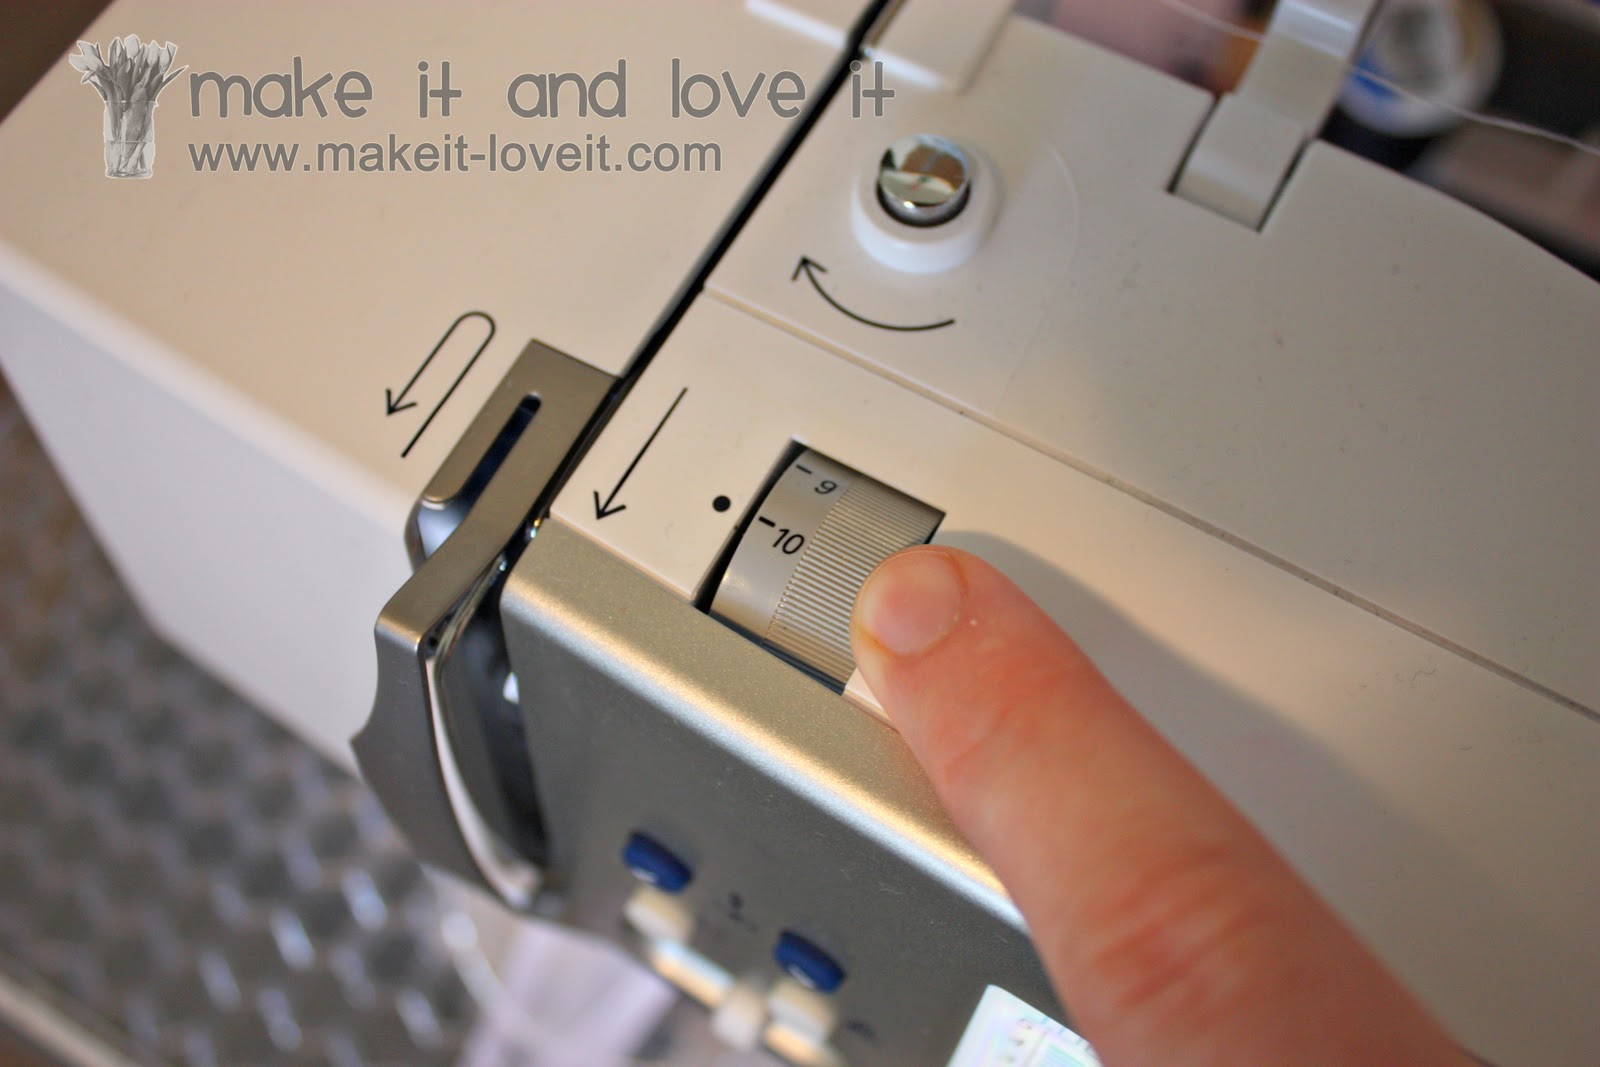
And then adjusted the tension wheel so that one thread was being pulled tighter than the other…….creating a ruffle in the fabric. And then I tried it on my old machine……and it worked great too. (So increase your stitch length like you normally would to create a ruffle, but then play around with your tension on some scrap fabric and watch as it ruffles your fabric. Don’t backstitch at either end, and then you can still adjust the ruffle by increasing or decreasing the ruffle.) Great, right? It saved some time.
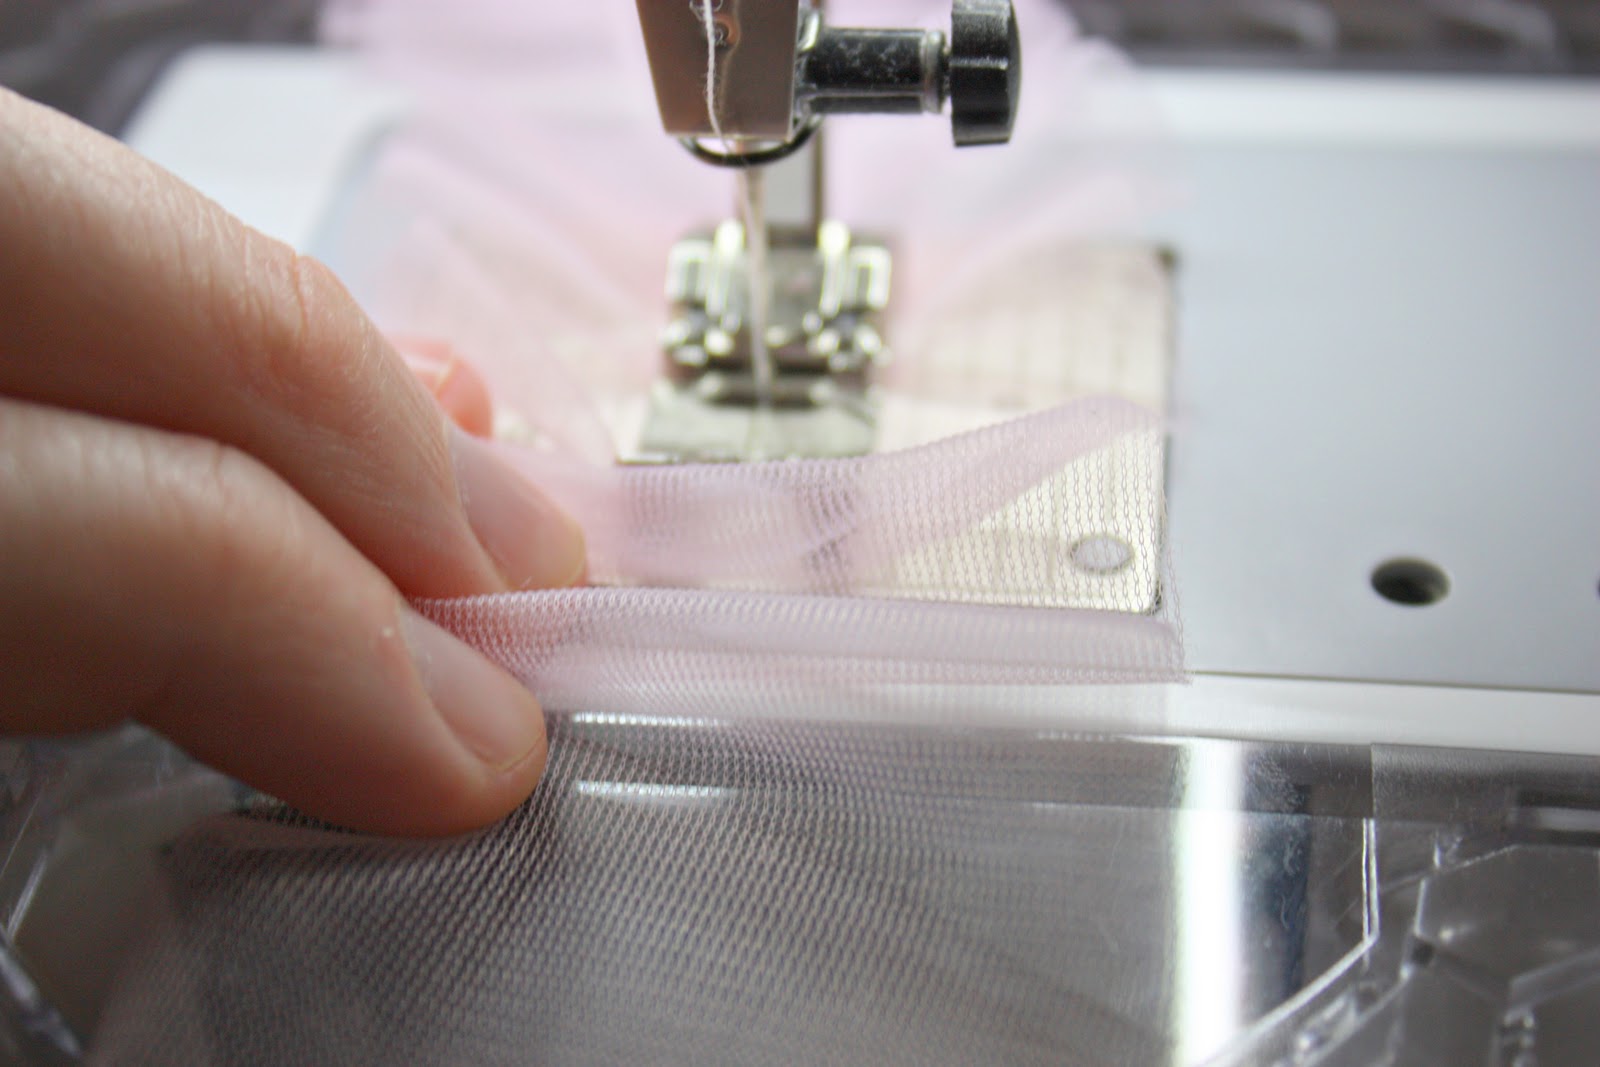
After you have practiced this technique on some scraps, stitch down the center of your 2 inch wide fabric, creating a nice ruffle. See all of those ruffles? That’s how ruffly the machine made the strip without me even trying.
But if you don’t like that technique, you can always sew a basting stitch and then do all of the ruffling on your own. (Need help? Visit this post
here.) Or you can just gather with your fingers and slide it under the needle as you sew.
But this way, you can’t adjust the length of the ruffle when you’re done.Whatever you’re most comfortable with. But get ready, you have 2 really long strips to ruffle.
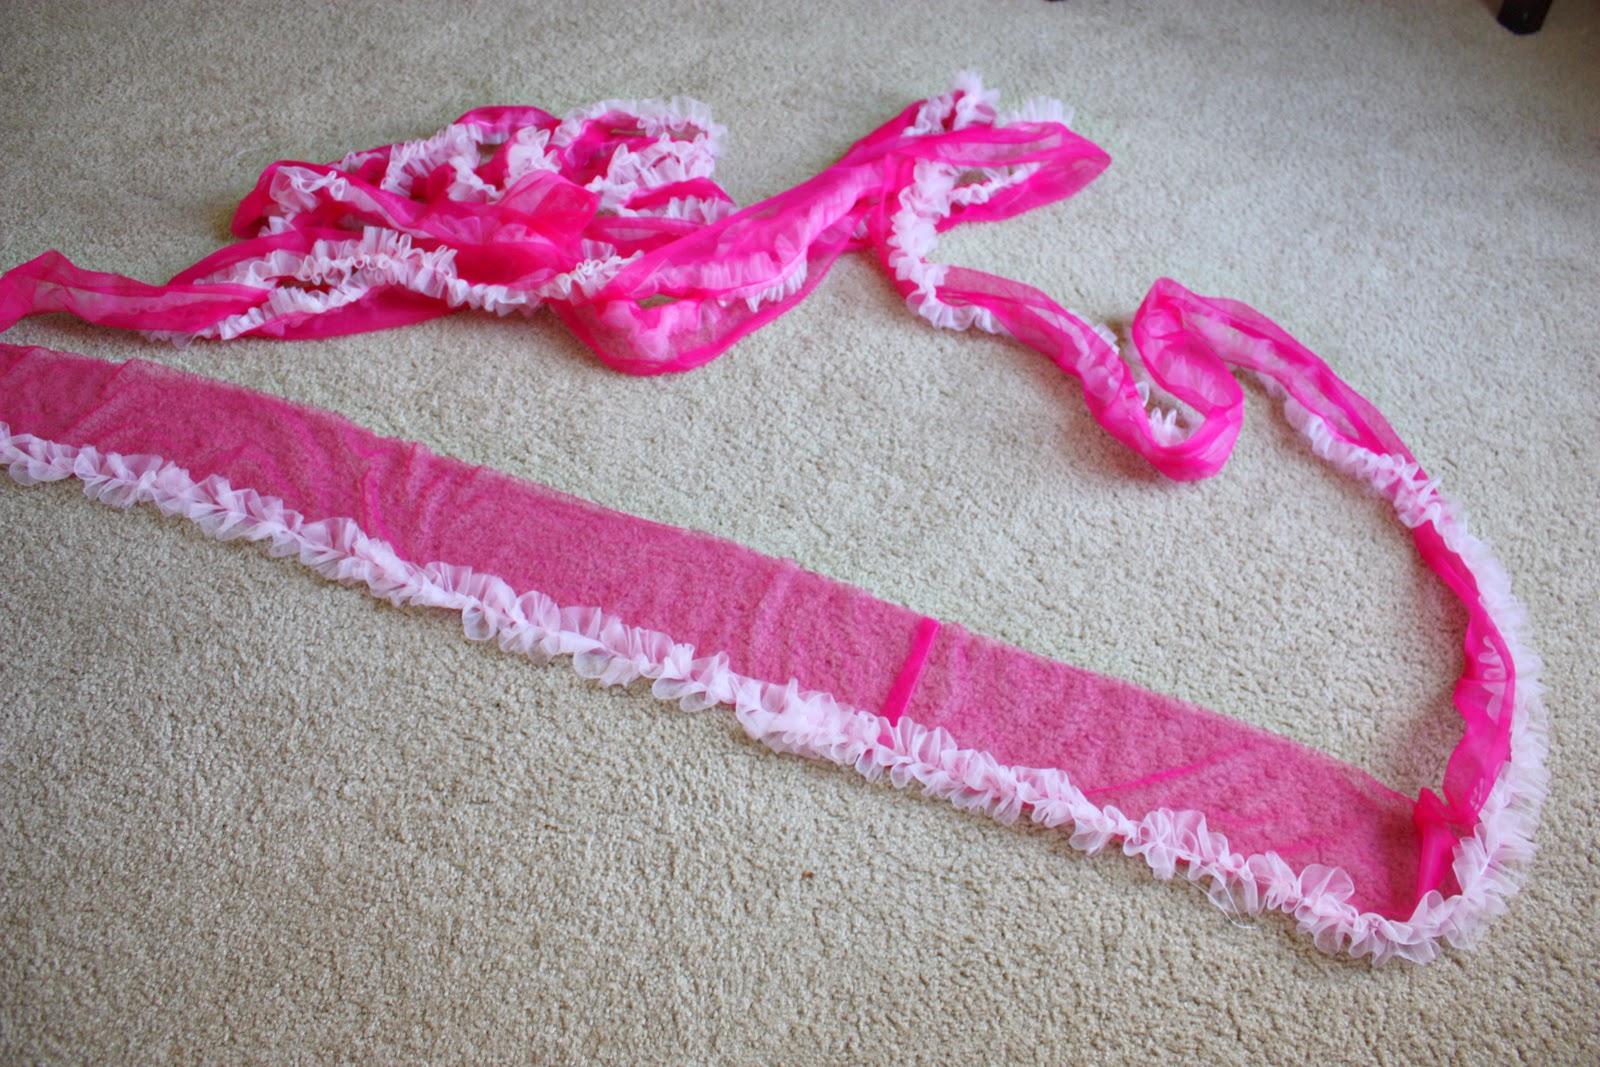
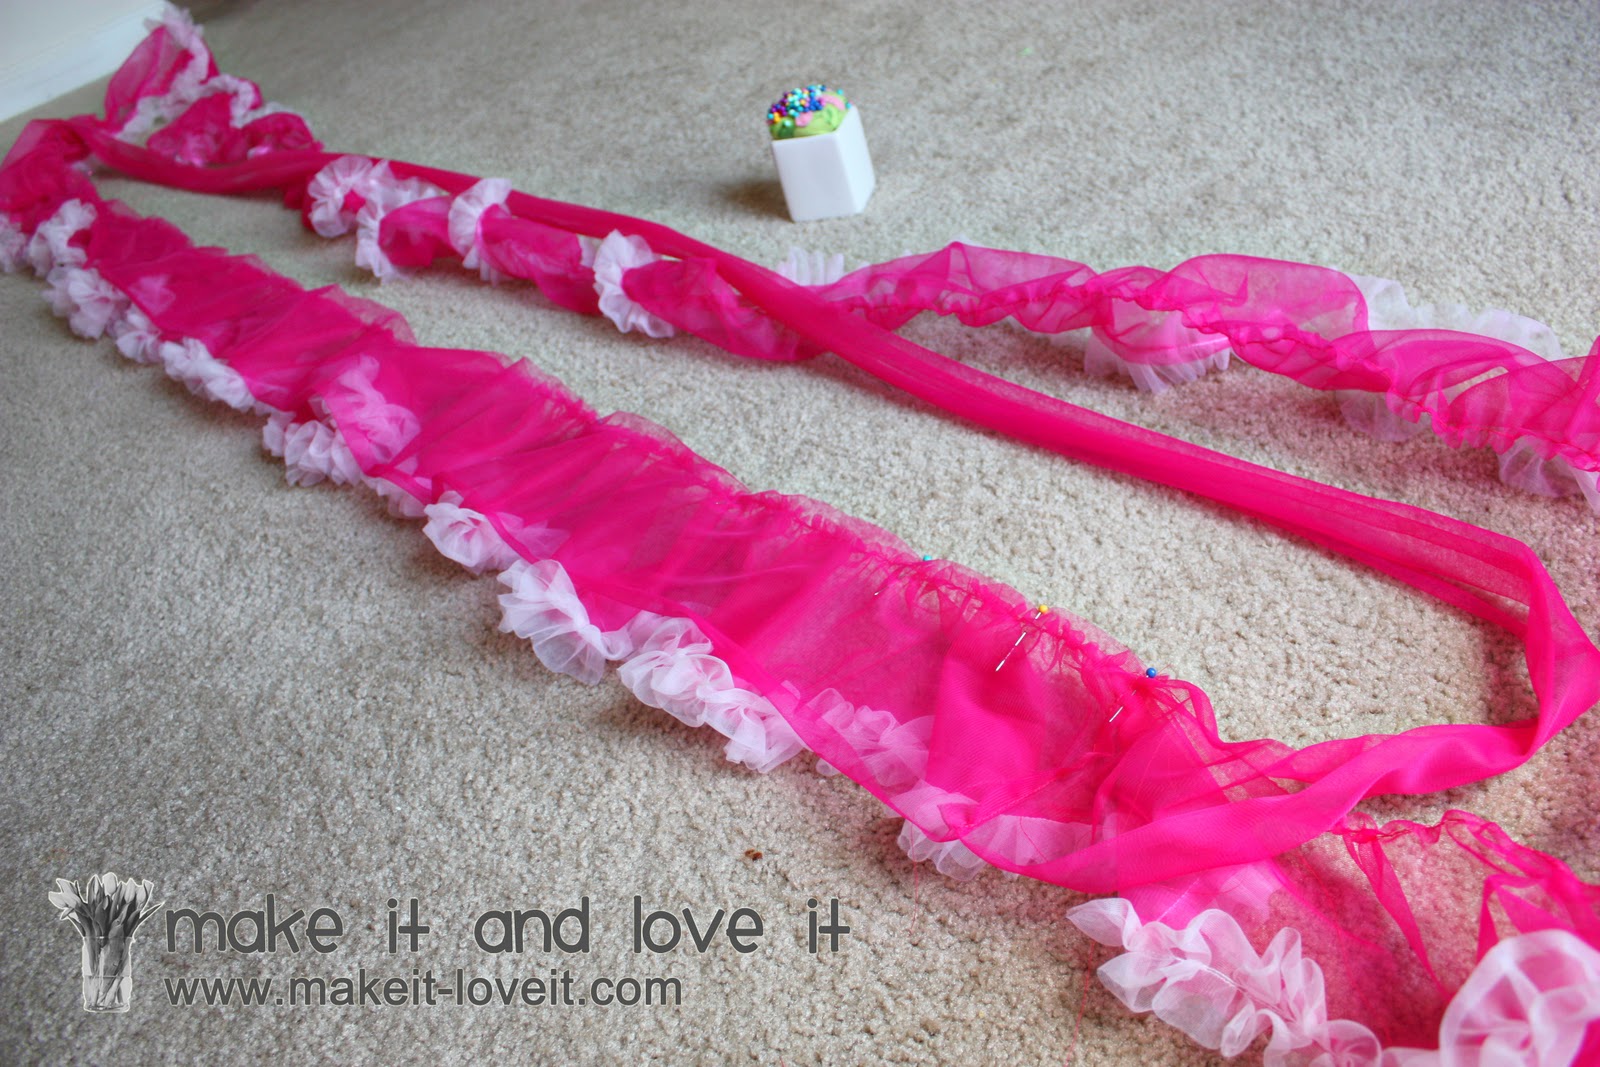
Now, lay your ruffle down next to one of your 360 inch long layers. (The second 5 inch chiffon layer.) You want the ruffle to be the same length as this layer……so pull on the end thread of your ruffle to adjust or release the ruffle a bit.
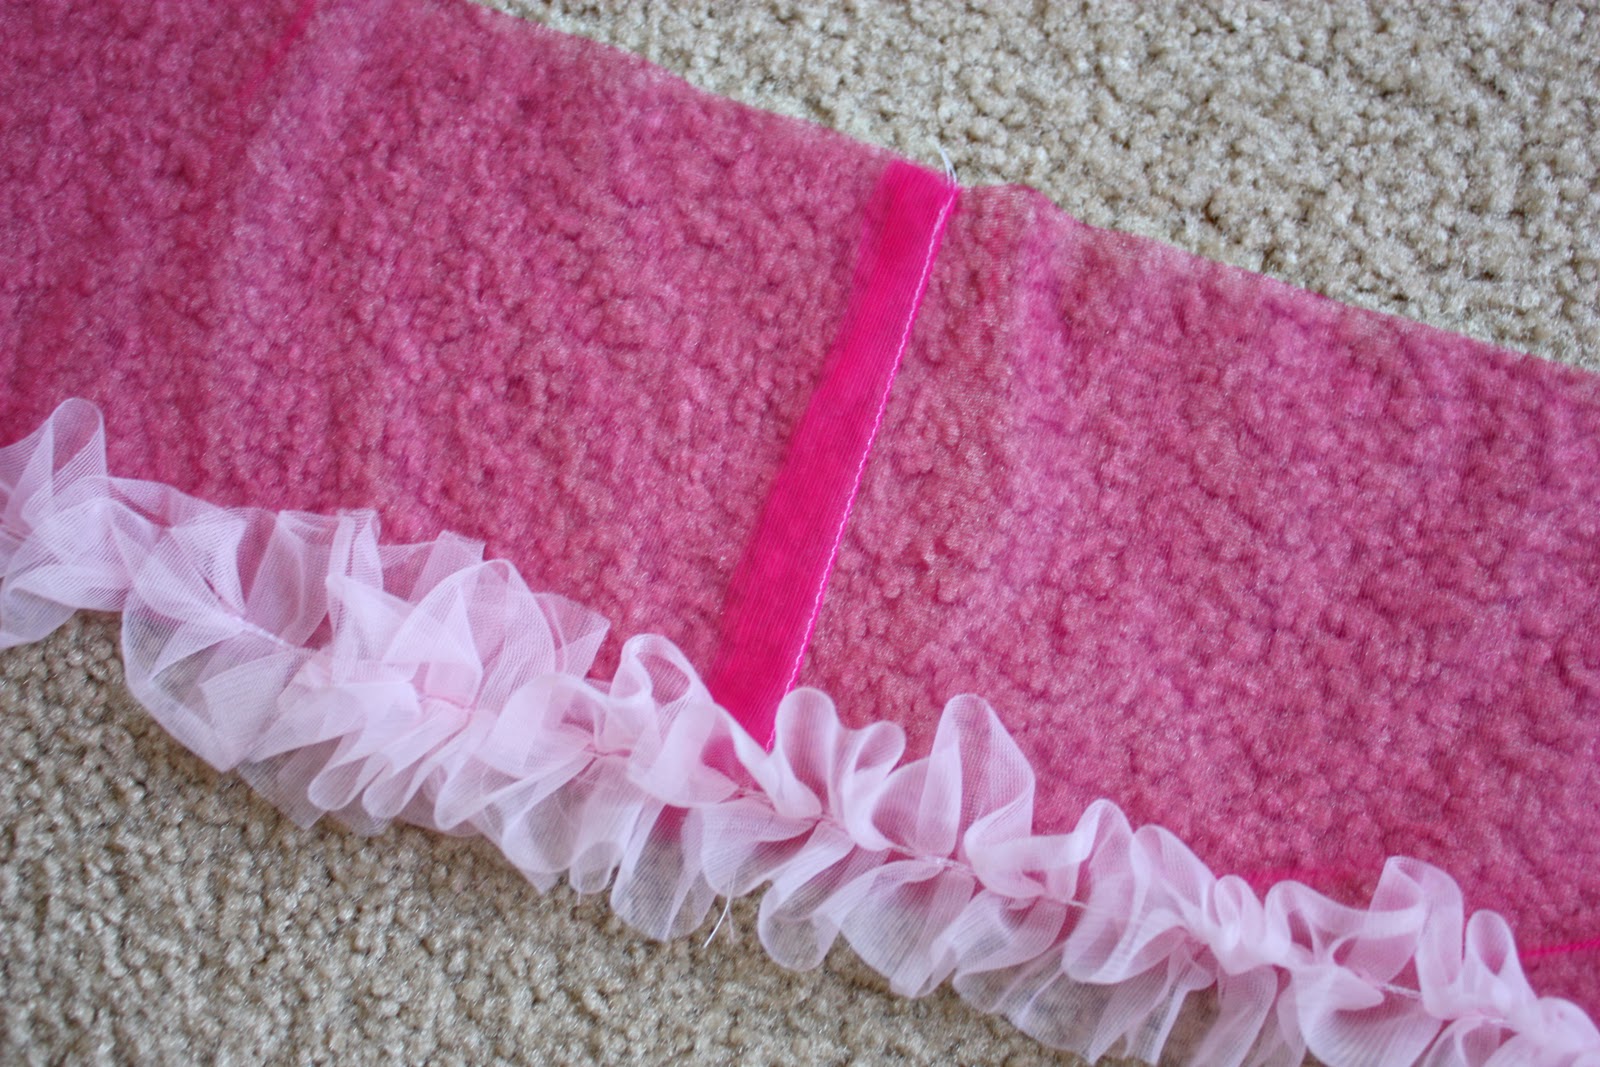
Then sew the 2 short ends of your 5 inch wide layer together, making a large circle. Also, be sure that the fabric is not twisted at all. Then attach the ruffle to right side of the bottom edge of this layer, attaching the ruffle about 1/4 inch up from the bottom. And sew right down the center of the ruffle.
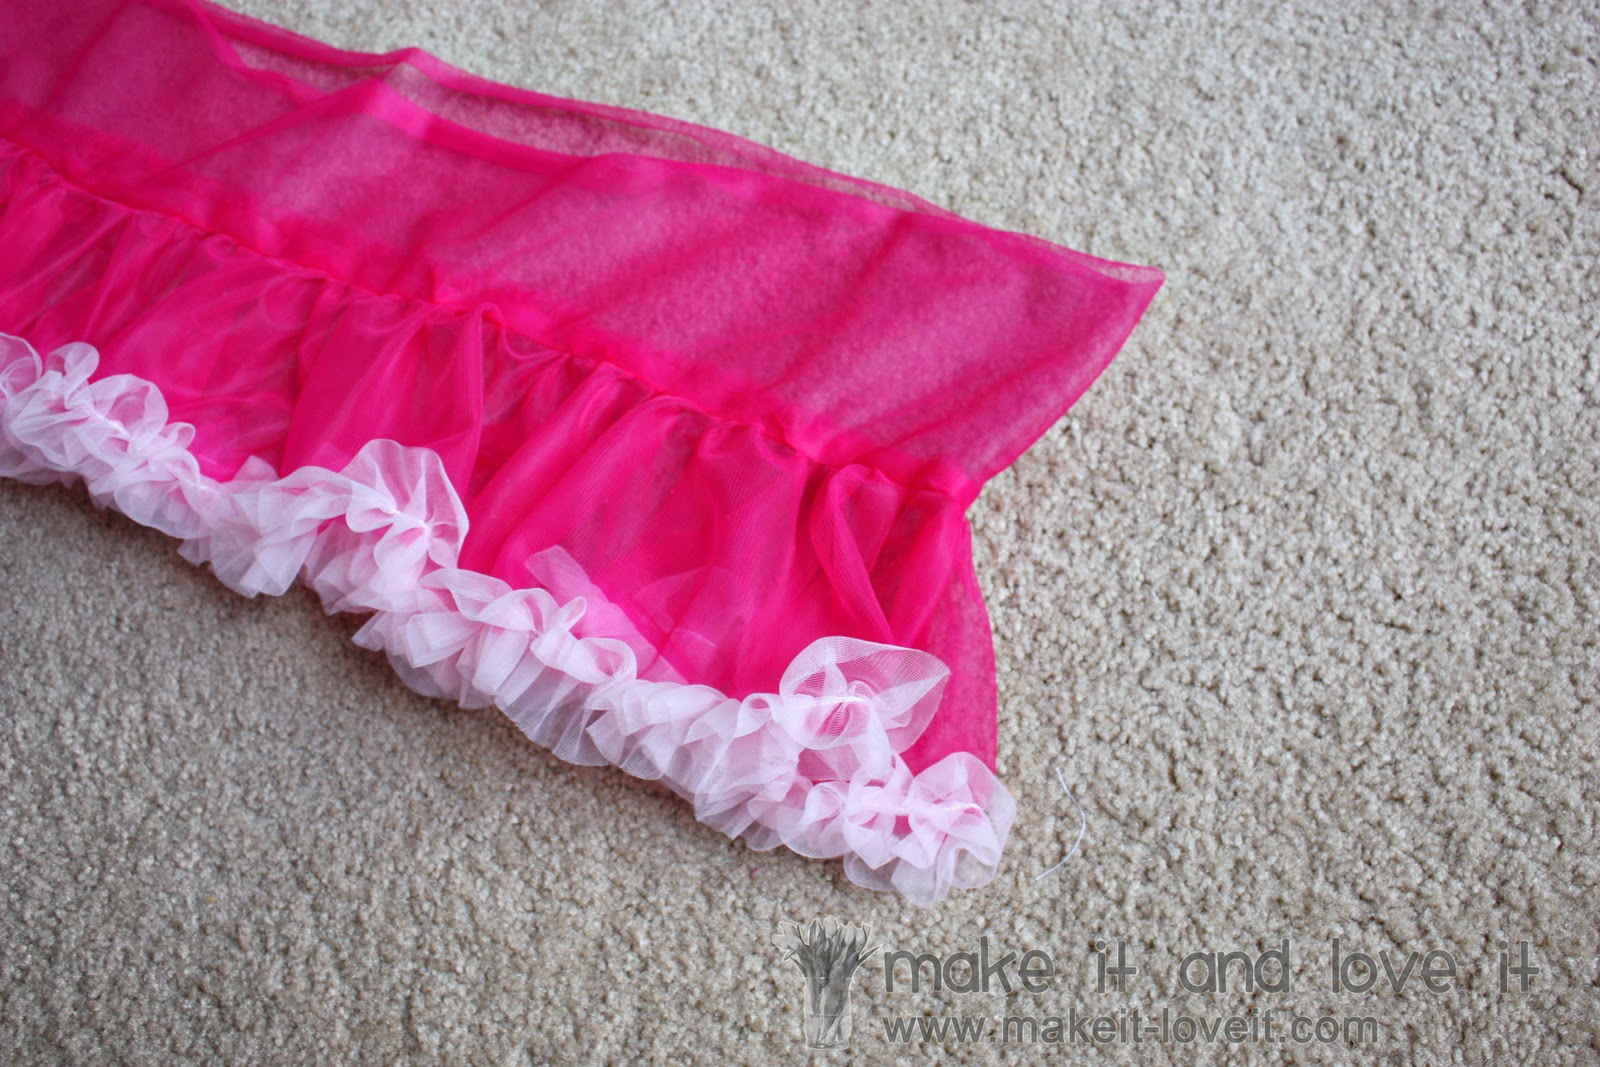
And when you get back to the beginning, just overlap the ruffle just a bit and backstitch several times.
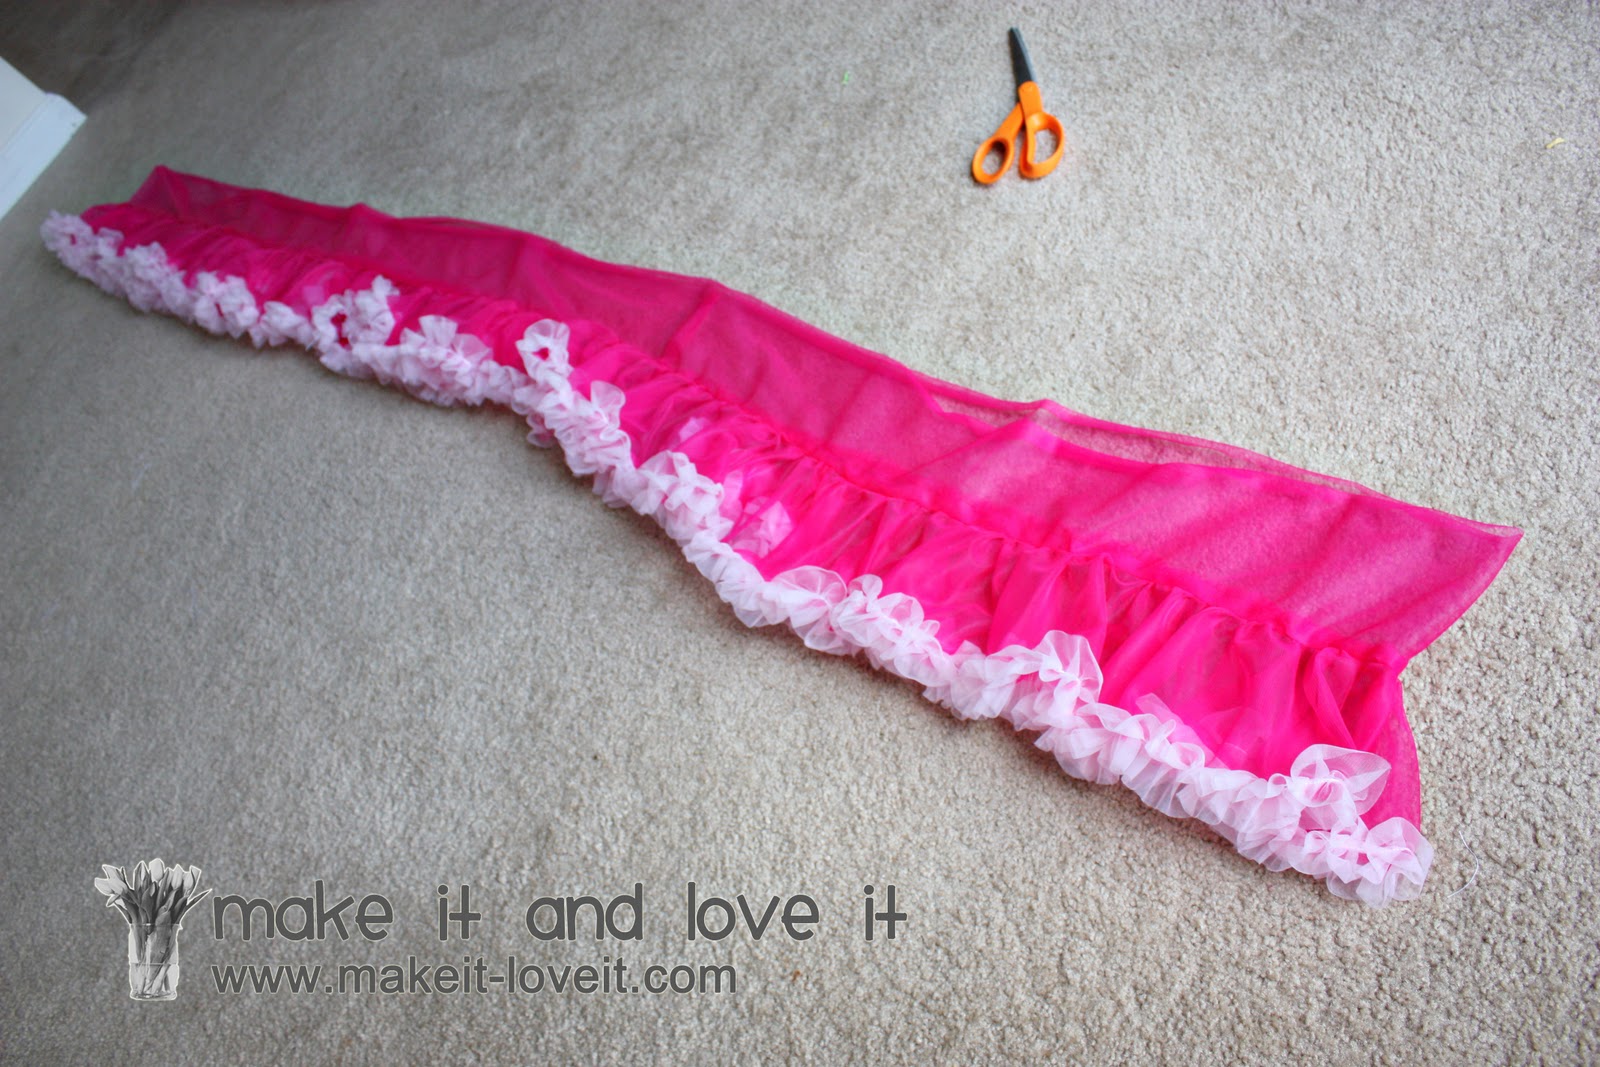
The whole layer, with the ruffle along the bottom.
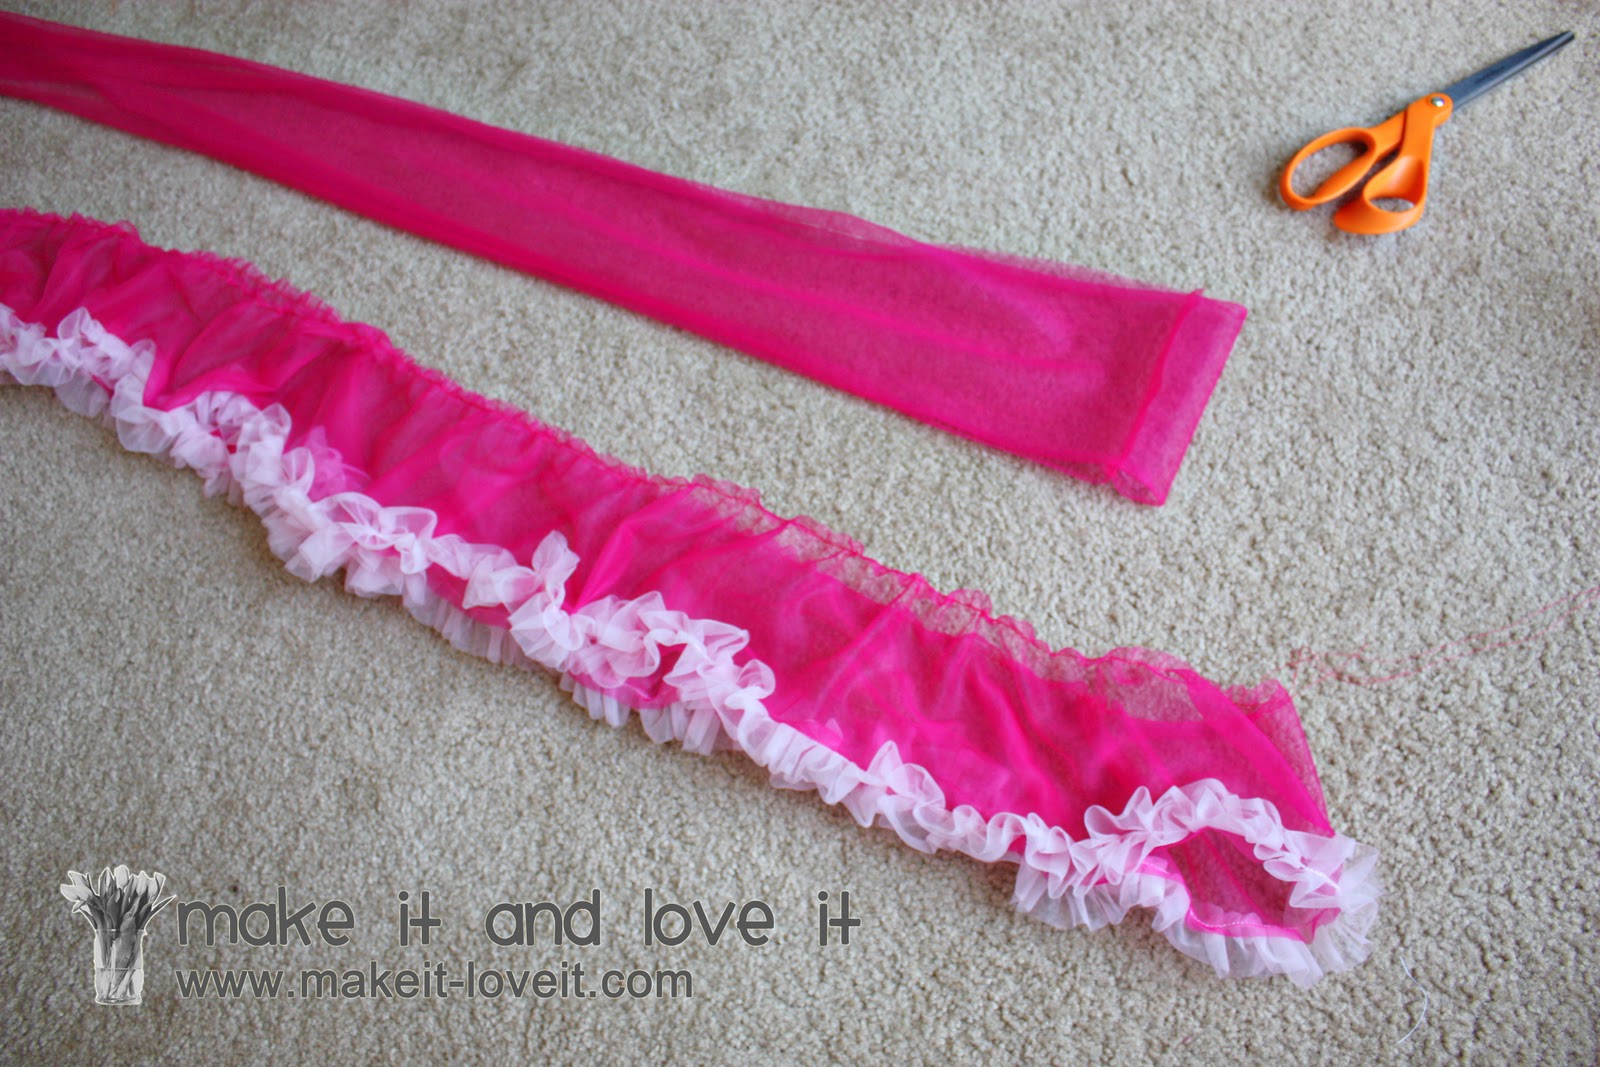
Next, you’re going to sew a basting stitch around the top of this bottom layer, a 1/4 inch from the edge…..so that you can gather it before attaching it to the next layer up. I split this in half and sewed a basting stitch only along half of the top, stopped, left long thread ends…….and then made another basting stitch around the other half of the top. This way, I could gather half of the top edge at a time. And I used the same technique that I shared above, and adjusted the tension. Then I didn’t have to gather as much…
Then grab the 180 inch long layer of chiffon and sew the ends together the same way as you did the longer layer……….and lay the two layers down next to each other.
Place the two layers together, with right sides together. And adjust the gathering if you need to so that there is an even ruffle all the way around. Pin the layers together.
All pinned along one side, ready to pin the other half.
Then sew the two layers together, right along that original basting stitch, about 1/4 inch seam allowance. (Maybe a 1/3 inch seam allowance to hide some of the basting stitch.)
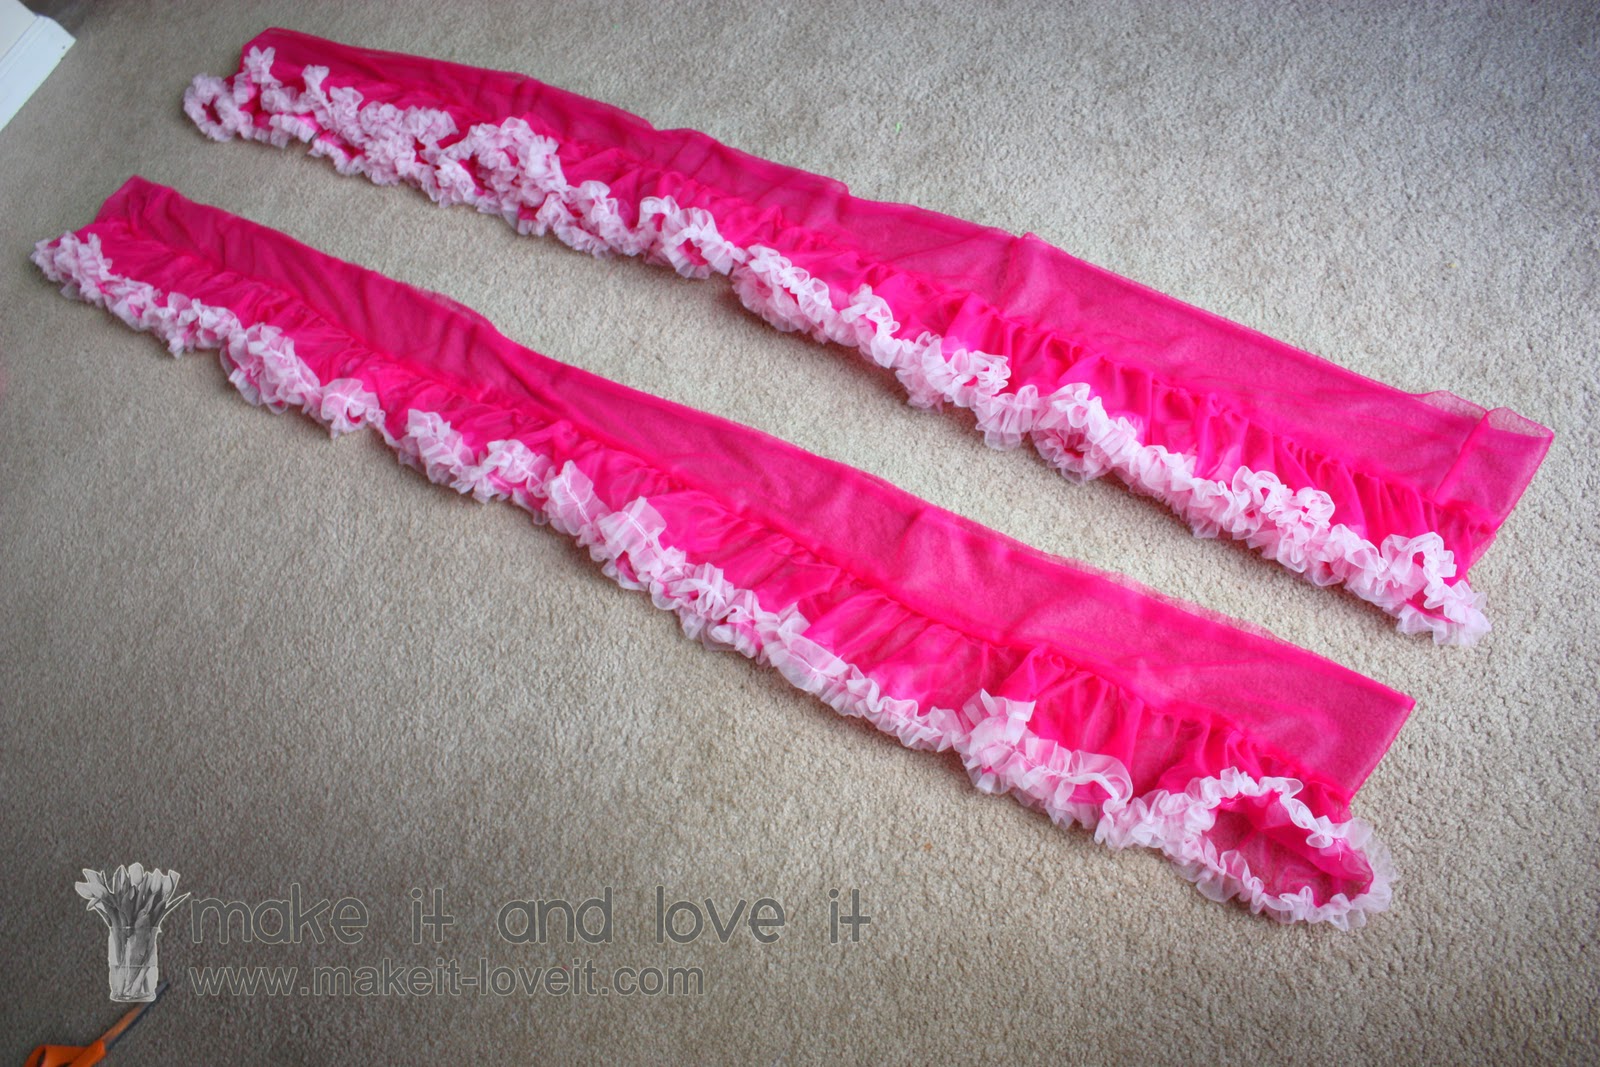
Do the same thing with the other layers you have cut, attaching the ruffles and creating gathers. So now you have 2 identical pieces……….each with 2 tiers and the bottom ruffles. Whew, lots of gathering.
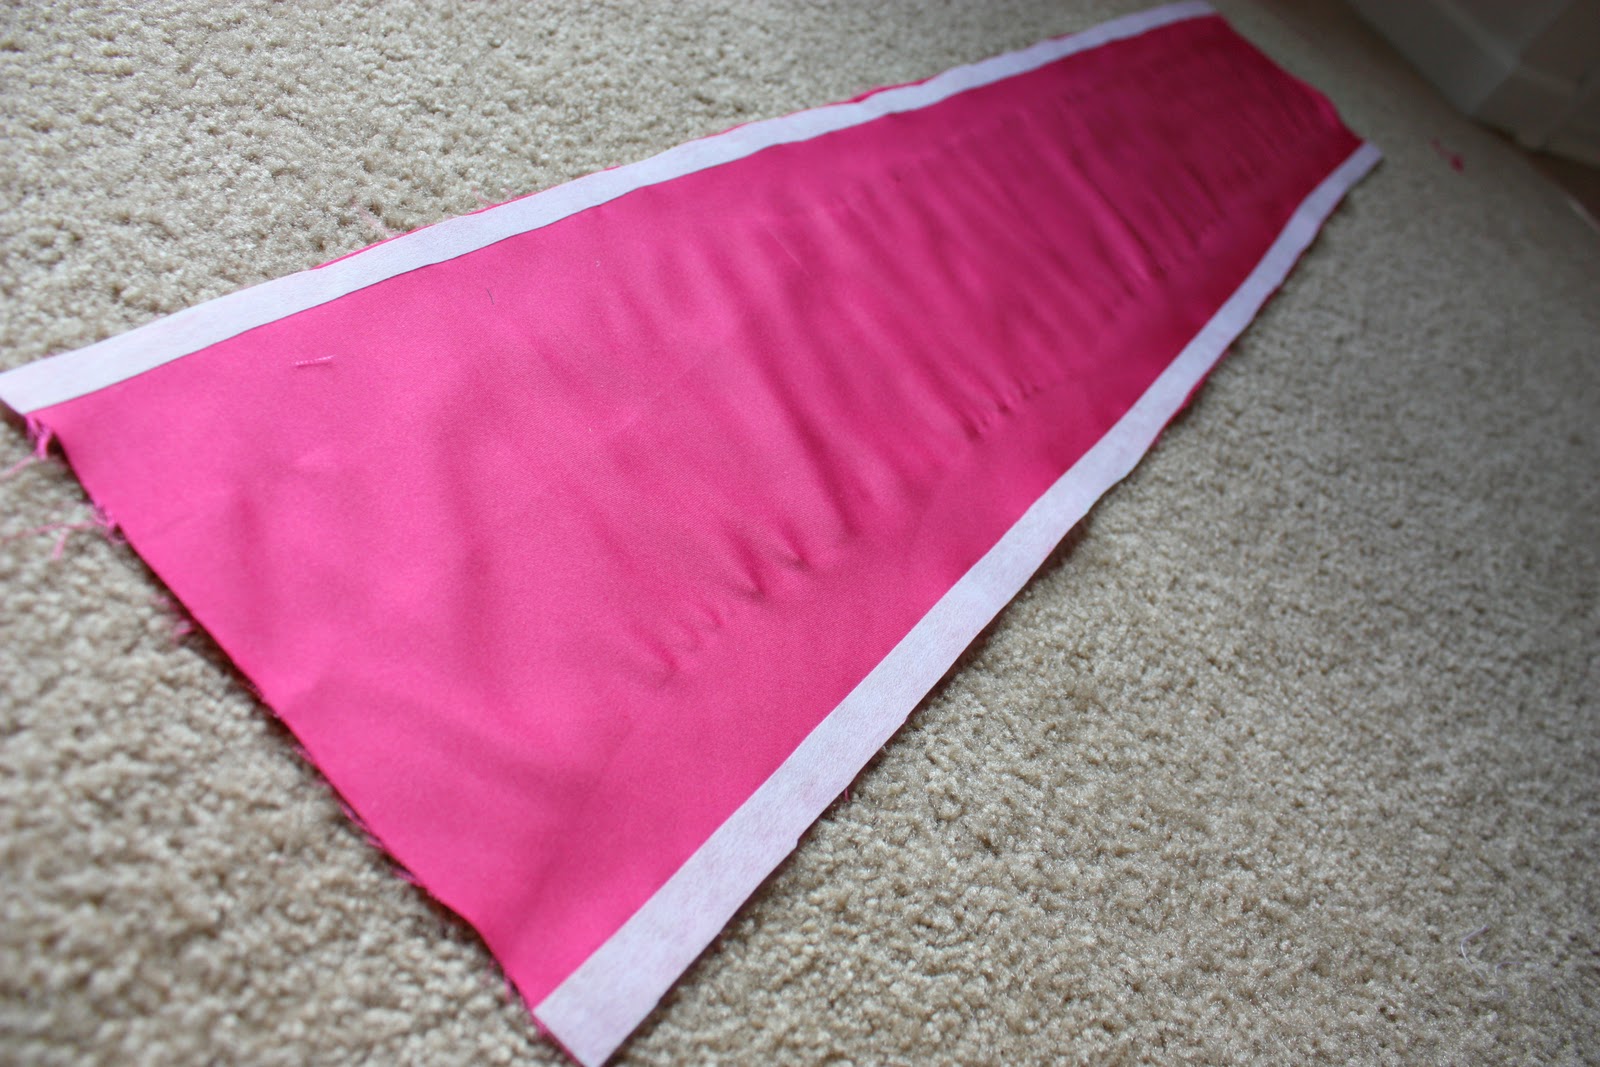
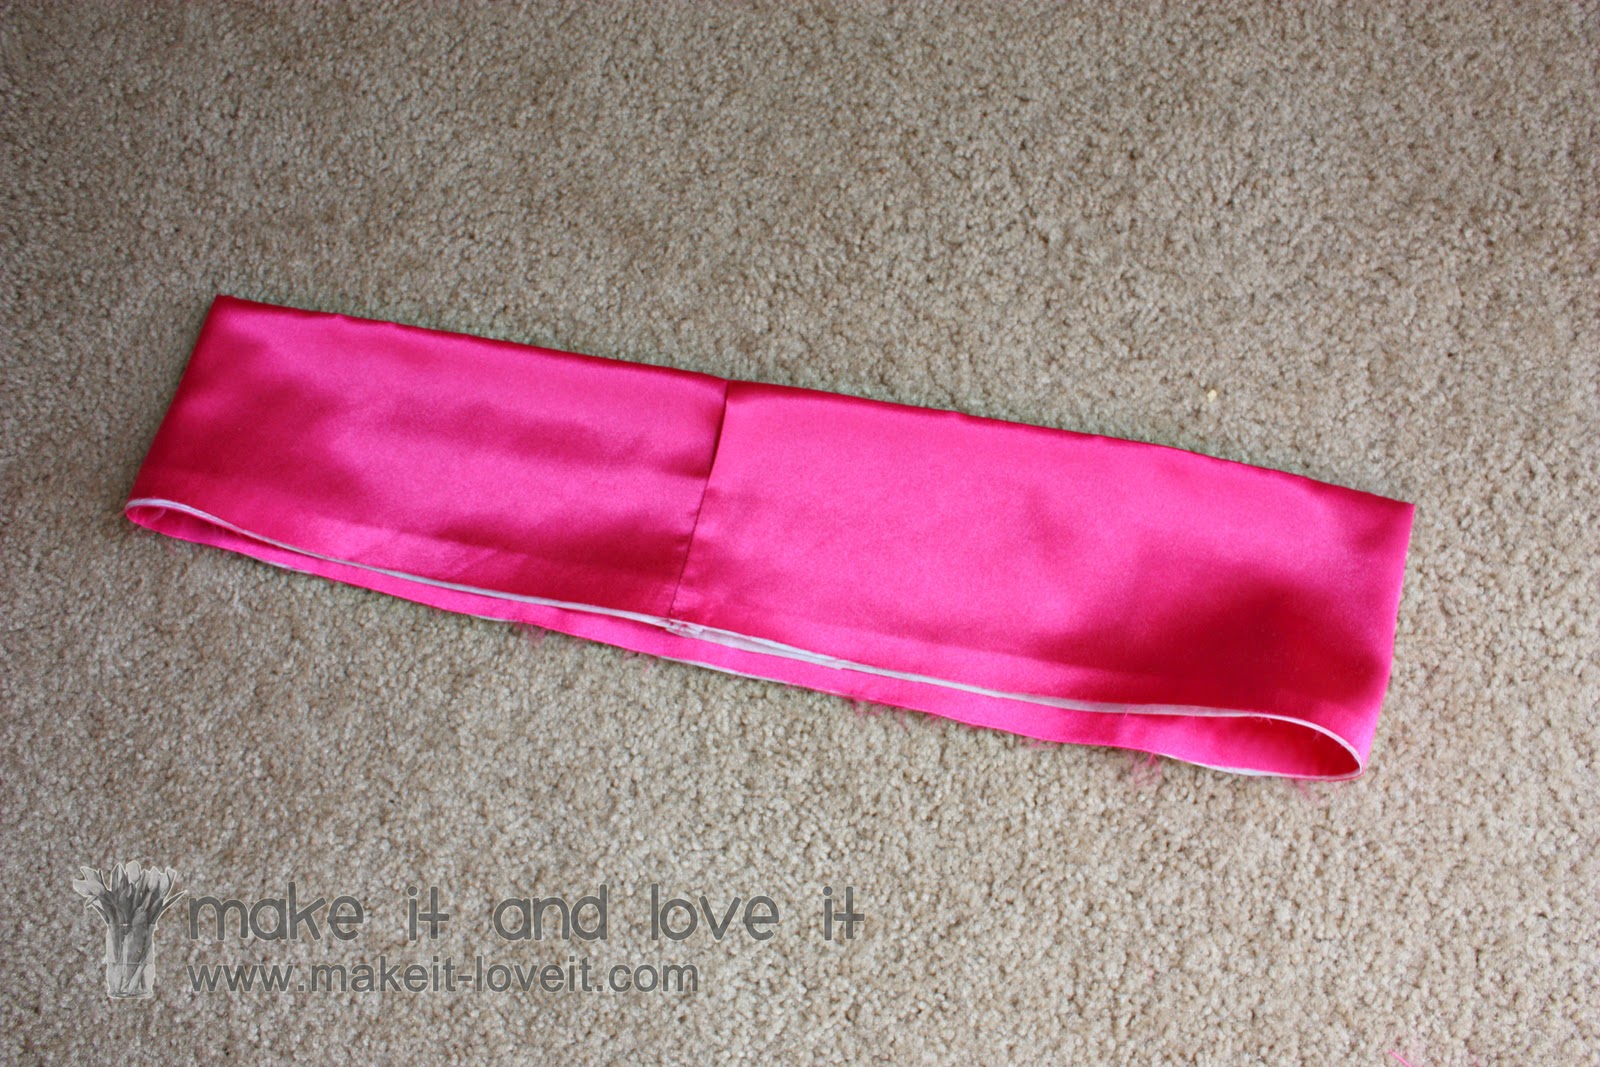
Next, you’re going to cut a piece of satin that is 8 inches wide by 40 inches long.
On the wrong side of the fabric, iron on a piece of fusible interfacing that is 1/2 x 40 inches to each long edge of the satin.
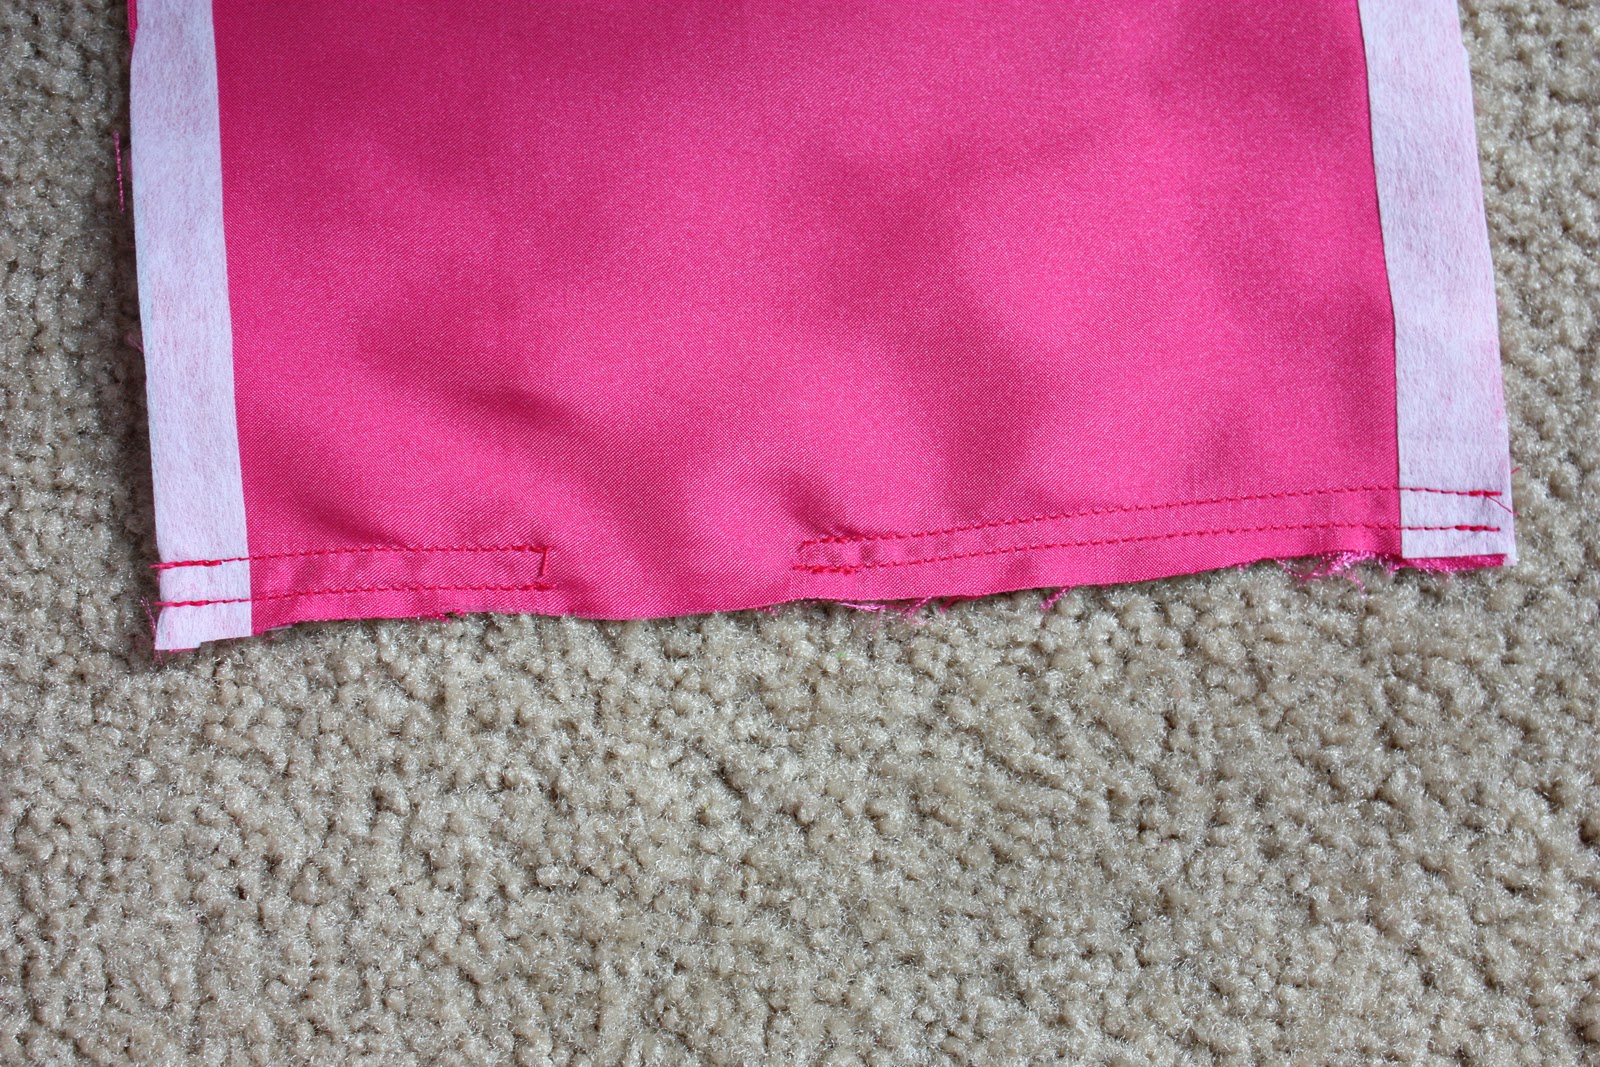
Then sew the piece of satin together into a tube with right sides together. Use a 1/2 inch seam allowance to sew those 2 ends together. Then sew another seam, just to reinforce…..or zig-zag. Whatever you’d like.
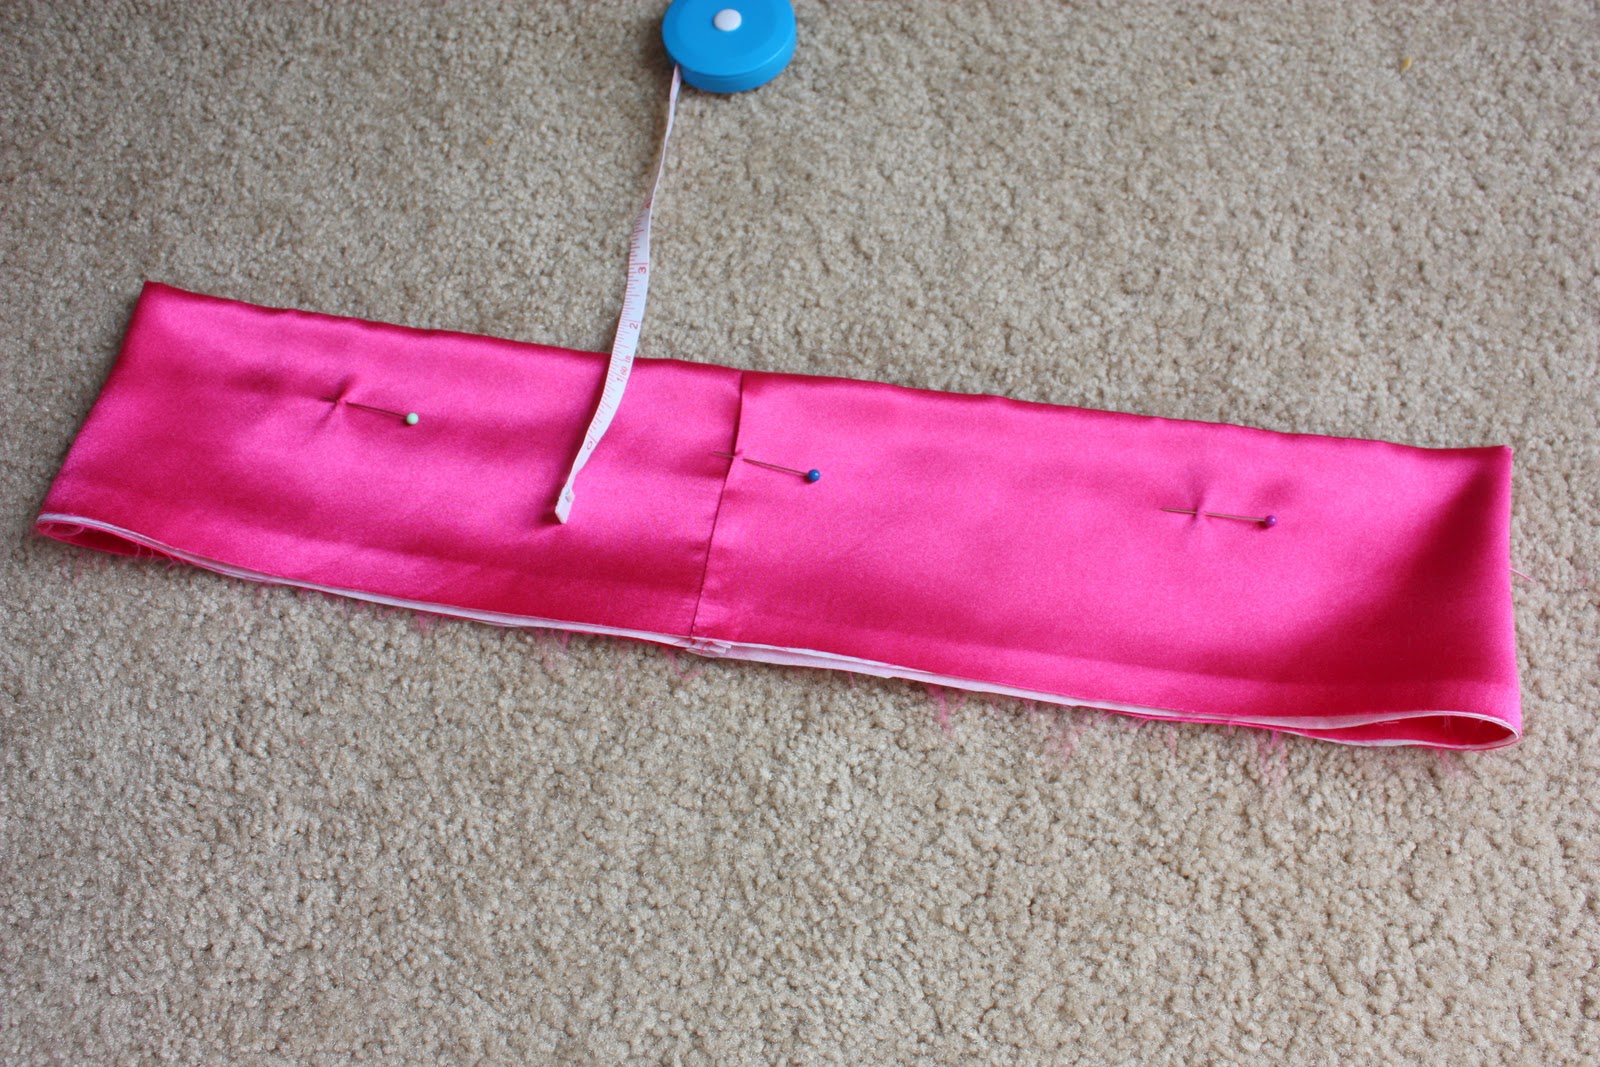
But be sure to leave an opening along the edge that is 1 inch wide. This satin is 8 inches wide and will be folded in half to make the waist band. So I measured in 4 inches, placed a pin, measured over an inch to the left, placed another pin, then made my seam……..but left the space between the two pins open. Then made the next seam the same way, leaving the 1 inch space open.
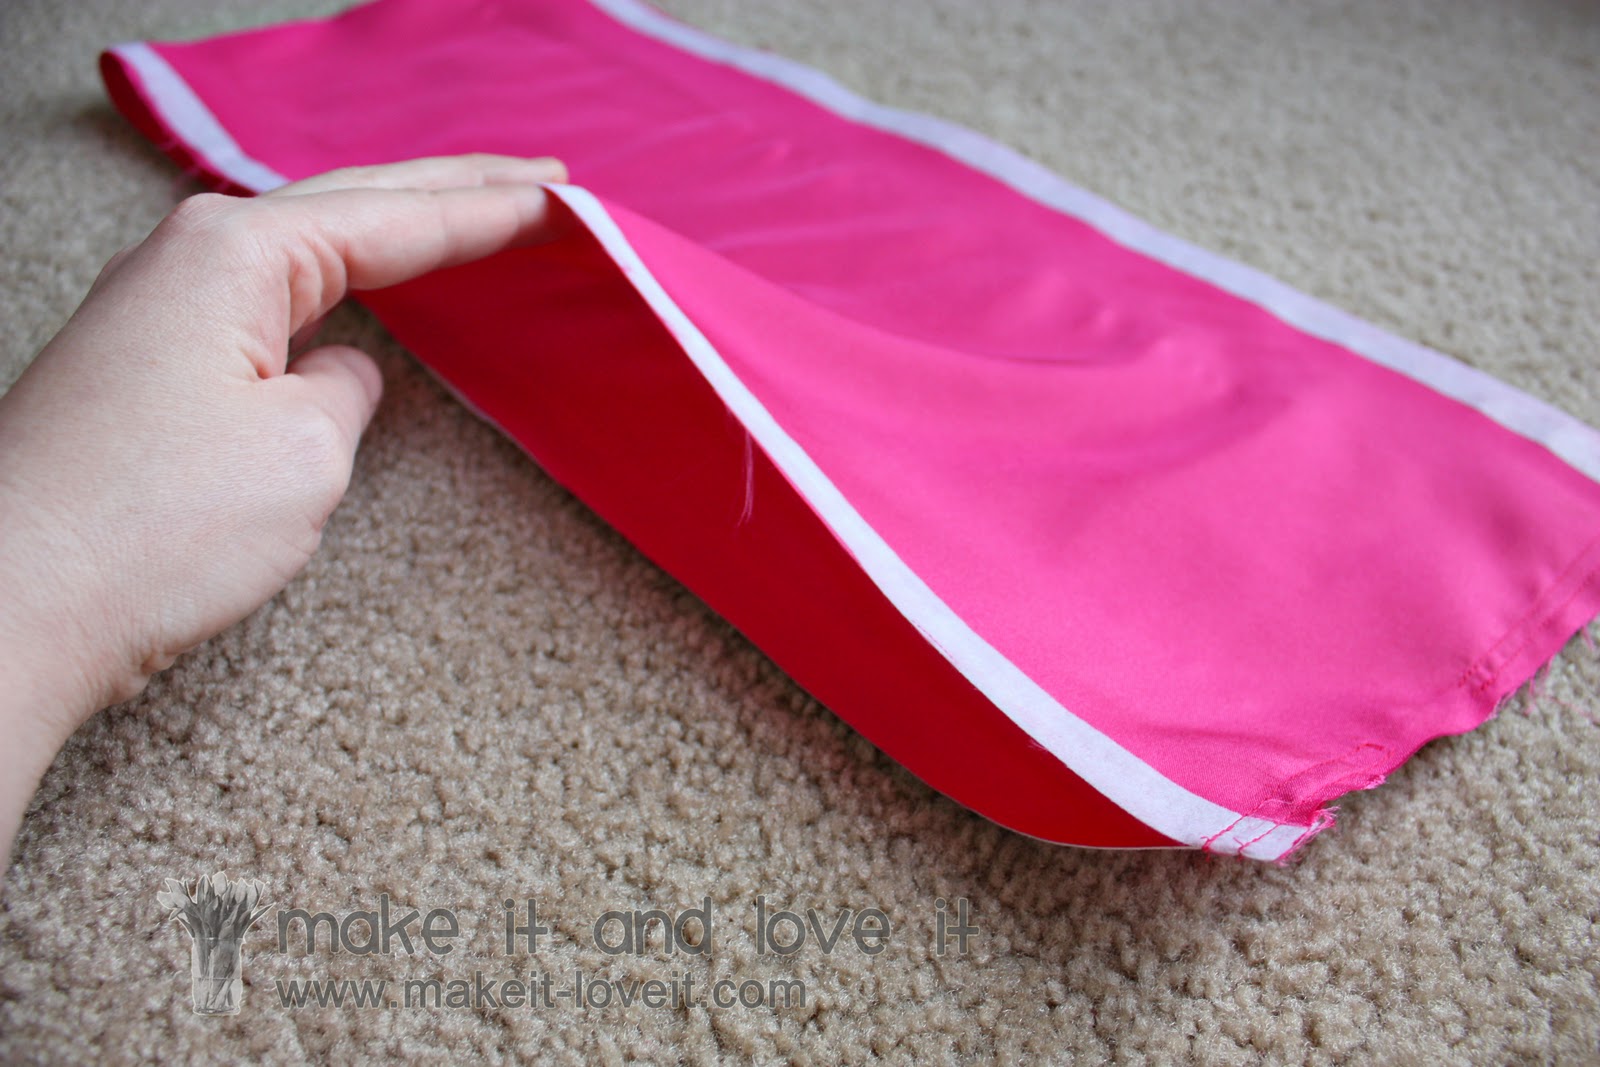
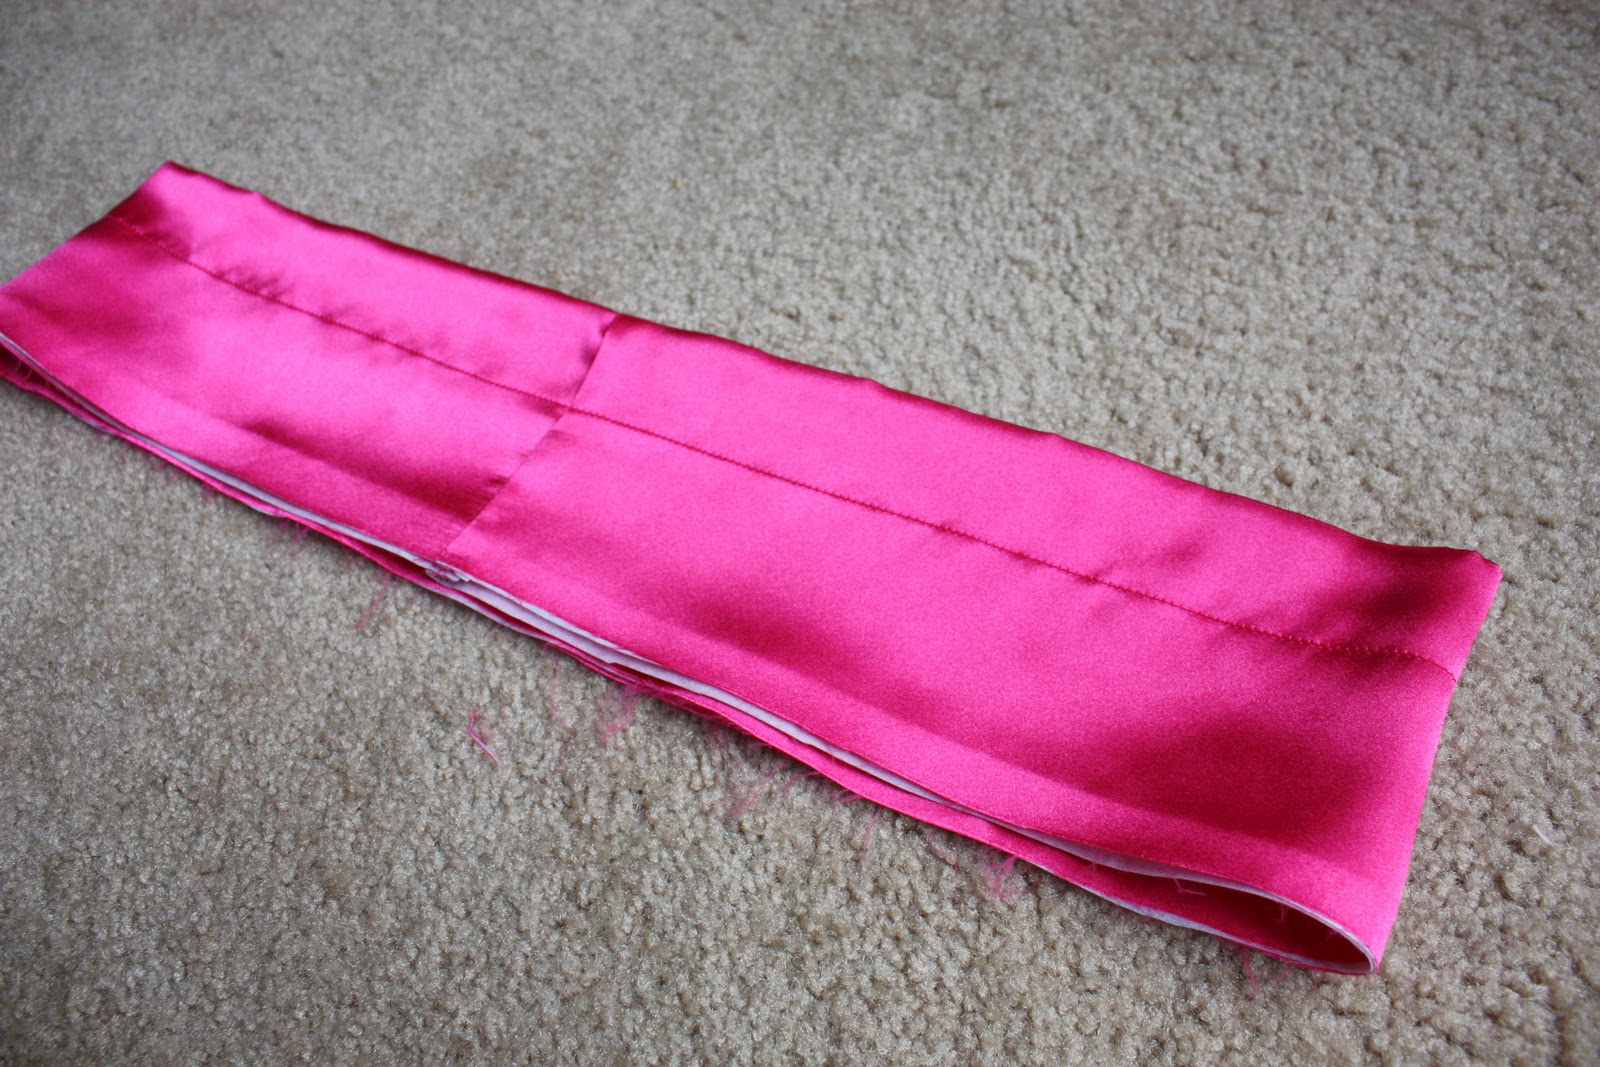
The I folded the fabric down on itself in half, making a waistband, and making sure that the 1 inch opening was on the outside. So this is a tube below, with a fold at the top and the raw edges at the bottom.
Then I ironed that top fold in place.
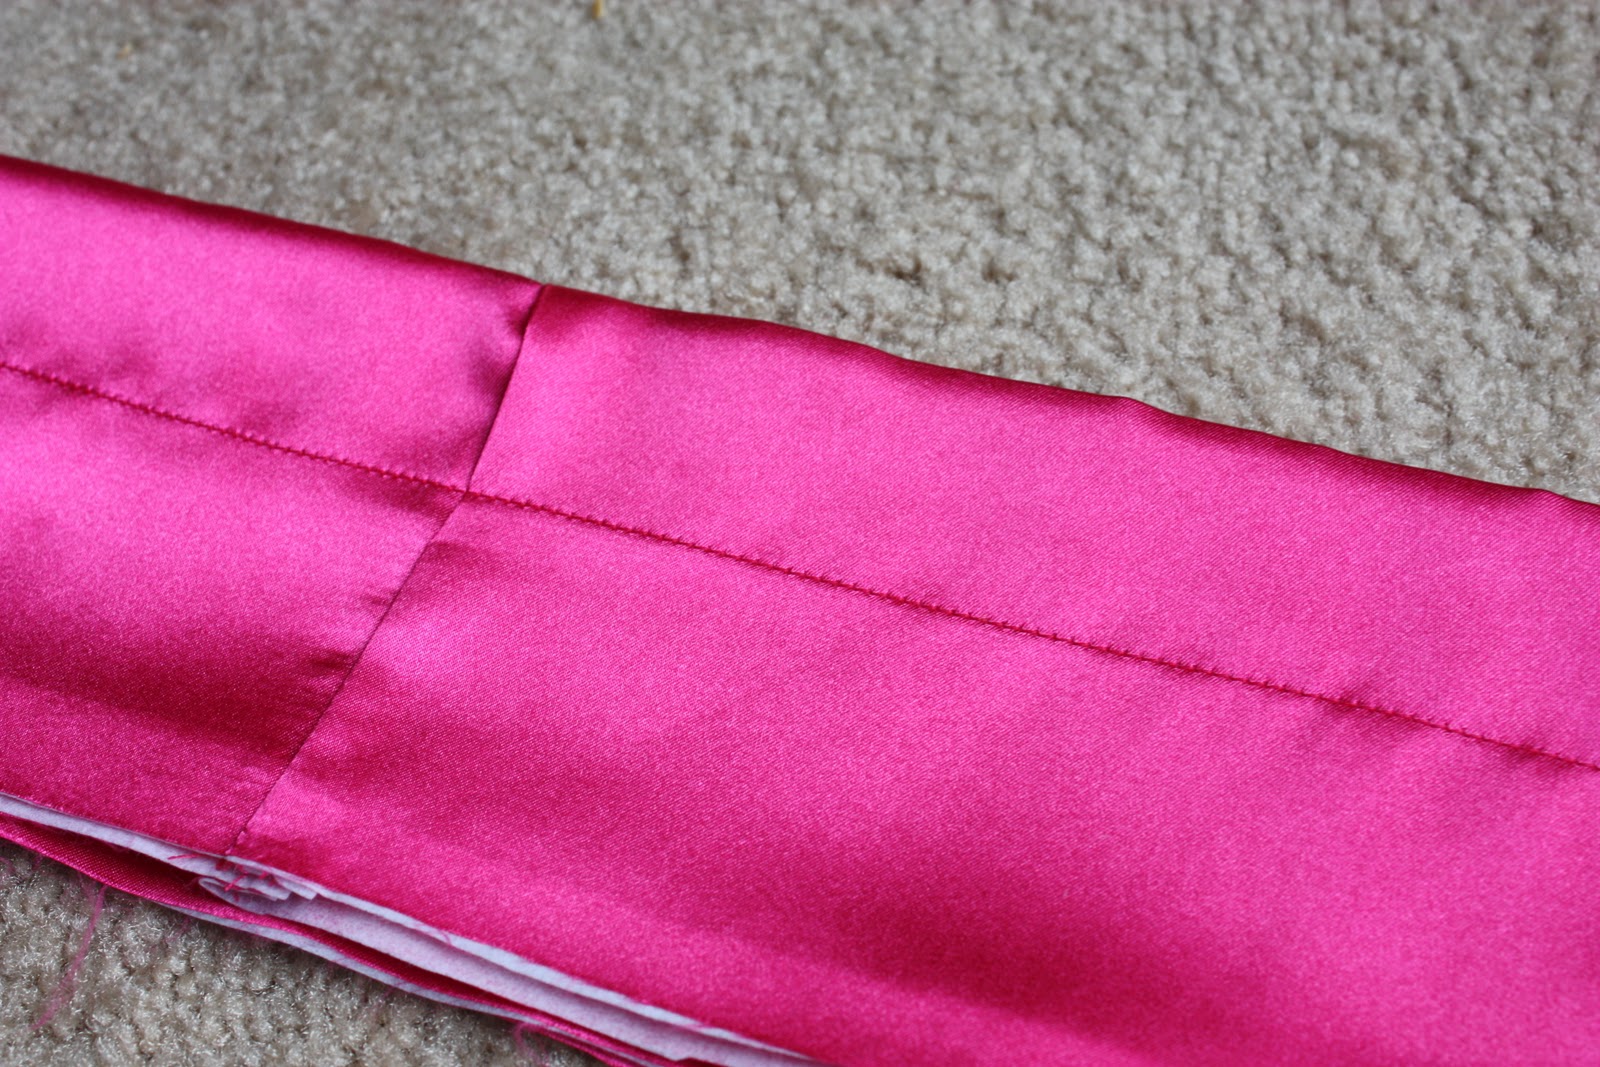
Then I measured down an inch from the top, all the way around the tube and put pins in as my markers. (You could use chalk too.)
Then I followed the pins as I made a seam all the way around the tube….creating a casing for the elastic.
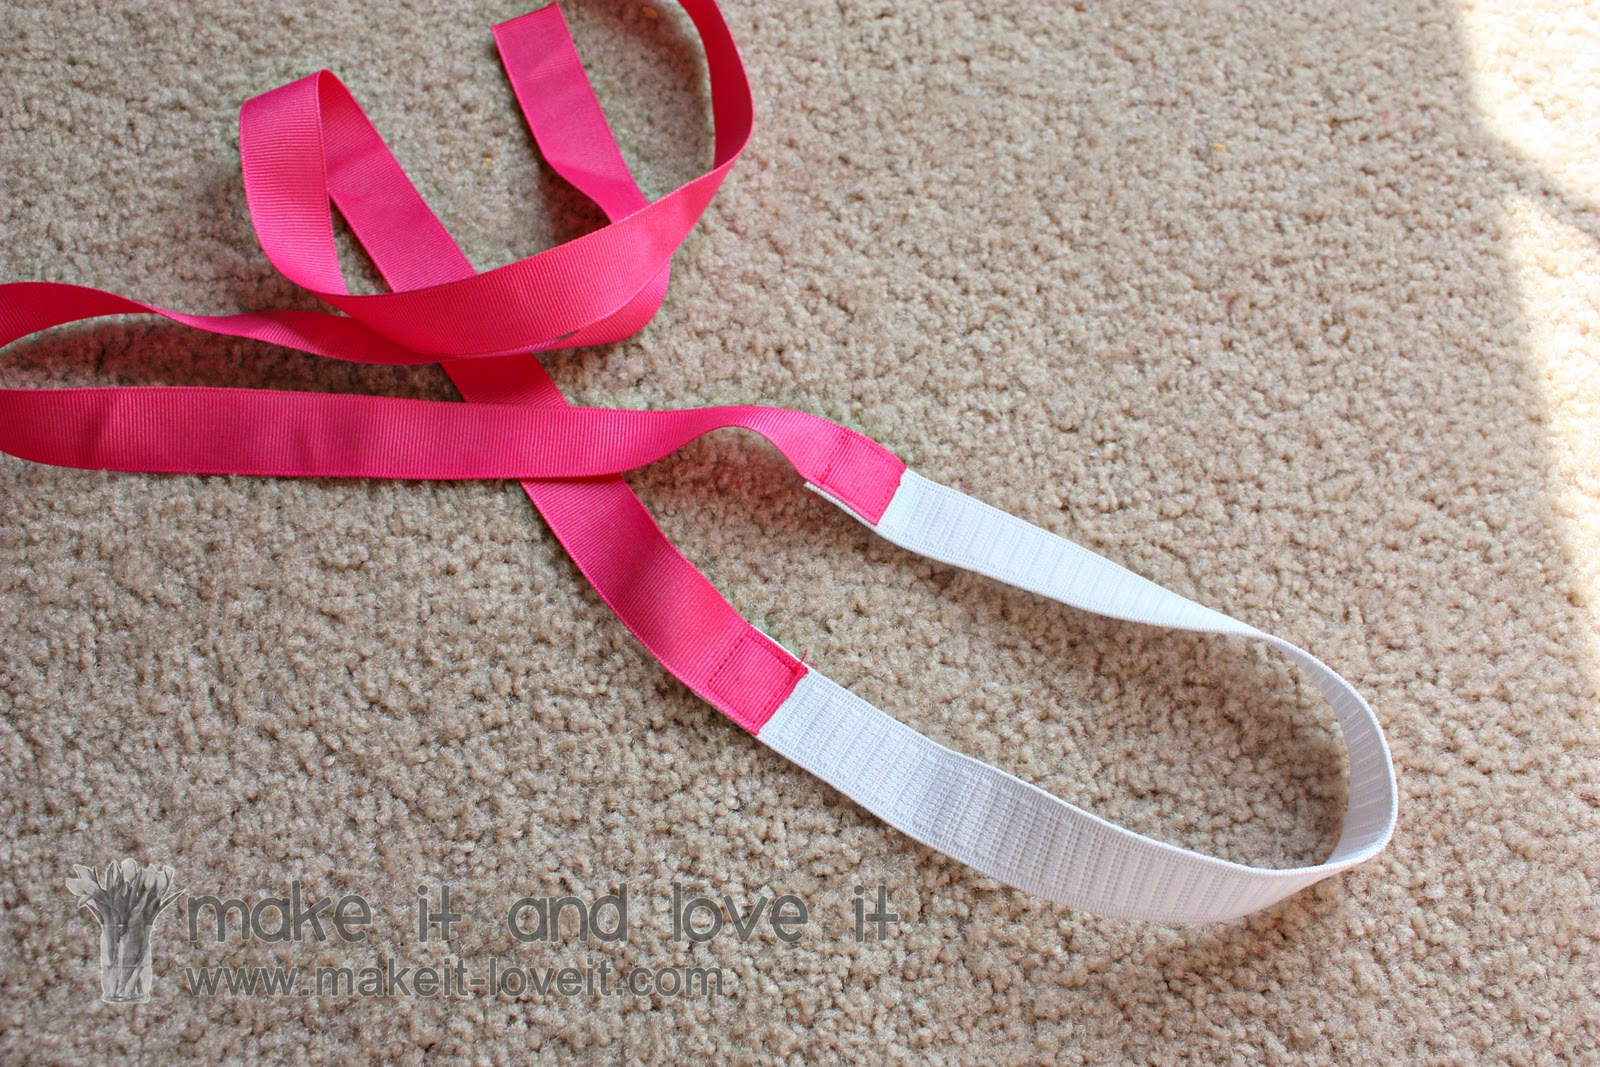
Then I cut a piece of elastic that was 6 inches shorter than I needed. My little girls waist is about 20 inches, so I cut a piece of elastic that was 14 inches and 2 piece of ribbon that were 18 inches each. Then I heat sealed the ends of the ribbon (with a lighter) and then sewed one end of each piece of ribbon to each end of the elastic. Now the waistband is adjustable with a ribbon, yet allows for a snug fit from the elastic.
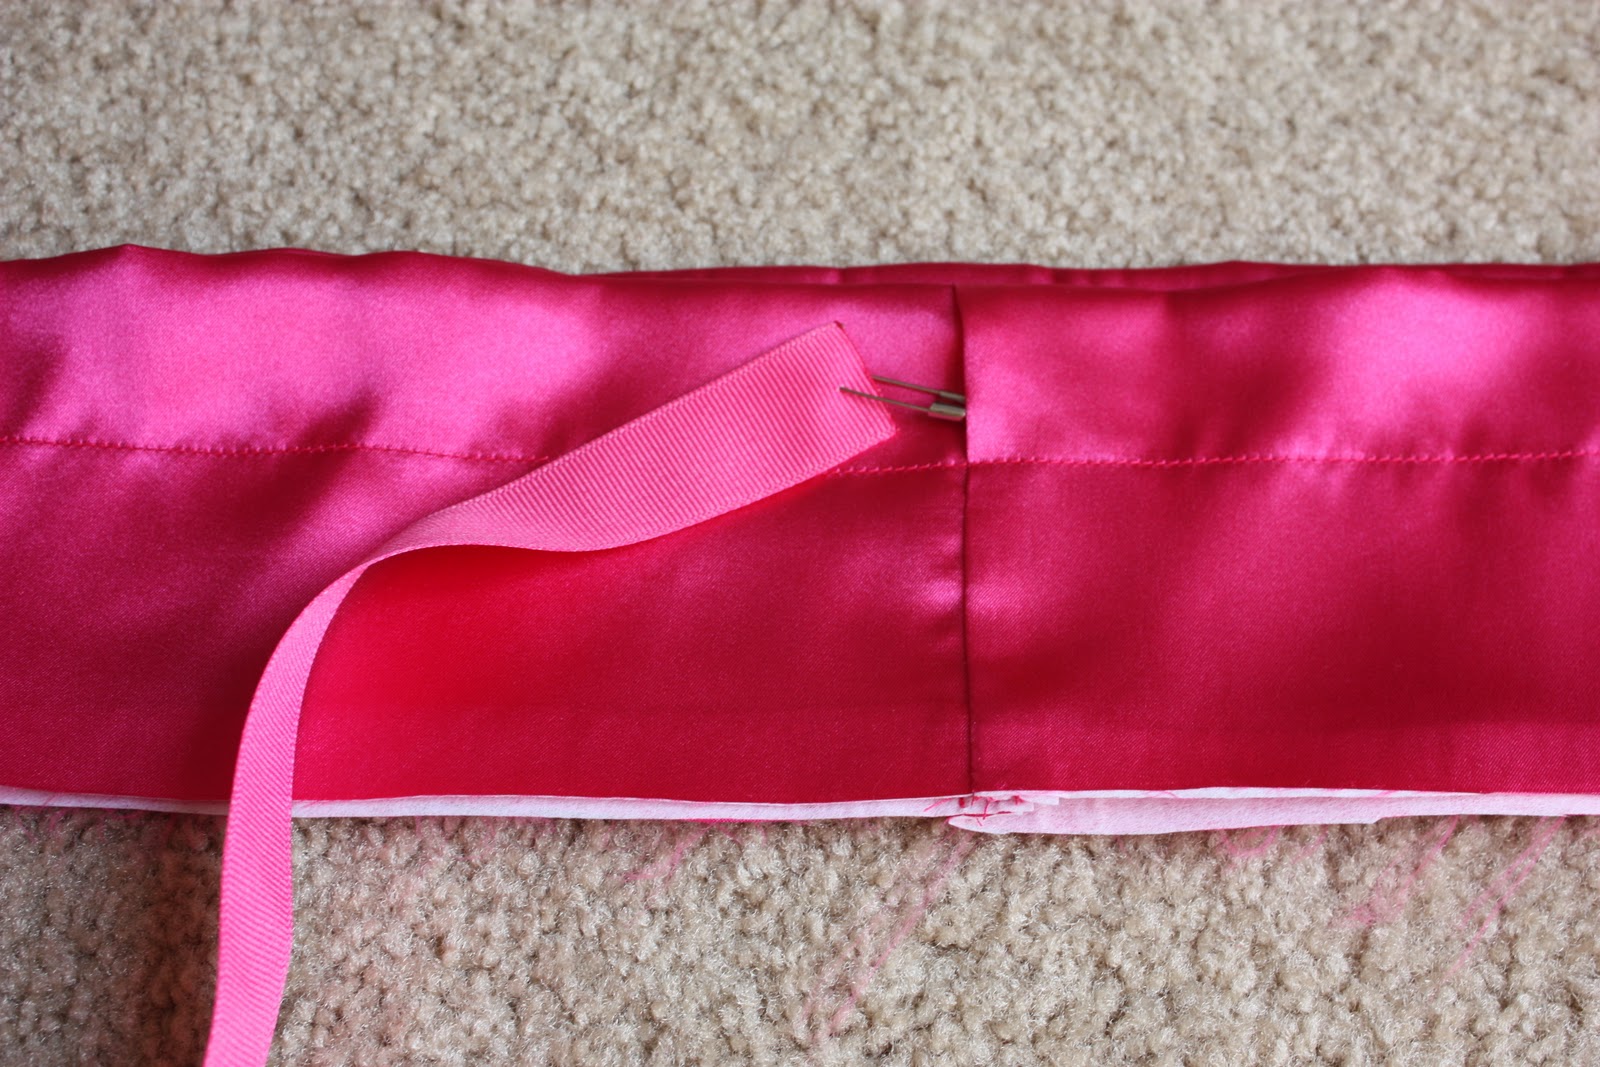
Then attach a safety pin to one end and slide the ribbon through the casing of the satin piece.
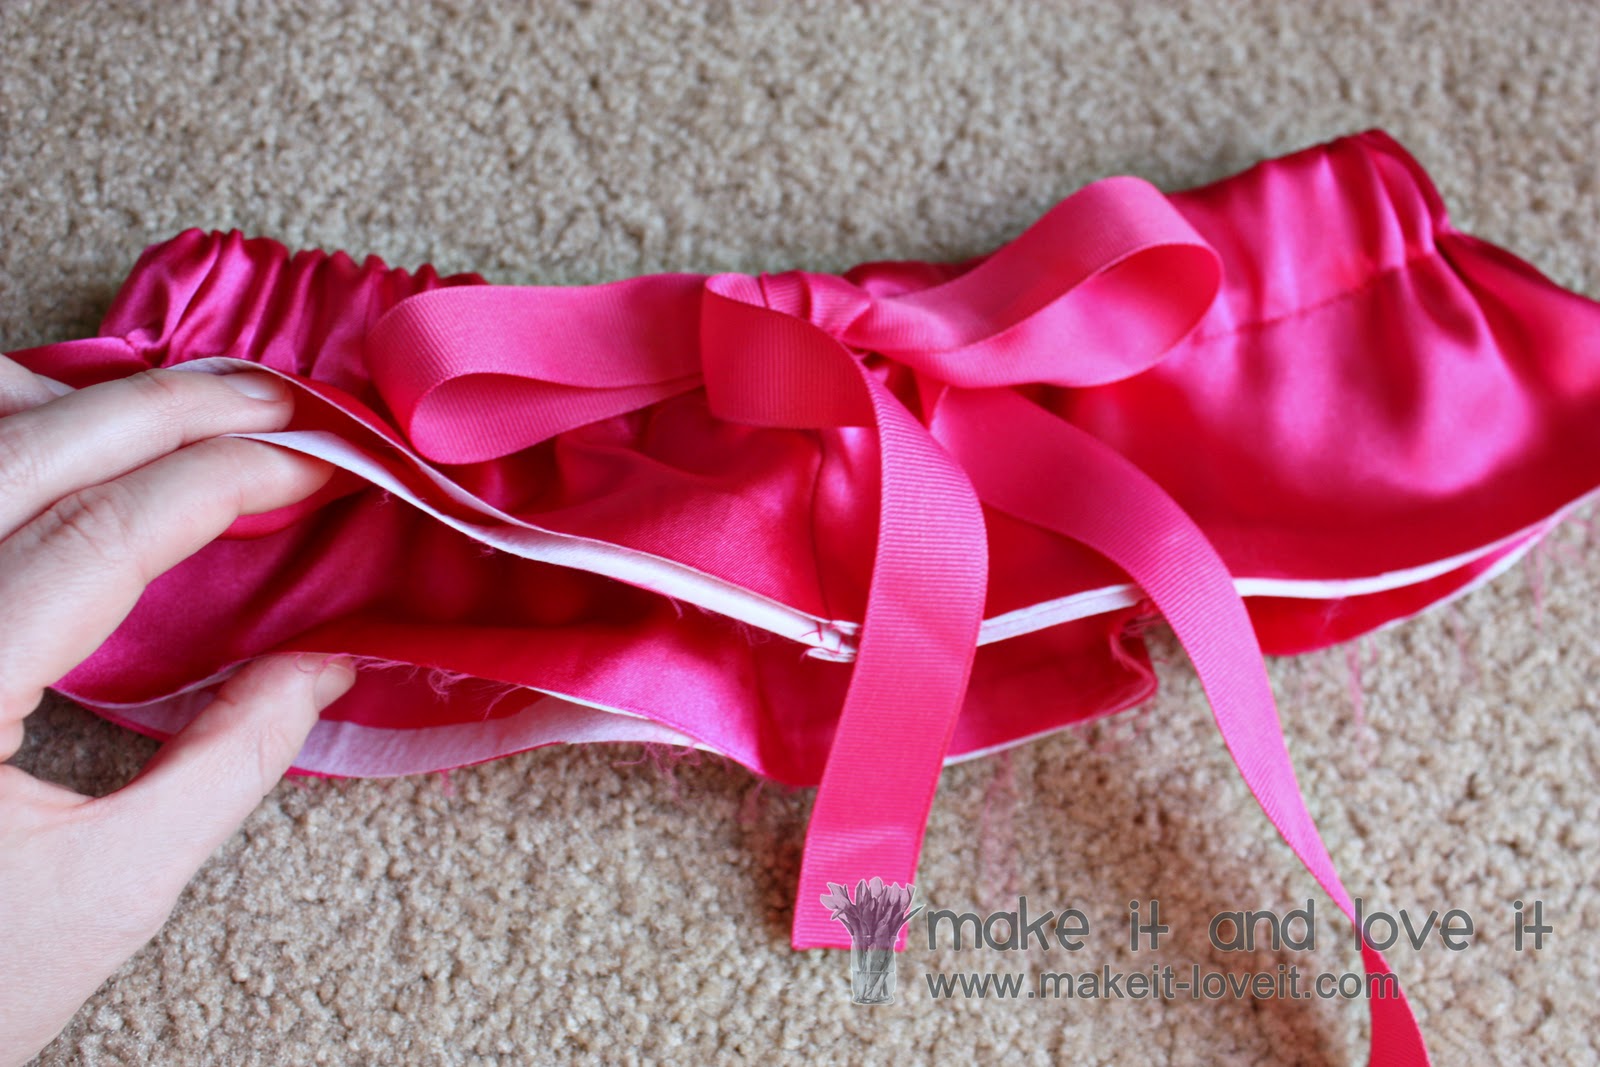
Pull all the way through, gather in the fabric, tie in a bow…….see how it works?
***And see how there is an outside layer and an inside layer to the waistband?
Now, untie the ribbon and just pin the ends to the skirt so that they’re not in the way during the next step. Or just don’t even put the ribbon in until later.
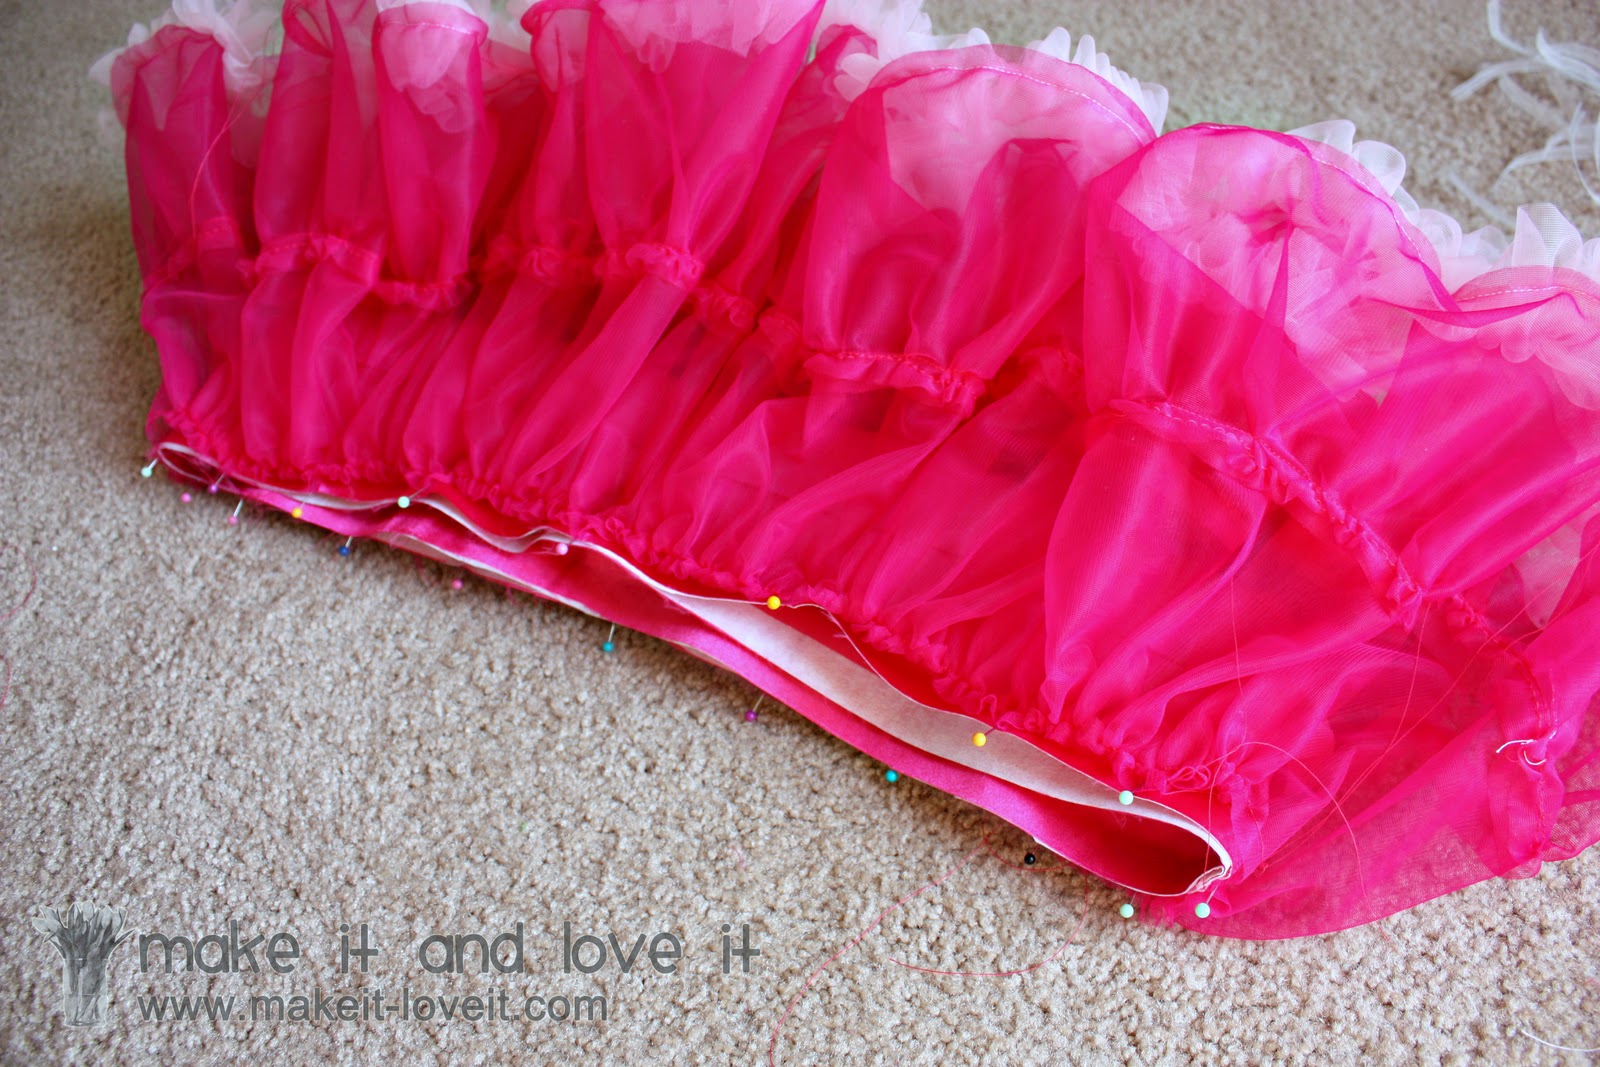
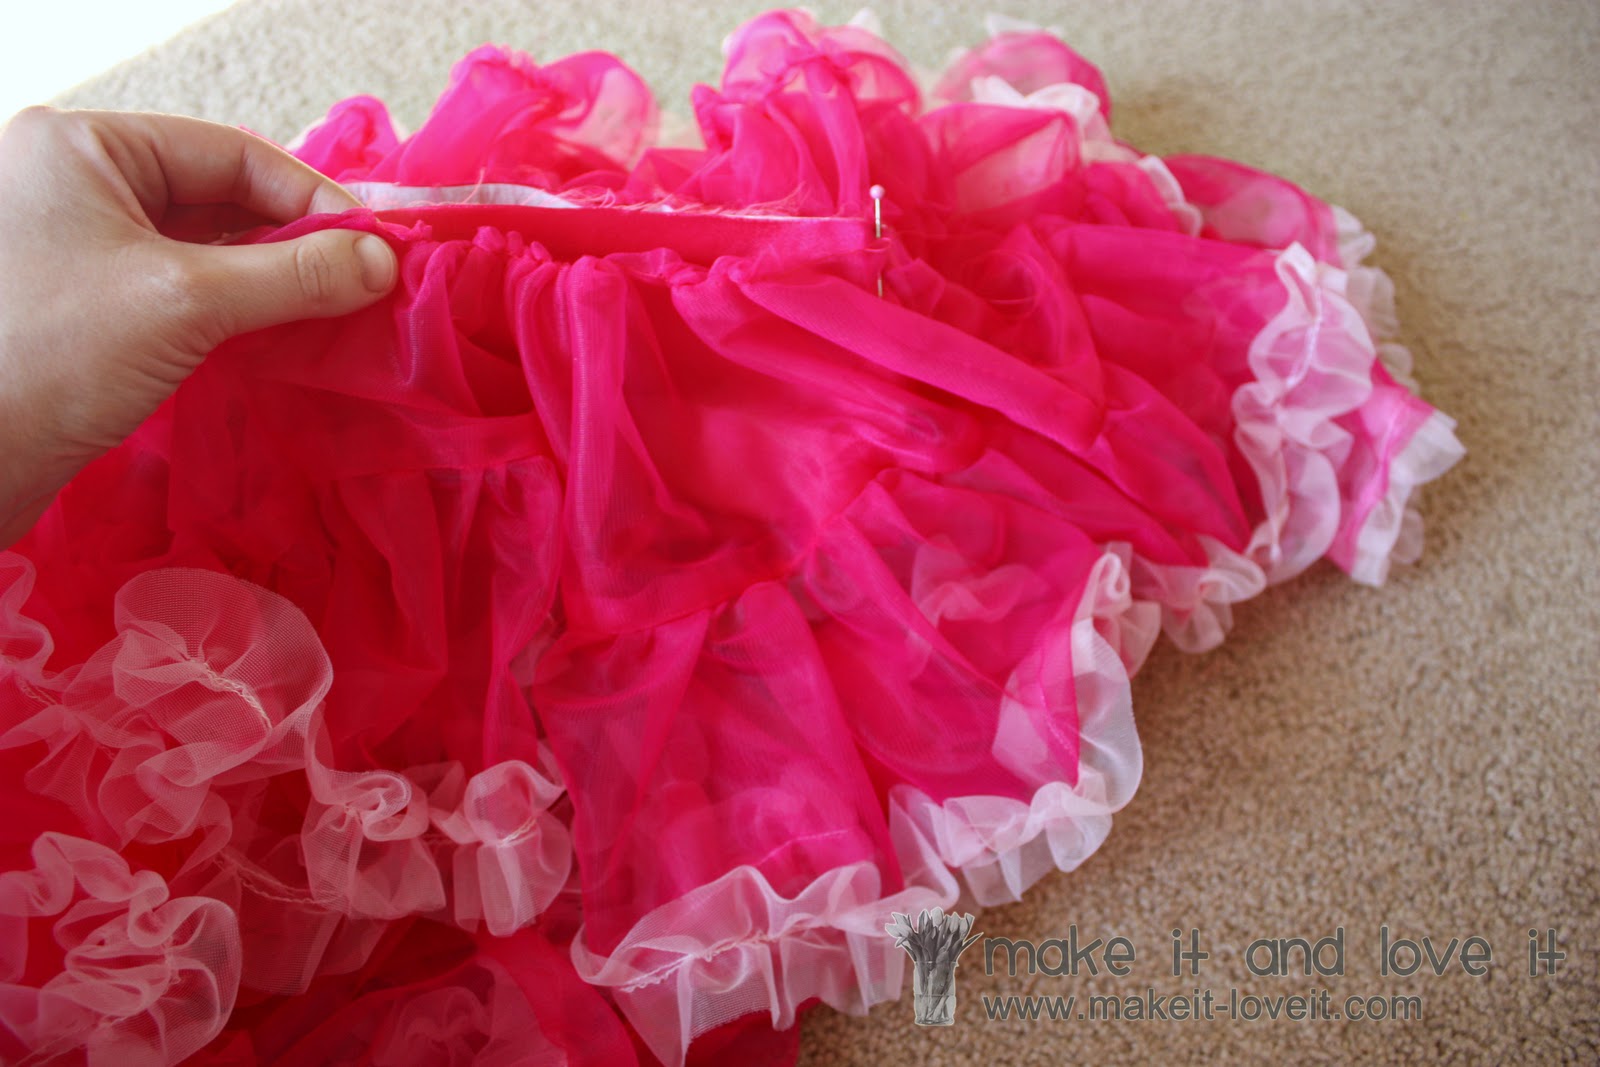
Now, grab one of your ruffled layers and make a basting stitch along the top (1/4 inch seam allowance), just like you did above. And make two separate basting stitches, halfway around each, like I explained above………it helps while you’re pinning.
Now pin this layer to the bottom front edge of the satin waistband……with right sides together. But only pin to the outer layer of the waistband. Make sure the inner layer of the waistband is out of the way. Adjust the gathering where necessary and make sure that the gathers are evenly distributed around the satin layer.
Then sew into place, using a 1/4 – 1/3 inch seam allowance. When you flip down the ruffled layer…….you will now start to see your skirt.
Now, gather the top of your other skirt layer the same way as the first one. Turn the skirt and waist band inside out so that the other layer of the waistband is on the outside.
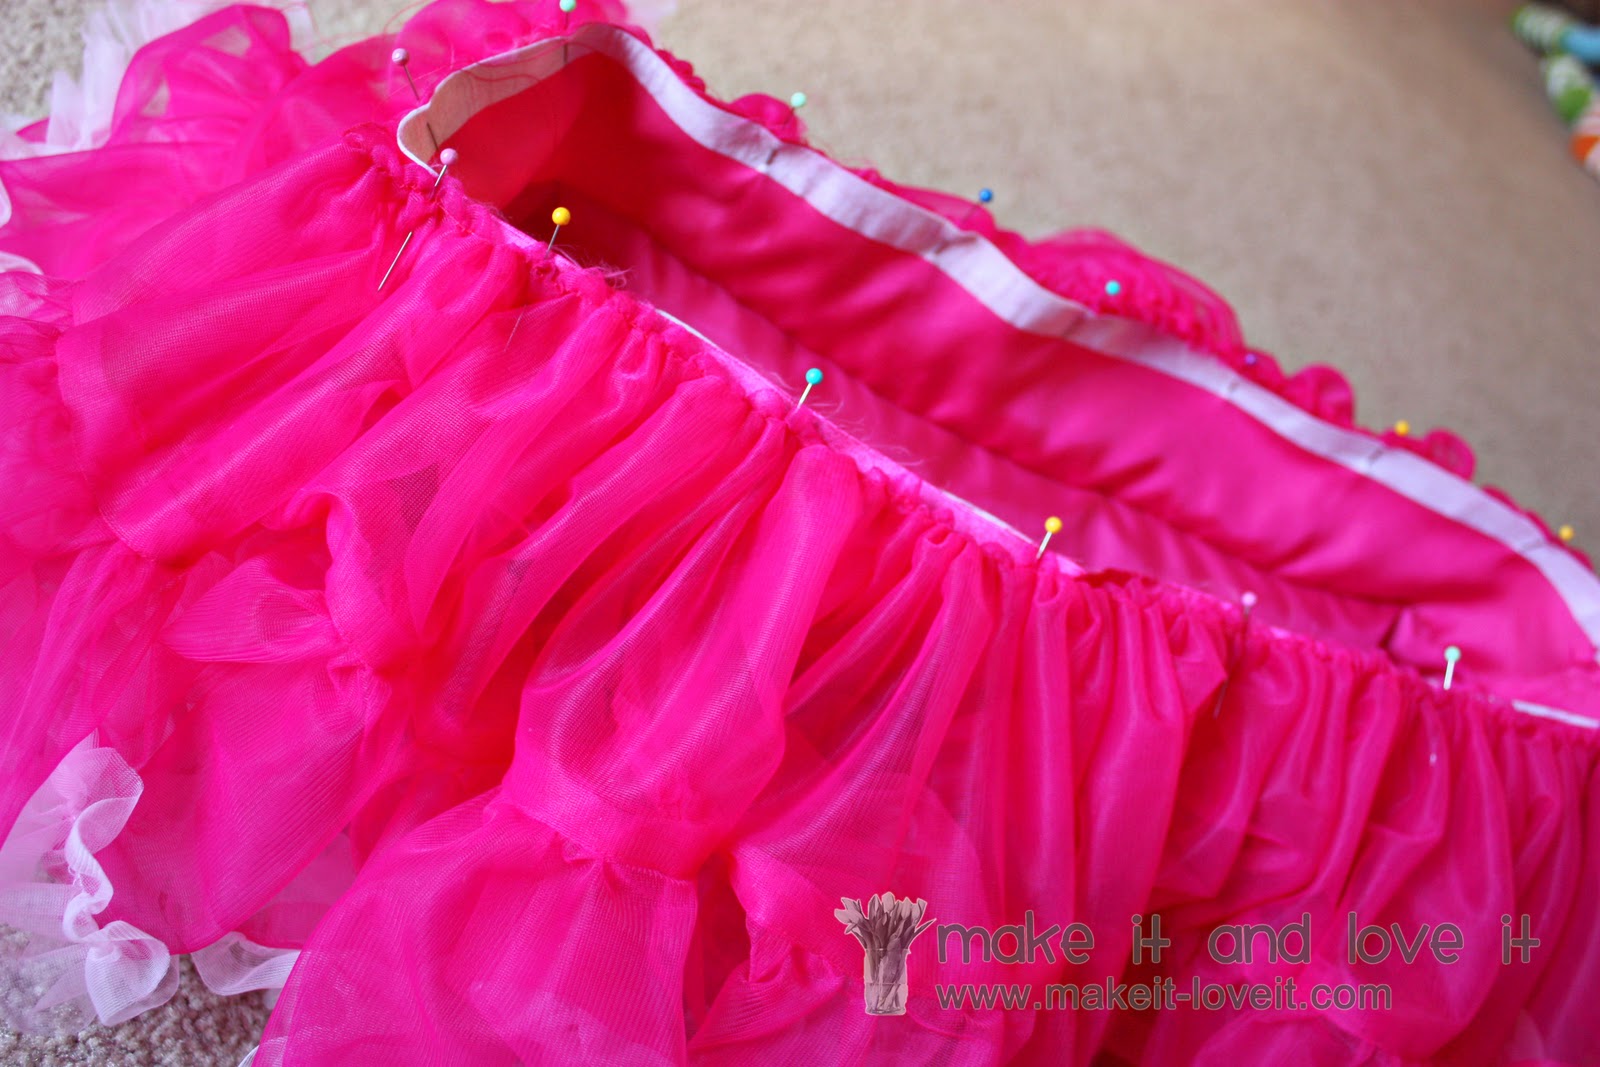
Now pin the wrong side of the chiffon layer to the right side of the satin layer……and pin in place.
Pin all the way around.
And sew into place, just like above.
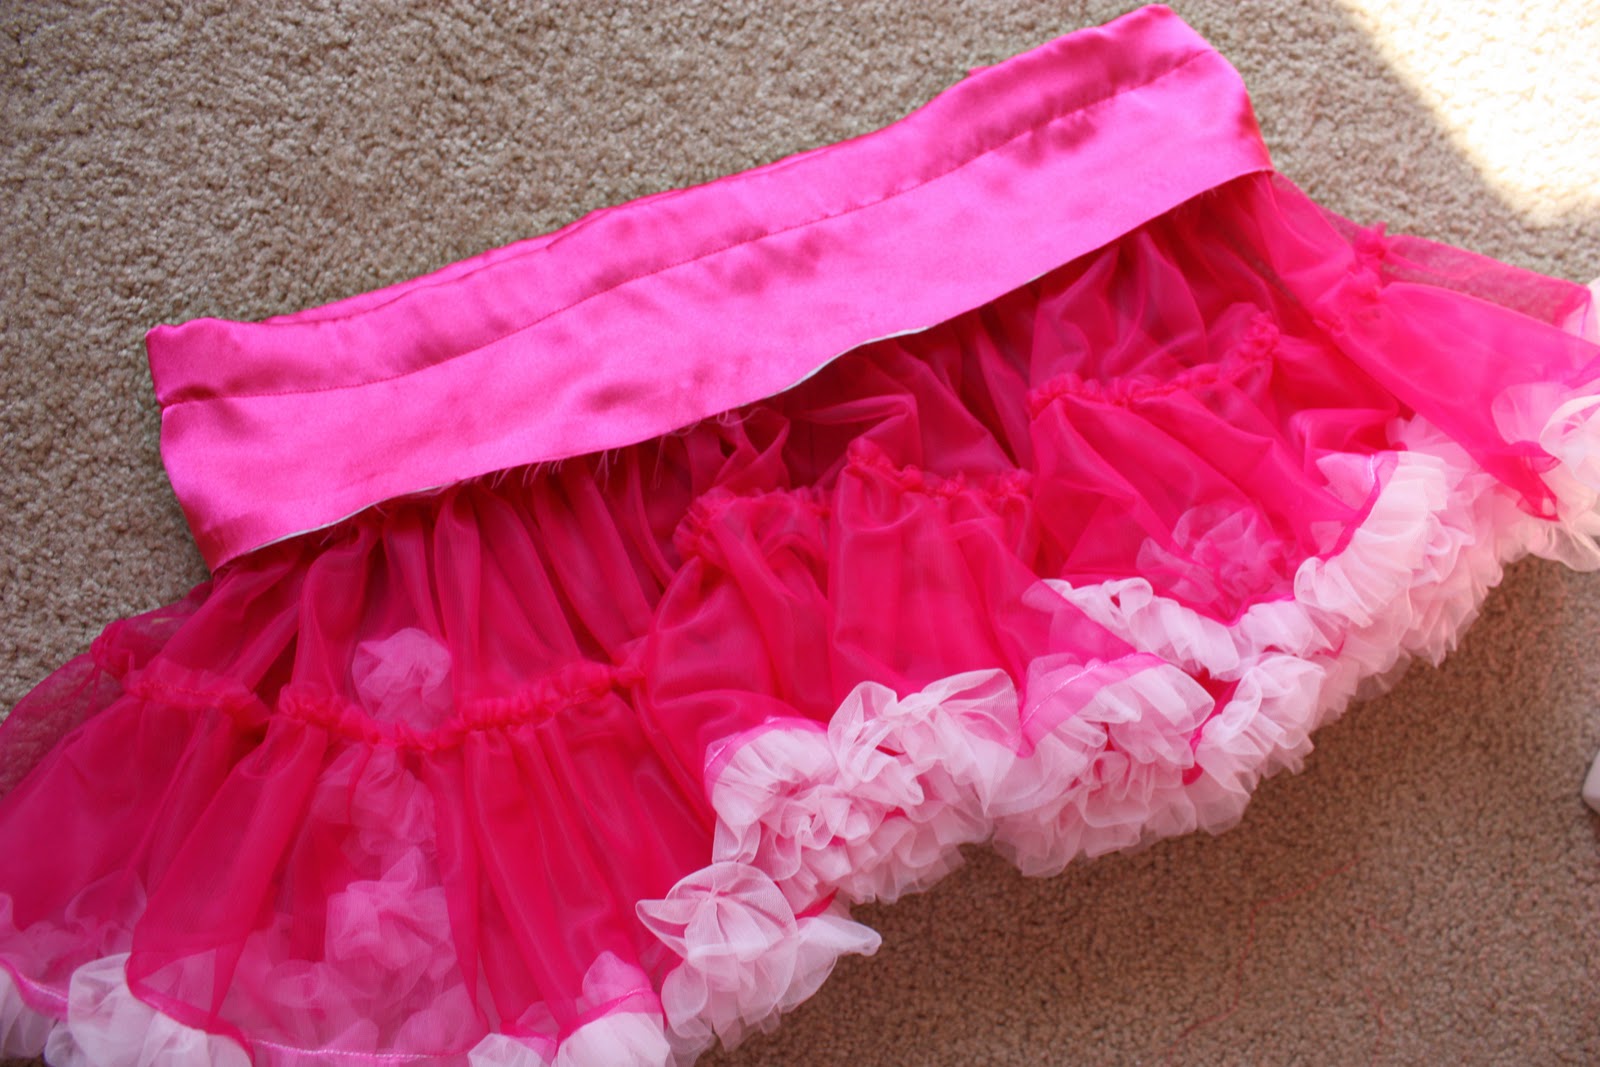
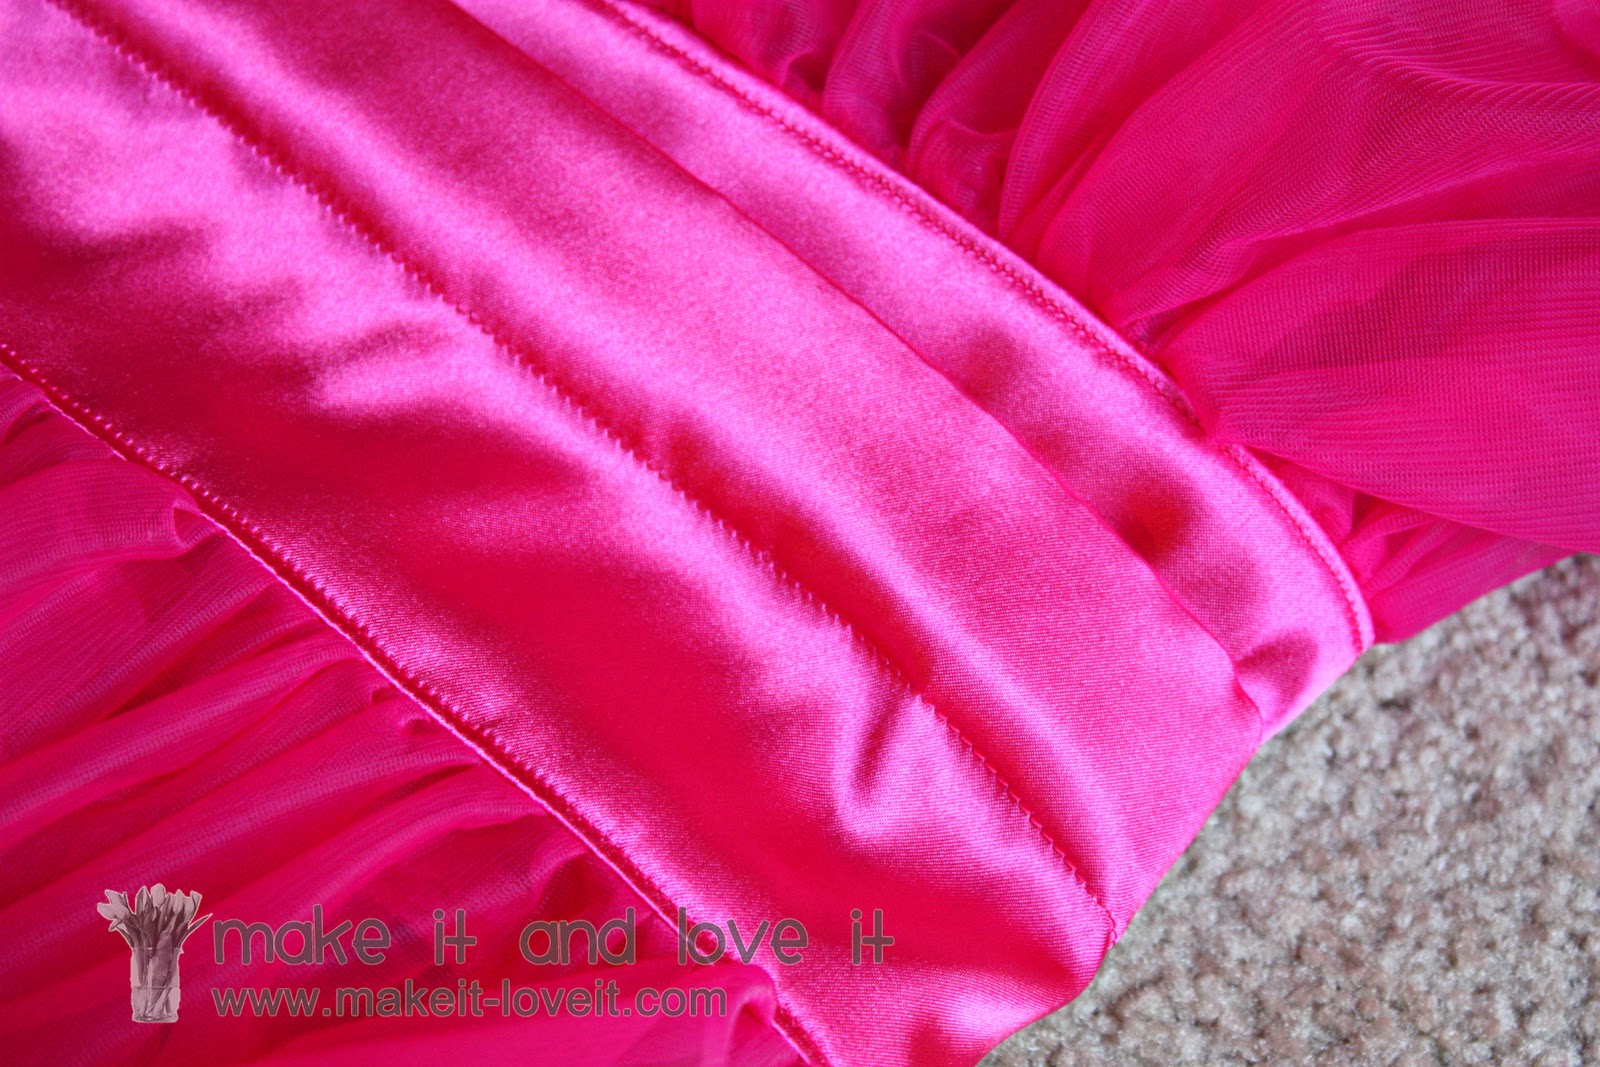
Now, sew a top-stitch along the bottom edge of the satin, folding the raw edges (that are underneath) upwards, towards the top of the skirt, as you sew. You will be sewing through the top layer of satin and then the little raw edge underneath as well. So two layers of satin and some chiffon too. Do this to both edges of the satin.
See the top-stitch along each edge of satin that is next to the chiffon? (The seam in the middle is just the casing for the elastic.)
Are you still with me?
That’s it.
You’re done.
No more gathers or ruffling. Whew.
Great work!
Now, really, wasn’t that all worth it?
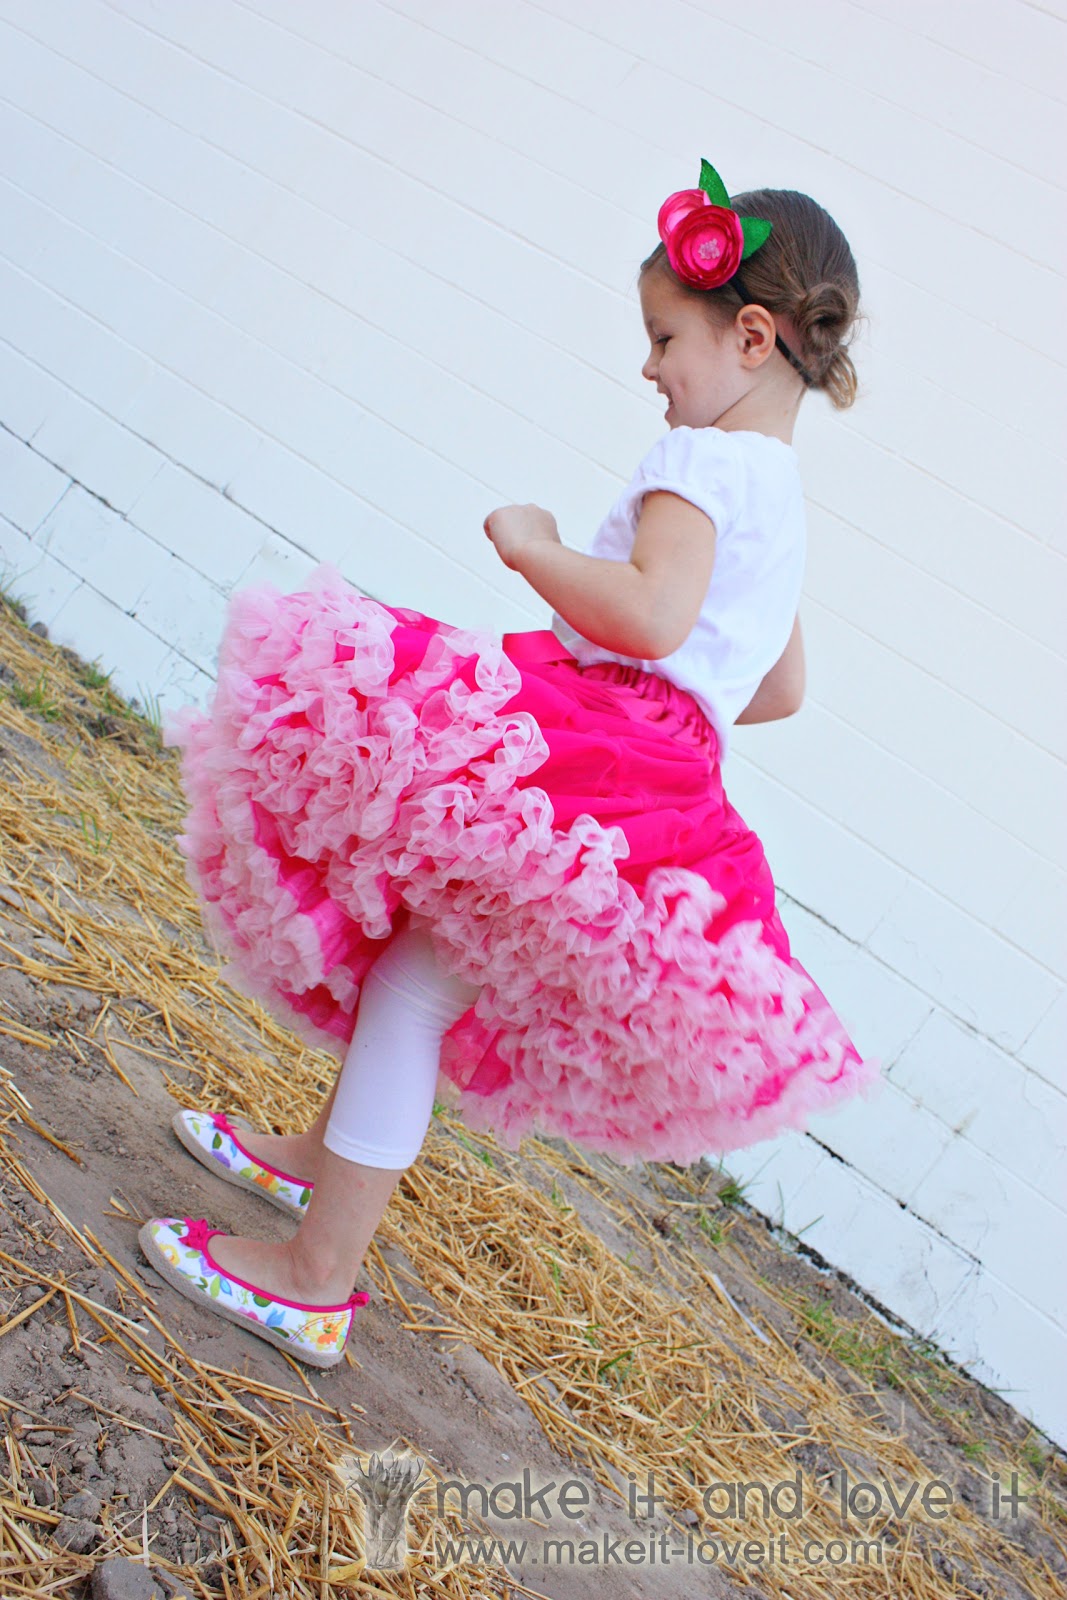
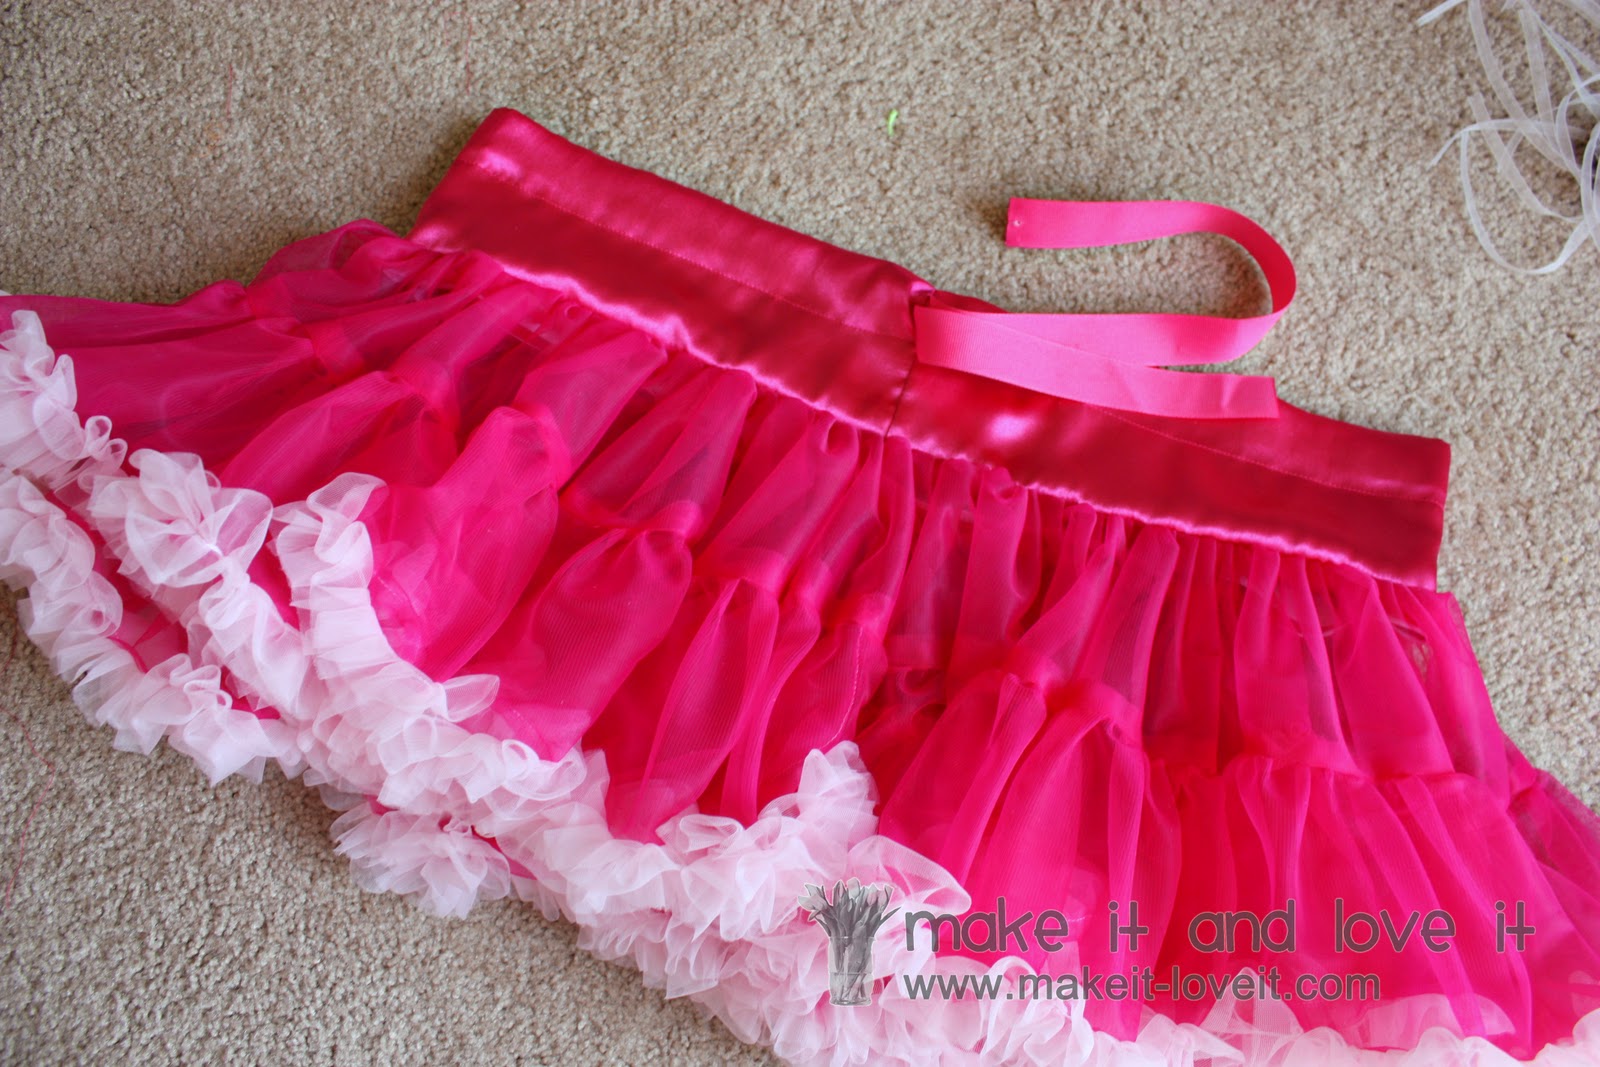
Just look at all of that pettiskirt goodness…..
………secured in place by a sweet little ribbon on the hip.


