Home » DIY Tutorials » DIY Sewing » Sewing: Clothing » Baby Clothing » Decorate My Home, Part 21 – Flowered Pillow Cover
Decorate My Home, Part 21 – Flowered Pillow Cover
July 16, 2010 - By Ashley Johnston 67 Comments
.
My heart broke while reading of the Sullenger family and the events going on in their life right now. Their darling little baby girl fell into a canal in Idaho (close to where I just moved from) and was pulled out of the water by a farmer 2 miles away. The parents, Patrick and Ashley, have shared pictures and their tender feelings of the whole situation on their blog
here. Another blog has been set up to help the Sullenger family
here.
If you have a moment, please stop by.
_______________________________________________________
Looking for the Go! Cutter giveaway? (Valued at over $400) Scroll down or click
here.
. . . . . . . . . . . . . . . . . . . . . . . . . . .
I mentioned yesterday, after introducing this fun little Go! Cutter, that I had more projects to show you.
I have a few things saved up, that are non-quilting related………in case quilting is not your thing.
And you all know my love of pillows.
So here’s another one, of course.
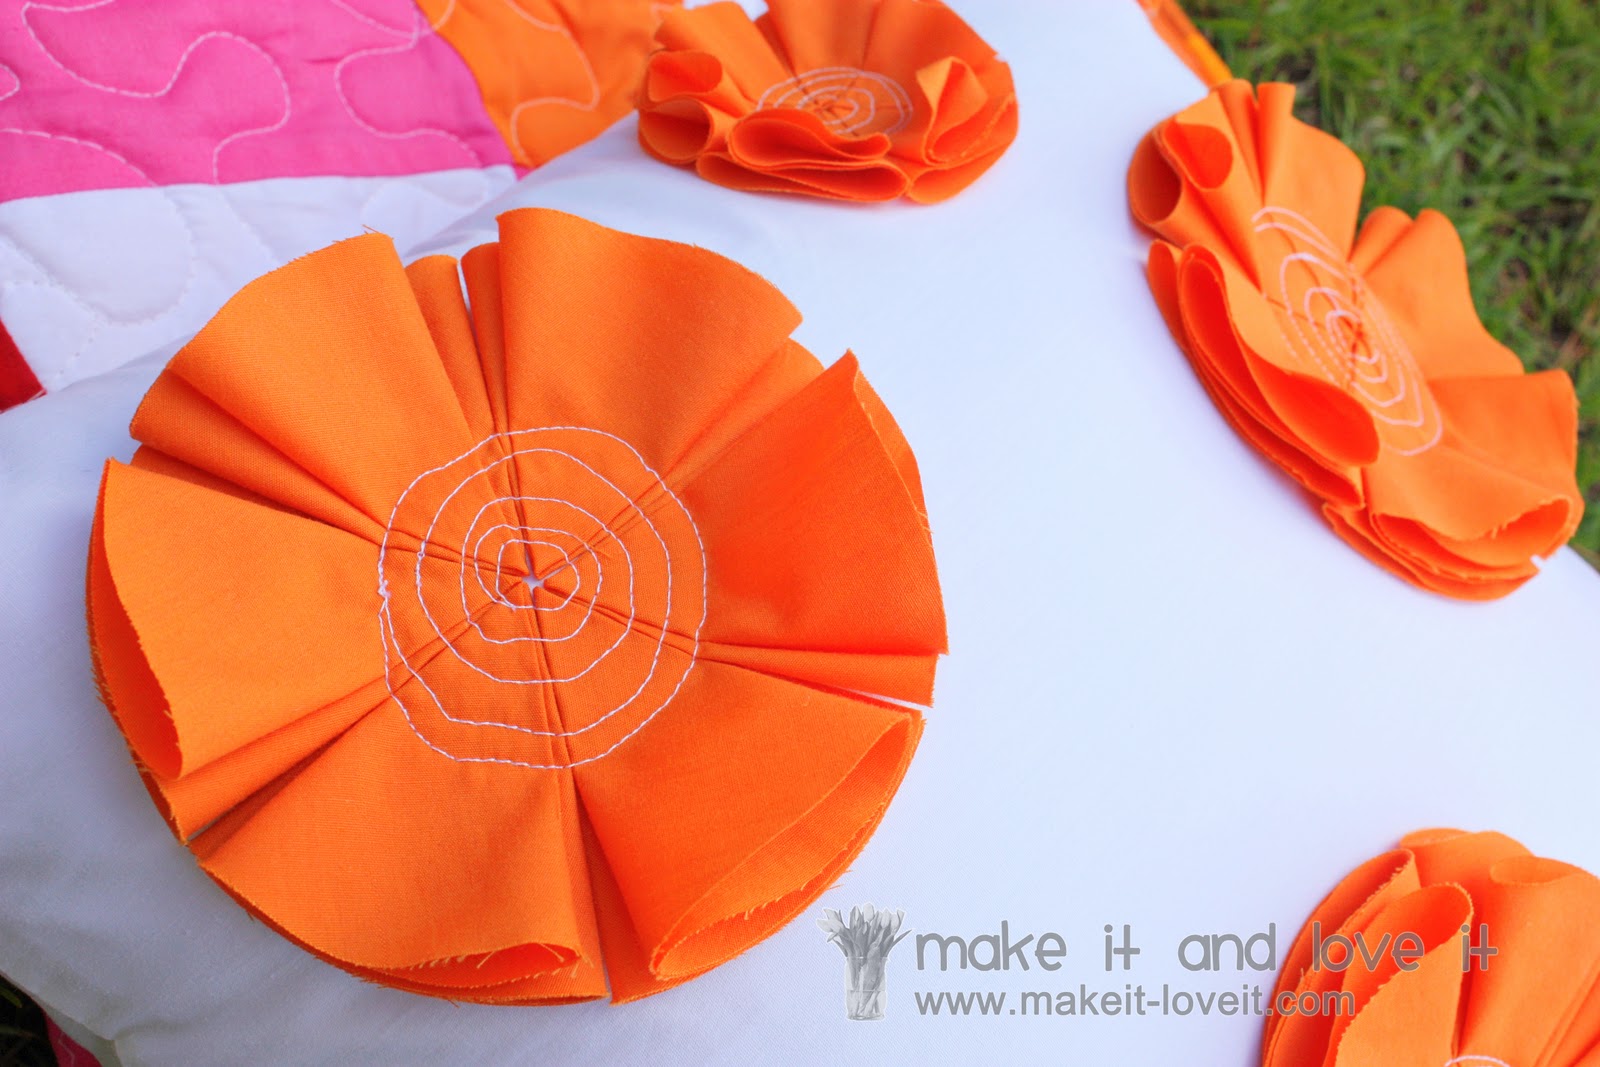
A bright white one, with vibrant and full orange flowers on it.
Made by folding and sewing dozens of little circles.
And I decided that it
sits really nicely atop that little Tumbler quilt that I made
here.
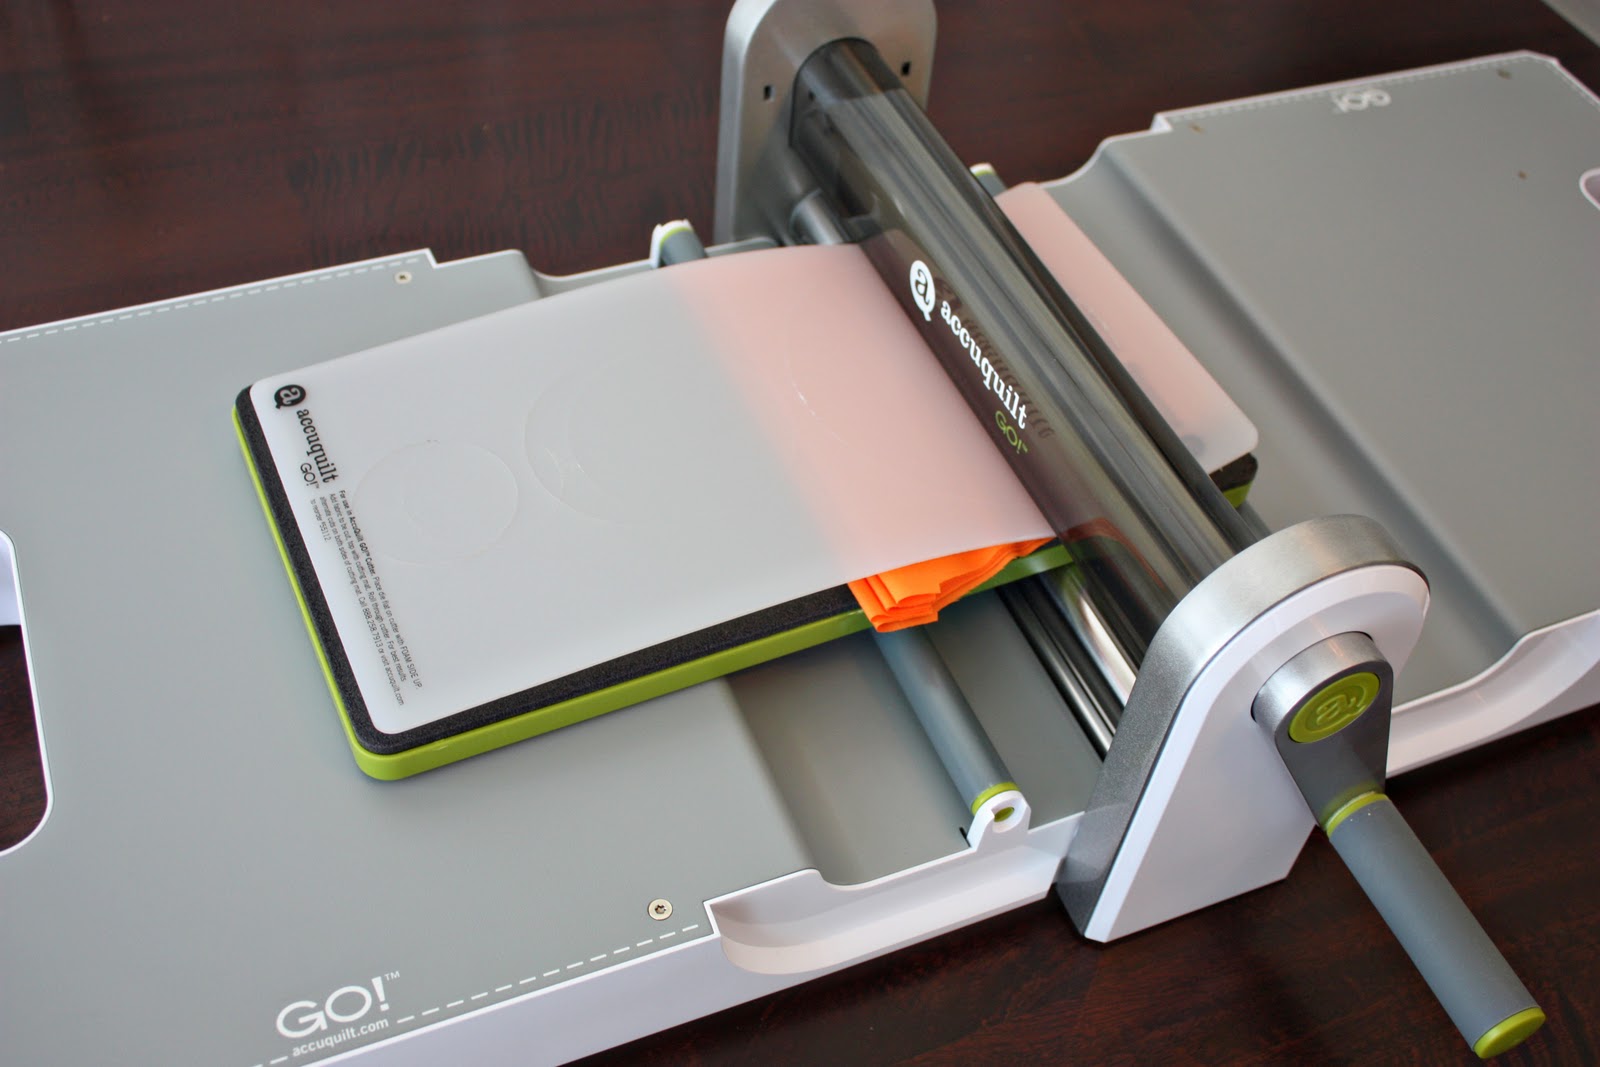
You can make one of these even without a Go! Cutter……..but it sure saved me a lot of time to use one.
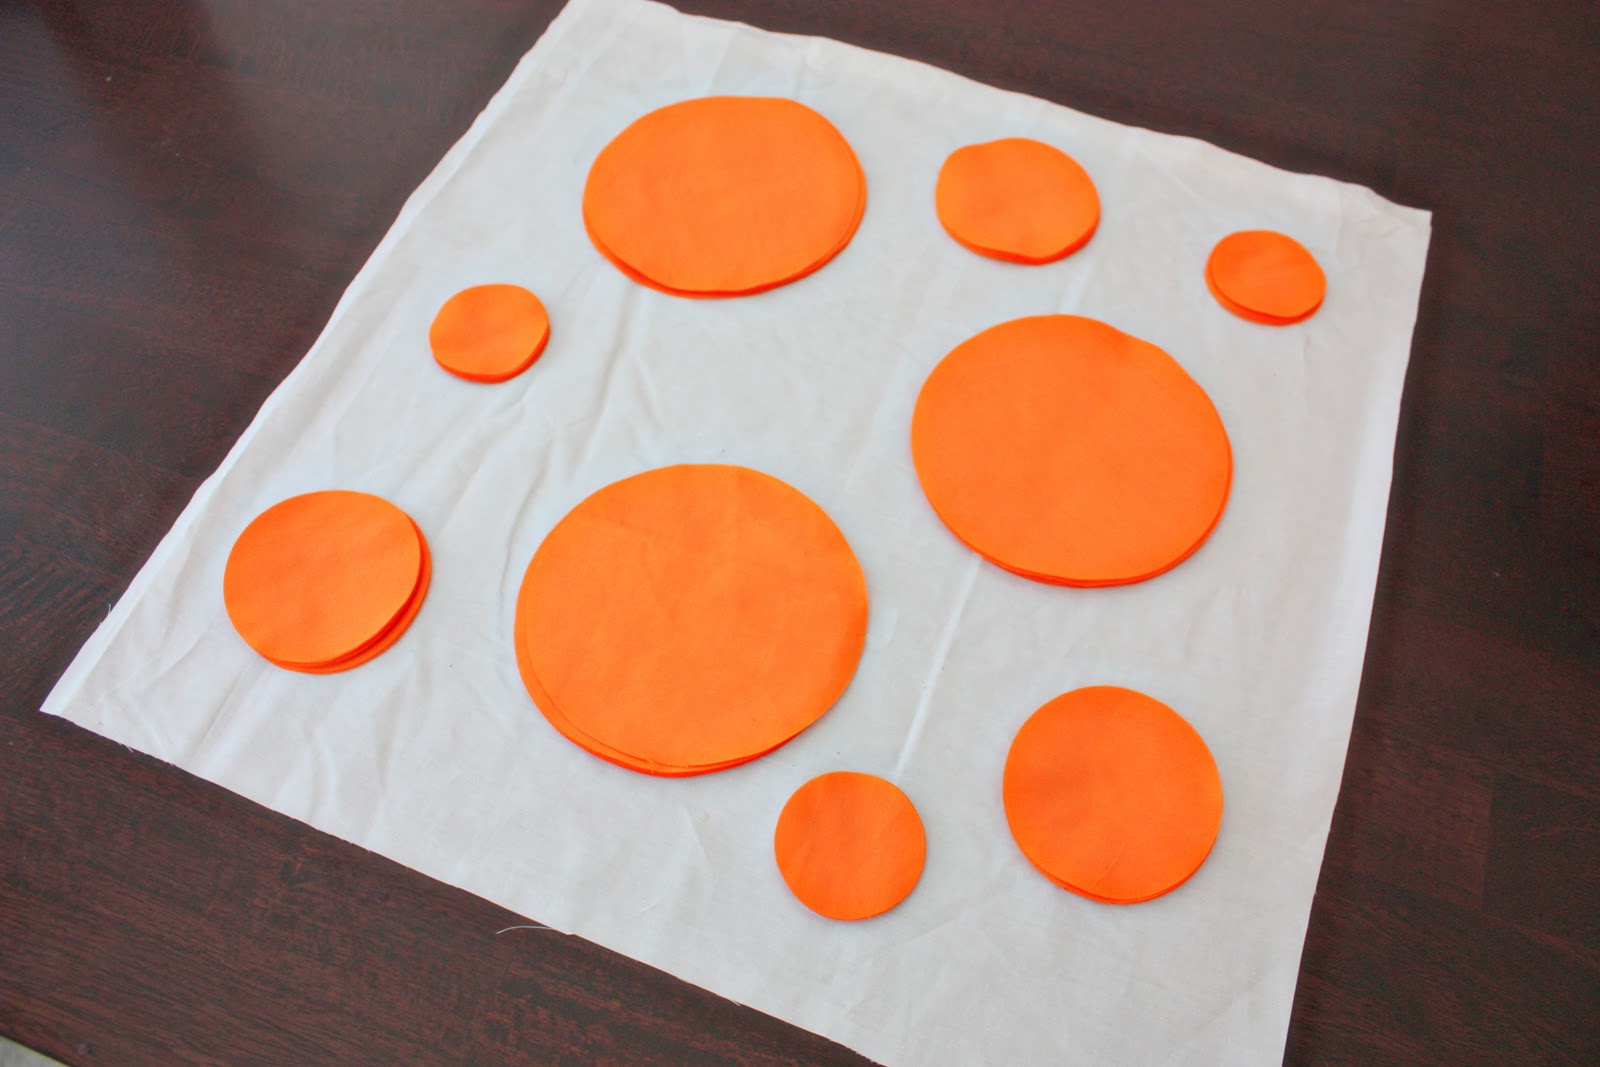
First, I cut a 17.5 x 17.5 inch piece of white cotton material to use for my pillow cover. I actually cut 4 pieces this same size, so that I could double layer each side of the pillow.
Then, I layed scraps of fabric on top of the circle die cut……….
Placed the mat on top…….
Then rolled it on through……….
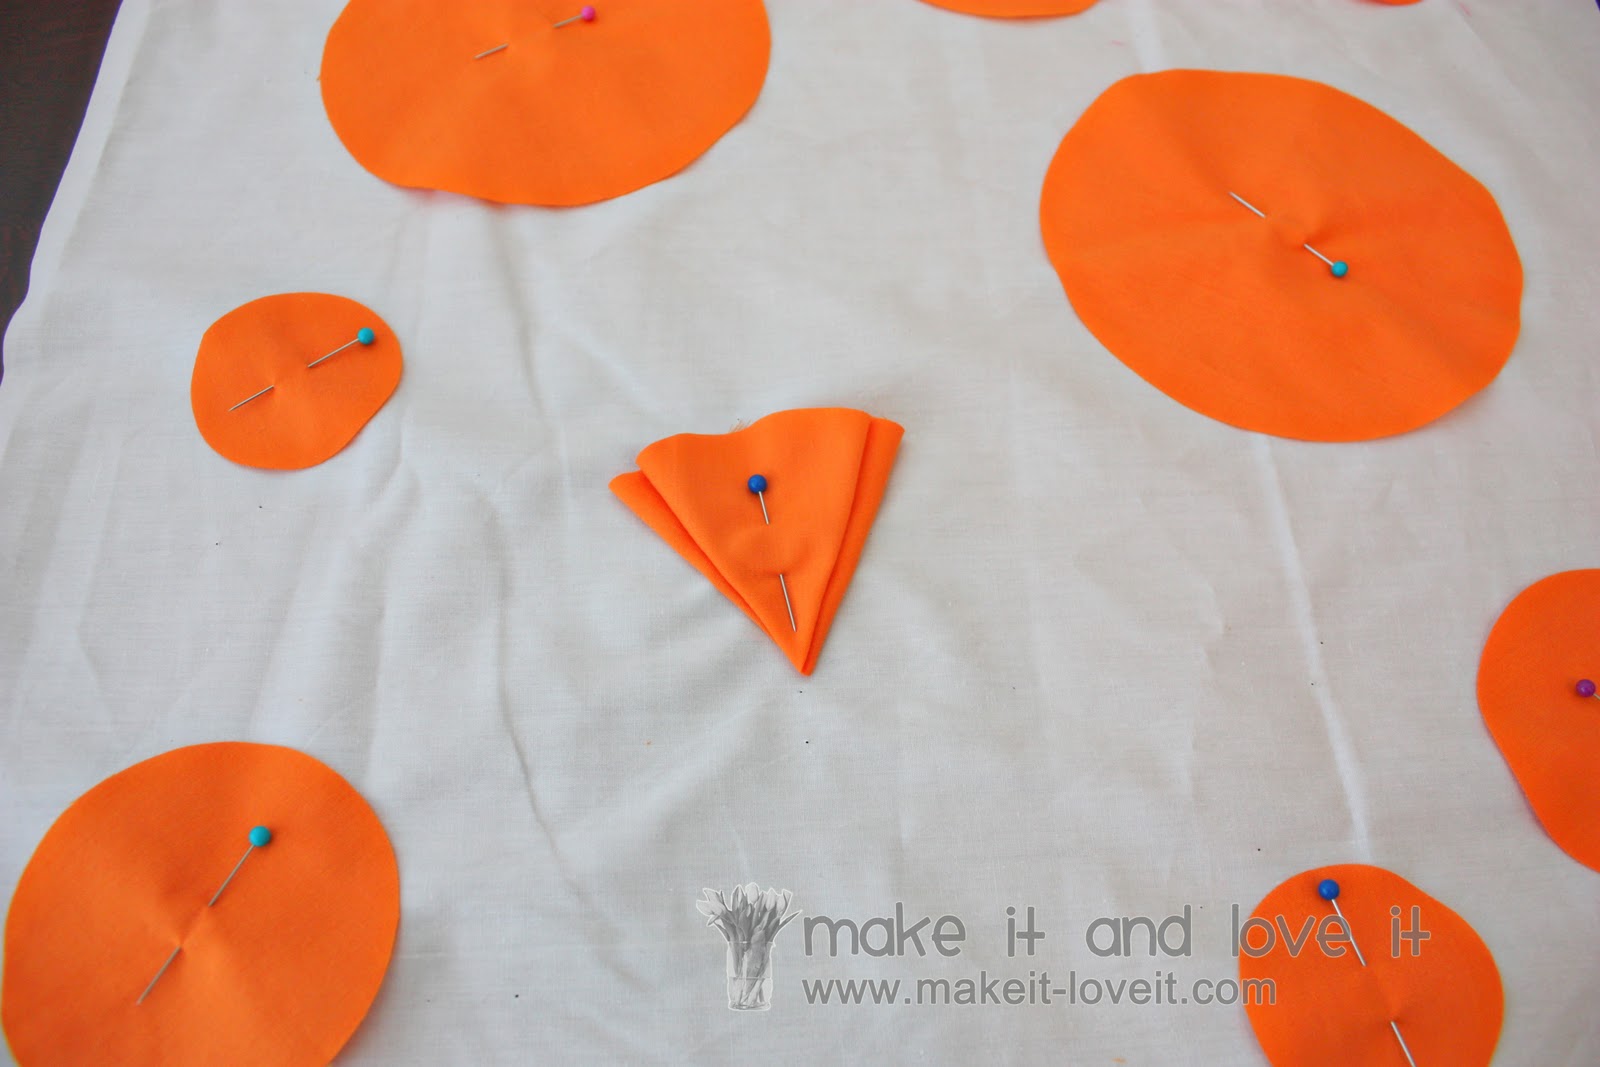
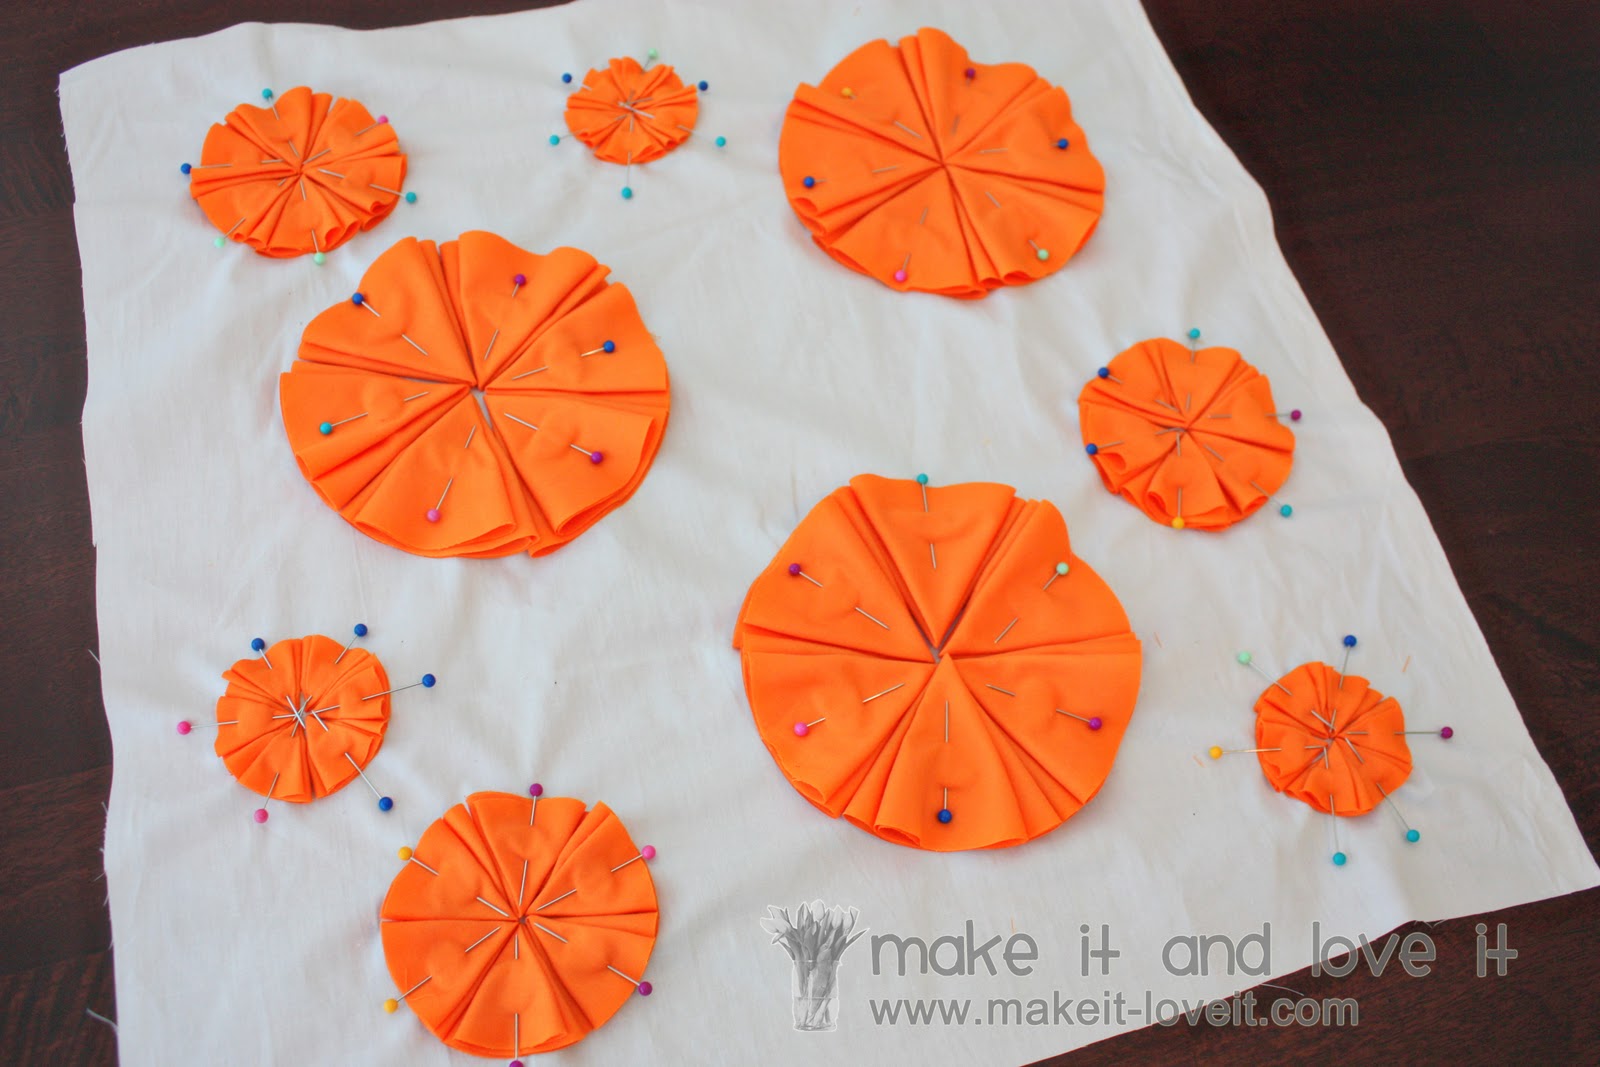
I cut 6 circles for each flower and placed each pile of 6 circles, where I thought I’d like them, on one of the white square pieces.
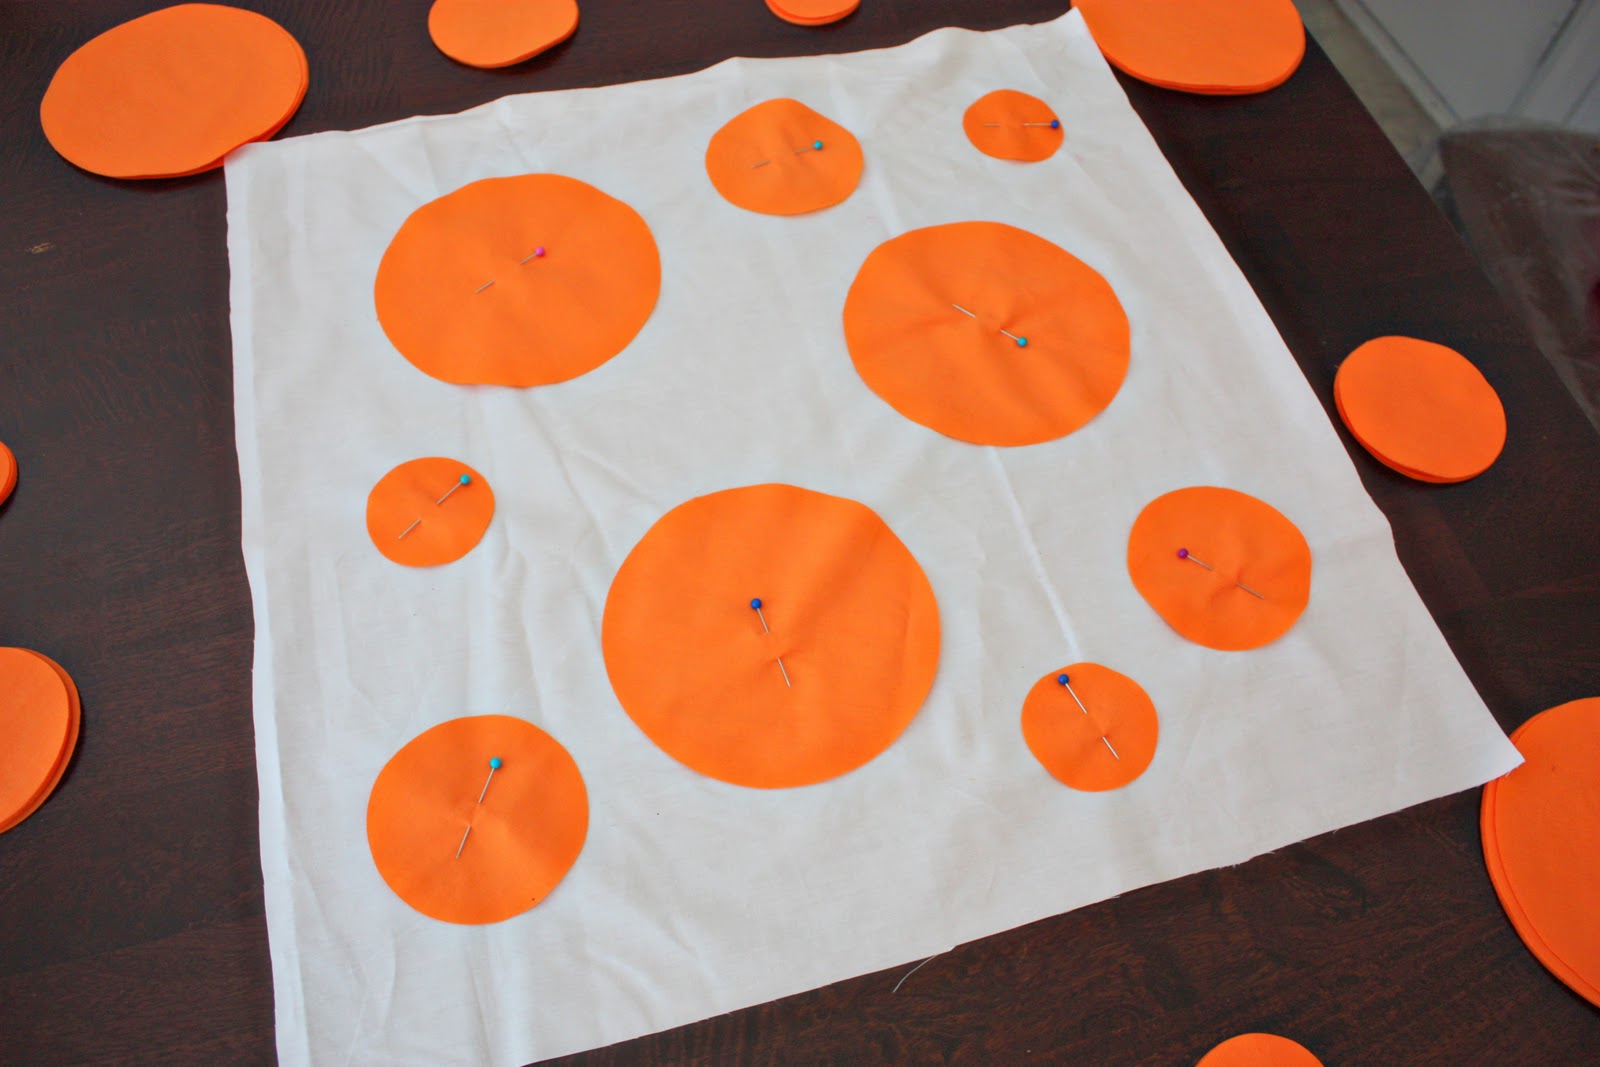
Then I removed all but one circle from each of the piles, and pinned that one circle down…….to hold its spot.
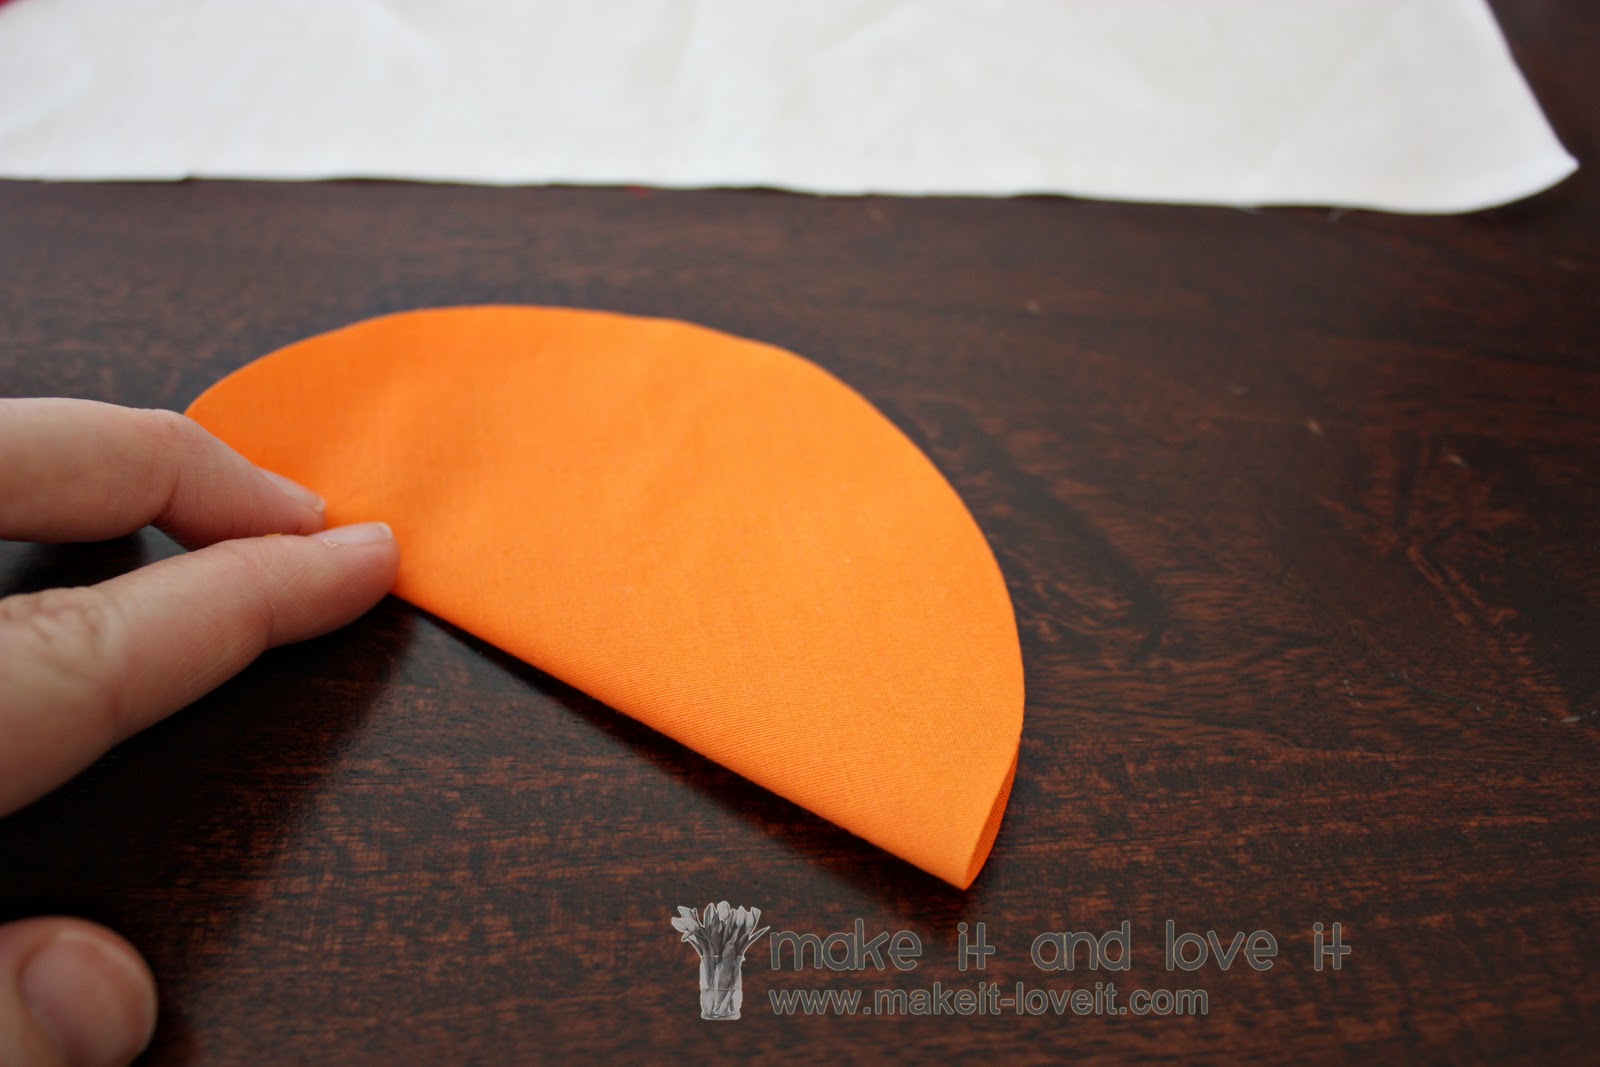
Then I began making each flower by folding one circle in half……..
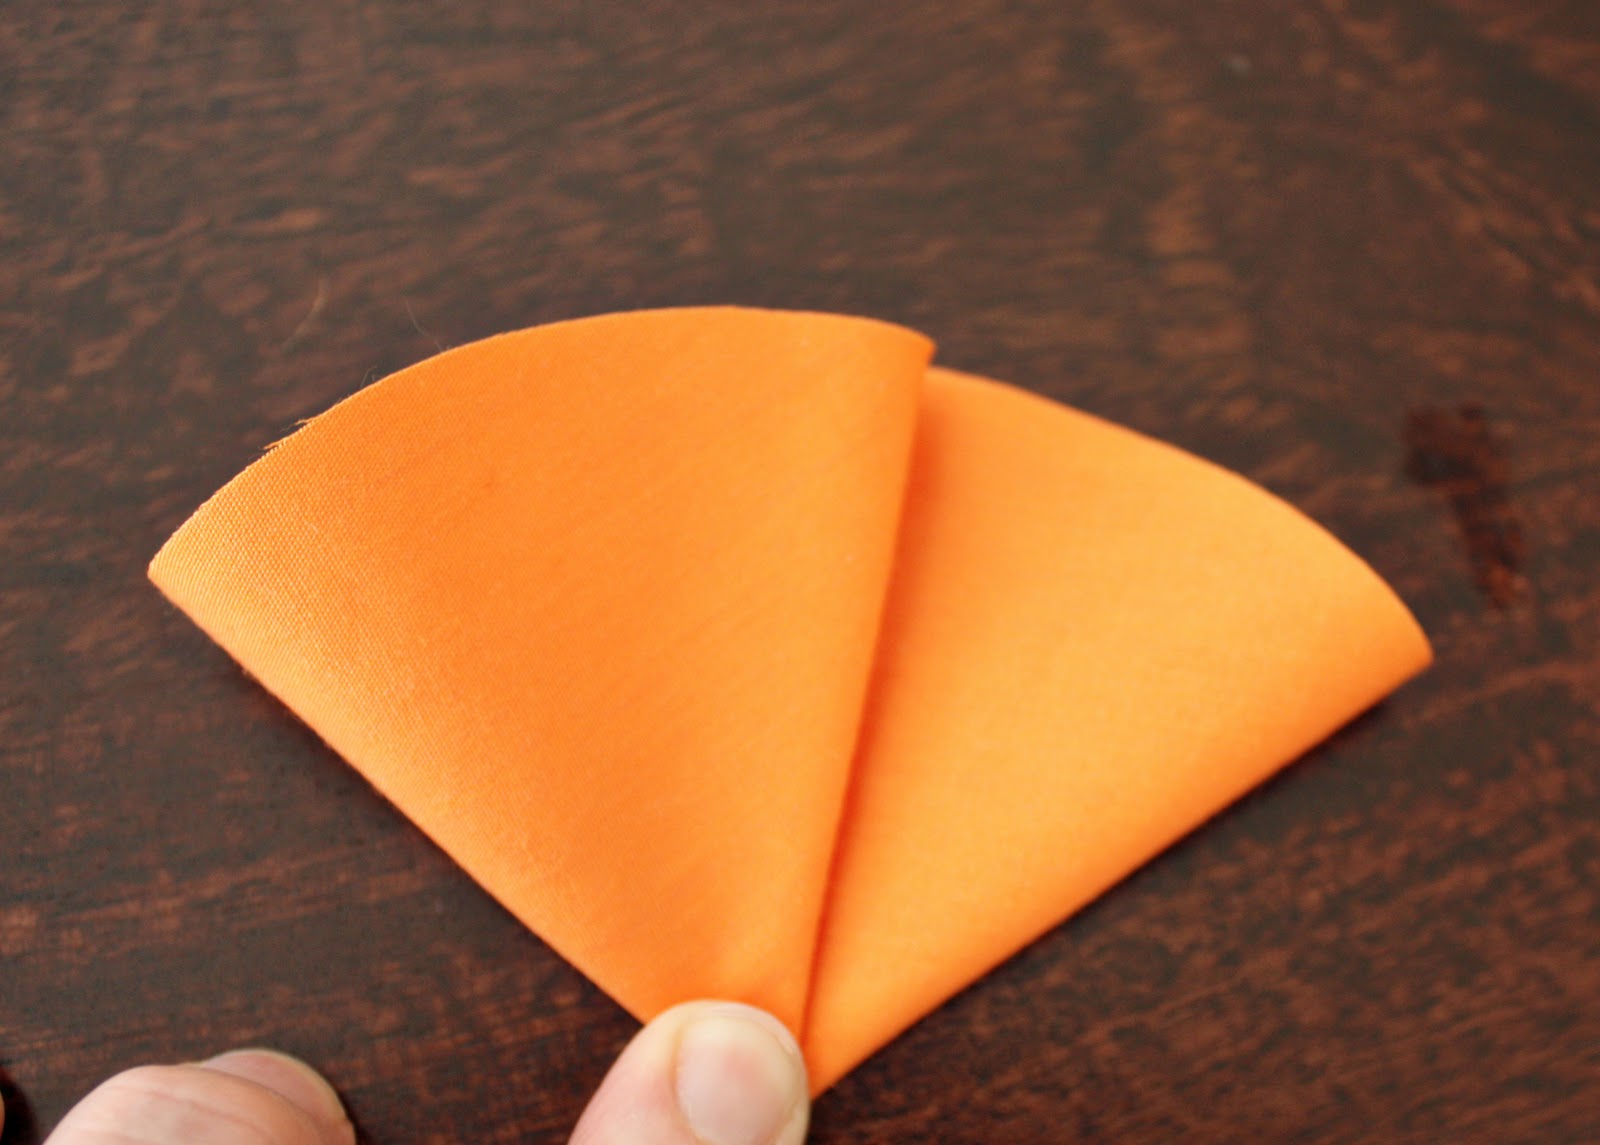
Then folding it over a little more than a third………..
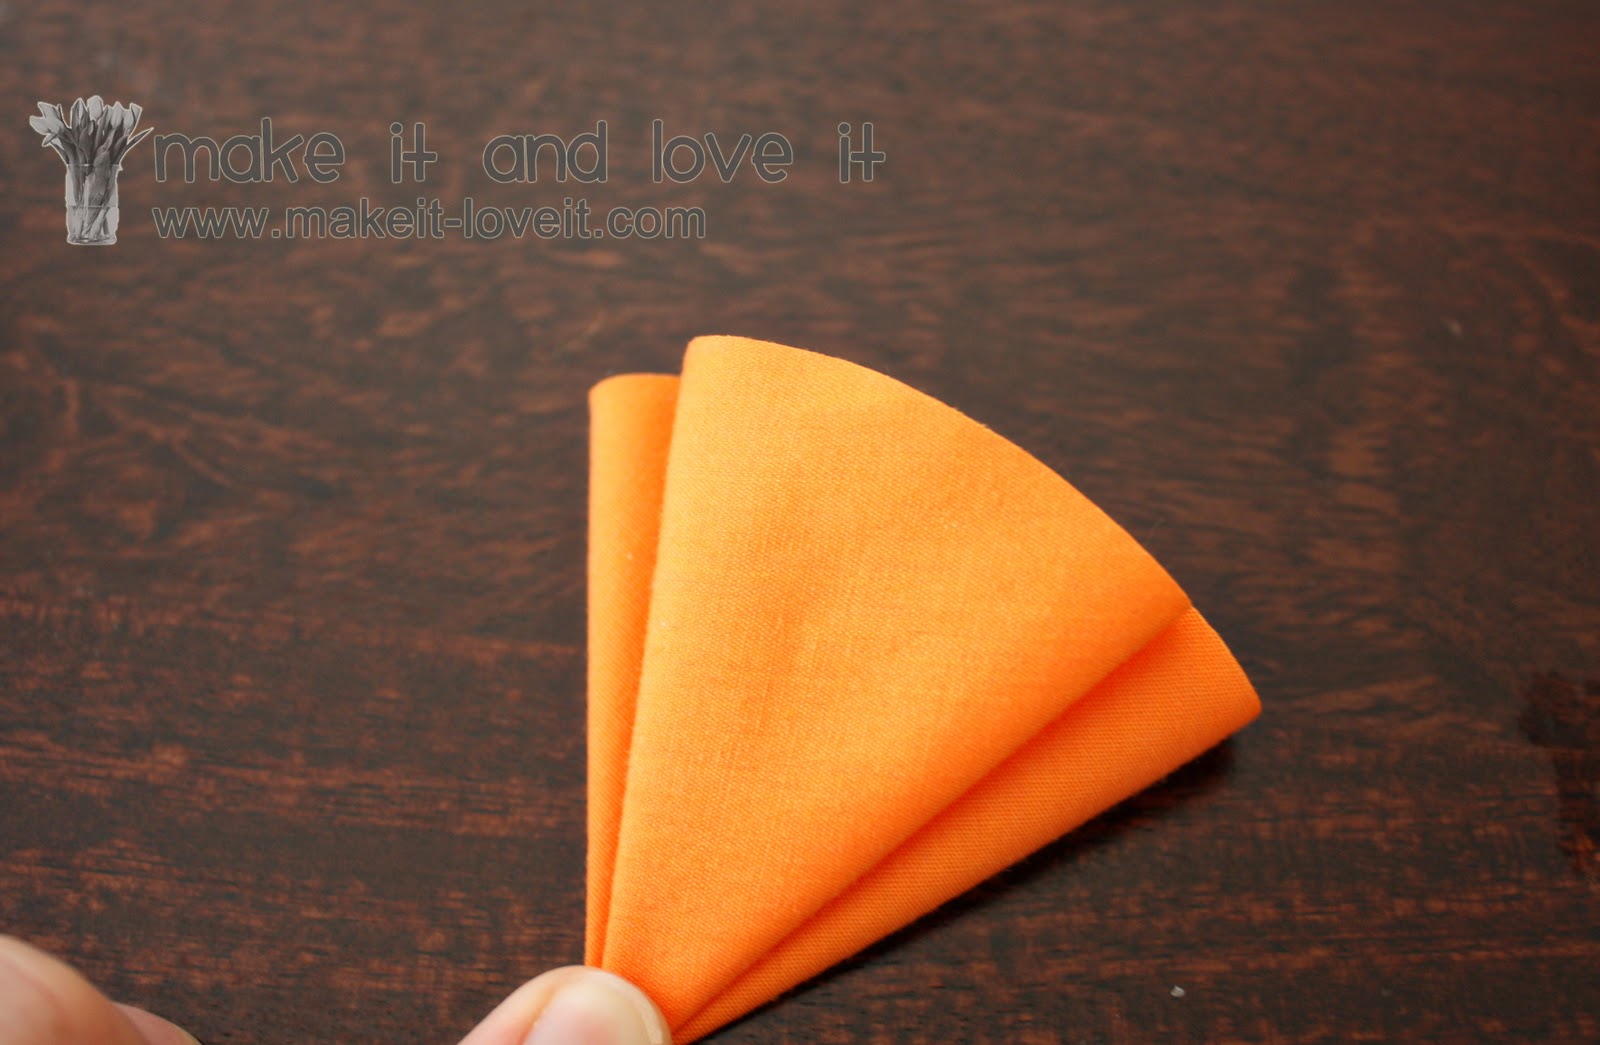
Then flipped it over and folded the last almost-third over, centering it over the section below it. I didn’t fold it in even thirds because I wanted the bottom section to be bigger than the top, to give more fullness to the flower later on.
Then I removed the circle from the pillow, and replaced it with one of the folded circles………
…..and made 5 more folded pieces to complete a circle. Pin all 6 pieces in place.
I did the same thing with each sized circle.
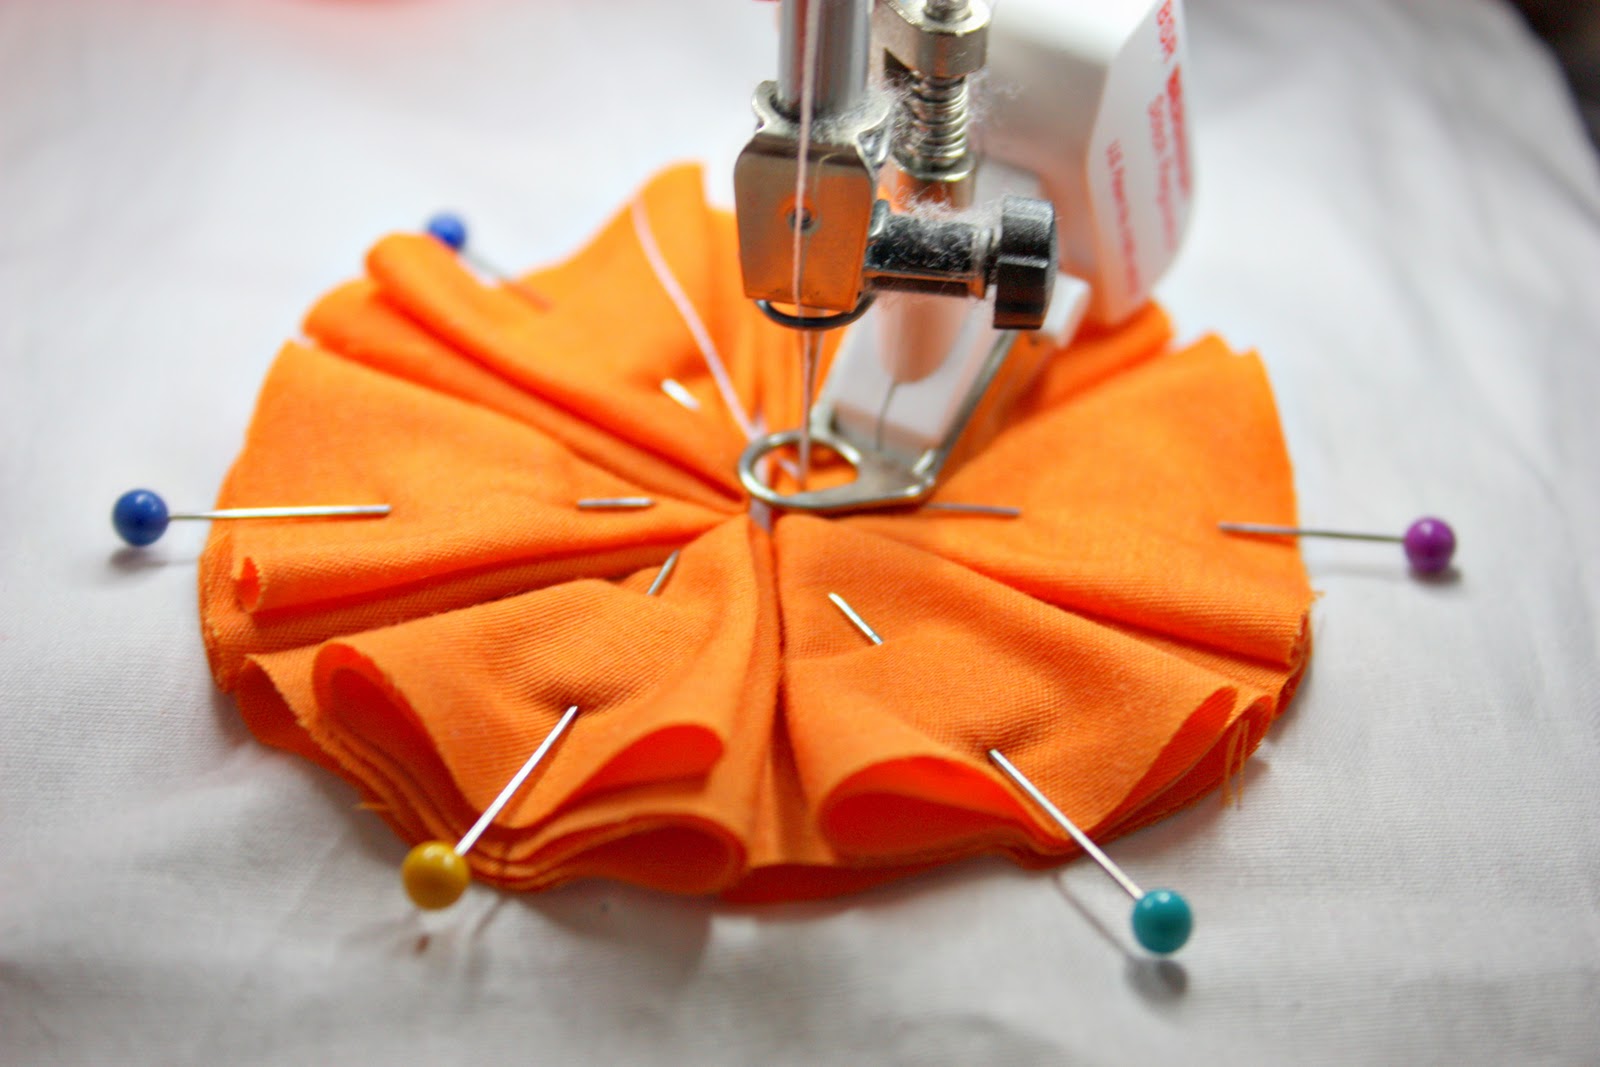
Then I placed each circle under my sewing machine needle…….and slid each pin outwards, away from the center. (I’m using an embroidery foot, but a regular foot will work too.)
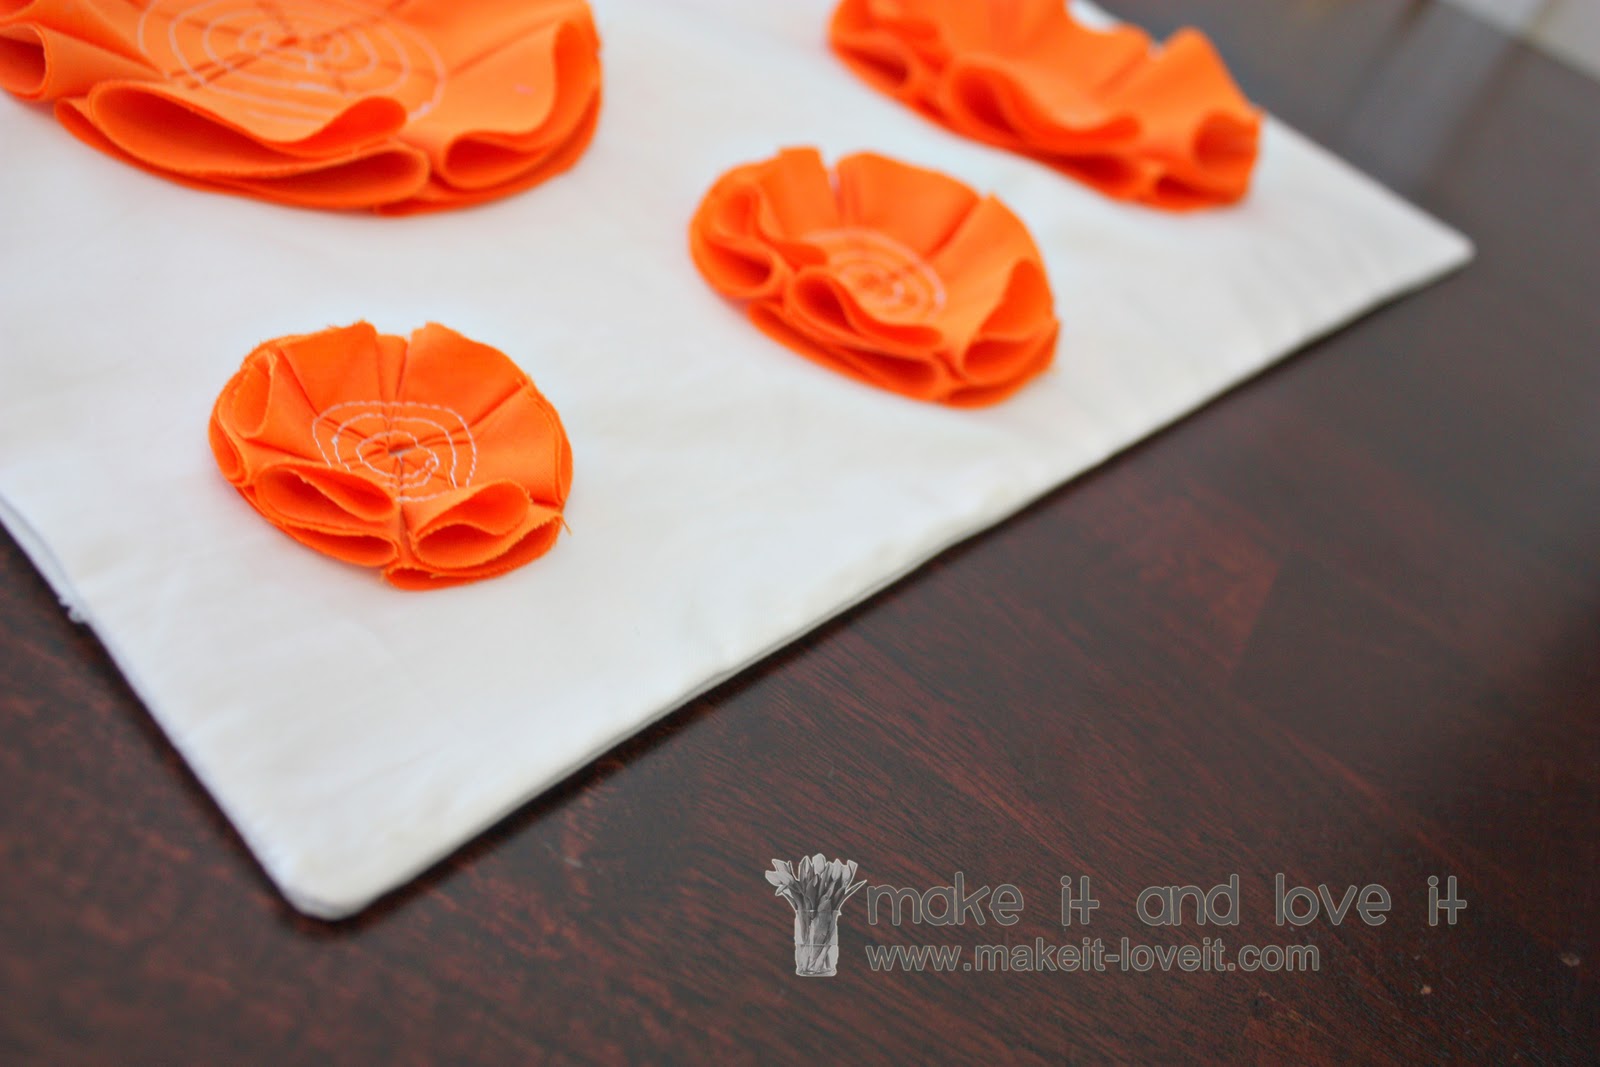
Then, I sewed a small circle in the center, making sure to grab a piece of each of the 6 points.
Then, I sewed around and around, making a spiral look in the center of each flower……and tacking it down nice and secure at the same time. And don’t worry about precision. I like the uneven-ness of the center.
Repeat with all the flowers.
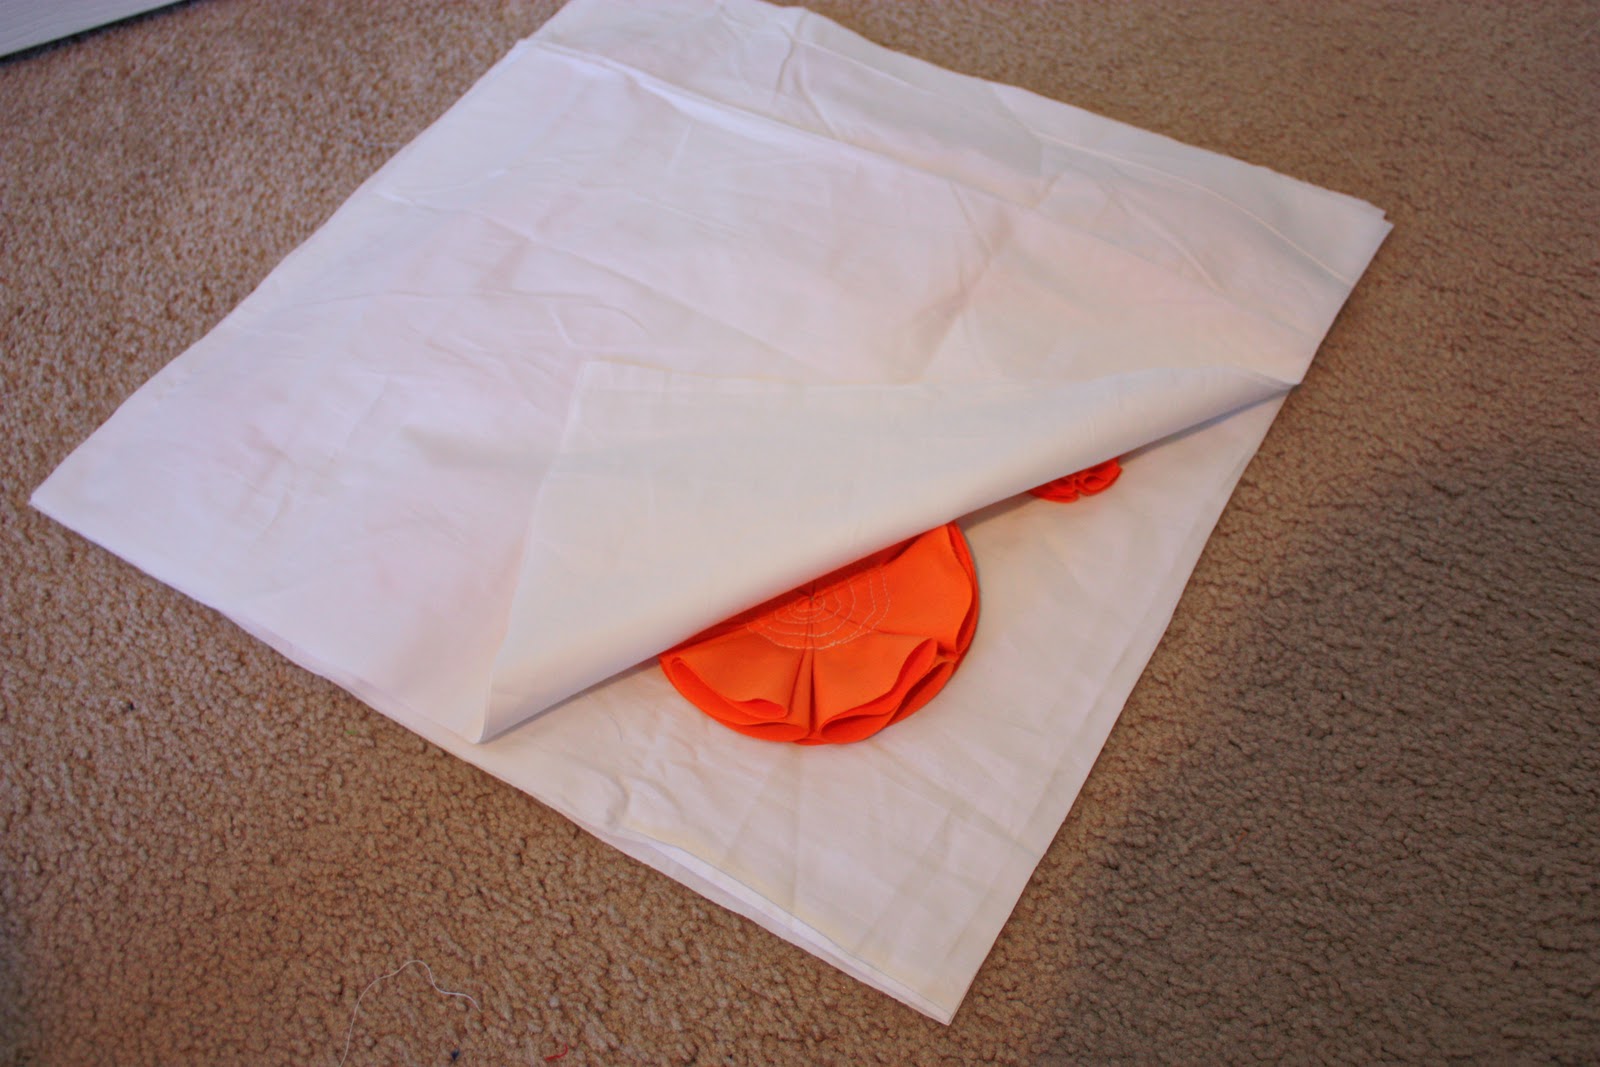
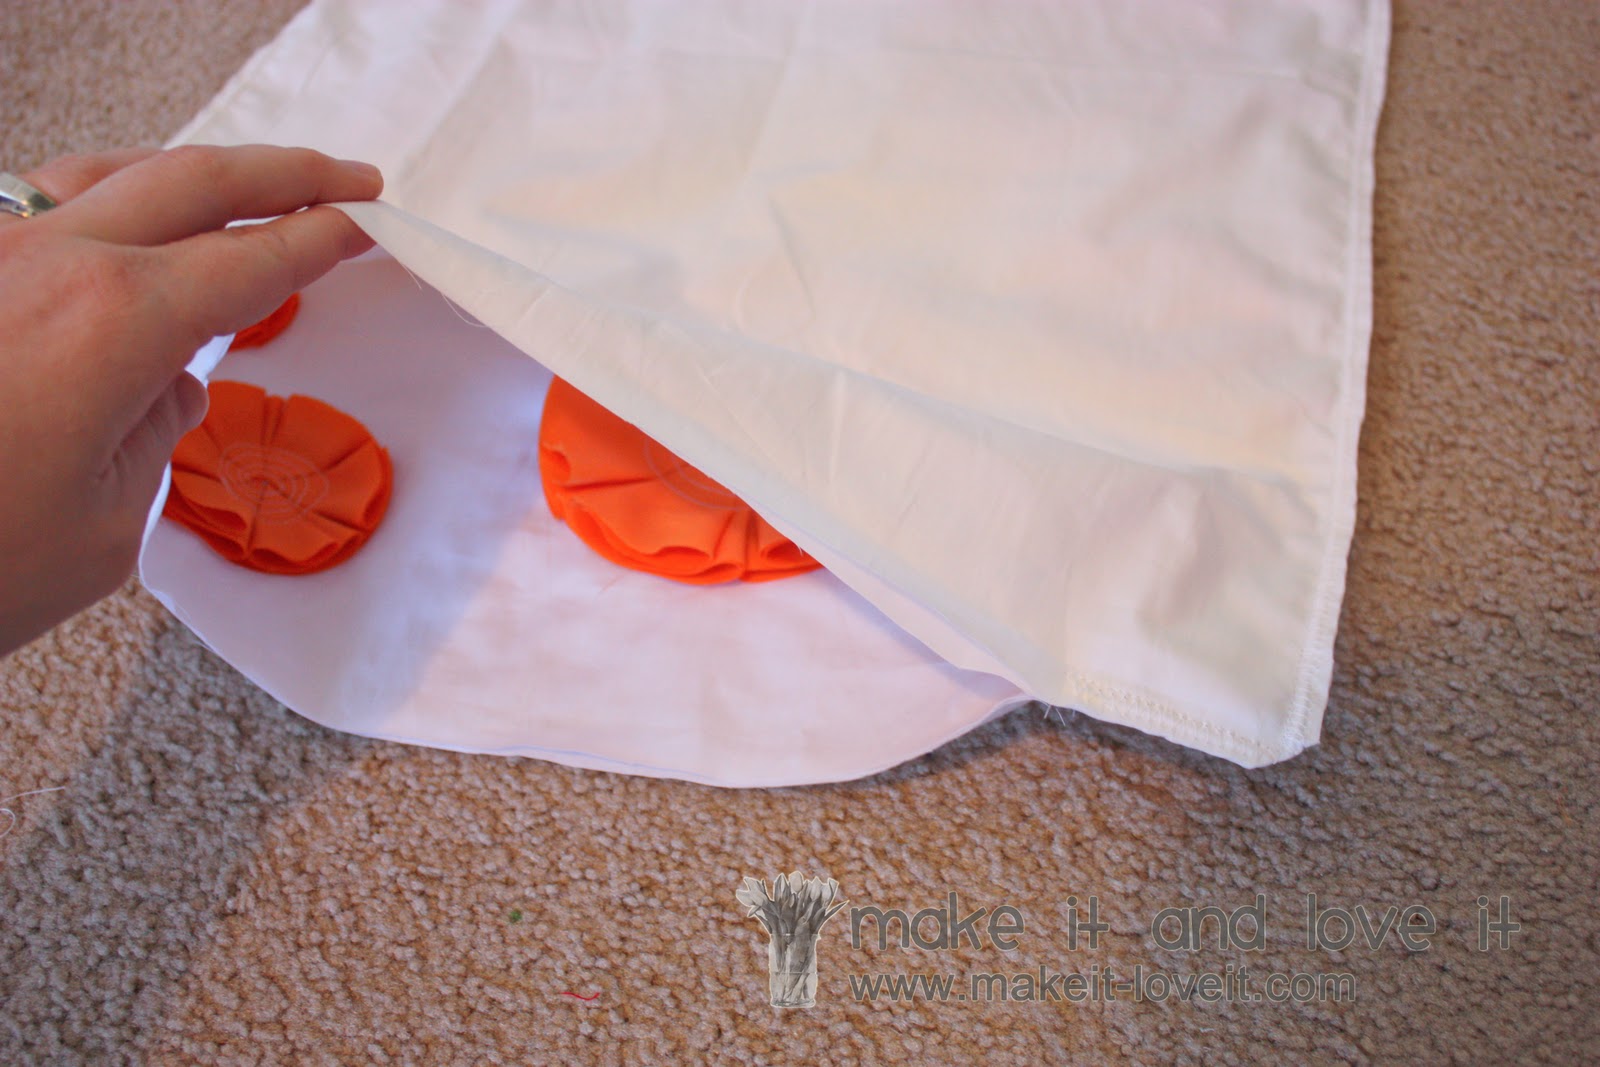
Then place this square piece on top of another of your white square pieces…..making it a double layer.
Then, I placed the other 2 white layers on top….which will be the back of the pillow cover.
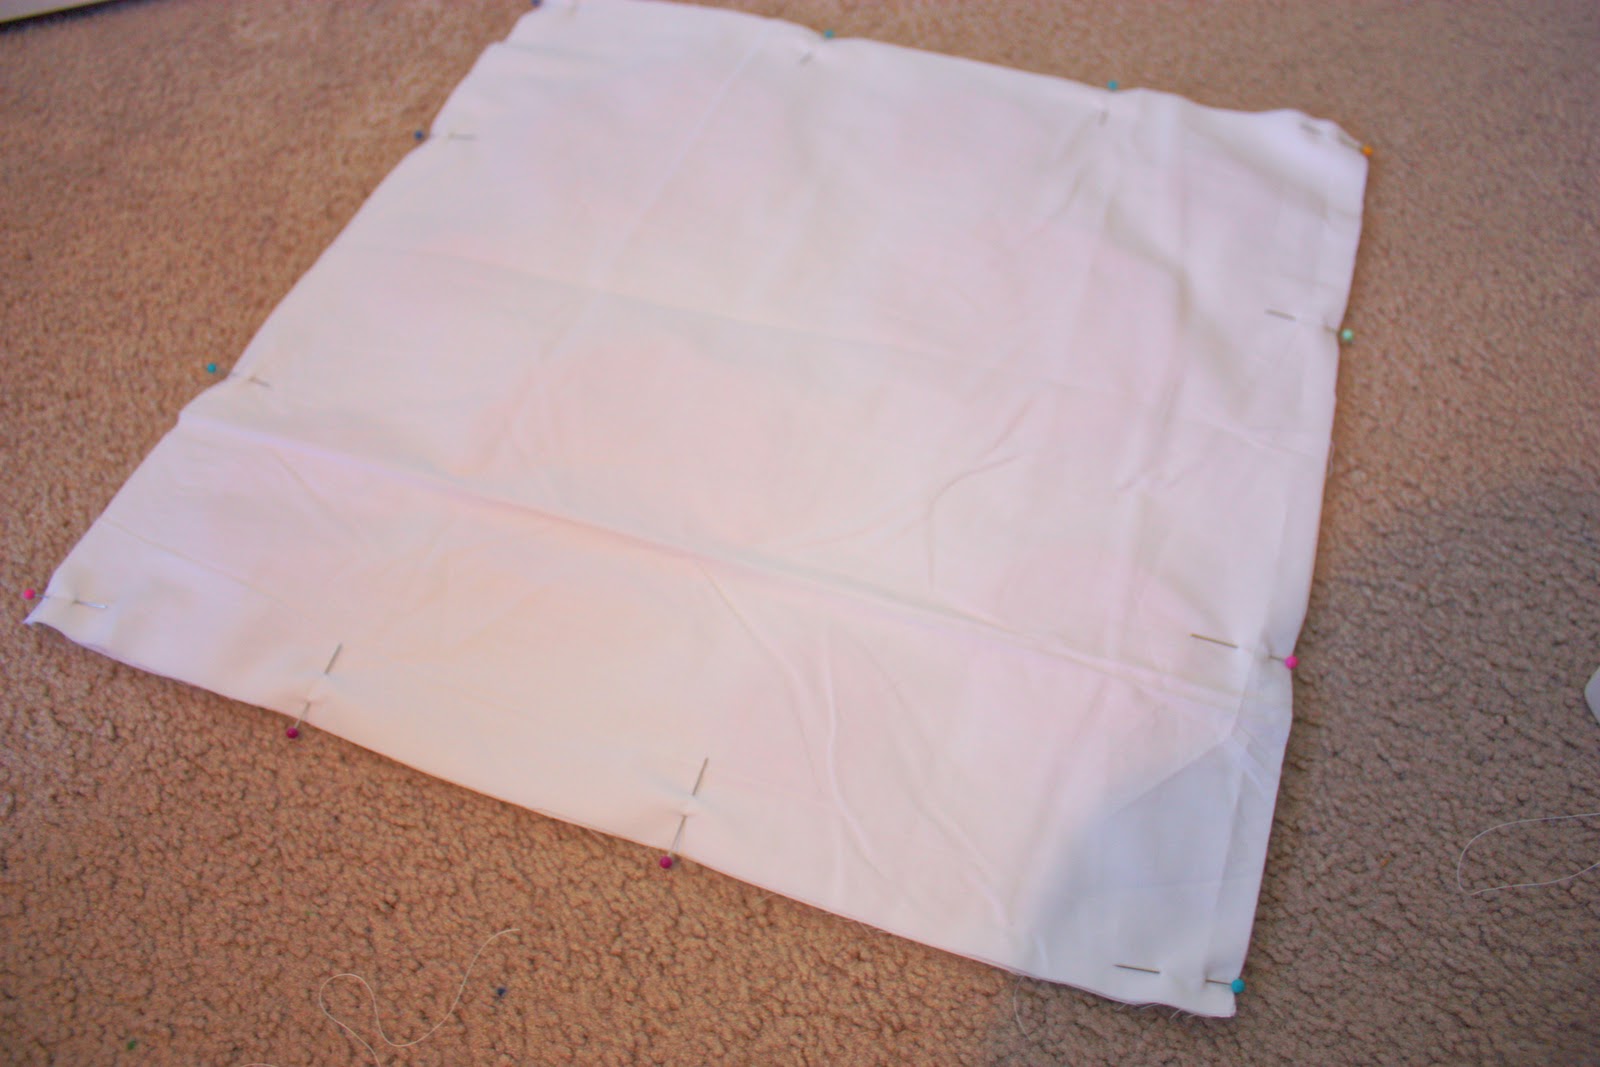
I pinned all sides and corners in place…
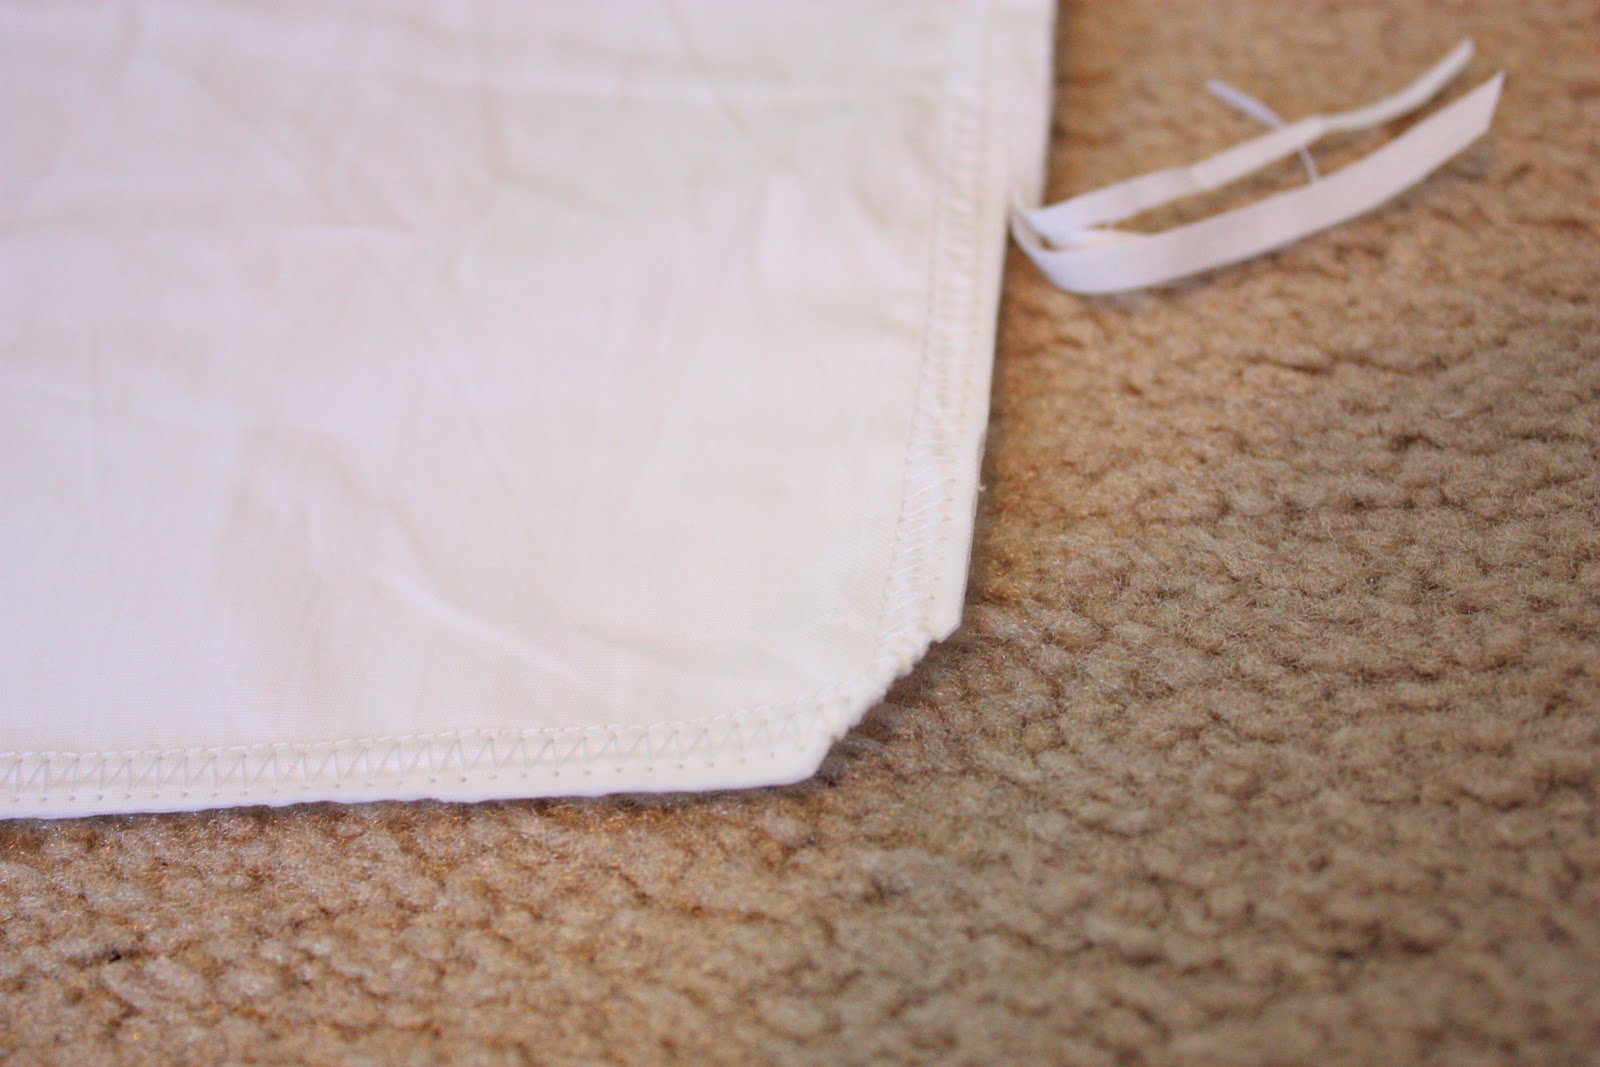
Then I sewed around the edges, using a 1/2 inch seam allowance……except for leaving about an 8 inch opening on one side, to turn the pillow cover right side out. Then I clipped the corners, zig-zagged around all the sides, and trimmed off the excess.
Here’s the opening.
Next, I turned the cover right side out, poked out the corners, and ironed it flat.
I also folded over the opening a 1/2 inch and ironed that flat too.
Want to know a secret about where I find my pillow inserts? I usually find them at Ross…….and are home decor pillows. They are cheaper than the craft store pillow inserts usually, and often times are filled a lot fuller. They are, however, not usually white. So I have to cover them with two layers……or cover them with fabric that’s dark enough to disguise them. It’s worth it at this $3.99 price though.
Then I shoved this pillow inside and hand-stitched the opening closed. (Need help with hand-stitching? Check out this post
here.)
And that was it.
And yes, the flowers all have raw edges. And may fray a little.
But I actually like the shabby look of raw edges. And I hope the flowers do rough up a bit.
The look of these flowers sure make me happy.