Home » DIY Tutorials » DIY Sewing » Decorate My Home, Part 20 – Gathered Top Panel Curtains with Blackout Lining
Decorate My Home, Part 20 – Gathered Top Panel Curtains with Blackout Lining
July 8, 2010 - By Ashley Johnston 44 Comments
.
Our little boy and girl share a room.
This won’t last forever…….but it’s especially nice while they’re small and we’re limited on space in this rented house.
Our little girl is in a toddler bed and our little guy is in a crib.
So at least one is contained so that there isn’t too much havoc going on at bedtime.
But because they’re sharing…….I’ve been trying to combine femininity with masculinity in their room.
Which is sometimes hard.
But the room decor has all started with this cheery print that I used for this window panel.
(fabric found at Ikea a few months ago)
With a fun little gathered top panel.
That’s just as cute bunched to one side of the curtain rod.
It adds great texture to the top of the curtain panel.
Are you needing to cover a bare window??
(These measurements are made to cover our narrow window that is 35 x 70 inches.)
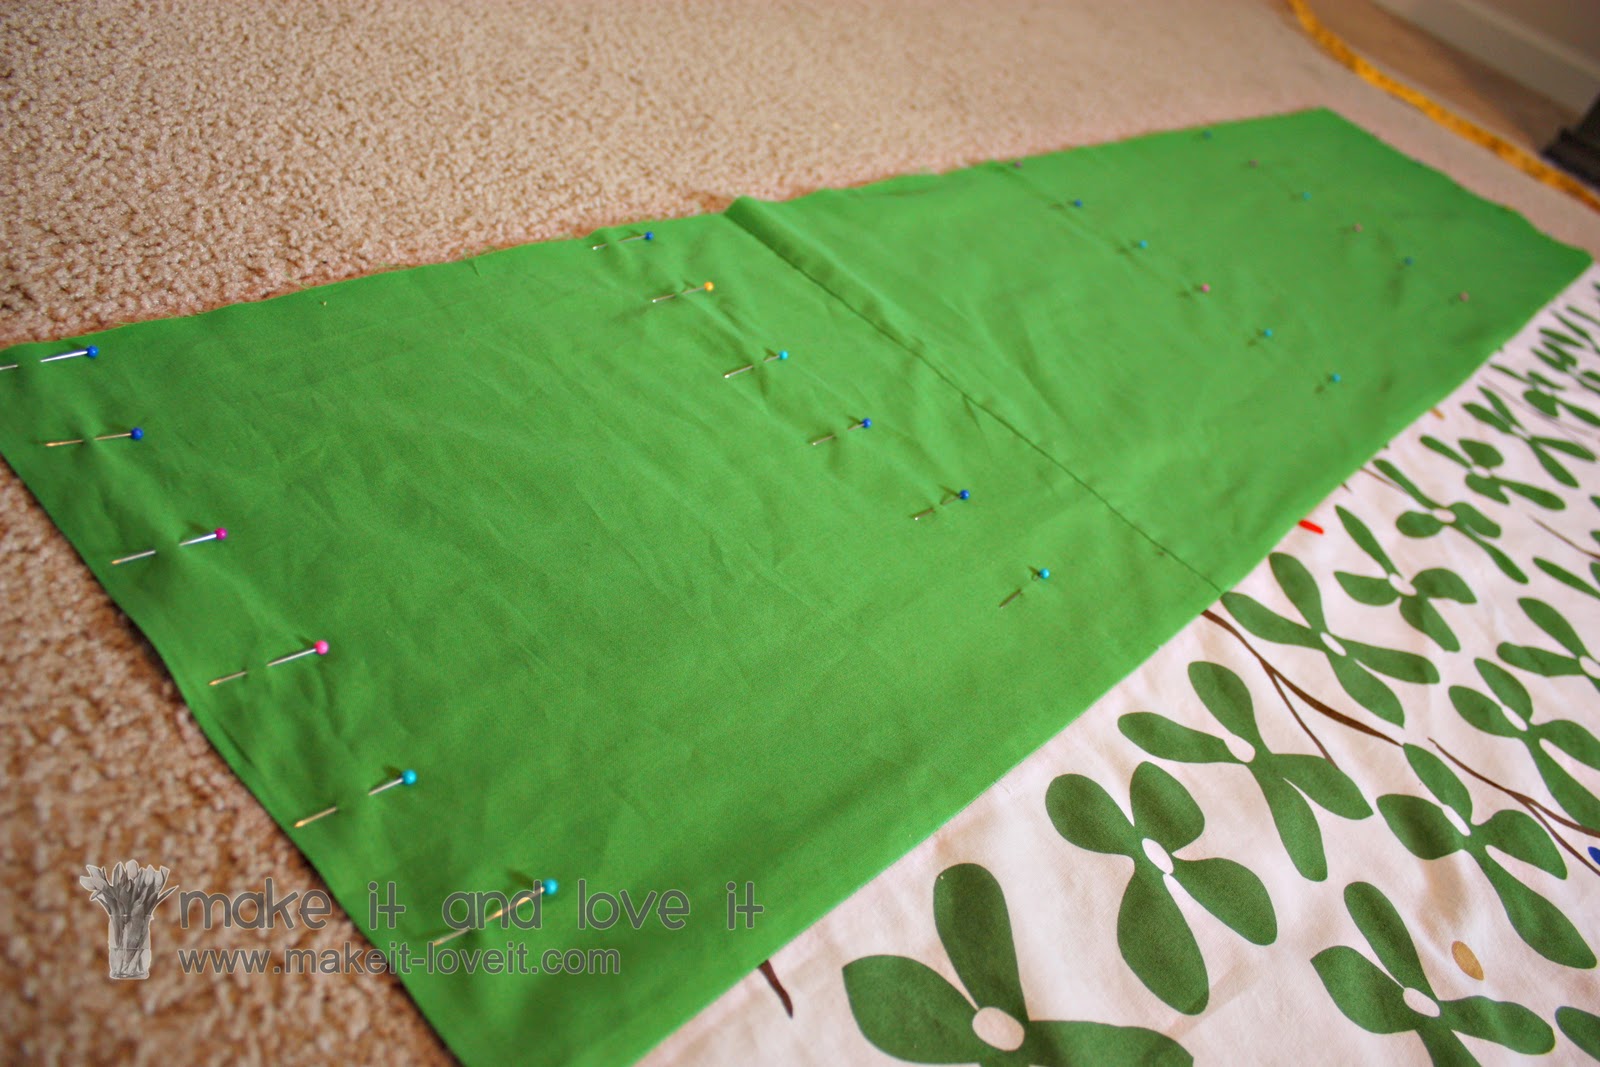
Start with a piece of fabric that is wide enough to cover your window, plus some added width so that you can gather the top section. Also, be sure to add an extra 2 inches to the bottom for a seam allowance. (My large piece was originally 60 x 81 inches…….including the green at the top.)
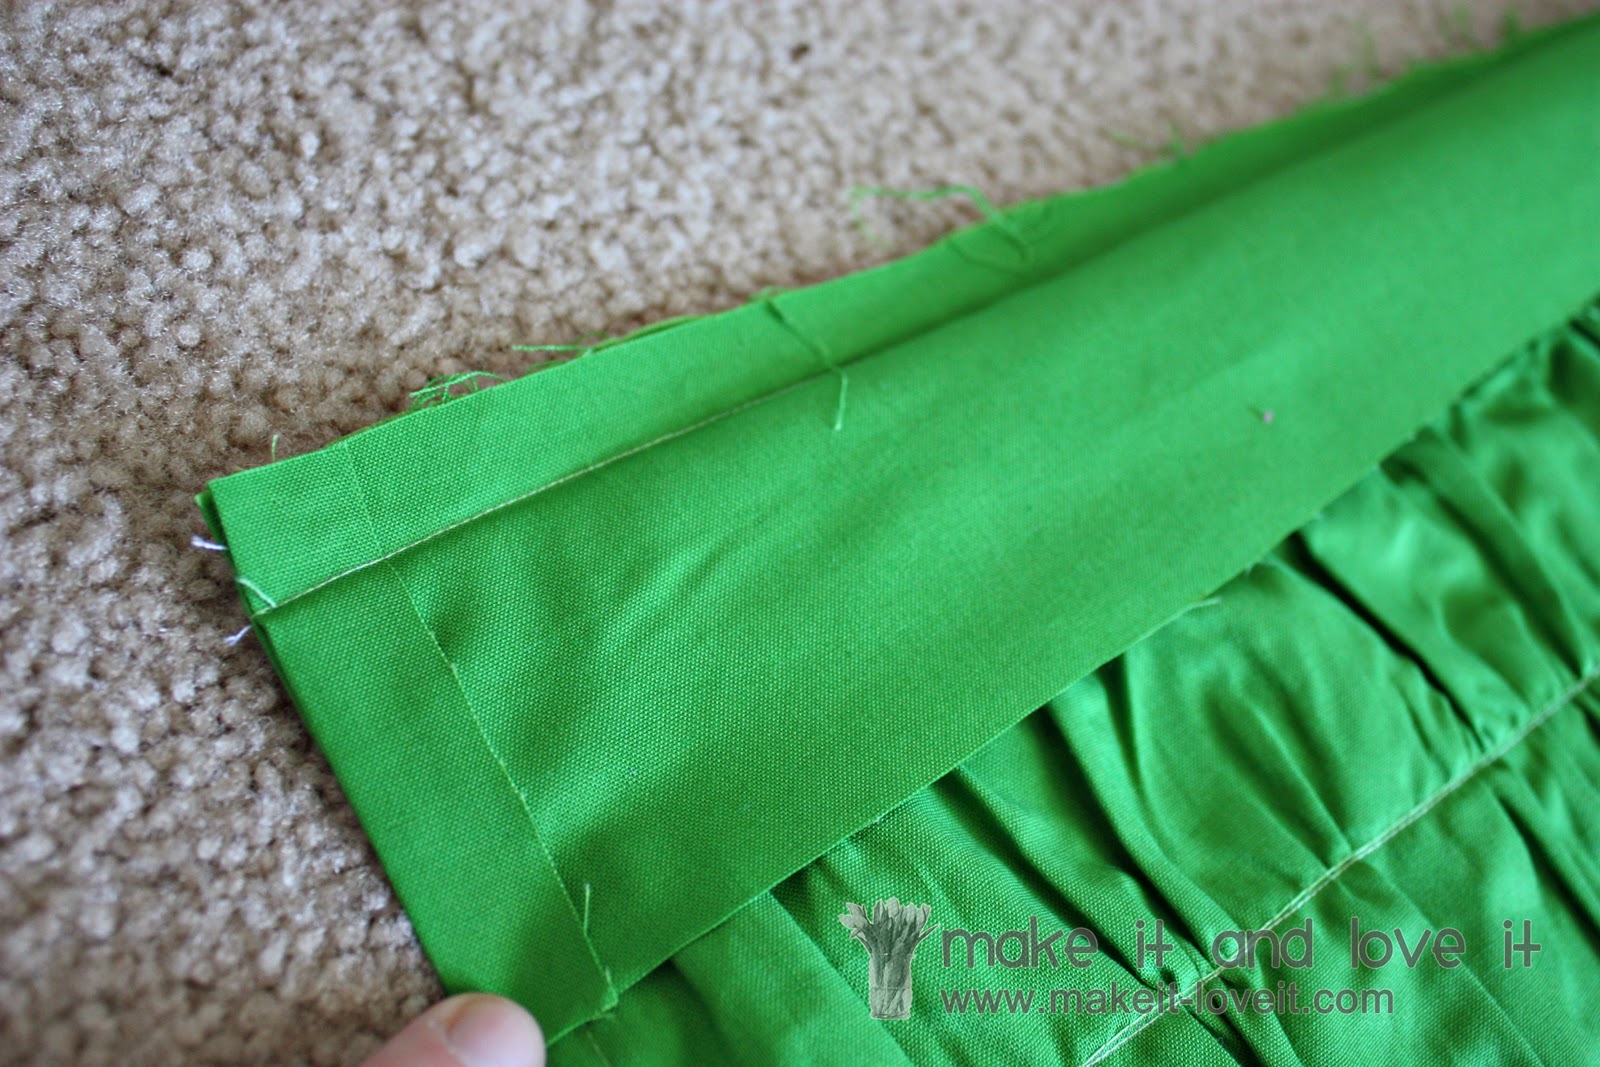
I decided to have a large green panel at the top but you could keep your curtain all one color too. But my top green panel is 13 inches tall. I attached it right to the floral fabric, finished off the raw edges, and then ironed the seam flat, with the raw edges laying upwards. (And then the whole entire piece is 60 x 81 inches, like mentioned above.)
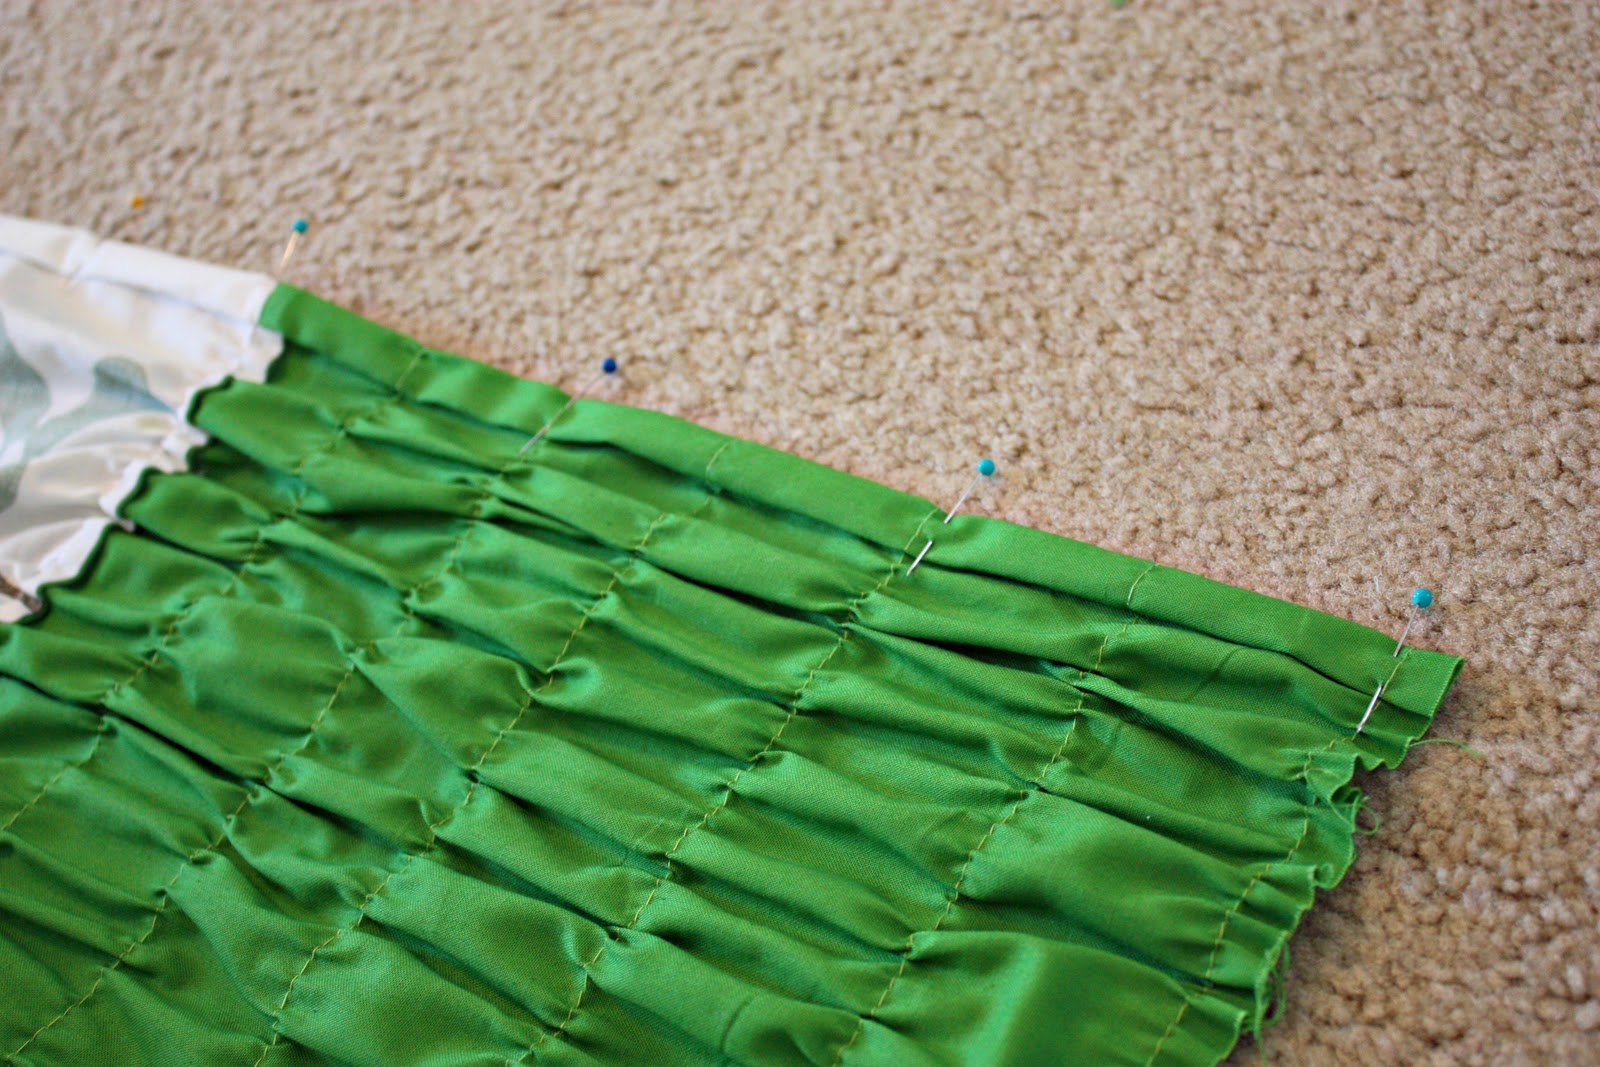
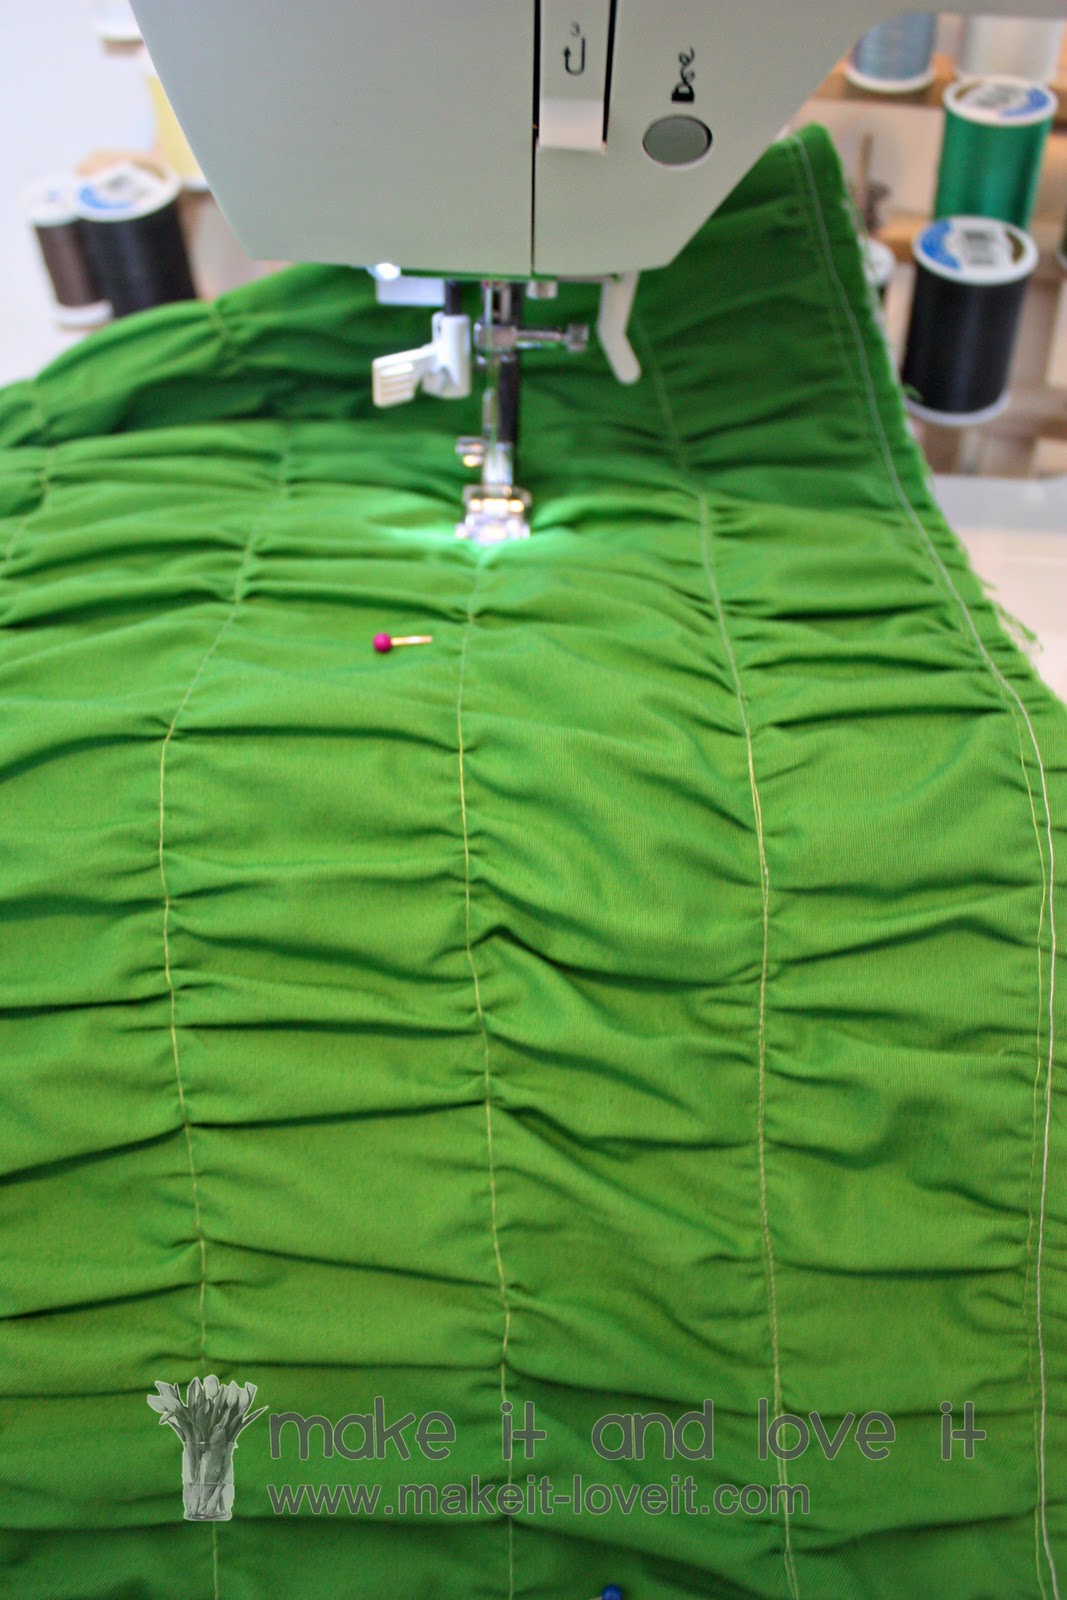
Then I made marks with pins that I would later use as a guide to make my gathers in this top section. I made my first row of pins about 1/2 an inch from the top…..then the next 6 rows about 2 inches apart until I reached the bottom of the green section. (You could also use chalk to draw your horizontal lines, if it’s hard to eyeball your pins as you’re sewing.)
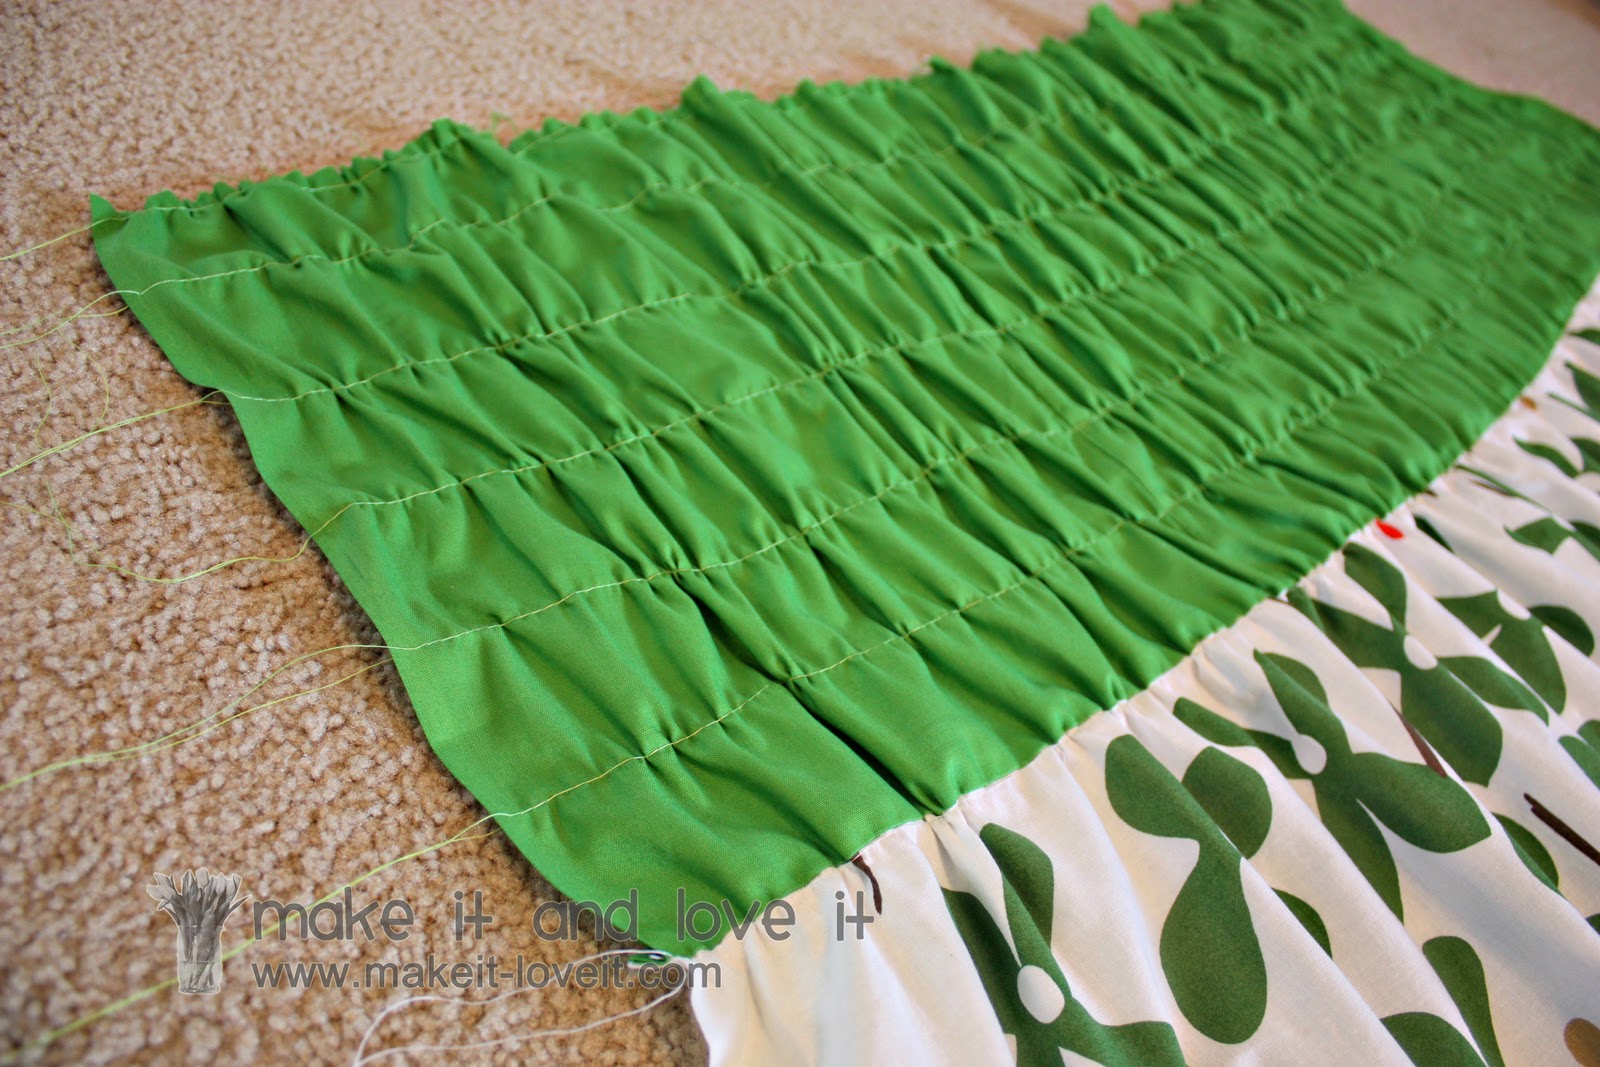
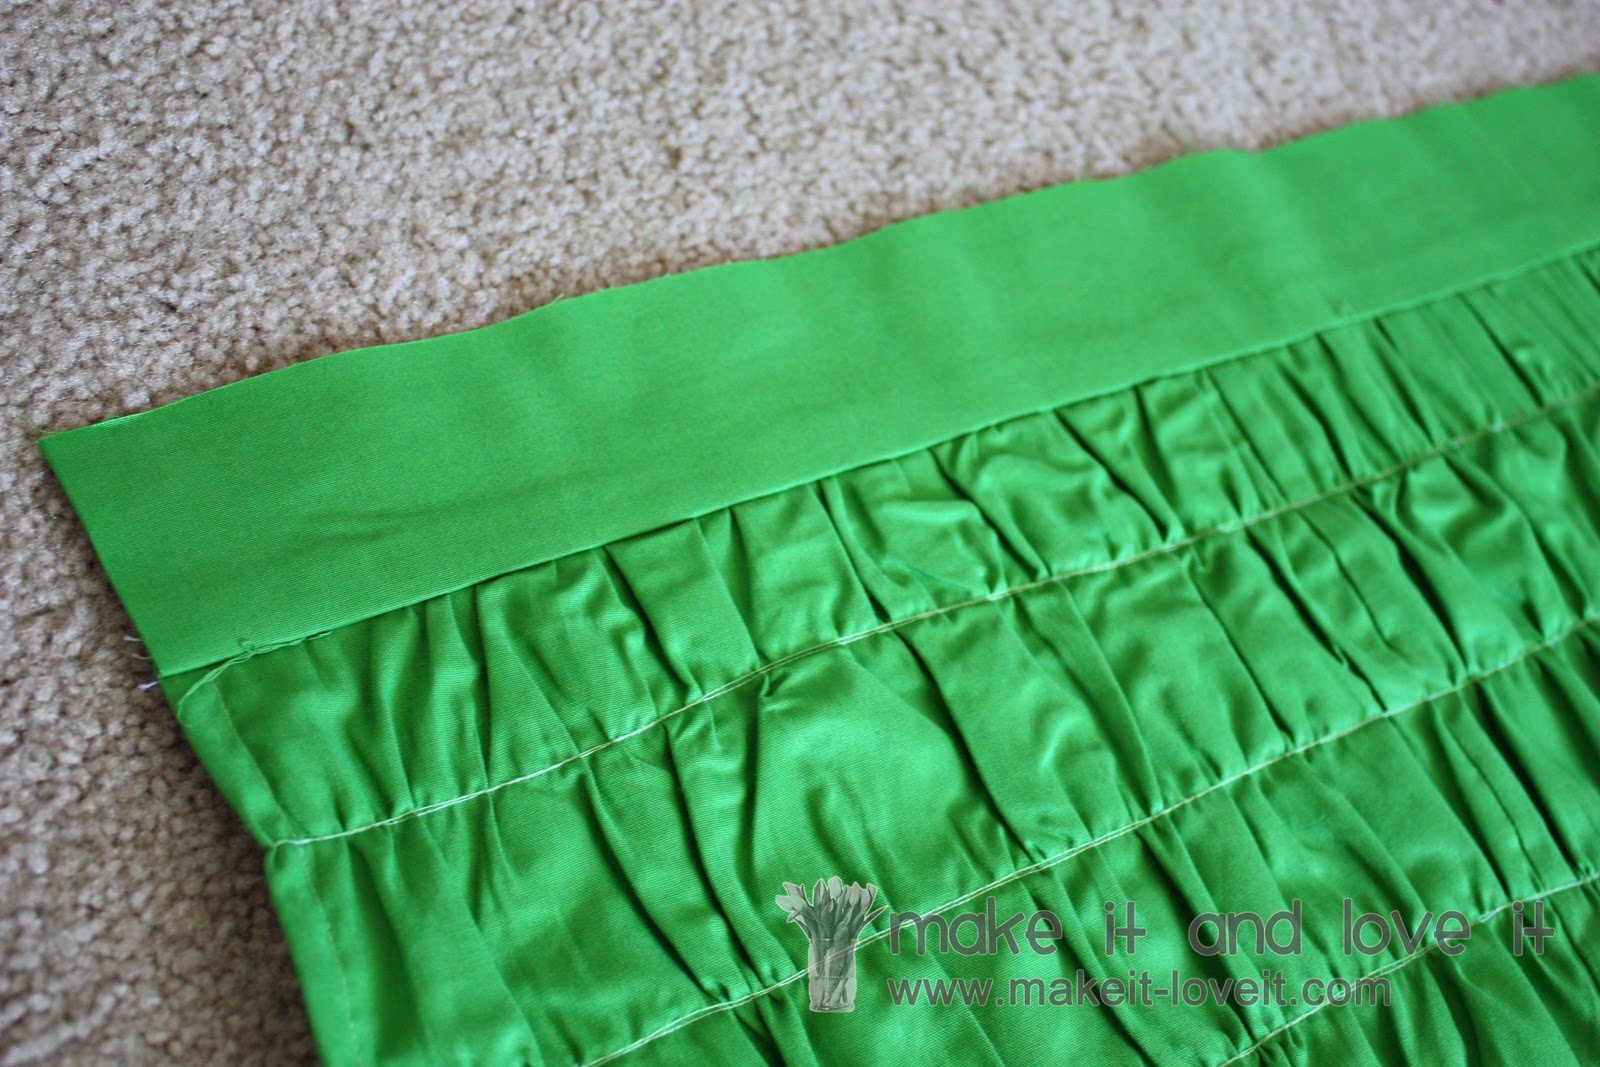
I made large basting stitches all the way across the green section (using the gathering technique
here), connecting each row of pins, and making sure to
not back-stitch at either end. And the very bottom stitch was actually right below where the green and white fabric meet. And by that, I mean just right next to that seam, but on the lower side (white fabric) of the seam.
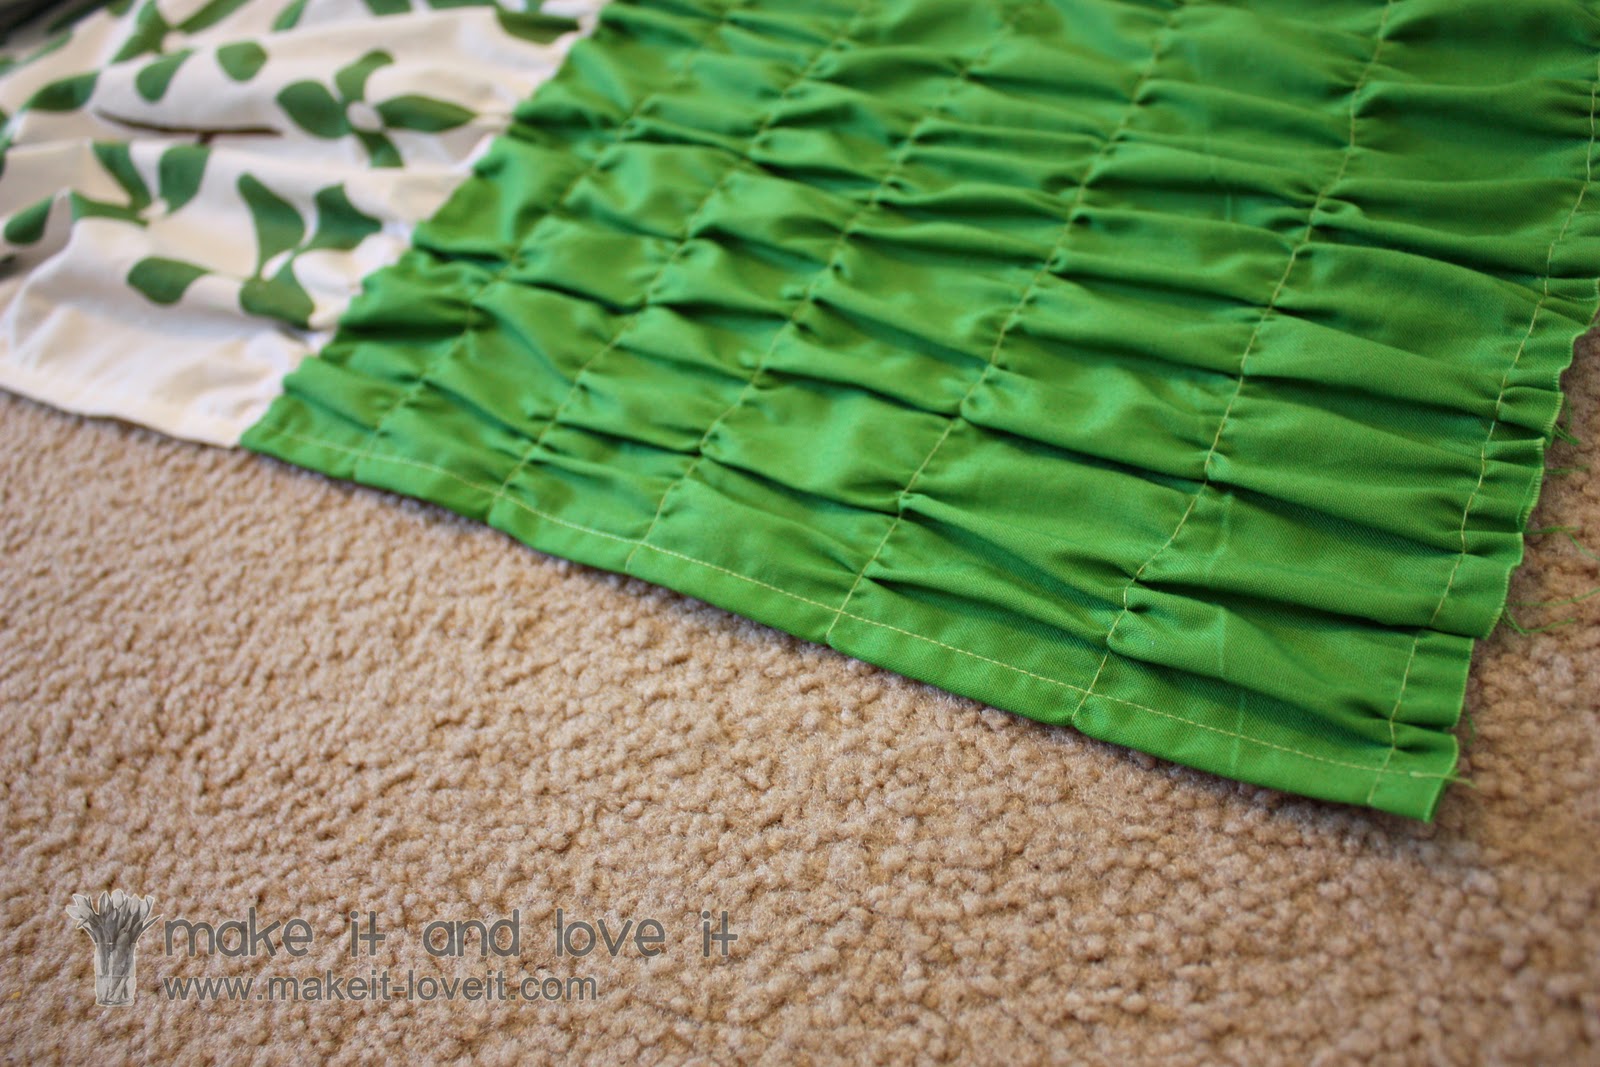
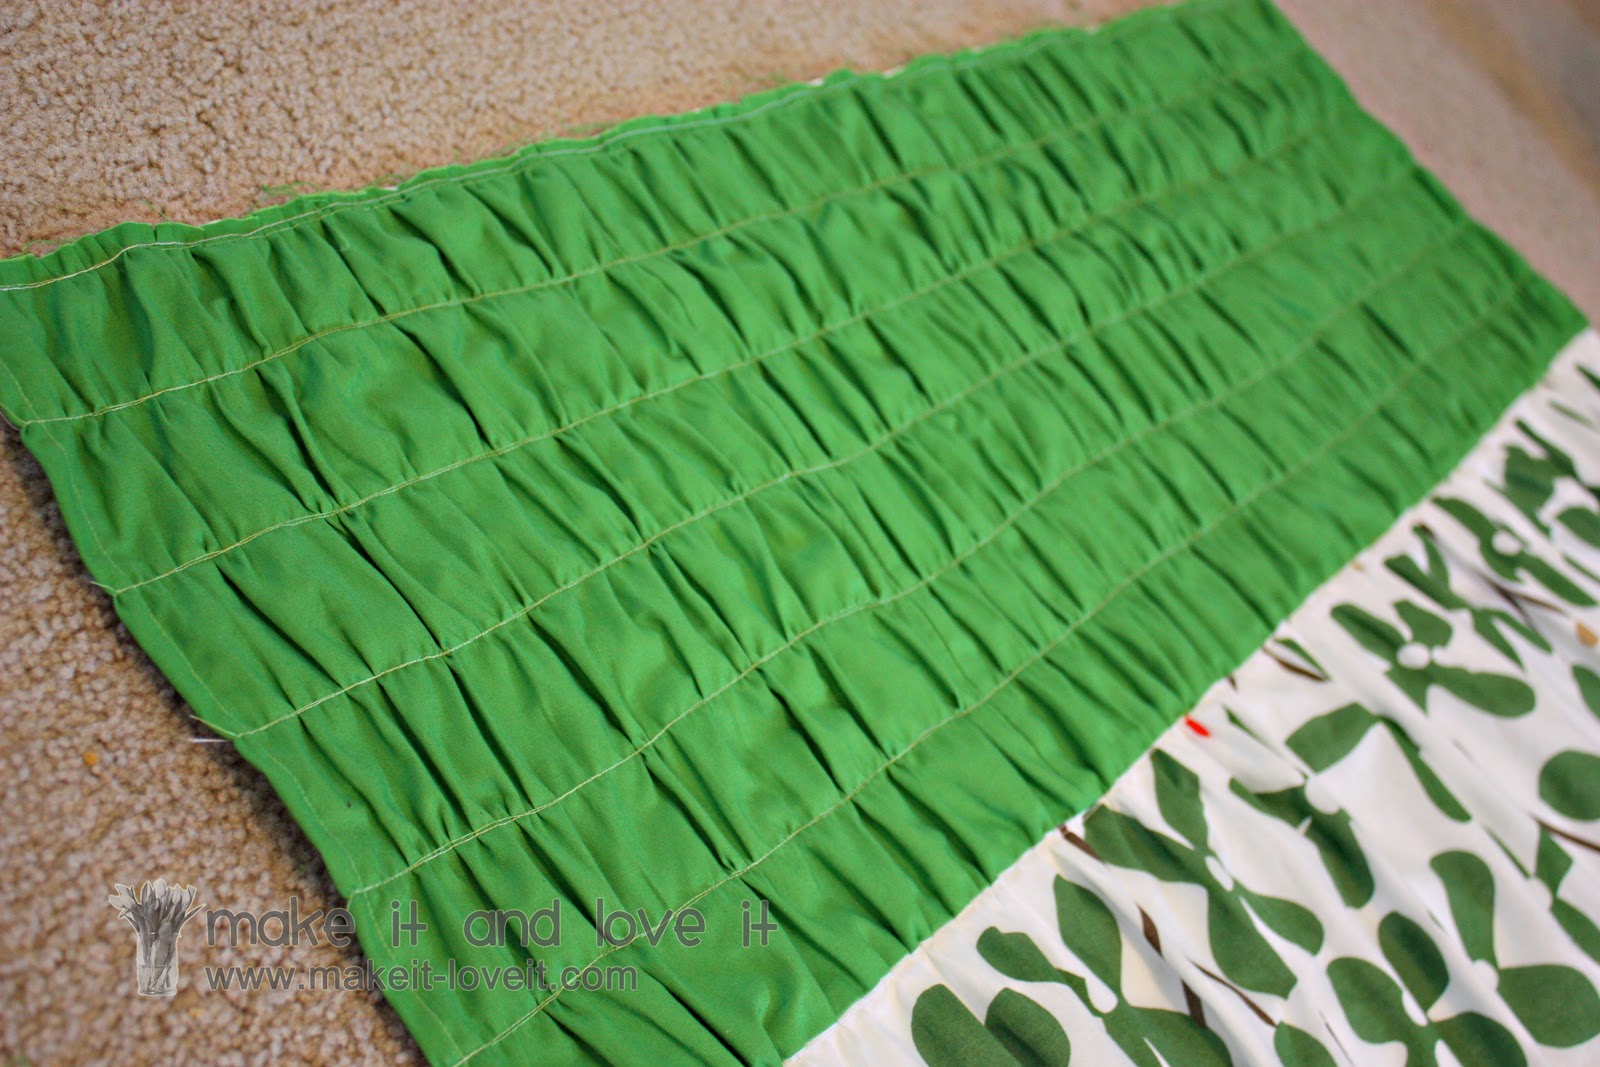
(I did this to eliminate the seam from puckering weird later on.) Then I pulled each top string and gathered up my fabric a bit……until the green section was about 40 inches wide.
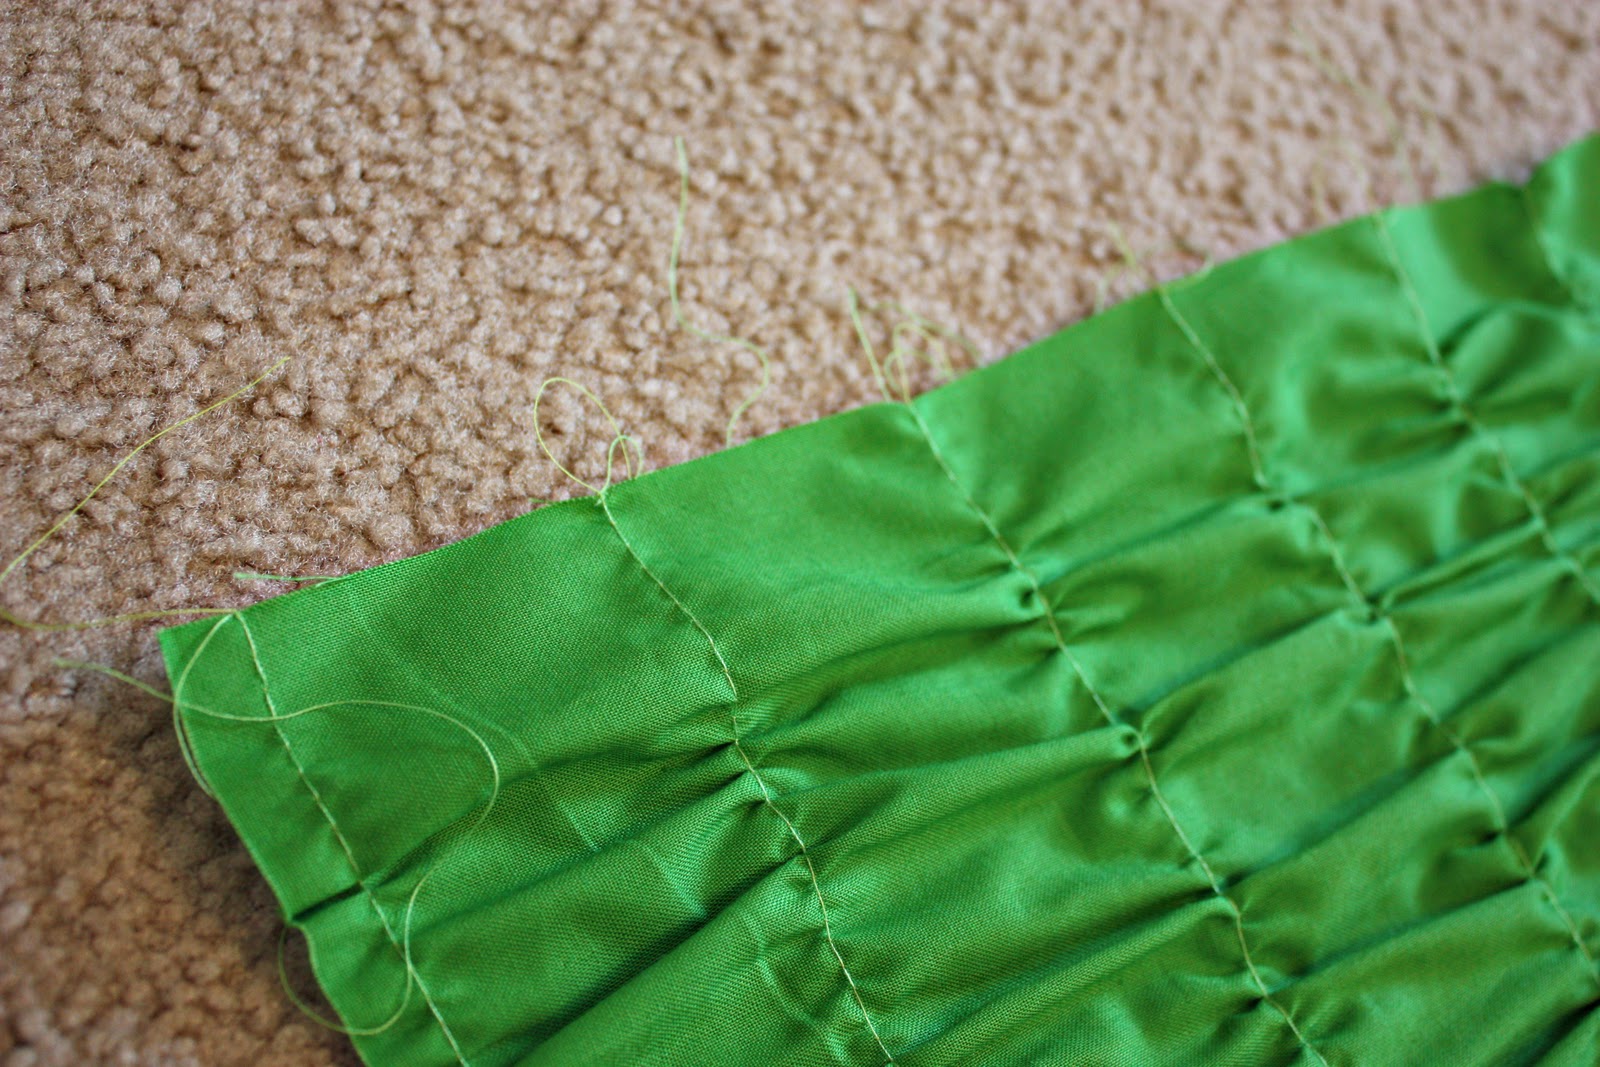
I made sure each gather was even with the one next to it and made sure that the whole section was 40 inches across. Then I tied knots in each end of each gather (tied the bottom string to the top string), to keep it from pulling or loosening up as I went on to the next step.
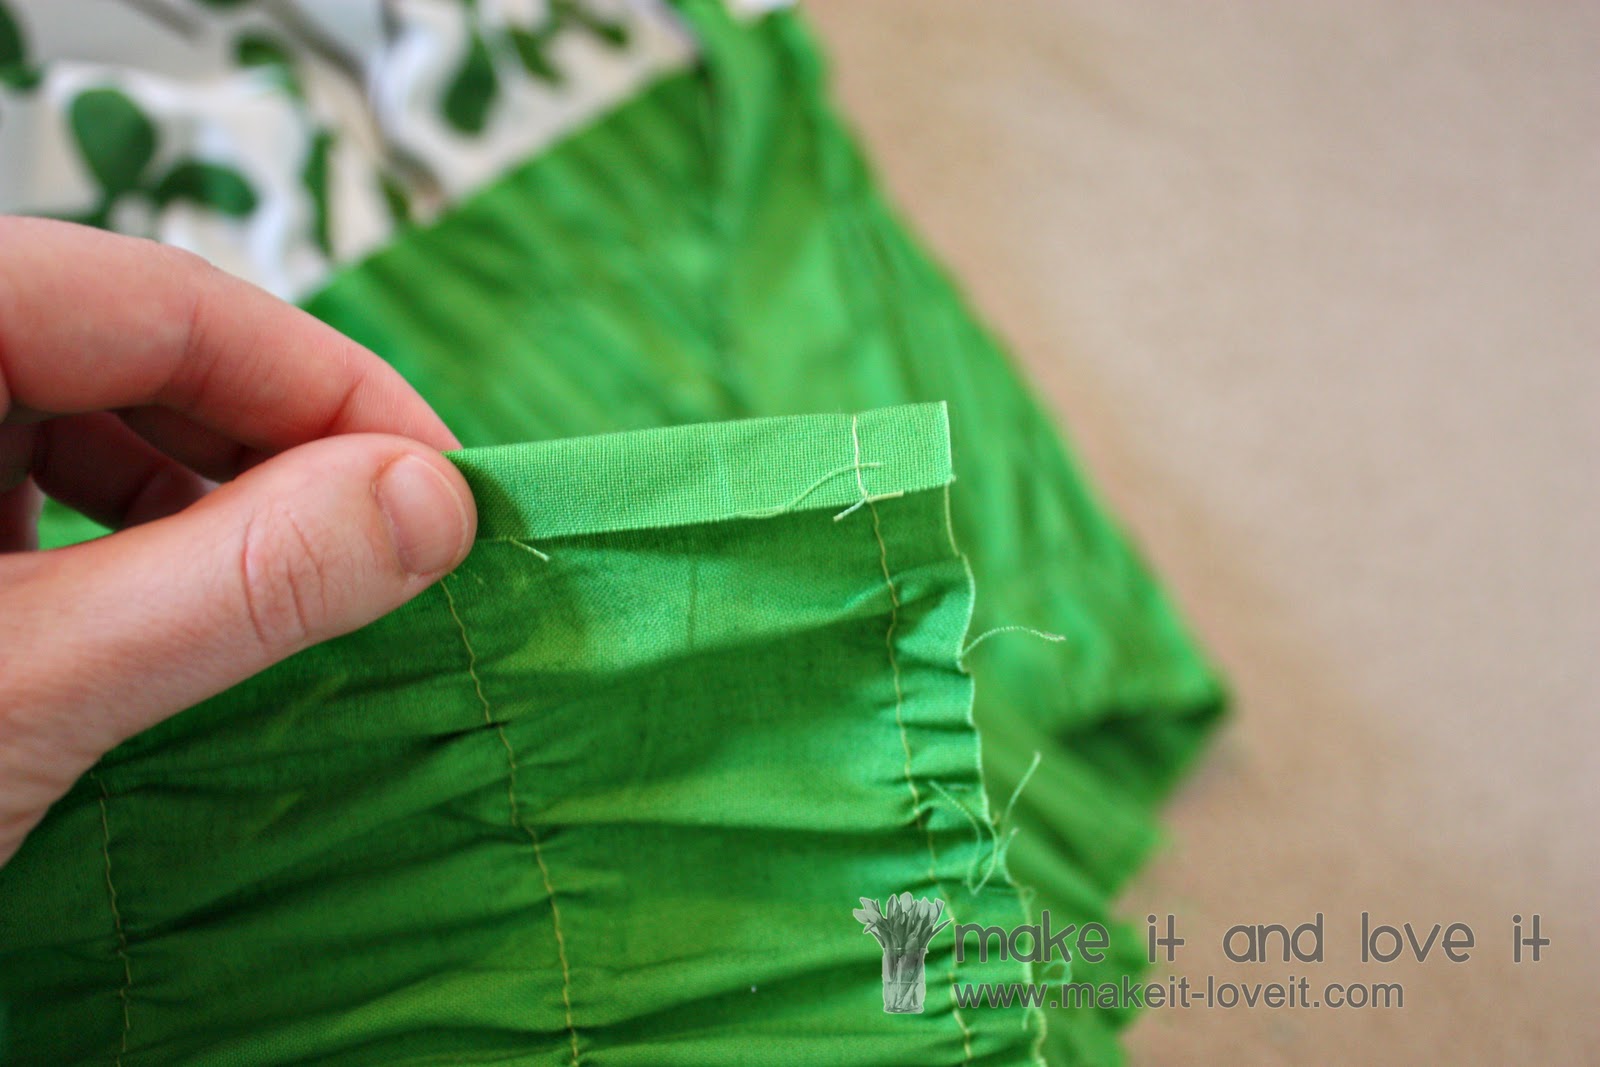
Then I folded under the entire side of both sides of the curtain, a 1/2 inch……..
…..then another half inch. Then pinned it in place. All the way down each side of the curtain.
Then I sewed each side in place.
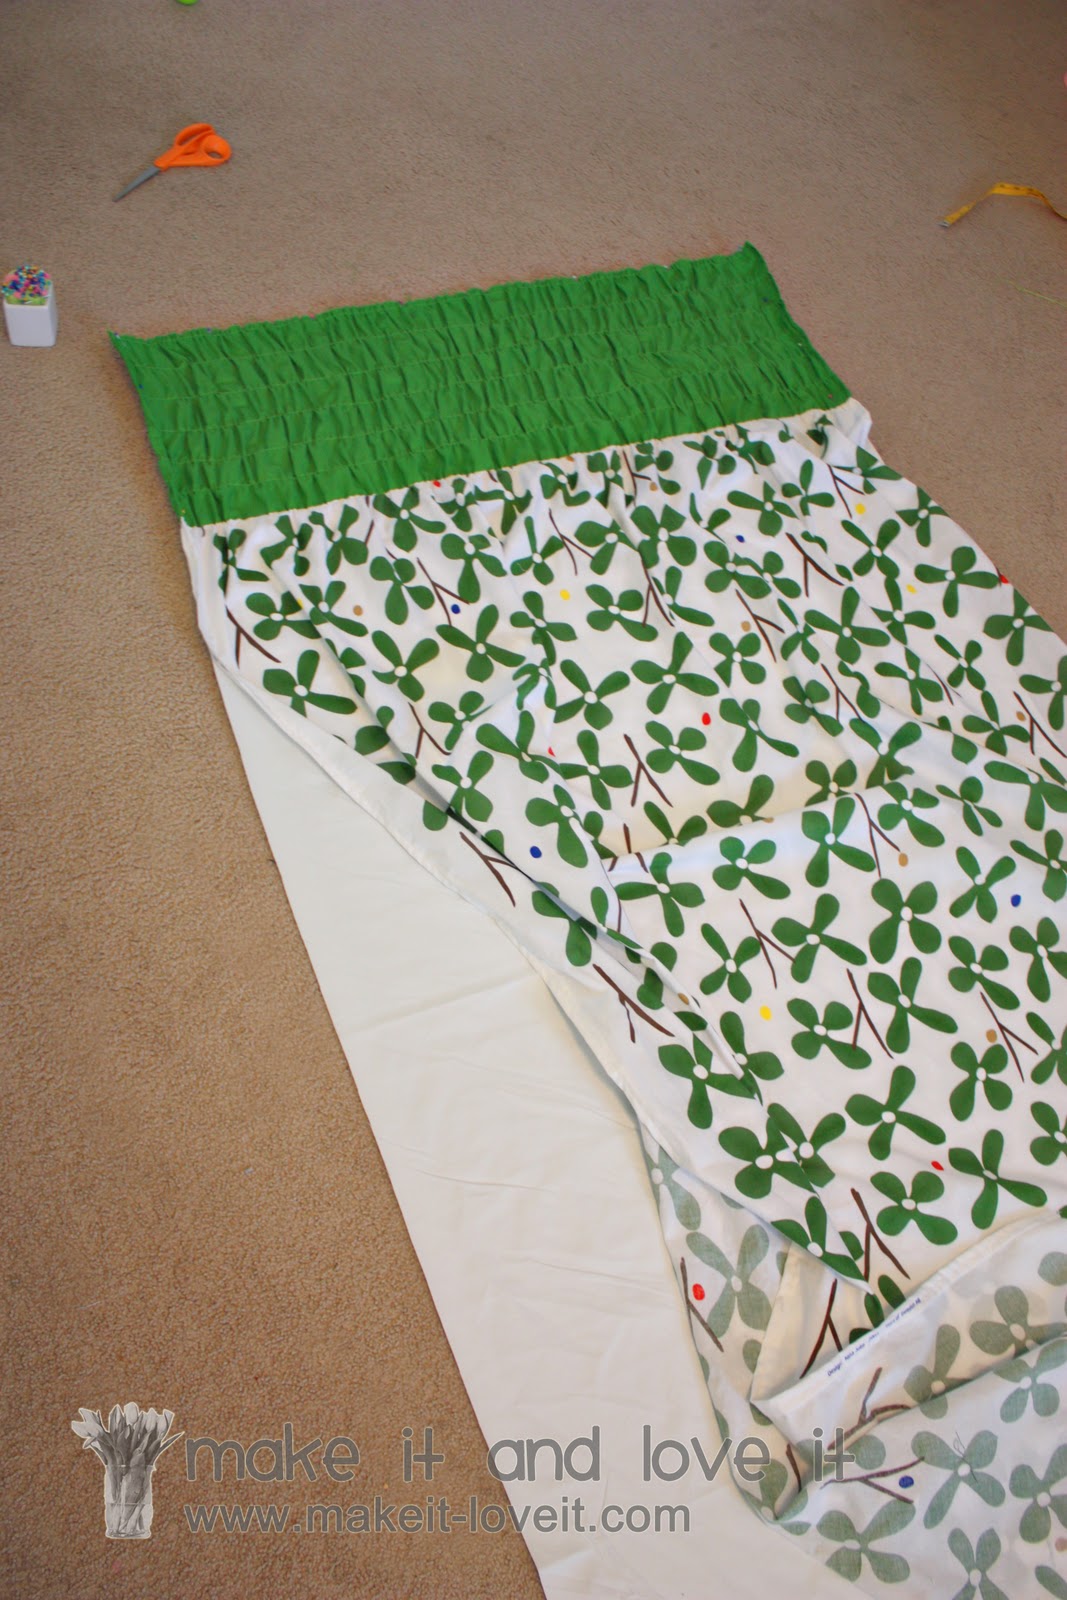
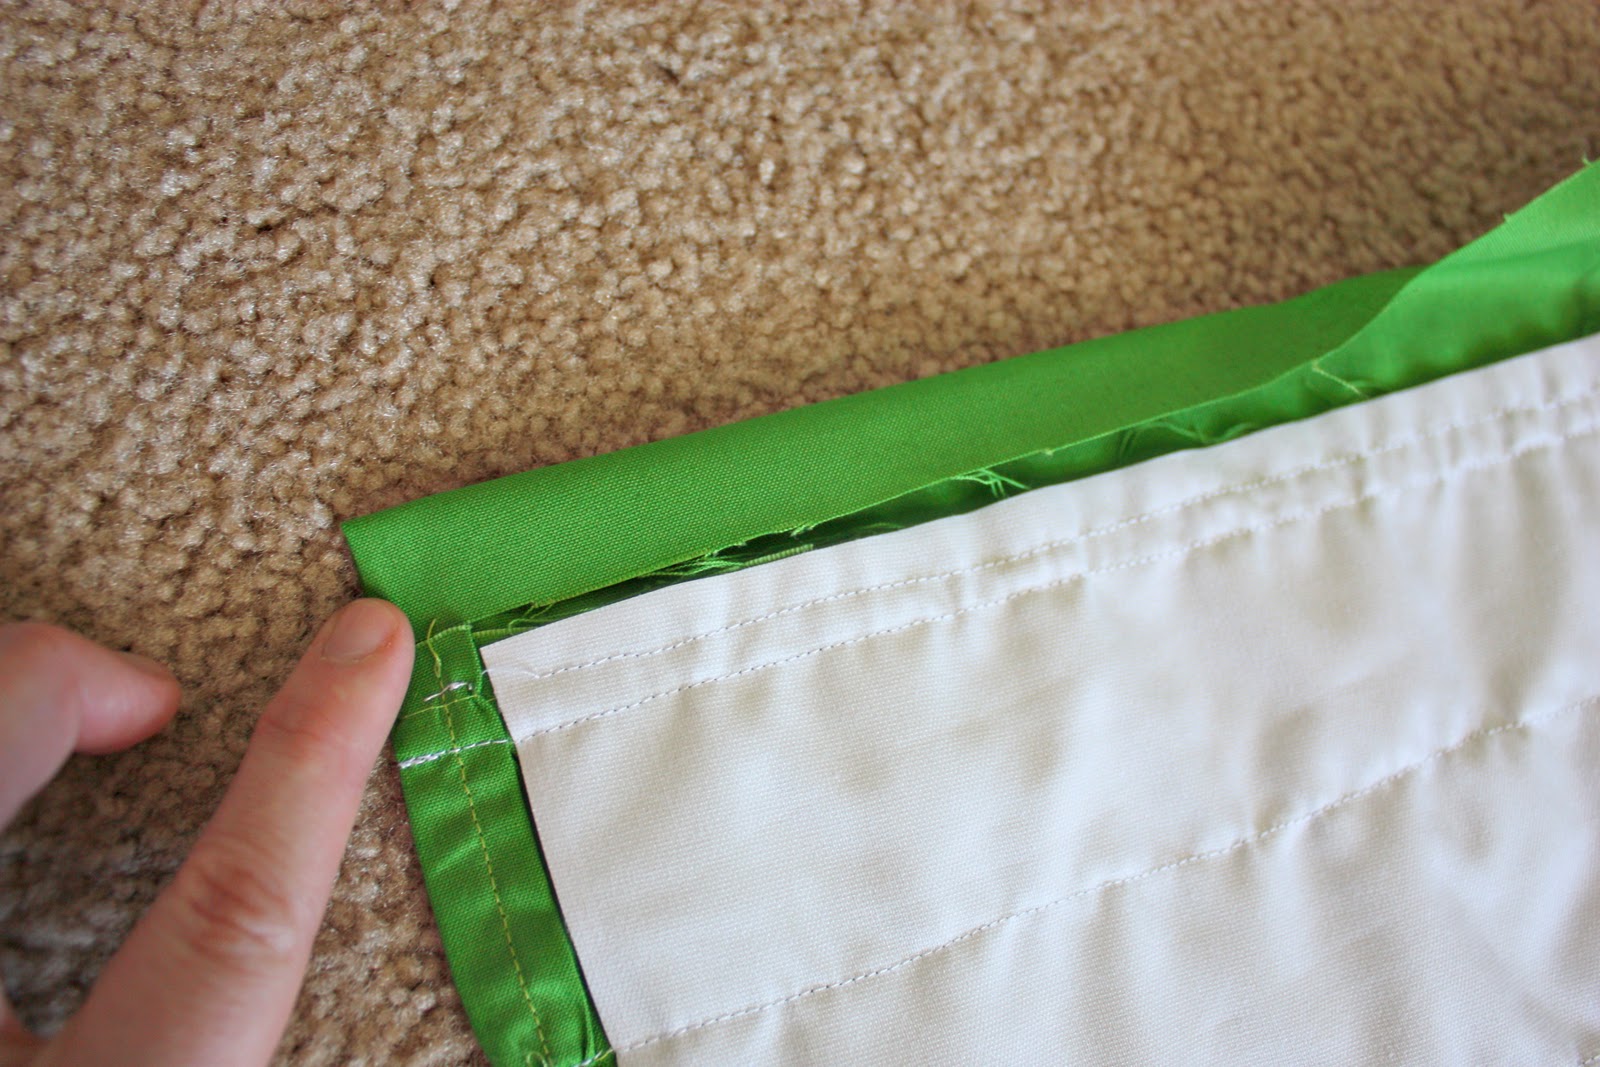
Next I cut a piece of blackout lining that was slightly smaller than my curtain. Mine was 38 1/2 inches by 74 inches. (I found this stuff at Hancock Fabric, in the clearance section several months ago. It almost feels like vinyl and doesn’t fray at all or need to be hemmed in any way.)
Then I layed my curtain right on top of the lining…..
………and lined up the very top edge, letting the curtain hang over about a 1/2 inch on each side.
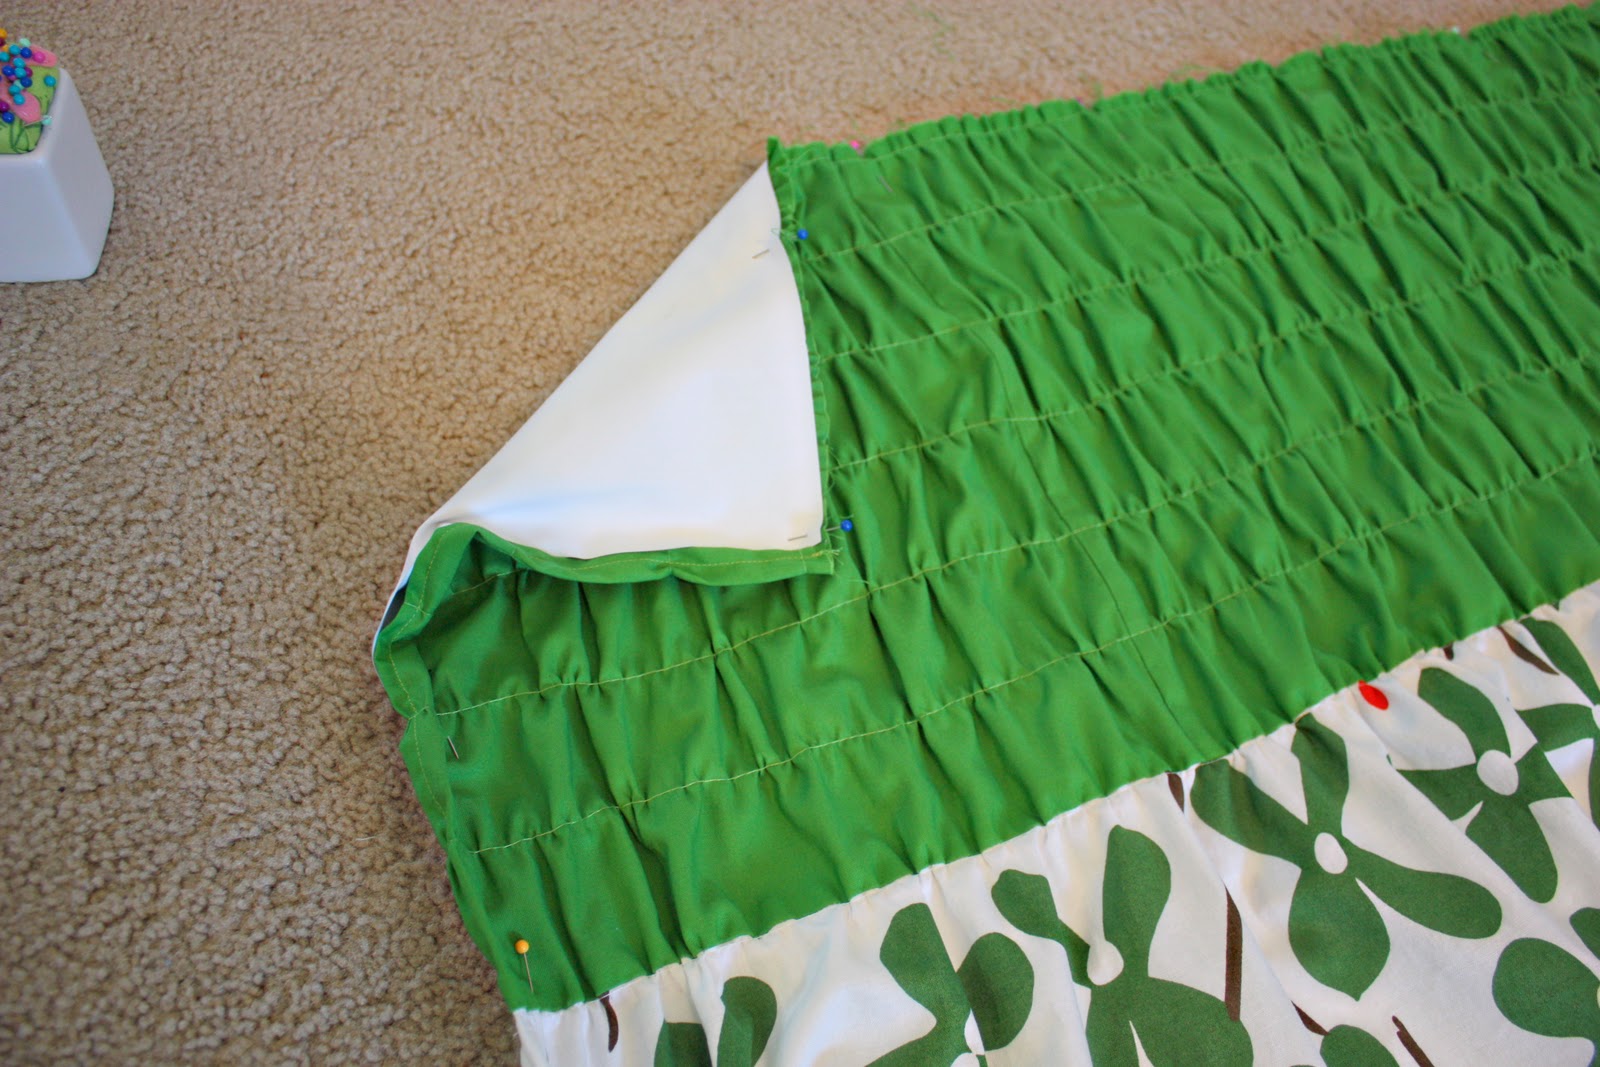
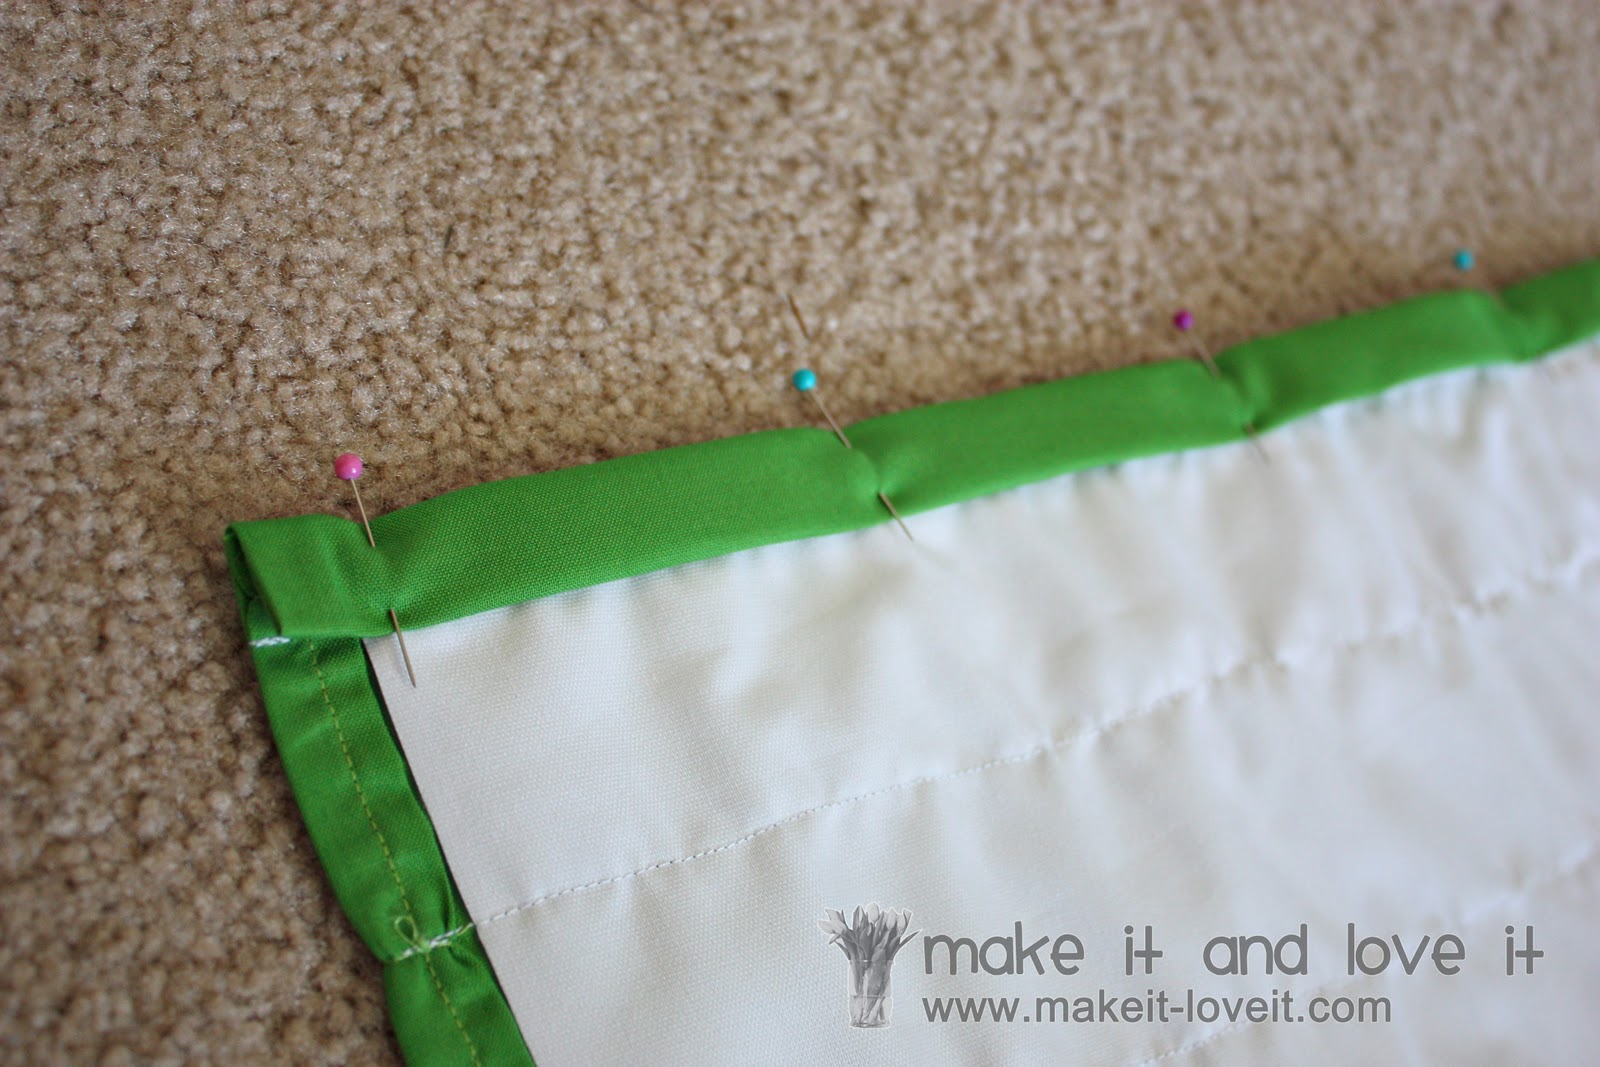
I pinned the top in place and the sides. Then I pinned several pins all throughout the the panel, to keep the lining from moving around as I sewed during my next step.
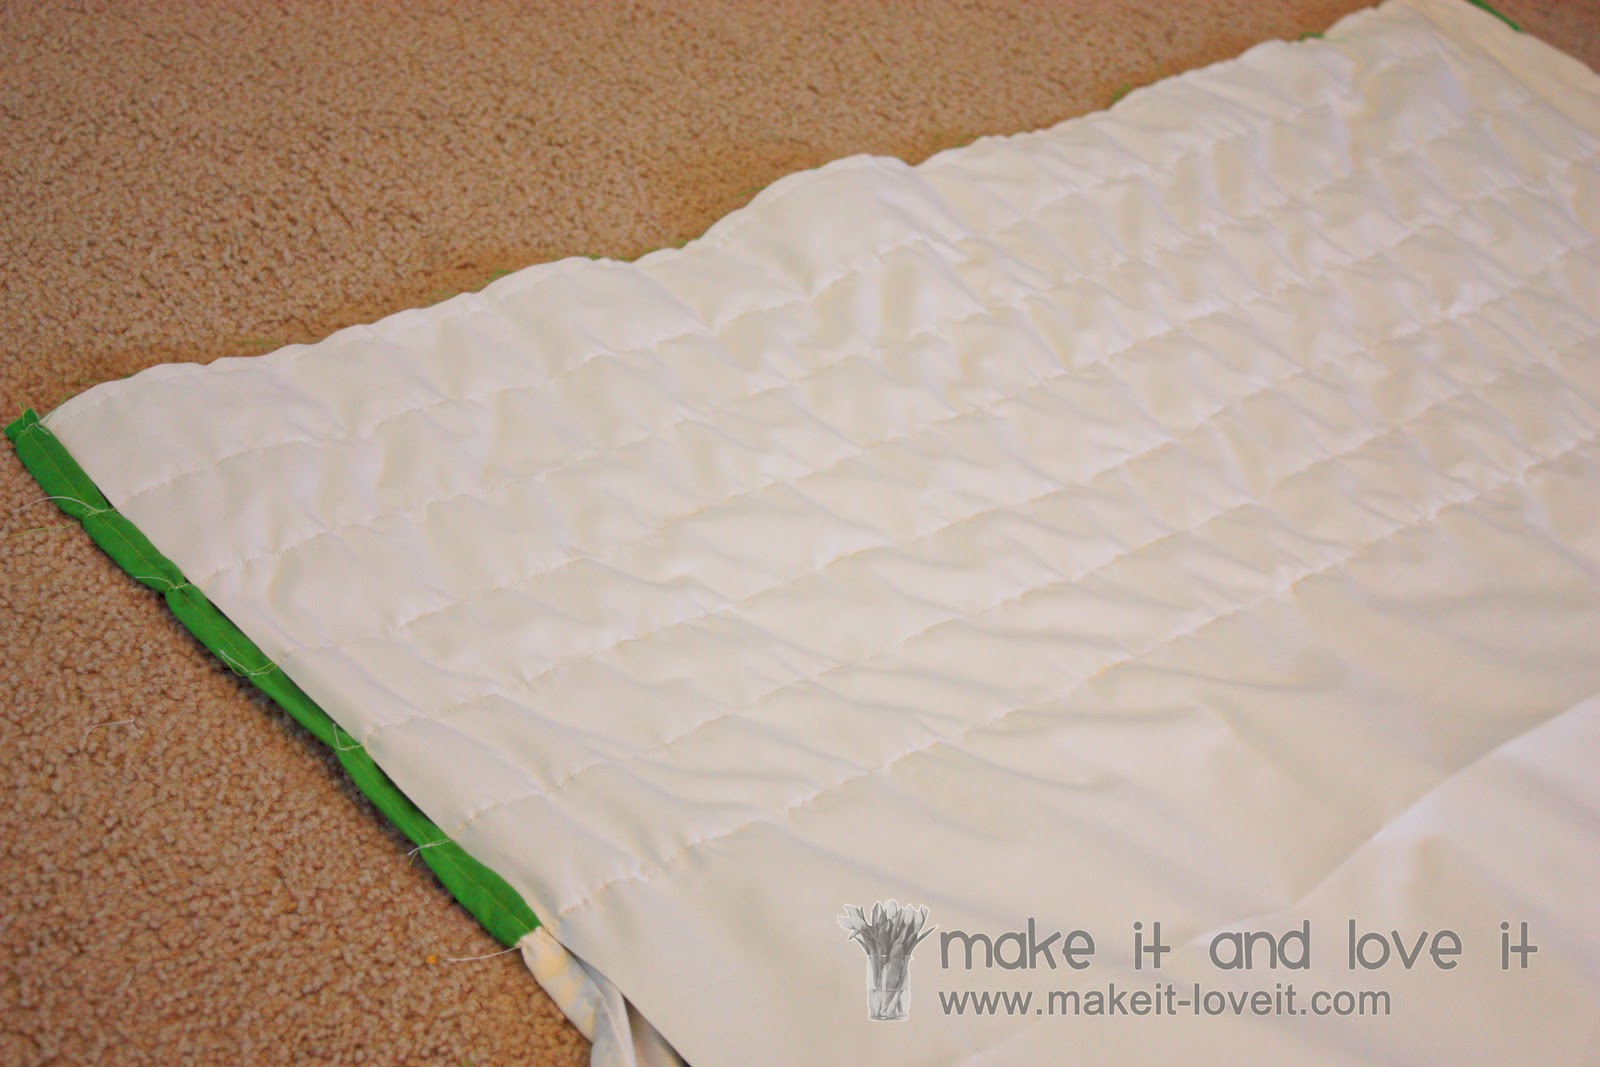
Then I attached the curtain to the lining and sewed right on top of each gathered seam.
Here are all 7 finished seams, that attached the lining nicely to the curtain .
Here’s a view from the back.
**And this is the only section that I attached the lining to the curtain. From here, I just let it hang and didn’t bother sewing the sides or bottom. Maybe it’s not quite the professional way to do it, but it looks great.
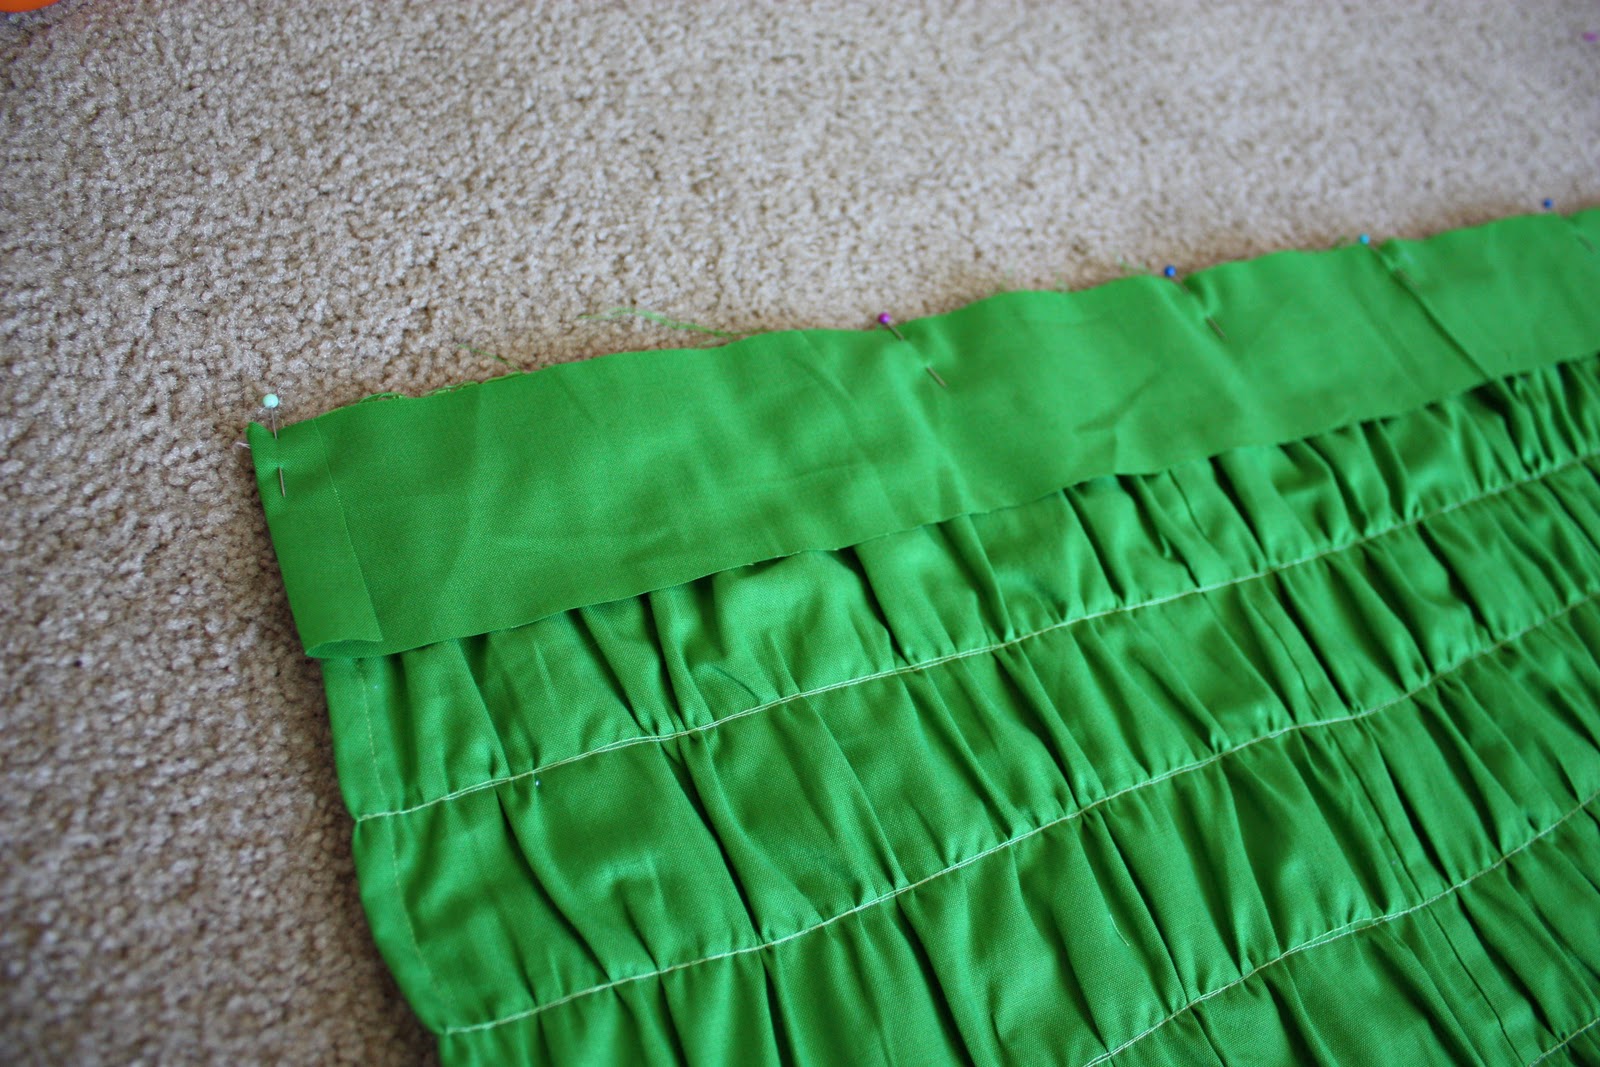
Then I cut a narrow strip of fabric that was 2 x 41 inches. I folded over each end of the strip a 1/2 inch and ironed them flat. Then I pinned the strip (with the folds facing outwards) to the top of the curtain, pinning the raw edges together.
Then I sewed right along the top, using a 1/2 inch seam allowance.
Then I folded the strip up and ironed it flat.
Next, I turned over the curtain and folded the strip down a 1/2 inch……..
………..then another half inch, and pinned it in place, all along the top of the curtain.
Then I sewed along the top, making sure to catch the back fold under the needle. Then sew along each side of the strip, closing off each end of the strip and curtain.
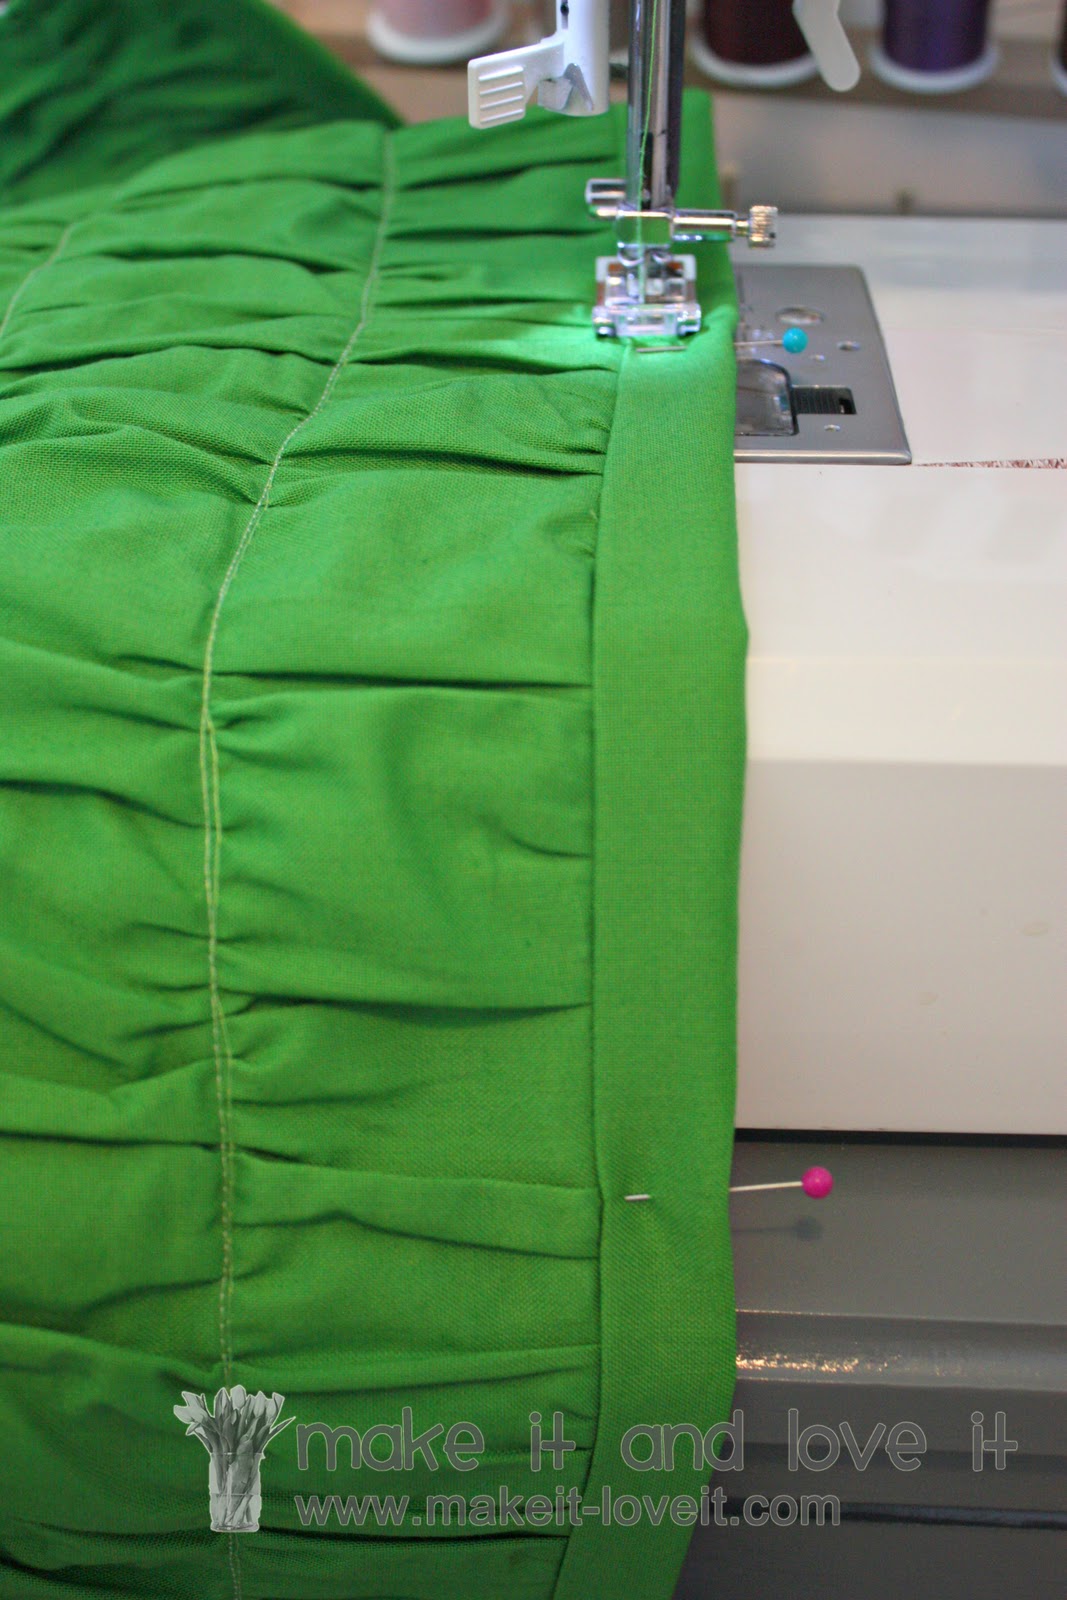
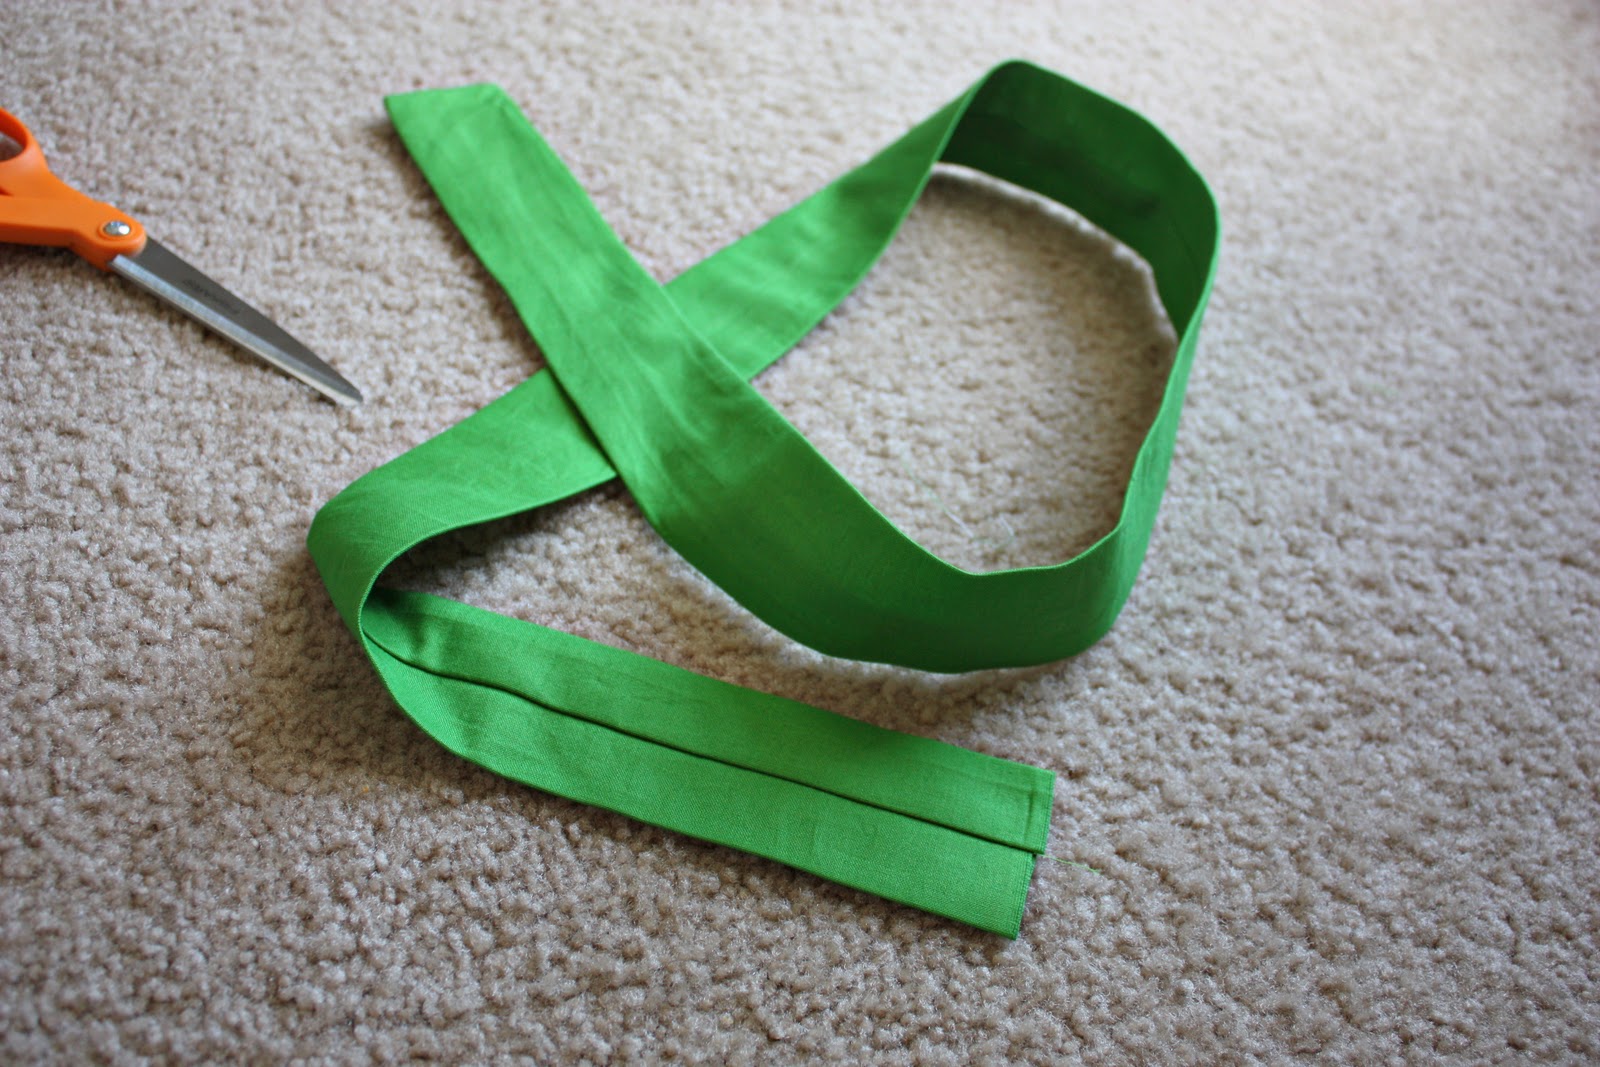
Then cut a piece of fabric that is 4 x 36 inches, sew it into a long tube with a 1/4 inch seam allowance, turn right side out, and press with the seam along the back. (Click
here for more help turning a tube right side out.)
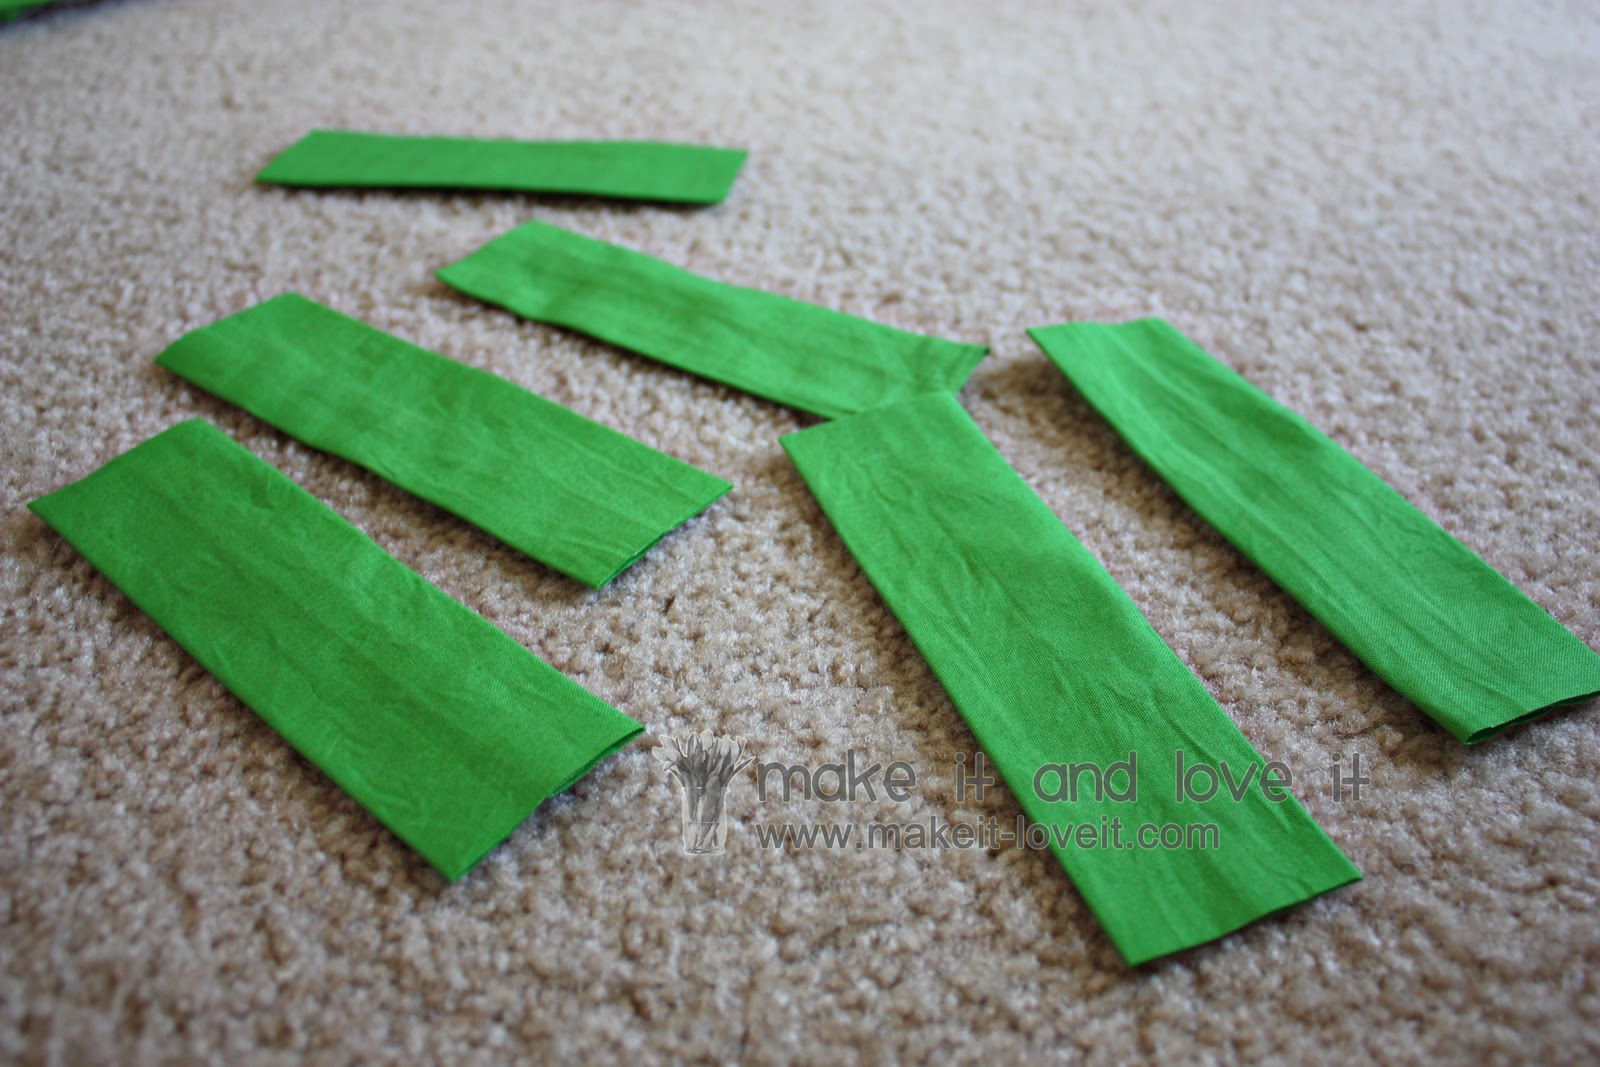
Then cut the tube into 6 equal pieces, that are all 6 inches long.
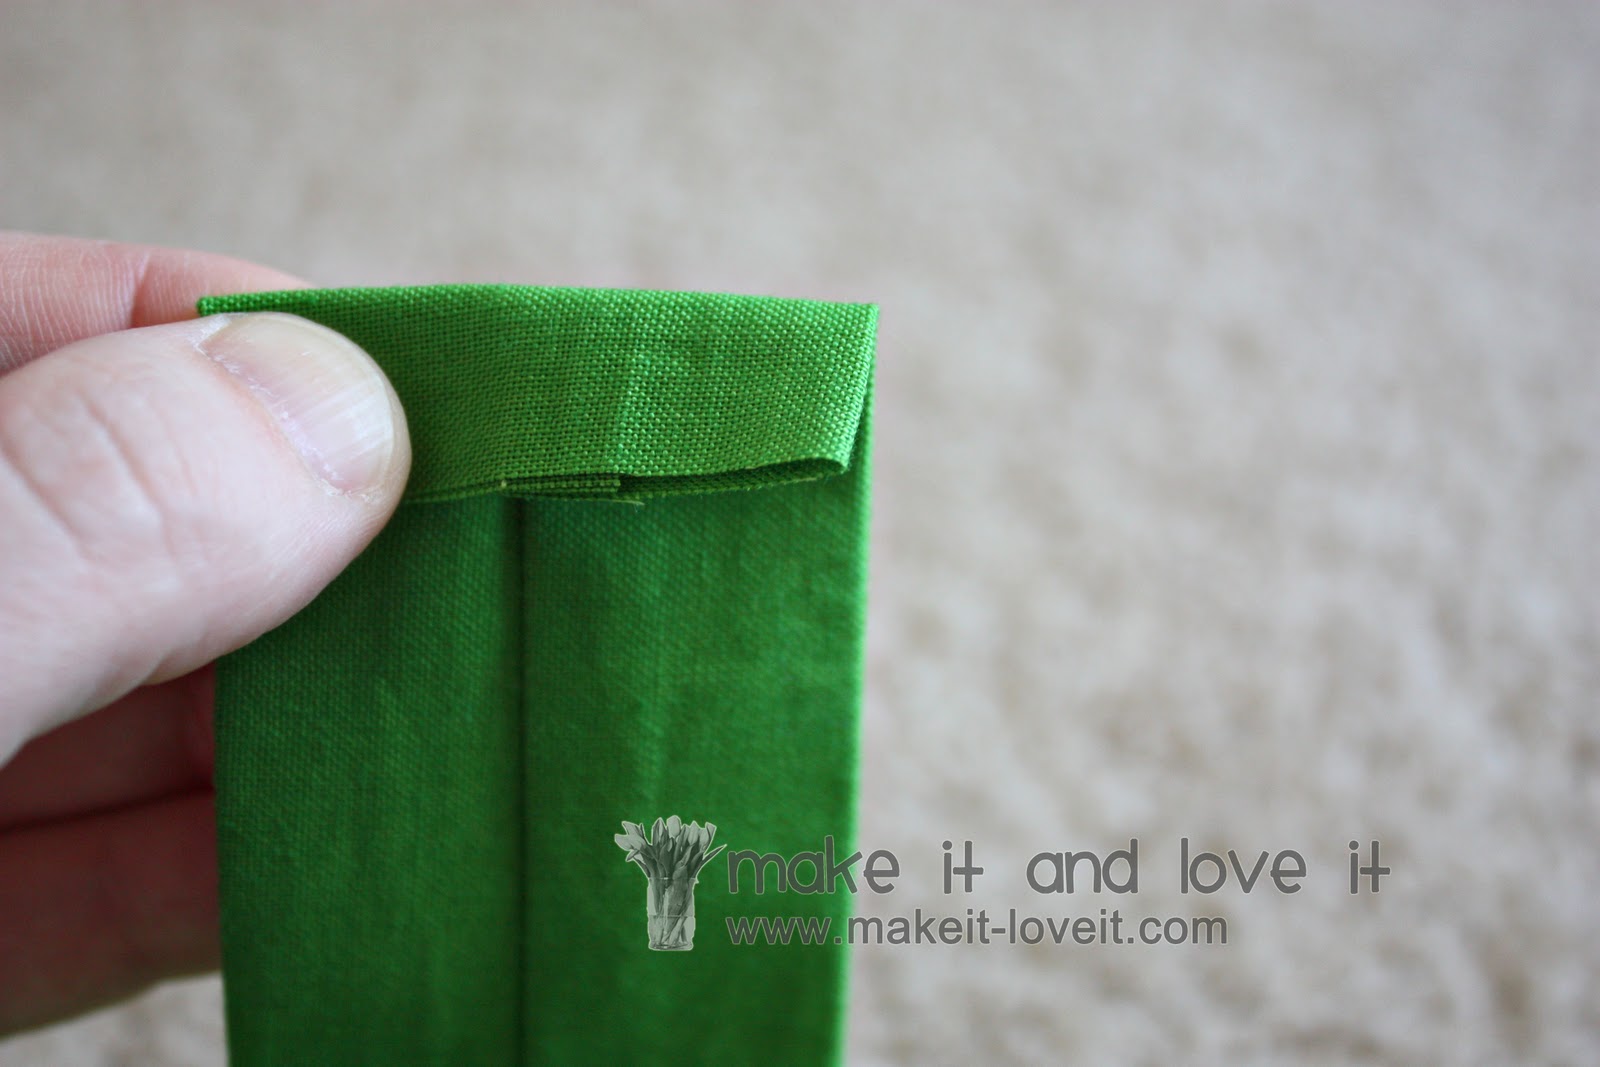
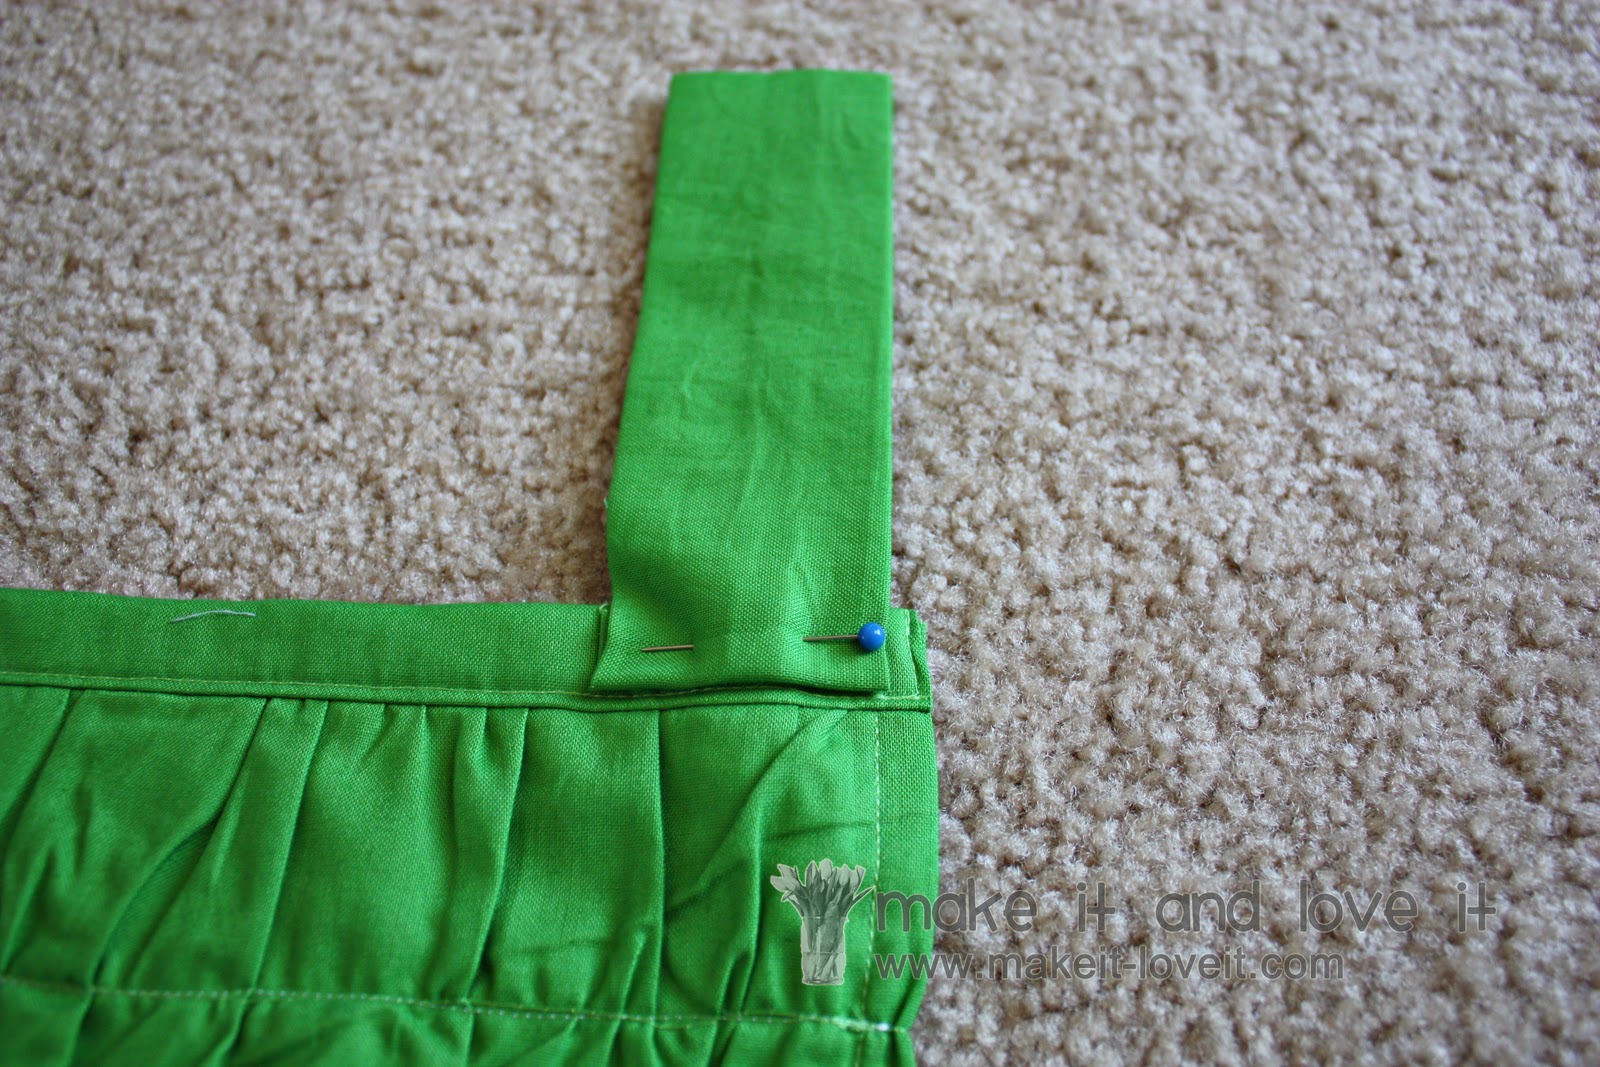
Then fold each end over (towards the inside seam) a 1/2 inch……..
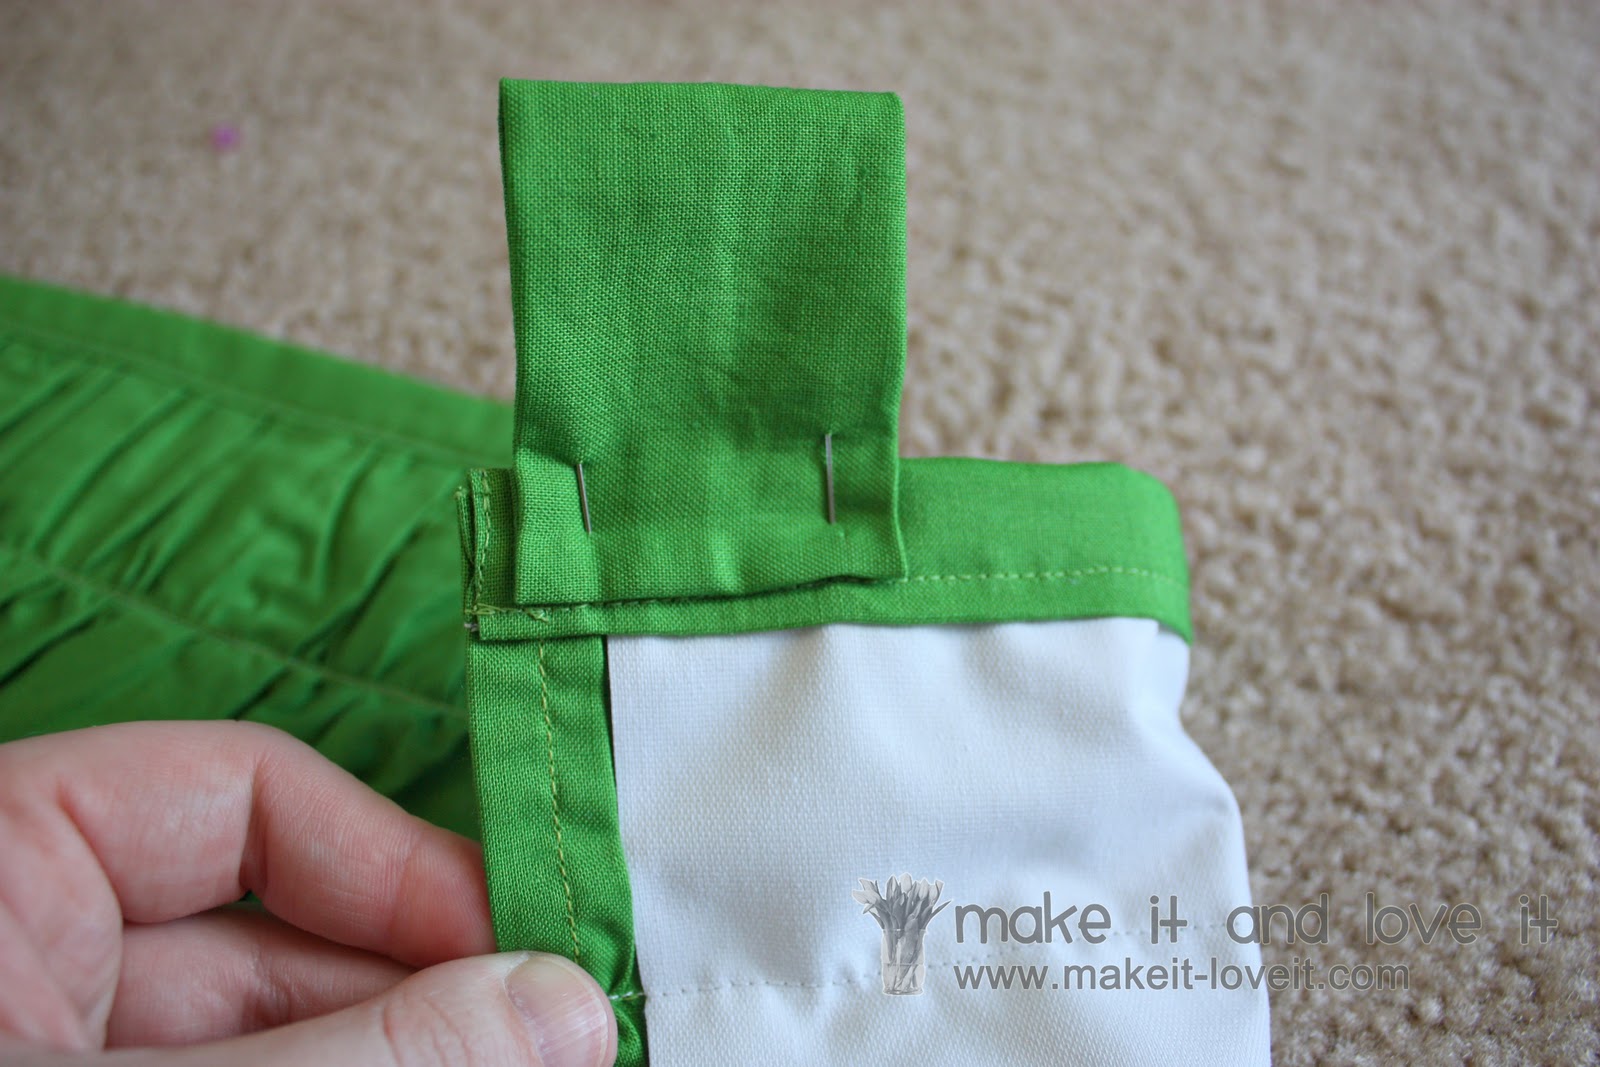
…….then attach it to the top of the curtain, down about a 1/2 inch from the top. Pin it in place.
Then fold the back of it under a half inch as well and pin it about a 1/2 inch from the top also.
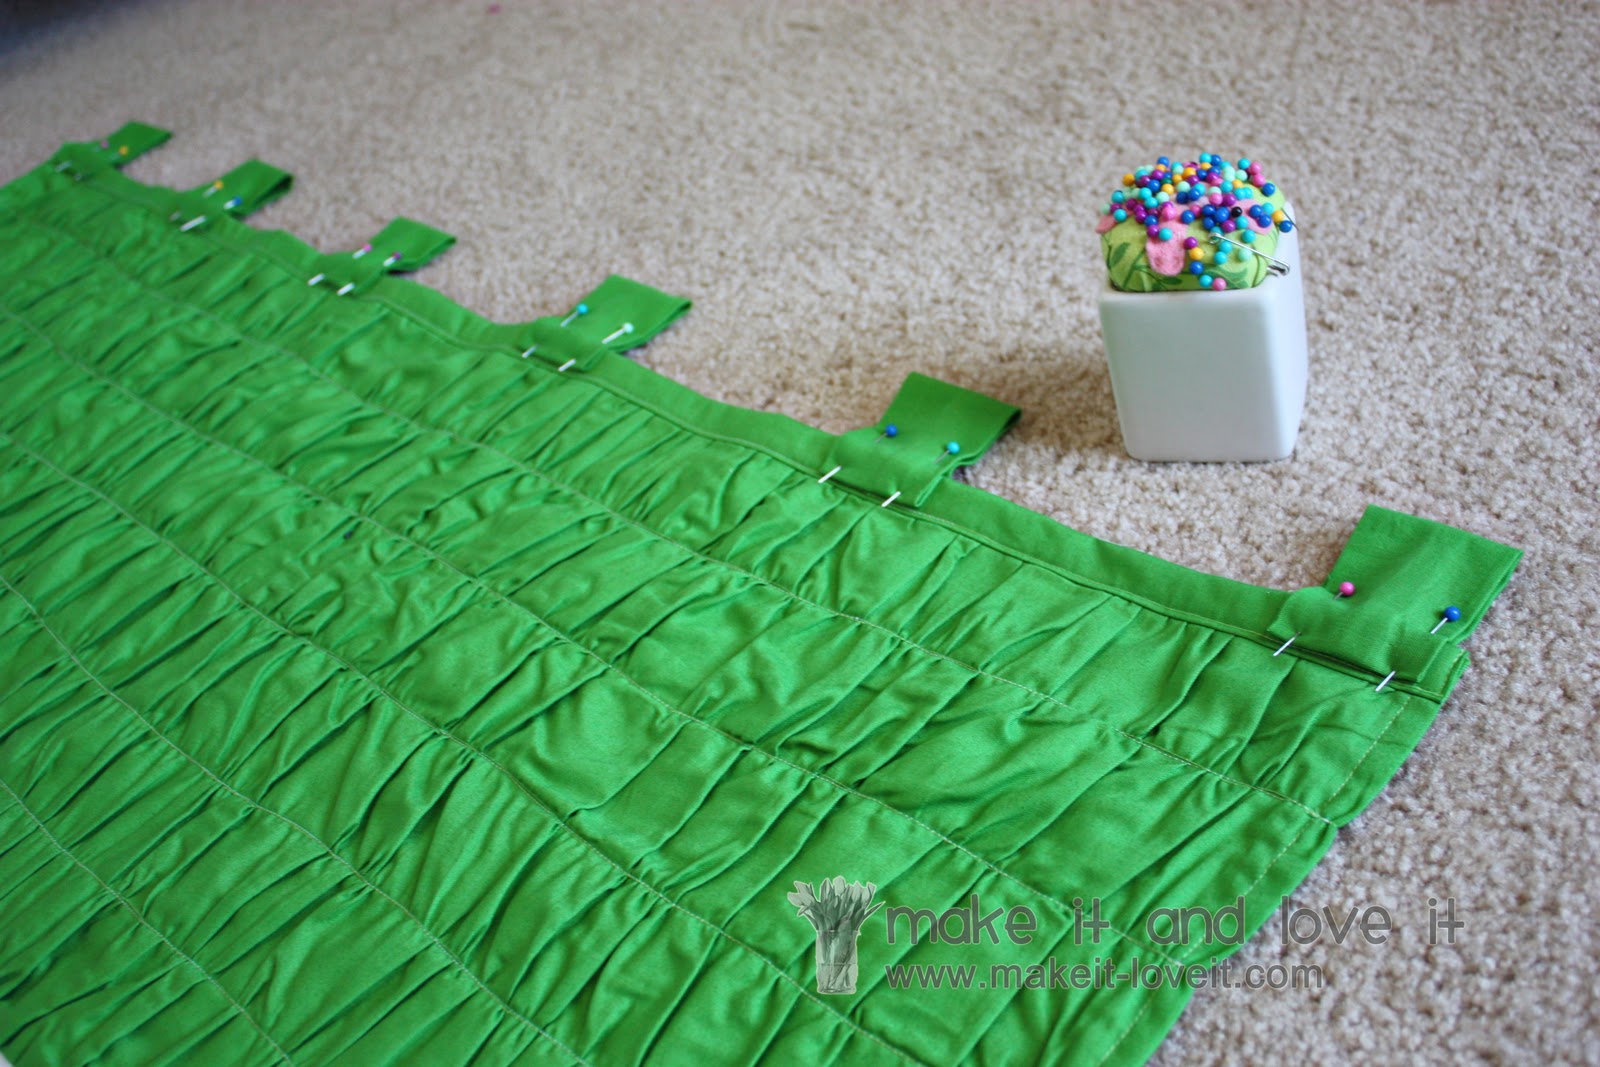
Do the same thing with the other 5 pieces.
Then sew each loop onto the top edge of the curtain, using two seams to make it nice and sturdy.
Then hem the bottom of the curtain by folding under an inch, then another inch, then sewing it in place.
Iron all edges and seams flat. And then steam the top gathers a bit, to finish it off nicely.
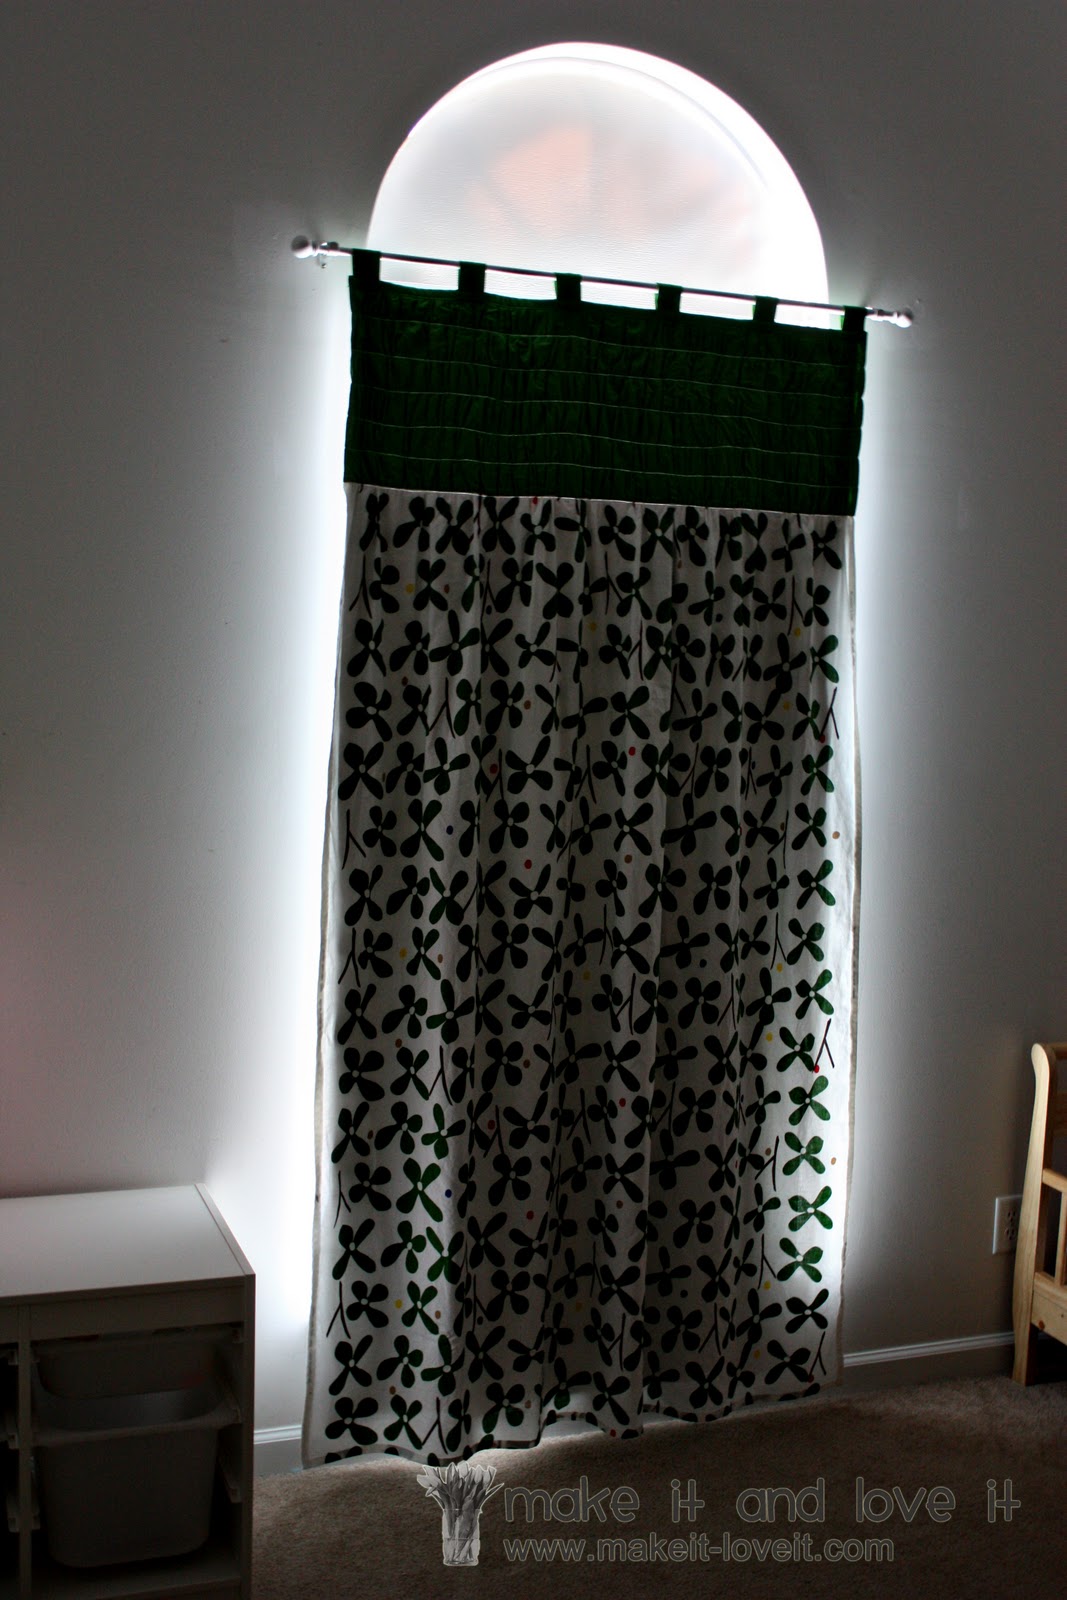
Then hang your curtain proudly.
What a fun little addition to our little toddler nursery.
And the blackout lining really helps block out a lot of the light. (And this picture was taken mid-day with direct sunlight coming in,and the room is still pretty dark. The camera is picking up more light than was actually showing through.)
Oh, and there’s also a liner that I placed at the top of the window to block out the extra light from above……in case you have the same type of window.
More on the toddler room soon…….