And have you seen my newest sponsor Thirty-One found here? You are going to quickly fall in love with all of their purses, bags, baskets, and more. And don’t worry, they have sassy, flirty, classy, and stunning….. A style for each of us.
I have had many requests to do a post on how to make fondant.
I am happy to fill that request.
I also added how to color your fondant.
Homemade Marshmallow Fondant vs Traditional Fondant (found in stores):
– Marshmallow fondant tastes better than store bought fondant.
– Marshmallow fondant is cheaper: $4.00 a batch vs. $15-25 for traditional fondant.
– Store bought is, however, a bit easier to work with.
One thing I must start with is that I cannot take credit for this marshmallow fondant recipe or how to make marshmallow fondant.
When I first started cake decorating I looked up how to make marshmallow fondant and found that most of the recipes/process were very similar.
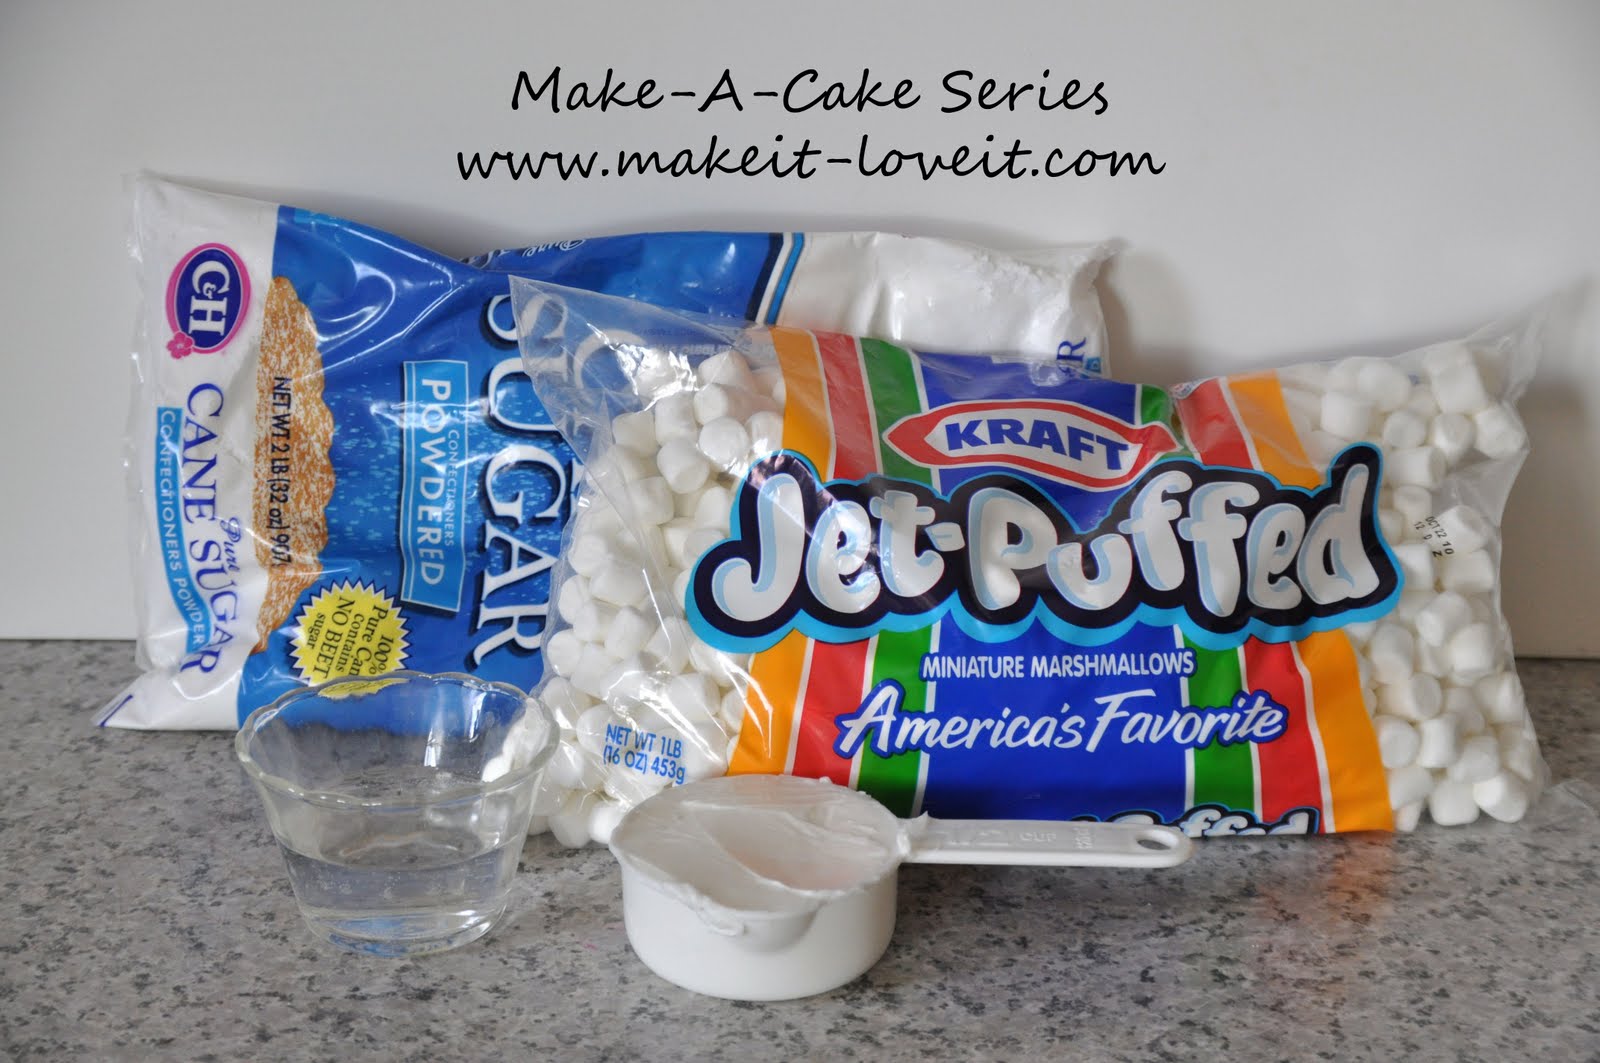
Here is the exact recipe I used.
I added pictures below to show you the steps that I take.
I hope this is helpful, but know that this is not my own information.
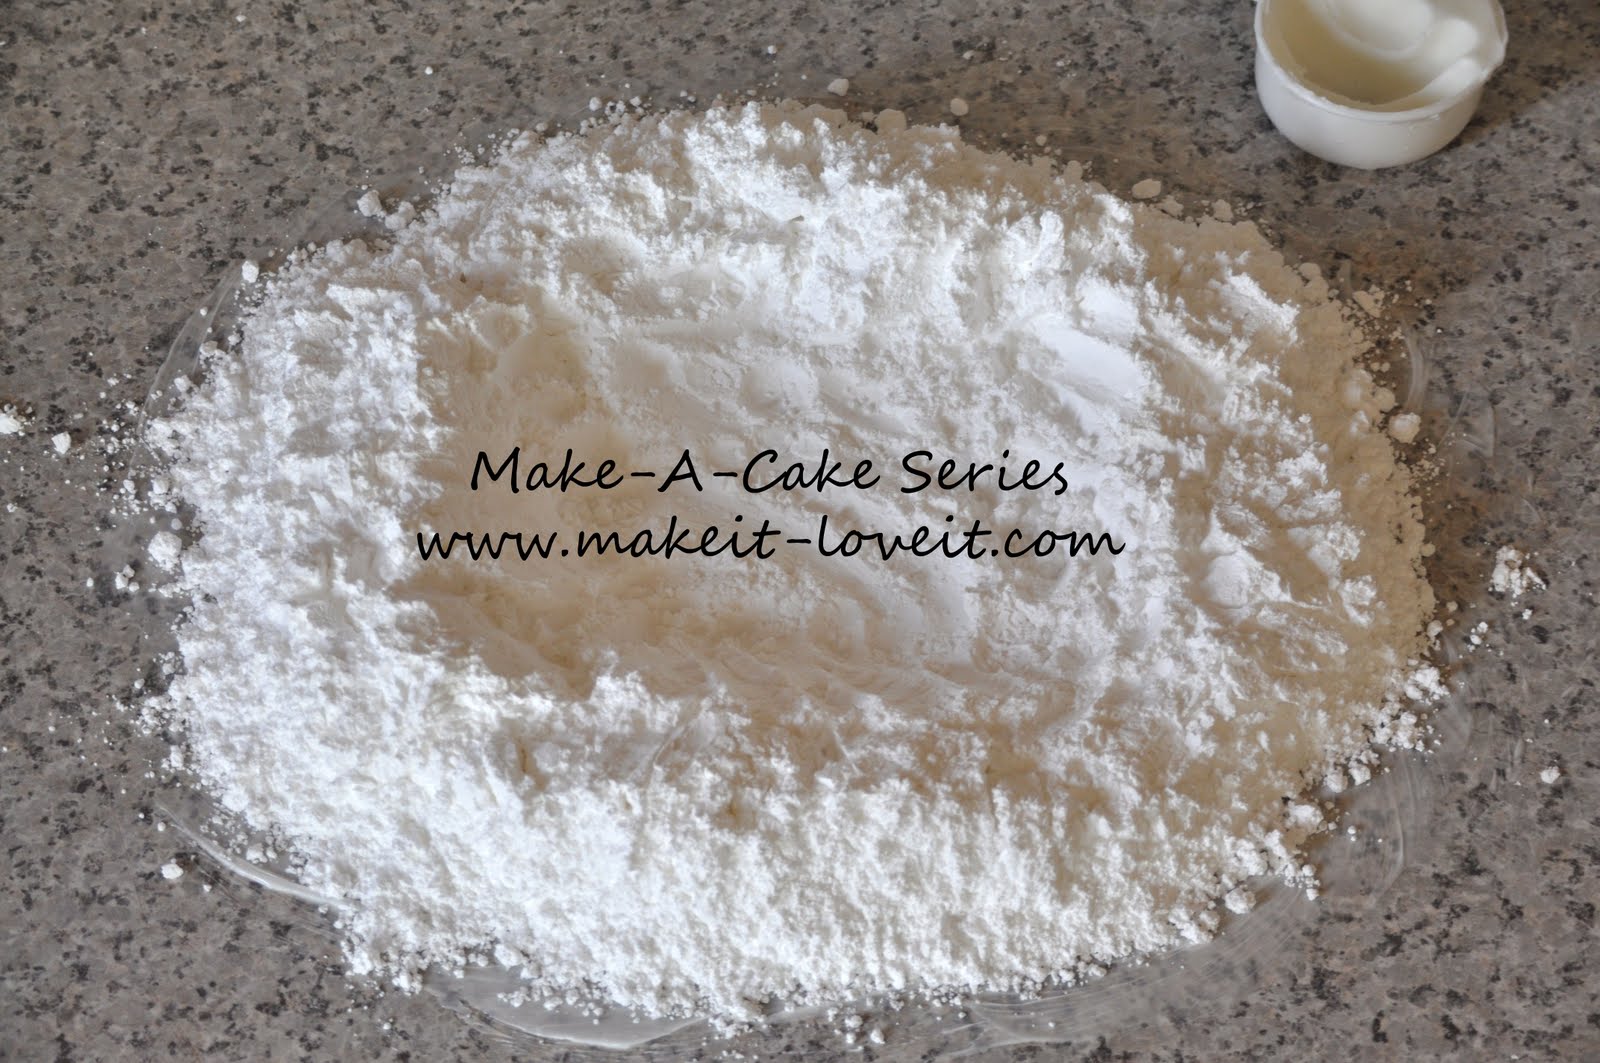
Sift your powder sugar into a pile on top of the shorting. I hate sifting when I bake but in this case it is really helpful. If you don’t do it you will end up with clumps of sugar in your fondant.
Make a crater in the middle of your sugar, keeping high sides all around and a layer of powder sugar on the bottom.
Place your marshmallows in a microwave safe bowl. Add your water. Start with 2 tablespoons.
**The amount of water you use will depend on where you live. When I lived in southeastern Idaho (where it’s more dry) I would add 3 1/2 tablespoons but now that I am in northern Idaho, I only add 2.
If your fondant is dry (cracking) when you knead it later on, you know you need to add more water. Once you figure out how much you need you can add it during this step.
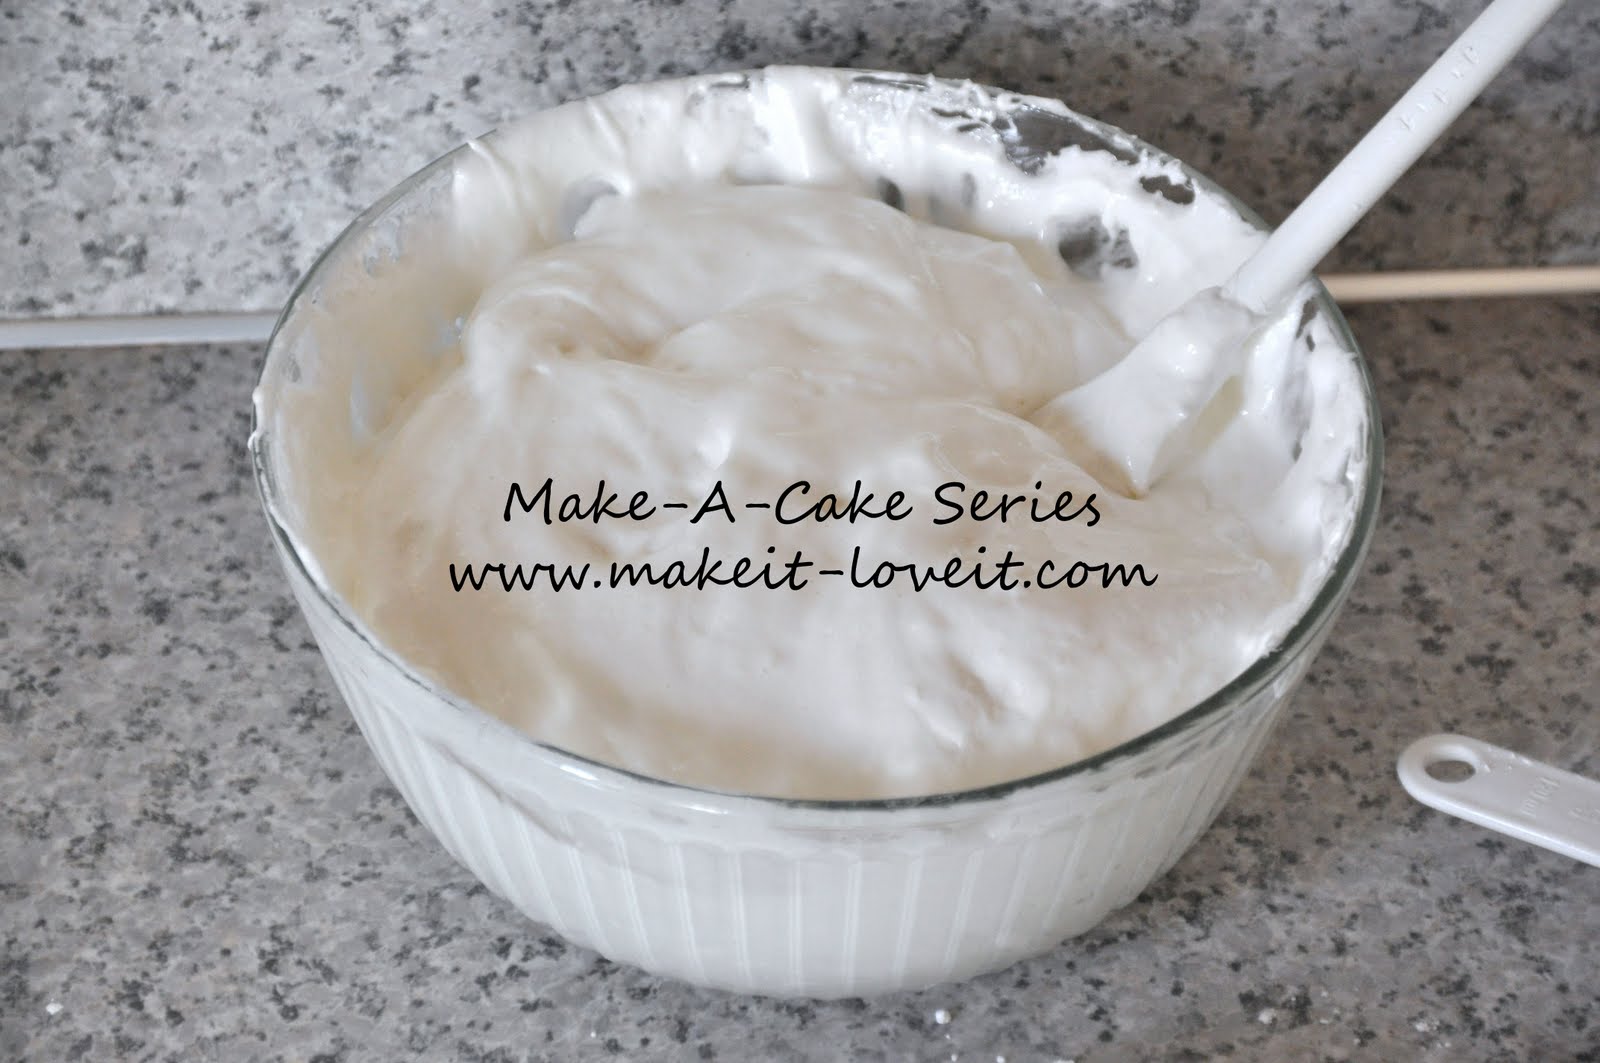
Put your bowl in the microwave. Heat until your marshmallows melt. This takes about 2 1/2-4 minutes. They will look like this:
Fold the marshmallows until it is all incorporated and smooth.
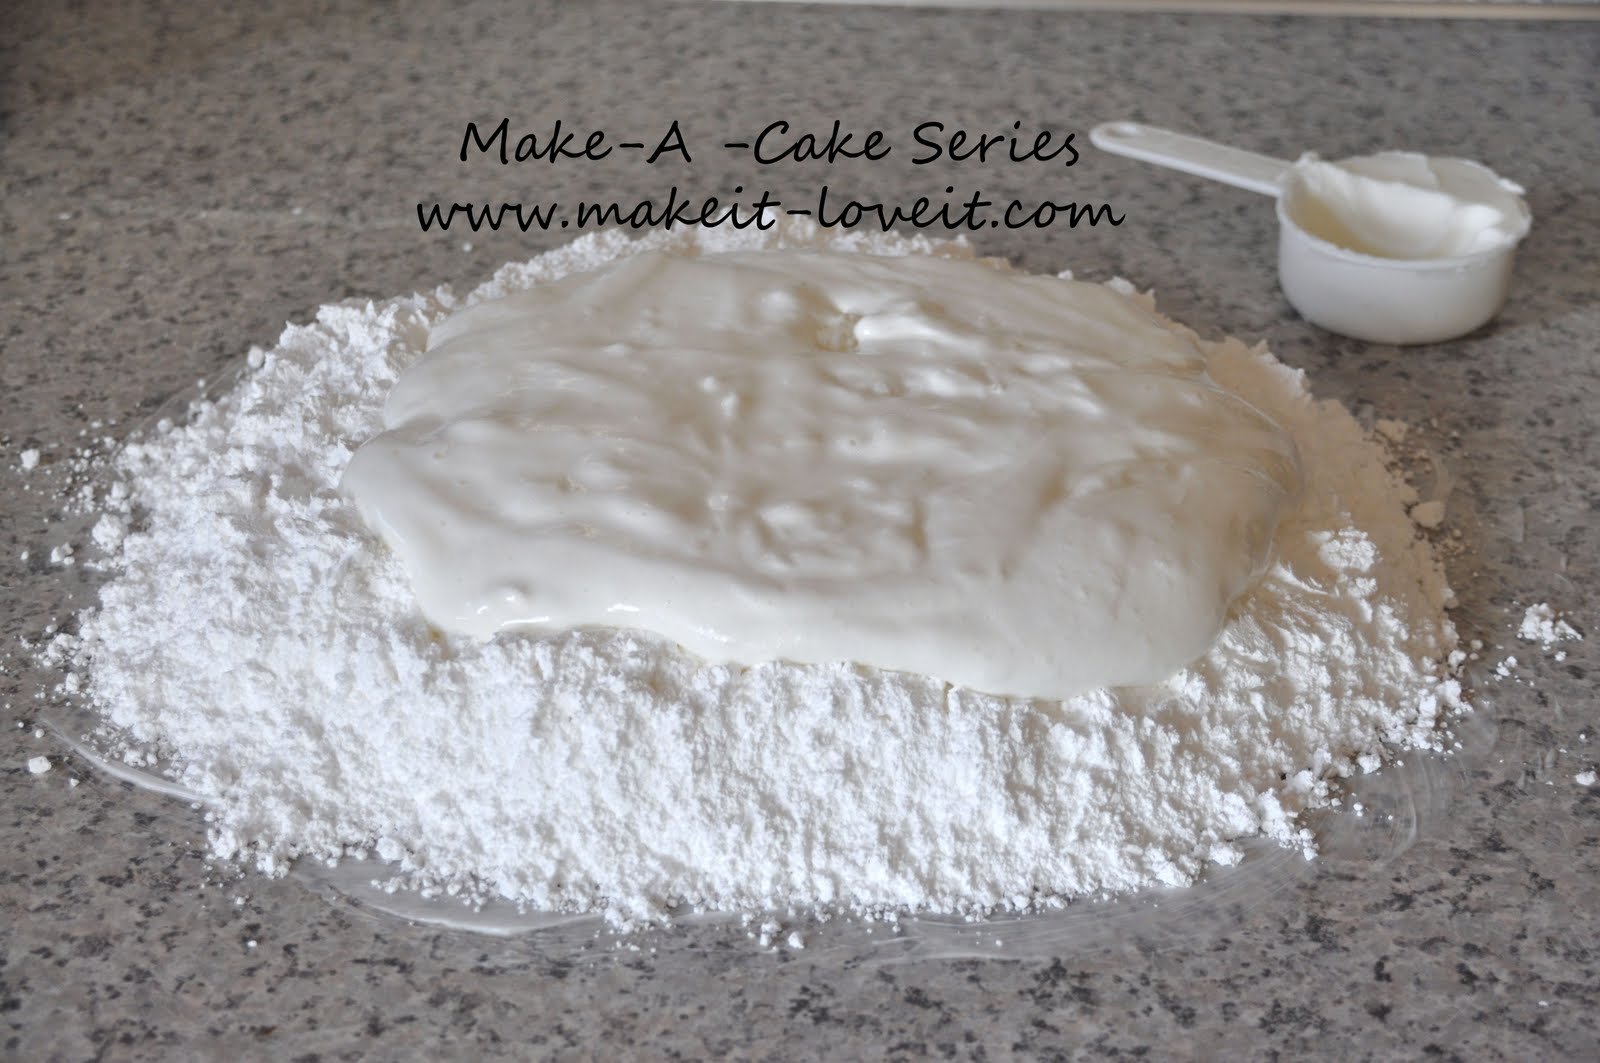
Pour your mixture onto your powdered sugar crater, making sure to scrape and add the excess from the sides of the bowl.
These next steps can be hot, please be careful.
You can let the marshmallows cool a bit if needed.
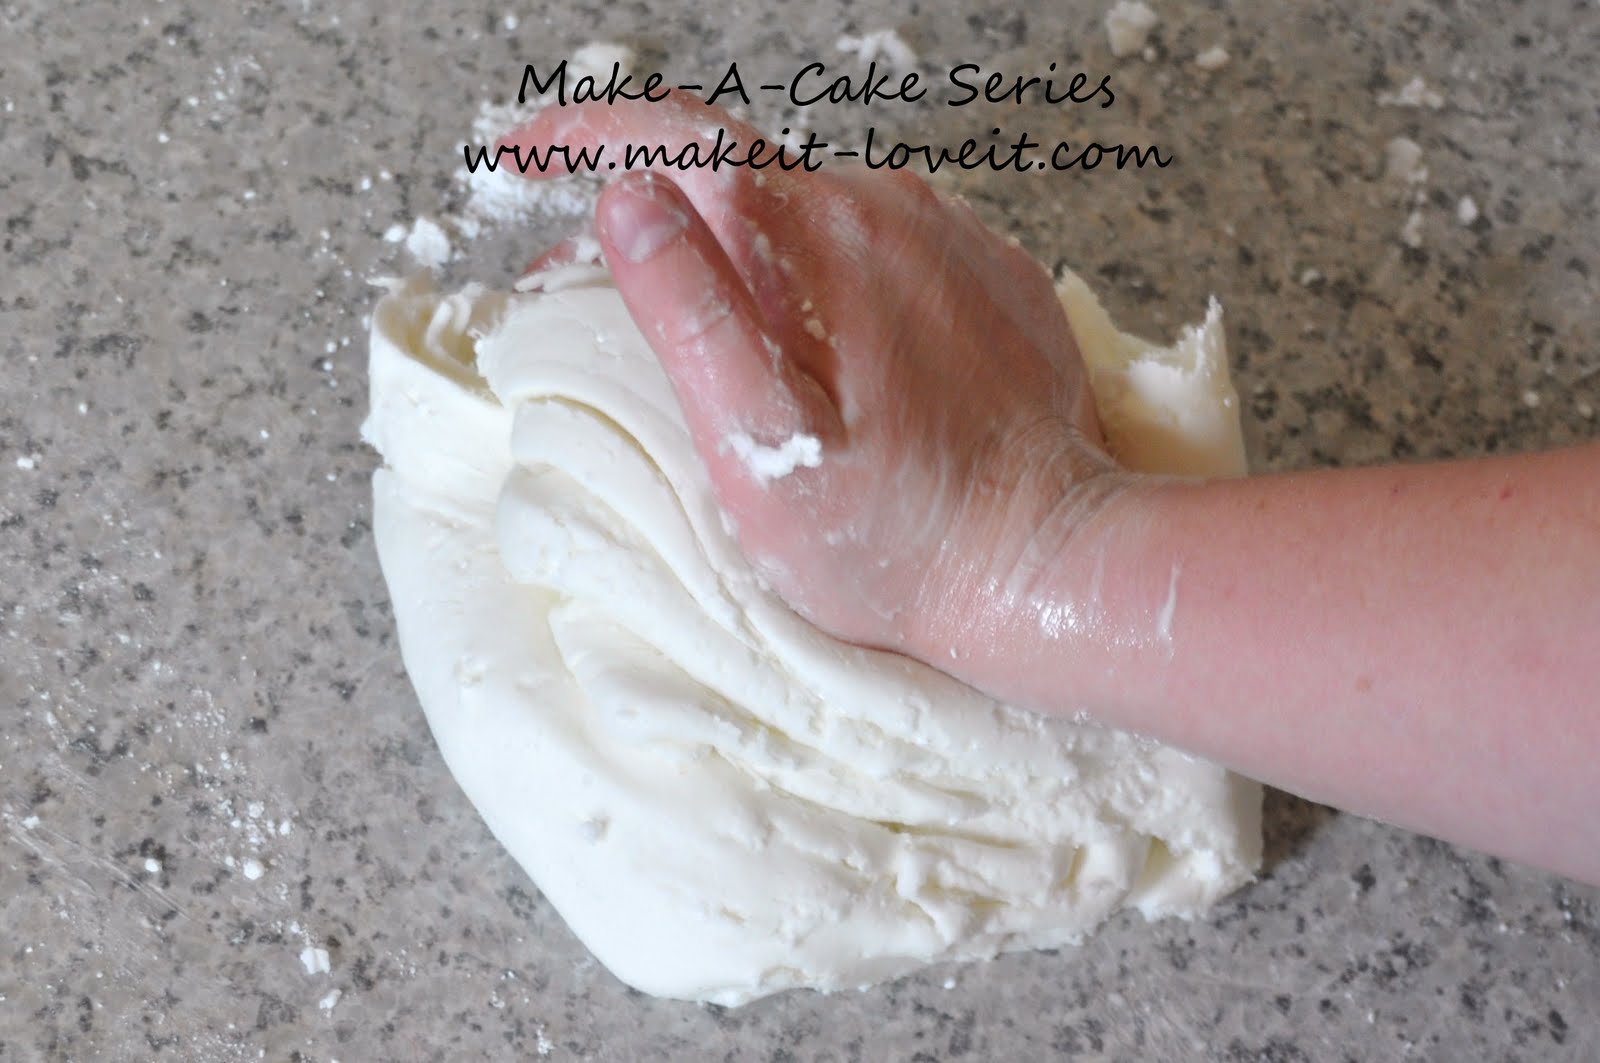
Coat your hands with shortening. On the front, back, in between fingers, up to your wrists, everywhere. Ha! That which it’s not coated will have fondant stuck to it. So take off your rings too.
And I am sure there are many ways to do this…..but this is what works for me.
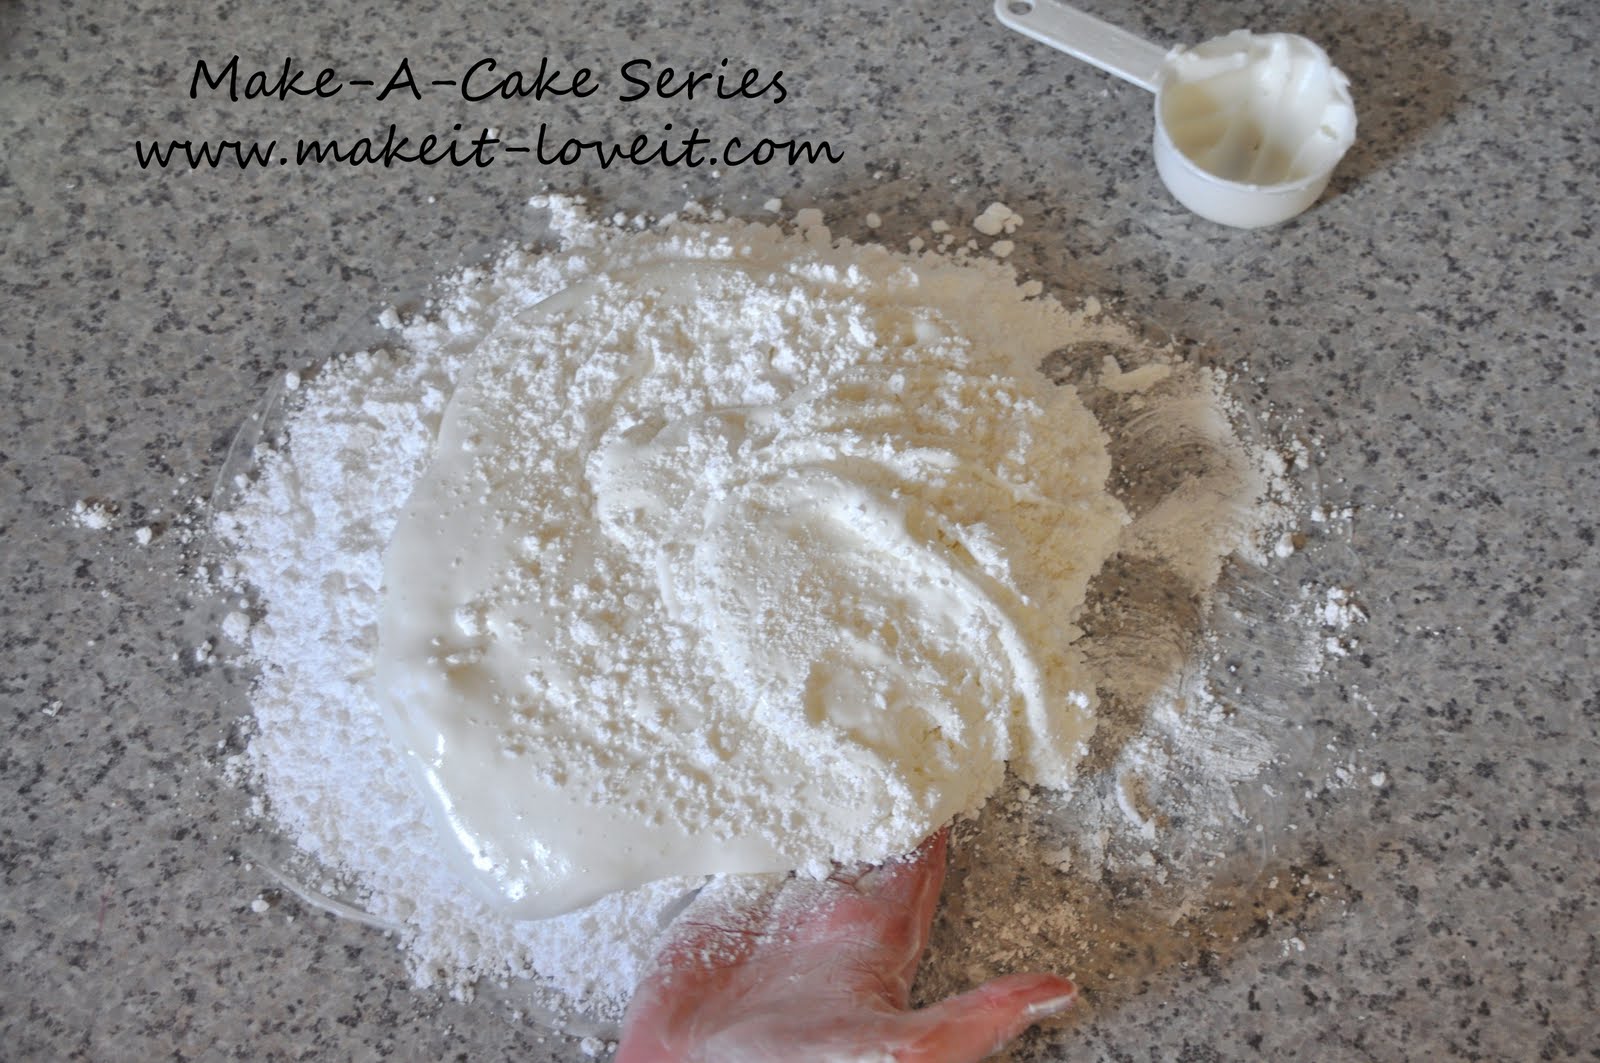
Start to fold the powdered sugar on top of the marshmallows….
…and keep folding and combining it until it all starts mixing together.
It will start to look like this.
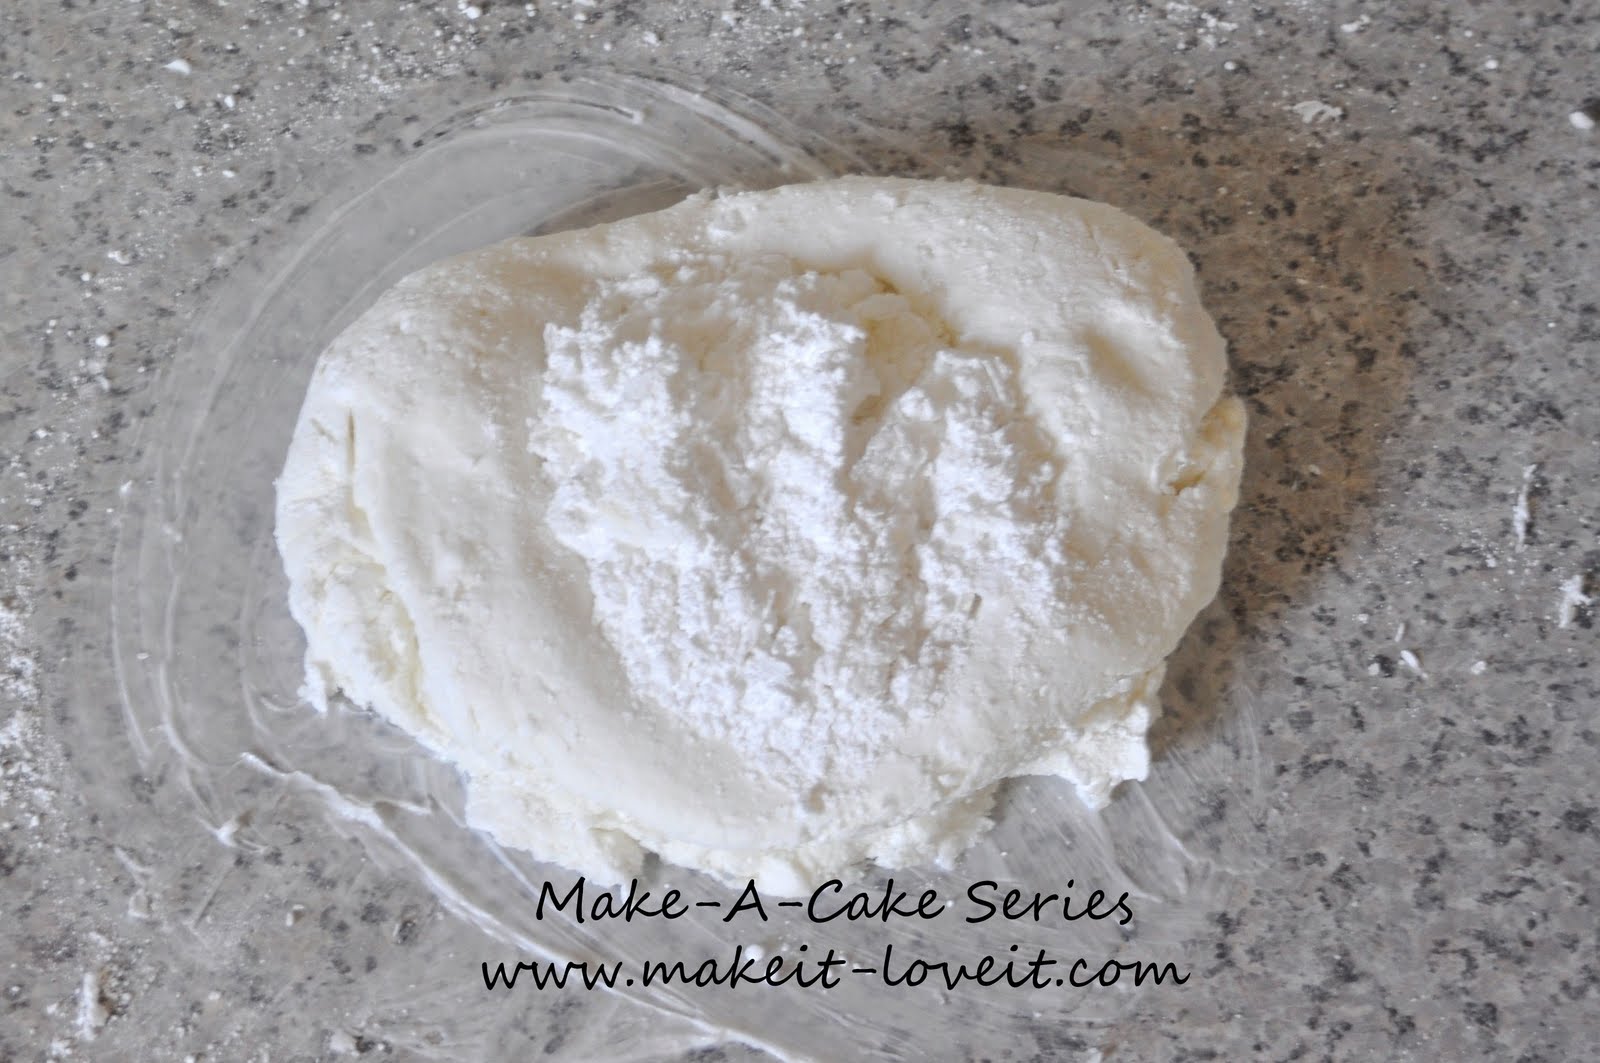
Now I scrape the counter with a pastry scraper or spatula, put the extra sugar on the fondant.
Apply a thin layer of shortening onto the counter to prevent sticking and keep kneading the fondant.
Keep going until everything is worked in and smooth. If it doesn’t get smooth right away just keep kneading.
** If you still have some shortening left, work all but 1 tablespoon in.
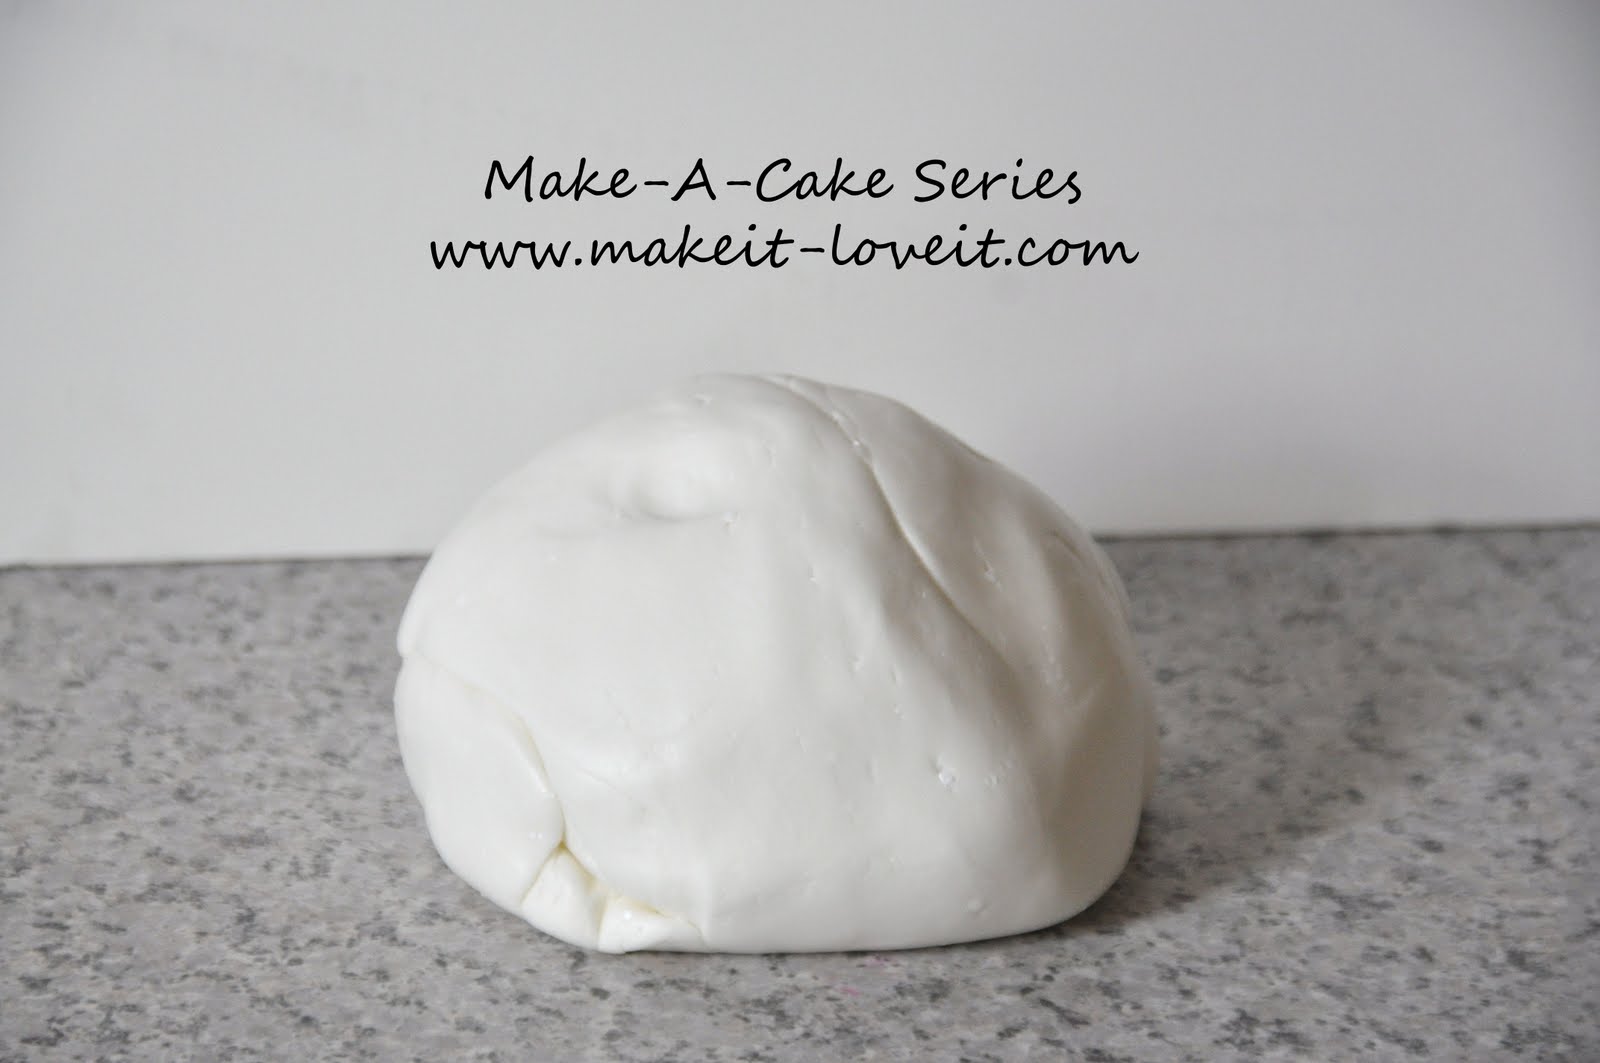
Now you’re done.
Use the fondant right away or coat your finished fondant with a thin layer of shortening and seal tight in a zip lock bag.
This can be left out for a few days without a problem or for several weeks in the refrigerator.
Keep in mind that making your fondant ahead of time is a real timer saver.
…………………………………………………………….
Onto coloring your fondant.
Fondant is available at the stores already colored or in white.
When you color it yourself there are benefits:
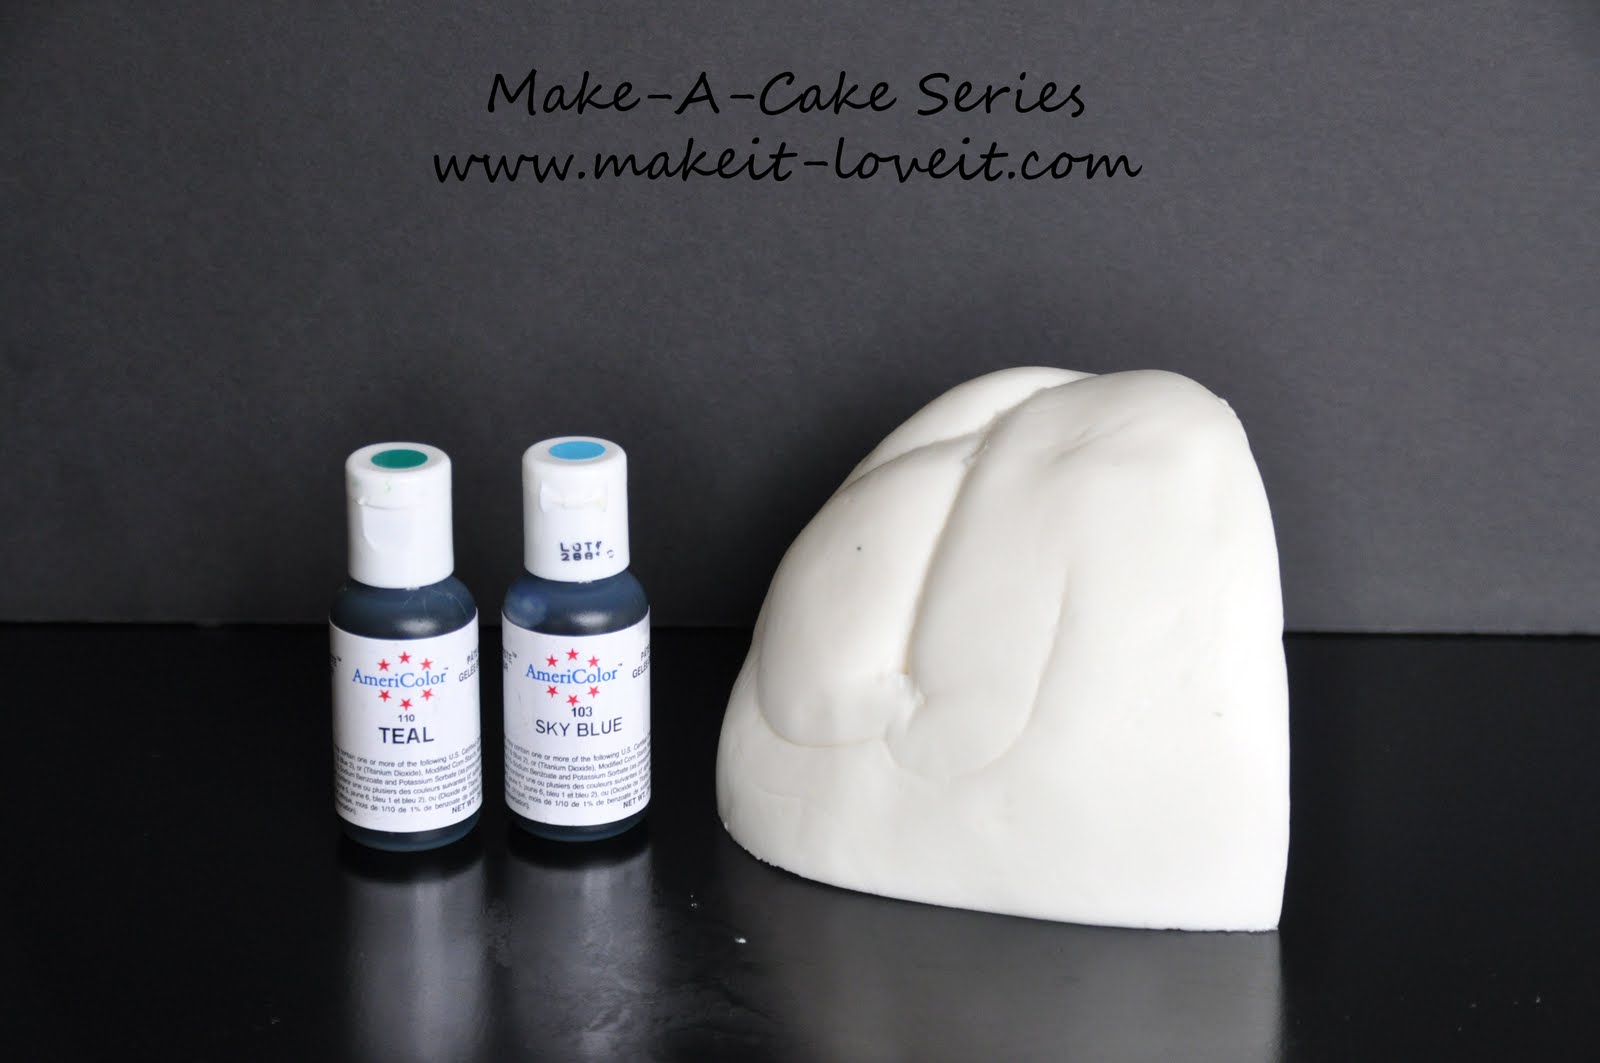
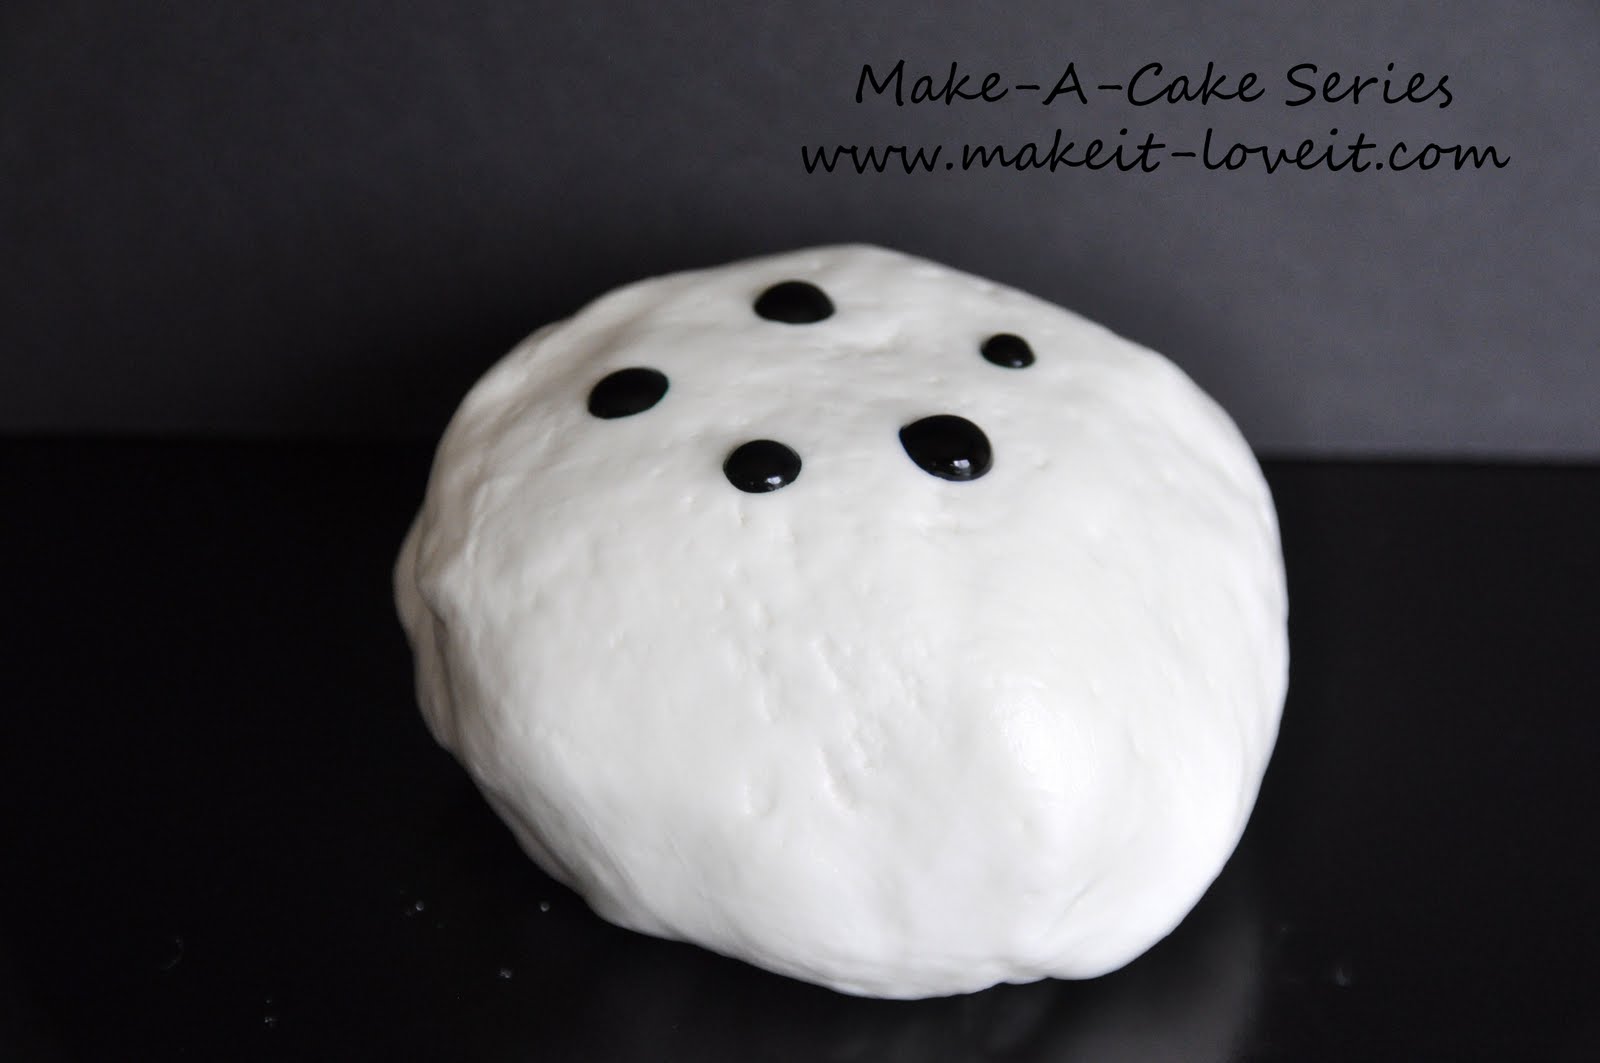
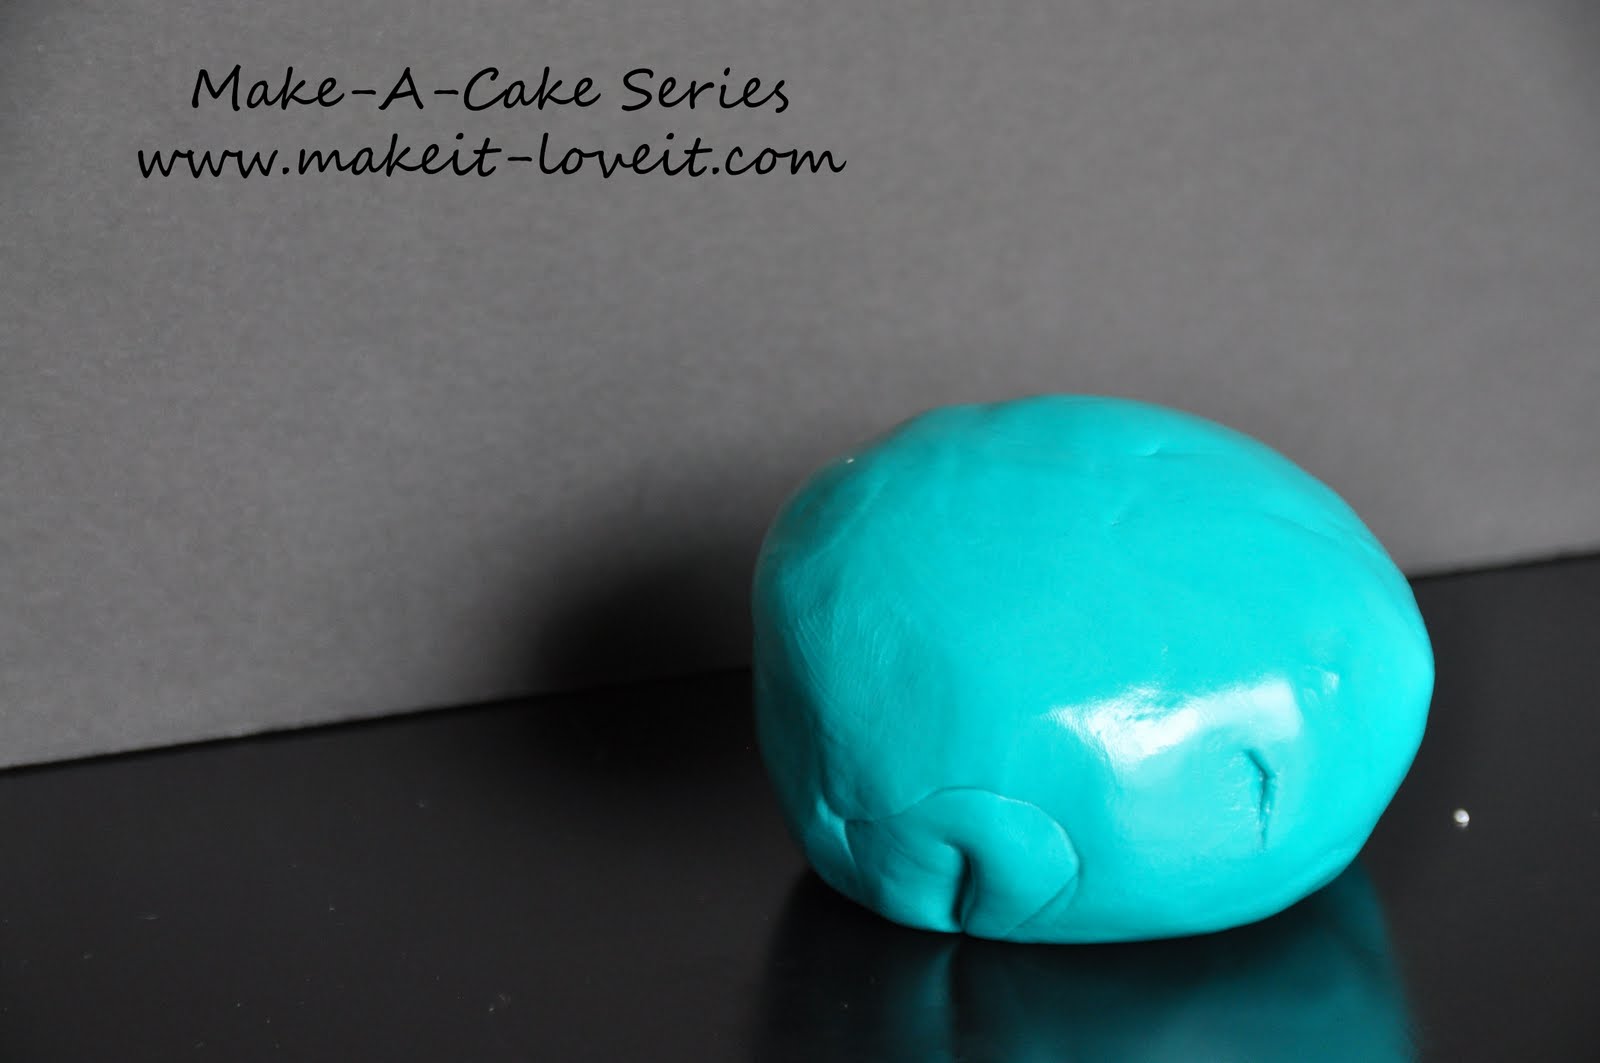
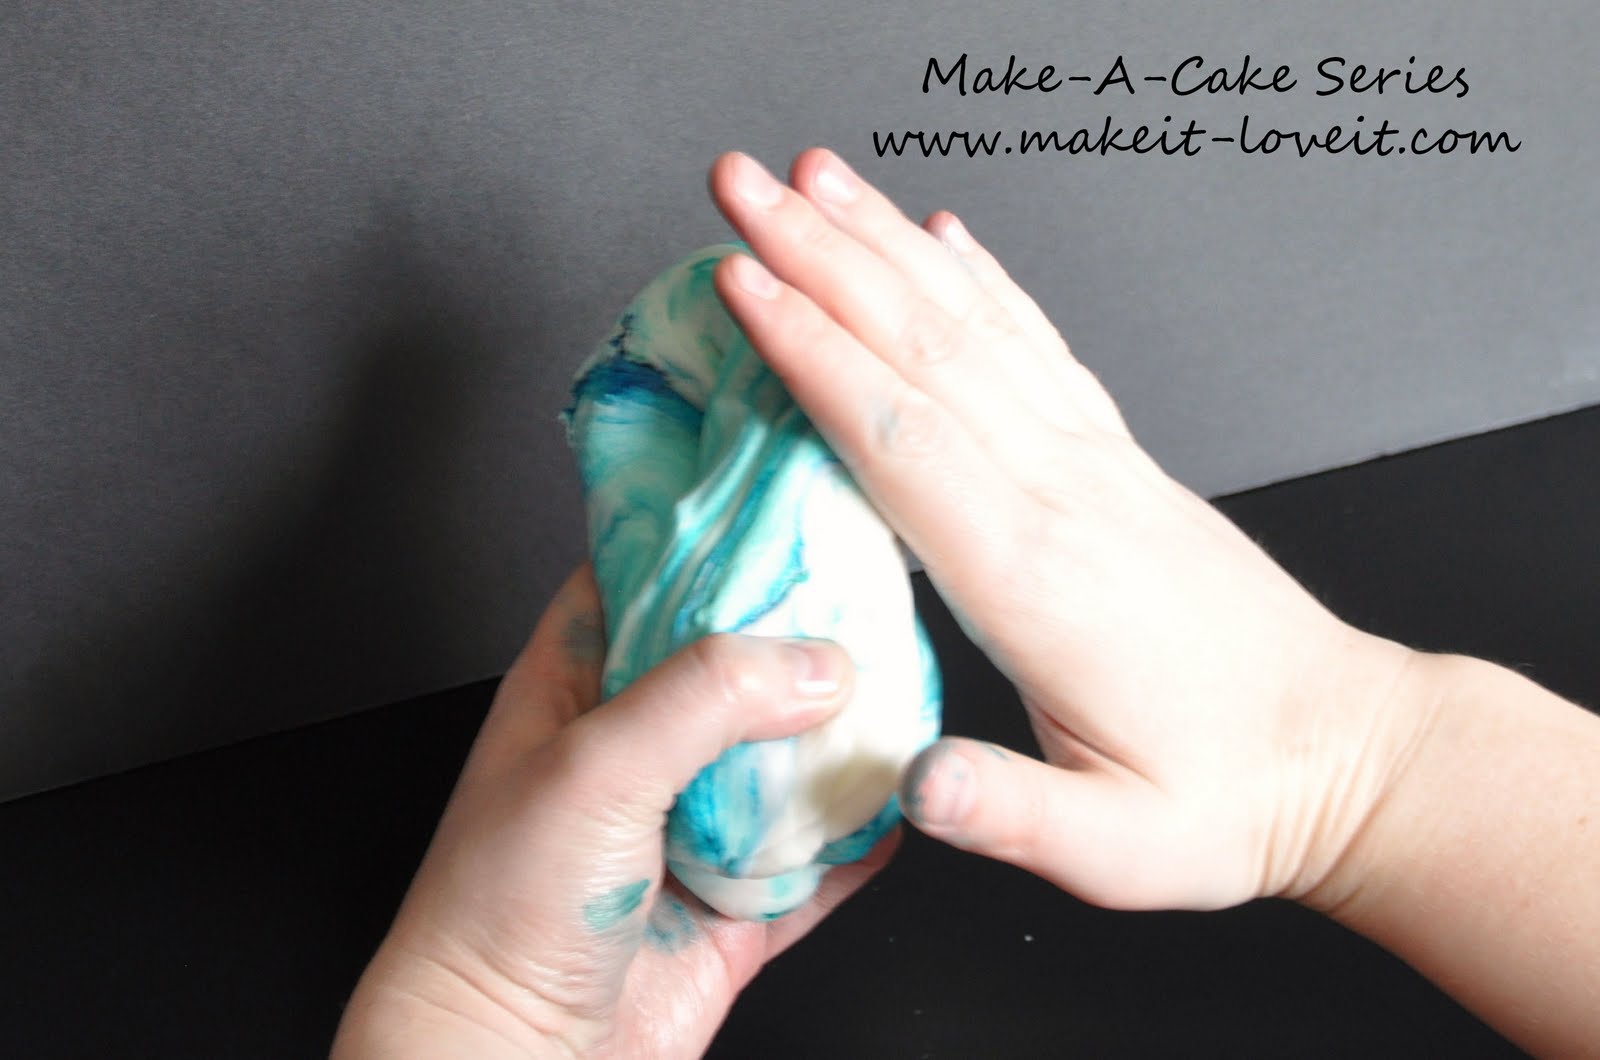
For this batch I needed an aqua color for a cake I was making. I knew I needed a mix of teal and sky blue.
So, I added a few more drops of color at a time and kneaded again. Perfect.
And that’s it.
Now you’re ready to make beautiful edible creations!
Wondering how to use your new fondant?
If you haven’t already, make sure and check out the cake preparation tutorial here and the covering your cake with fondant tutorial here.
I hope these steps will make you even more brave to jump into fondant work.
Happy Decorating!

Hi, I’m Ashley—the DIY-enthusiast behind this crazy blog!


