Home » DIY Tutorials » DIY Sewing » Make-a-Cake Series: Estelle Part 2—Stars and Curls
Make-a-Cake Series: Estelle Part 2—Stars and Curls
May 4, 2010 - By Ashley Johnston 14 Comments
It’s me Brittany.
I’m back again…….and am so excited to be doing this with all of you each week.
I hope you had fun learning about fondant and cake decorating last week, found here.
Thank you for all your comments, thoughts, and ideas.
Now that we have our cake covered we can work on making the decorations.
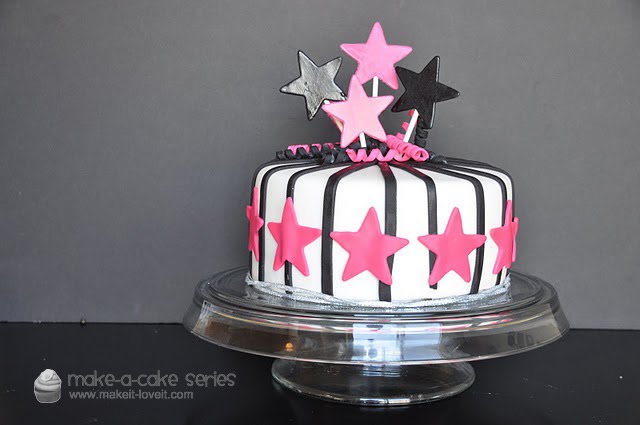
This week we are making the stars and curls for the top of the cake.
Here is a reminder of what the end will look like:
**Keep in mind, you can use whatever shapes and colors you’d like.
Be creative.
Here are the supplies we need for this project.
(left to right)
1. wooden dowels
2. cornstarch
3. star cookie cutter
4. fondant cutter or pizza cutter
5. black and pink gumpaste (you can buy this at at the craft store as a mix or pre-made.)
6. sucker sticks
7. ruler
** A note about gumpaste…. It’s much like fondant but it will dry much harder and much faster than fondant. I use gumpaste when I need a piece to stand straight up and then use fondant for shapes when they will support some of their own weight**
**Do both of these next steps twice (stars and curls) …..once with the pink and once with the black**
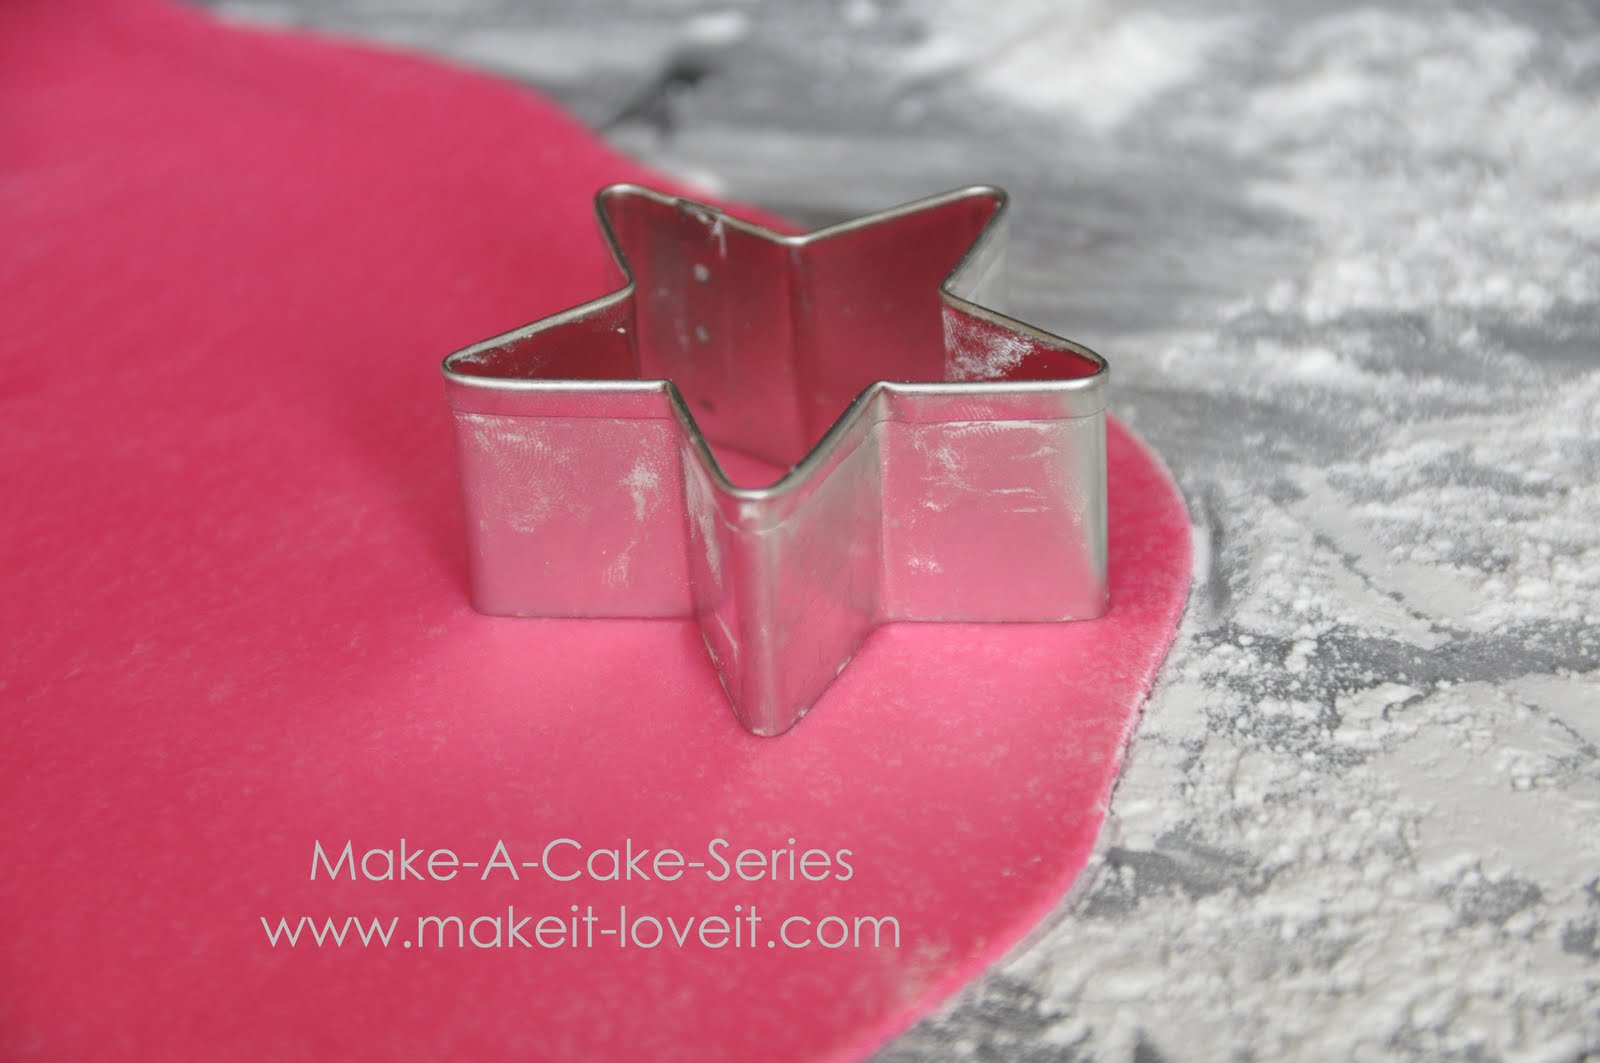
Stars
Liberally dust your counter with cornstarch and lightly dust a baking sheet with cornstarch. Roll your gumpaste very thin and cut out the stars with your cookie cutter. Transfer them onto your baking sheet. For this cake you need 2 stars of each color, so cut 3 of each just in case you have something break.
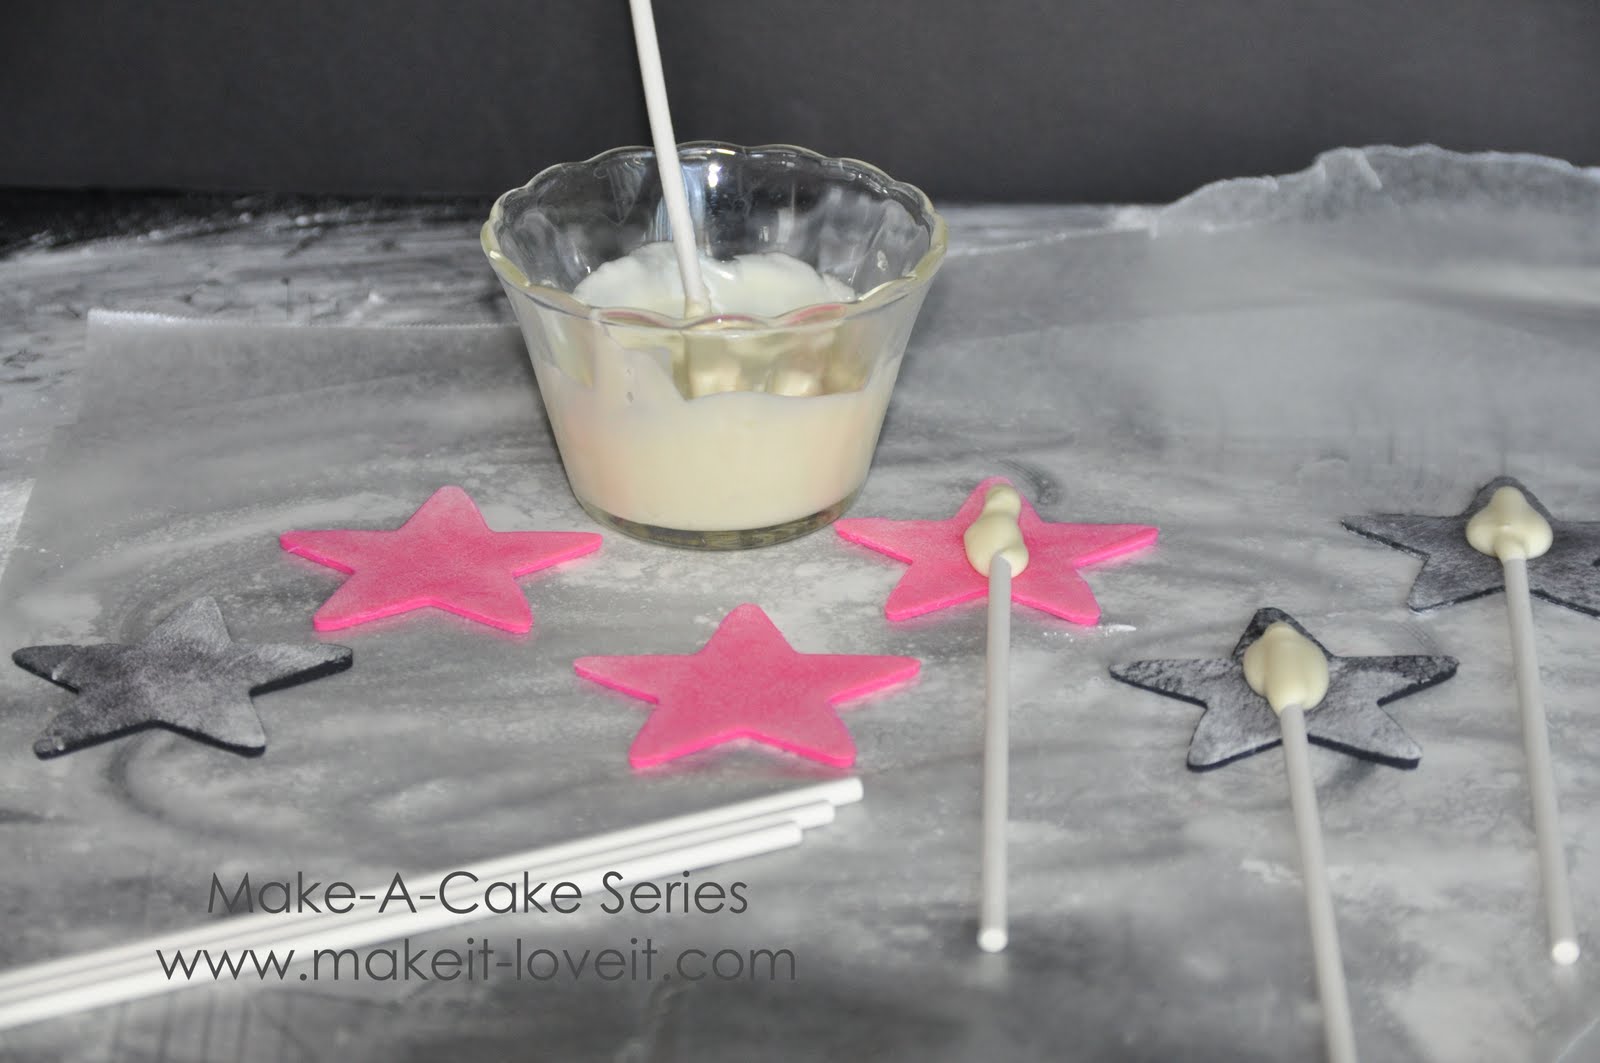
Let the stars dry for at least 24 hours to get hard.
After the stars have dried, melt some white chocolate in a dish. Turn your stars over. Dip the sucker stick in the chocolate and lay it on the back of the star.
Let cool for a few hours.
.
.
Curls
(Do this right after you make your stars and have set them aside to dry and before the fondant begins to harden.)
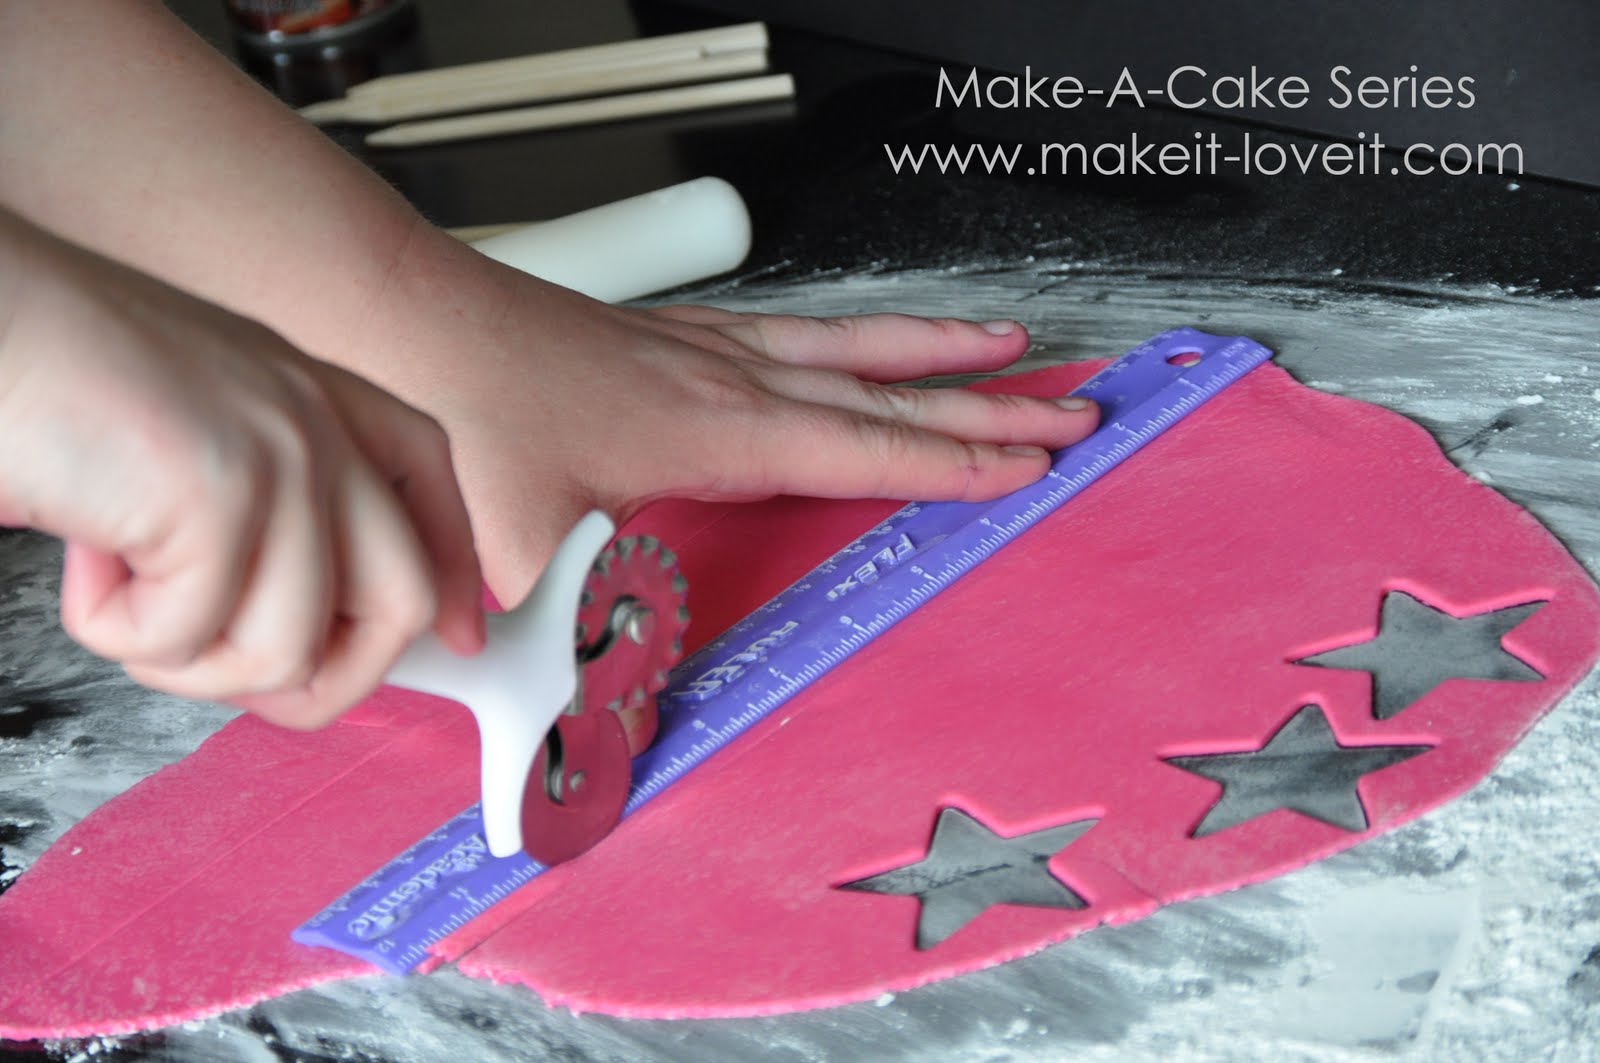
Take your cutter and ruler and cut 4 thin strips to make your curls.
(Please pardon the pink hands. It’s from coloring fondant….we will cover how to do that soon. Don’t worry, I’ll tell you how to prevent the pink hands another day.)
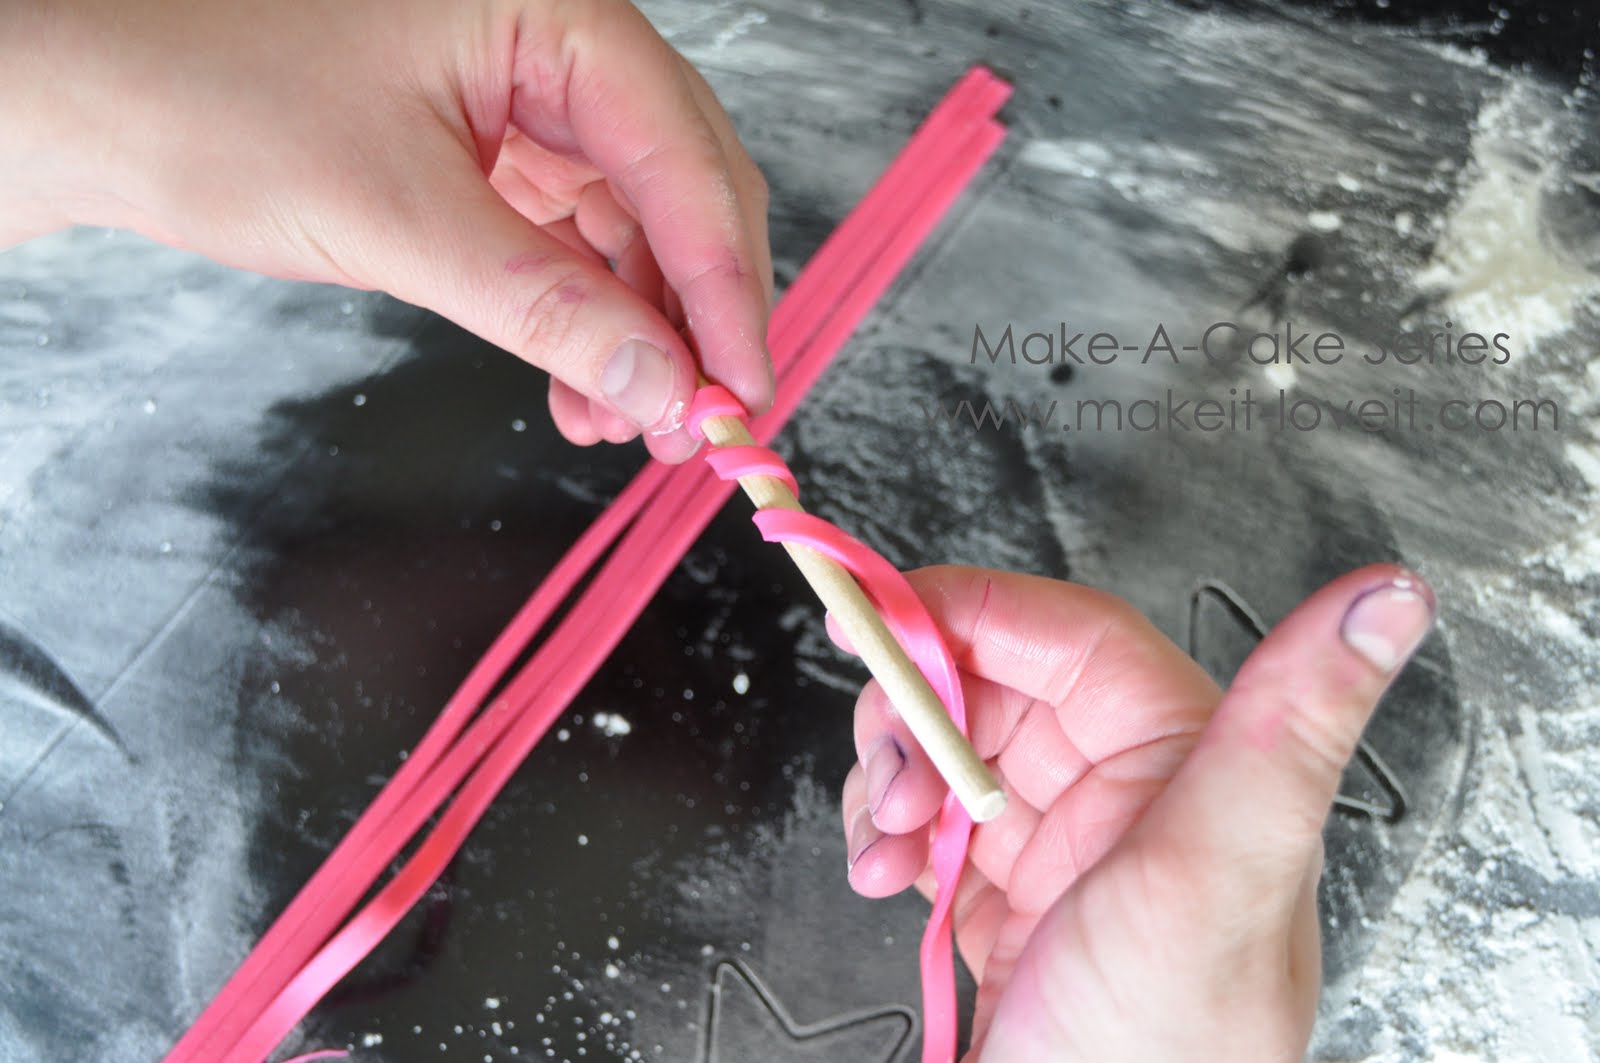
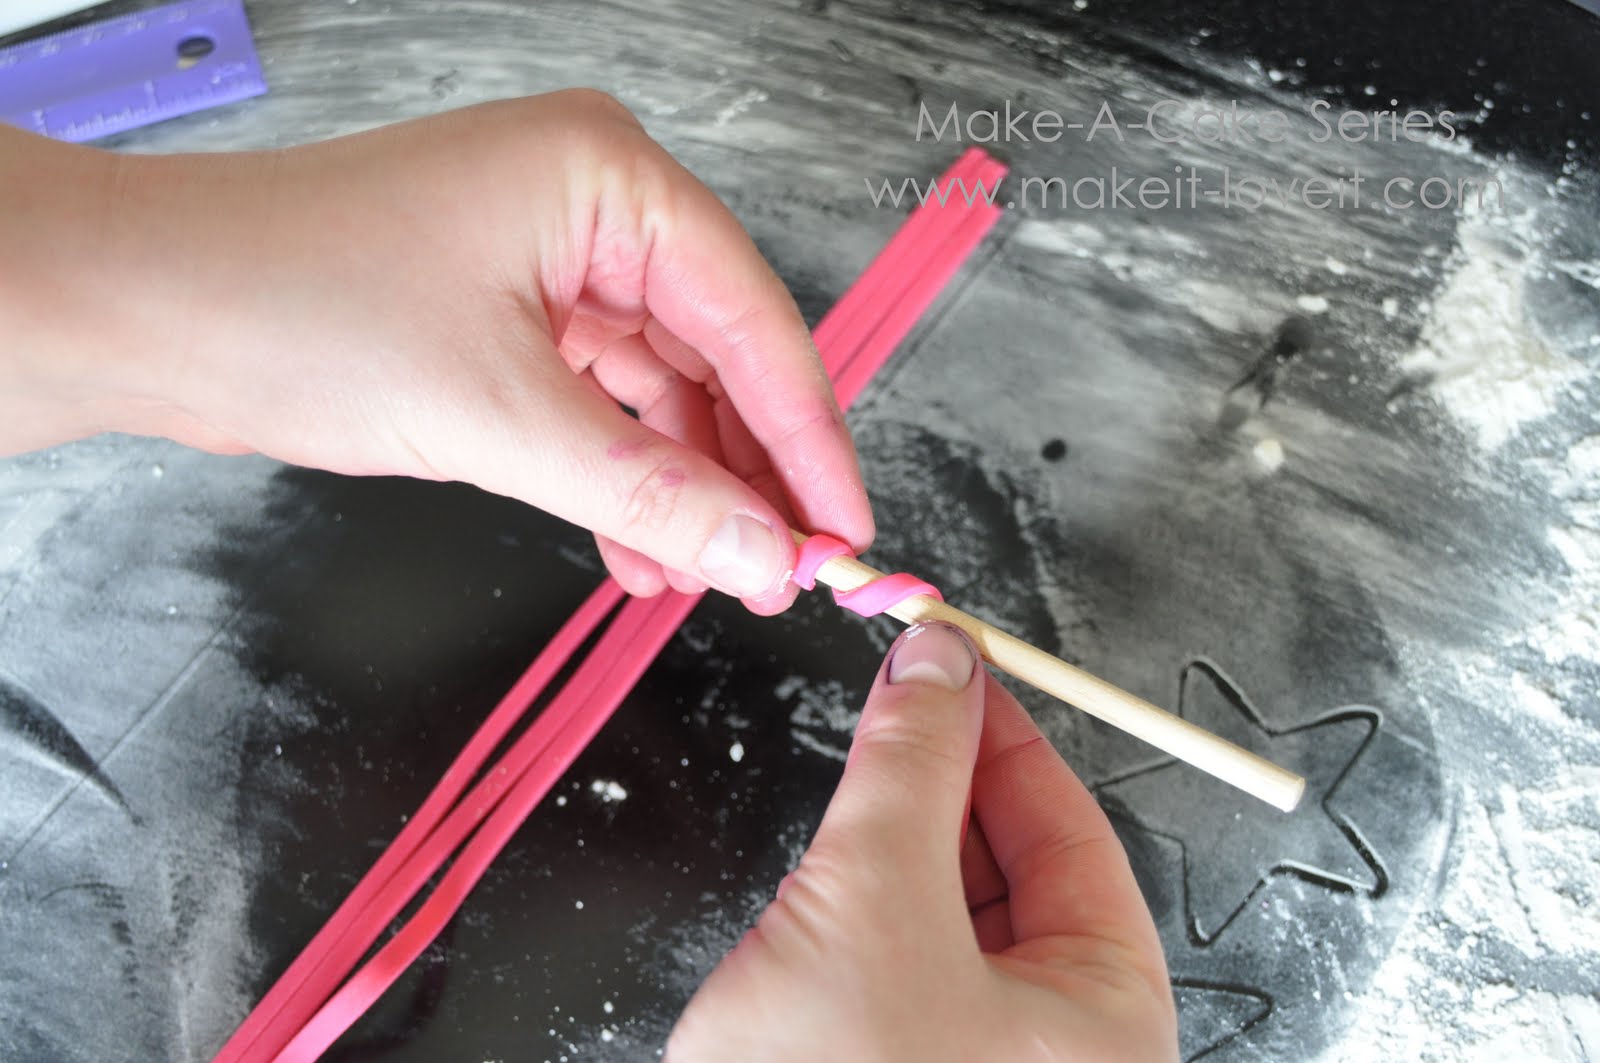
Lightly rub cornstarch on the wooden dowels, then wrap you strips of gumpaste around the dowel making a curl.
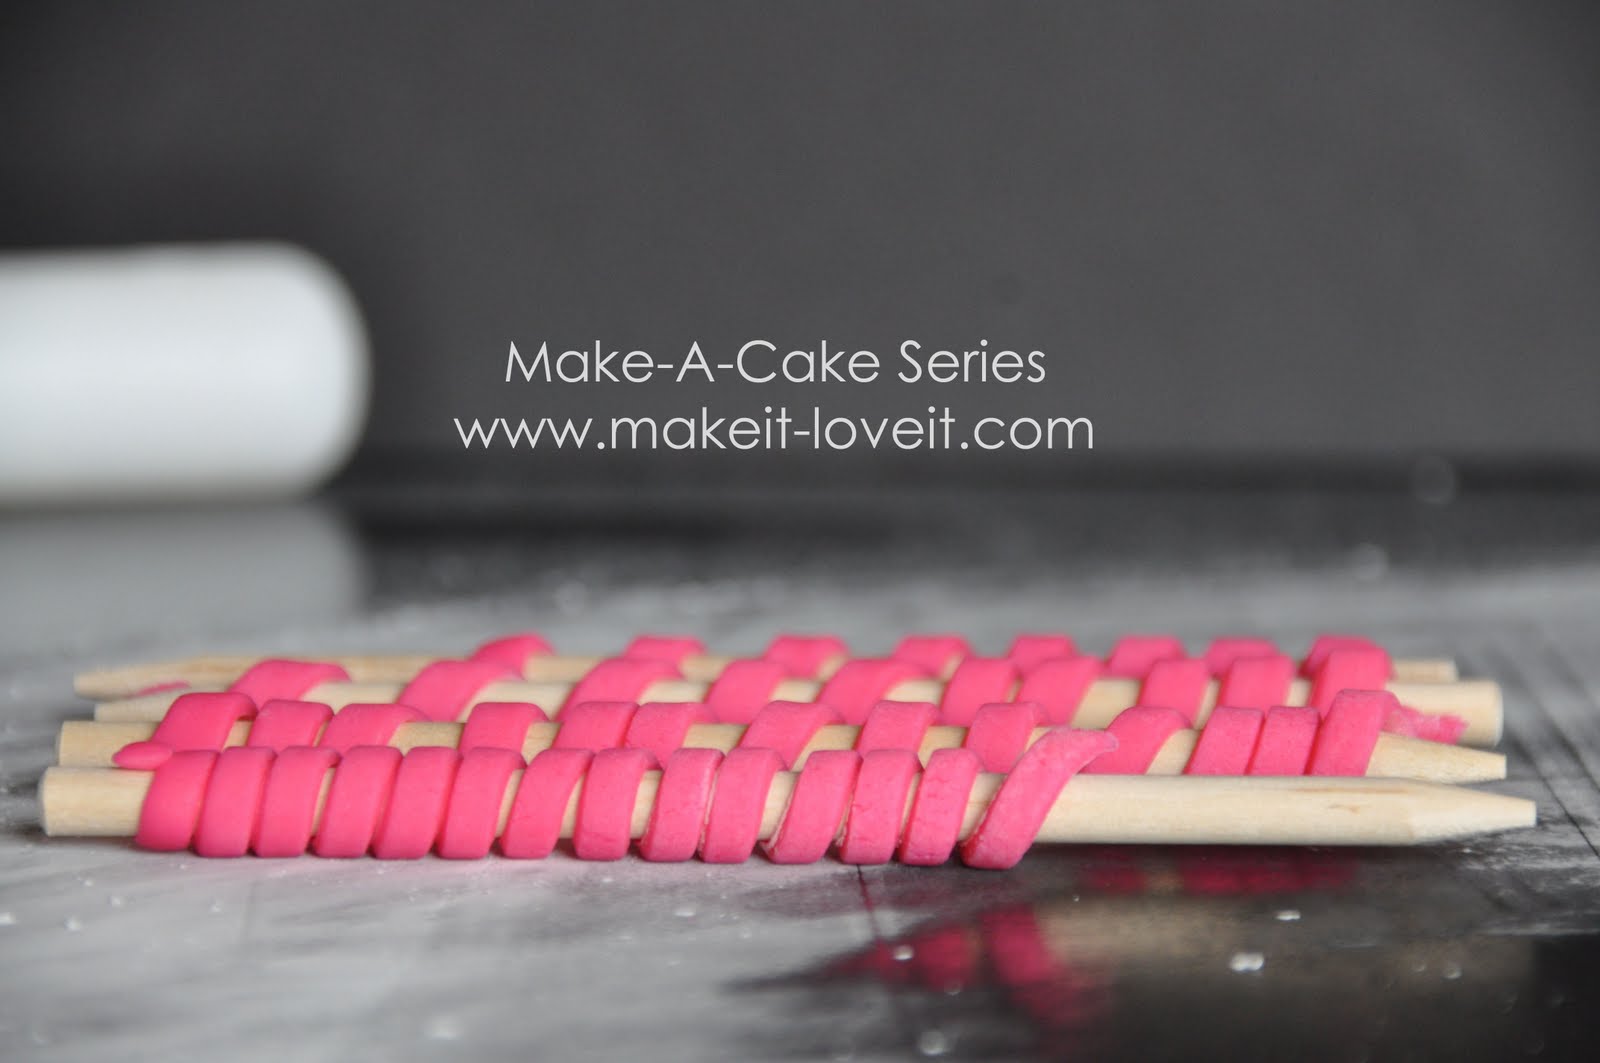
Do this with all four strips and then move them to your baking sheet.
After 1-2 hours, move the dowels out from the curls, and let them dry for at least 24-48 hours.
Next post we will assemble the cake for the finished product.
Good Luck!