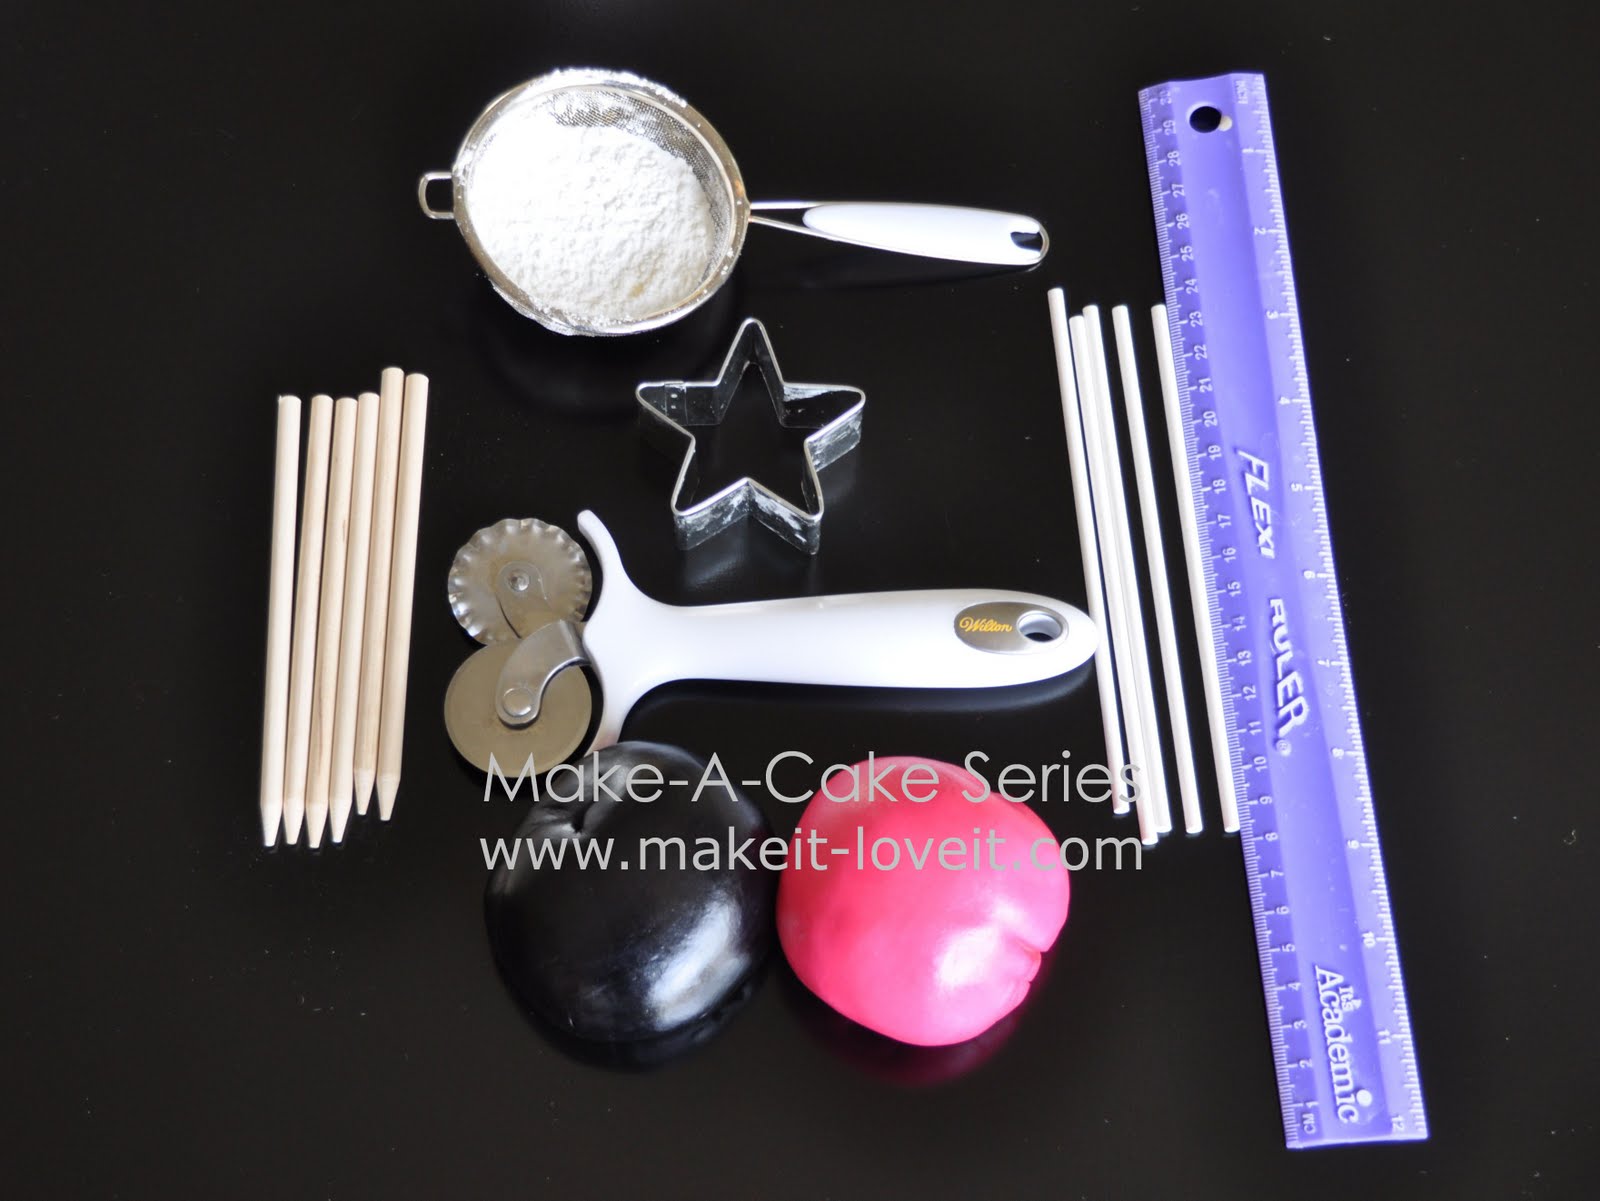
black and pink FONDANT (last time it was gumpaste, make sure you use fondant this time)
sucker sticks
ruler
Scissors **
Paint brush **
Water **
** not pictured**
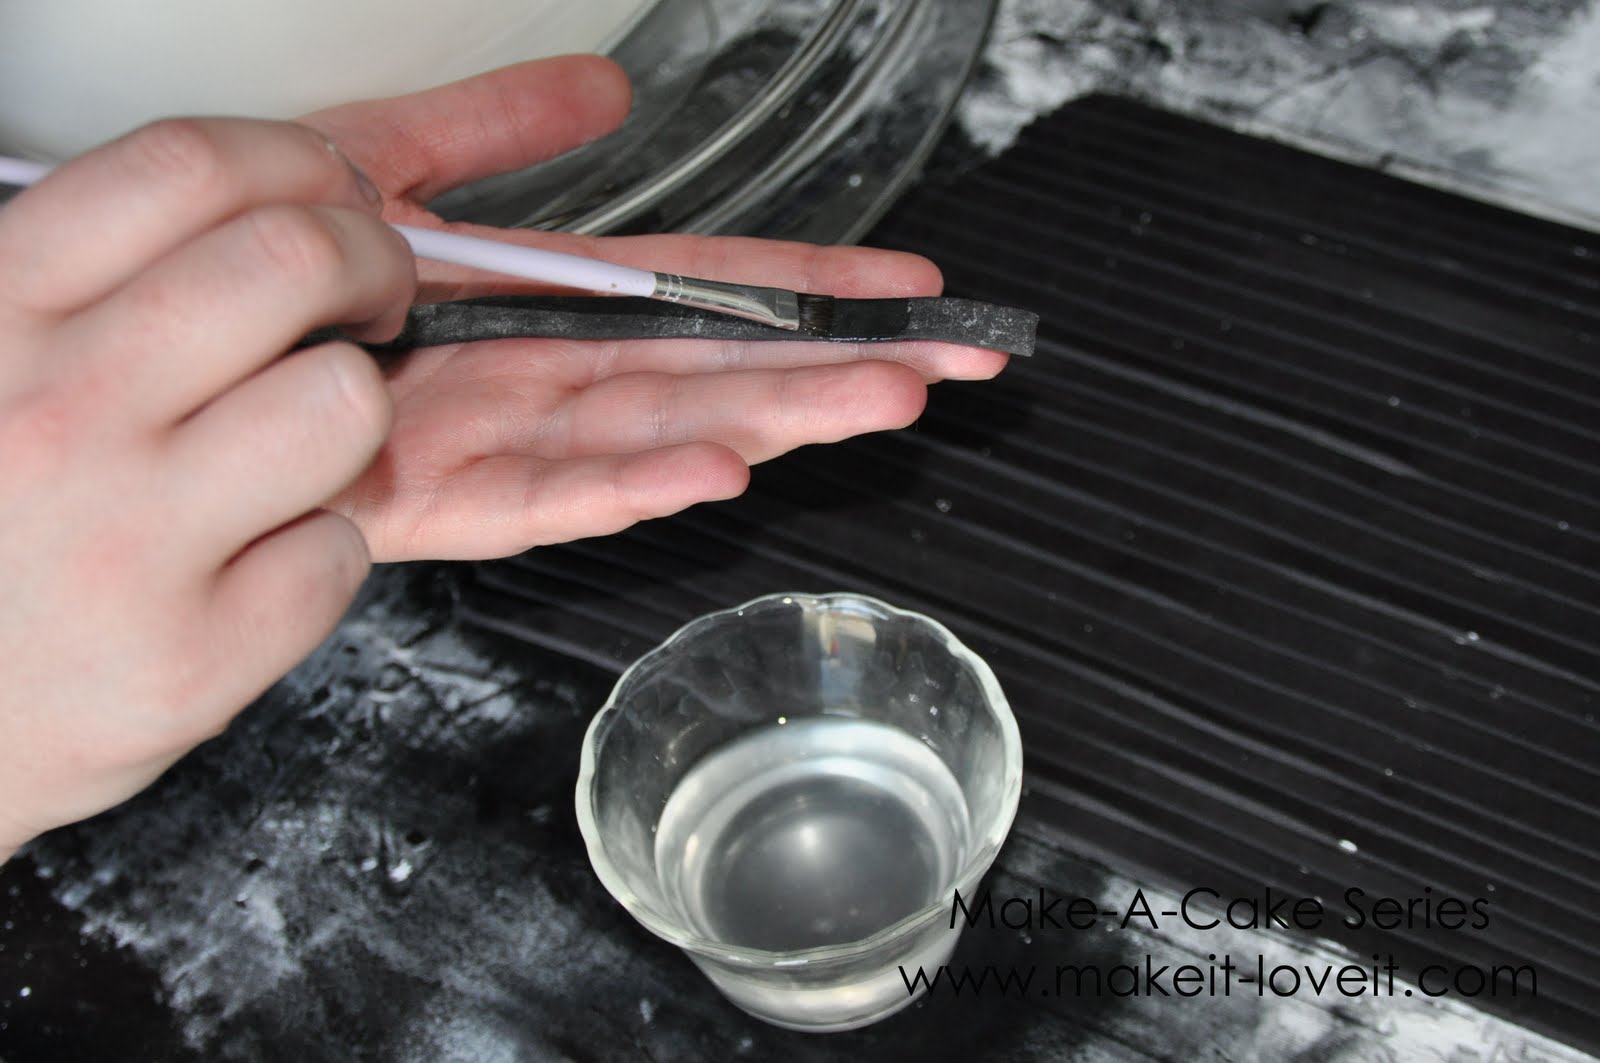
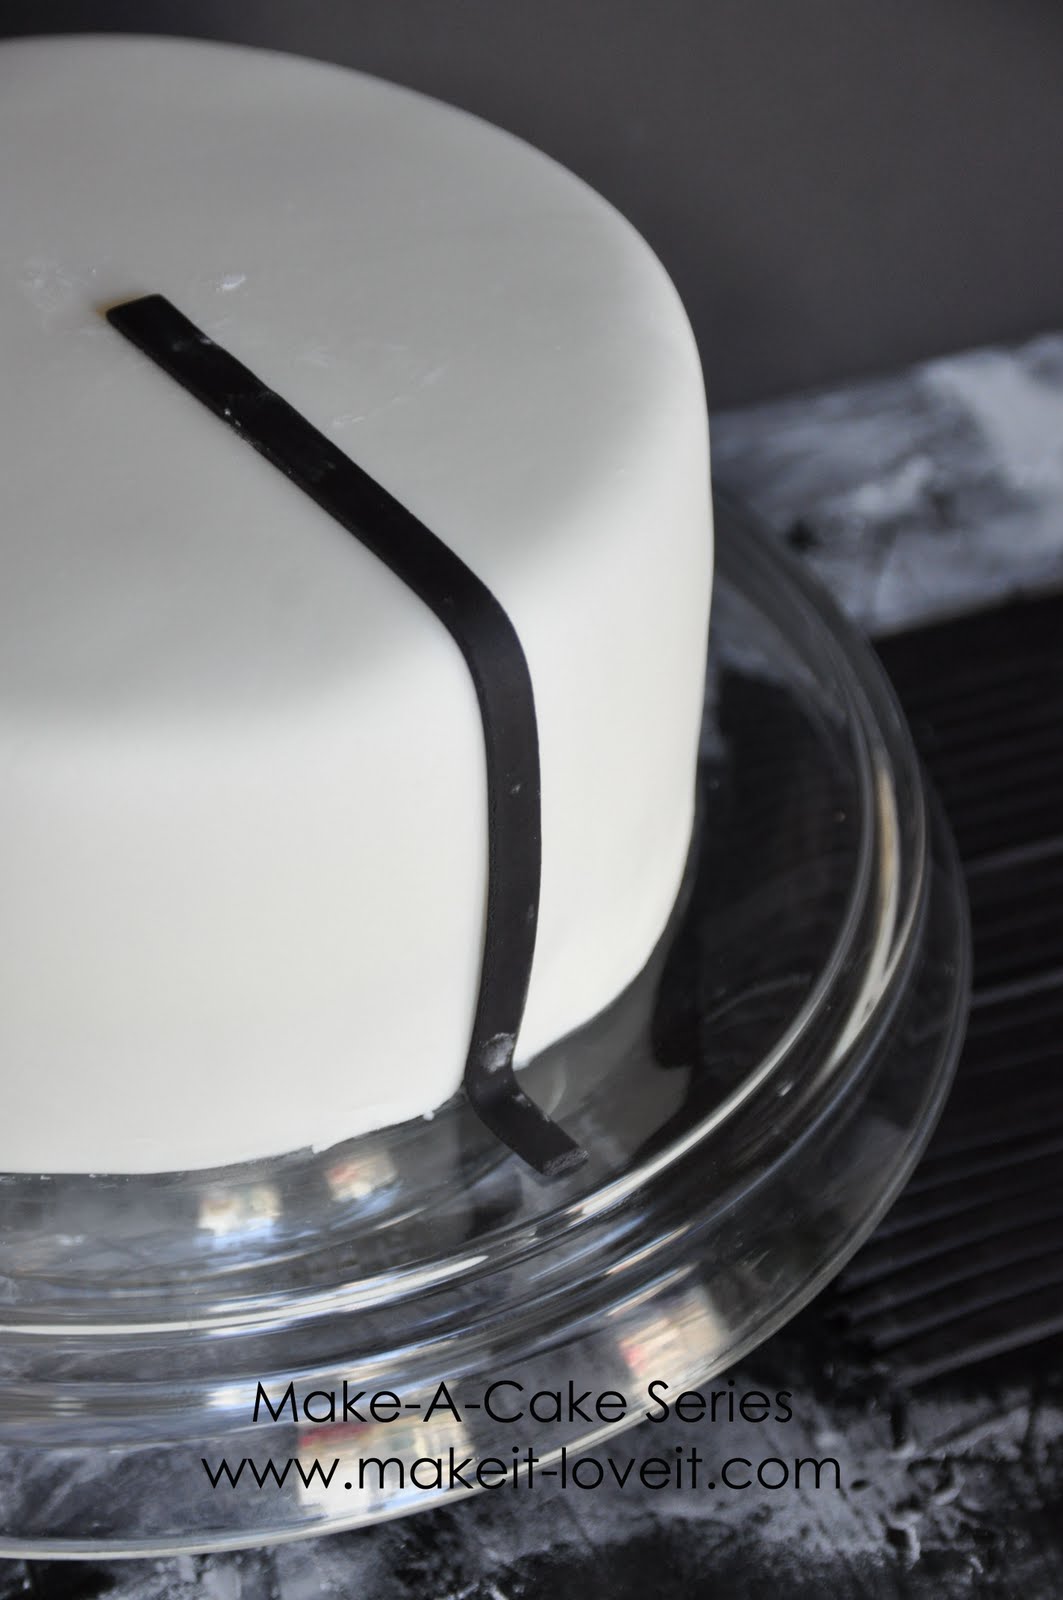
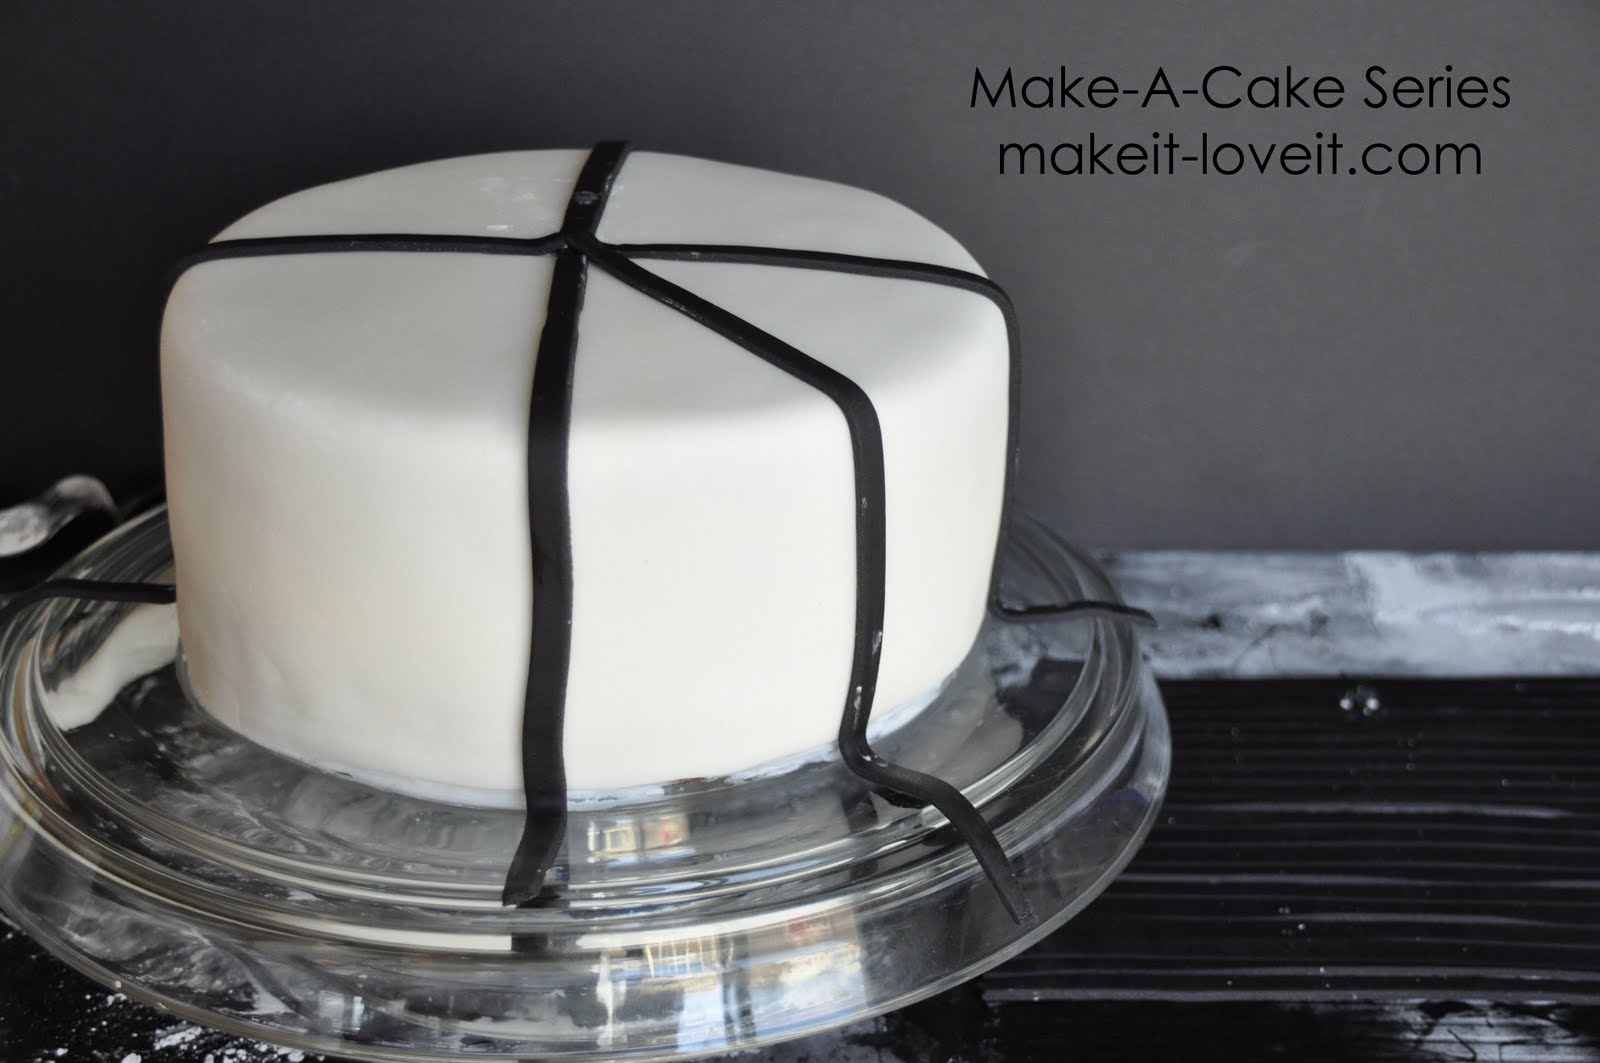
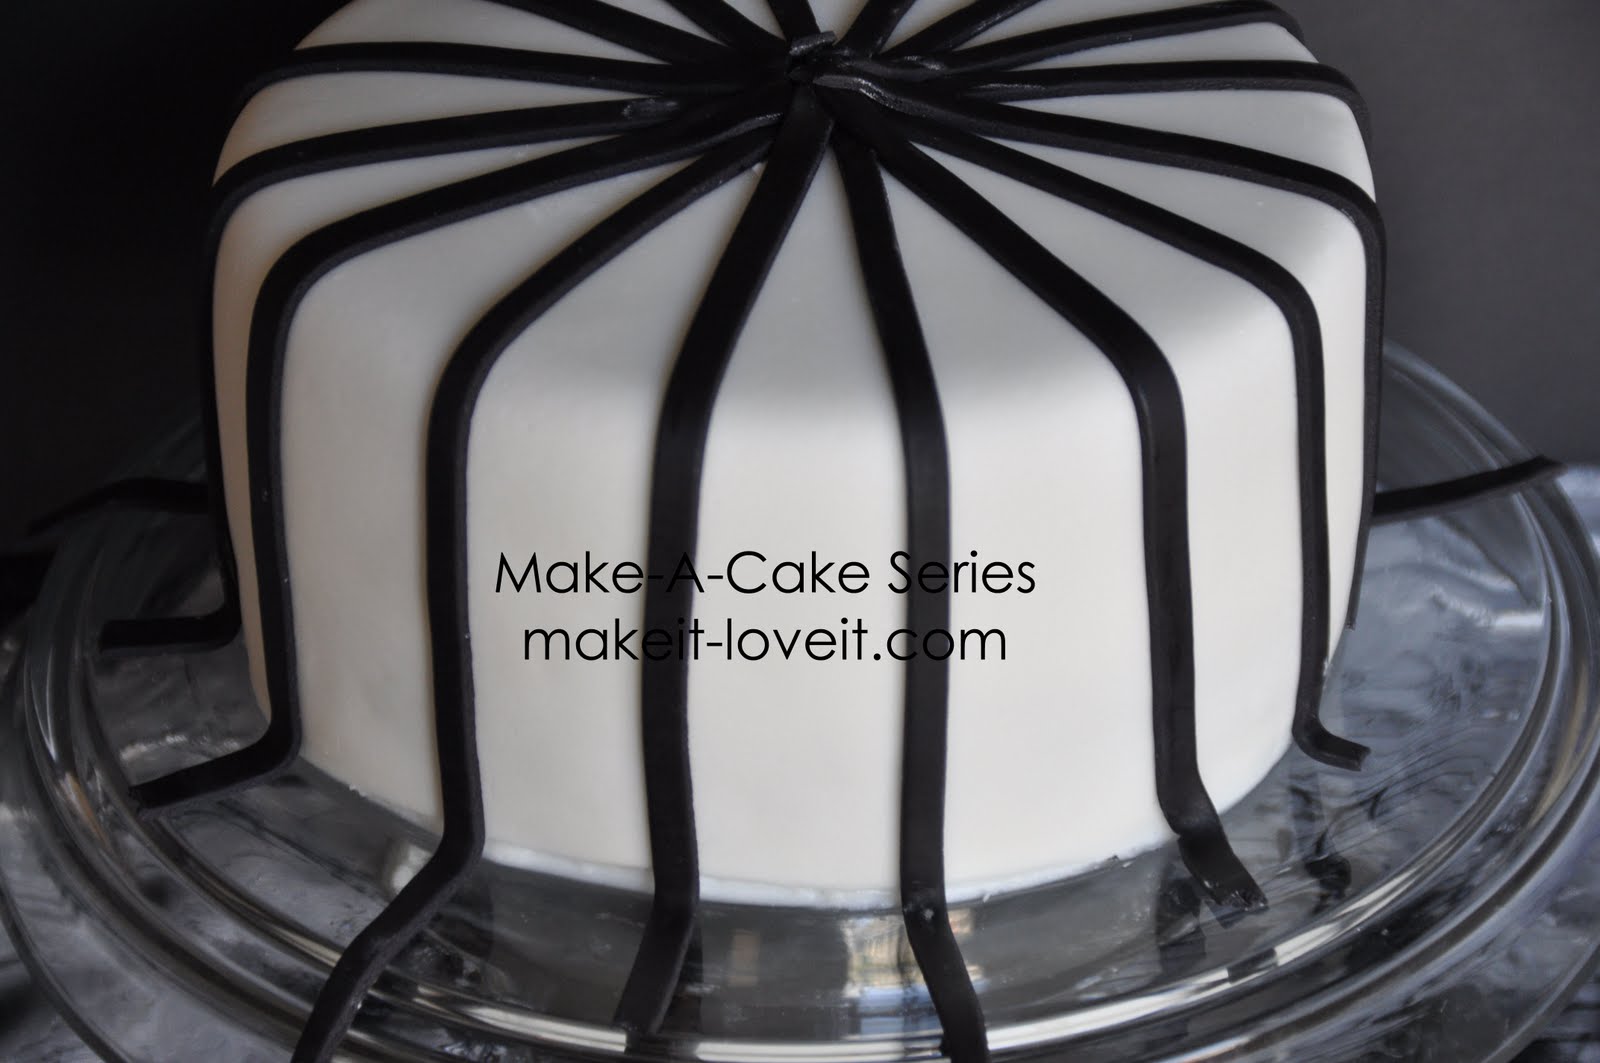
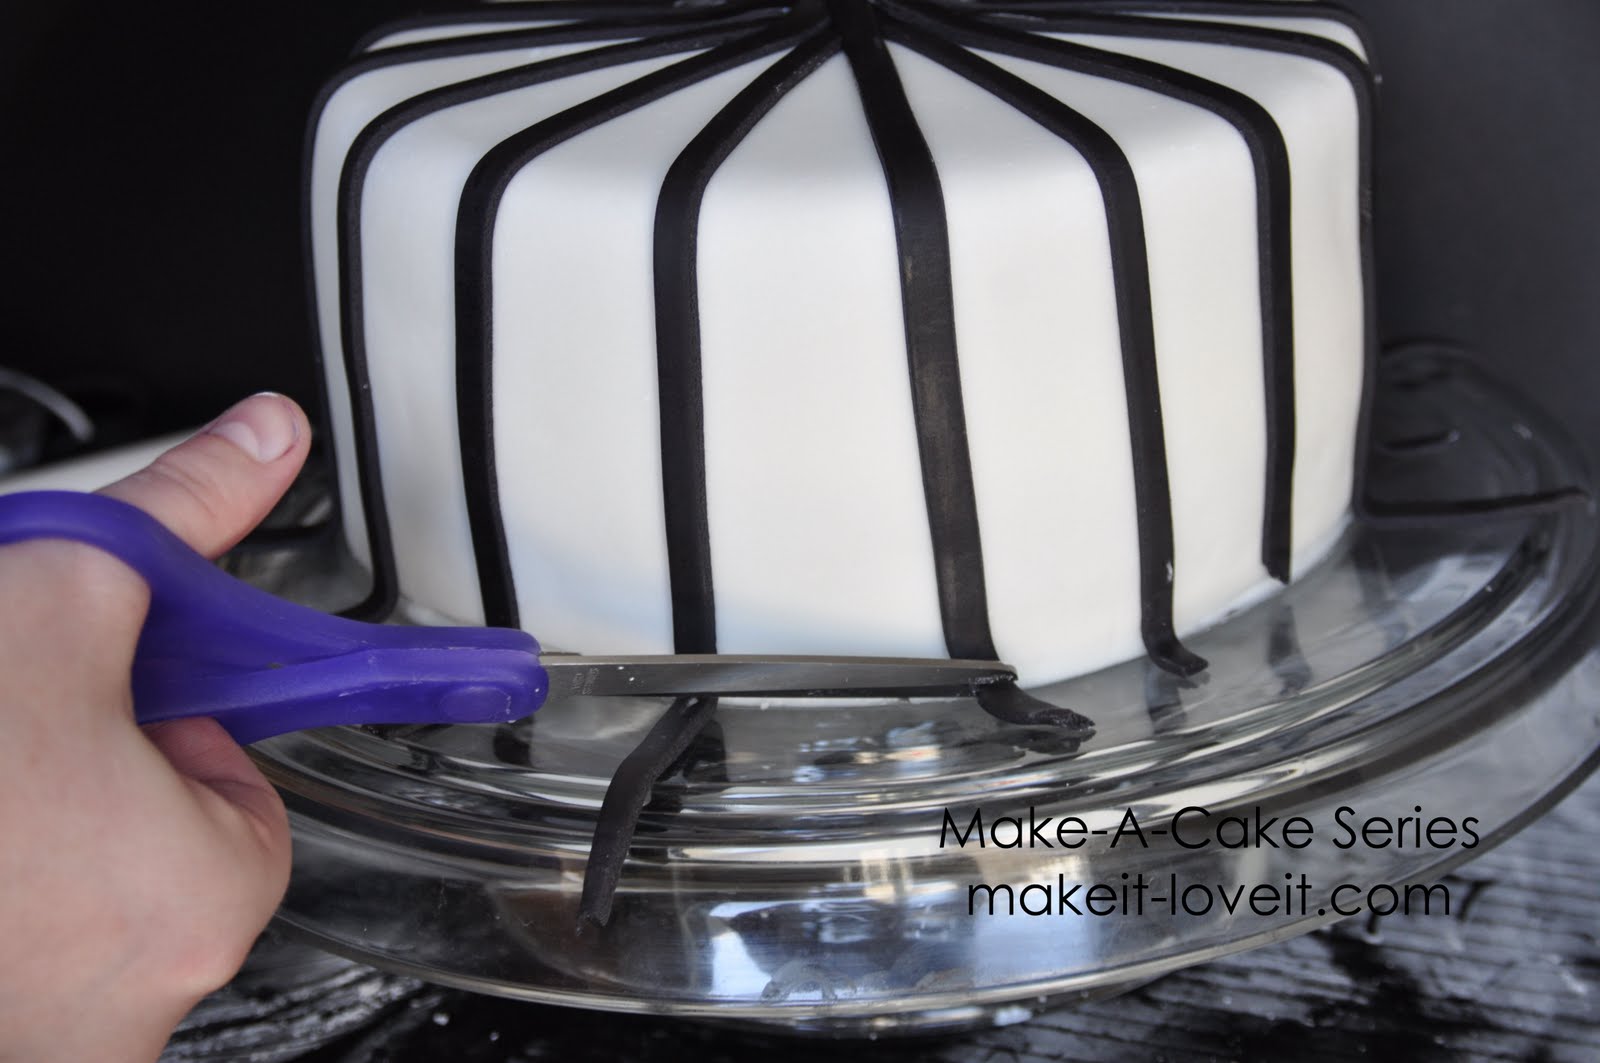
If your fondant is a bit stiff put it in the microwave for a few seconds to warm it up, then knead. Roll out your black fondant and cut thin strips, making sure they measure at least 9 inches. Remember to use a ruler and a fondant/pizza cutter to help with precision.
Pick up one strip at a time and brush the back with a small amount of water, making it sticky. Make sure you don’t use too much or your fondant will slide off.
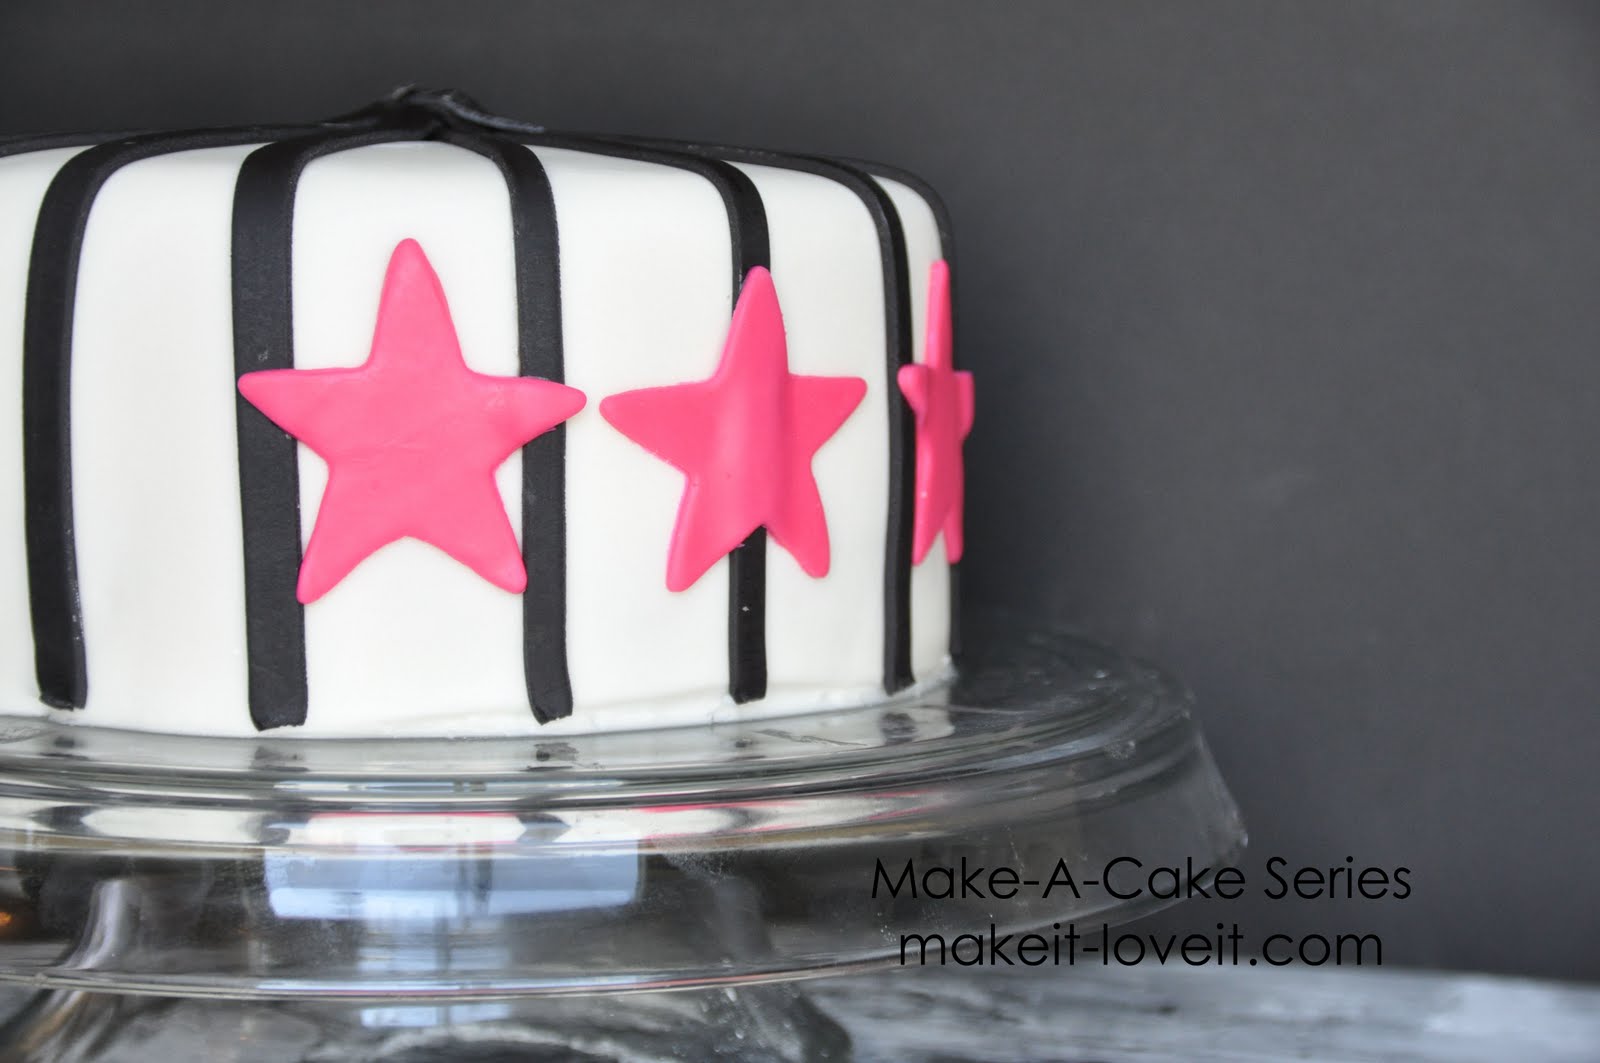
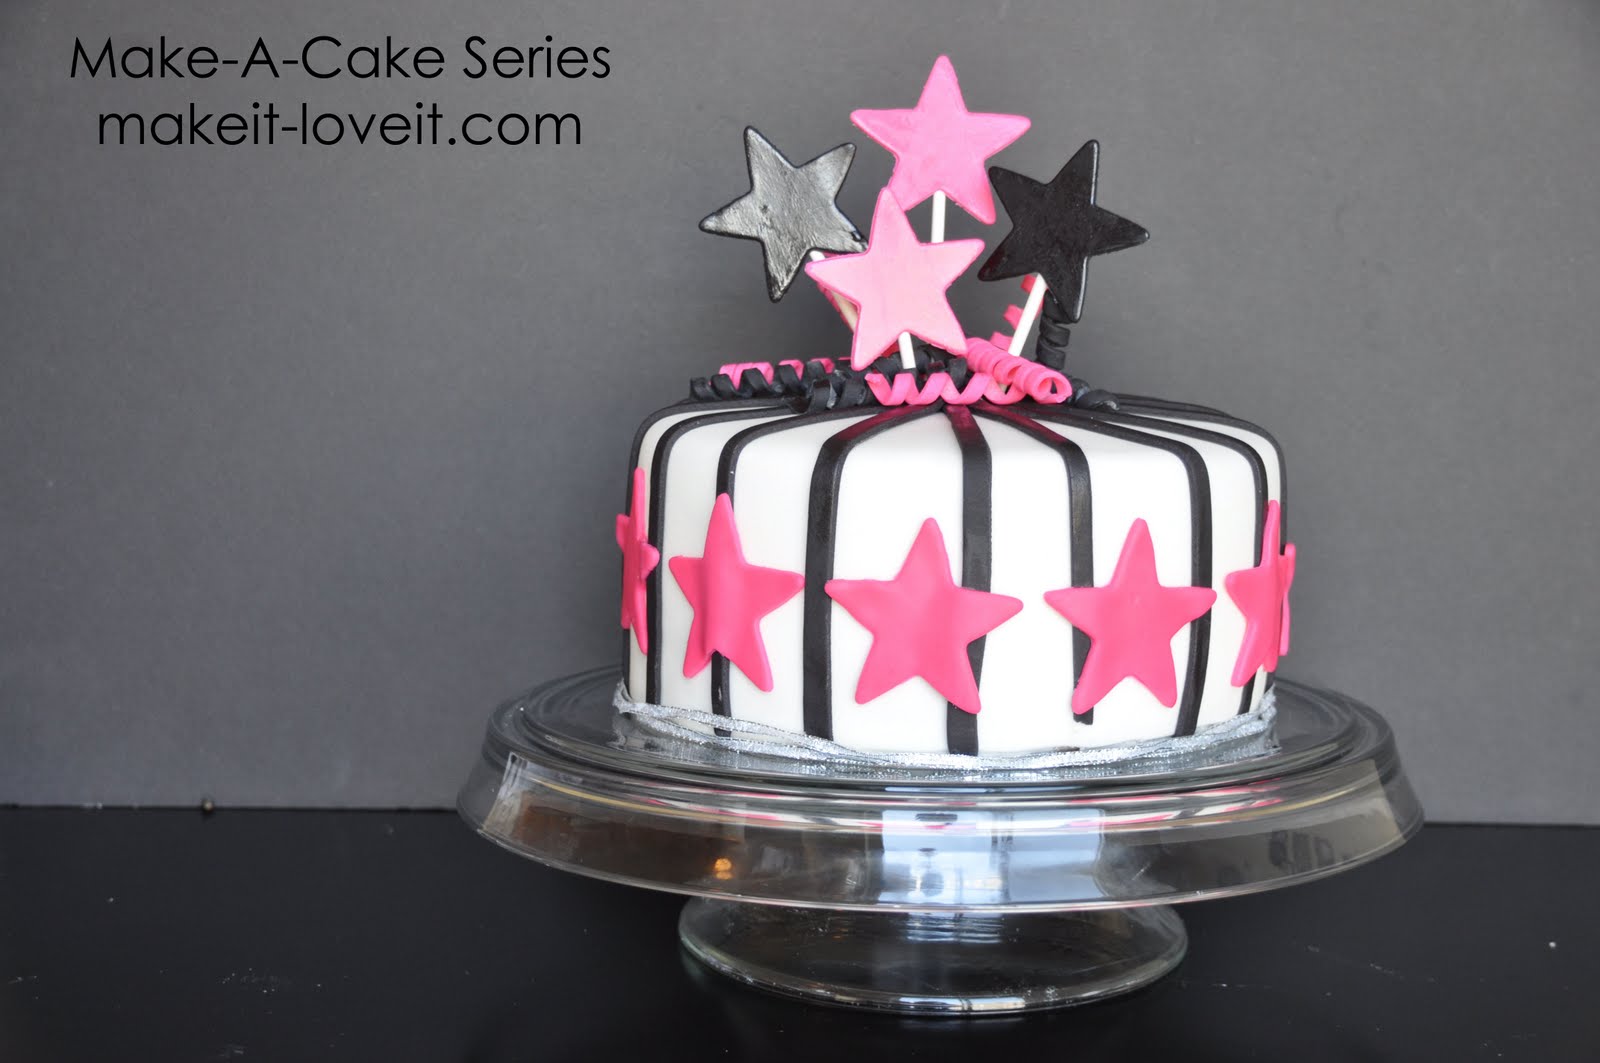
Roll out your pink fondant and cut out stars with your cookie cutter. Paint the back with water and place in the middle of the cake. Start at the front of your cake and place three stars to one side and then 3 to the other. Continue on both sides until you reach the back. Use this technique just in case your stars don’t meet exactly right in the back.
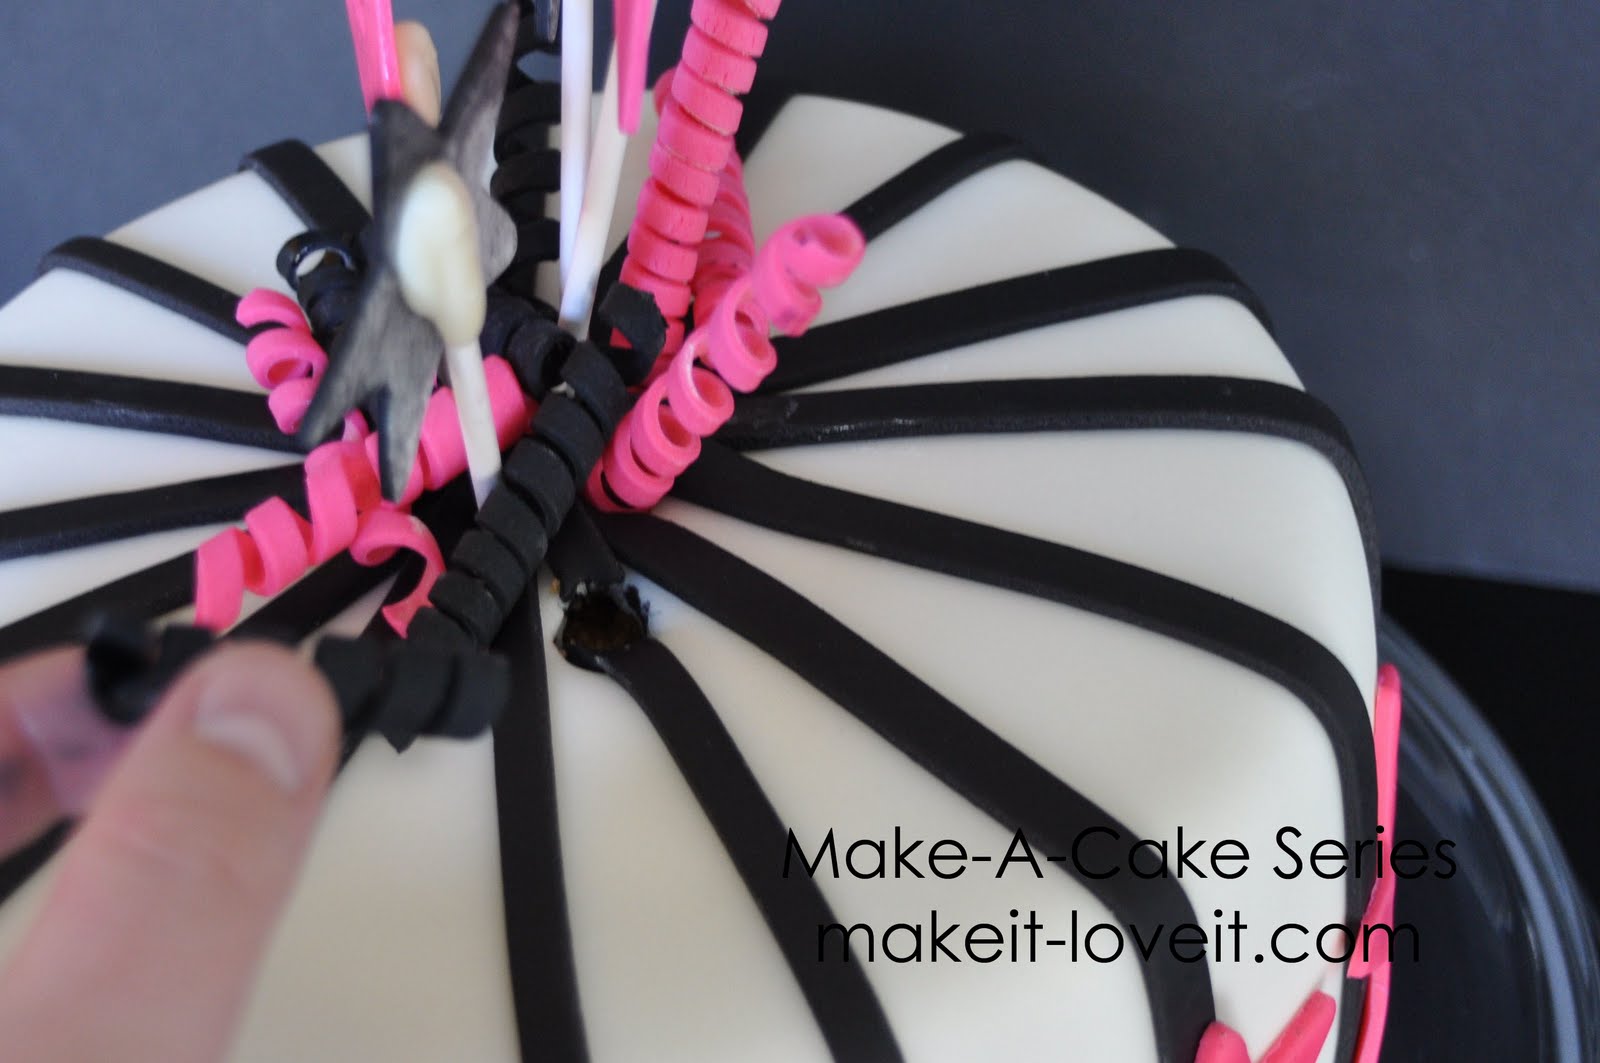
Now place your curls on top. To get them to stick straight up, make a hole in the cake with your dowel and insert the curl.
If you are going to take this cake to a different location, like a party, wait until you get there to insert the curls. Then you won’t have any problems with them moving around.
If you are having a hard time getting them to sit still use some buttercream under the curl to secure them.
I finished the bottom of the cake with a little bit of complimentary ribbon.
After you are all finished, take your paint brush that is slightly damp with water and brush any cornstarch that may be left over. This will give your work a very clean look.
Ashley Johnston is a professional DIY costume maker, sewist, crafter, and owner of Make It & Love It. She is a mom of 5 and a wife to a very patient (with the craft clutter) husband. In case you’re wondering, she always chooses crafting/sewing/designing over mopping/dusting/wiping base boards……but bathrooms/laundry/full bellies are always attended to. Whew!