Home » DIY Tutorials » DIY Sewing » Make-a-Cake Series: Estelle Part 1—Cover a cake with fondant
Make-a-Cake Series: Estelle Part 1—Cover a cake with fondant
April 27, 2010 - By Ashley Johnston 71 Comments
Did you notice my post late last night? Well, I guess it was early this morning. If not, go and check it out to get caught up with all of the changes going on around here. And like I mentioned there, today will be day one of the make-a-cake series. Without jabbering one more minute about it, I’ll let Brittany introduce herself further and then begin her series.
Thanks Brittany,
Ashley
. . .
I am so excited to be here blogging with Ashley at Make it and Love it.
She is truly a wonderful person and a great friend.
I am a stay at home mom in northern Idaho. I have two sweet little girls that keep my like busy and fun. After I became a mom, I realized that I needed some kind of hobby.
.
For some time, I jumped from hobby to hobby, trying to find something that held my interest. Living close to Ashley inspired me to craft and sew just like her. I love her projects and they are easy and fun to use………but after showing up at her door step a few times, almost in tears from frustration, I realized I needed another hobby to go with crafts.
I have been interested in cooking and baking since I was a child and my love of cake decorating has kept me challenged and interested.
I will admit….I love food!
There is something really satisfying to me in spending hours making a cake that looks beautiful and then getting to enjoy how wonderful it tastes.
I will let you know I am not a trained professional. This is something I tinker with and try to make my own way. I am so excited to pass along what I have learned.
So, if you do have a better knowledge of cake decorating, be gentle with me…….I do it just for fun.
.
I hope you find some skills here that will make a special event in your life even better.
Please feel free to ask me any questions you have or give suggestions of things you would like to learn.
Enjoy!
———————————-
I wanted to start with a cake that will teach skills you can use in so many different ways.
Here is what we will be making over the next few posts (and the next few weeks)……..
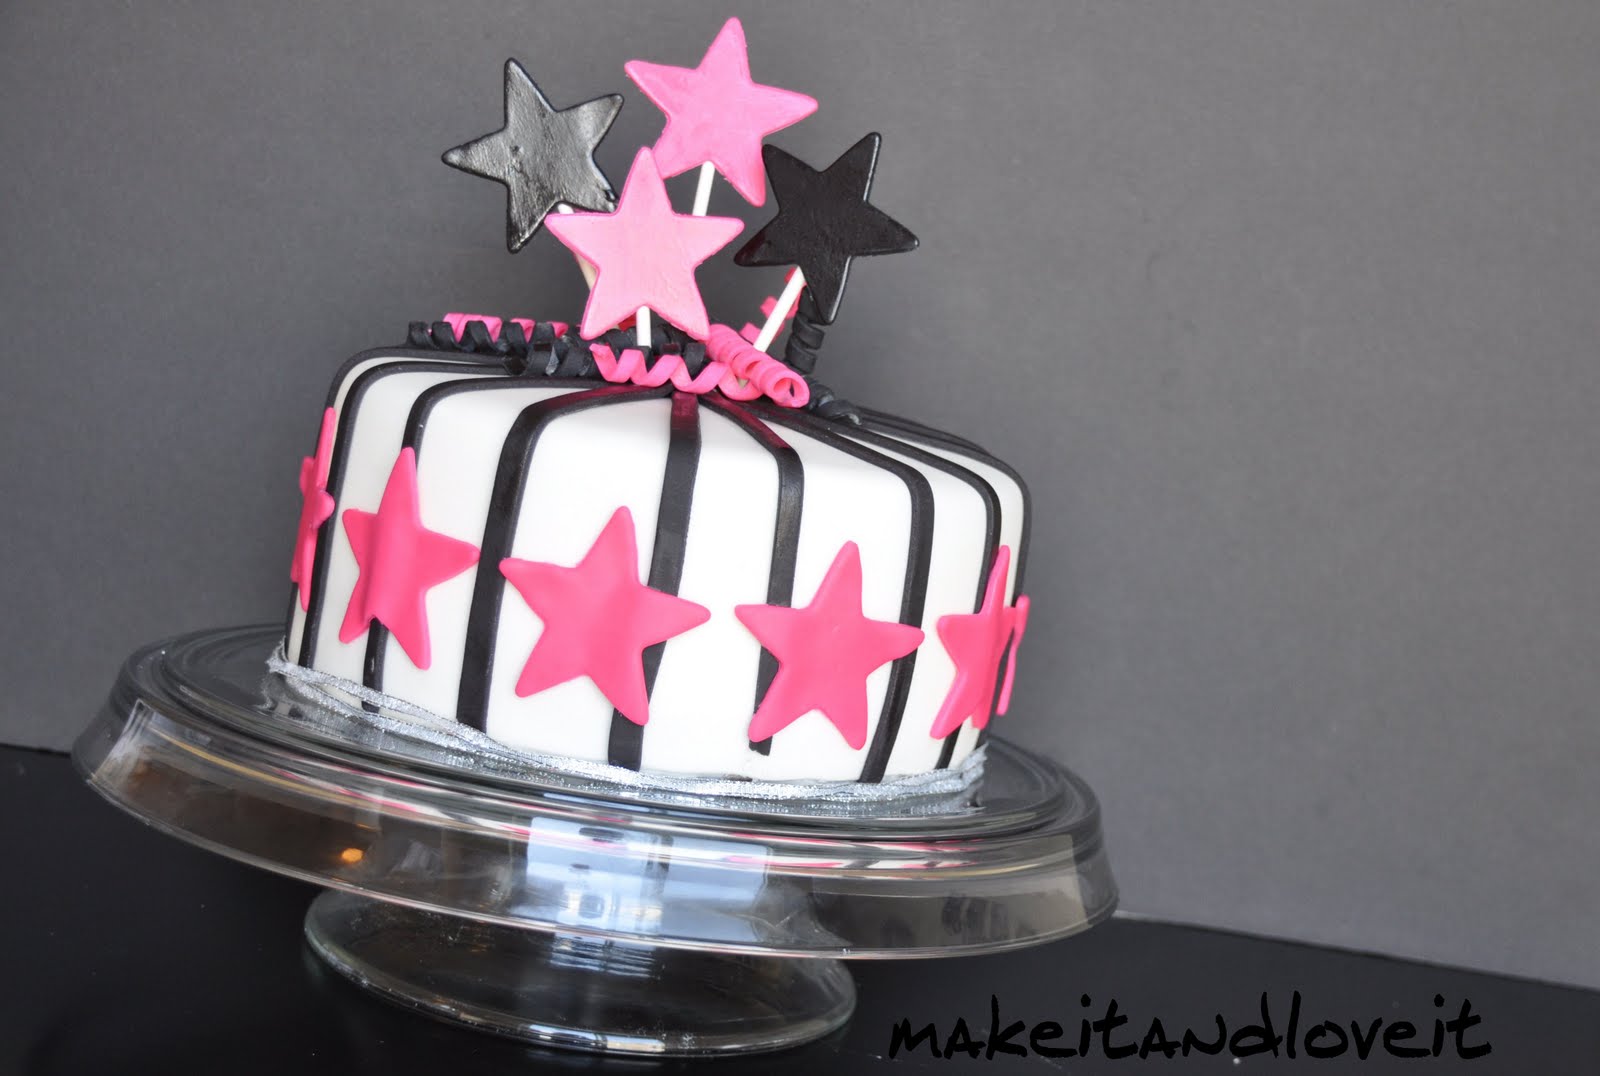
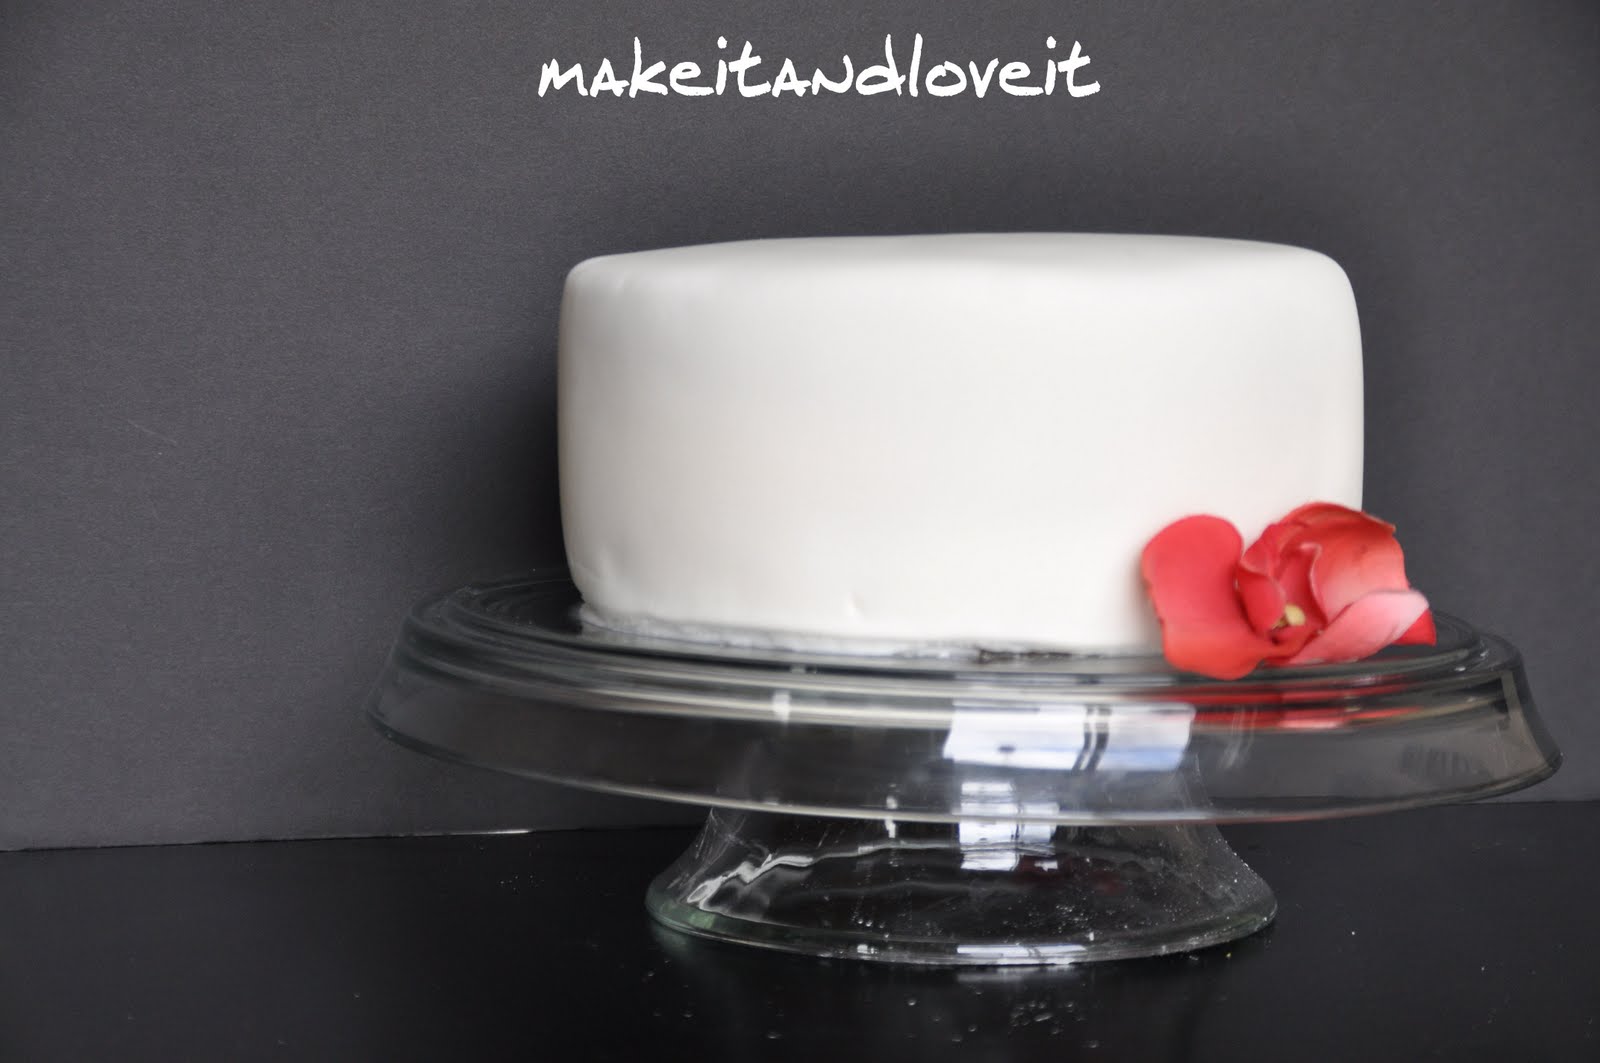
The Estelle cake.
This can be done in different colors, different shapes, and so many other options for you to get creative.
But first things first. This post will be how to cover your cake with fondant.
.
Before we start working with the fondant you need a cake.
You need a two layer, eight inch round cake. Spread a thin layer of buttercream (you really want to make buttercream, icing from a can is too soft) around the cake to give the fondant something to stick to.
.
.
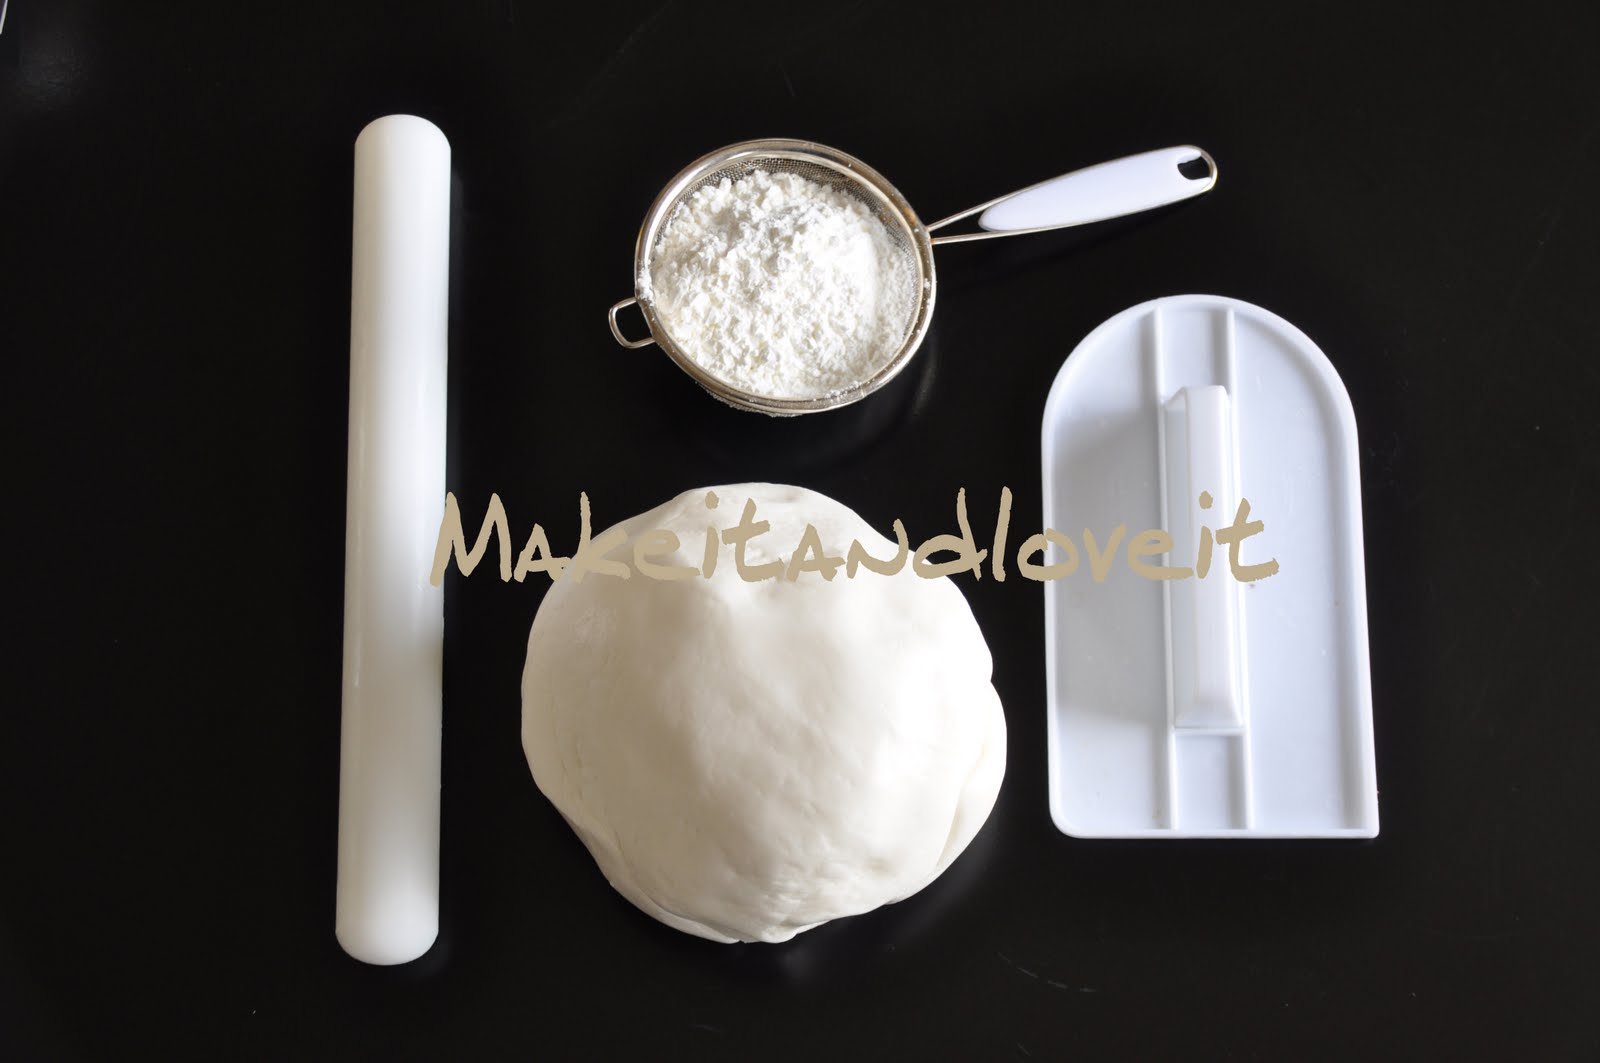
Here are the tools we are going to need for this task.
(From left to right)
A rolling pin. The one pictured is a small fondant rolling pin, you will want the larger one for this.
Corn starch in a small strainer
White fondant
Fondant smoother
**Not pictured…..a pizza cutter**
..
Now…..the fondant.
Fondant is basically a edible sugar dough. You can buy it at a craft store like Michaels or I have even seen it at Walmart. Or you can make your own marshmallow fondant at home.
I use marshmallow (MM) fondant that I make at home.
(we’ll talk about homemade fondant another day.)
.
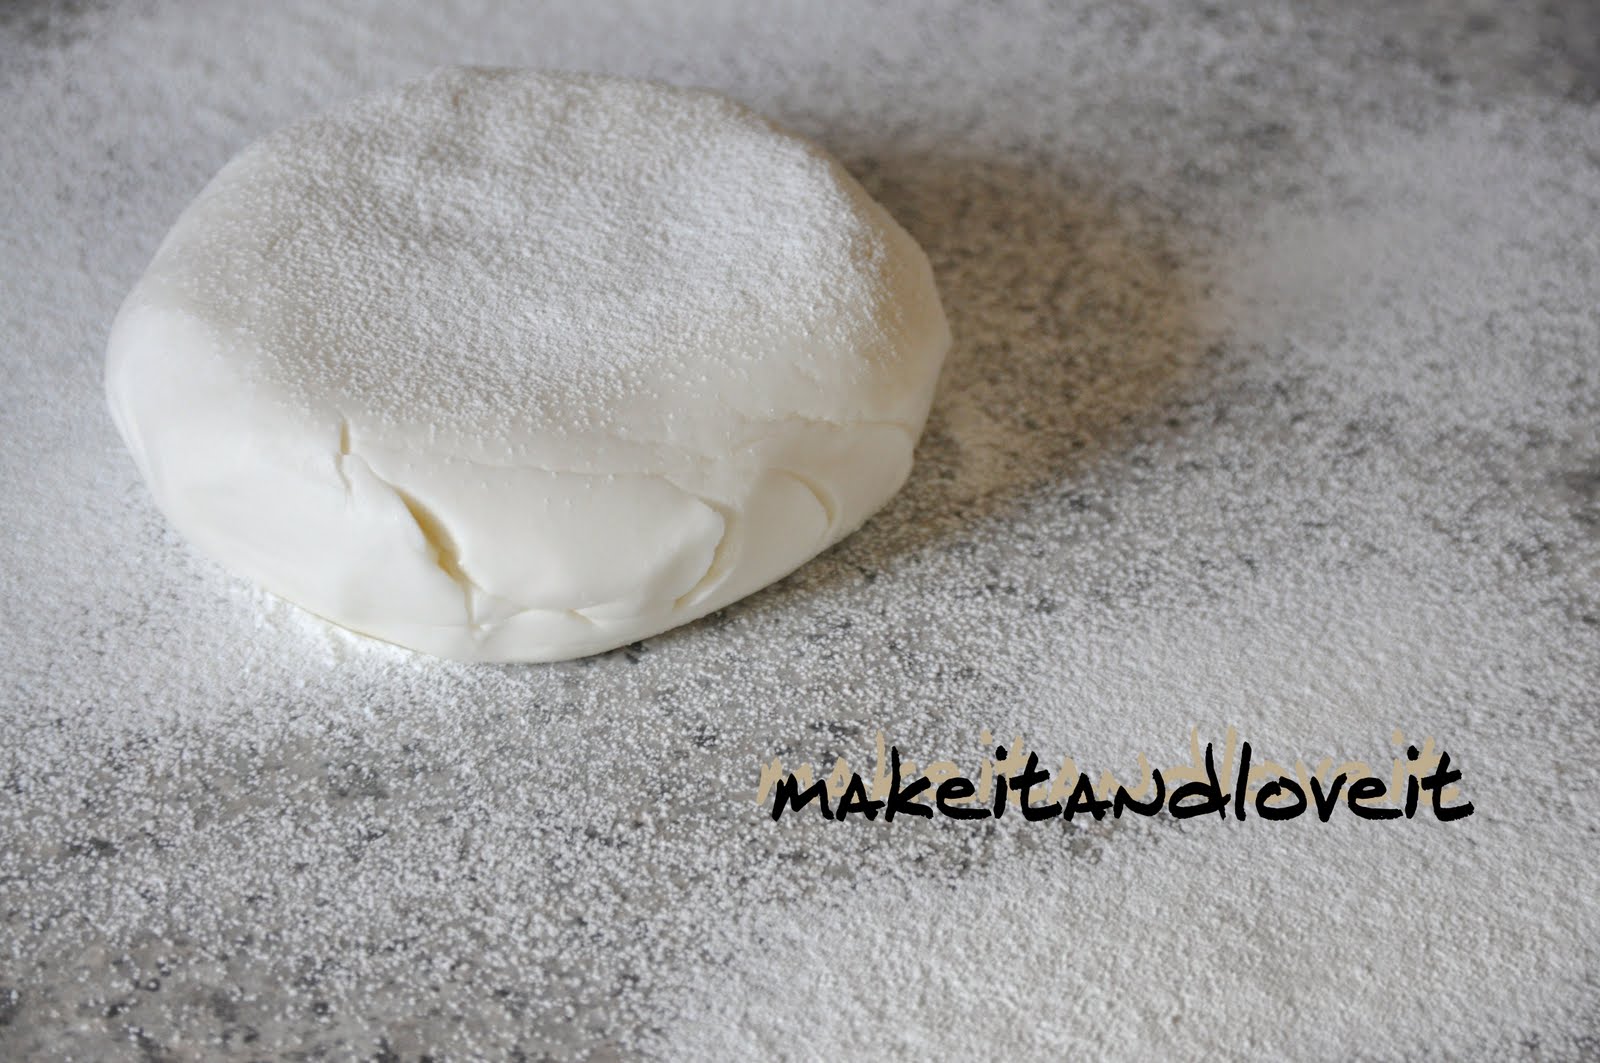
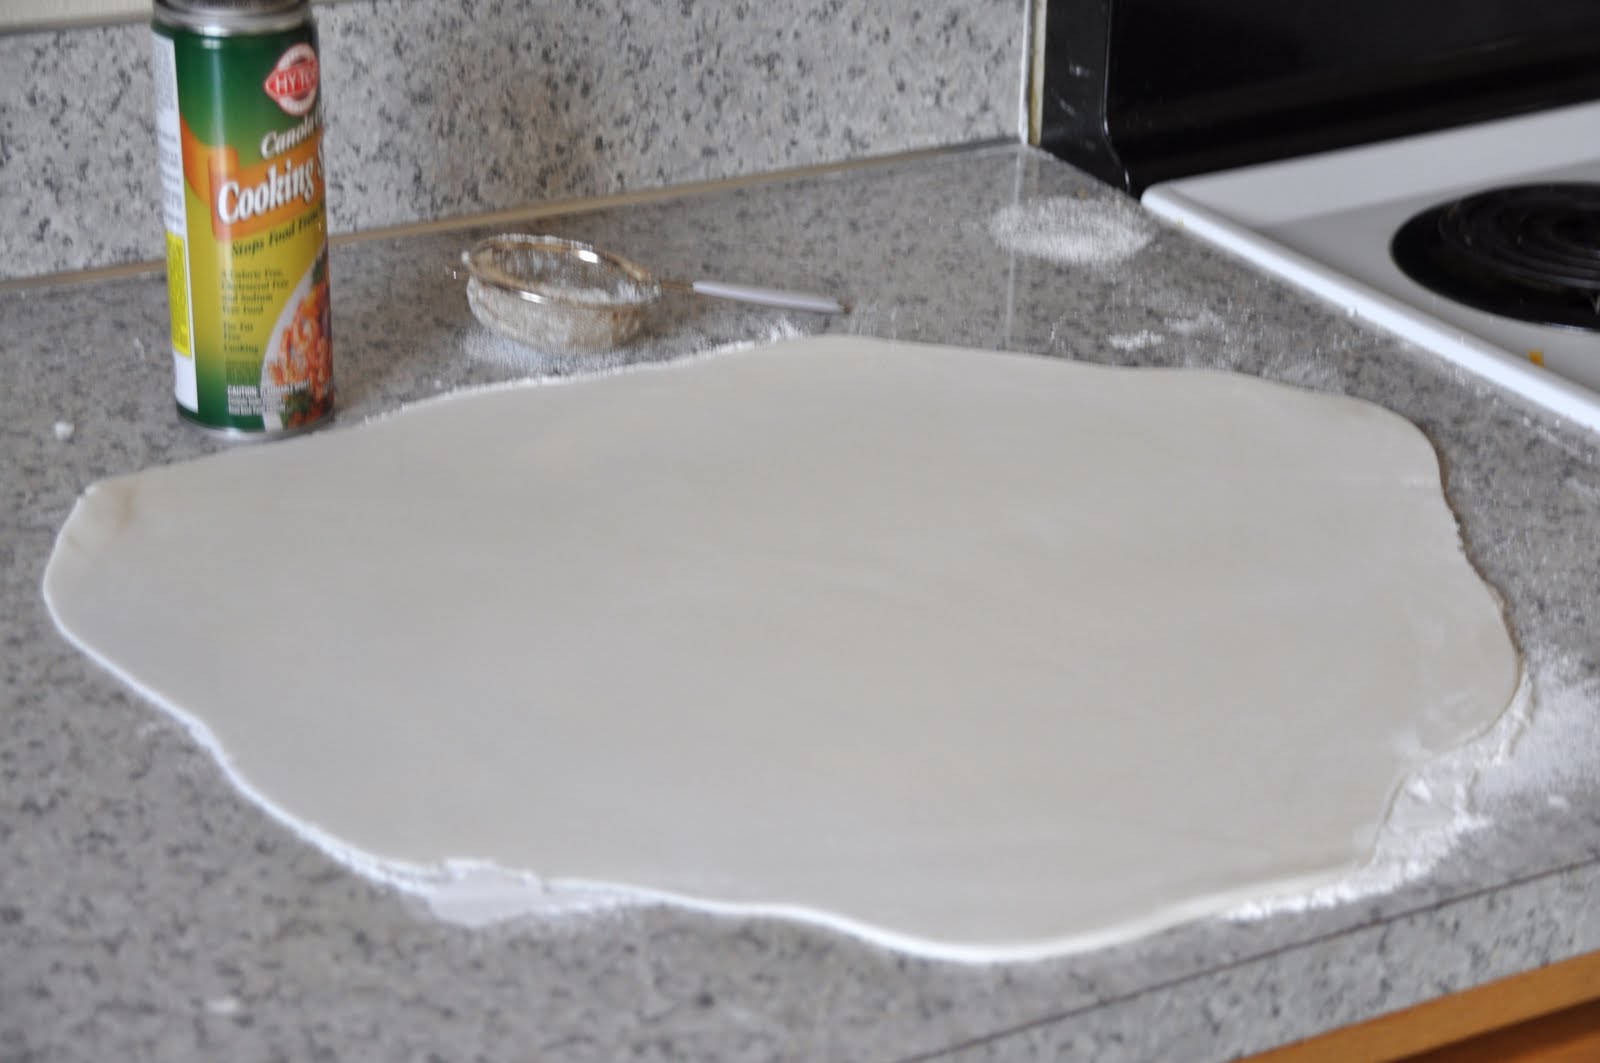
Lightly spray your counter with cooking spray. Then dust corn starch on the surface. This will help prevent sticking.
**Note: Fondant is a bit stiff when it’s at room temperature. Before you start rolling it out it will help to warm it up a bit in the microwave. Start with 15 seconds on high, add more time if you need. Knead to prevent any hot spots. ** please be very careful not to burn yourself. If the fondant gets hot it will burn you. **
Place your fondant on the counter and start to roll in one direction.
..
.
.
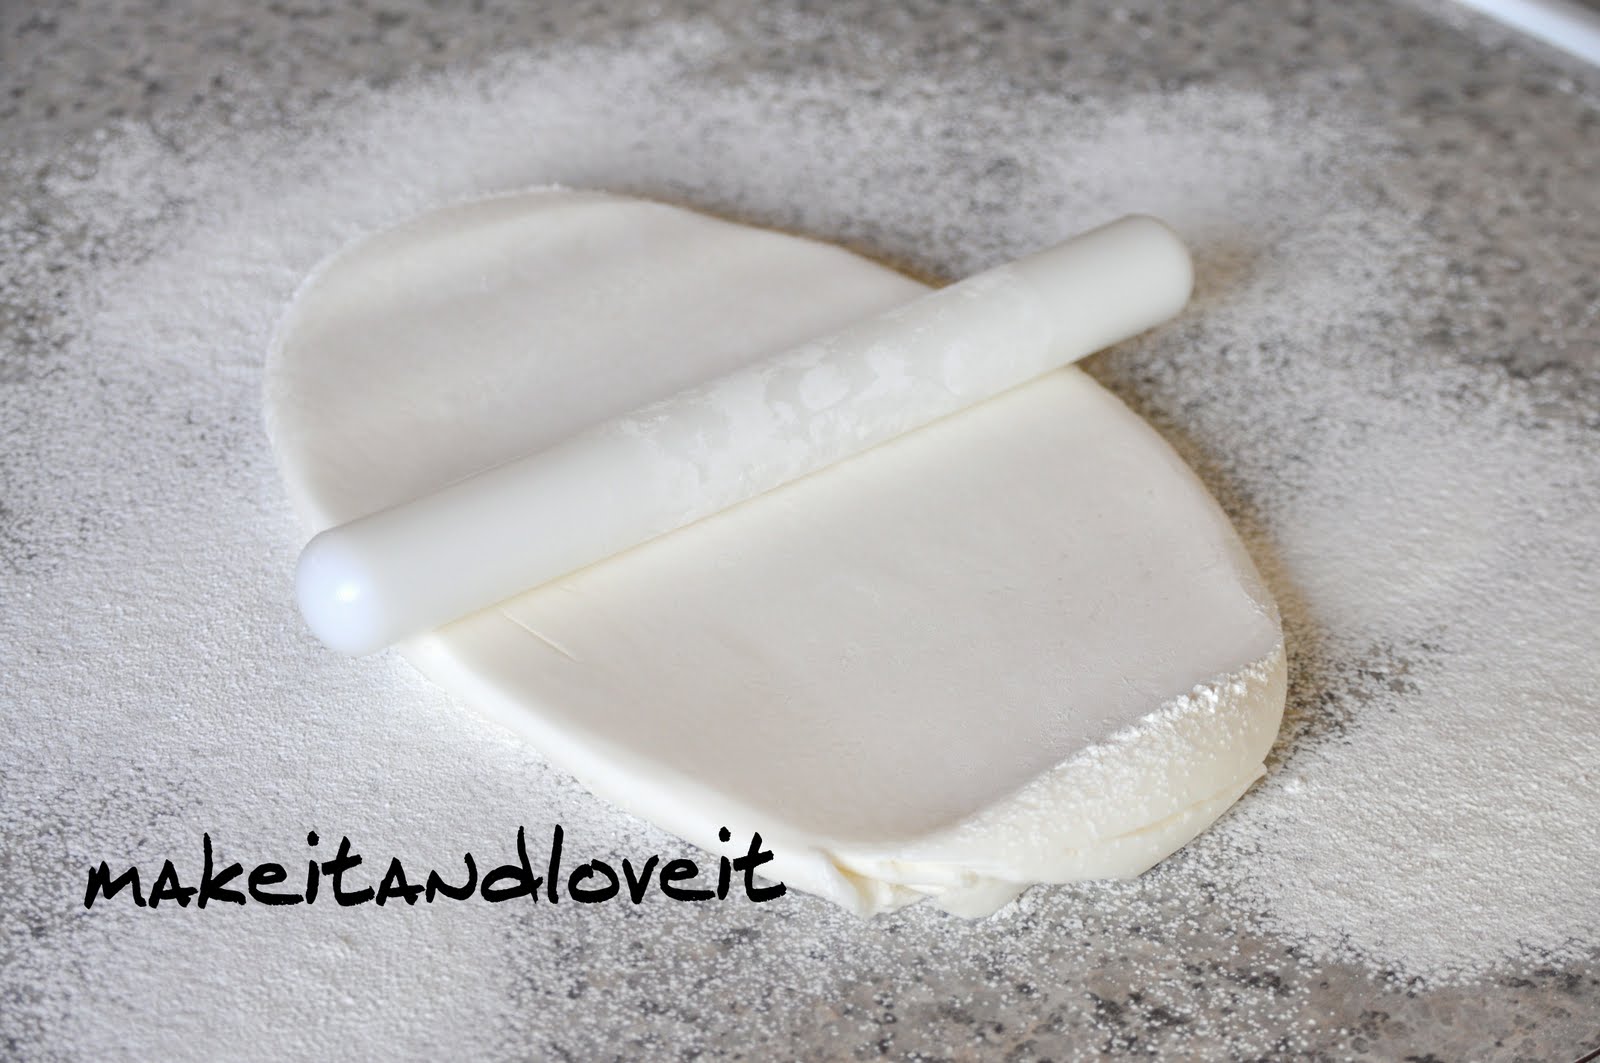
Get it flat and then turn the fondant the opposite direction and continue rolling.
.
.
Roll the fondant out thin and to the size that looks larger than your cake. Make sure it is at least 18inches across at all points. (8inch cake + 4 inch sides on both sides of the cake=16 inches. And then figure 18+ inches just to be safe.)
.
.
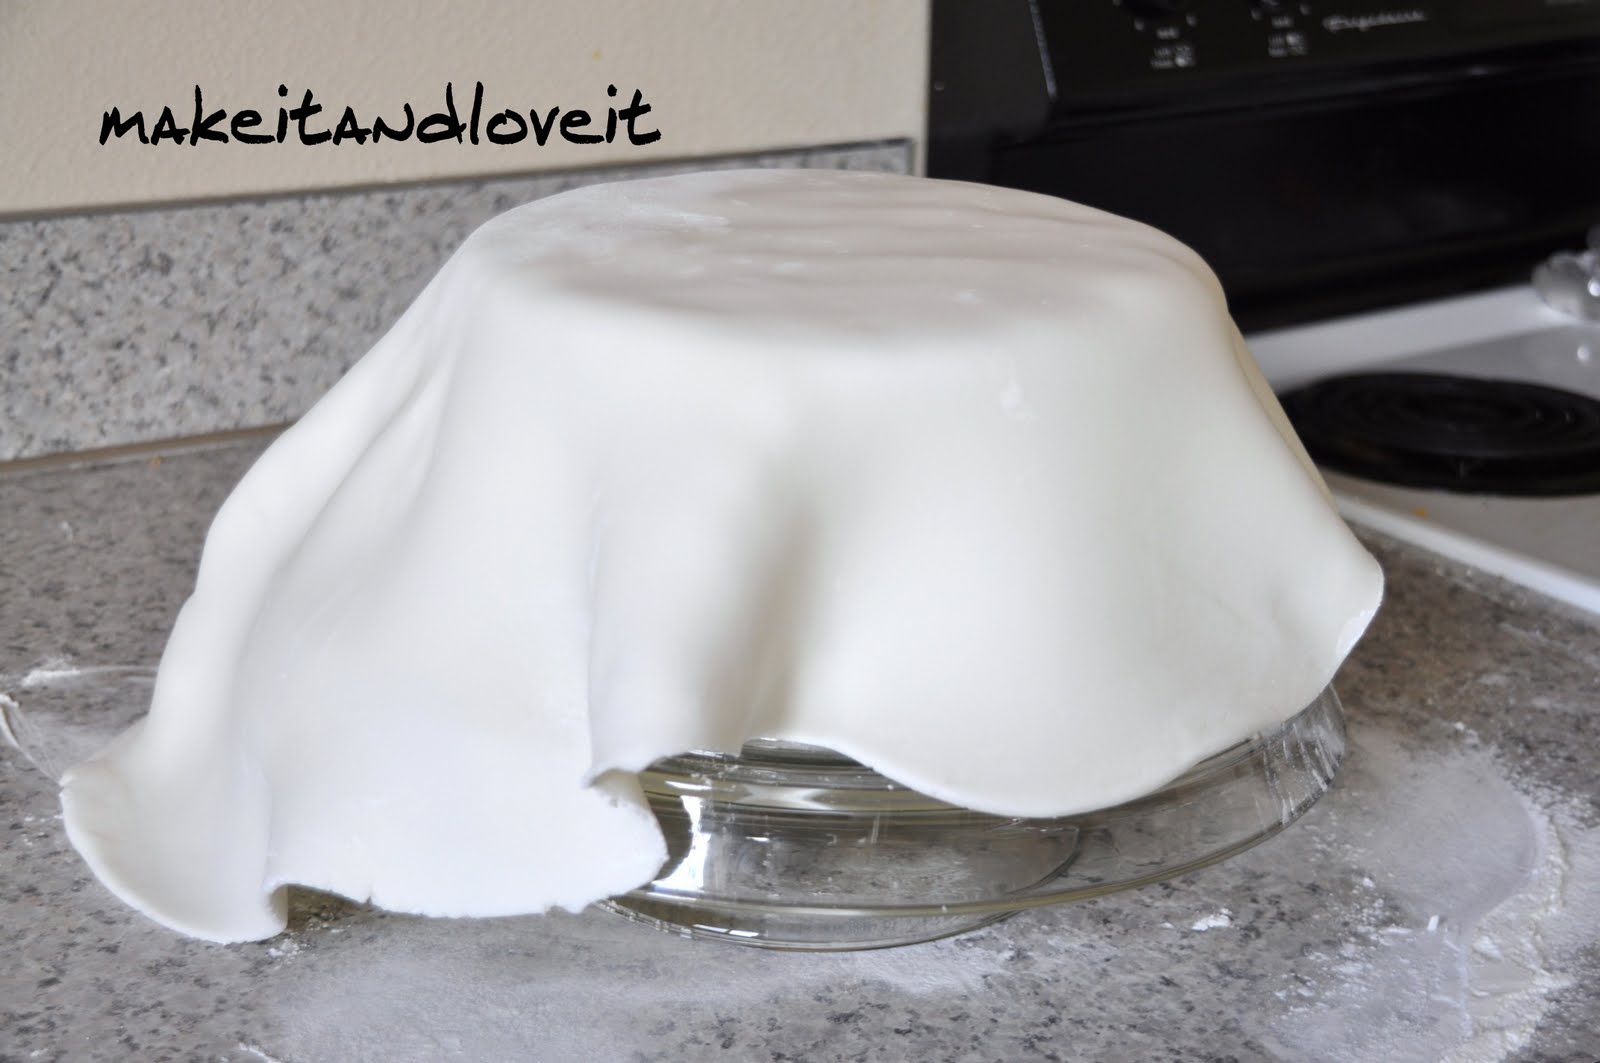
Now to transfer the fondant to the cake, lay your rolling pin on your fondant at the very top. Curl the edge of the fondant onto the pin and roll the fondant up onto the pin.
Lay the loose end of the fondant along one of the bottom edges of the cake and unroll the fondant over all sides of the cake.
.
.
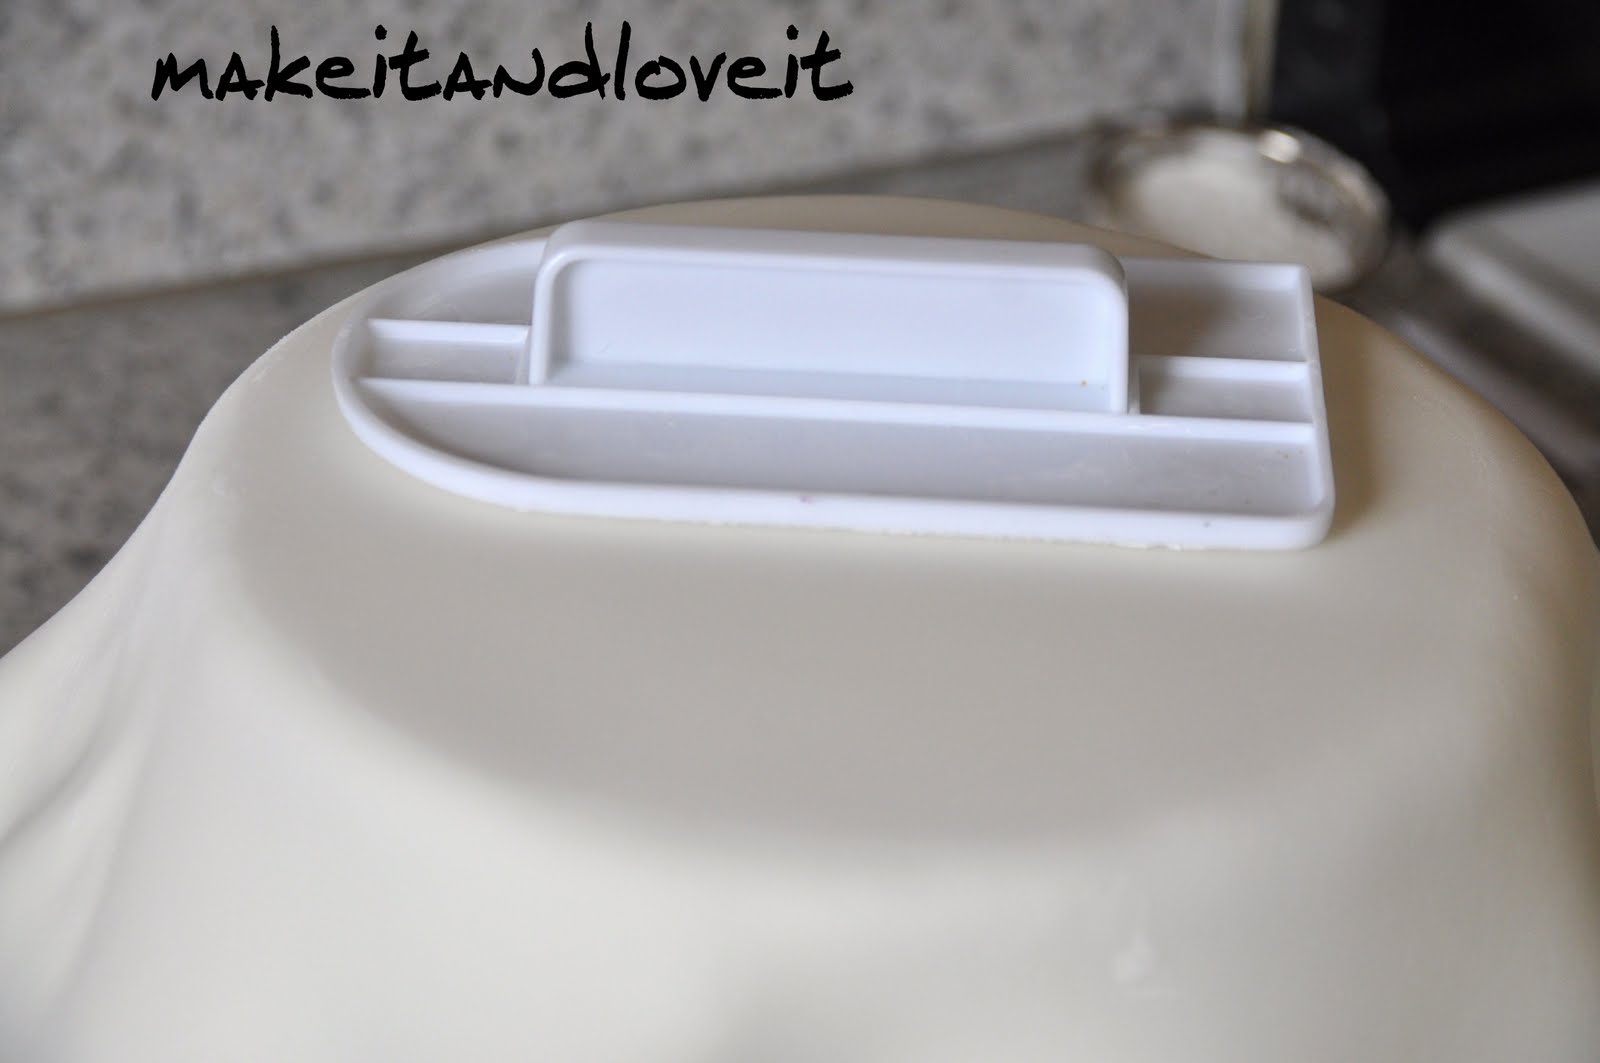
Get out your fondant smoother and dust it with a small bit of corn starch. Place it on the top of the cake and in a circular motion smooth the top of the cake (If you get a bubble of air on the top use a small pin to pop it and smooth the hole.)
.
.
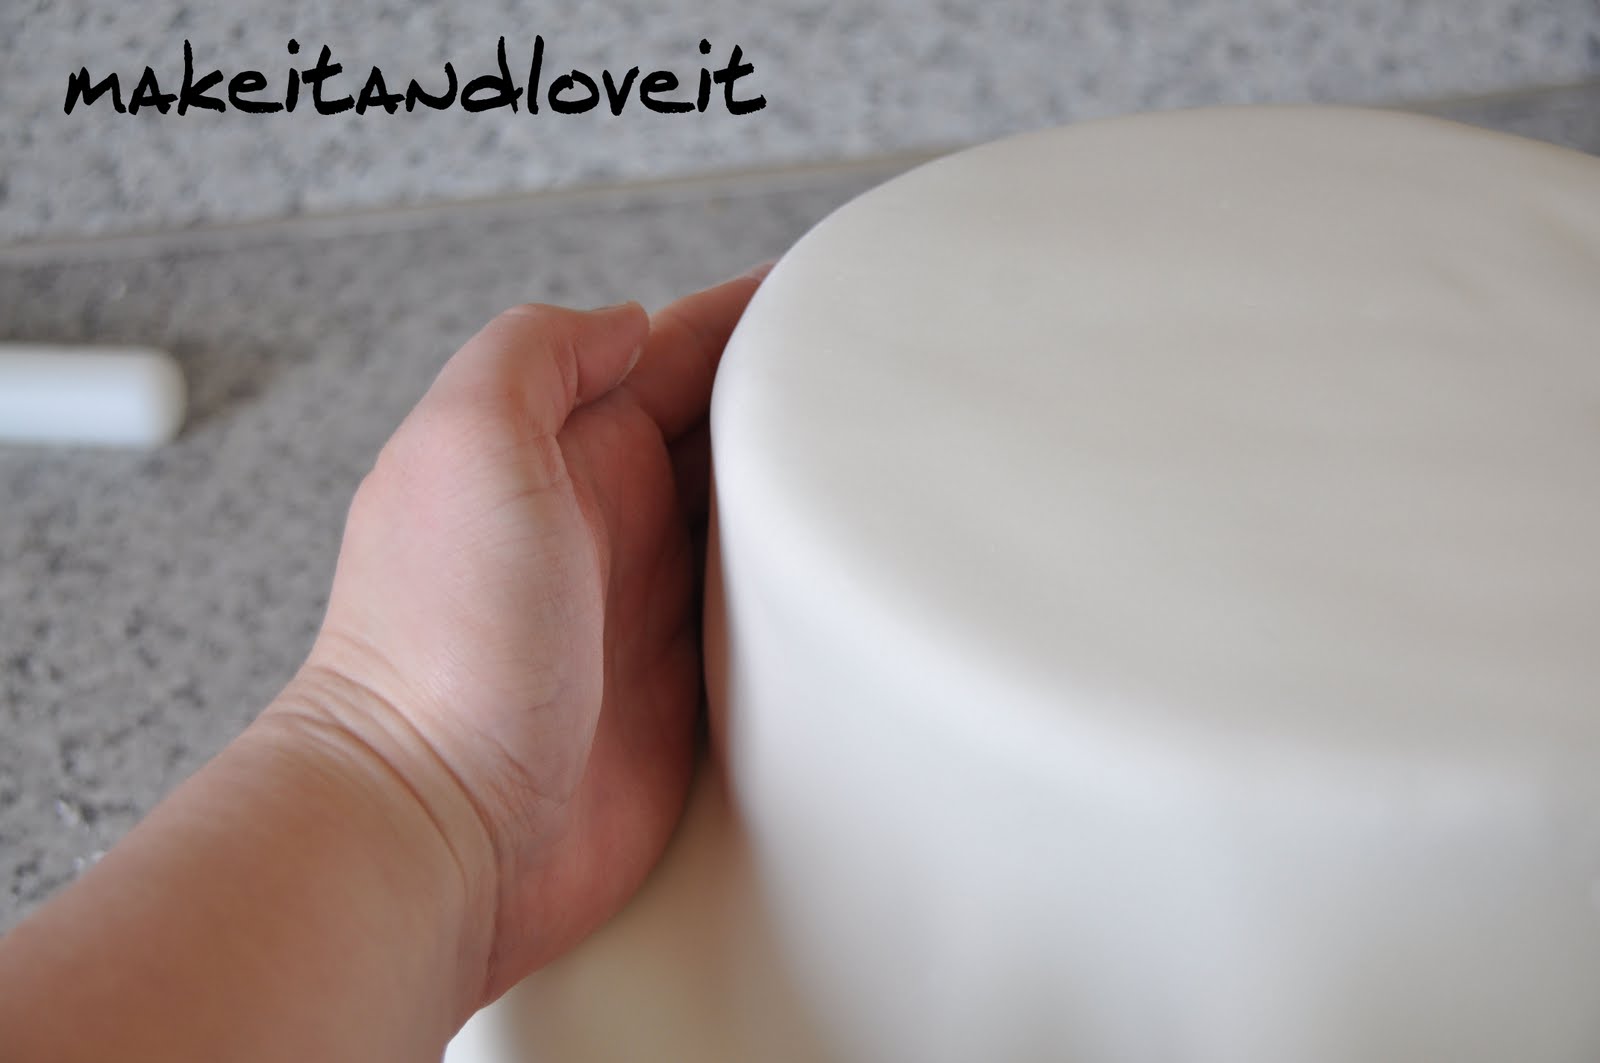
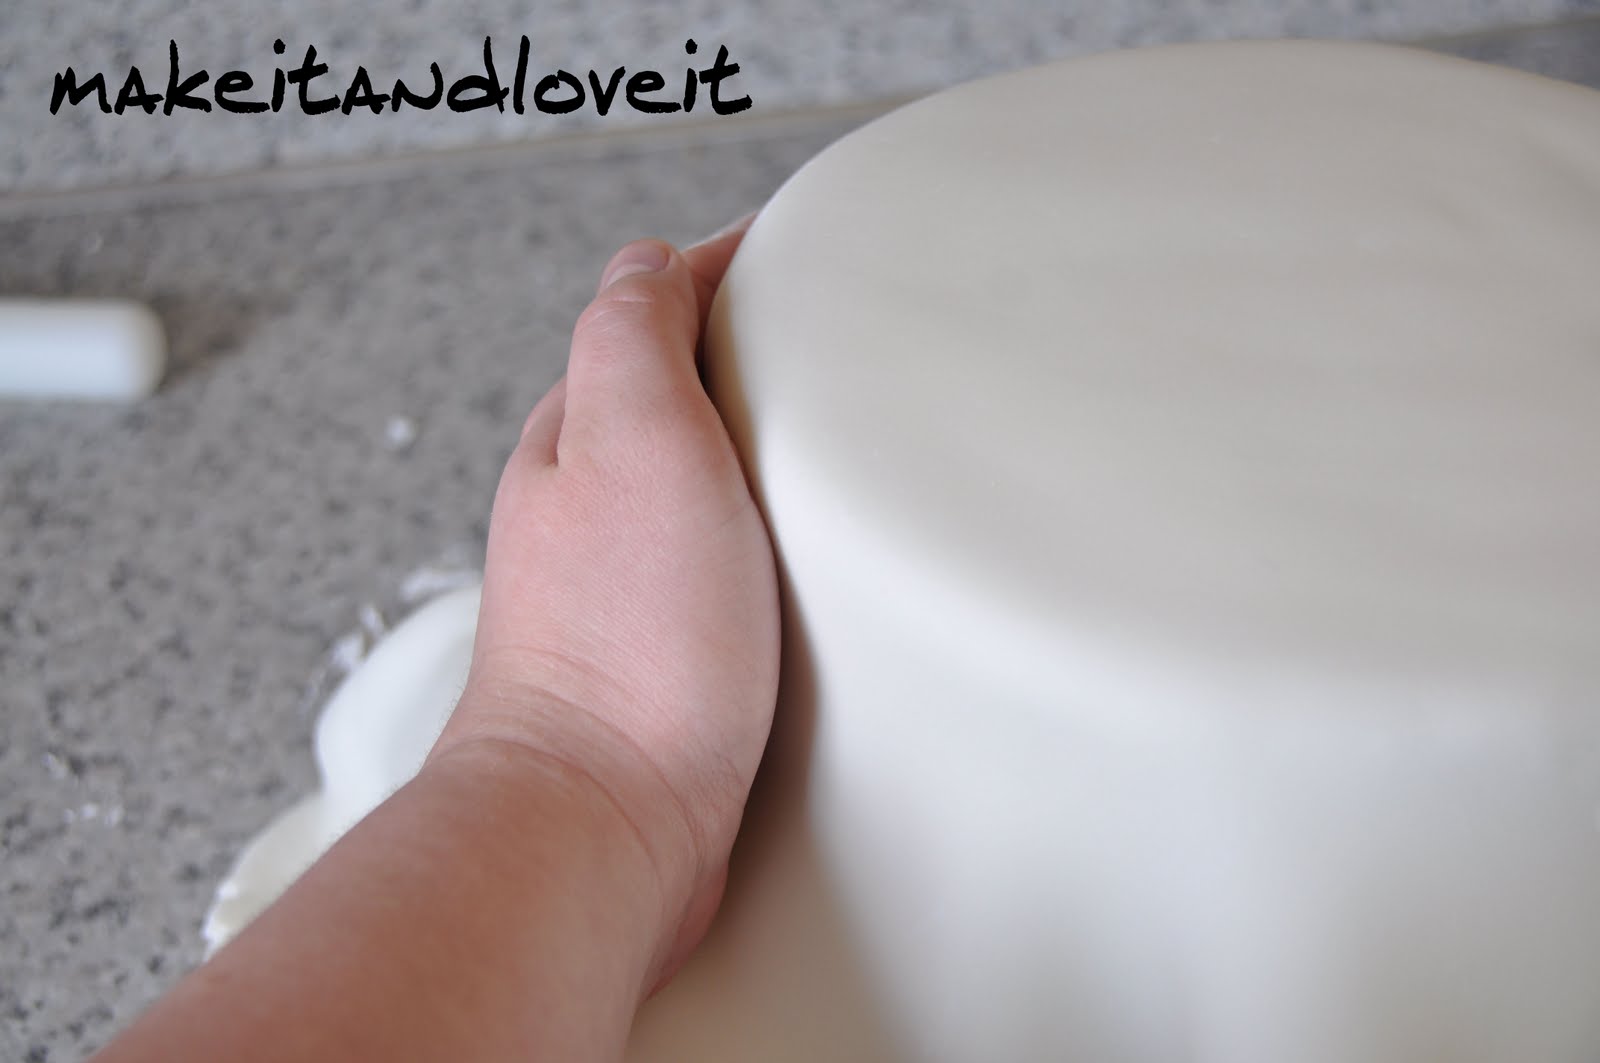
Now, start working on the sides.
Smooth the fondant around the sides using your smoother or your hand.
.
.
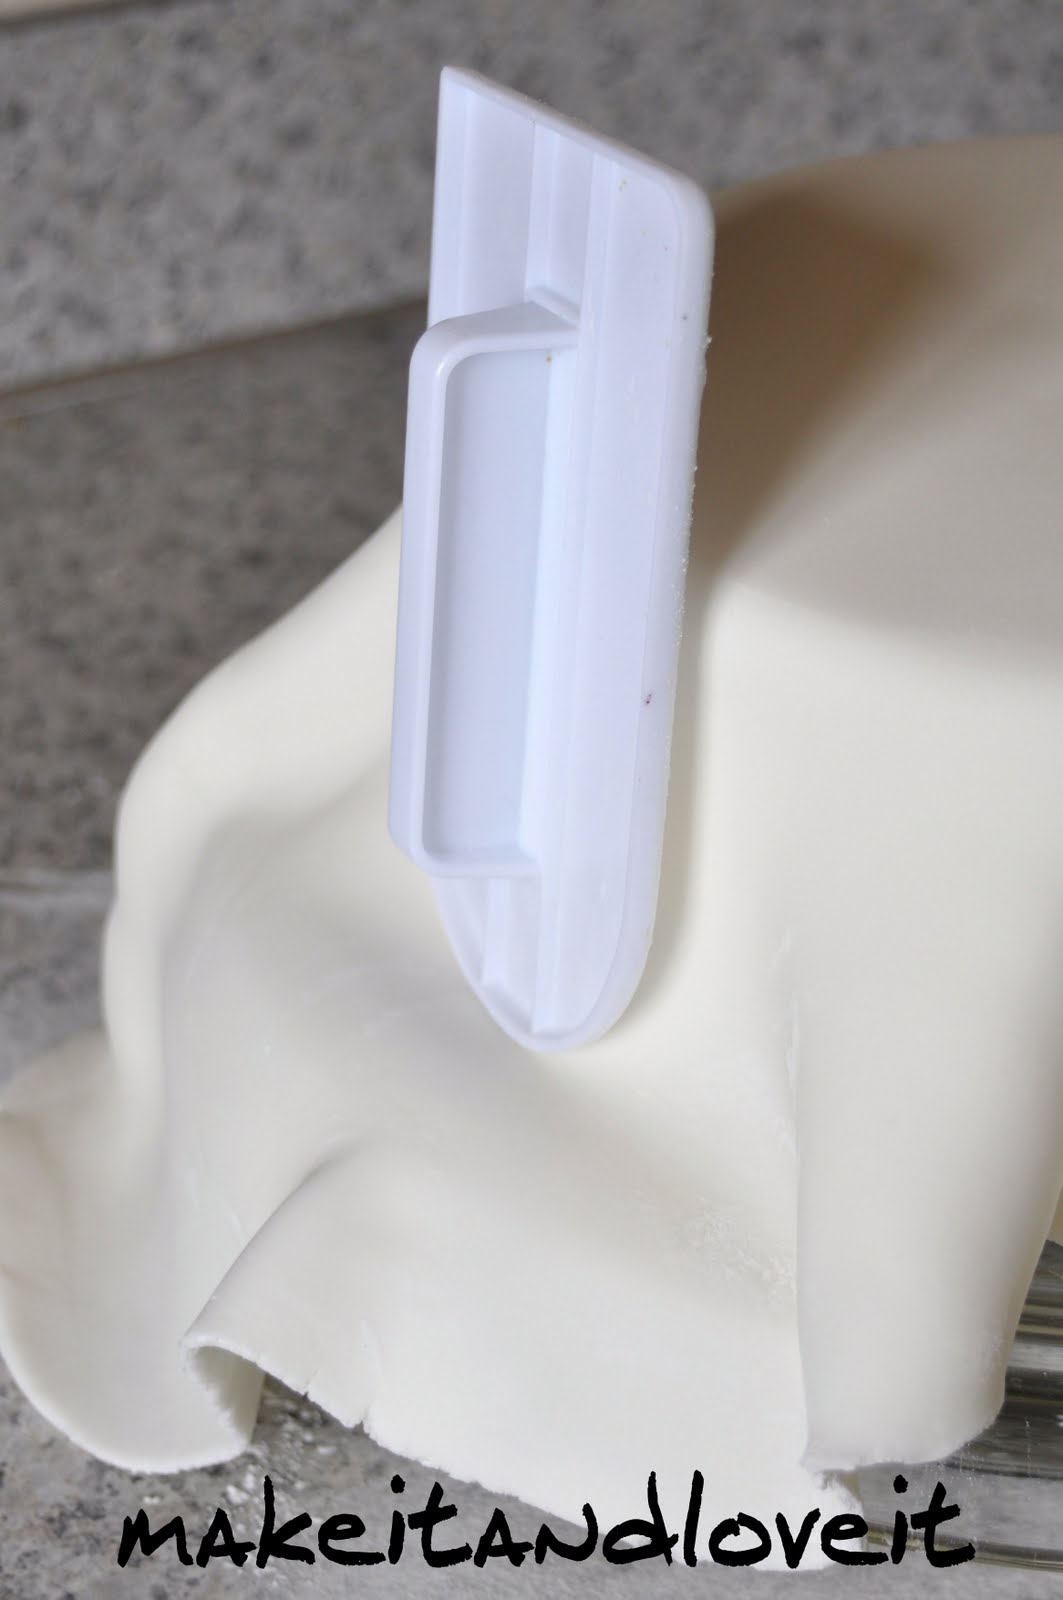
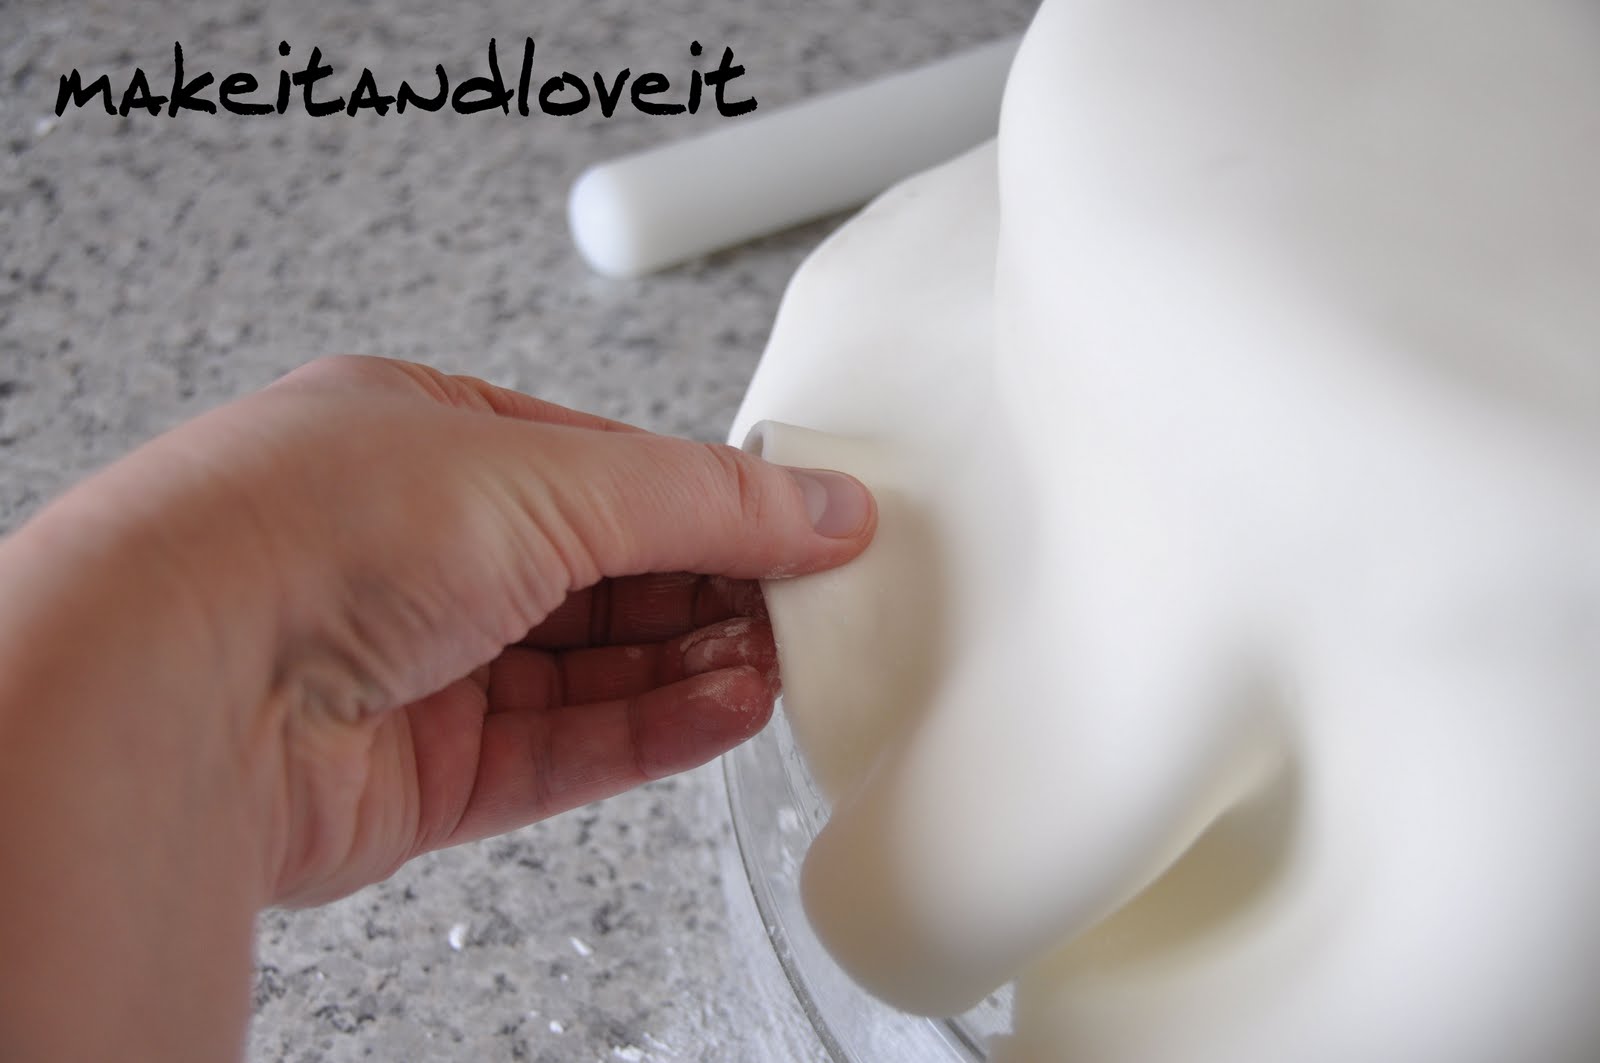
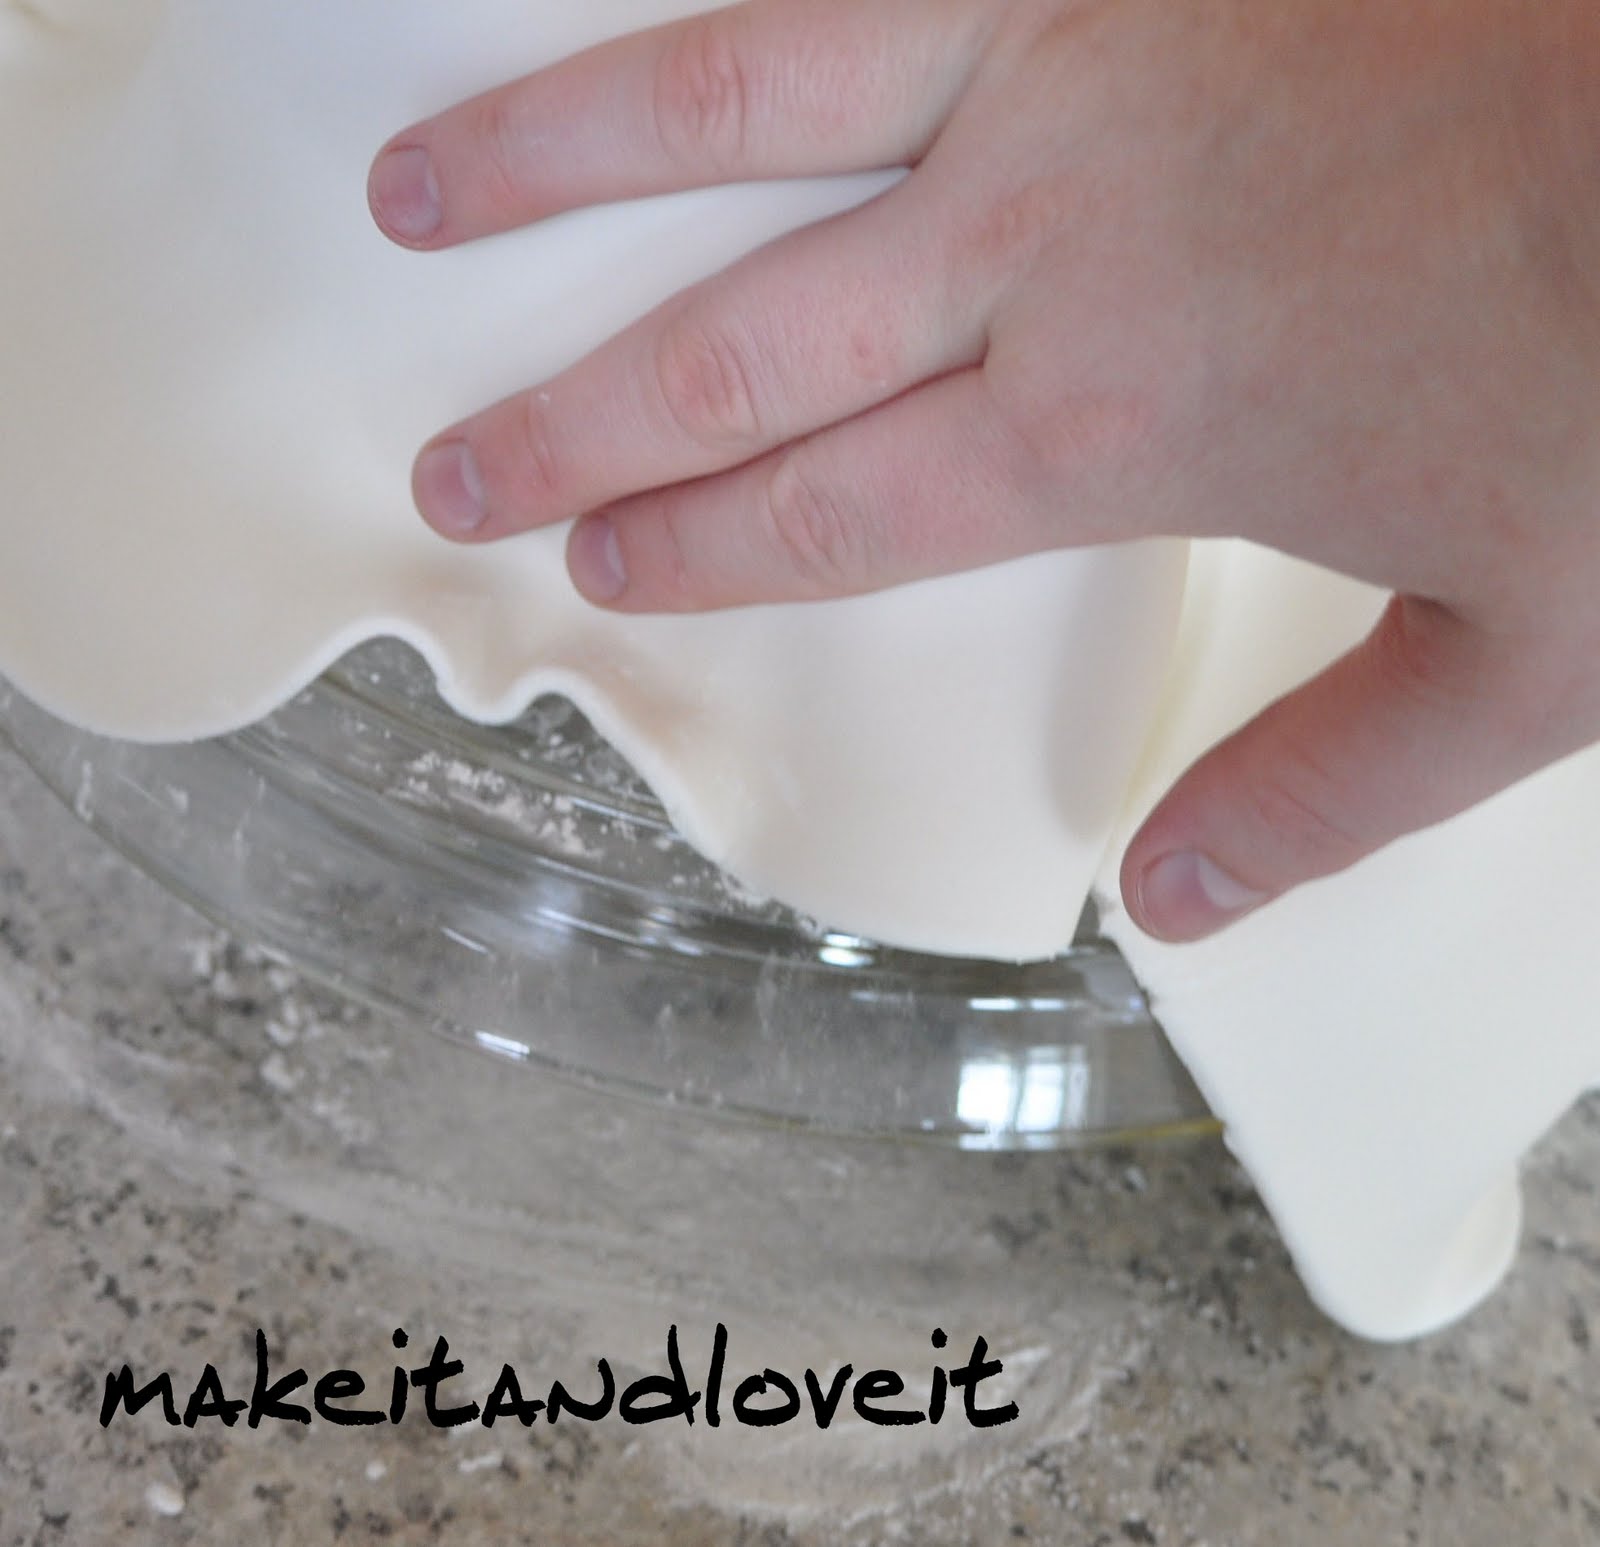
When you get to places the fondant will buckle and not lay flat, take two fingers and pull the fondant gently and at the same time smooth it down with your other hand..
(This will just take some practice. It took me a few cakes to get this right.)
.
.
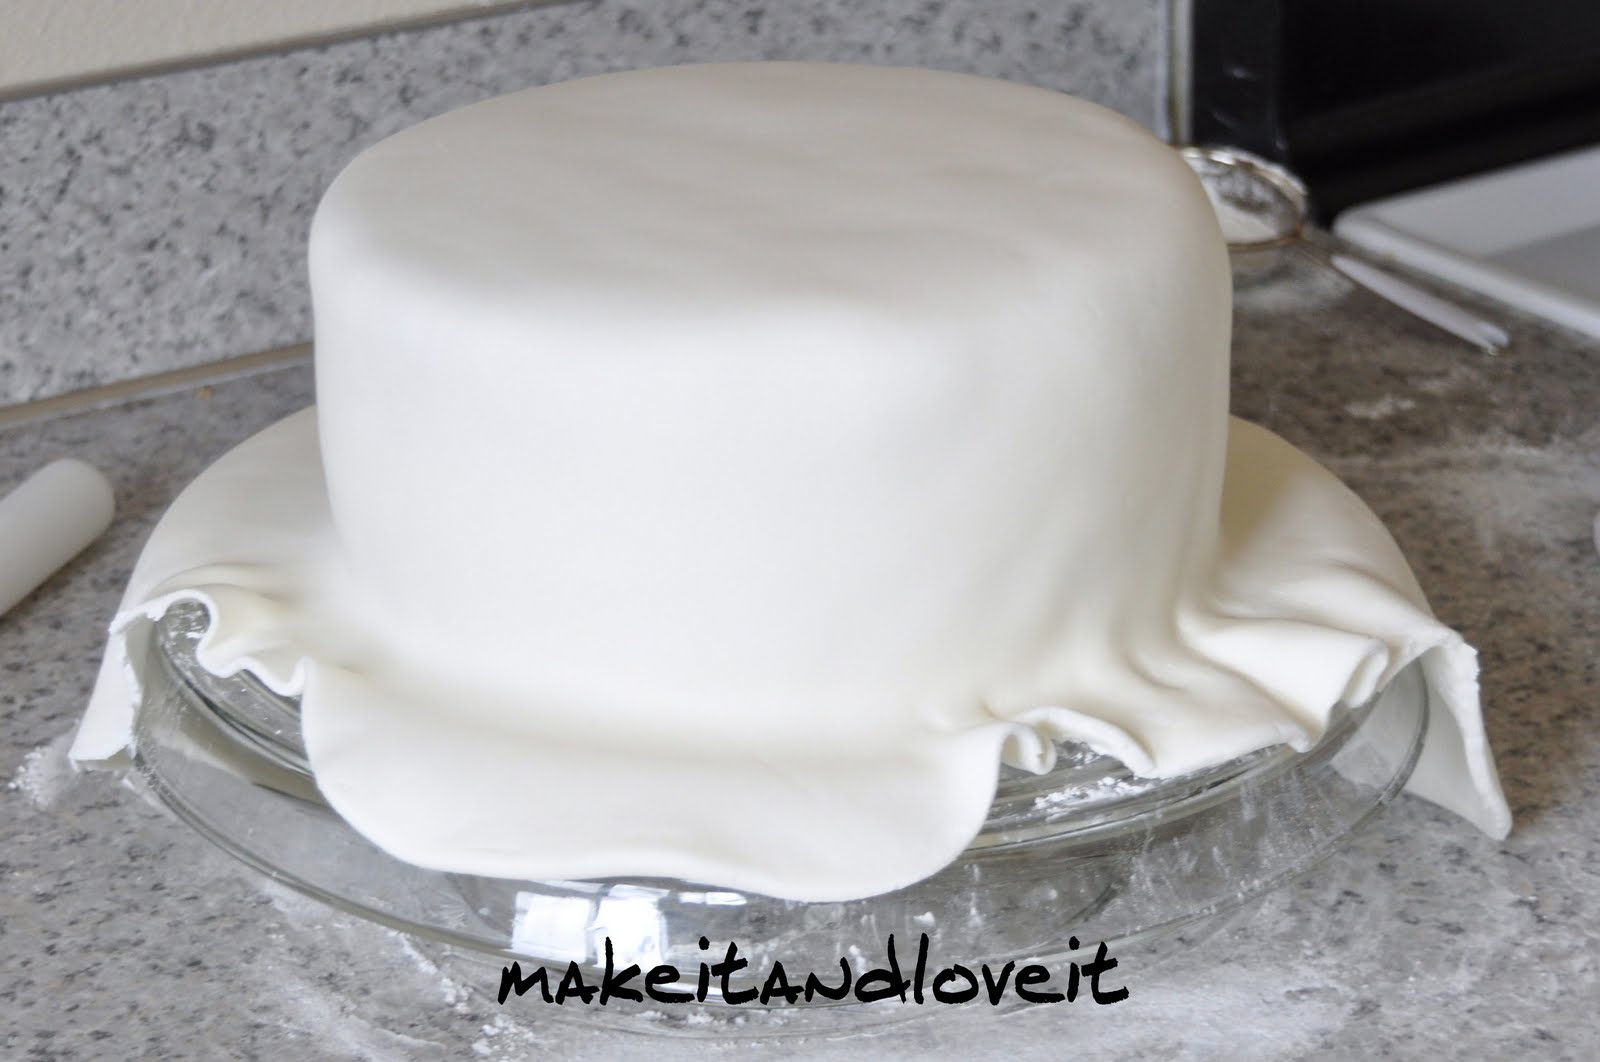
.
Here is what it should look like after this step.
.
.
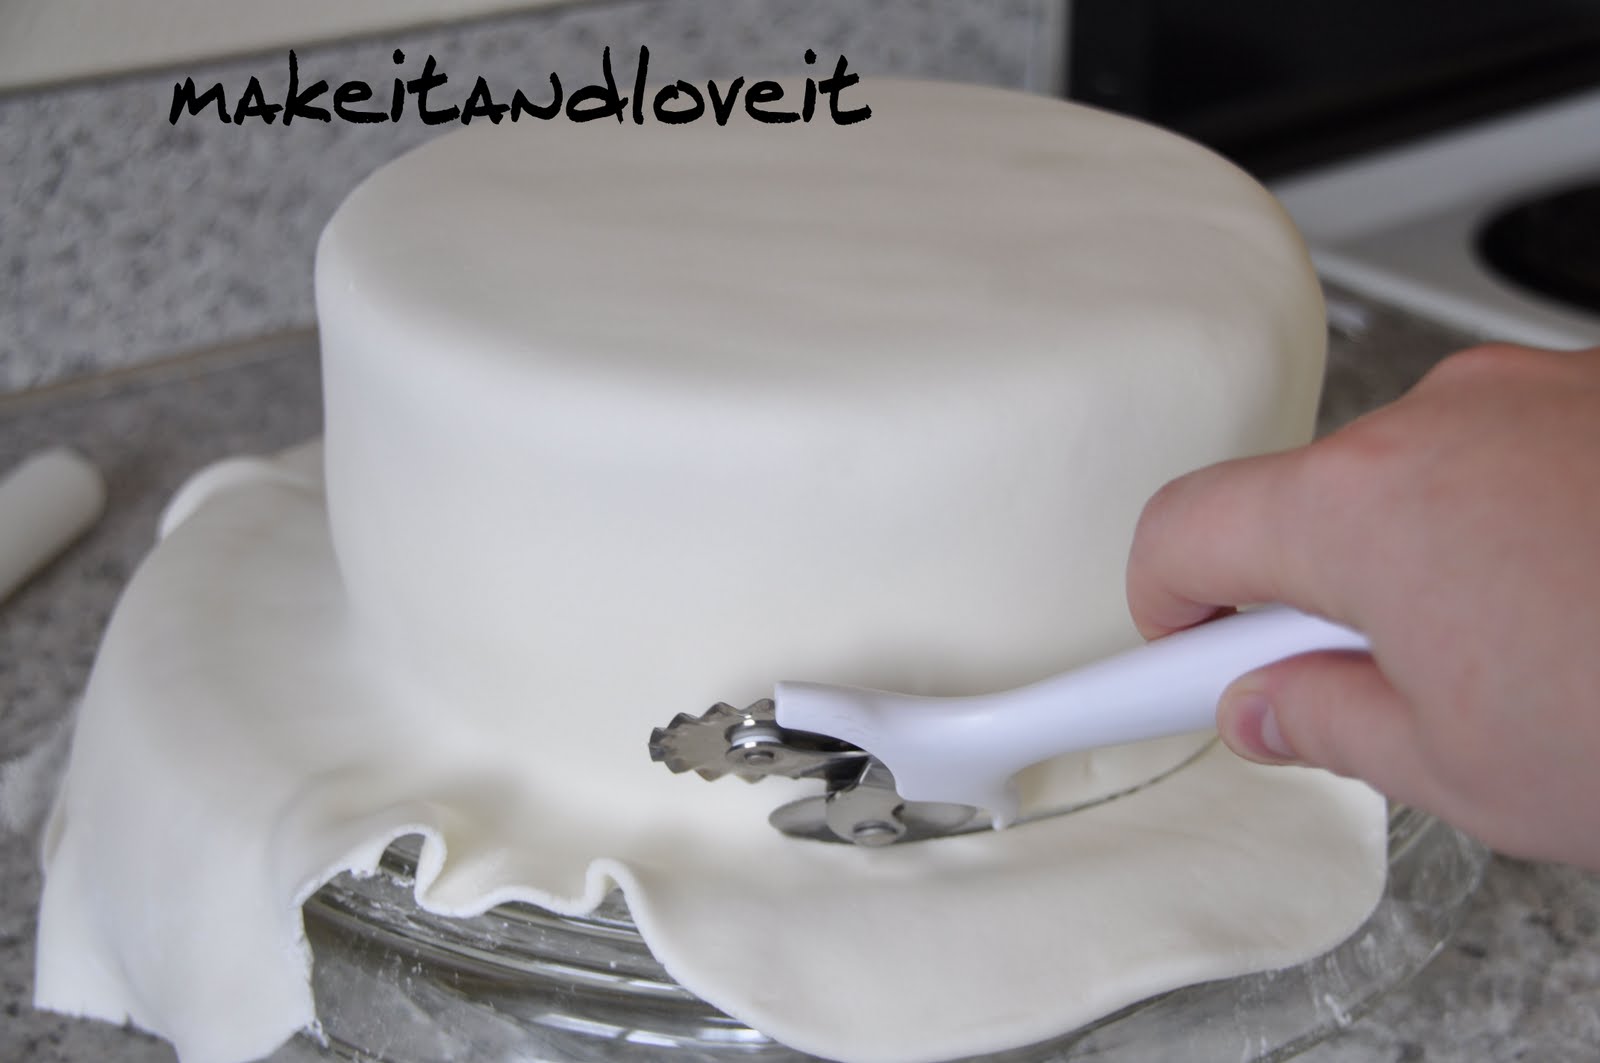
Cut away the extra fondant with a fondant cutter or a pizza cutter.
.
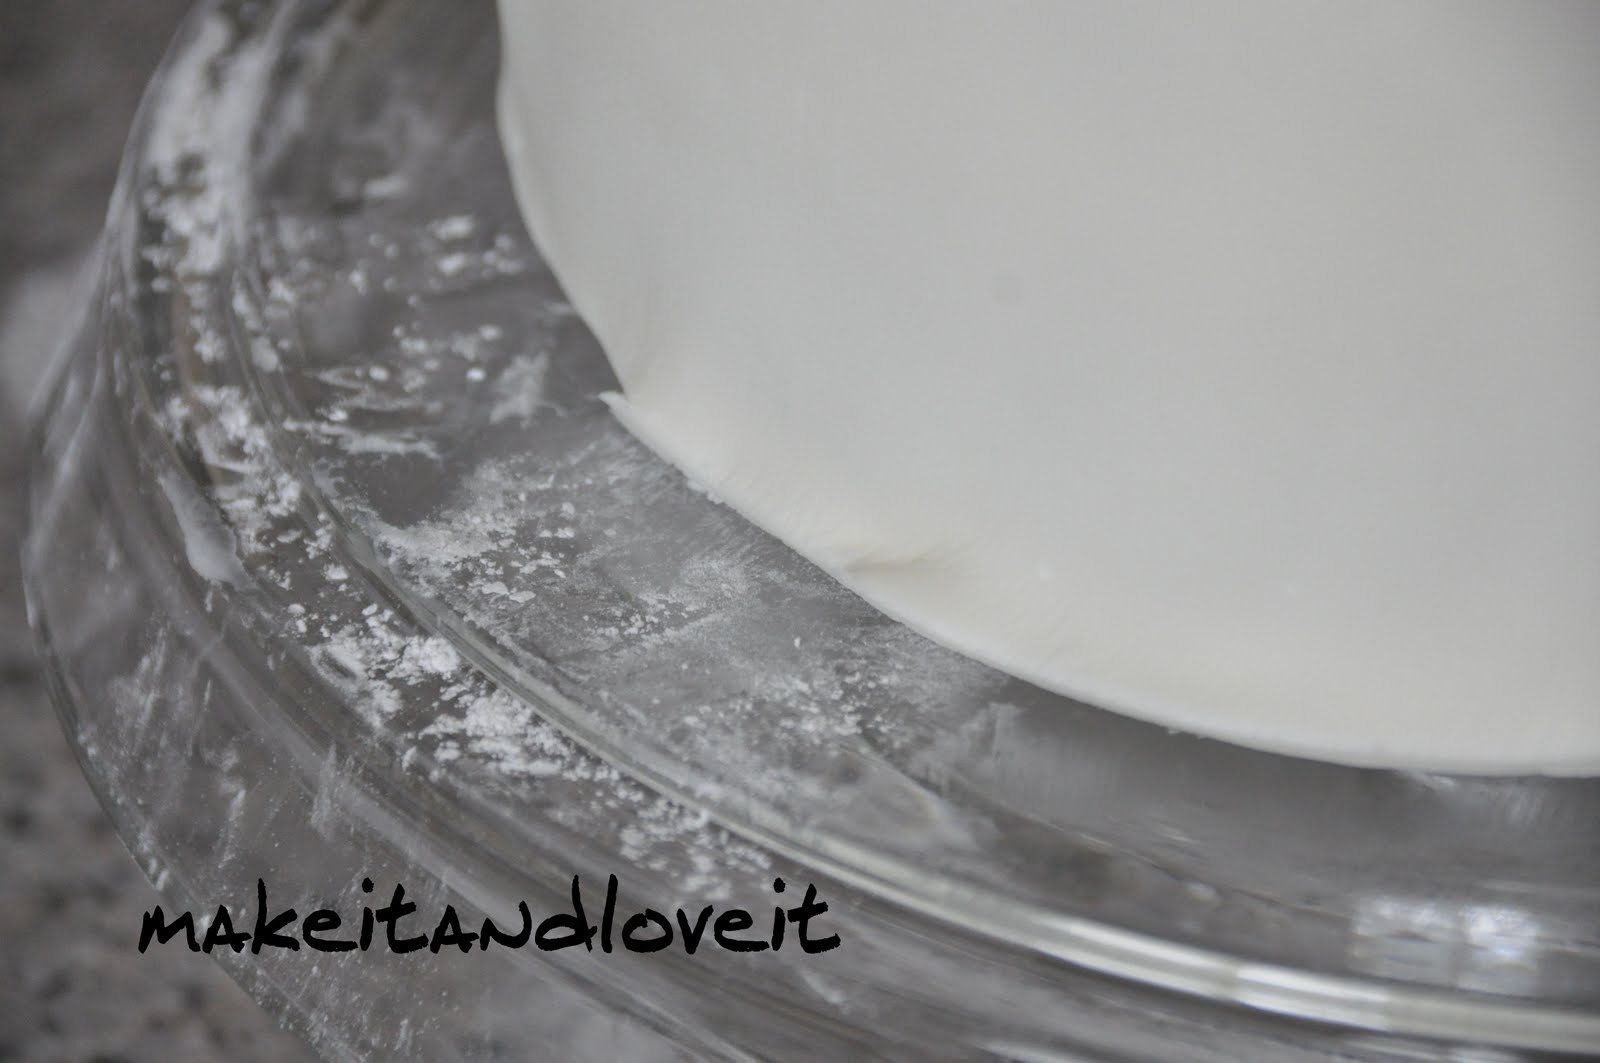
.
If you have rough edges like this…..use your smoother right against the cake stand to push them back in.
.
.
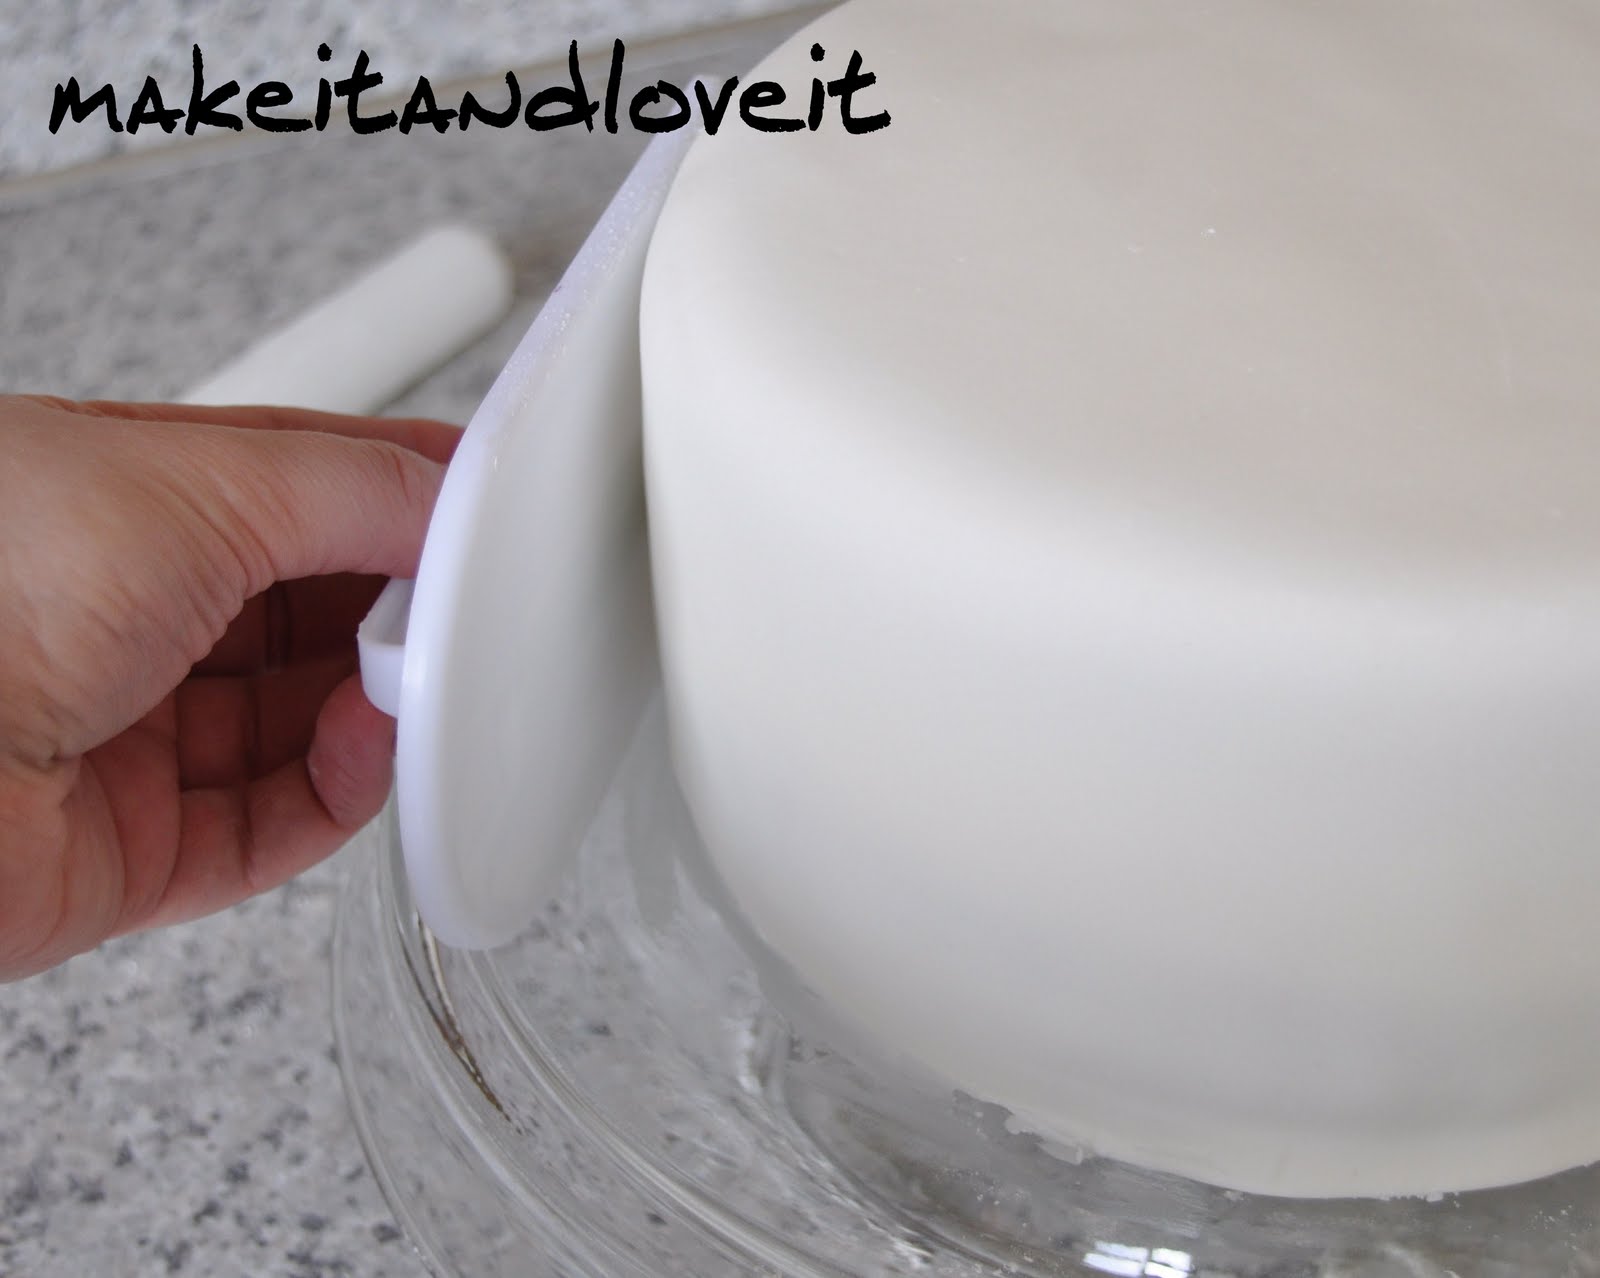
.
Now smooth the whole cake. Move the smoother up and down around the cake and then smooth the top again.
.
Done.
Well the first step anyway.
.
So go on and get started and try practicing with your fondant.
The next part in the series will continue on with the Estelle Cake.
.
See you then!