Home » DIY Tutorials » DIY Crafting » Crafting: No-Sew » Craft Room, Part 1 (covered cardboard storage boxes)
Craft Room, Part 1 (covered cardboard storage boxes)
April 12, 2010 - By Ashley Johnston 155 Comments
.
Well, craft room stuff.
.
And it keeps growing and growing.
So the time came to organize.
And of course have a little fun with it.
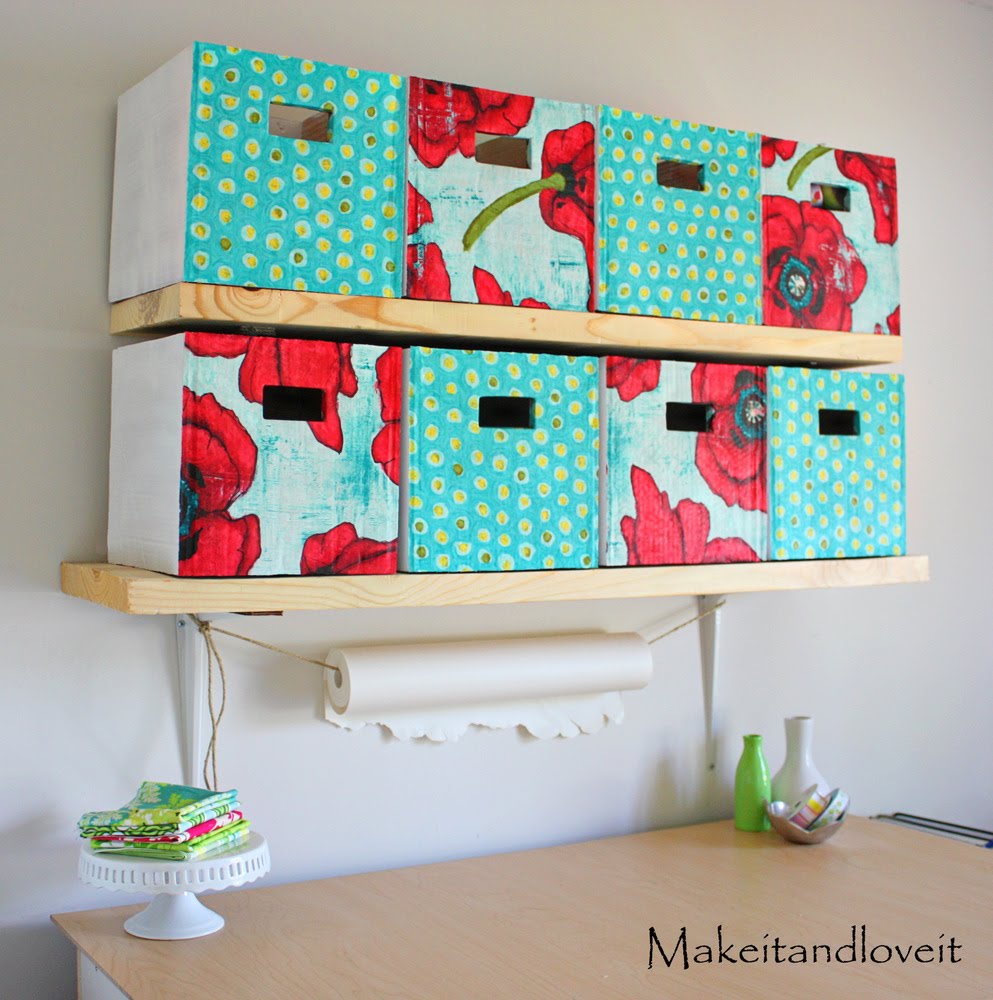
So…….I made these storage boxes completely out of old cardboard boxes covered with a little fabric on the front.
.
**And ended up being surprisingly thick and sturdy.**
And each box pulls out separately with it’s own little handle opening…
(And once again, I’m using fabric by Laura Gunn……and loving it!)
They are perfect for stashing all sorts of supplies, tools, and odds and ends.
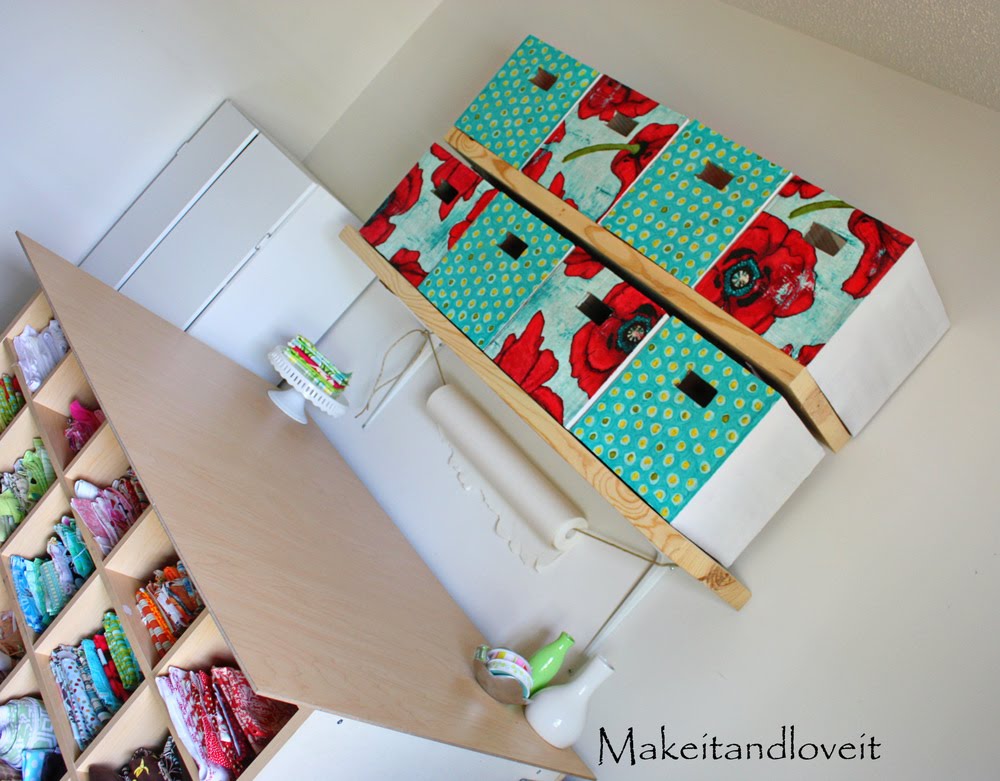
And they sit nicely above my work space.
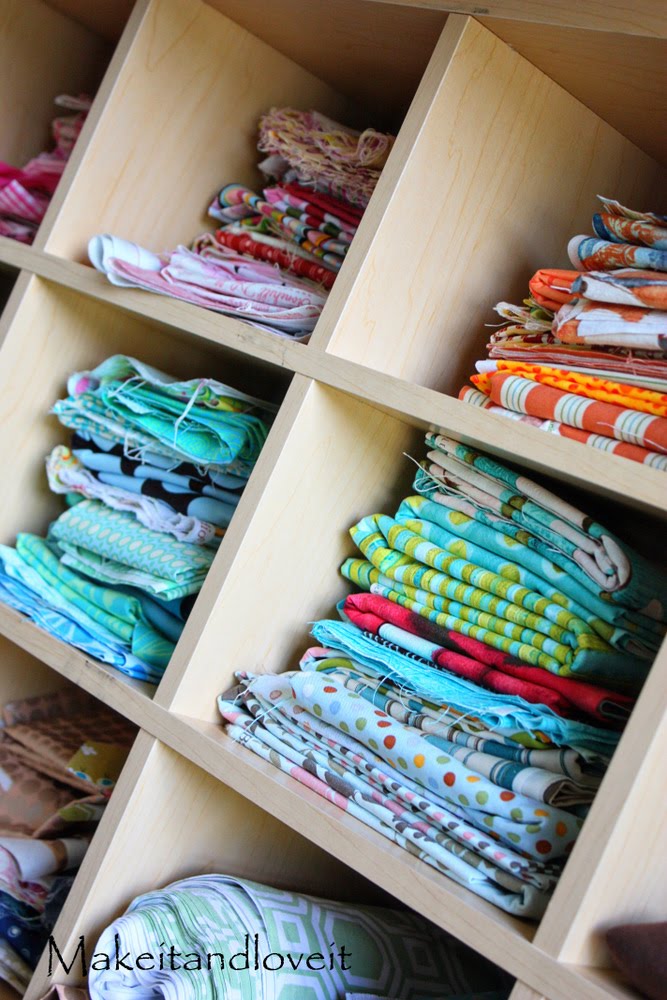
Interested in those cubbies?
There was a retail store that had gone out of business at the mall and all of those little cubbies were slots for shirts or something in the store. I snagged one of them up for almost nothing and they were giving away those pieces of sturdy laminate that we glued to the top of the cubbies with epoxy glue. Worked like a charm and gives me 48 x 32 inches of sturdy cutting and crafting space. So be sure to check out the shops going out of business. They might just have the perfect table or desk for your craft room.
A tip?
Those shelves holding the storage boxes are scrap pieces of wood that I found in the bargain bin at Home Depot. Remember when I first
discovered that tip about the hardware store? Each of those pieces of wood are about 45 x 11 x 1.5 inches, and cost me $2 each. Perfect for some shelving.
Another tip?
That roll of paper hanging below the shelves is a roll of kid’s art paper (for the art easel) from Ikea. Only a few dollars I think. But I am always sketching an idea or tracing clothing to duplicate it and use as a pattern…..and now it’s right at my fingertips. Love that stuff.
**I have seen others use cardboard to create their own boxes and such…..so I had to try my hand at some. And am glad that I did.
Would you like to create some storage boxes yourself?
First, gather some old cardboard boxes.
(Try to collect some sturdier boxes so that you don’t have to glue many layers together to make your storage boxes sturdier.)
Decide how many boxes you want and cut enough for all of the sides of your boxes. I am giving directions for boxes that are 10 inches tall by 10 inches wide and 11 inches deep. These are perfect for my shelves…..but adjust for your own shelves.
Here are the pieces for one box.
The bottom piece is 10 x 9 inches, the two side pieces are 11 x 10 inches, and the front and back pieces are 10 x 9 inches…..with a 1.5 x 3 inch opening on the front piece. Each piece is 1/2 inch thick and are two pieces of cardboard thick……for added strength.
To assemble, I glued (with the hottest setting on my glue gun) the bottom piece to the inside bottoms of the front and back piece.
See from the bottom how the bottom piece is glued to the inside of the front and back piece?
Then glue that section to the inside of the side pieces…….so the side pieces cover everything and all of the raw edges. You will be surprised at how study this new little box is.
Next, I spray painted the sides and upper edges white. You can leave your boxes brown or alter them with spray paint if you’d like. You can also spray paint the inside/back/bottom but I didn’t bother…..because they aren’t really seen.
Then I applied a moderate layer or Mod Podge to the front section of the box…
And then placed a slightly bigger piece of fabric over top…and smoothed it all out.
Then I made slits in the fabric, where the opening is on the front of the box.
Then I folded those pieces over while applying more Mod Podge.
After the Mod Podge underneath was dry, I trimmed off the edges…..
…….and then applied another layer (pretty thick) of Mod Podge over the top…..making sure to Mod Podge all of the raw edges of fabric and pressing them firmly against the box.
Allow to dry completely……
And that’s it.
Your boxes are ready to be filled…..
…and the clutter organized.