Sometimes I like to skip steps.
Who doesn’t, right?
Well, knits allow you to leave their edges raw, without fraying…..and add a whole shabby look in the meantime.
But it sure saves some time. Love that.
Here’s another scarf.
I told you my little brain has been on scarf overdrive.
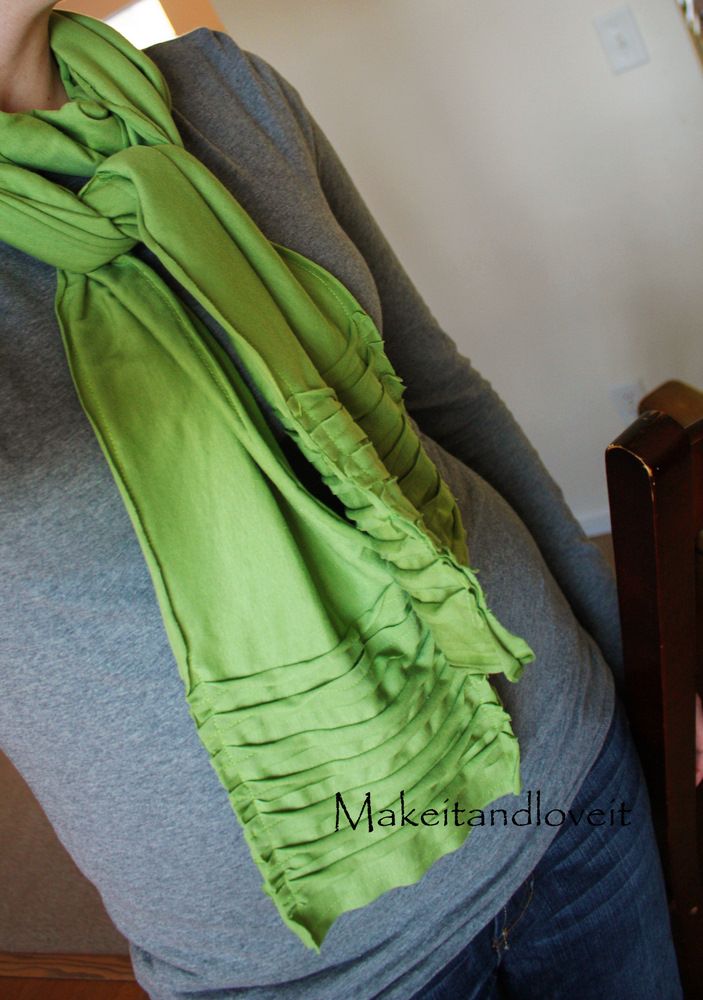
With lots of little fabric strips for detail.
How to?
Cut two pieces of knit, 80 x 6.5 inches. A front and back piece.

Then cut 28 mini strips of knit, 6.5 x 3/4 inches. You’ll be using 7 pieces on each end of your scarf front and back piece.

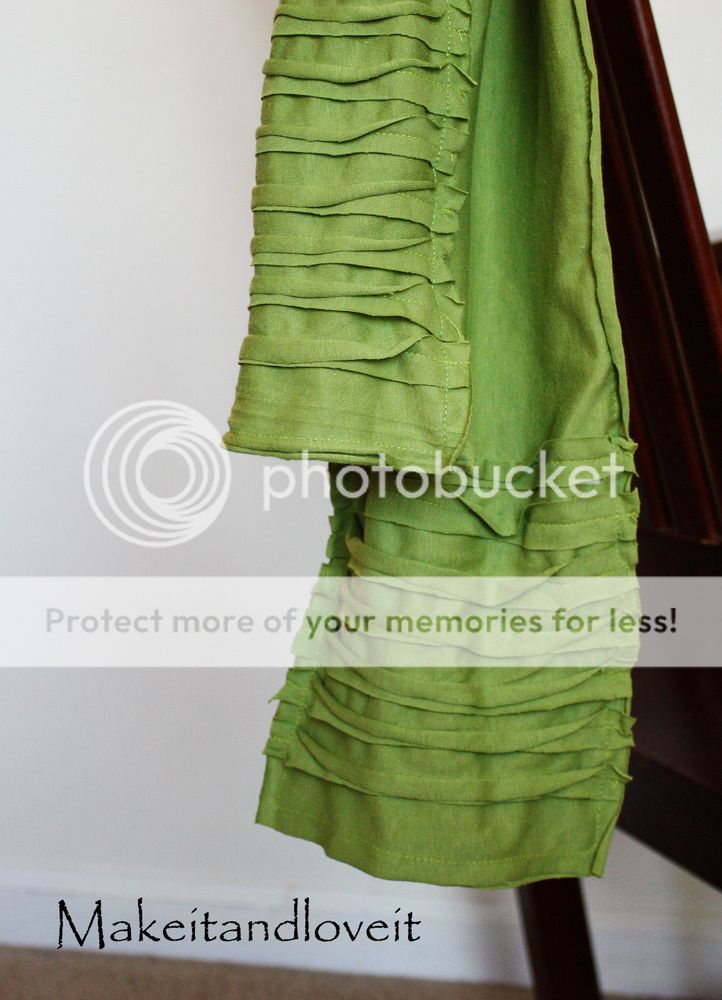
Then, starting an inch and a half from the end of your front piece (my end rolled a bit, so it’s hard to tell), pin 7 of your strips to the scarf.
A hint here: your strips will probably roll and curl. Place the rolled edges outward, so that after sewing them in place they curl towards the outside, giving it more visual appeal.

Then sew them in place. See how the edges are curling outwards?

Then repeat with the other end. And now repeat with the back scarf piece.
Now, sew the front scarf piece and the back scarf piece together, with wrong sides together. Now all of your edges are raw.


Hi, I’m Ashley—the DIY-enthusiast behind this crazy blog!


