I have had a few requests for Christmas stockings. So while I was out looking through the upholstery fabric and found the material for my tree skirt, I picked up some for a stocking too…… (and a little bit of velvet-y trim for the top.)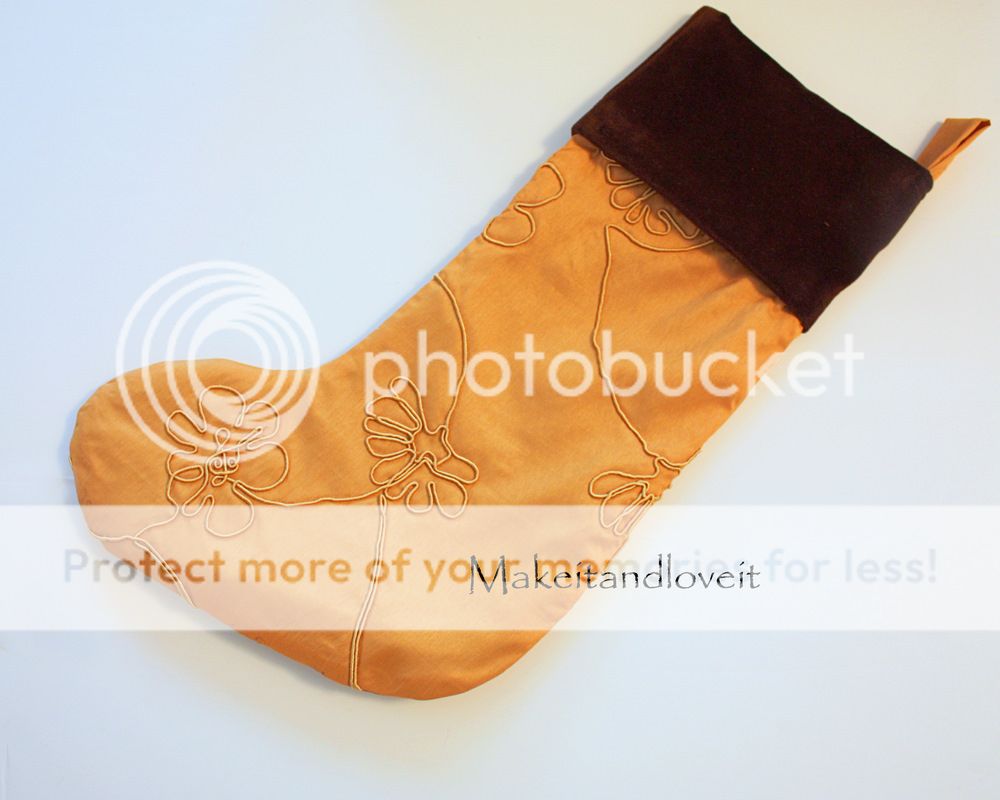
But had to buy enough to make 3 more.
Why not?
The discounted upholstery fabric was ridiculously cheap.
And perfect for this project.
Can’t wait until we move and we have a fireplace to hang these from.
One more week.
To begin, trace around an old stocking….or draw your own. (Make sure to include enough for a seam allowance.)
Then cut out two of your main fabric and two of your lining.
Then, sew the pieces of your main fabric together (right sides together), leaving the top open. Do the same with the lining.
Now, cut slits into the curve of the stocking (to help it lay flat after turning it right side out).
Then turn your main fabric right side out and press flat. Then insert the lining inside of your stocking (while still inside out) and align it with the outer stocking. Sew right along the top opening of the stocking, making sure to evenly line up both the main fabric and the lining edges.
Next, cut a piece of coordinating fabric (to be used for the cuff of the stocking) that is wide enough to go all the way around and twice as tall as you’d like it. And make sure to include enough for seam allowances.
And then slide the tube (inside out) over the top of the stocking. Line up the raw edges and sew together.
Now pull the tube up and off of the stocking until it’s right side out.
But pull it back down enough to give the cuff of the stocking a bit of a lip.
See how there’s about a 1/2 inch lip….or overlap?
Then pin this overlap into place…all the way around the stocking.
Then fold the top of the tube (about in half), down into the inside of the stocking…..leaving enough for a nice cuff. Pin the top fold in place. Then turn the stocking inside out, making sure to not poke yourself with the pins……..:) And then tuck under that raw edge and hand sew into place, all the way around the cuff.
Now, cut out a strip of fabric to make the loop.
And then fold in half, tuck under the raw edges and attach to the cuff of the stocking.
And that’s it. A new stocking to collect gifts from Old St. Nick.
Pending good behavior, of course.

Hi, I’m Ashley—the DIY-enthusiast behind this crazy blog!


