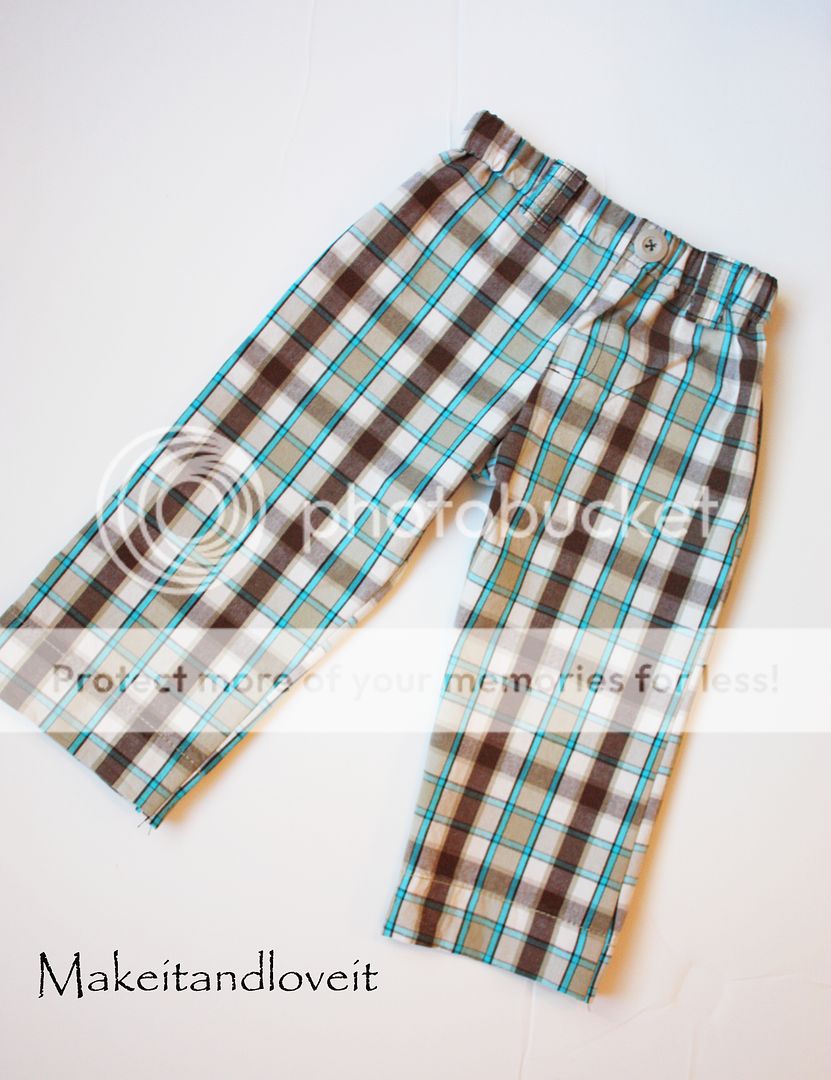
But how about some hip little pants?
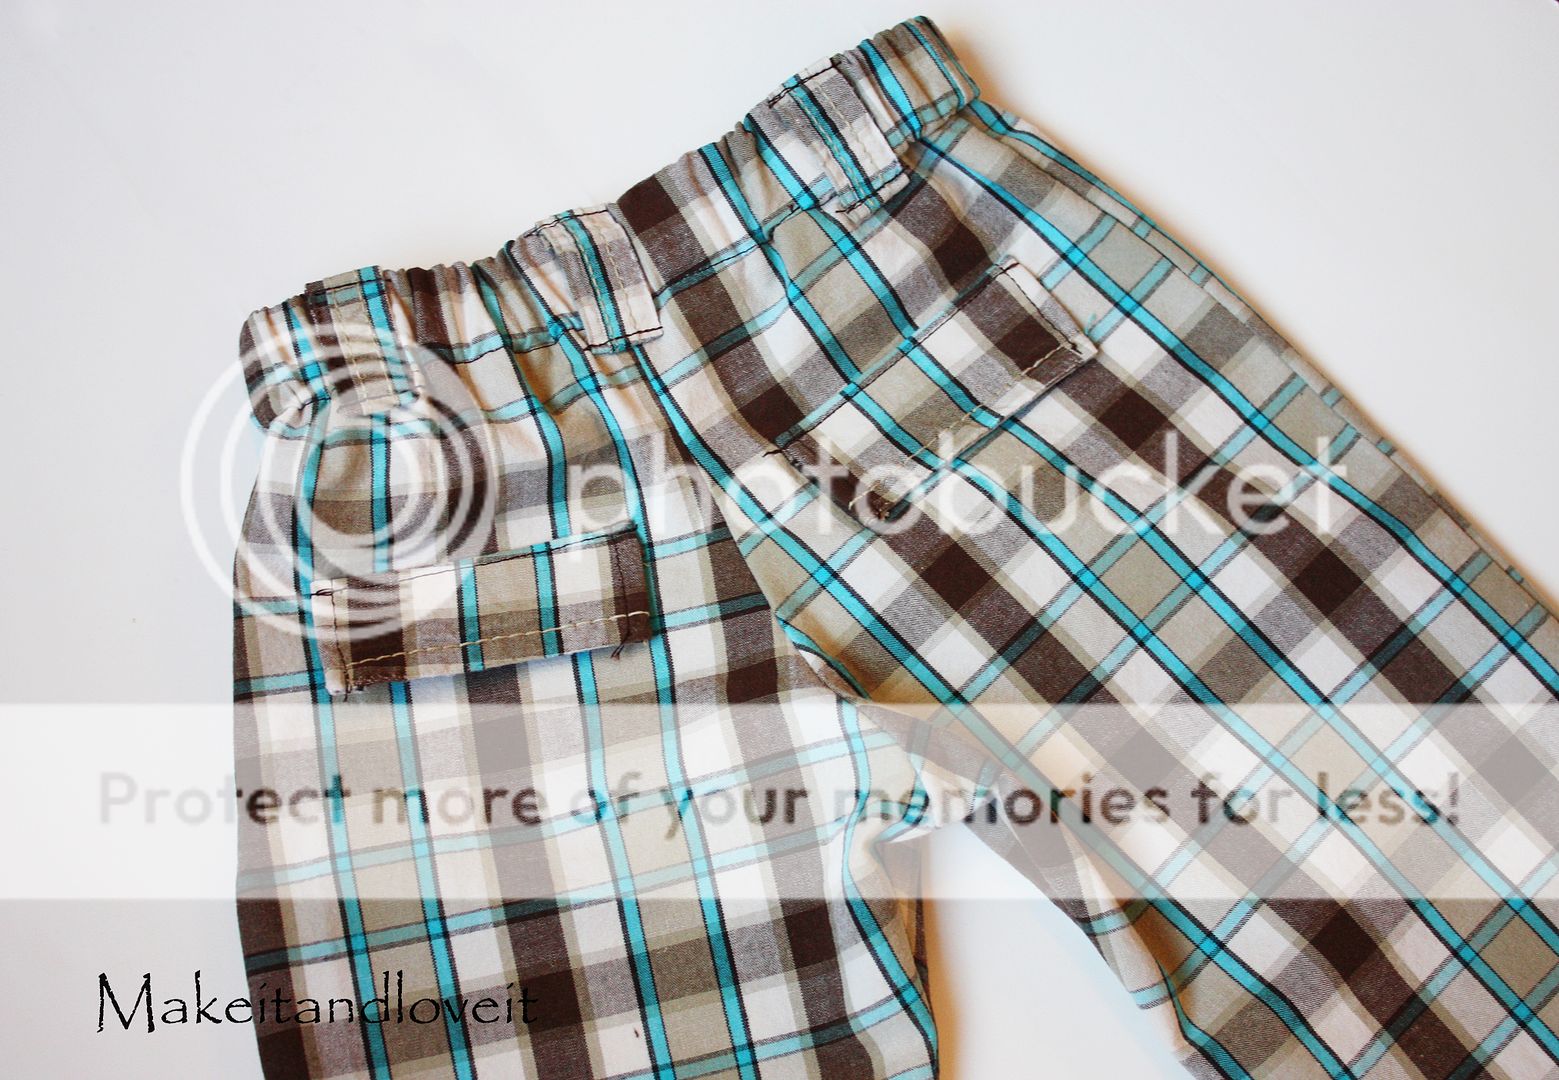
Complete with belt loops and faux back pockets.
All made from a men’s pair of shorts.
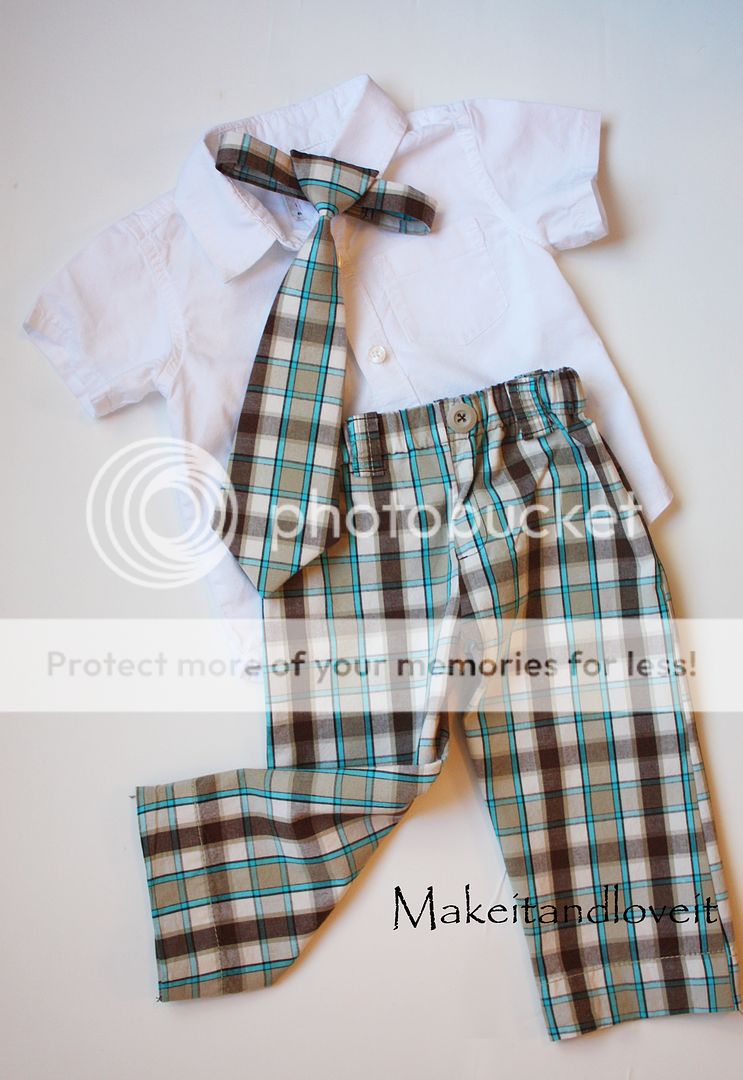
And then match it up with a shirt and tie.
Why not?
However, you may find yourself wanting to eat him up. Mmmm….cute.
(tie pattern will be available soon. well, kind of soon.)
Give it a try if you have a little guy.
How?
: : : Click on images to enlarge. : : :
Find an old pair of shorts or pants that have a fun pattern……or keep it plain. It’s up to you. (And if you don’t have any to spare…..head on over to the thrift store and pick some up.)

Then, using the tutorial here, make a pair of pants to fit your little guy.
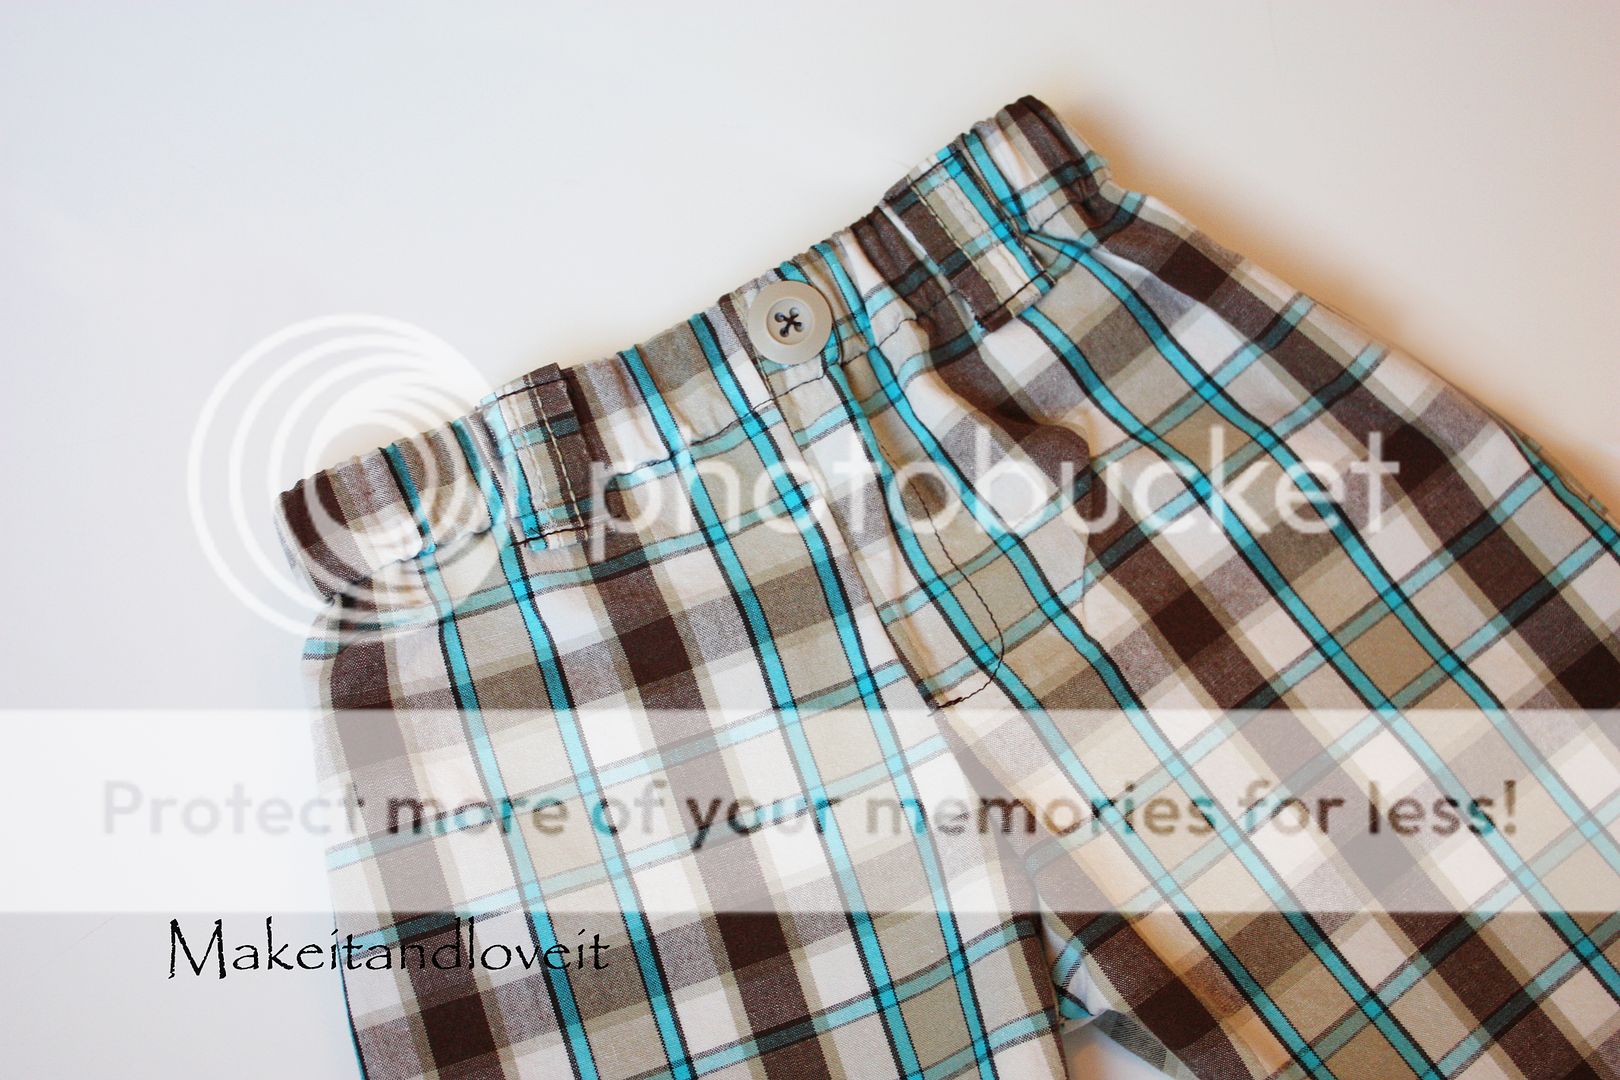
Next, I attached a button to the center front. And then I made a mock zipper fly section by sewing a seam from the top about an inch away from the center seam to the right……then sewed down several inches and curved over to the left to the center seam. (Whew, that wording was confusing…..just look at the picture!!)
Now, you’re going to cut off all of the belt loops from the men’s shorts/pants. (Or if the shorts/pants didn’t have any, you can create your own or skip it all together.)

Turn under the ends of the loops a 1/4 inch and attach to the pants.

Then I cut rectangles from the waist band to create back pockets that were about 3 1/2 x 2 1/2 inches. (My pants are size: 18 months.) By using the waistband, it was already double layered and had a nice seam for the bottom of the flap. But you can use scrap fabric and create your own double layer and bottom seam. No worries.

The I folded under each end a 1/4 inch.

Then I folded under the top about a 1/4 inch and positioned them on the back of the pants. Sew into place and iron flat. (You can also add a button to the back flaps and sew them to the flaps and through the pants too. That would help keep the flaps in place…..but mine stay in place just fine.)

And that’s it. A rockin’ new pair of plaid pants for your little guy.


Hi, I’m Ashley—the DIY-enthusiast behind this crazy blog!