Home » DIY Tutorials » DIY Sewing » Sewing: Clothing » Baby Clothing » “Learn to Walk” Belt
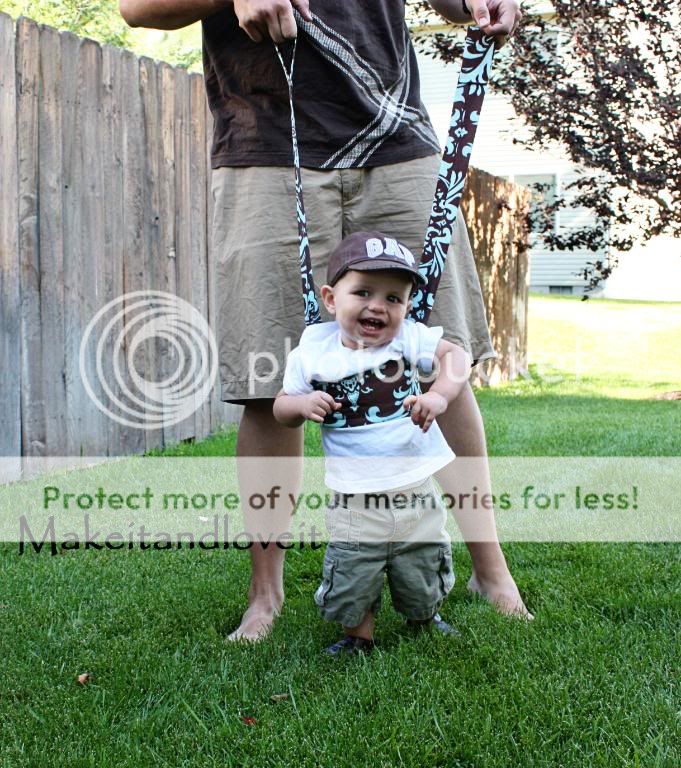
Our little guy is 13 months old and 22 pounds. He’s heavy and my arms are burnin’ from carrying him around. He has shown interest in walking lately so I decided to make one of these walking belts for babies learning how to walk. (Gives them confidence to walk solo, without holding a hand.)
It’s his turn to learn the art.…with daddy’s help.
Save
I made mine very simple……..a bit different from the ones I have seen for sale.
But works great.
This way, you don’t have to bend over to hold their hands. (My husband and I are both tall people.) Or pull their arms out of socket… Perfect.
You’ll need:
(I used upholstery fabric because that’s what I had. You could also use webbing for the handles and the belt or just for the handles. It’s up to you….but if you use fabric, use something sturdy.)
First, place your 2 belt pieces together, right sides together. Then lay your piece of batting on top, leaving a 1/4 inch space at both ends. Sew along both long sides, leaving the ends open.
Save
Then turn right side out and press flat. Turn the ends in a 1.4 inch and sew closed.
Save
Then fold one of your handle pieces in half, lengthwise, and sew along the long edge with a 1/4 inch seam allowance. Turn right side out and press. Do the same with the other handle piece. Then, find the center of the belt and measure out about 2.5 inches from either side of the center. Mark with a pin…..this is where your handles will be attached. (Your handles will be about 5 inches apart. However, if you have a really petite baby, you may want to place the handles 4 or 4.5 inches apart…..so that the handles don’t end up under their armpits when the belt is in place. These are just the measurements that worked well for our little guy.) Then fold under one end of the handle piece and attach about an inch down on the belt.
Save
Here it is flipped over. Make sure to make 2 seams and backstitch several times. You don’t want it to come loose.
Save
Then fold over the other end of the handles about a 1/2 inch and then another 4.5 inches and sew into place. This will give you a nice loop to hold onto while walking your baby.
Save
Then cut some velcro to place on each end of the belt. For mine, one side of the belt has 7 inch velcro and the other end has 2.5 inch velcro. Use what works best for you and your baby.
Save
Whew, done.
Quick, easy, and a great help for babies learning to walk.
Save

Share via: