Today’s contributor is Valerie from Élégantine! All posts written by Valerie for Make It and Love It can be found HERE.
. . . . .
Hello! This is Valerie from Élégantine! and I am back with a DIY Velours Envelope Clutch tutorial!

I have been quite passionate since Fall by velours (see some of my favorite velours makes on my blog and Instagram ). When winter ended, I swore I would find a way to continue to incorporate it into my spring wardrobe. Here comes the fully lined velours clutch! This deco-weight velour makes the perfect clutch. It almost gives it a suede quality and I really love the result!


Now, let me show you how I did it!

* All my fabrics and notions are from Club Tissus, my favorite fabric store in Canada.

A magnetic snap will be completely invisible from the outside.


Trace your clutch template onto paper. Start by tracing a rectangle, this will be your clutch envelope back. Then, trace narrow rectangles all around to give a depth to your clutch and allow you to put things in it.

Locate the center of each side and trace an imaginary perpendicular line measuring about 3/4 of the width and 3/4 of the height. Mark the top of the line with a dot. Connect the dots all around the rectangle. Retrace the corners, rounding the buttom corner and top corner (a little less). The little triangle cut outs (notch) that you see on the next picture will help you get a nice finish later on. Remember to include a seam allowance. I like to use 3/8”.

Trace your template onto fabric. If you are using velour, it’s easier to trace from the wrong side. Prefer pattern weight to pins to secure the pattern onto your fabric because pins will leave hole marks on the fabric. If you don’t have fancy pattern weight, a soup can will do the job! To trace onto fabric, I love to use a Clover Pen Chaco Liner.
1x Velours
1x Lining
2x Fusible interfacing

Fuse your interfacings on the wrong side of the velours fabric one after the other.

Notice how our clutch envelop is in one piece. This is how we will fold it to create our clutch.

Marking the outside corners with a washable pen will be handy when attaching the piping.

Add piping to the top corner and lower corner using a piping foot, if you have one. Alternately, you could use a regular zipper foot or even a standard presser foot. What you need to remember, is that you need to stitch as close as possible to the piping when you attach it.

Add piping to the top corner and lower corner using a piping foot.
Since I will be sewing with a 3/8” seam allowance and my piping has a 1/4” included seam allowance, I pinned the piping 1/8” from the raw edge. The finished side of the piping must face the middle of the clutch.

When you reach where the markings for the outside corner, fold the piping towards the outside.

With the right sides of the fabric together, fold the clutch at the notch and sew using a 3/8 seam allowance. Repeat for the other side and cut off the extra piping.

Repeat this step for the lining but leave a few inches gap along one seam (backstitch on both sides of the gap). We will use it to turn the clutch to right side after assembling the lining to the exterior fabric.


Sew your magnetic snaps to the wrong side of the lining. Make sure they are aligned when you close the envelop and that the polarity is in the right position. If they attract, you are correct, if they repel each other, switch the side of your magnets.


With the right sides of the fabric together, put your lining over your envelop exterior.


Stitch all around, pivoting in the inner corners. Make a little clip into the inner corners. It will help your clutch sit flat when we will turn it the right way out. Turn the envelop clutch to the right side by pulling the velours fabric from the hole you left in your lining. Press well and stitch the lining closed by hand.


Enjoy your new make and carry your envelope clutch everywhere proudly during MMM17!

I hope you like this DIY Enveloppe Clutch tutorial!
Valerie xoxo

. . . . .
Looking for even more adorable bag tutorials that you can make right at home?
Try these on for size:
Classic Leather Foldover Clutch Tutorial

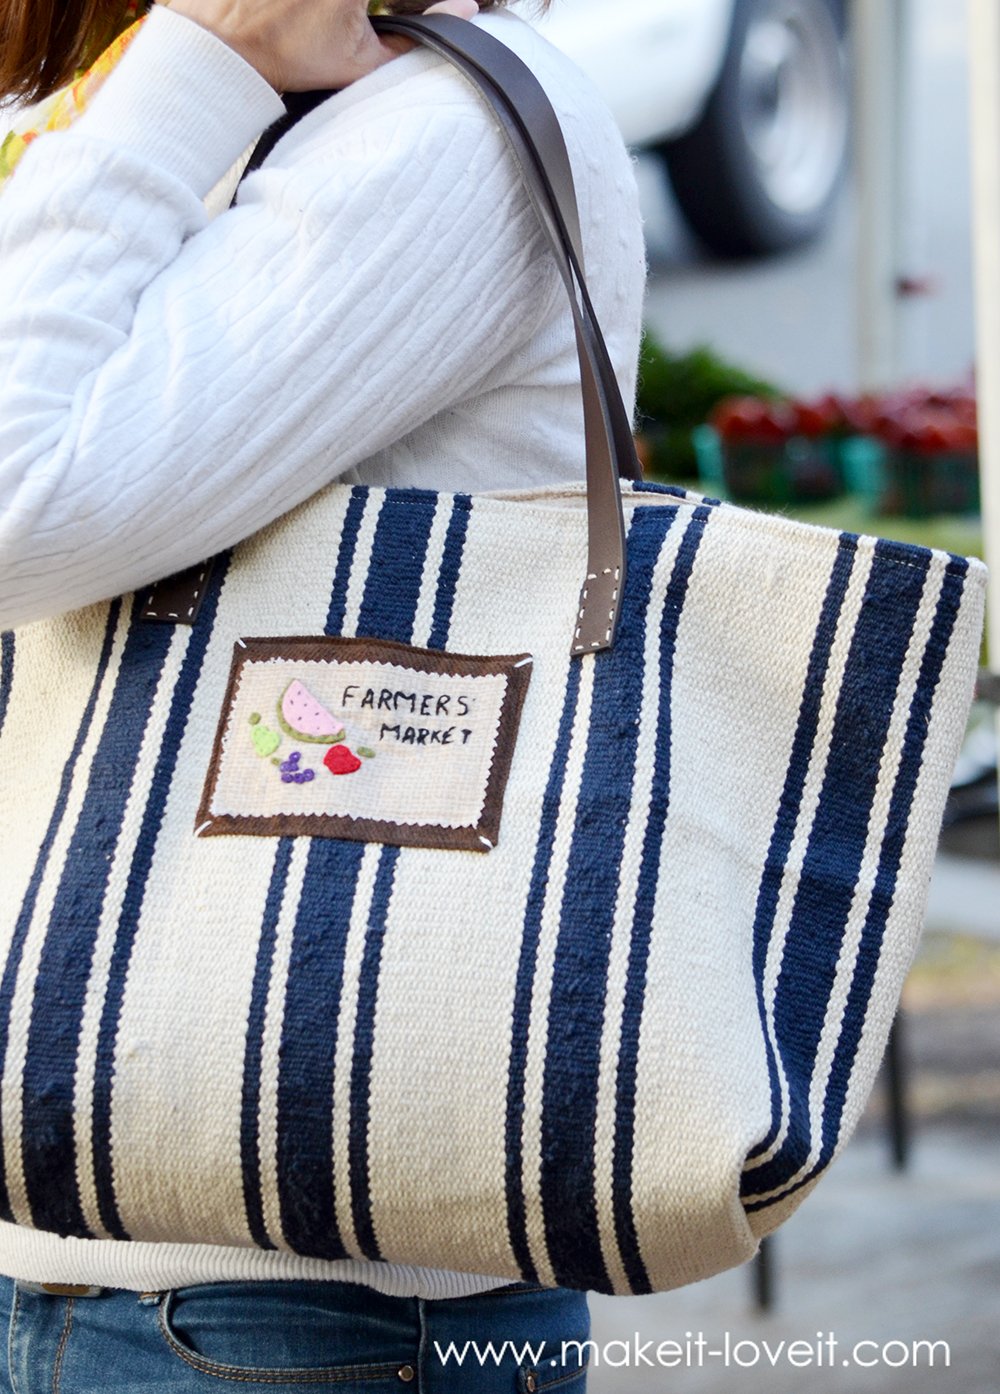
Farmers’ Market Bag (From an Ikea Rug)


Hi, I’m Ashley—the DIY-enthusiast behind this crazy blog!


