Home » DIY Tutorials » DIY Sewing » Sewing: Clothing » Baby Clothing » Fluffy Chiffon Skirt
Fluffy Chiffon Skirt
September 15, 2010 - By Ashley Johnston 88 Comments
.
Did you see if you were the winner of the Be Creative Card Set giveaway? Scroll down or click here.
. . . . . . . . . . . . . . . . . .
How many projects do you have going at one time?
Are you a must-finish-one-project-before-starting-another-one type of person?
I wish I was.
But I think there is no hope for me.
I always have several projects going on at one time. Sometimes 3, other times 5, and at other times…….I have no idea. And right now, I have no idea.
I am a list person and try to write ideas down and prioritize which I’d like to do first and such but uggghhhh………..then I see a new piece of fabric that I must get for the “perfect project”, see a bare spot on my wall that needs some sprucing, or want to attend a party and bring something fun. I stop mid-project sometimes because of one reason or another……..and then get jazzed about something different when I get back into craft mode.
Does this sound familiar to anyone?
Or am I alone in this craziness?
And today’s project? One that has sat un-finished for a while… And let me tell you, I have had strips of yellow chiffon hanging around weird spots, waiting to be attached to this skirt. At one point, I even saw one of the strips wrapped all the way around my little girl’s body. I guess someone appreciates my un-finished projects.
Anyway, I’m glad I finished this little
fluffy chiffon skirt. I bought the material for this way back when I bought it for the pettiskirt
here (maybe in the spring??), but it sat waiting for me to work with it.
And you know I love to use scrap material. So I sure did use some leftover grey jersey knit from another project to make the skirt.
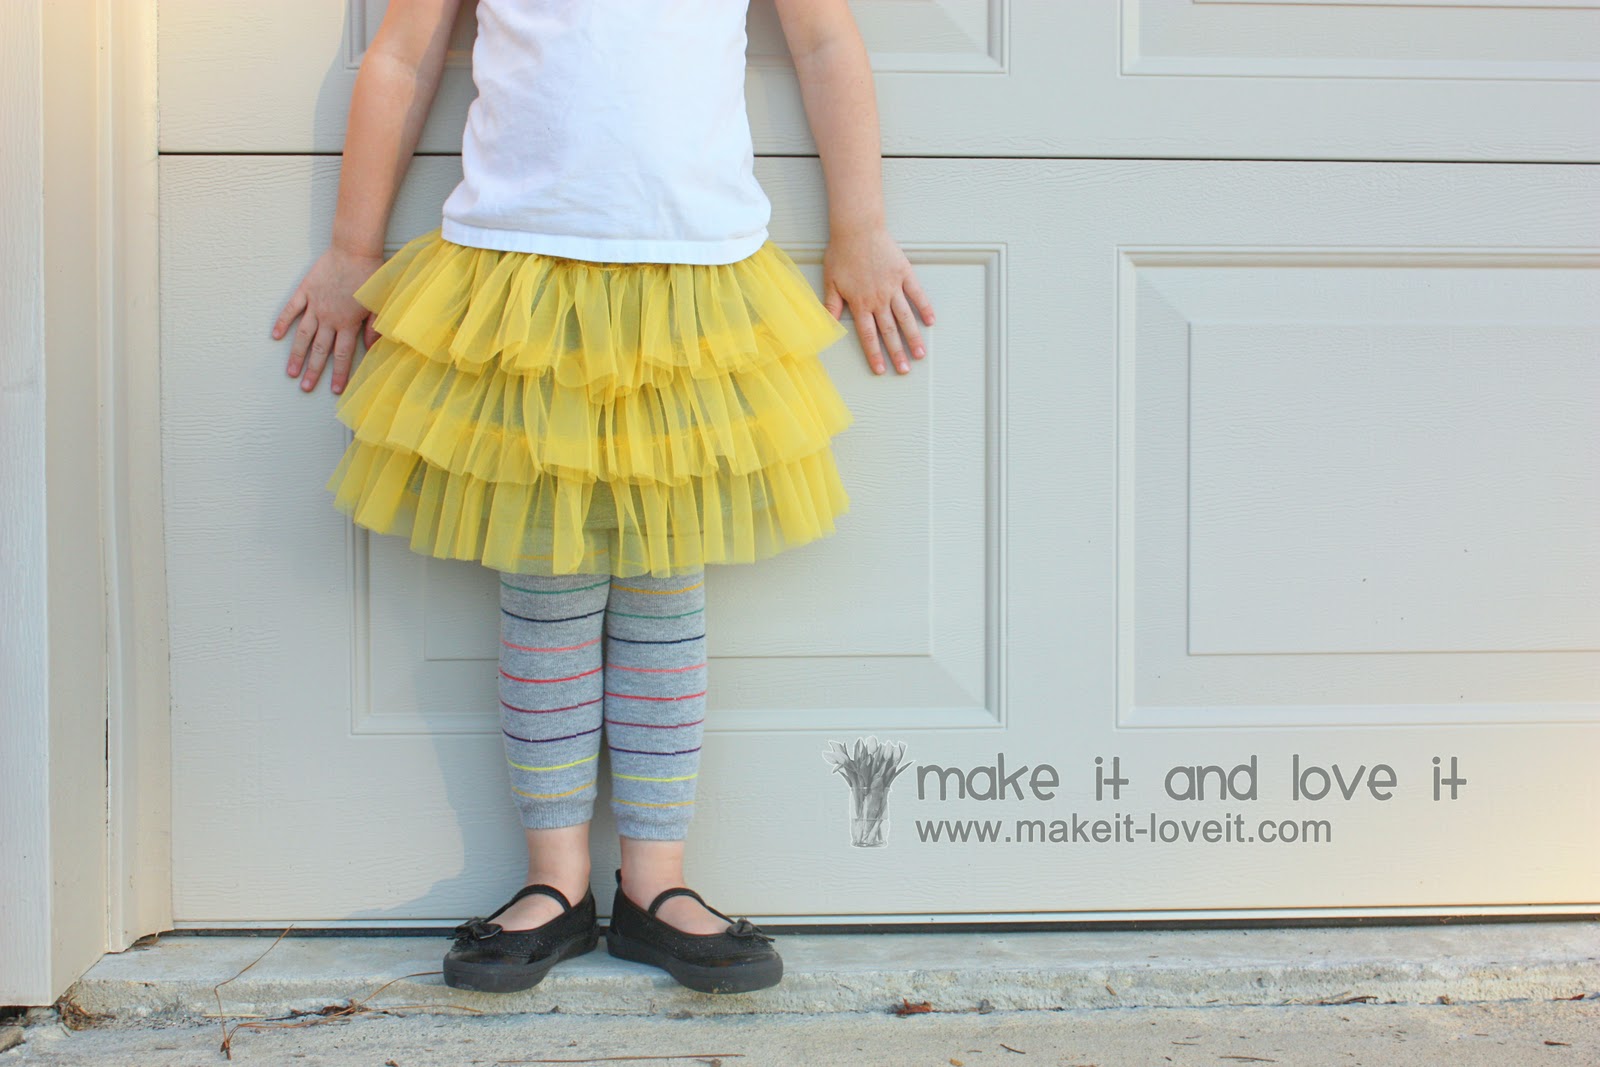
But this little skirt gives you that fun and cheery pettiskirt jive, without using so much chiffon.
And what could be cuter than throwing some leggings on with it?
And yes, the skirt still has plenty of flexibility…..perfect for climbing and other such fun.
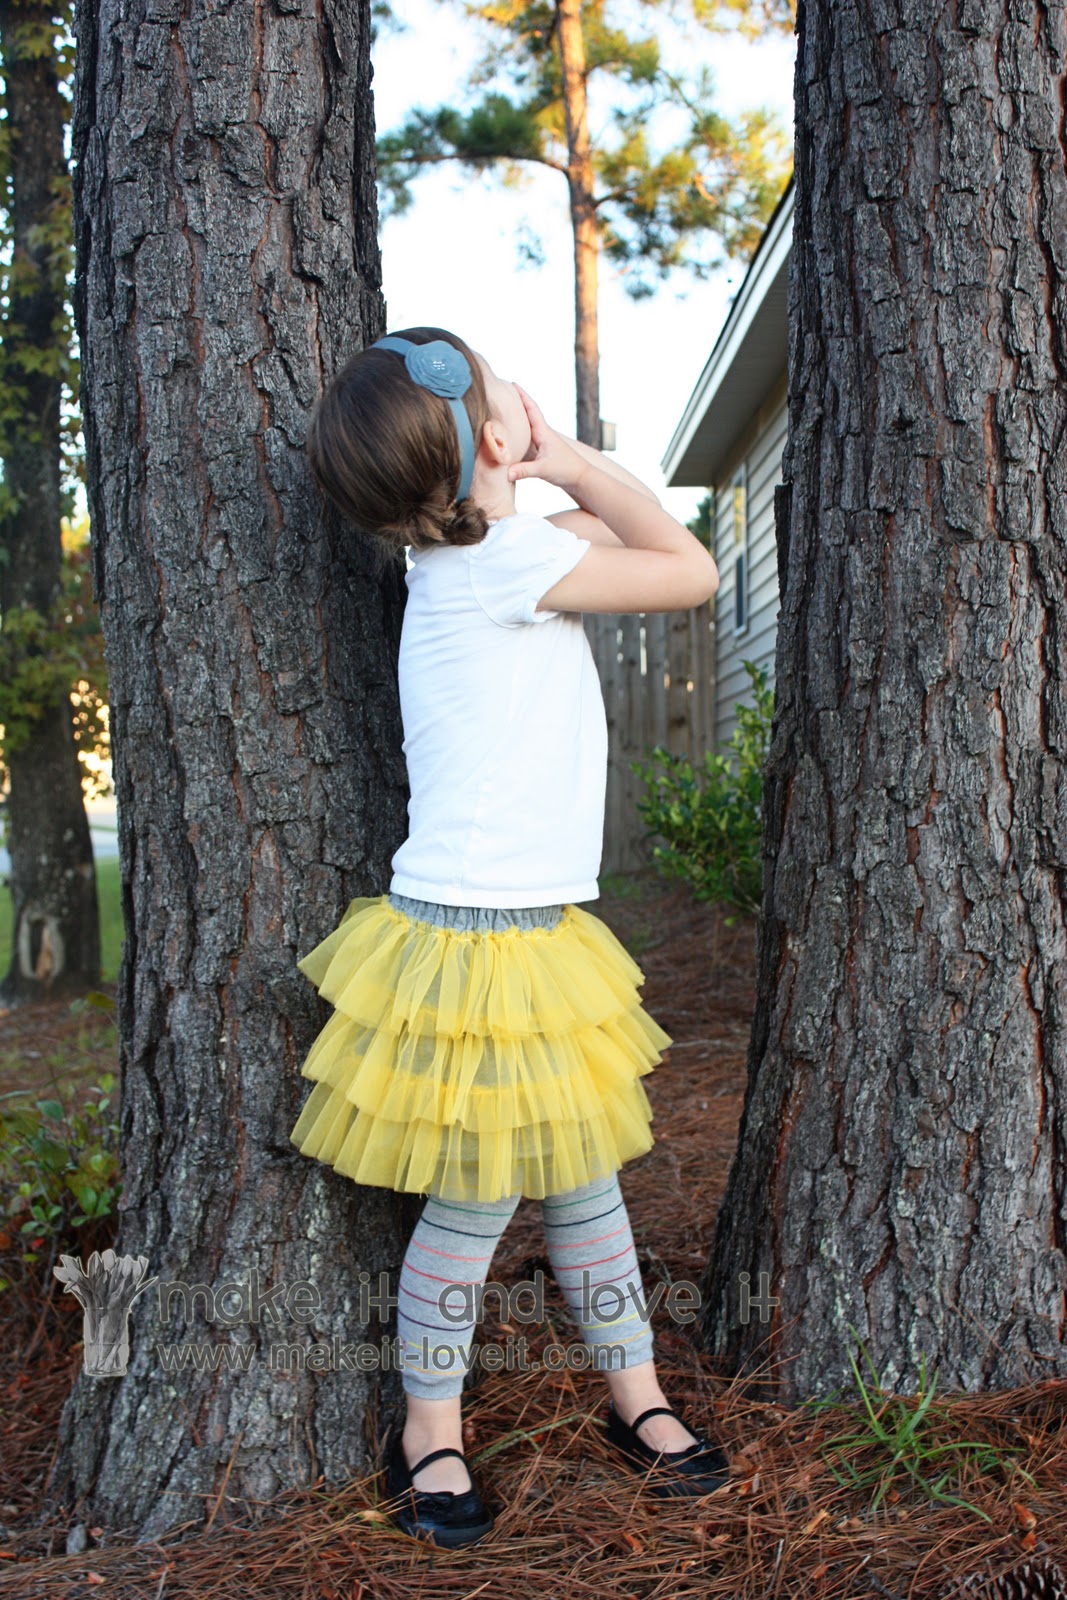
And it’s okay to get down and dirty in the skirt too.
Especially to look in tree trunk knots for squirrel families. Yes, she sure was calling for Mr. Squirrel to come out and play.
(I had to break it to her later that squirrels are too big to live in that little knot.)
And with all of the great chiffon, there is plenty of light movement to the skirt.
Interested in making your own?
I used knit fabric as the skirt base and then added the chiffon to that. Mine is made for my little girl who wears a 4T, so adjust this tutorial as needed……but you don’t want/need the knit skirt base to be very full. But you don’t want it too snug/tight either so that it limits movement. So my little girl is about 20 inches around in the waist, so I figured about 28 inches around would be plenty big.
So I started with a piece of knit that was 29 x 11 inches. (An extra inch in the width for the side seam allowance and an extra 2 inches for the top and bottom seam allowances.)
Then I cut a long strip of interfacing that was 29 inches long and about 1/2 of an inch wide. Then I ironed it to the bottom edge of the skirt on the wrong side of the fabric. I did this because this knit was rolling so much and I wanted the bottom edge of the skirt to stay flat and not roll up, making the skirt base shorter and shorter.
Then I folded the bottom edge under a 1/2 inch, then another 1/2 inch, and then sewed it into place. This hid the interfacing and kept the bottom edge stiff-er and flat. Worked great.
Then, I folded skirt in half and sewed a seam along the side of the skirt, using a 1/2 inch seam allowance. I sewed another stitch right next to the first, for re-enforcement.
Then I folded the top edge down a 1/4 inch, then about 3/4 of an inch and then sewed along the bottom of the fold……creating a casing for the elastic waist. Made sure to leave about an inch opening in the casing, to thread the elastic through later on.
Then I set the skirt aside and started cutting strips of chiffon.
(I used a
no-fray chiffon…..info for finding it, listed in my pettiskirt tutorial found
here.)
I cut strips that were 4 inches wide and about 110 inches long. (I had to sew two strips together to get a strip 110 inches long, because my original piece of chiffon was 55 inches wide.) Then I sewed each 110 inch long strip together at each end, making a circle of chiffon.
I cut and sewed 3 circles of chiffon that would be used to make my 3 separate ruffles for the skirt.
Then, I made a gathering stitch along the top edge of each of the circles of chiffon, 1/4 inch away from the top edge. (Need help with gathering? Click here for me info.) Then I pulled the threads, cinching in the chiffon.
Then I slid this ruffle over the skirt, and adjusted the chiffon to fit around the skirt just right. I pinned the ruffle in place, allowing the ruffle to fall about 1 inch below the bottom edge of the knit base.
Then I sewed right on top of the ruffle and previous stitch, securing the ruffle to the skirt.
Then I gathered the next row of chiffon the same way as the first, and attached it to the skirt with pins. I lined it up so that the bottom of the ruffle overlapped the bottom row by about an inch.
Then I sewed this layer in place.
Then, I added the 3rd row the same way, overlapping the 2nd row by about an inch as well.
And just like the other rows, I sewed the top row in place.
Then I attached a safety pin to a piece of 3/4 inch wide elastic, and threaded it through the casing at the waist.
Then pulled it through, sewed the 2 ends together, and then sewed the casing closed.
And that was it.
A simple and versatile little fluffy skirt.
Perfect for all sorts of fun.
Glad I finished one of the many un-finished projects that are piling up. And before those other half-finished projects are completed, I have another little item to show you in a few days. I walked by something in the store the other day, and I knew I had the perfect knit at home to make one of my own.
See? It’s a viscious cycle.


