Home » DIY Tutorials » DIY Sewing » Make-a-Cake Series: Fondant Candy
Make-a-Cake Series: Fondant Candy
August 10, 2010 - By Ashley Johnston 24 Comments
a.
Looking for the Expressions Vinyl giveaway? Scroll down or click here.
. . . . . . . . . . . . . . . . . . . . . .
I think its so whimsical and fun to create sugar art out of everyday things that I can buy in the store.
Like taking something as simple as wrapped candy and turning it into sweet little fondant decorations.
Fun right?
And so much more charming than buying bulk candy in the store for decoration.
And perfect to add to a cake.
Or they would make great cupcake toppers……so many options.
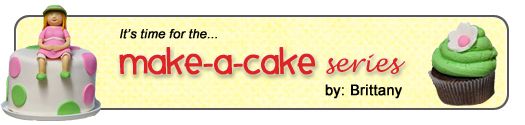
Supplies:
1. Fondant cutter or pizza cutter
2. Fondant roller
3. Gum paste modeling tool (optional)
4. Gumpaste and fondant.
This project is a good example of when to use its perfectly fine to use fondant while creating, and then when you need to use gumpaste.
I used fondant for the body of the candy because it does not need to hold any of it’s own weight. The fondant will harden some but I don’t need it to harden solid.
The wrapper sides need to stick out and hold it’s shape so I used gumpaste because it will get nice and hard.
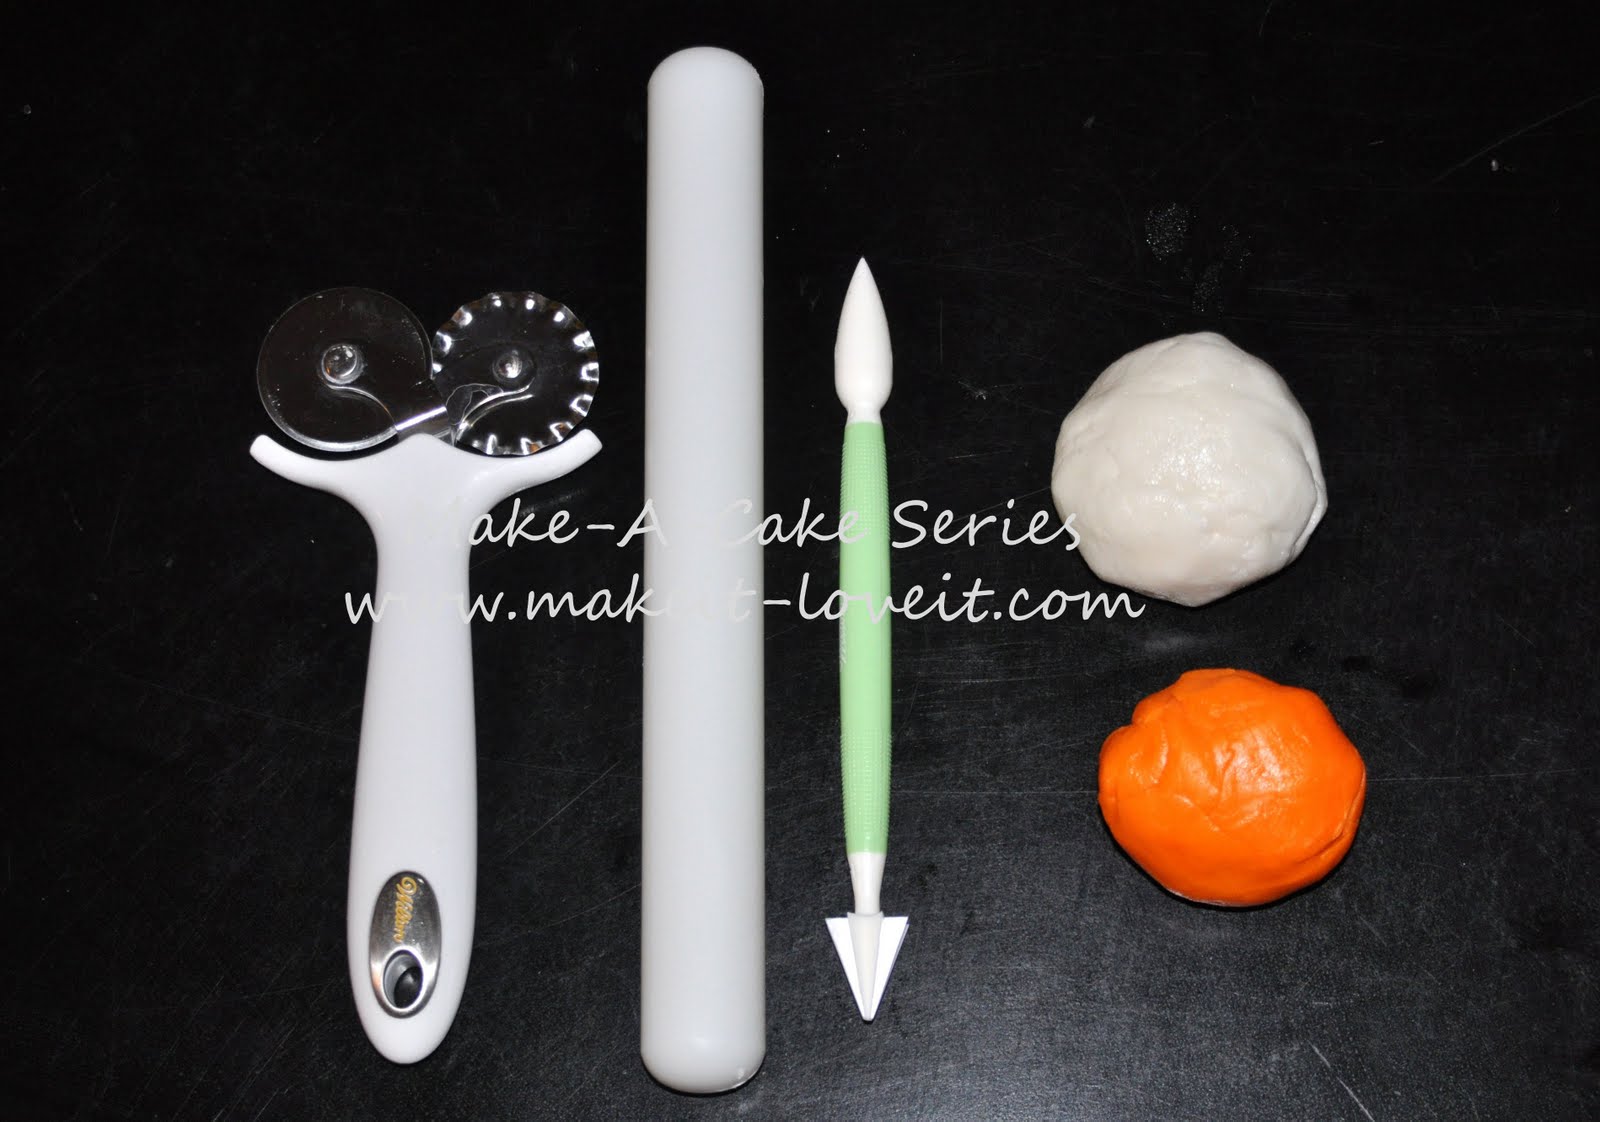
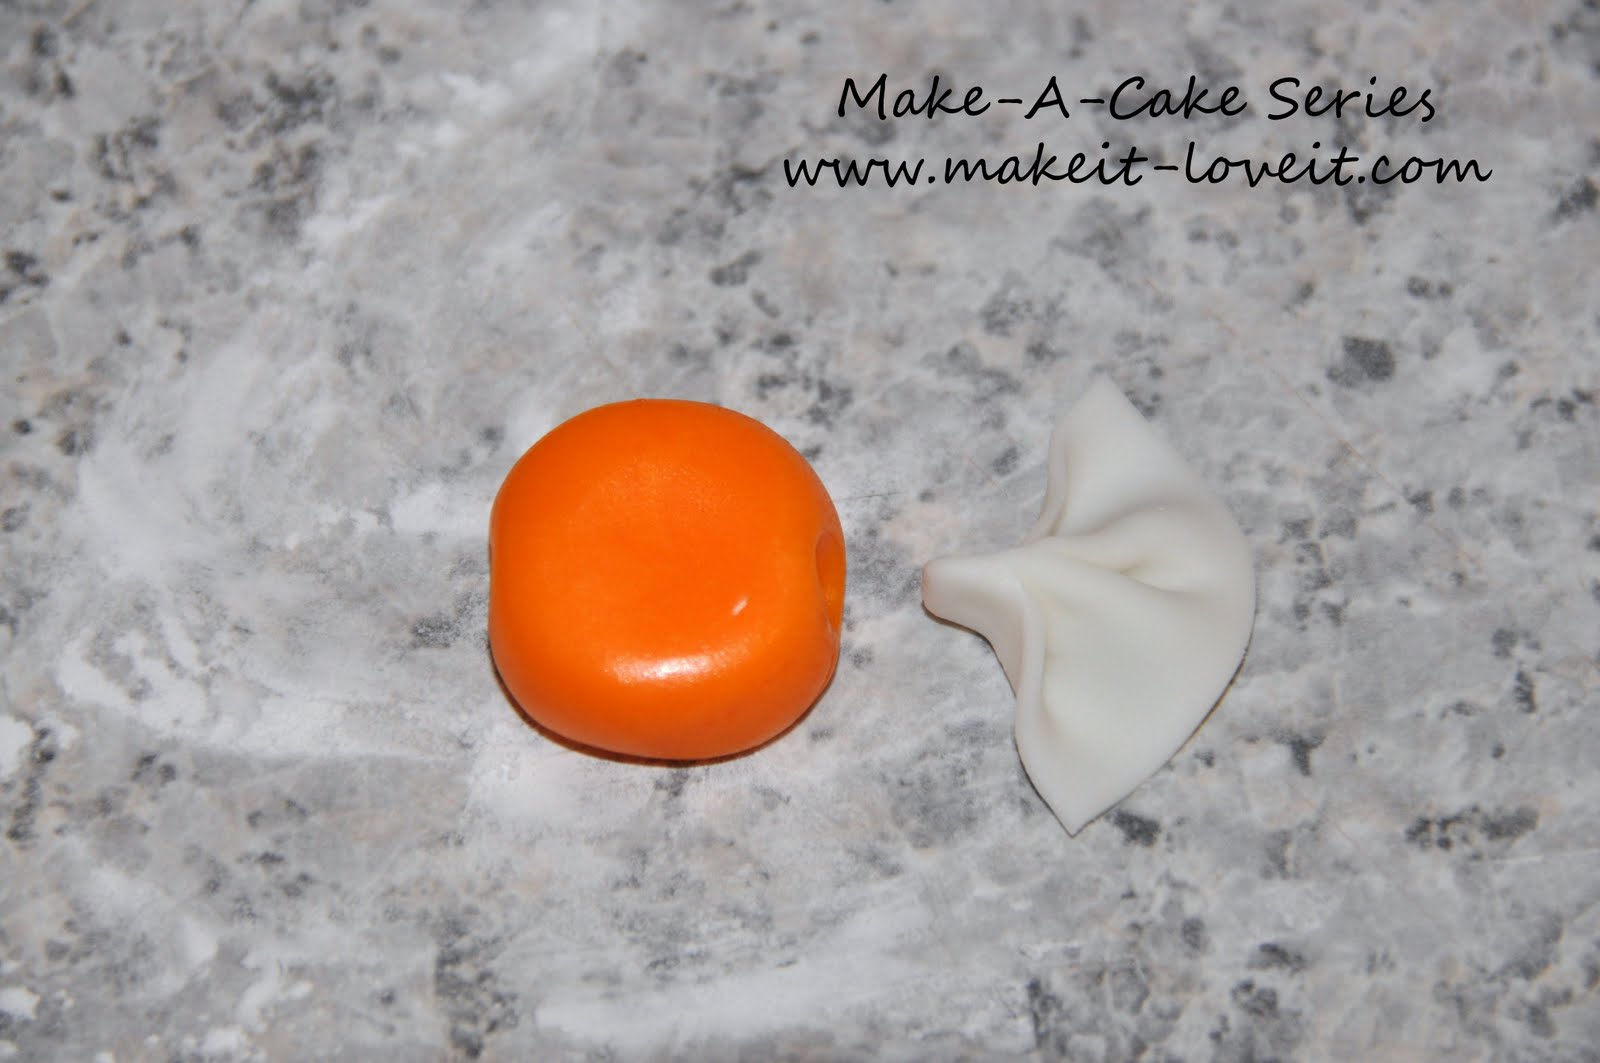
First I started to shape my candy bodies.
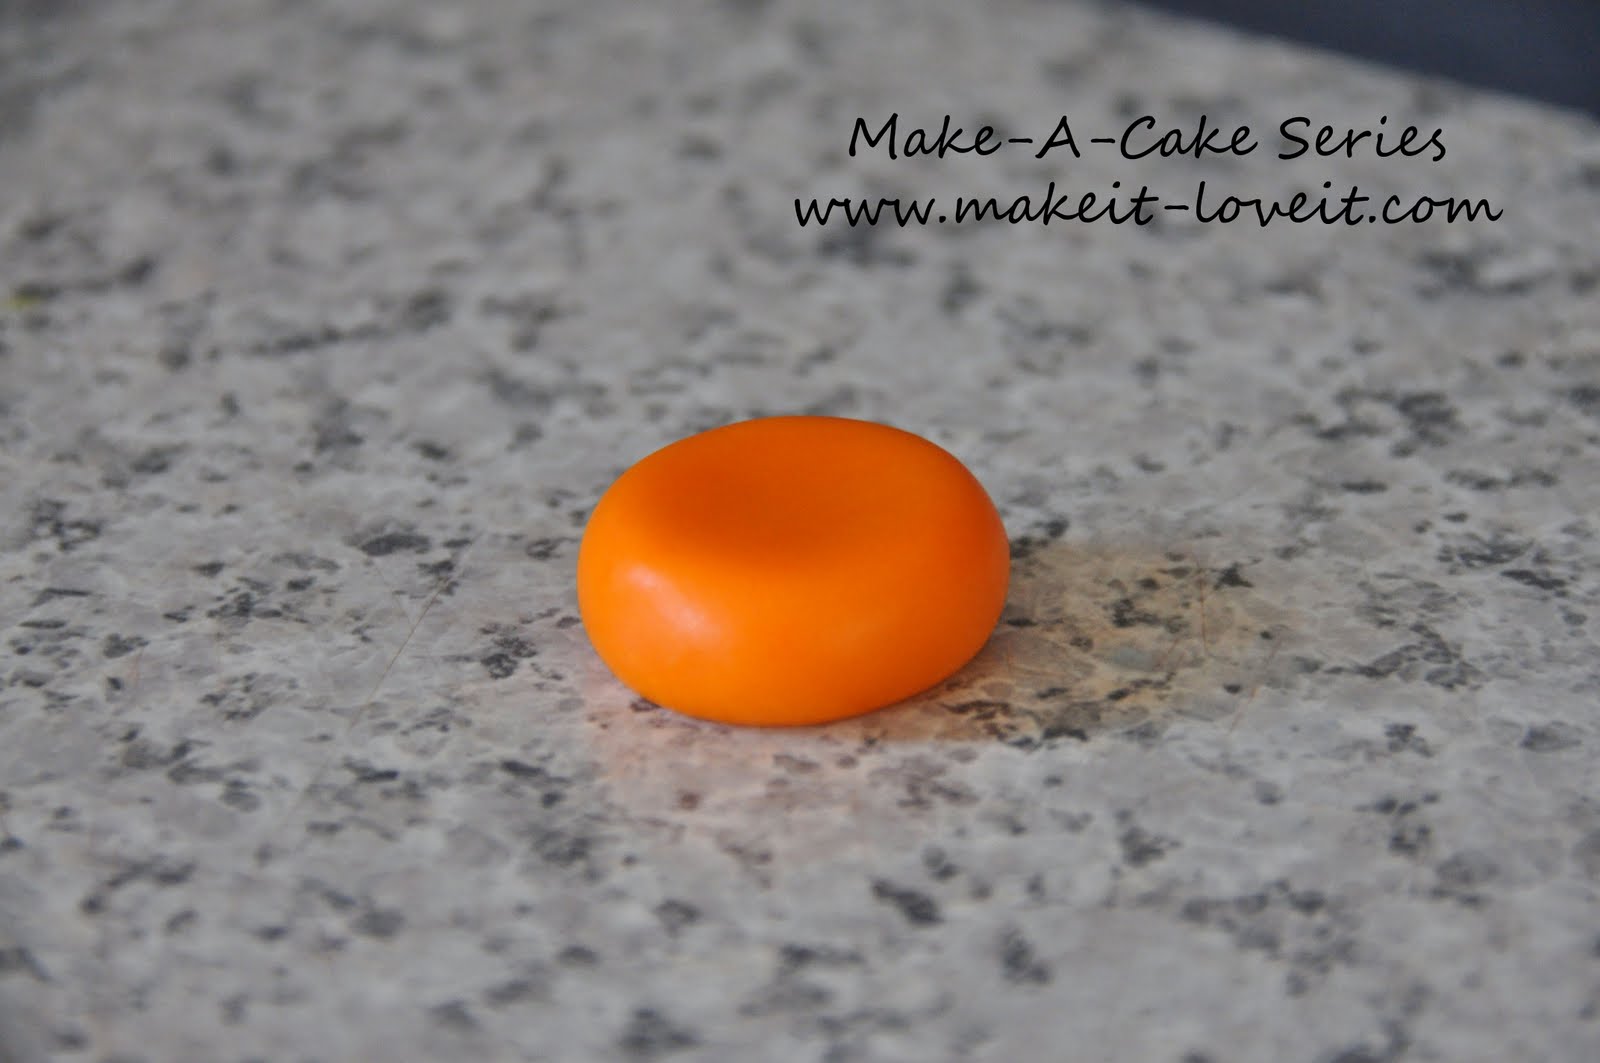
I made three basic shapes (circle, rectangle, and cylinder) all starting with the same size ball.
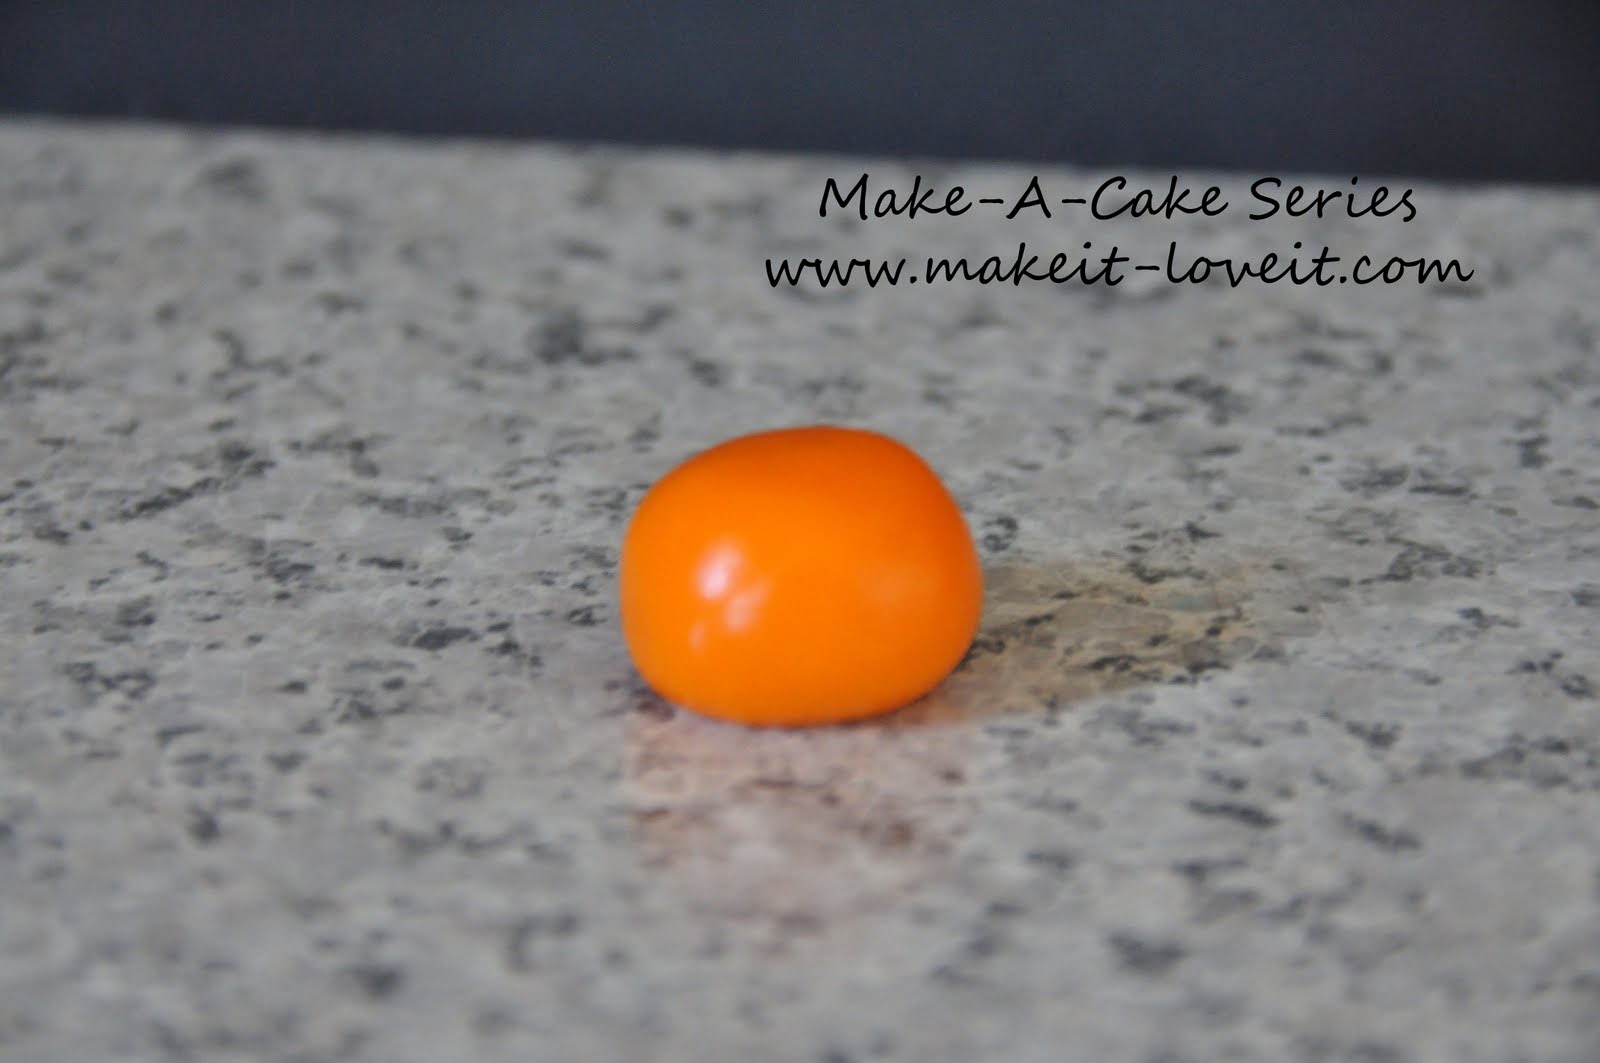
I flattened the ball out to make the circle.
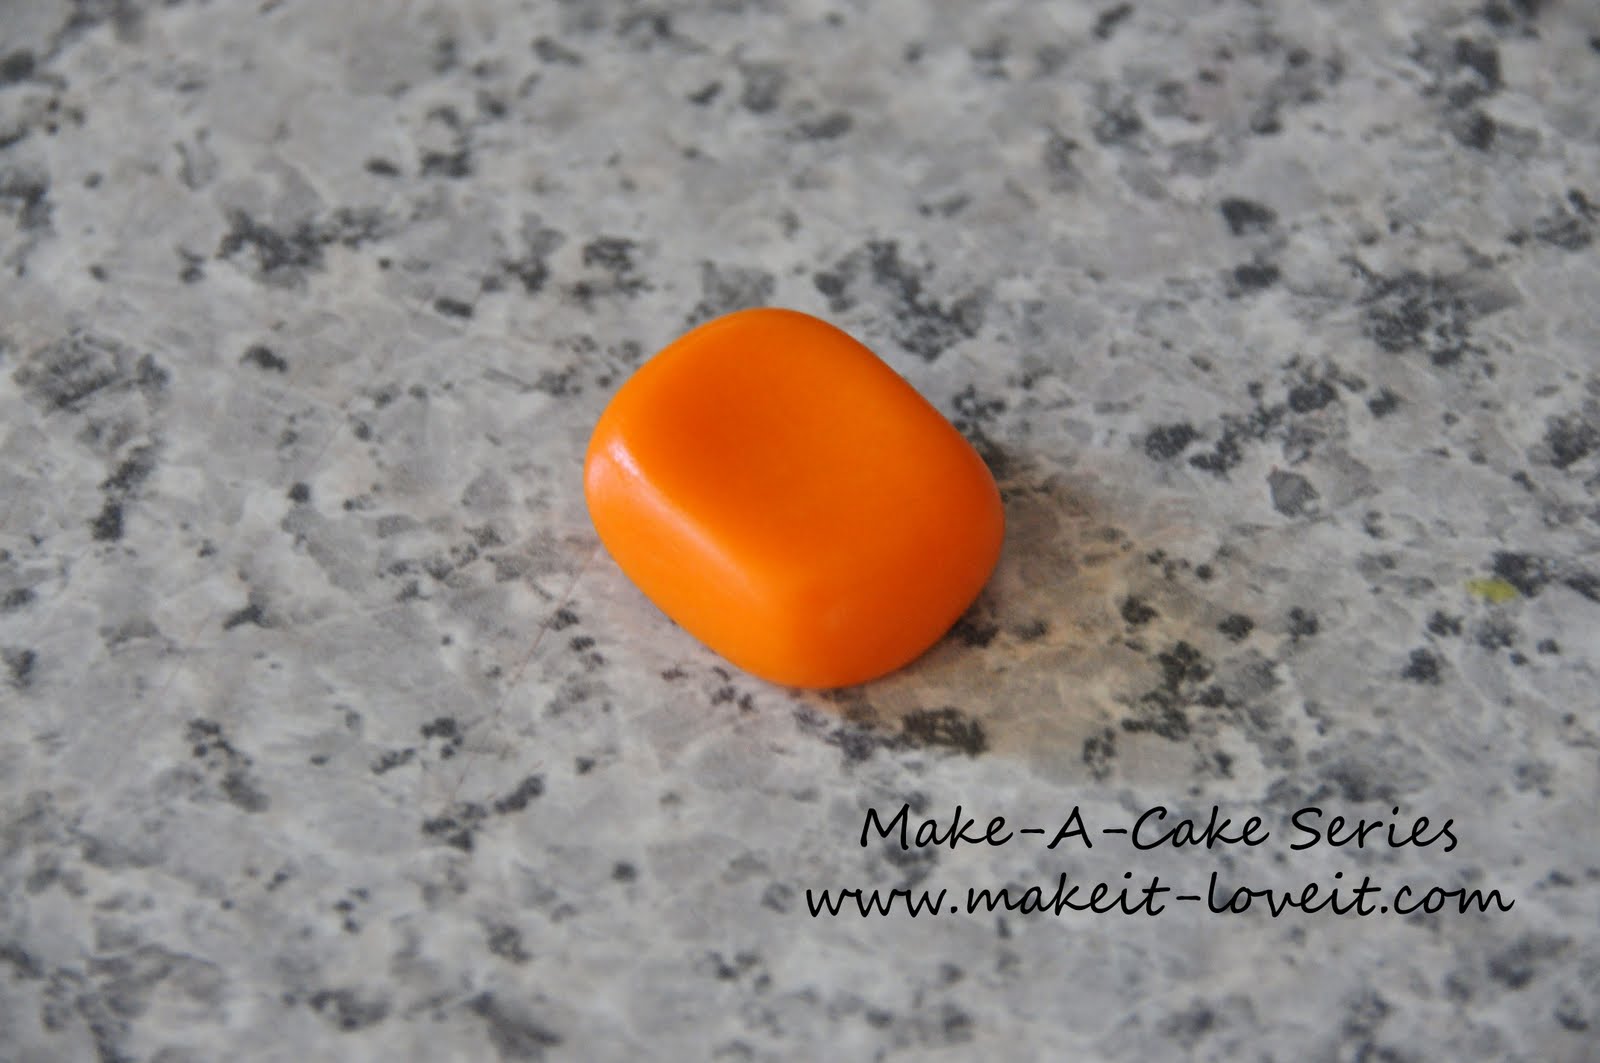
For the square I flattened the ball and then shaped it into a rectangle.
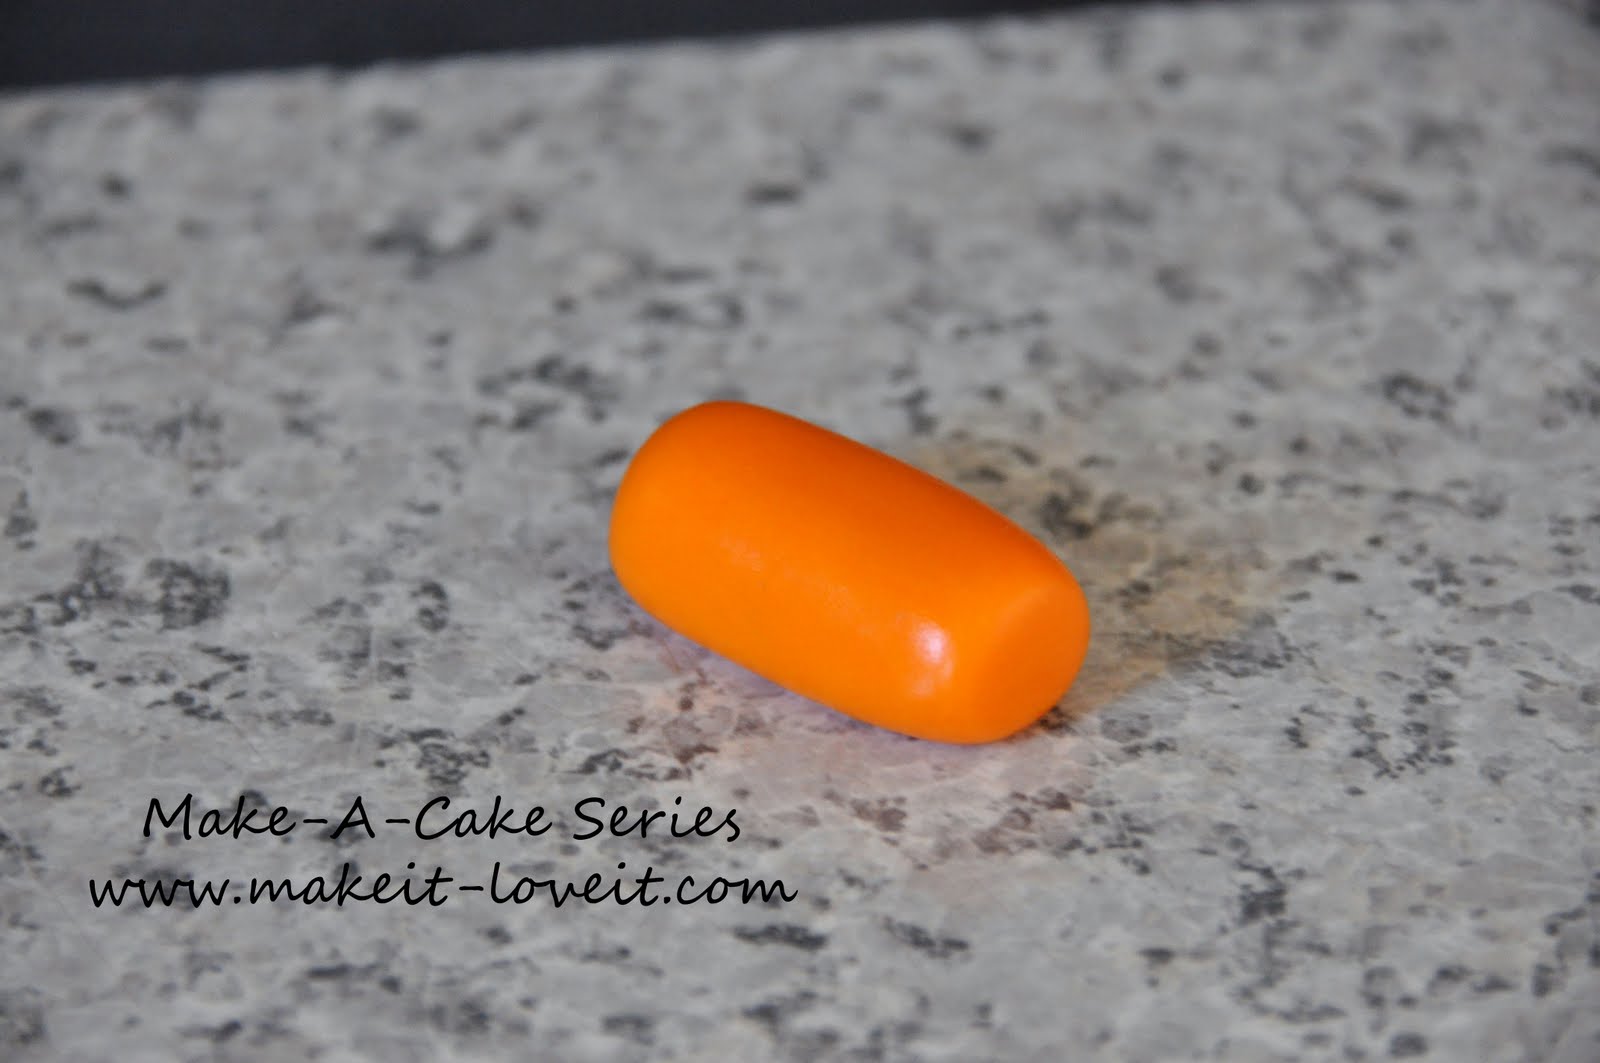
For the cylinder I just rolled it out between my palms.
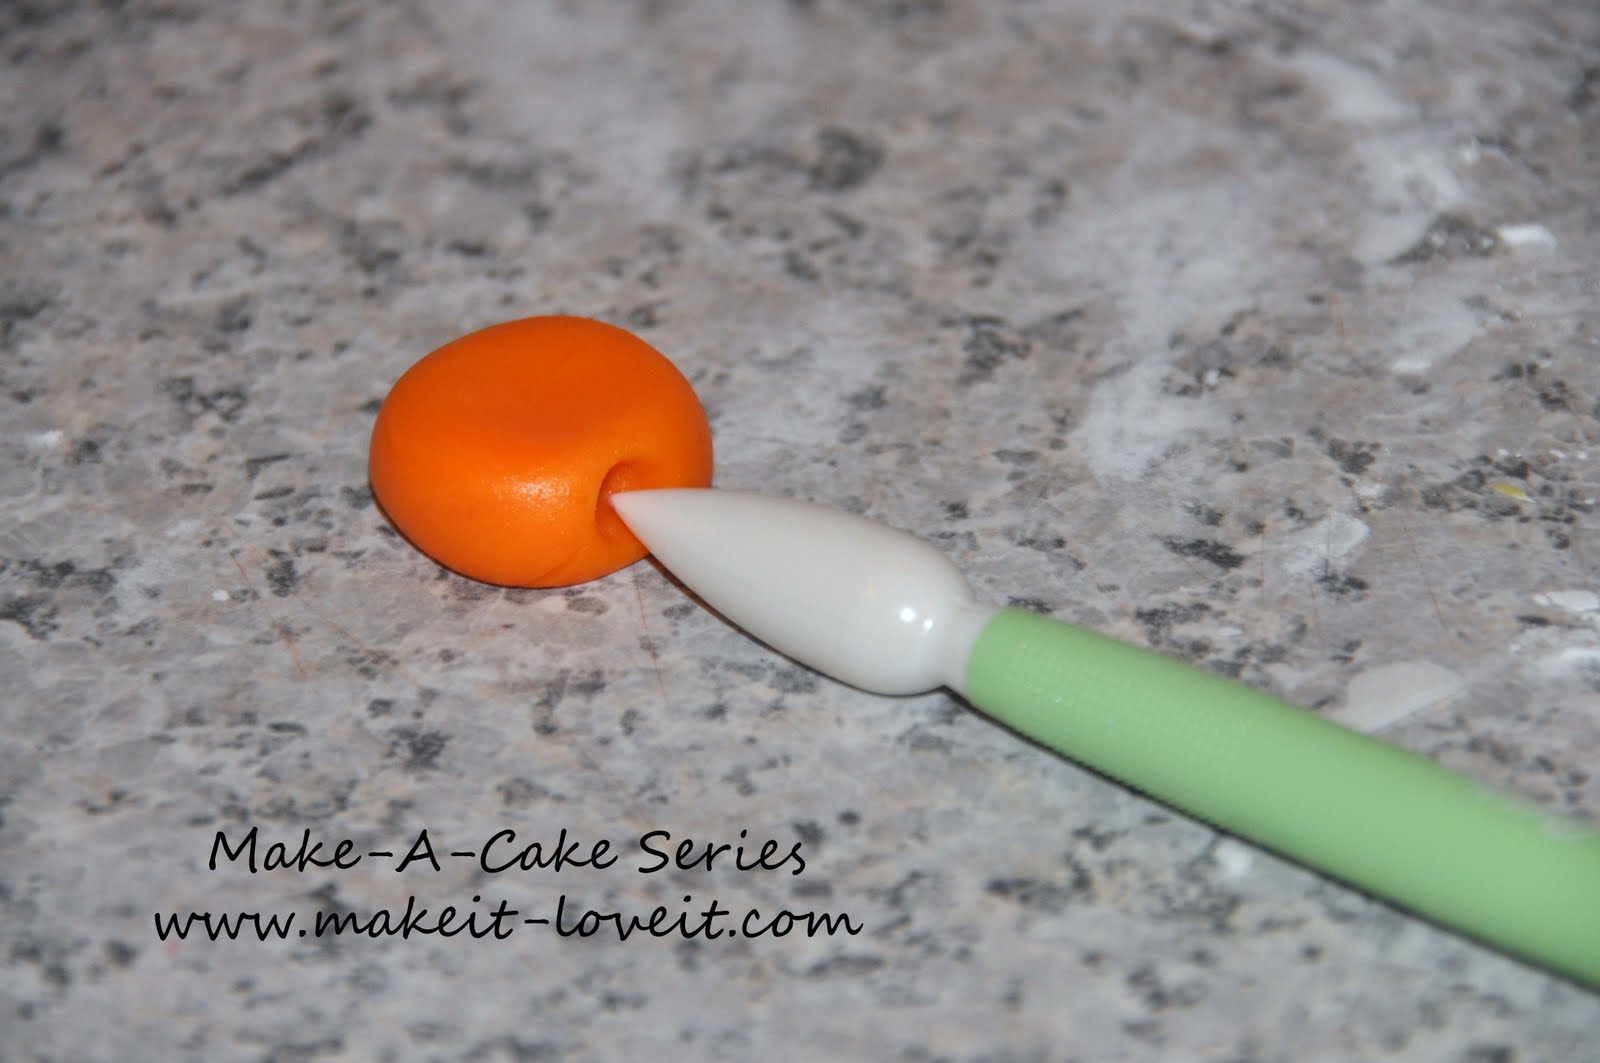
We need small holes in the sides of the candies to insert the wrappers, so I used my gumpaste modeling tool to make the holes. You could use a piping tip or a toothpick as well.
**Make all of your candy bodies at the same time and set them aside to dry for 12-24 hours.
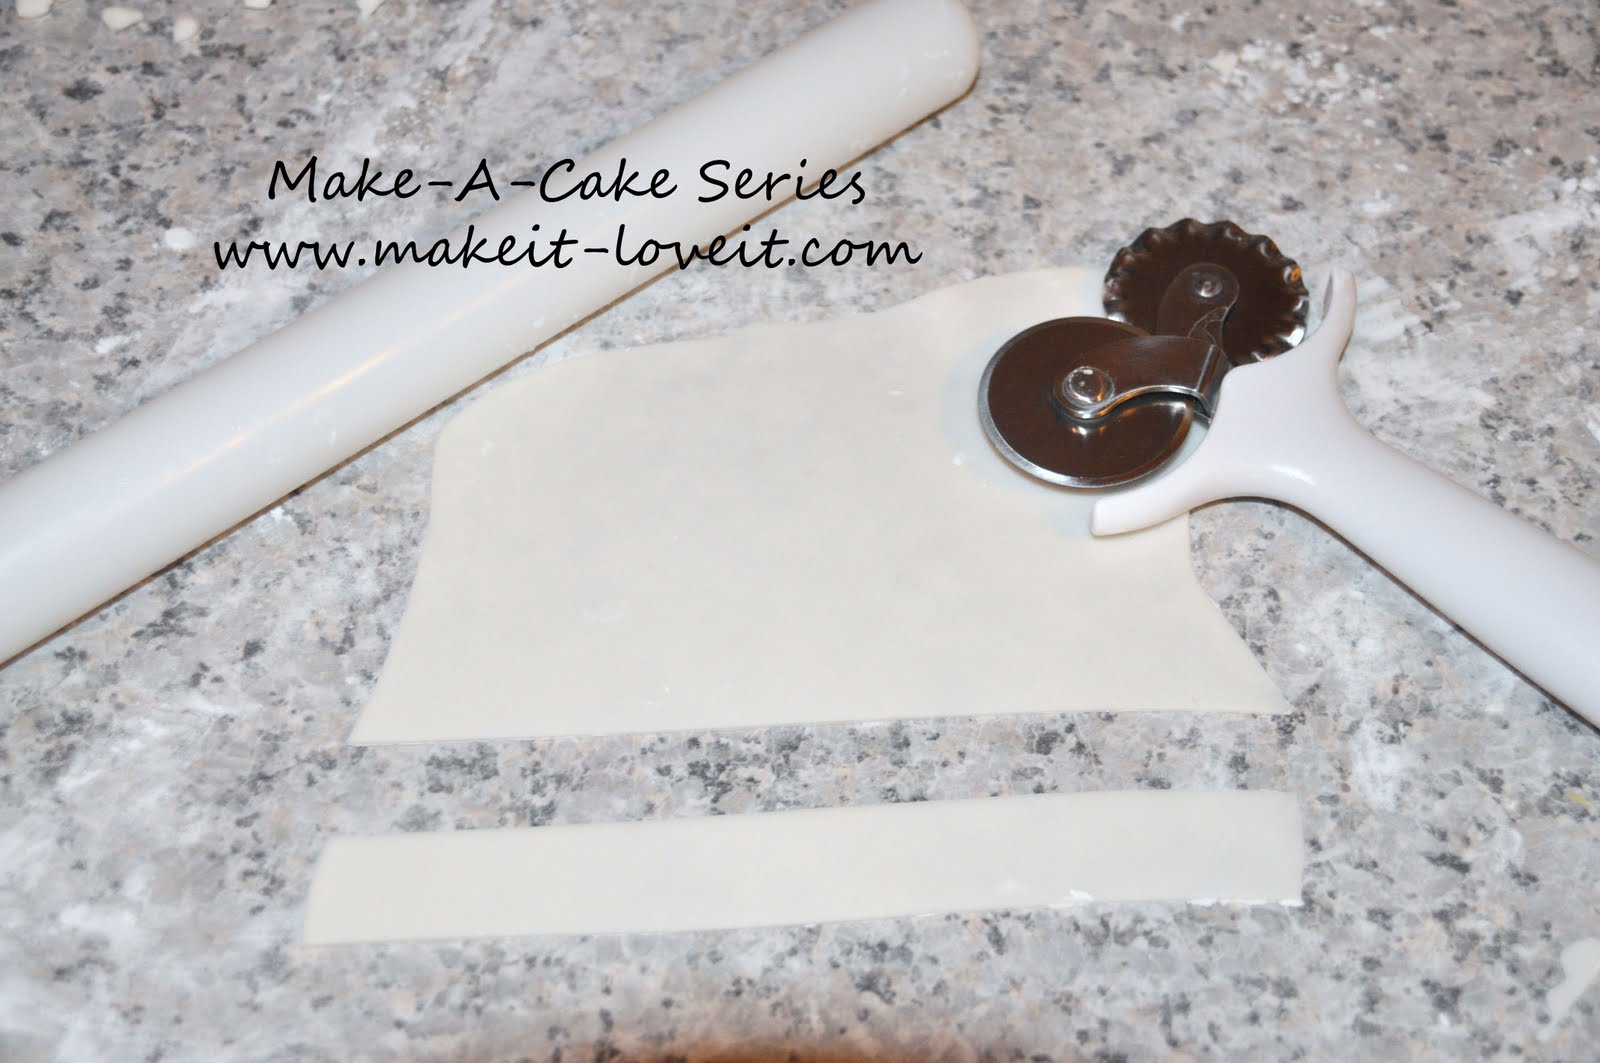
Next, the wrappers:
Roll out your gumpaste quite thin and cut strips with the fondant cutter.
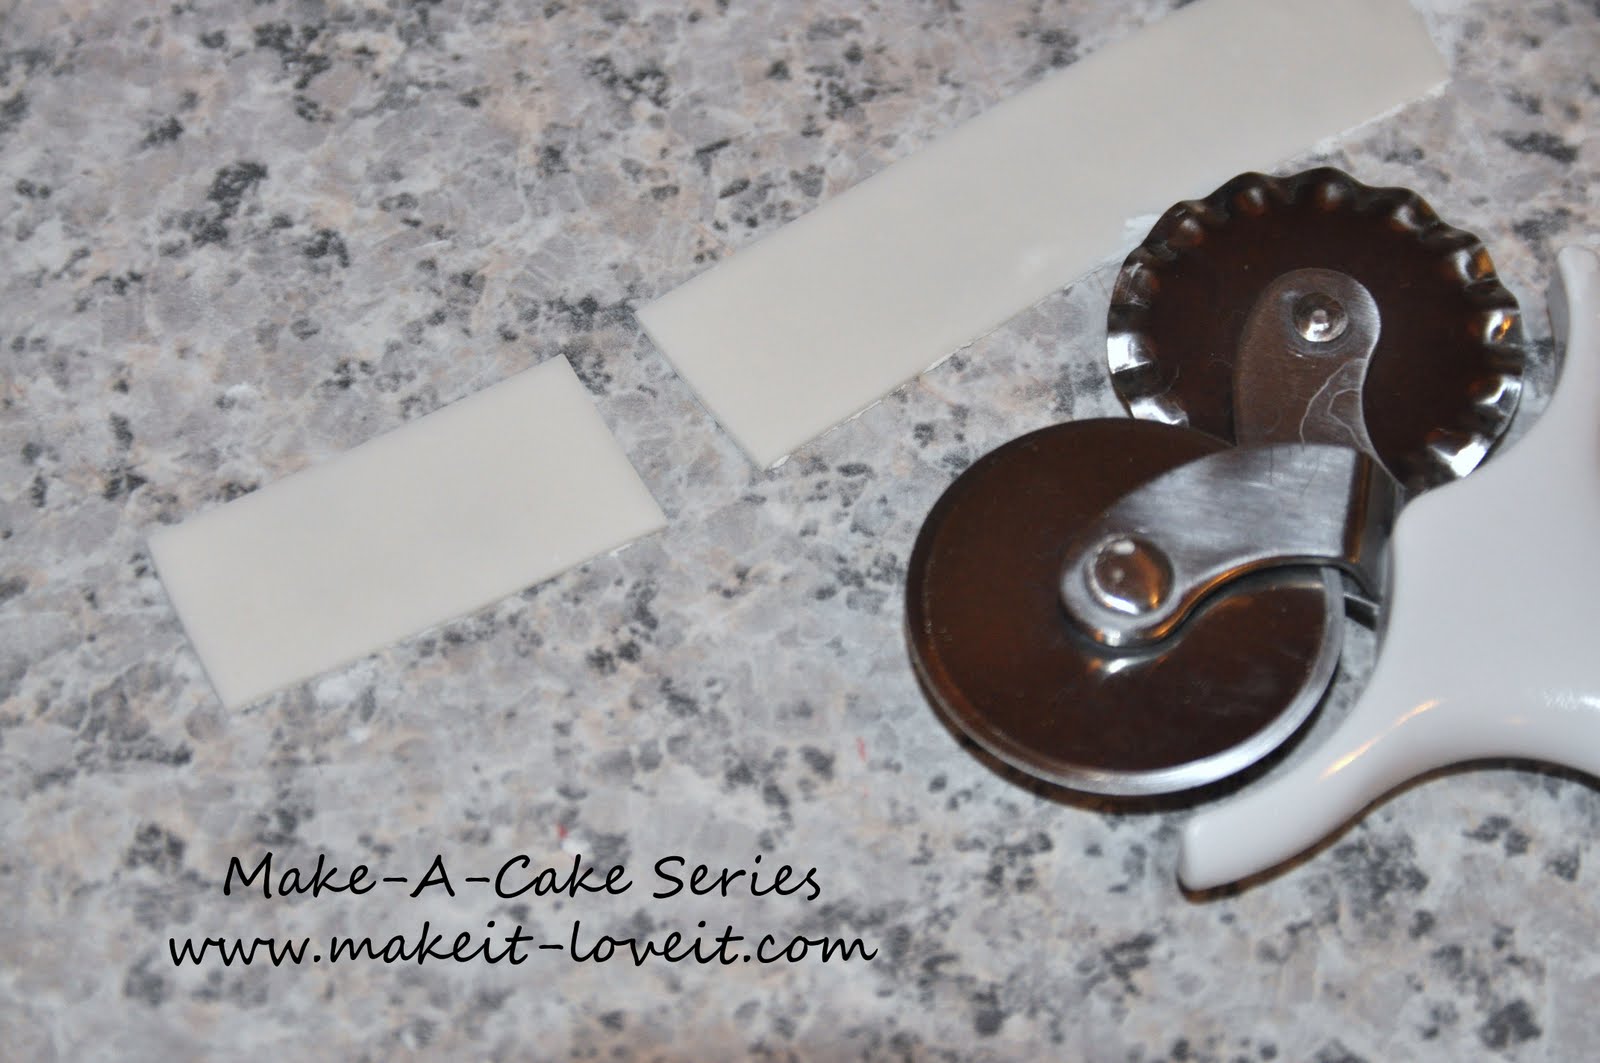
Cut rectangles out of the strips.
Pick up one strip at a time and on one side of the rectangle, brush with a little bit of water.
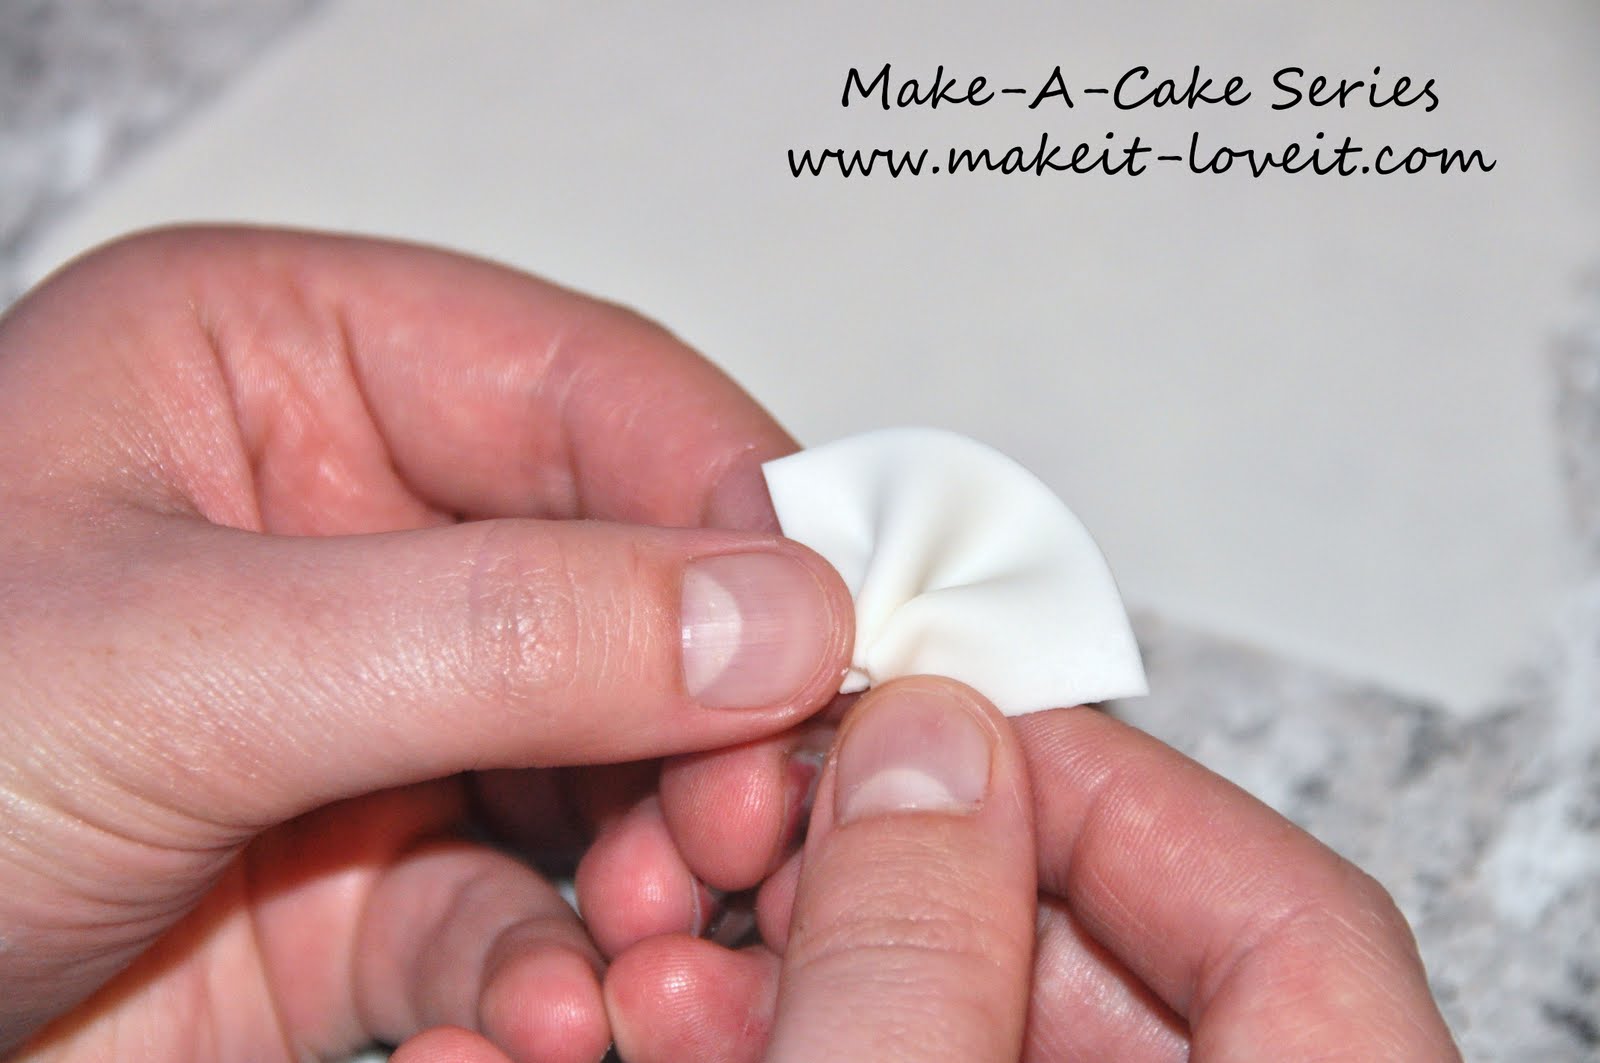
Make two pleats in one side of the rectangle….
And pinch together.
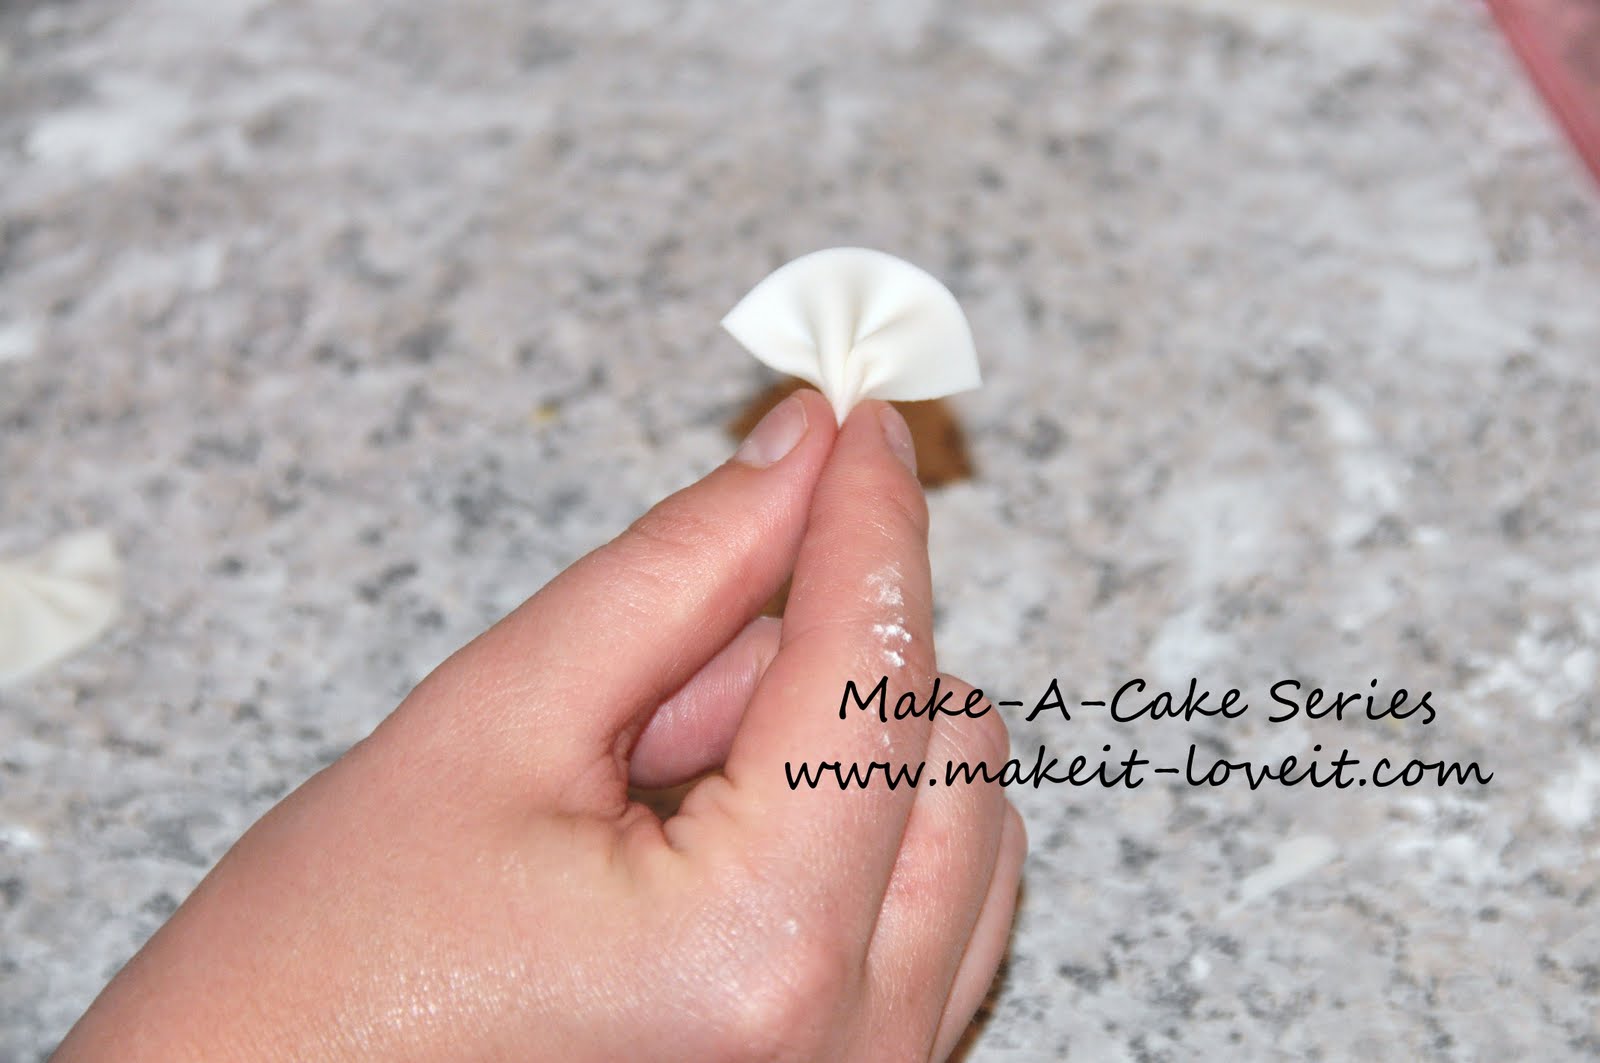
Make two of these for every candy body.
**You may want a few extras just in case something breaks.
Set all the wrappers aside with the candy bodies and let them dry for 12-24 hours.
Assemble the candies.
Brush the inside of the holes with a little bit of water and place them together.
Repeat on the other side.
Let them set for 1-2 hours.
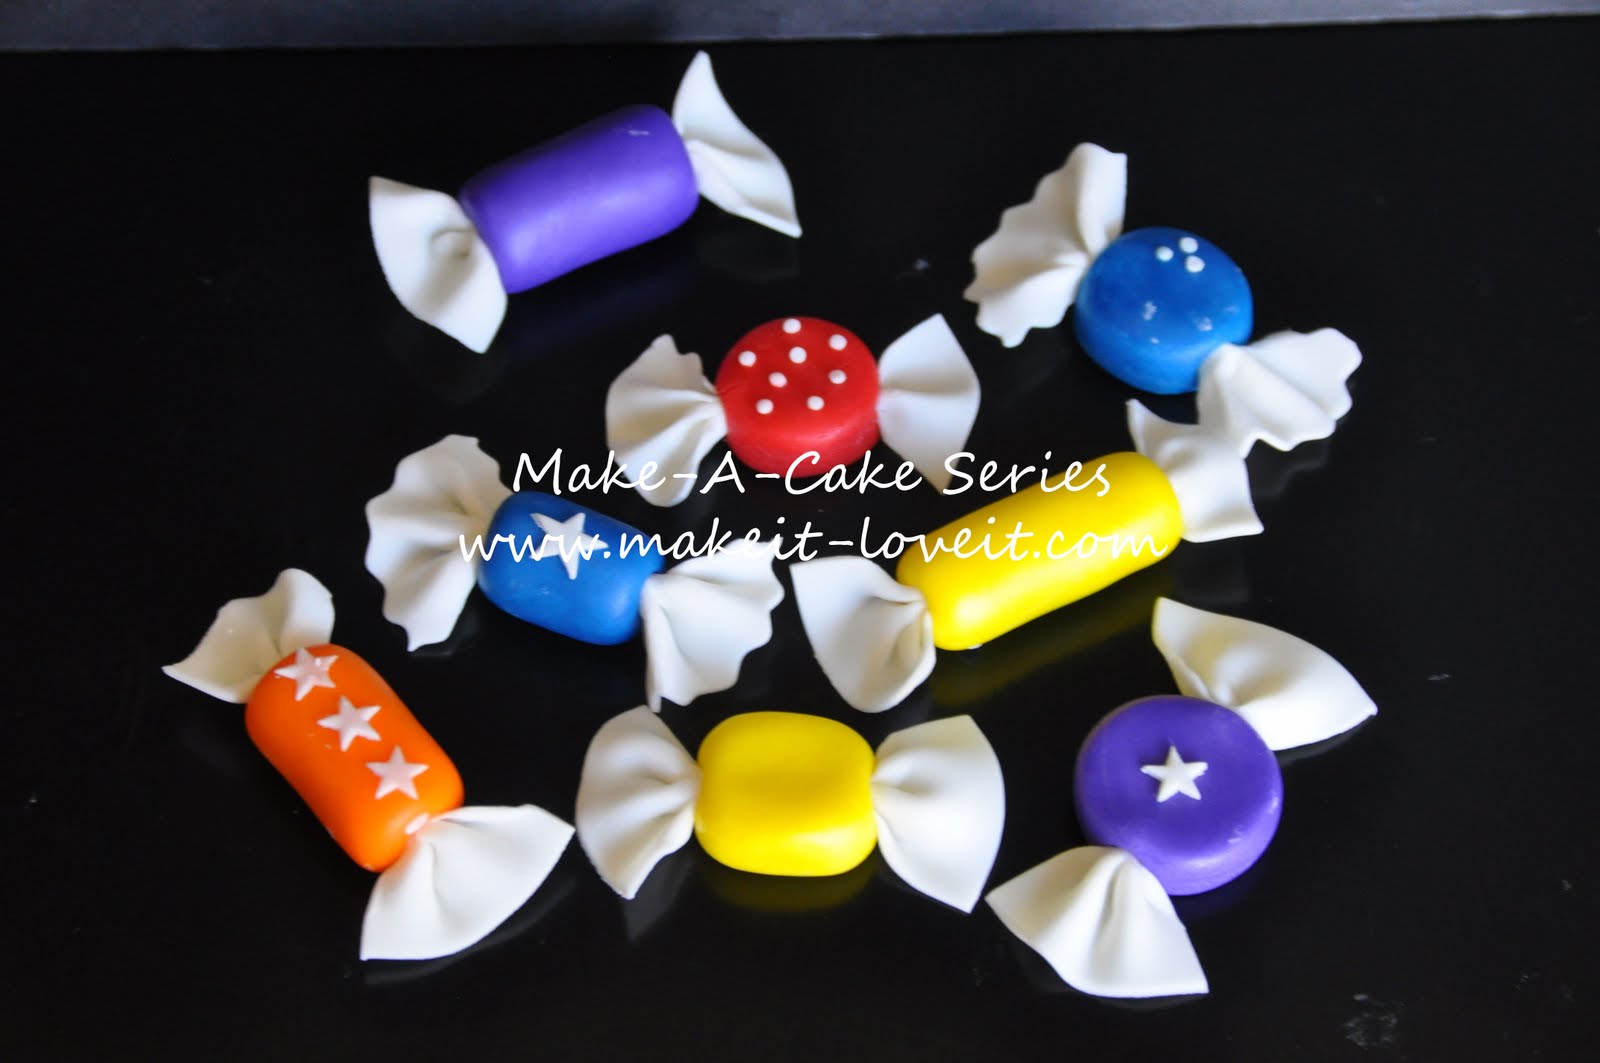
I decorated some of my candies with stars and polka dots for added cuteness.
Some of my candies were used on this Candy Shop themed birthday cake.
Here is how I did a few other things on this cake.
- The candles I saw in the 2011 Wilton idea book. They are plastic supports with fondant accents. The “wax” on the very top of the candle is cut out with a flower cookie cutter. The flame is cut with a leaf cookie cutter and inserted with a toothpick. After the “wax” dries I inserted the toothpick. I attached the finished candle with water to the cake.
- For the lollipops, I made thin ropes with all the colors using my extruder. I took one rope of each color and twisted them into a larger rope. I coiled the rope into a lollipop shape. I cut the end off and used water to keep the end together. Then I inserted a sucker stick into the bottom where the rope ended. Let dry for 2-4 days.
I hope you find it just as fun as I do to take something simple, and turn it into something special.
I sure love it!
Happy Decorating!