Home » DIY Tutorials » DIY Sewing » A really great new tool……..and GIVEAWAY (over $400 value)!
A really great new tool……..and GIVEAWAY (over $400 value)!
July 15, 2010 - By Ashley Johnston 2858 Comments
!!!!!!GIVEAWAY CLOSED!!!!!!!
I have been having a lot of fun playing around with a new tool lately.
And the precision of this thing is phenomenal.
And will grab at your little heart.
Well, your please-save-me-some-time-crafting heart.
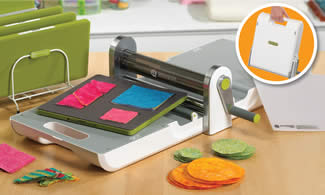
Accuquilt is a company based out of Nebraska, that has created a brilliant little portable cutter. One that will save you hours of time. Seriously.
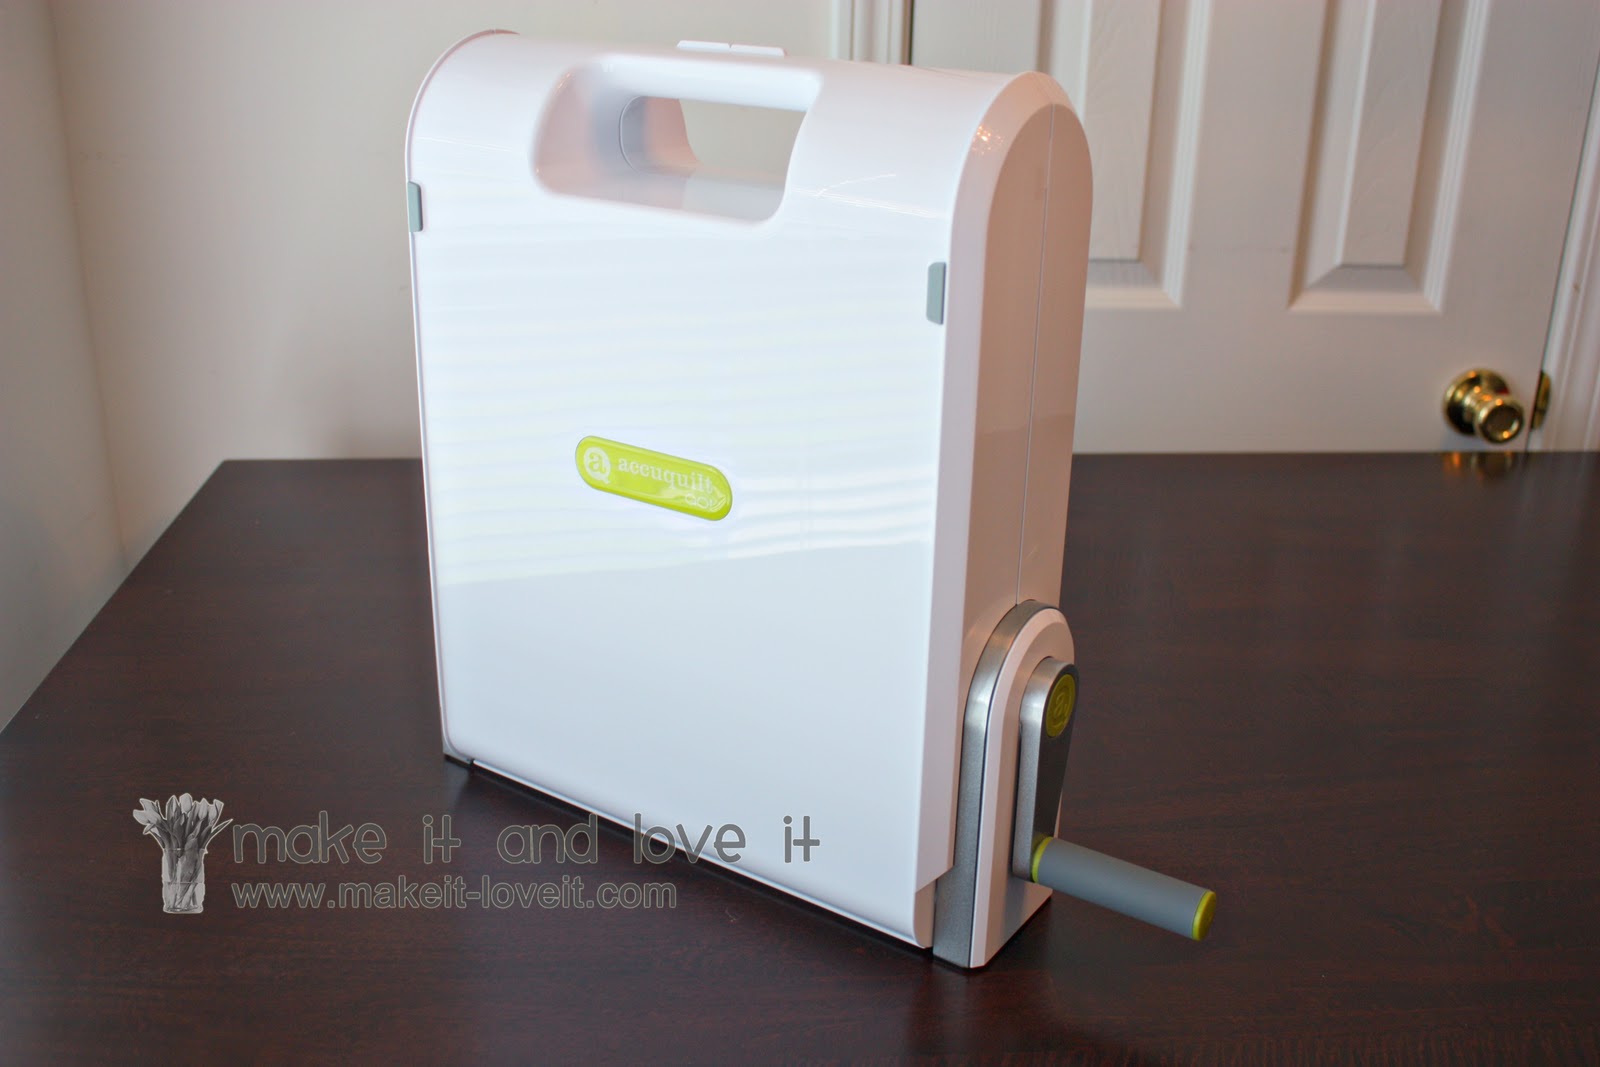
They have designed this sleek little tool, the Go! Cutter, that uses die cuts to cut so many different shapes and strips of fabric…….making quilting, sewing, and crafting so much easier.
Let me tell you a little secret. I am not a quilter. Not because I wouldn’t like to be…….I just don’t have the time. Quilting takes time…….and that’s no secret. I like a project to take a few hours max, to work on it here or there, and then be done. When my kids are bigger, I’d love to make piles of quilts……but now is not the time. I need faster crafting gratification for now.
But then, a few weeks ago, I received a Go! Cutter to test out.
I cut piles of shapes and strips.
In minutes.
I’m not kidding.
So I decided to make a quilt……and just see how it went.
(Remember the time thing? I was hesitant.)
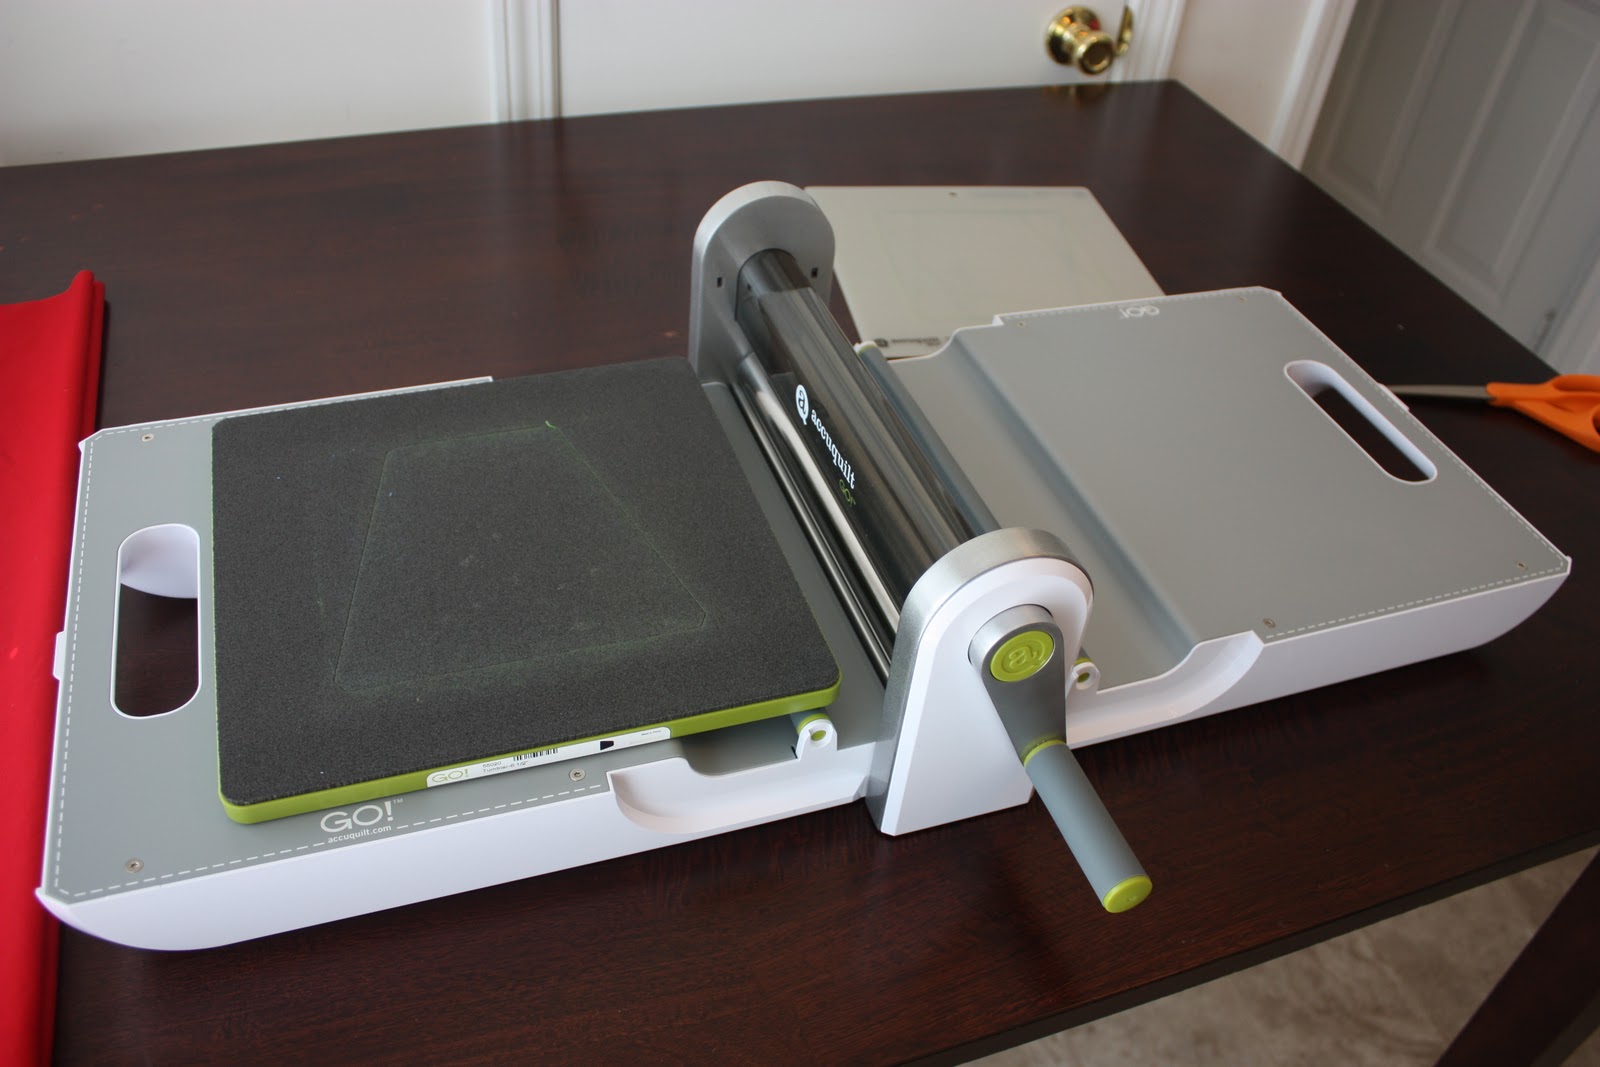
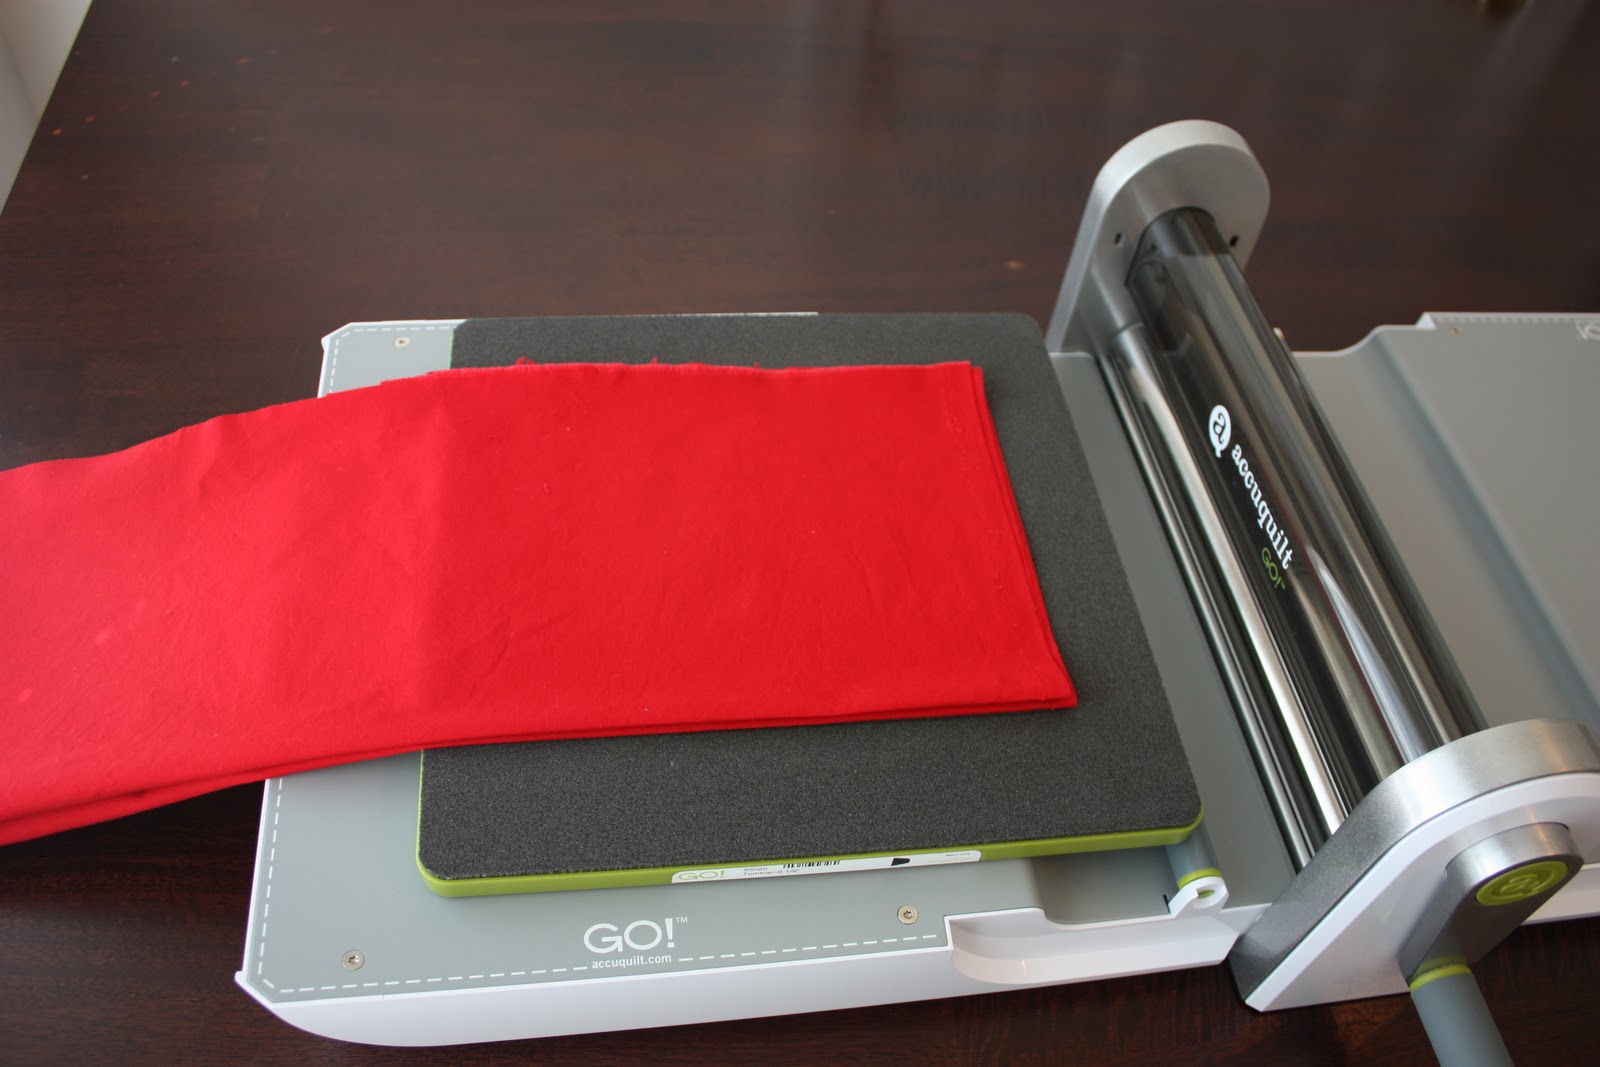
So, I opened up my cutter and placed the
Go! Tumbler die in place………
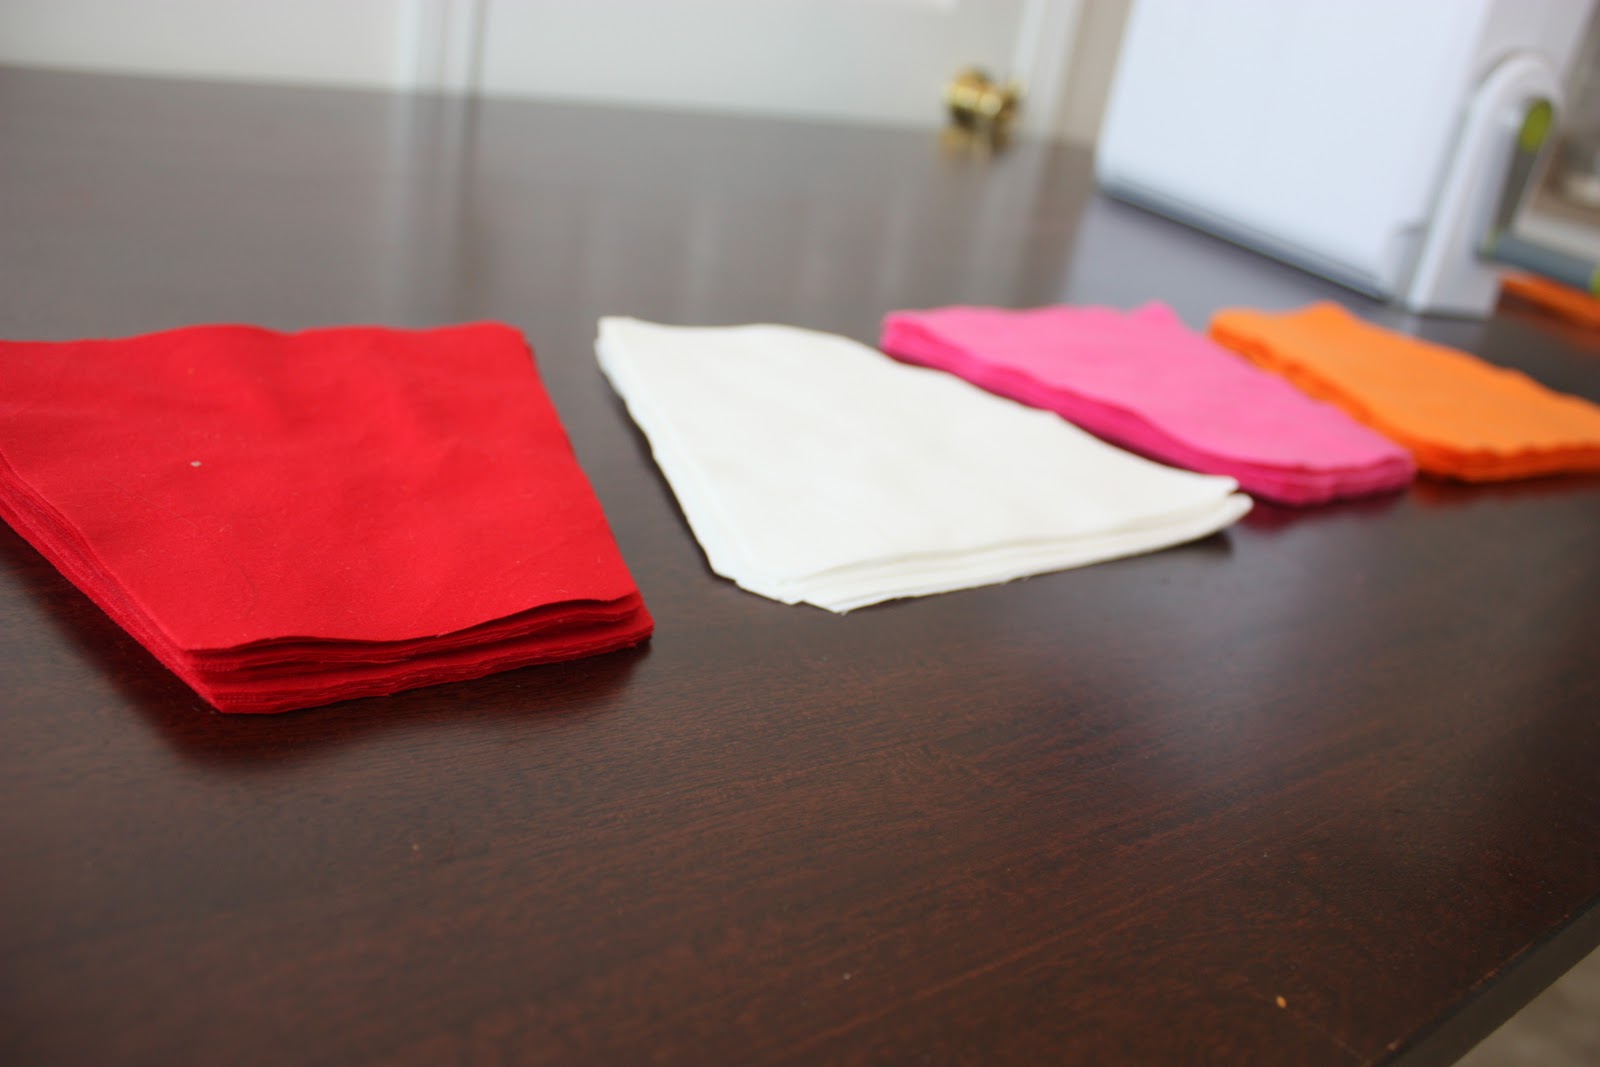
Then I folded over a piece of fabric 4 times, into a narrow strip to fit through the cutter…..to make multiple cuts, all at the same time.
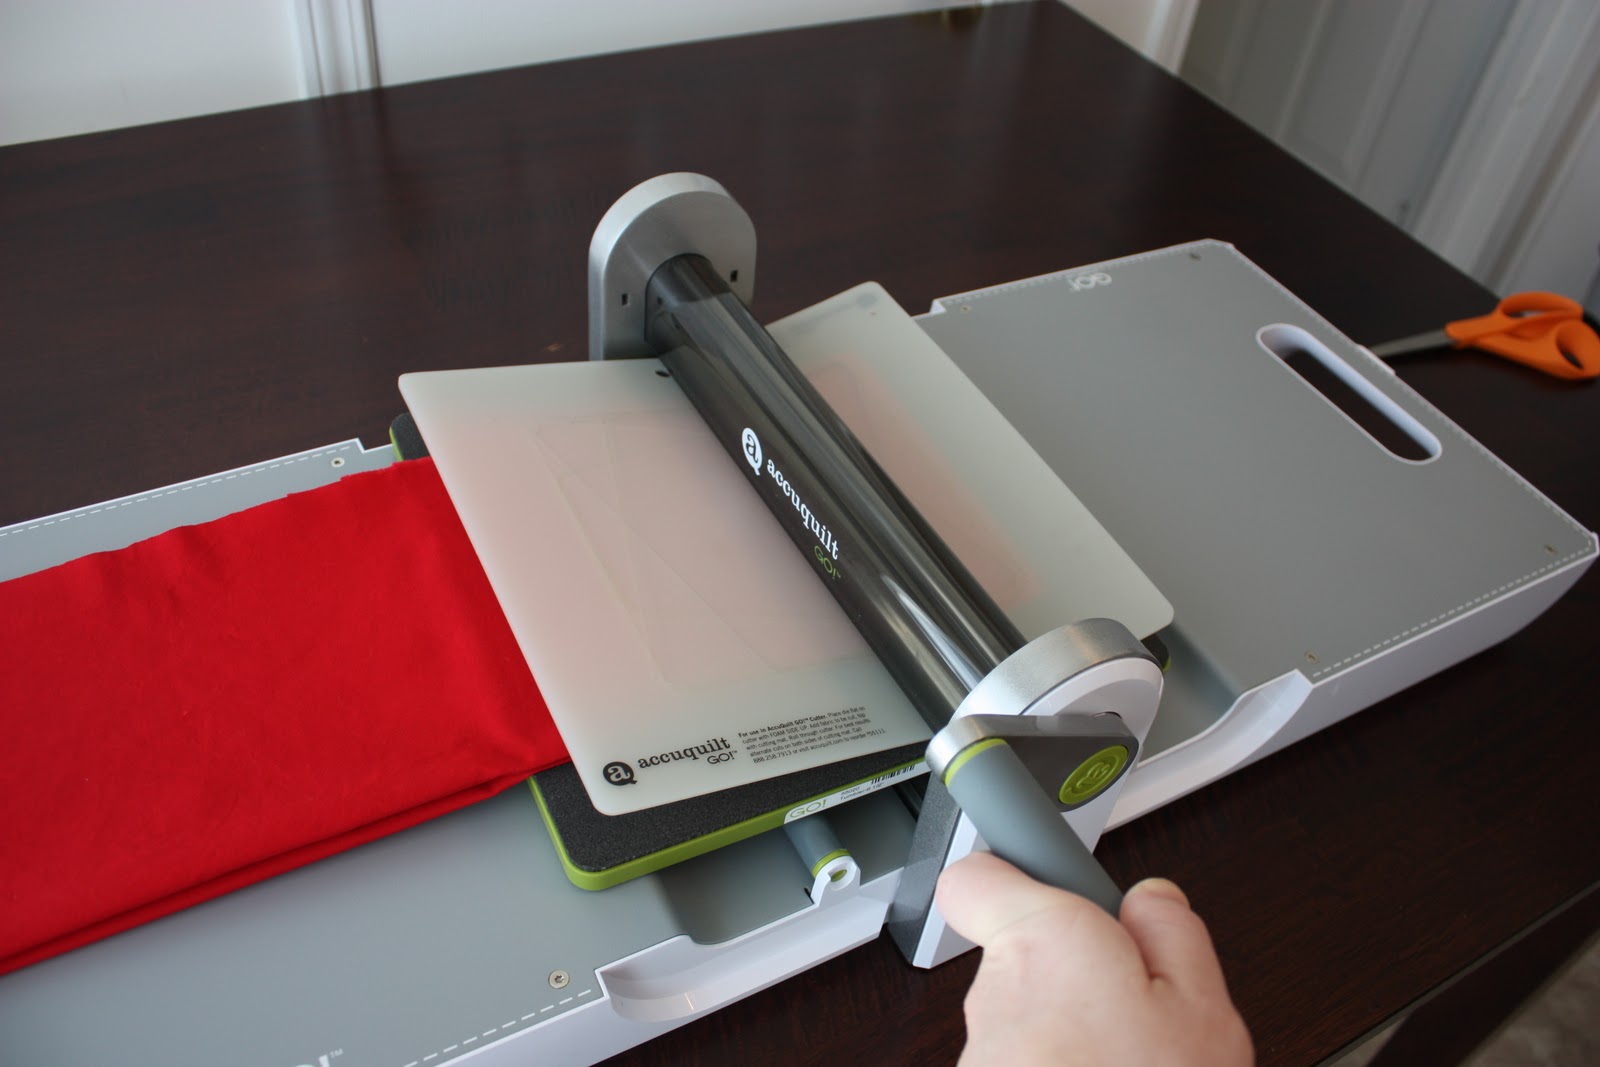
I placed the mat on top and turned the handle a few times……
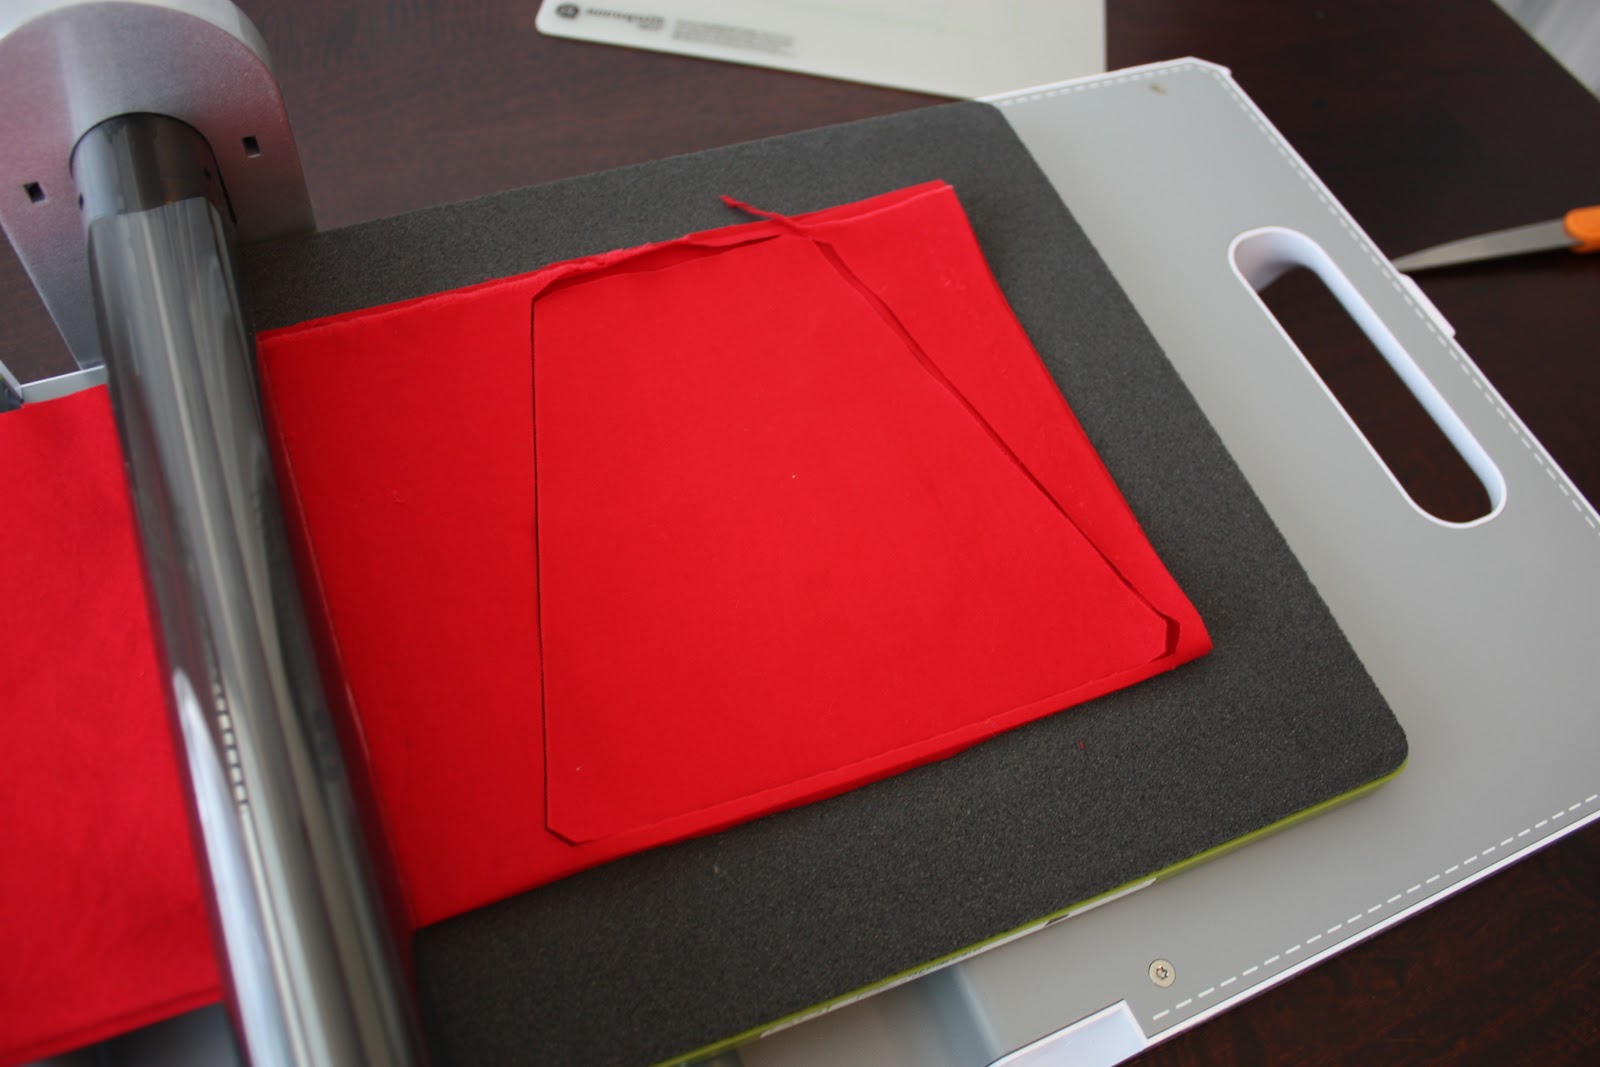
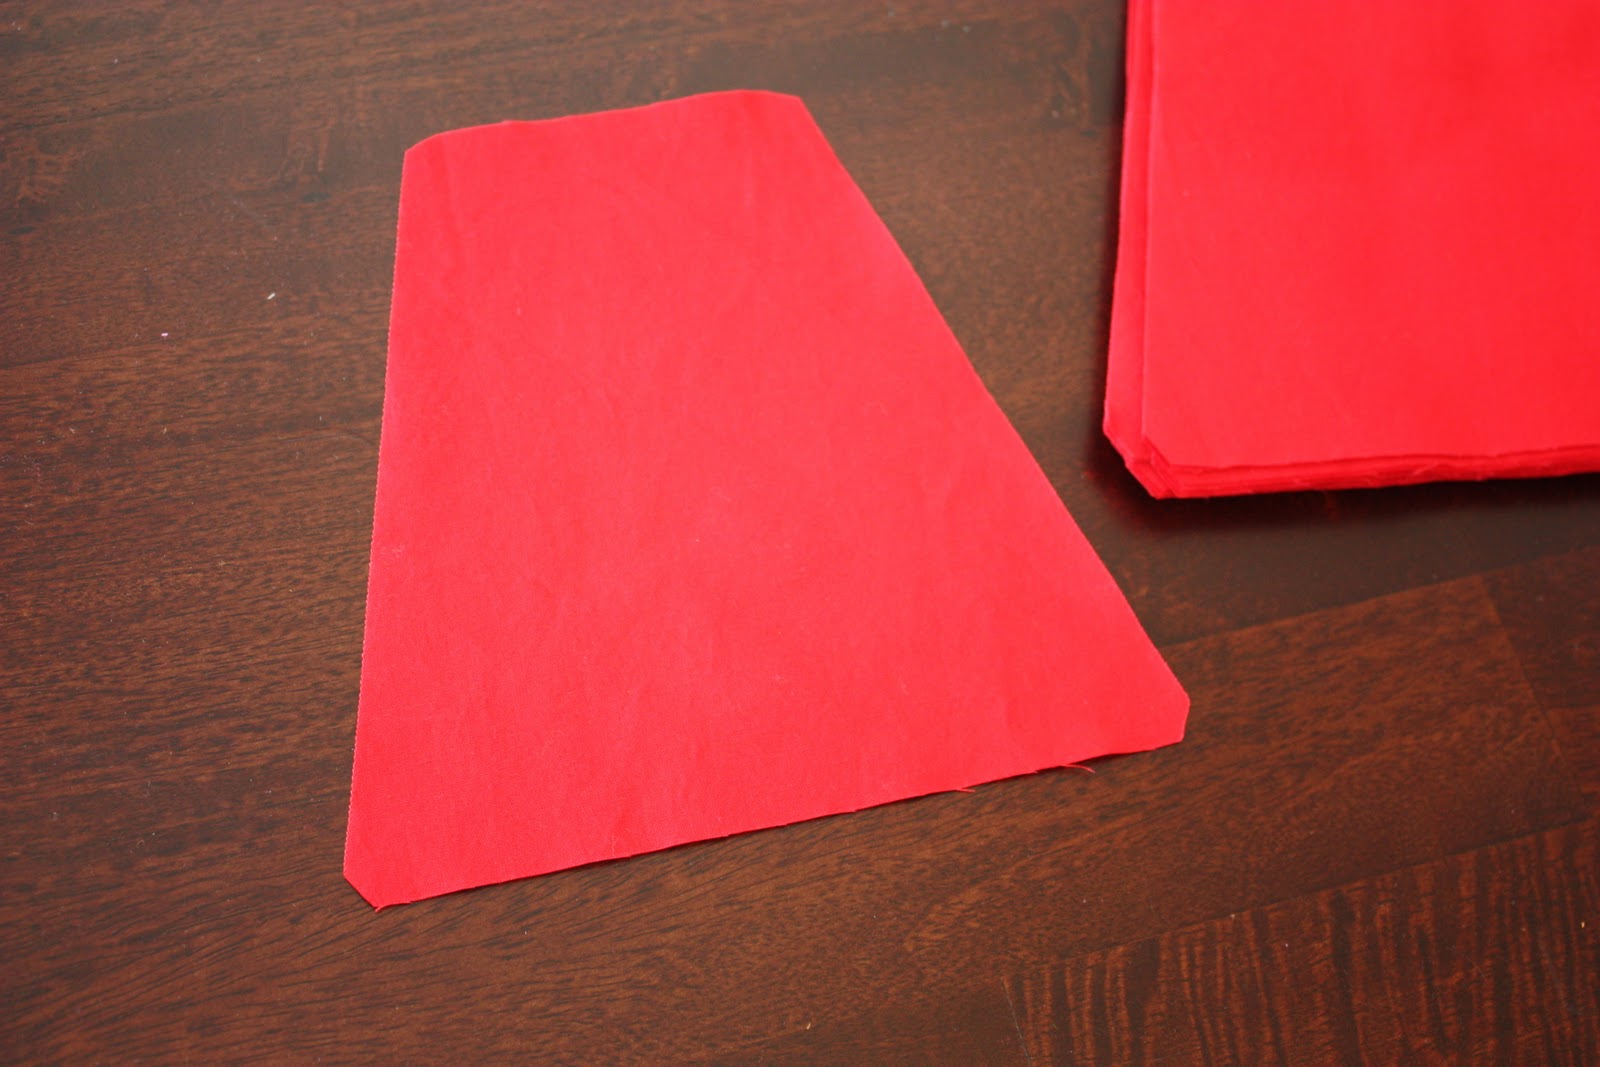
……and out came my tumbler-shaped cuts. And 4 of them at the same time.
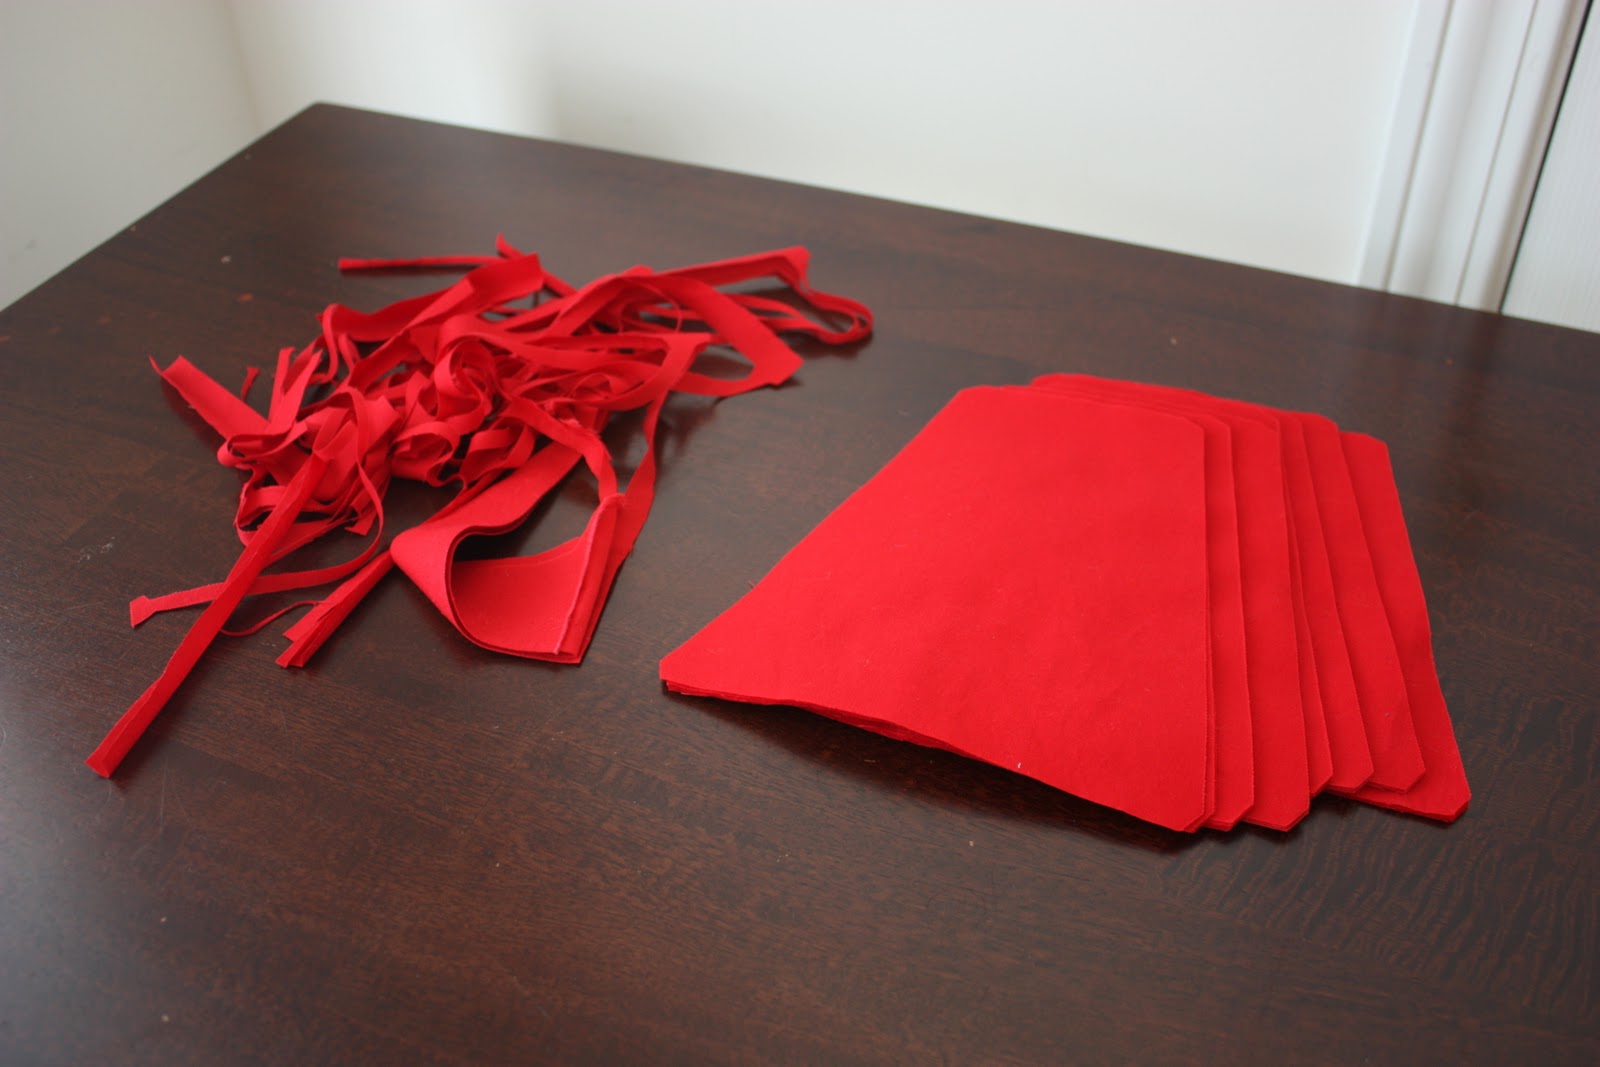
I continued on with the same strip of fabric, using as much of the space as I could……and ended up with minimal scraps. Loved that.
And then I continued with my next colors and folded my fabric over even more, to cut through 8 layers of fabric at once. Done.
And now I had little piles of neatly cut tumbler shapes, in 4 different colors.
The thing about this Tumbler shape, is that it has trimmed corners, to minimize trimming later on. I didn’t realize how much I would appreciate that, until I sewed all the pieces together later on…….and didn’t have to trim one thing. Ahhhh!
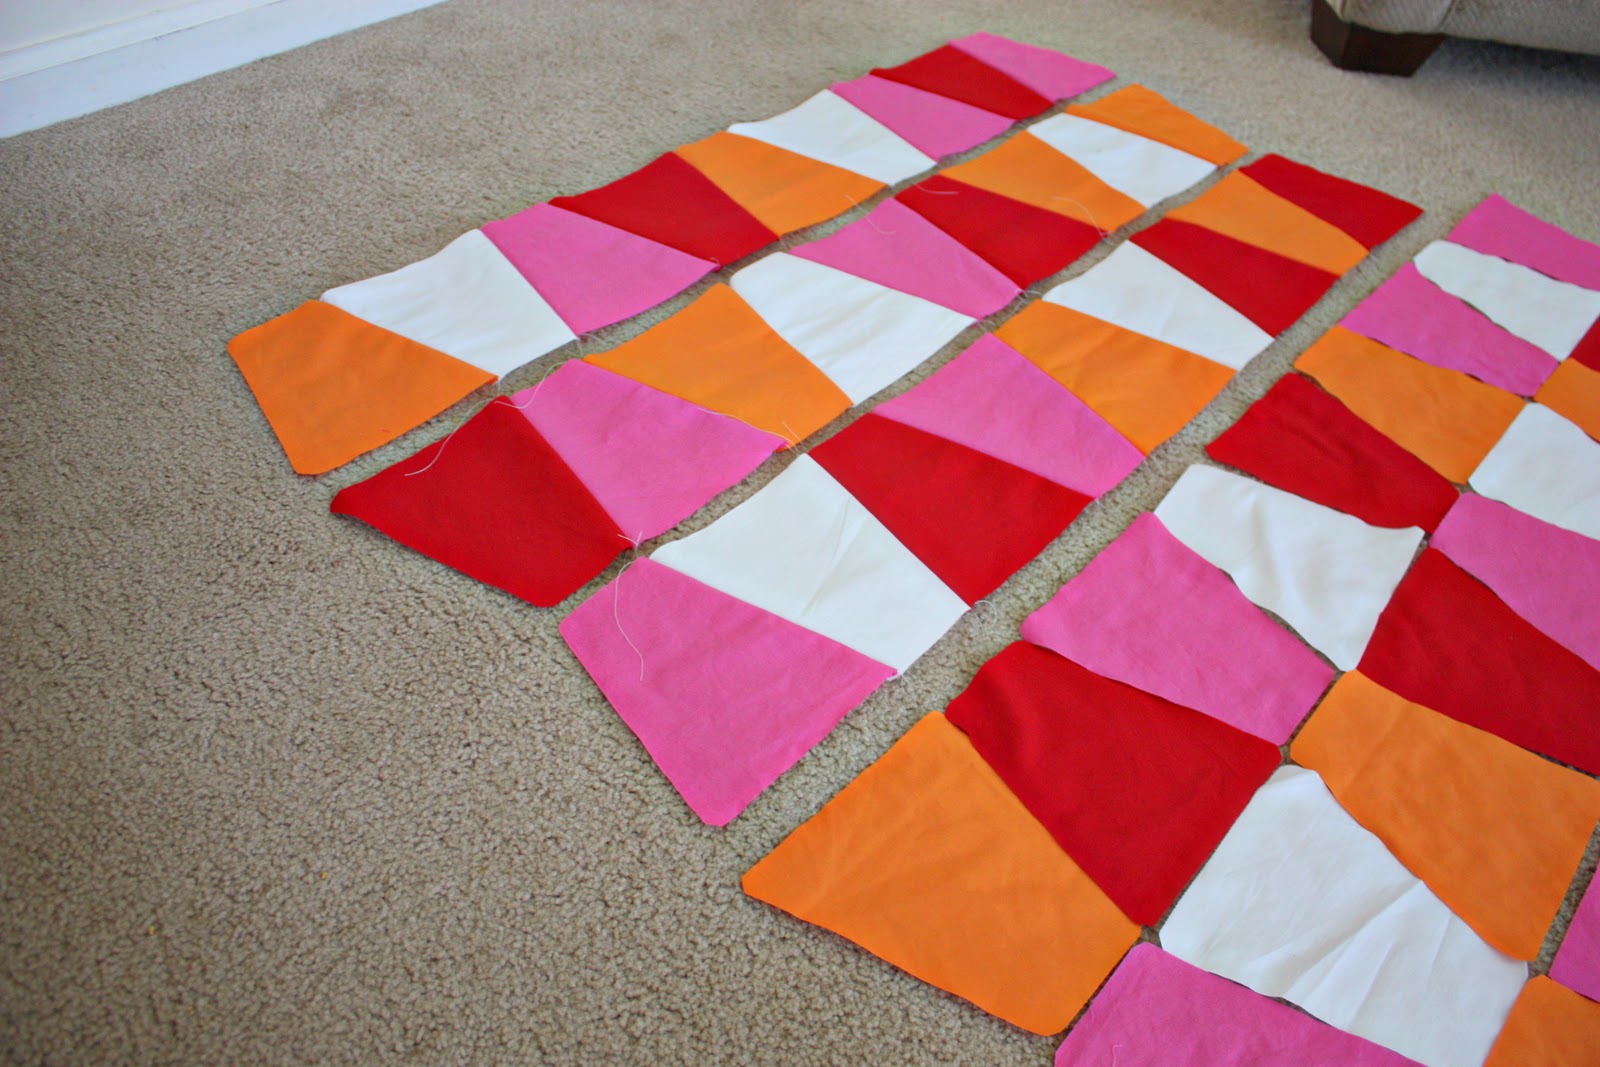
Then I layed out the shapes, just how I’d like them, and started sewing strips together.
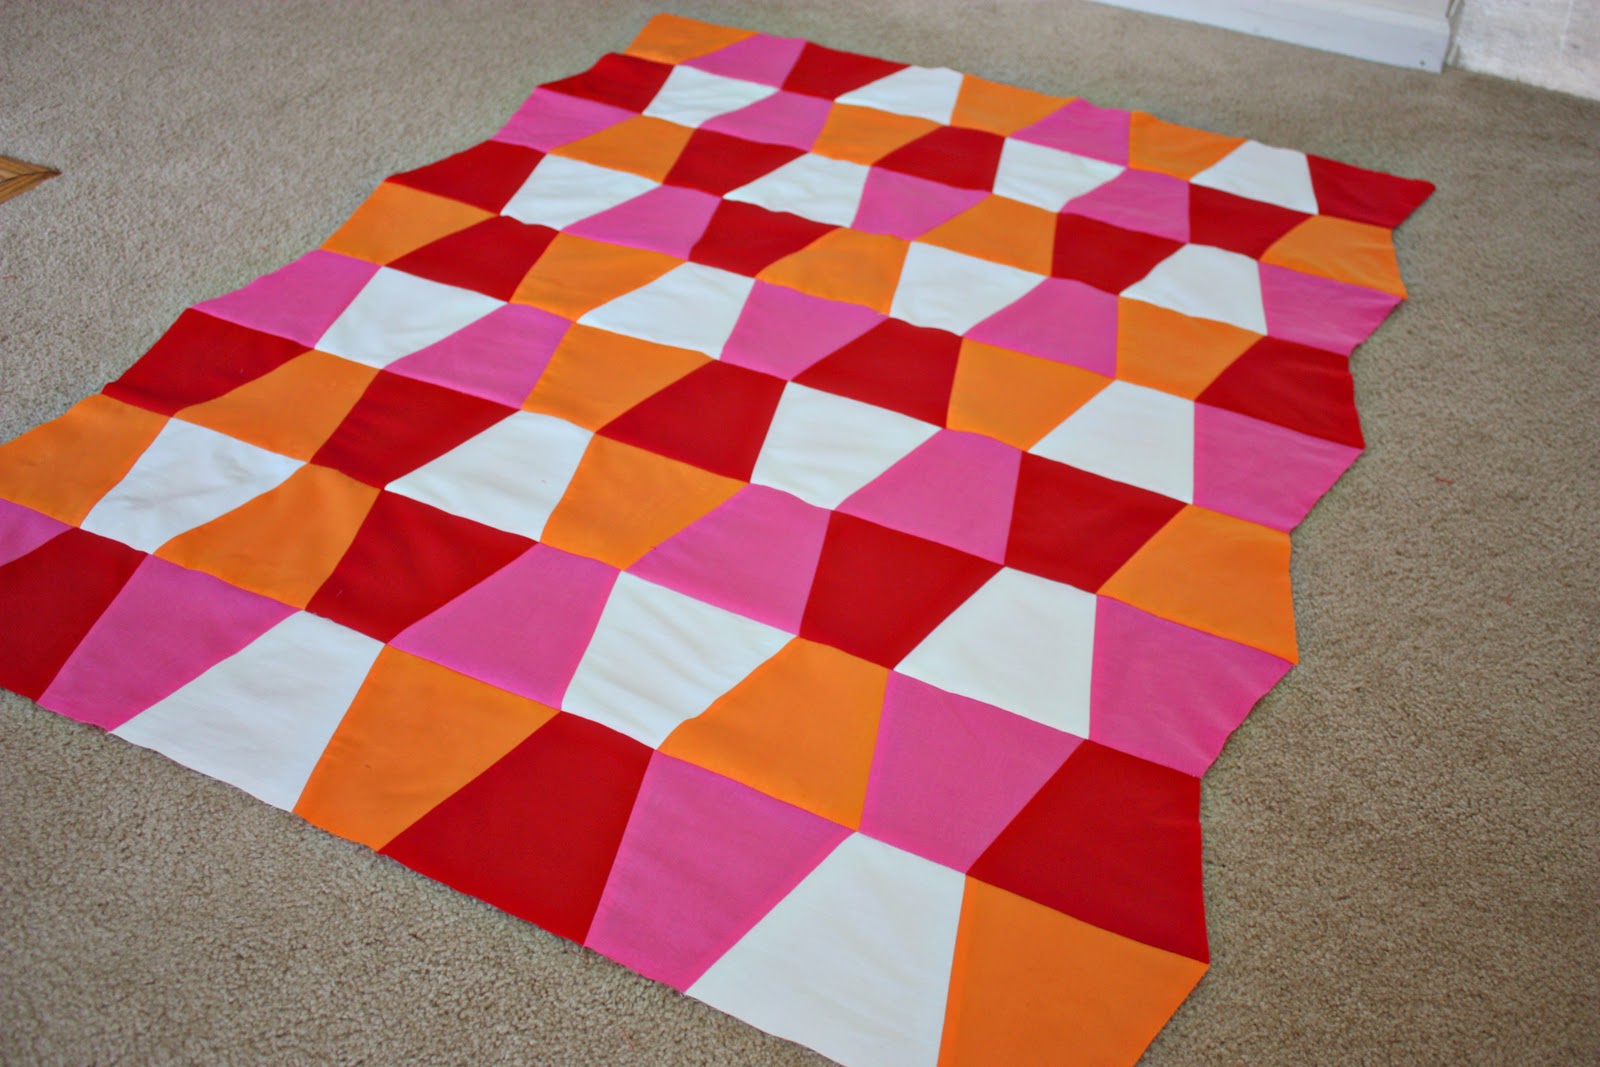
Then I sewed all of the strips together to get one big quilt top piece.
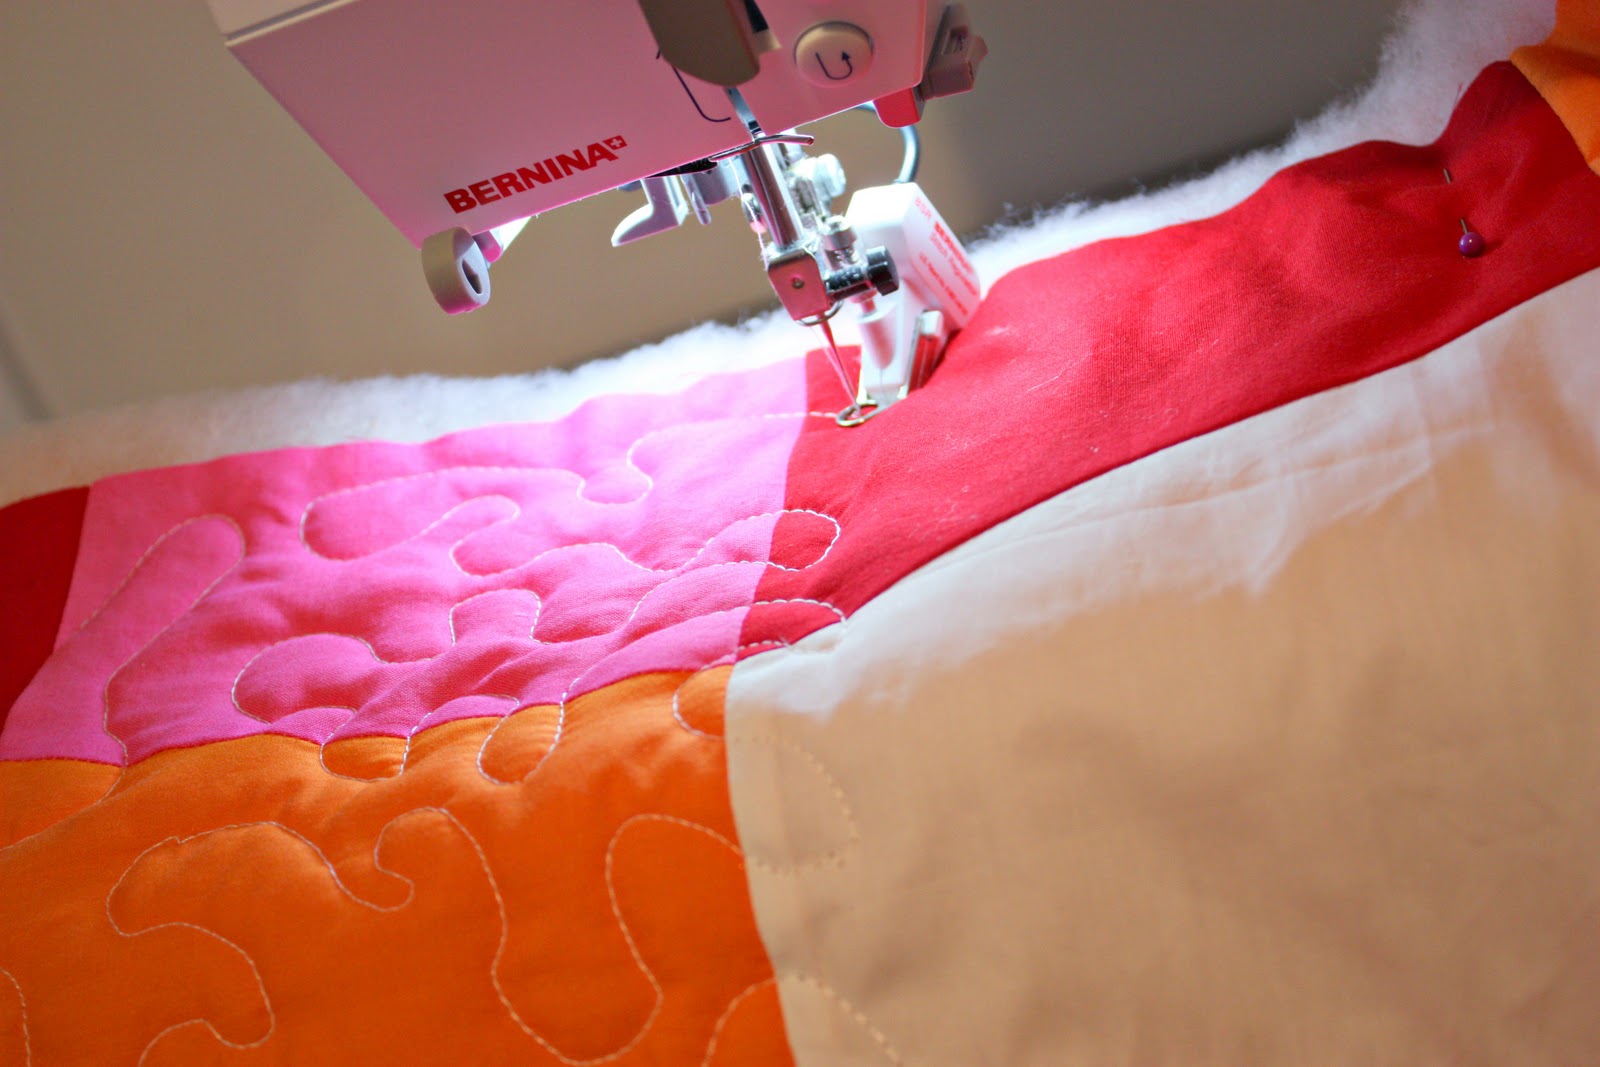
Then I placed a layer of batting and then a piece of plain fabric along the backside…….and began quilting, using a stippling technique on the Bernina. (Wow……effortless. But we’ll talk about that another time.) You could always use straight stitches right along each Tumbler shape or even hand-stitch some quilting designs onto your quilt. But hand-stitching takes more time…….but is so charming. So you decide.
Then I trimmed off my edges and got the quilt ready for the binding.
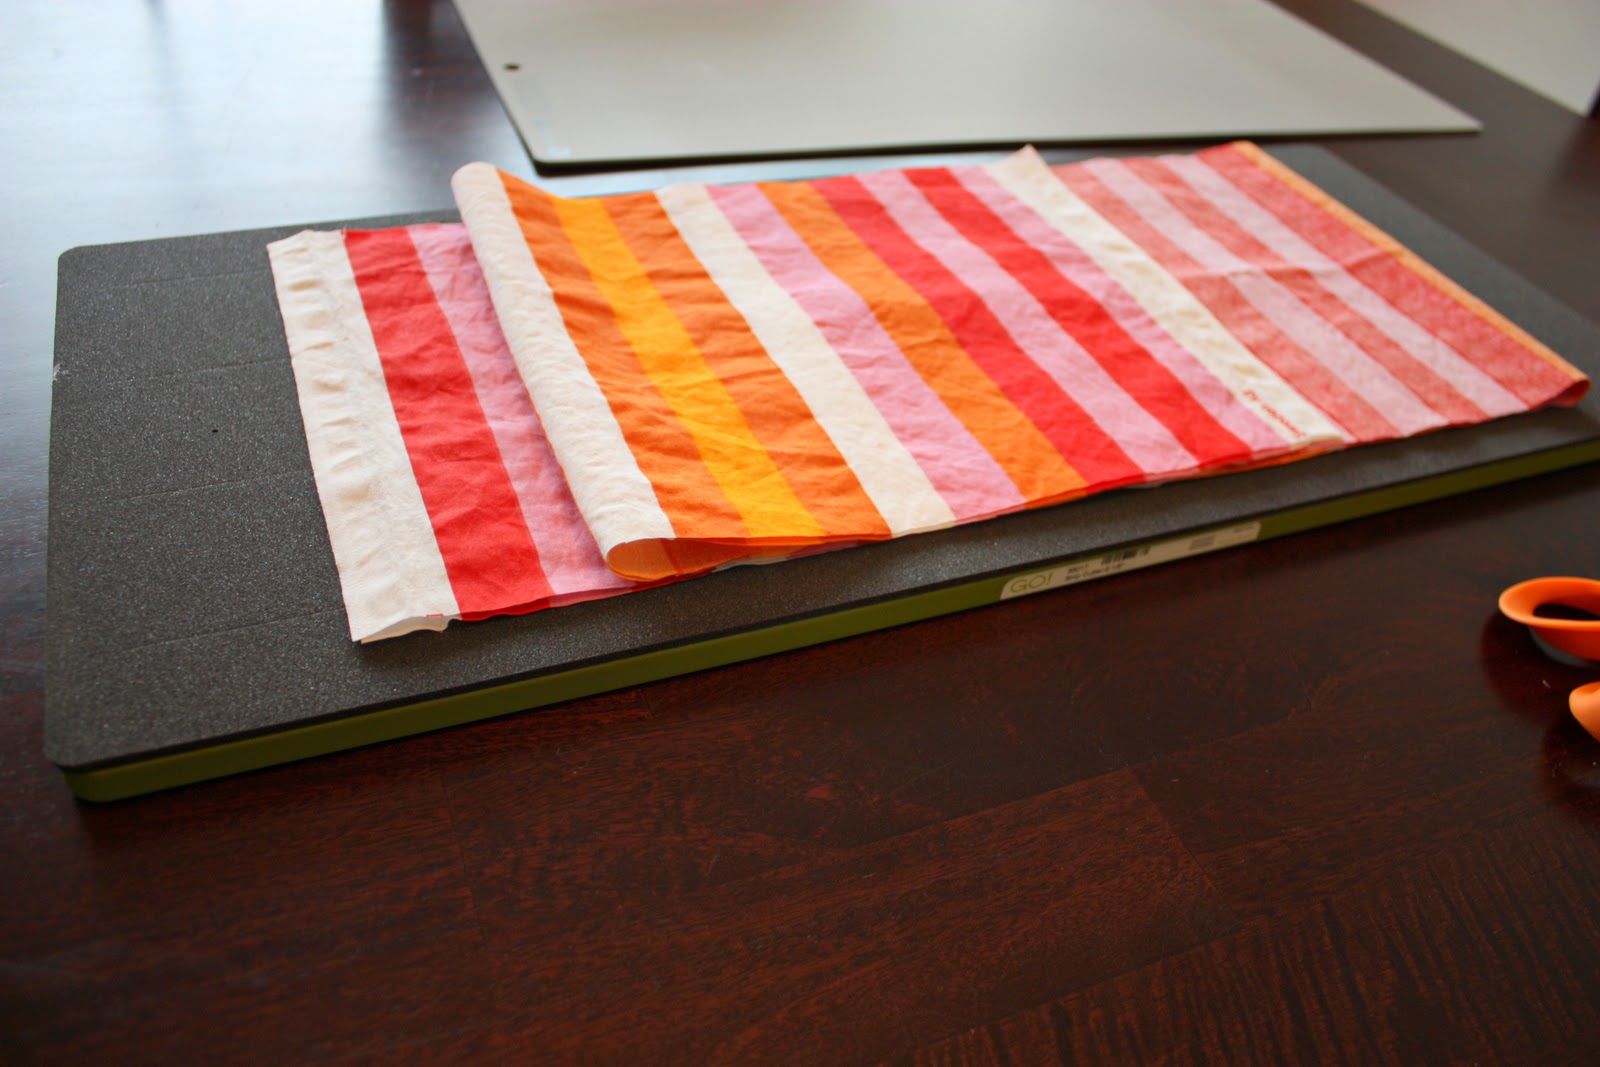
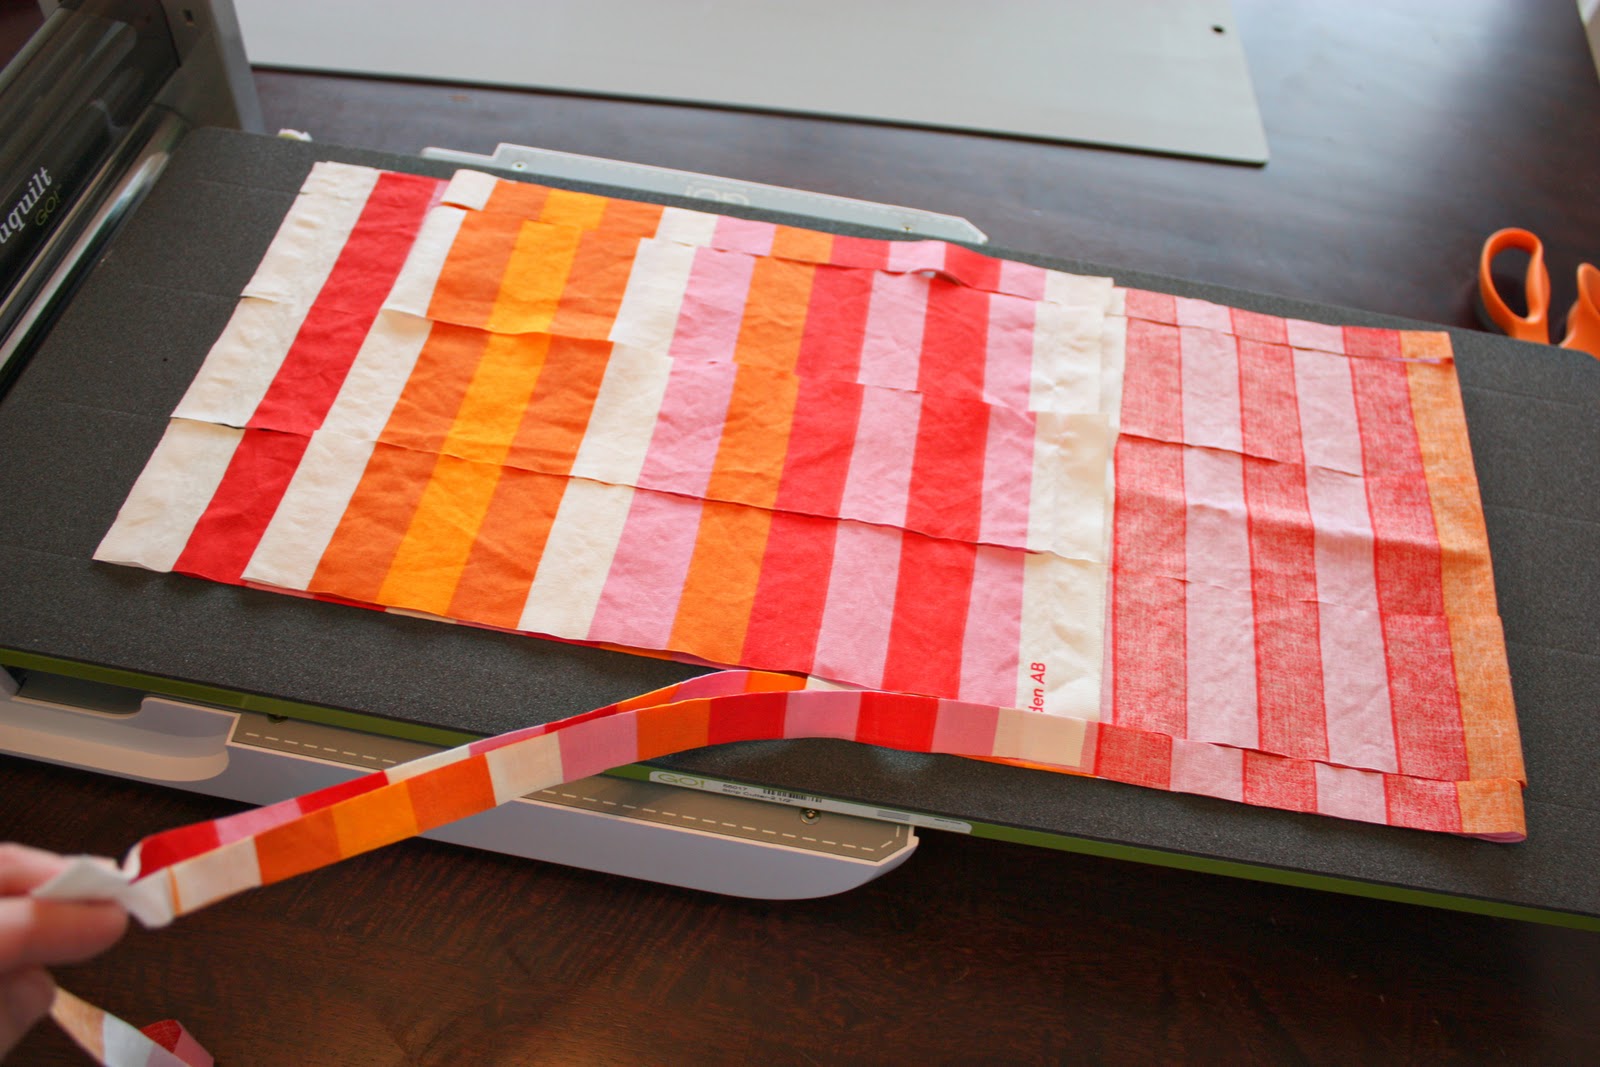
I placed my fabric onto the
Strip Cutter die, and folded it into thirds so that I could cut long continuous strips……as wide as the width of my fabric.
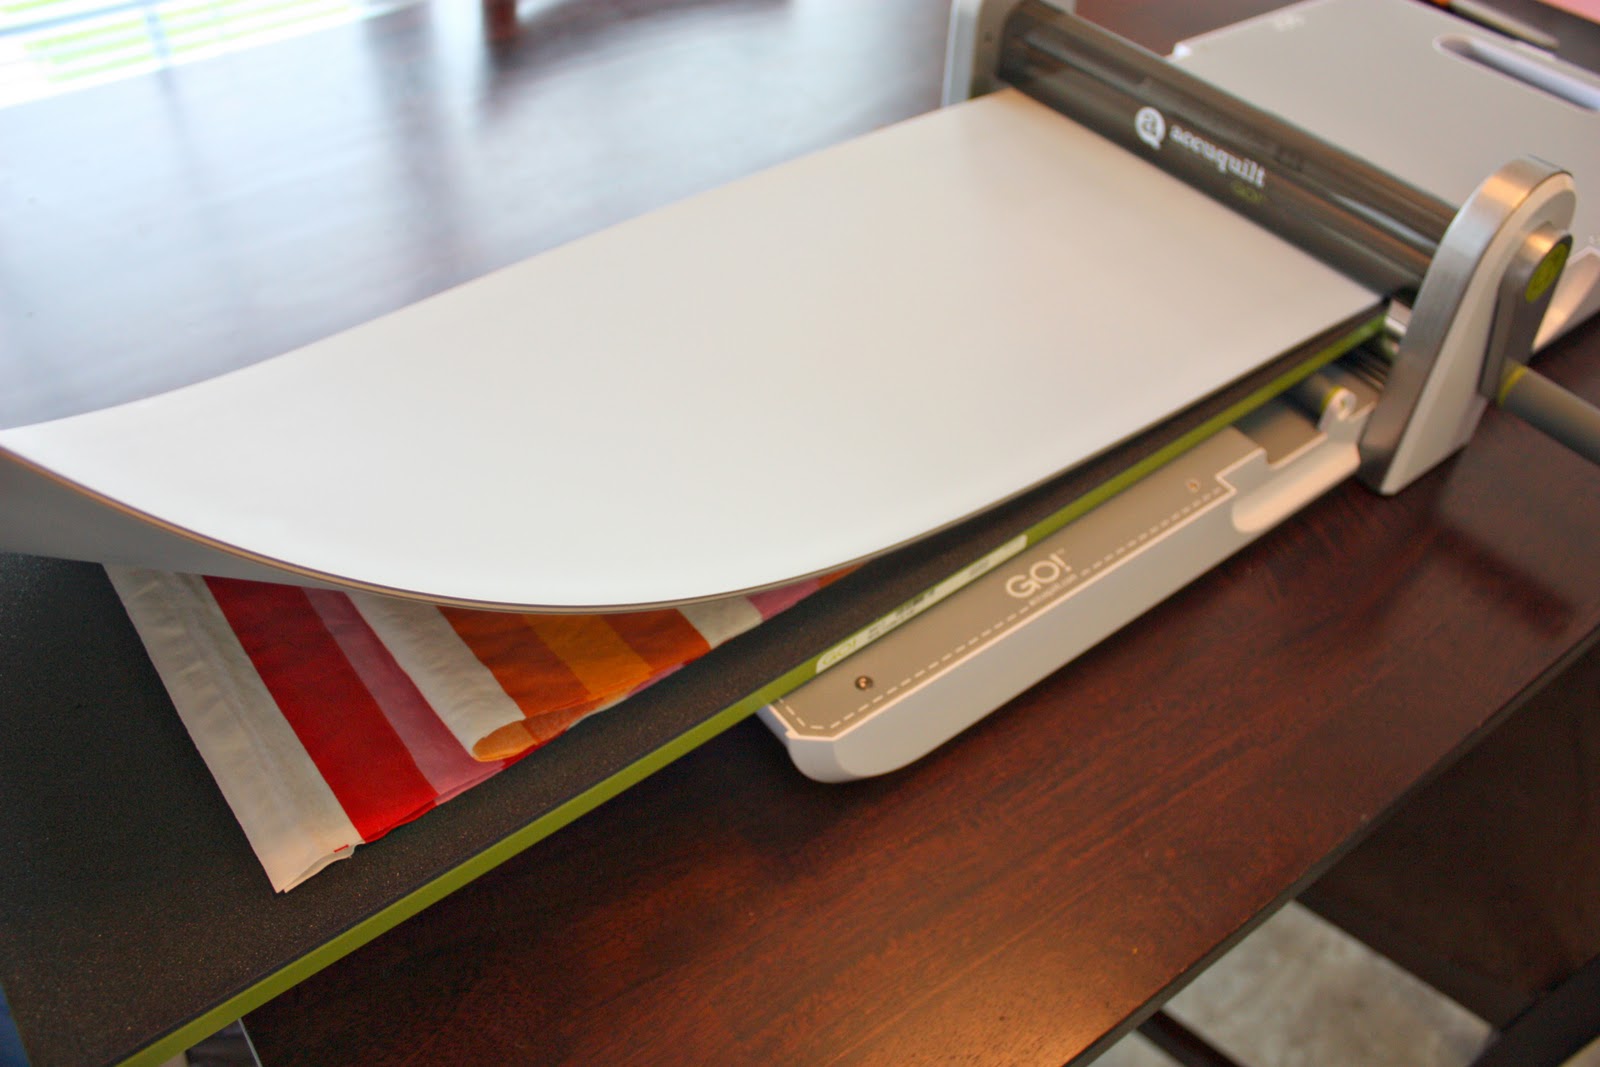
I placed the mat on top……
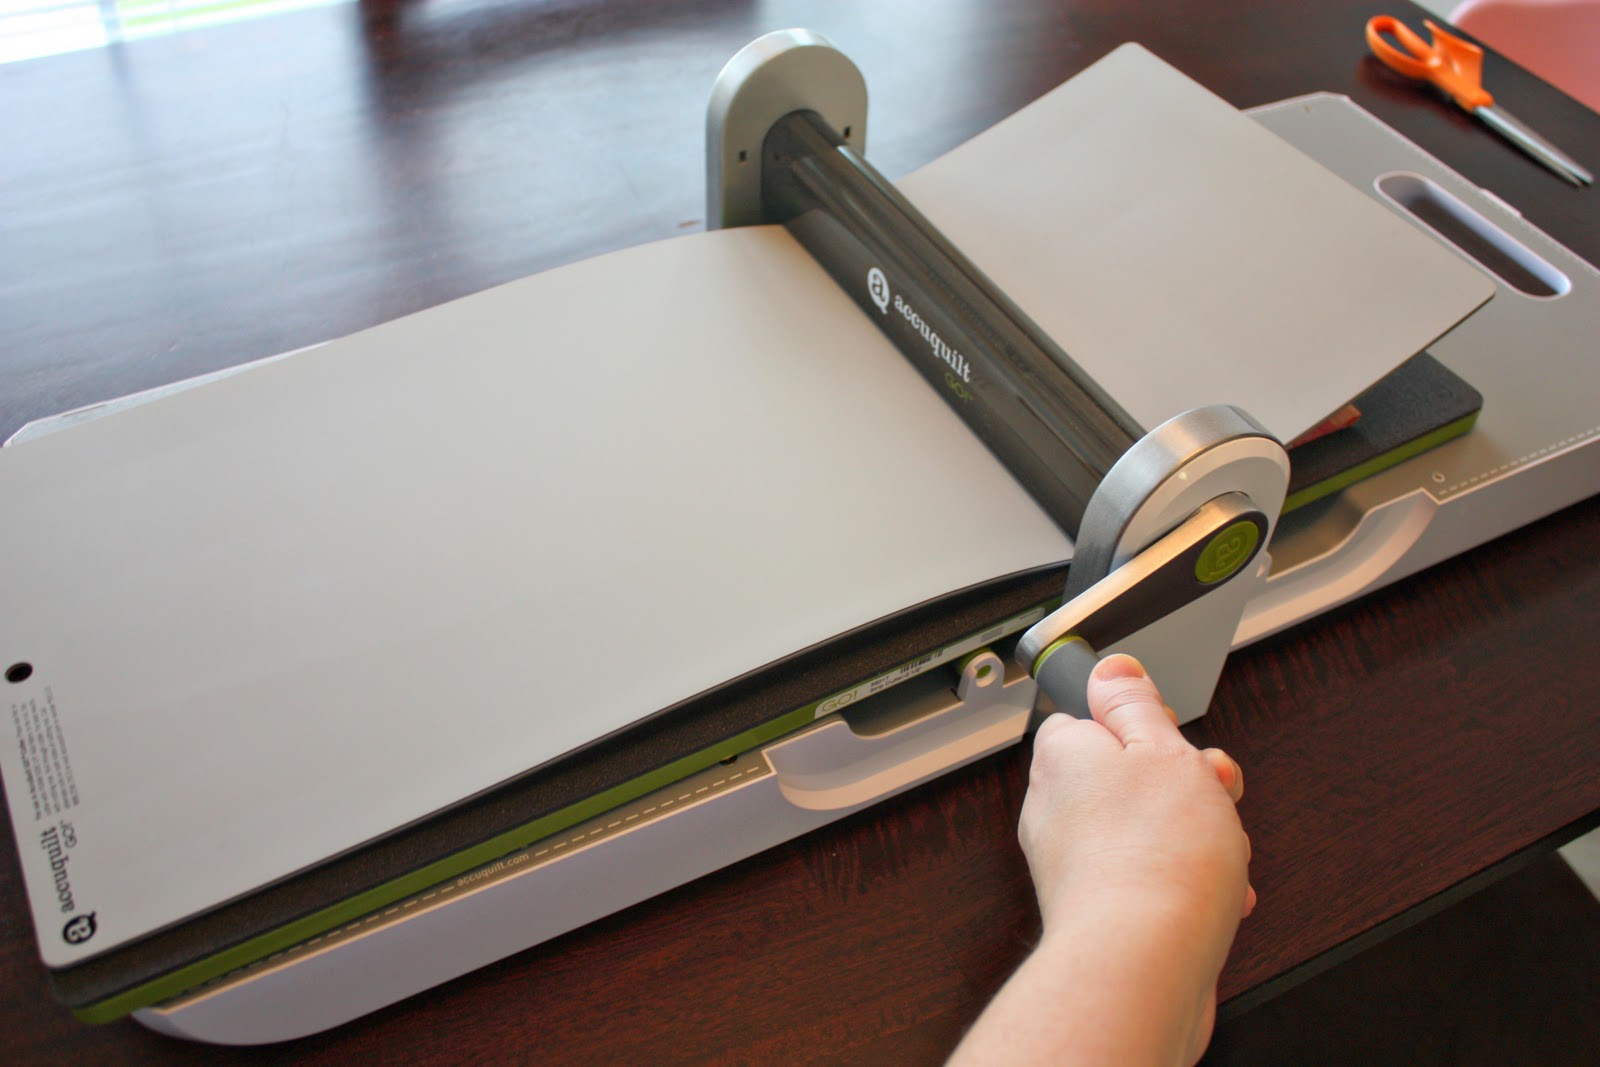
……then rolled it through.
Then I removed the side scraps……
(This cutter is just 4 parallel blades, so it won’t ever chop your ends off…..thus, giving you 3 continuous strips.)
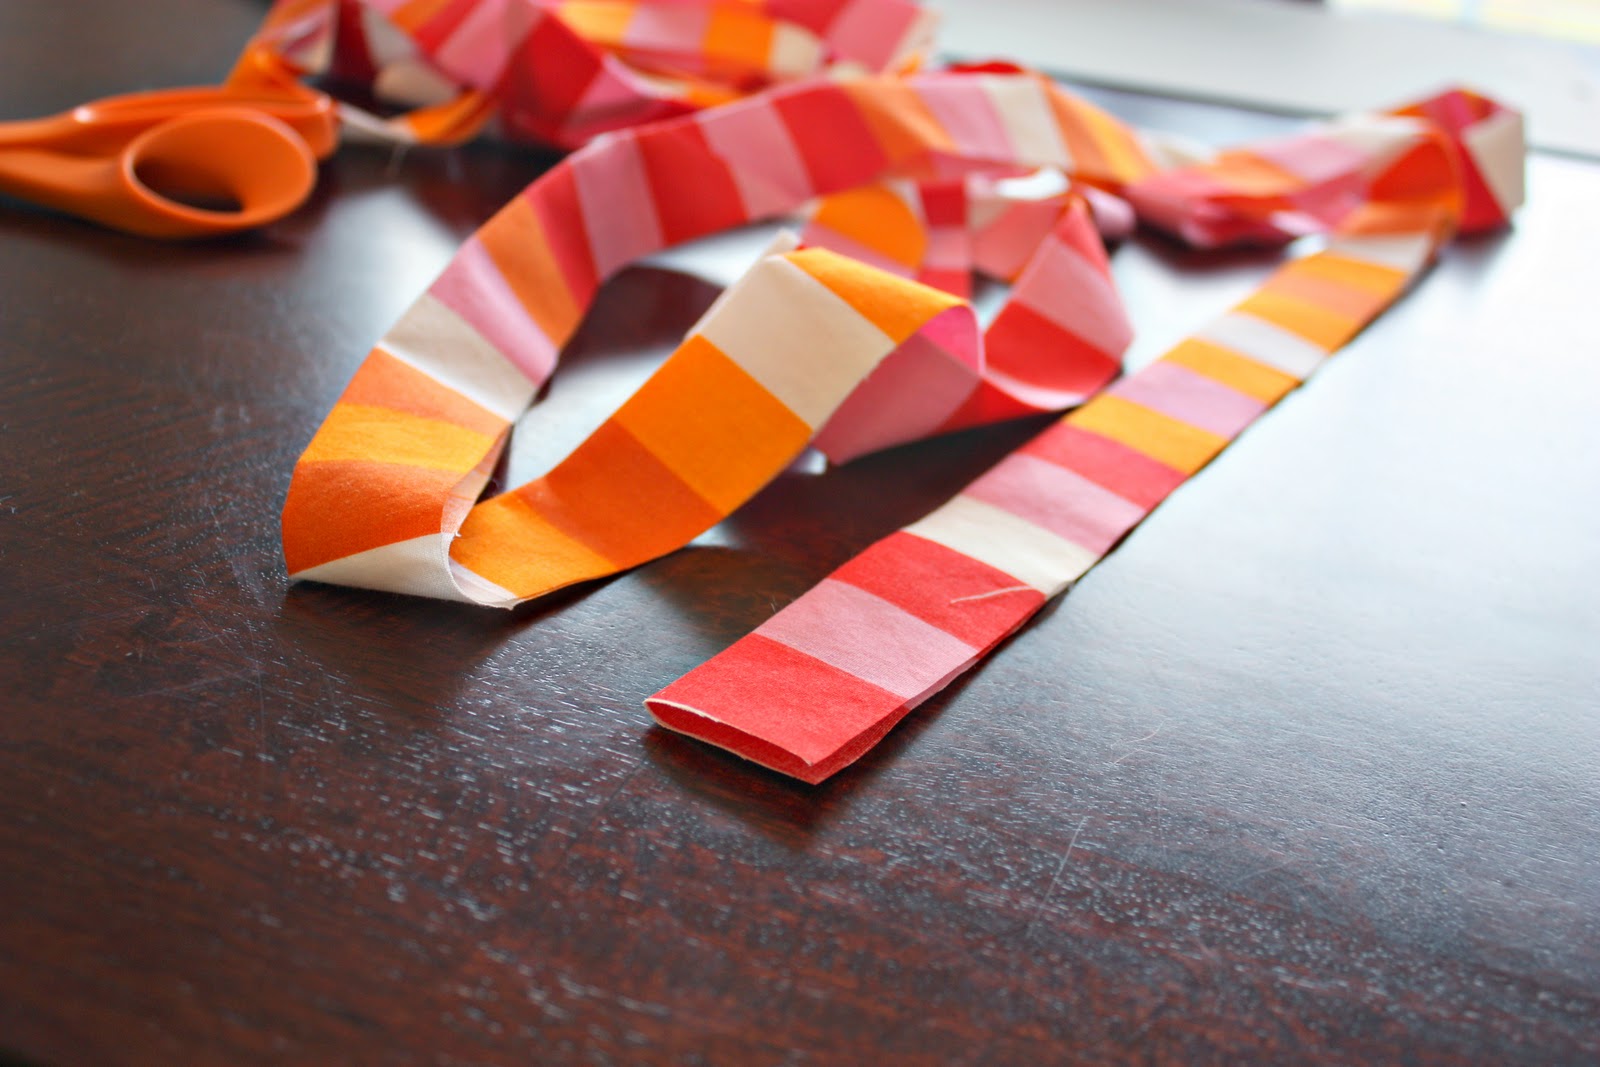
Then I unfolded my strips of fabric.
Easy, quick, and very precise. Wow, this makes binding so much easier.
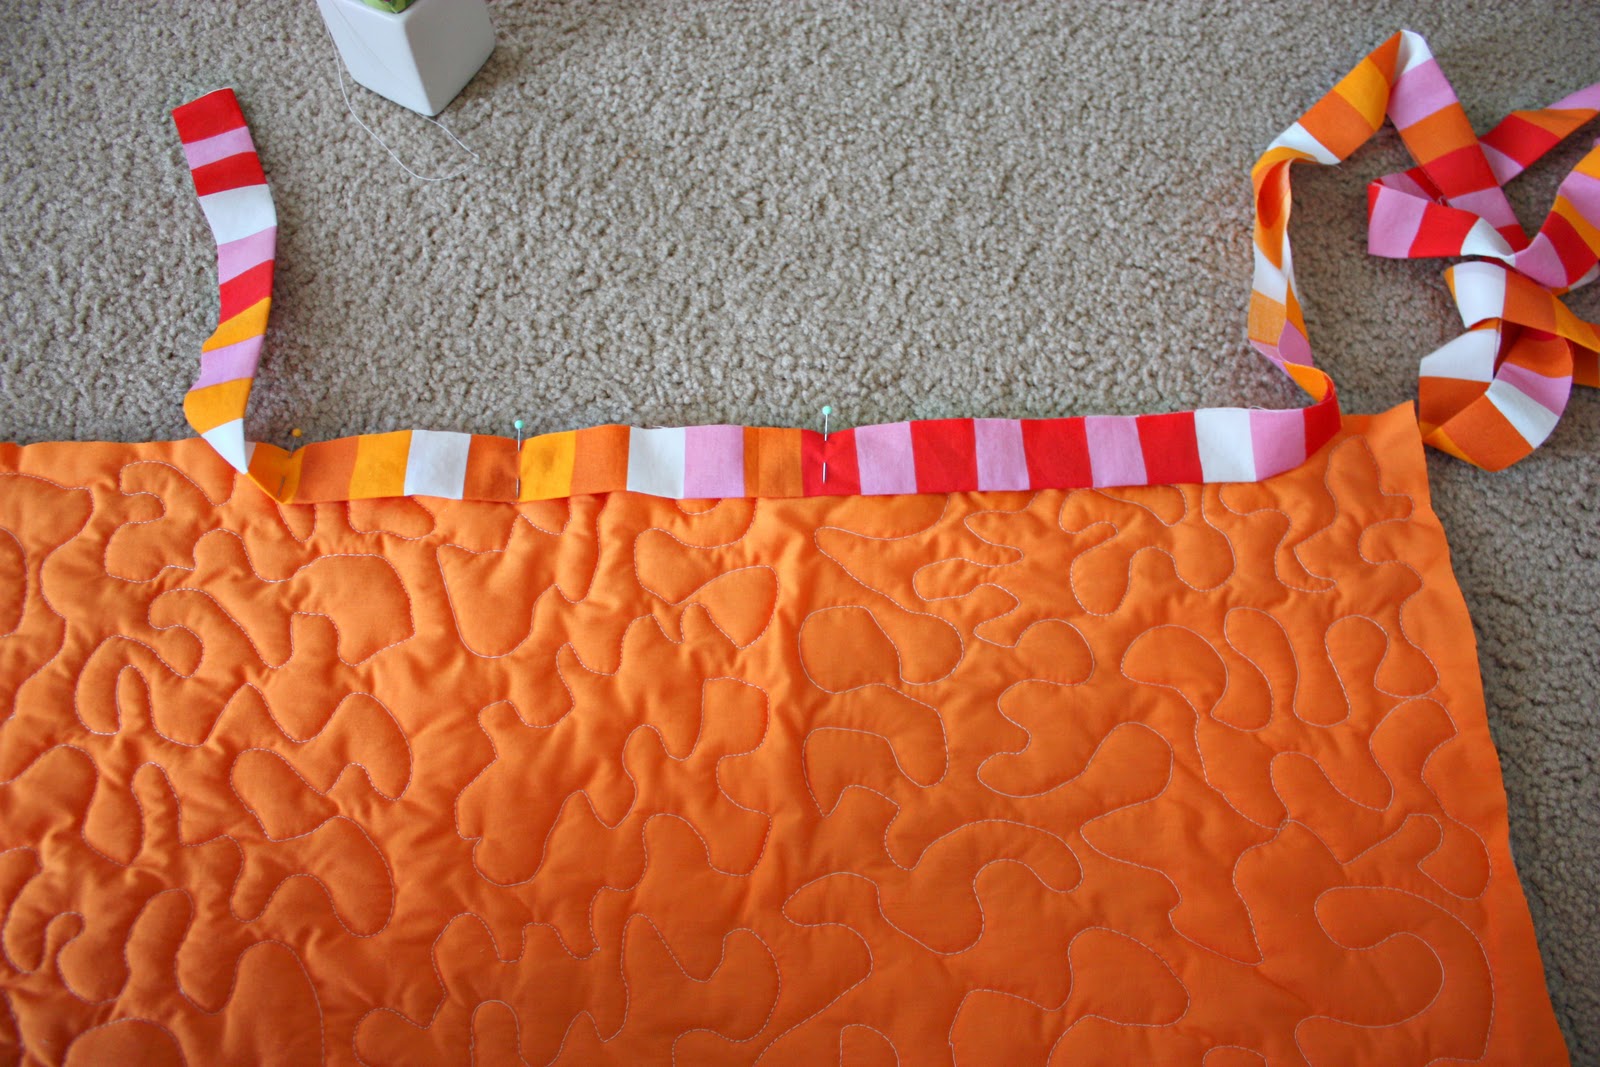
Then I sewed each strip together, and folded it in half lengthwise, to form one long piece to use for the quilt binding.
And then attached it to the quilt, sewed around it……….
………..and done.
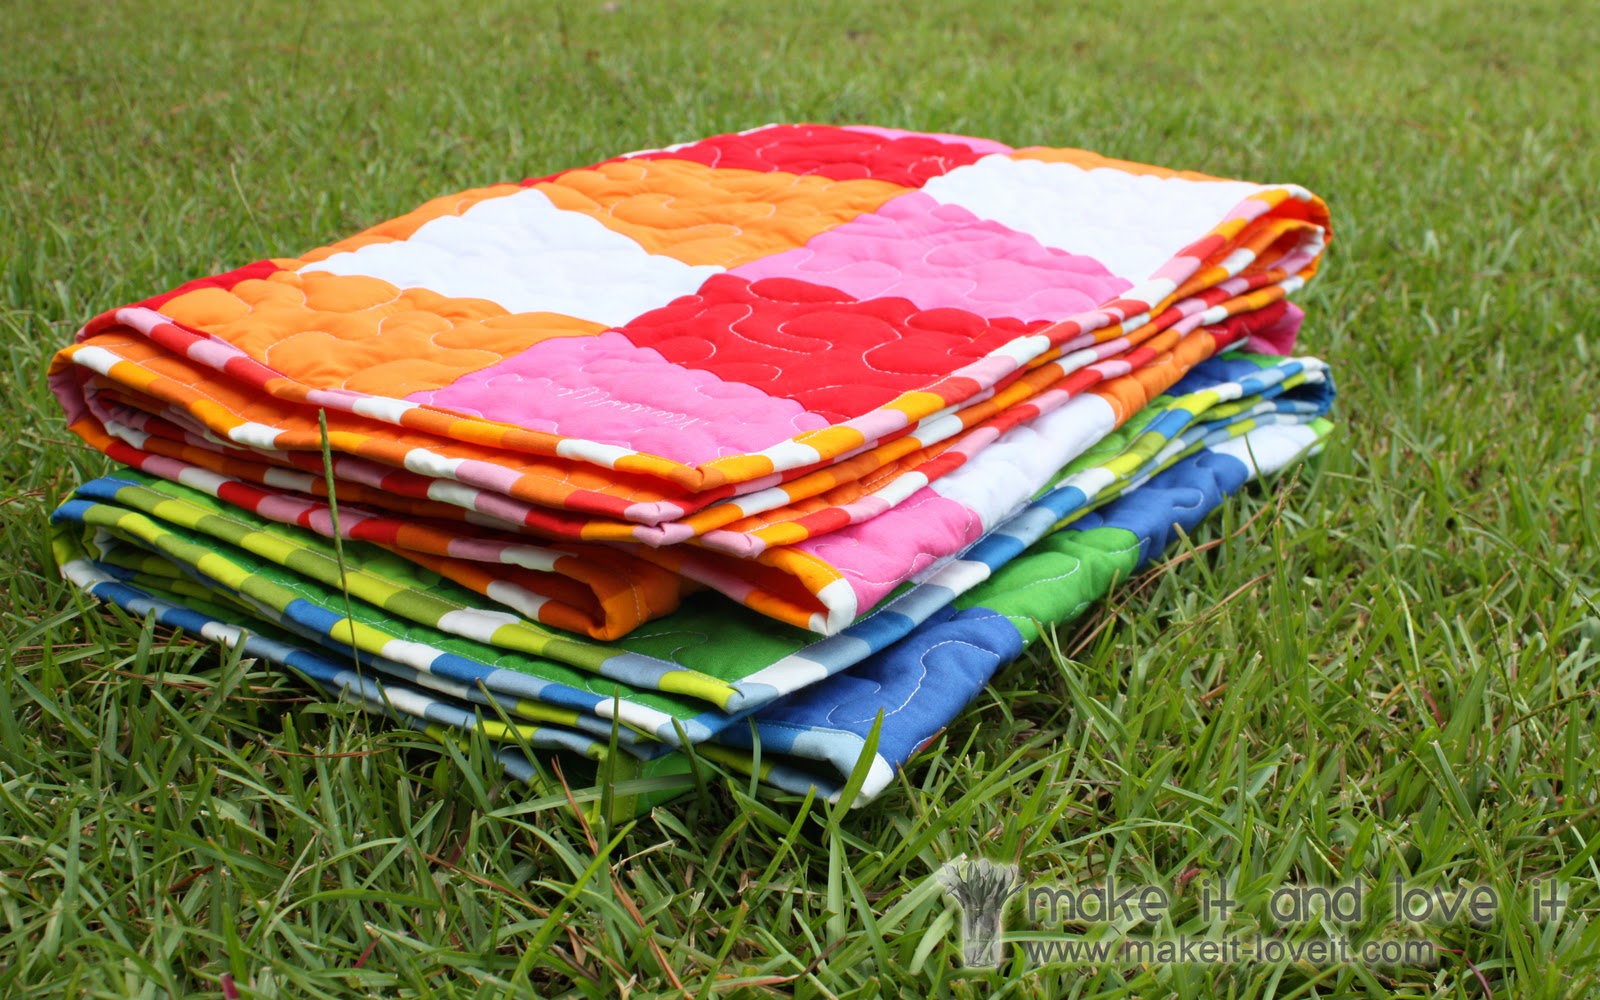
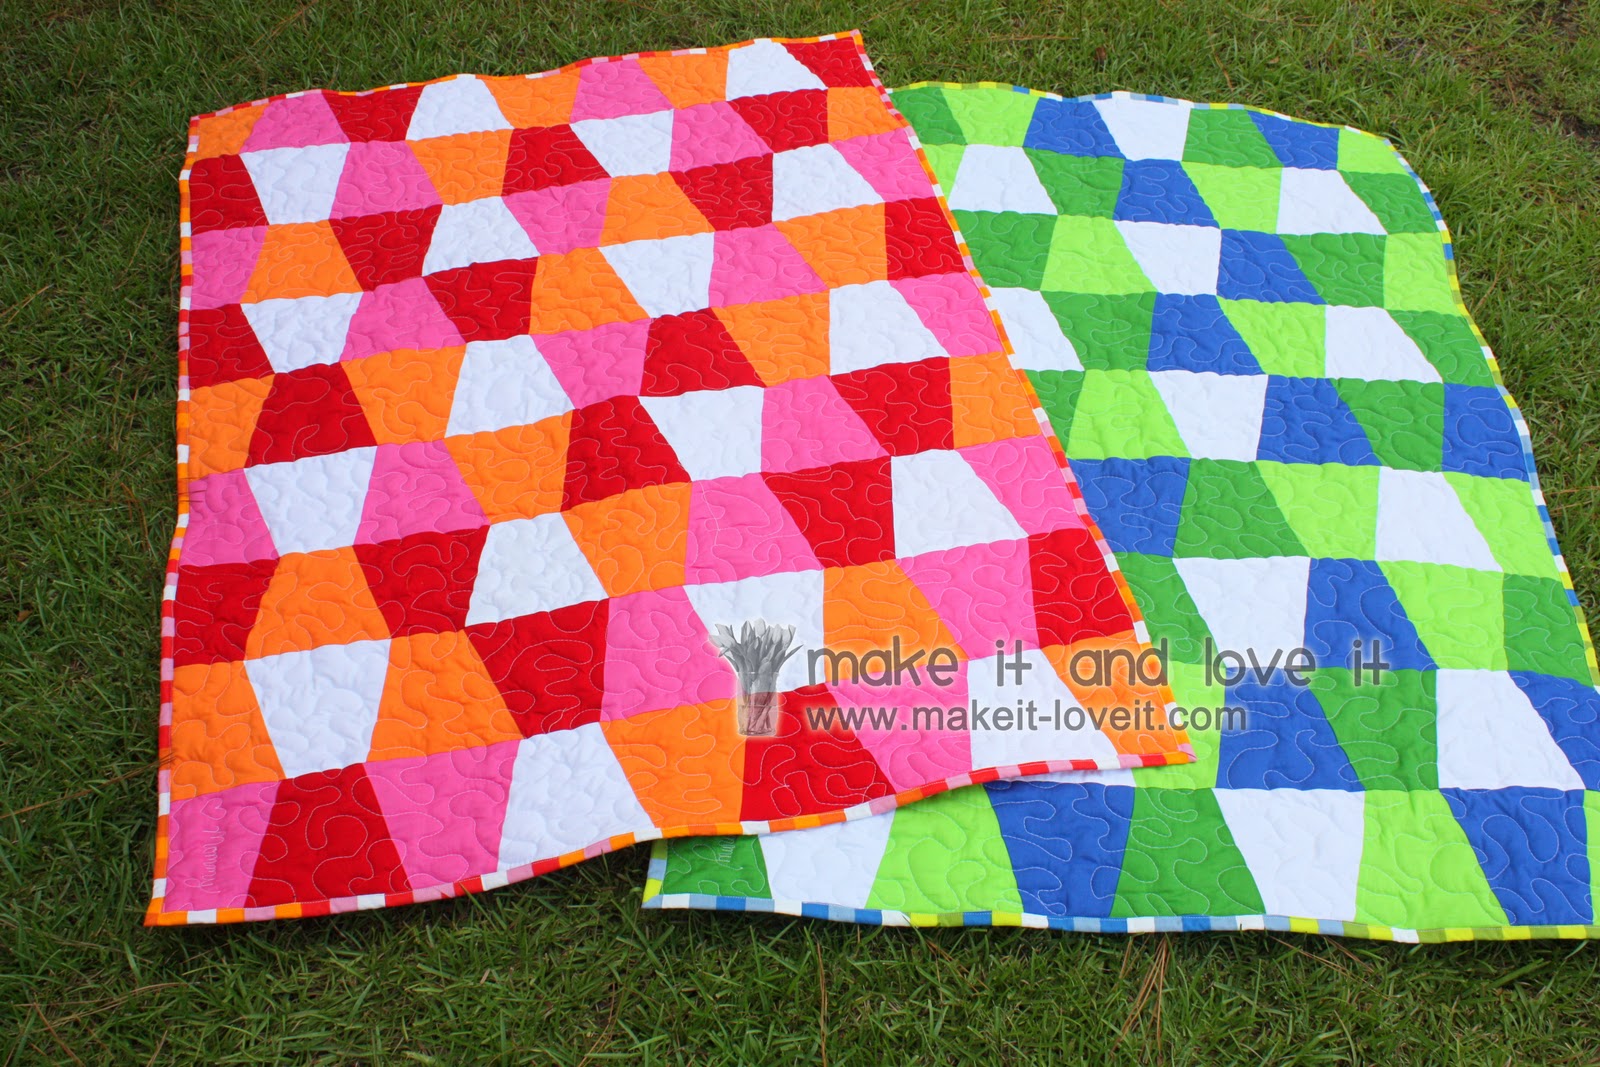
I love that it took me an hour here and there from one day to make each quilt, and shaved off hours of measuring, cutting, and clipping.
And the tumbler shape created a fun and vibrant pattern for these quilts.
(And did I mention that I have never had my binding turn out so evenly and precise? Must be from crooked binding pieces in the past. Oops.)
And they go perfectly in the little
boy/girl toddler room, that I started
here.
(More on the room to come…)
One on a toddler bed, and one for the crib.
Love them both.
And I couldn’t be happier with how easy it was to keep everything even and precise while sewing.
Want to see some other ideas?
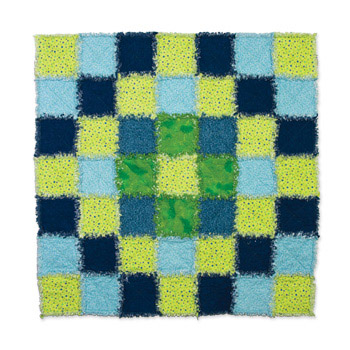
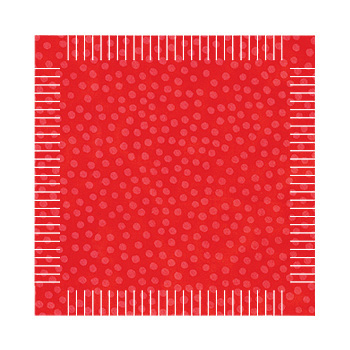
Are you really into making those rag quilts, with all of the textured edges?
But hate snipping and clipping all of the darn raw edges?
Just take a look at this
Rag square die cut, that cuts each square on the Go! Cutter, plus all of the little slits in the fabric. All you have to do is piece them together.
No more cutting.
At all.
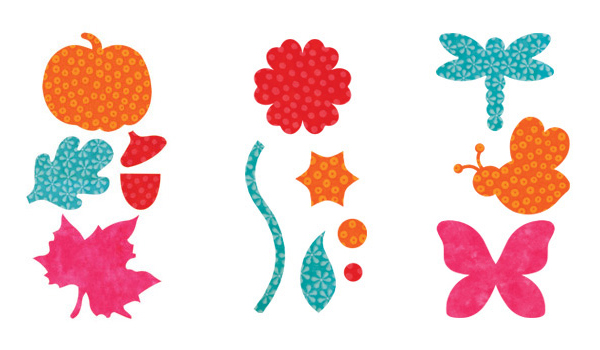
Or how about some really fun applique cut-outs, that could be used on blankets, shirts, table runners, etc. Check out all of the
die cuts here.
Just think of all the fun.
(And I’ll be showing you more of what I have made using the cutter, tomorrow.)
But are you ready for something exciting?
Accuquilt is offering one of their Go! Cutters, absolutely free, to one of you.
The winner of this fabulous giveaway will receive 1 Go! Cutter and 3 Die Cuts of their choice. (Over $400 value)
So whatever your crafting style is, you’ll be able to choose just what you’d like to create.
And save a ton of time while doing so.
(And remember to check back tomorrow for some other great non-quilting ideas,
using the Go! Cutter. Can’t wait to show you.)
!!!!!!GIVEAWAY CLOSED!!!!!!!
Here’s how to enter to win:
Visit the Accuquilt site here , but more specifically the Go! Cutter shop here…….then browse around for a while.
Then come back here and let me know in one comment what your plans are for the Go! Cutter, or how you’d like to use it.
So visit the site, comment back on this post, and you’re done.
Only one comment per person.
This giveaway ends Wednesday, July 21st, at 9:00 a.m. (EST)
Good luck!