.
Did you notice my newest sponsor Secrets to Tutu Making Success? Click here to find more info on receiving a free tutu lesson and then more info on a whole collection of different tutu styles……all created without a sewing machine. Perfect for that little ballerina!
. . . . . . . . . . . . . . . . . . . . . . . . . . . . .
I enjoy finding different ways to add a special touch to a cake.
A few months back I gave simple sugar work a try……..and I fell in love with this art.
I don’t think you will ever see me on a Food Network Challenge with my sugar work but I wanted to share a simple way to add this edible media to your cakes.
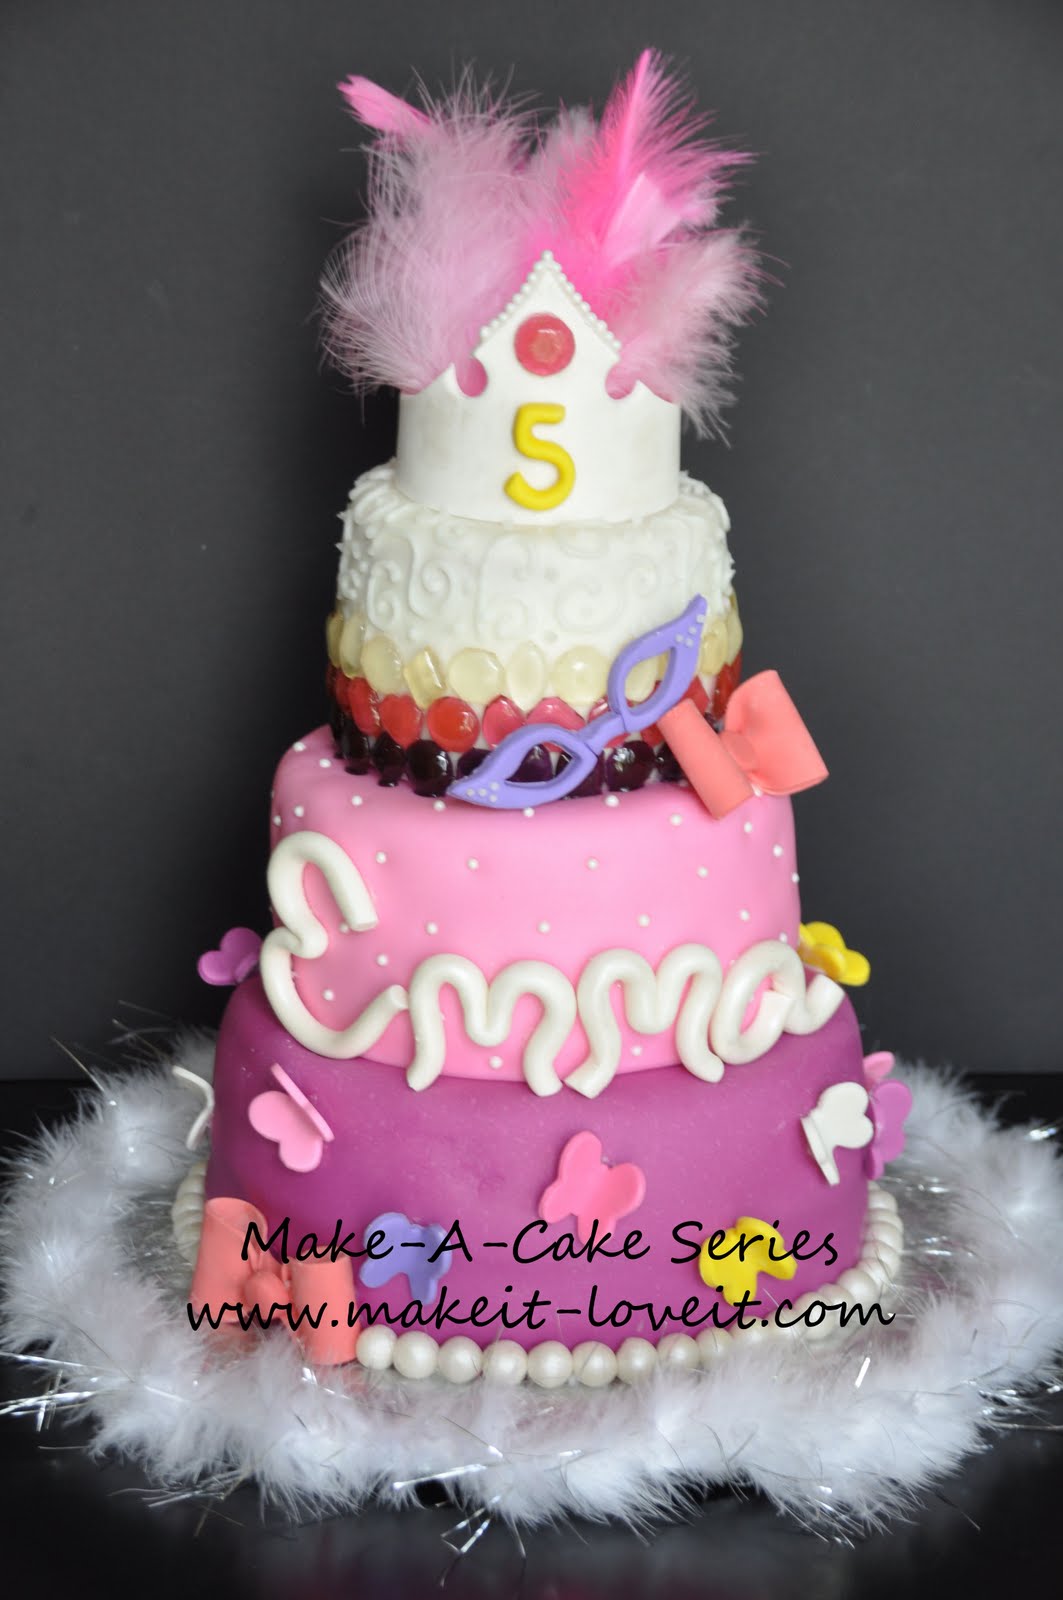
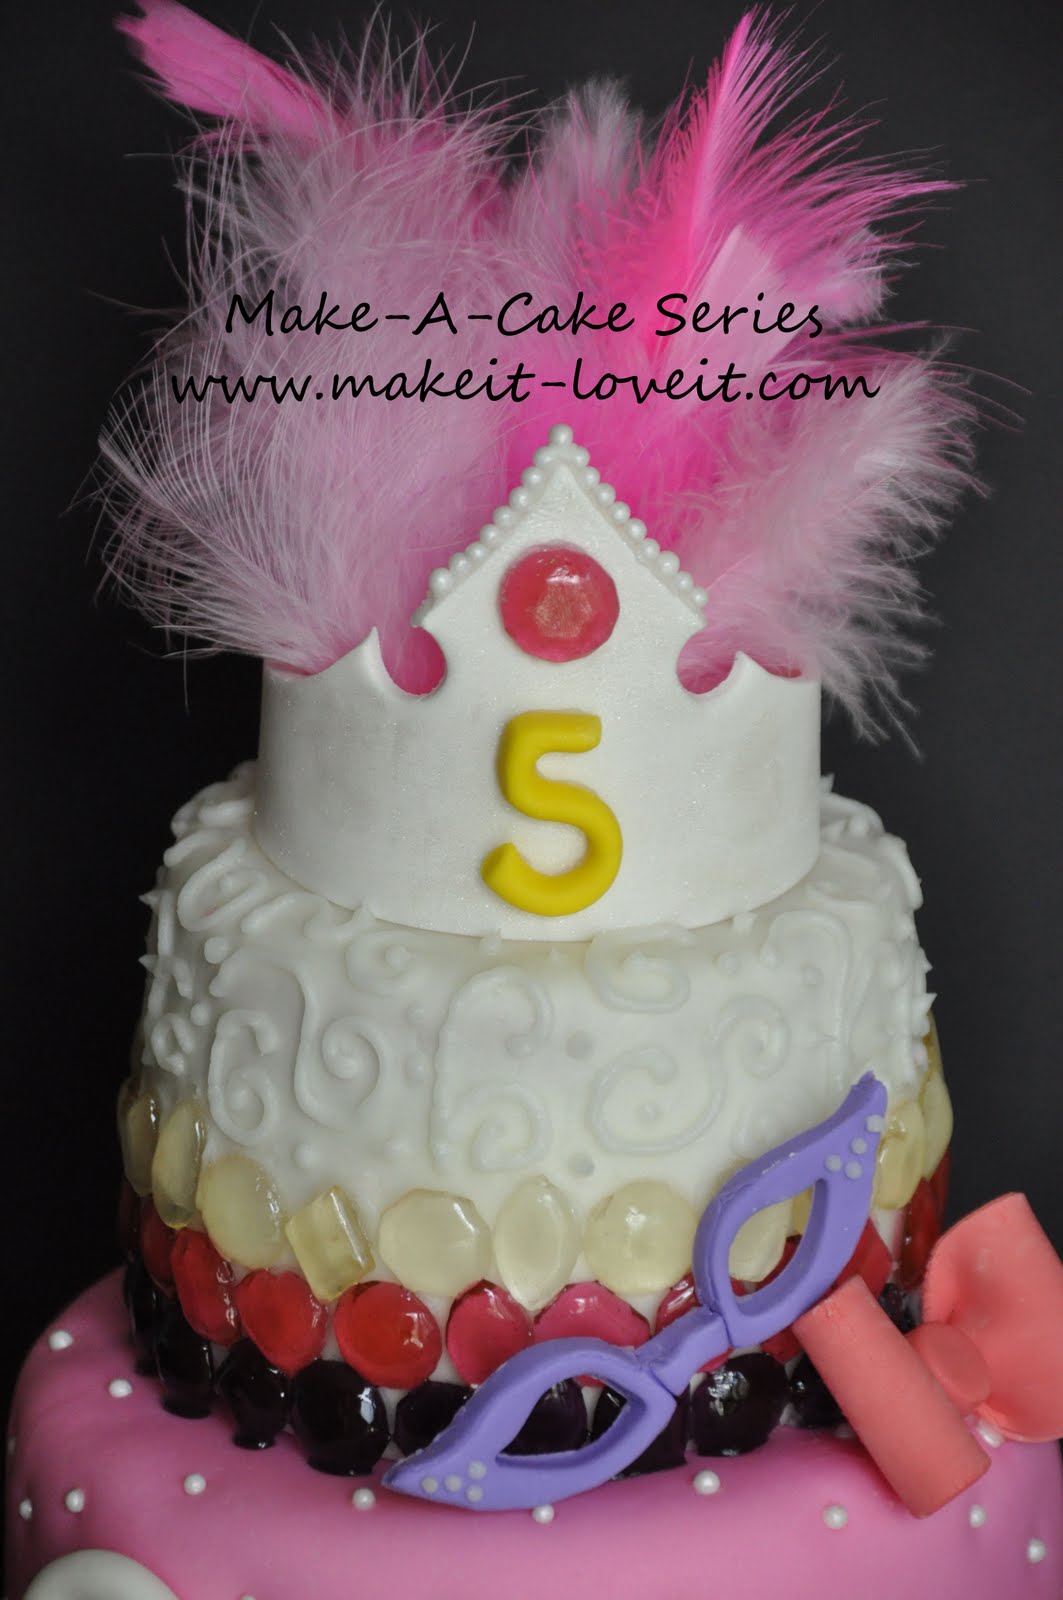
Here are the sugar gems we are going to make.
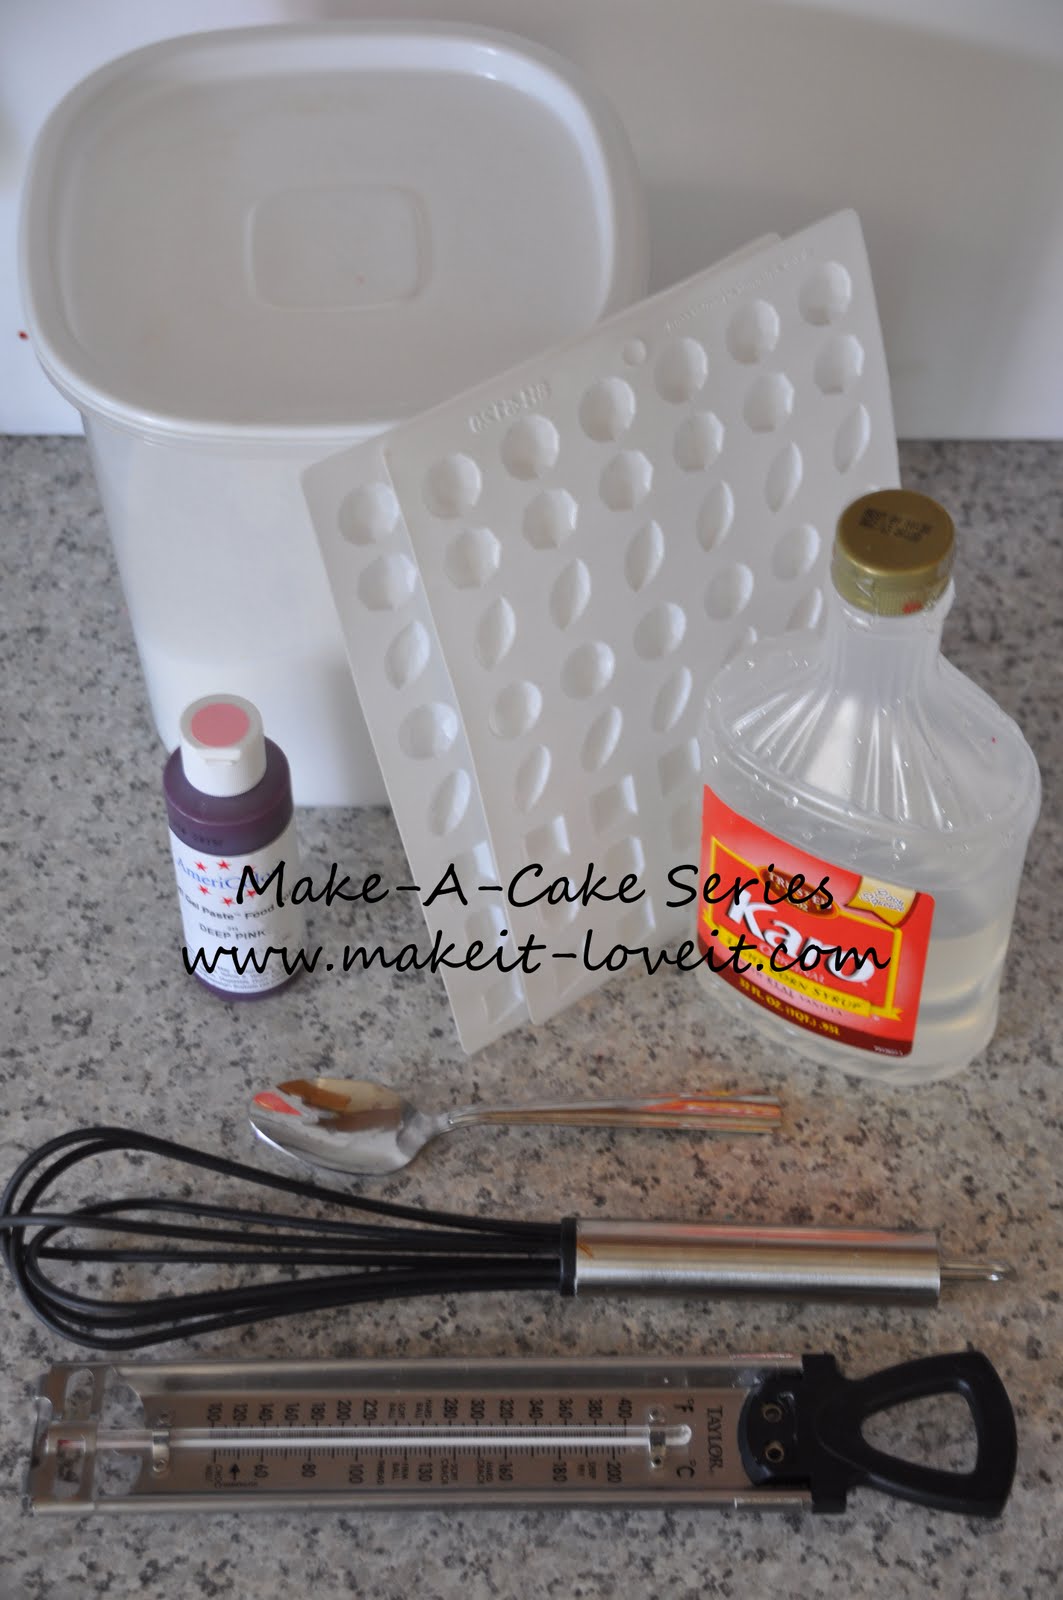
Supplies:
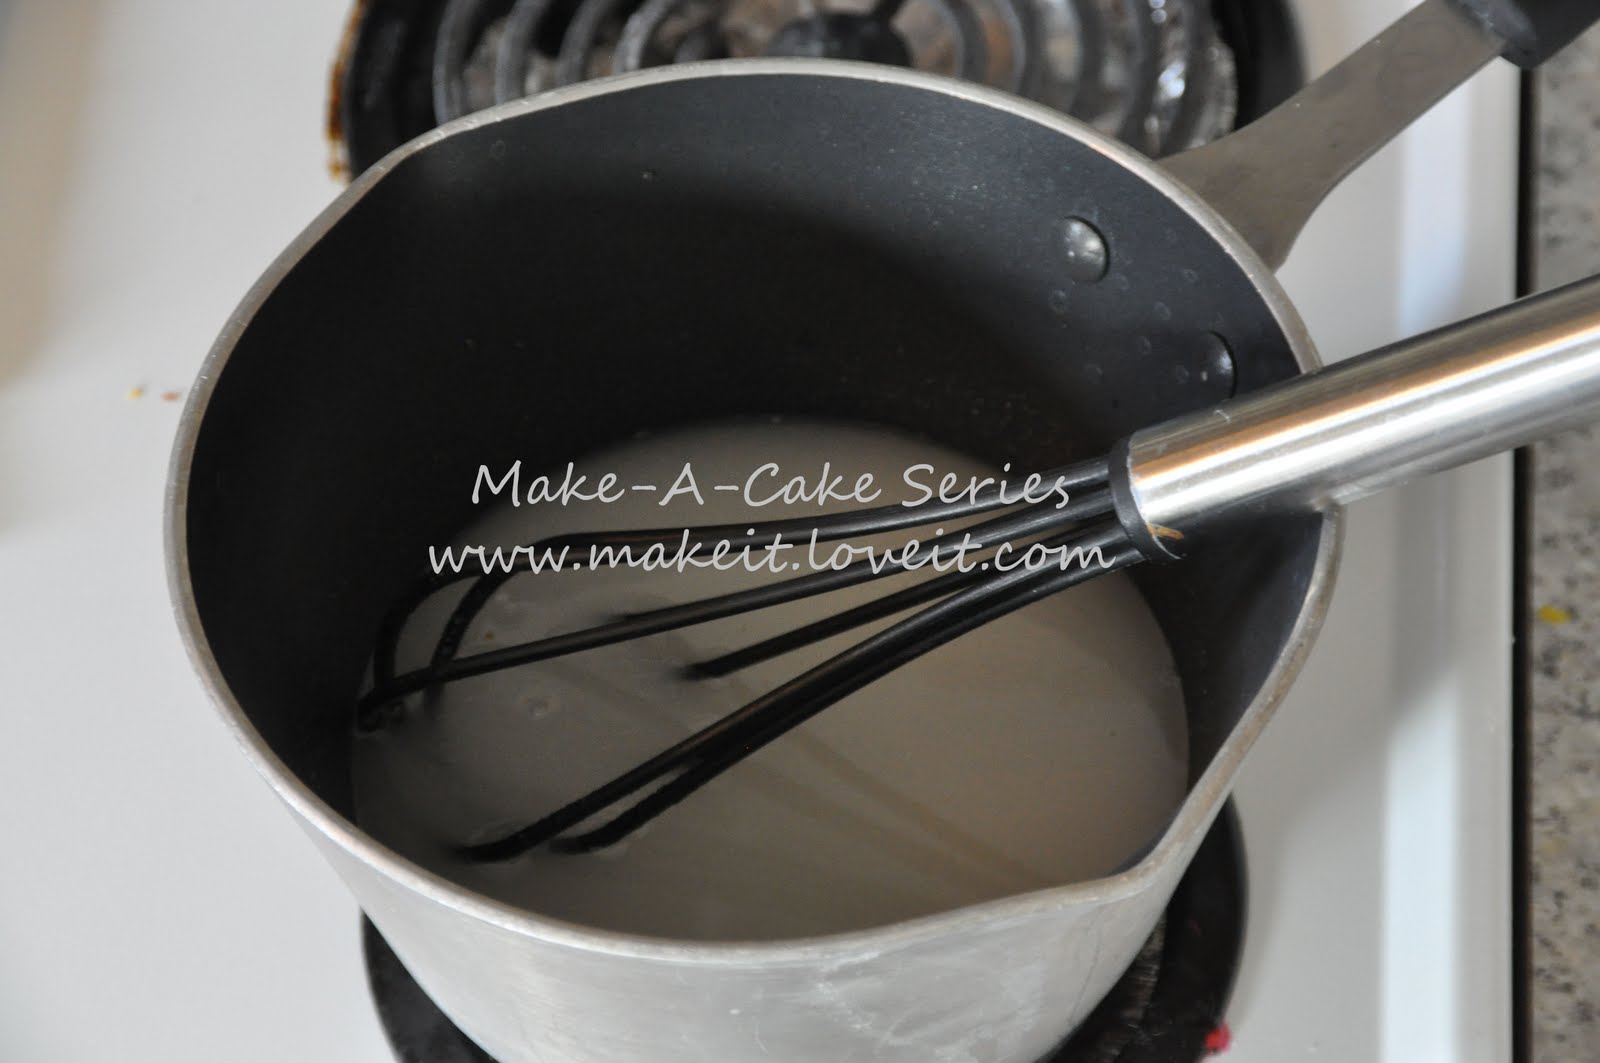
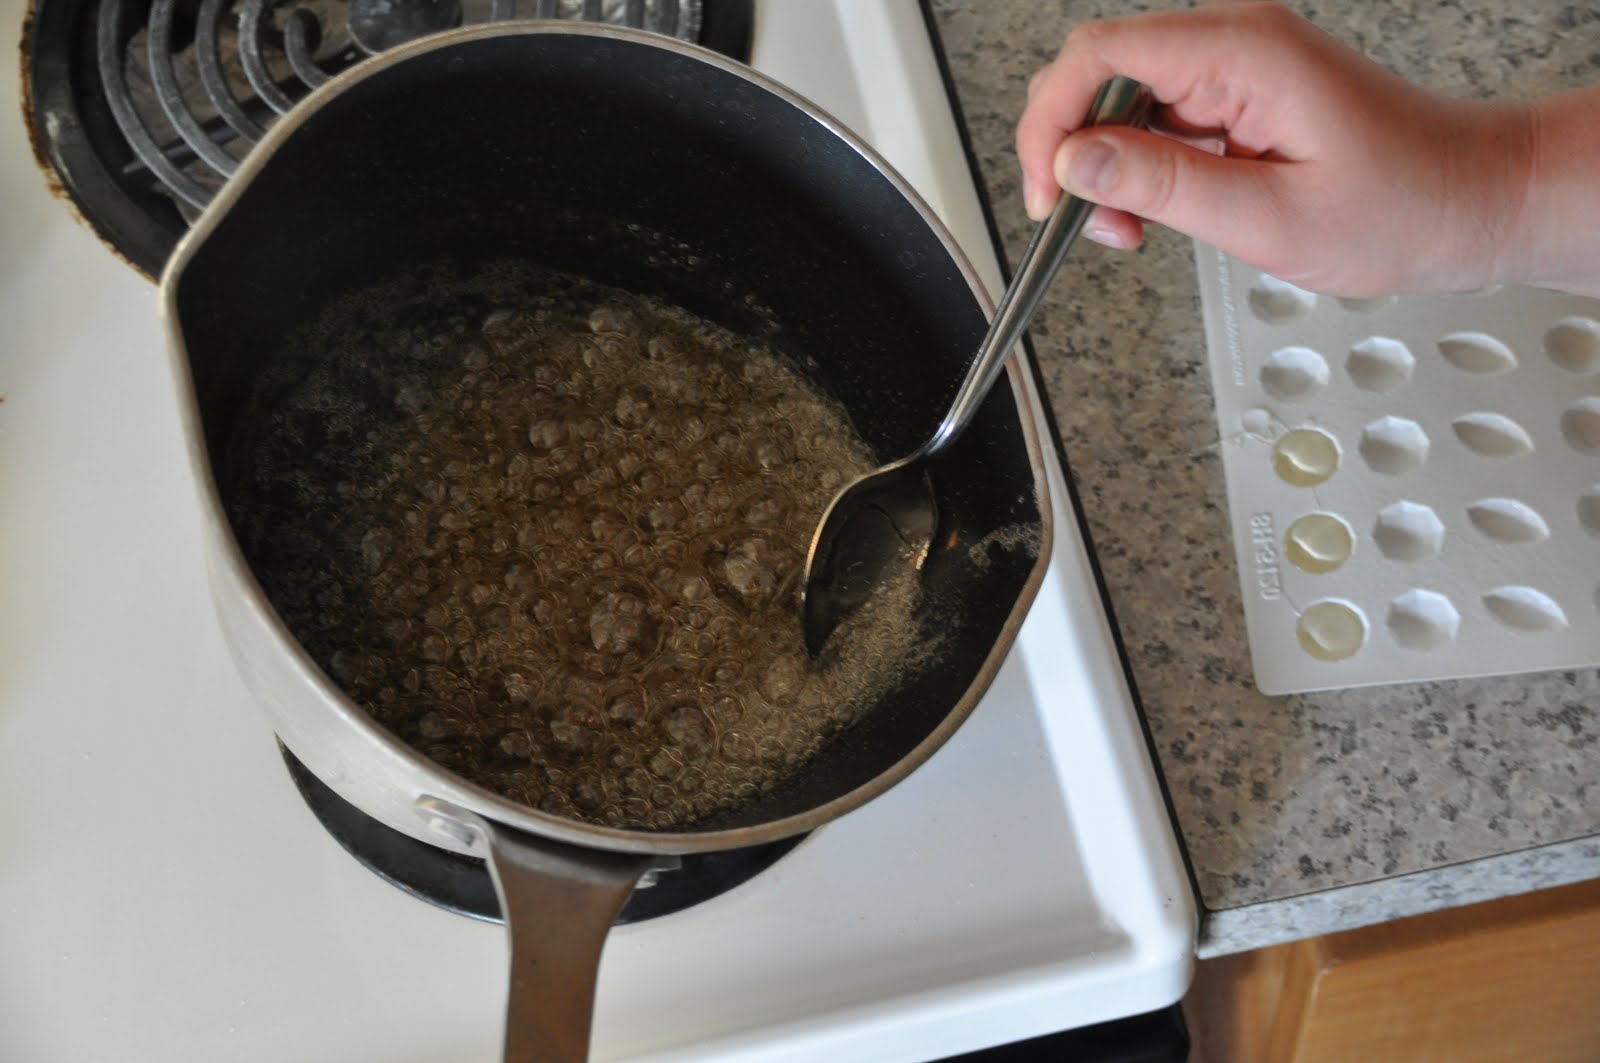
When it comes to a boil, add your candy thermometer and do not stir anymore.
Take your thermometer out and remove your pan from the heat.
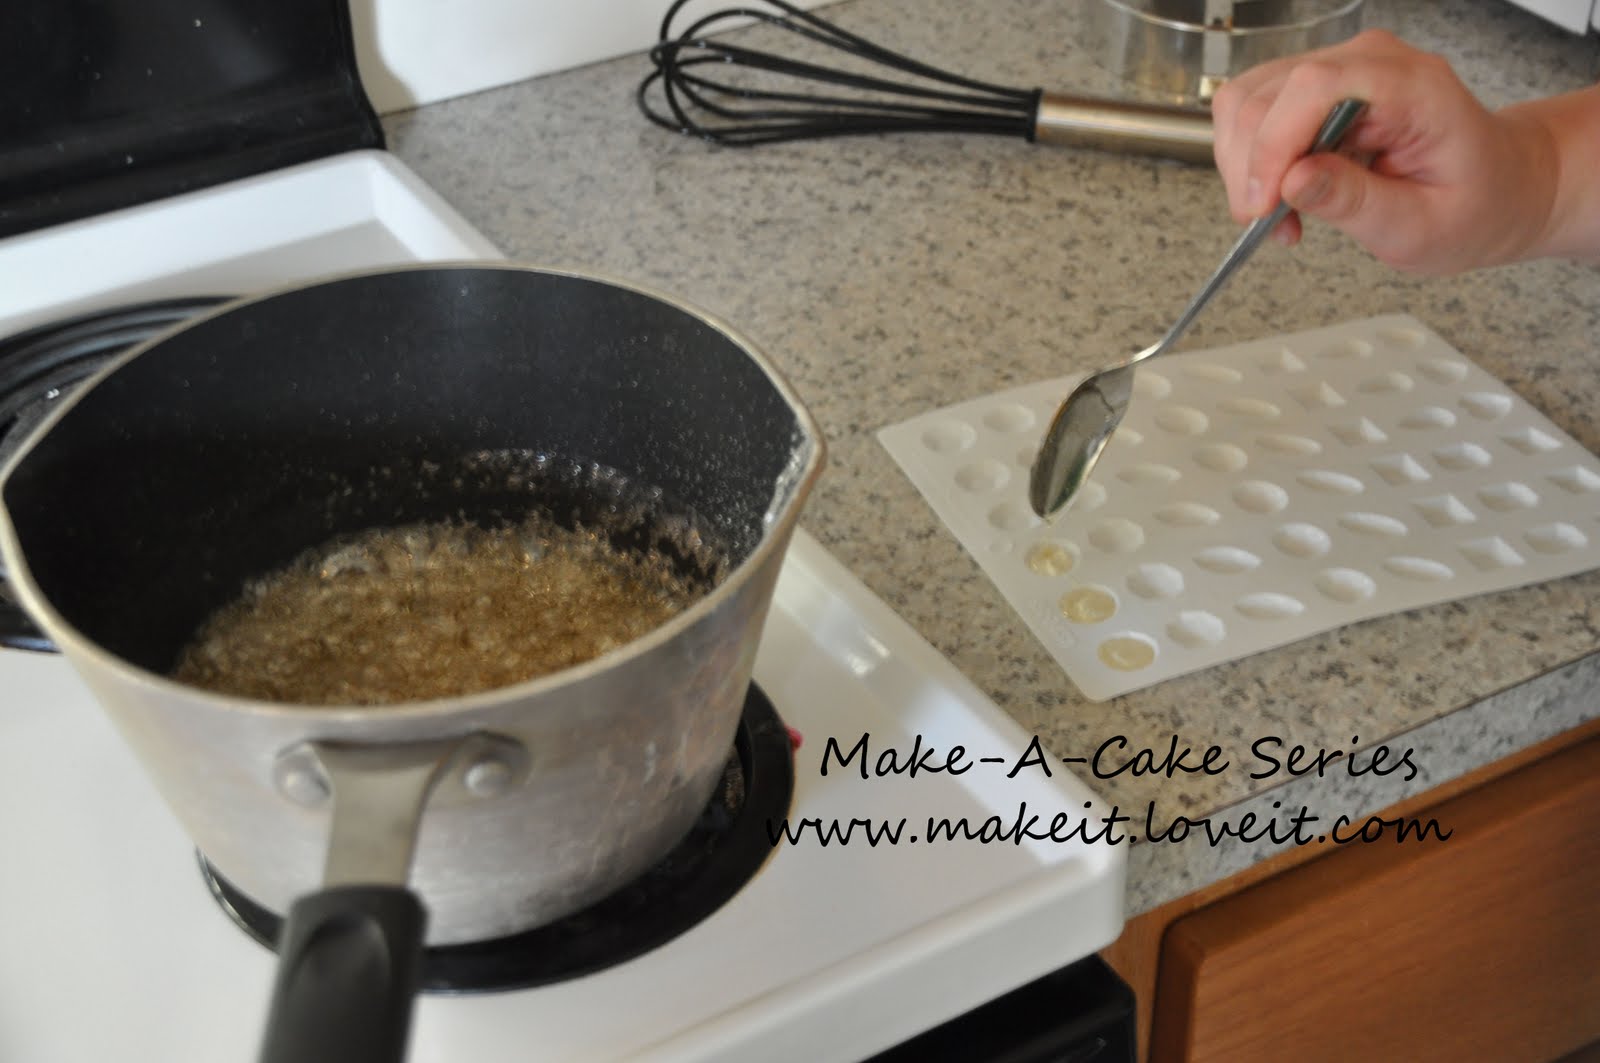
If you are making clear gems then you are done and you can start spooning into your molds.
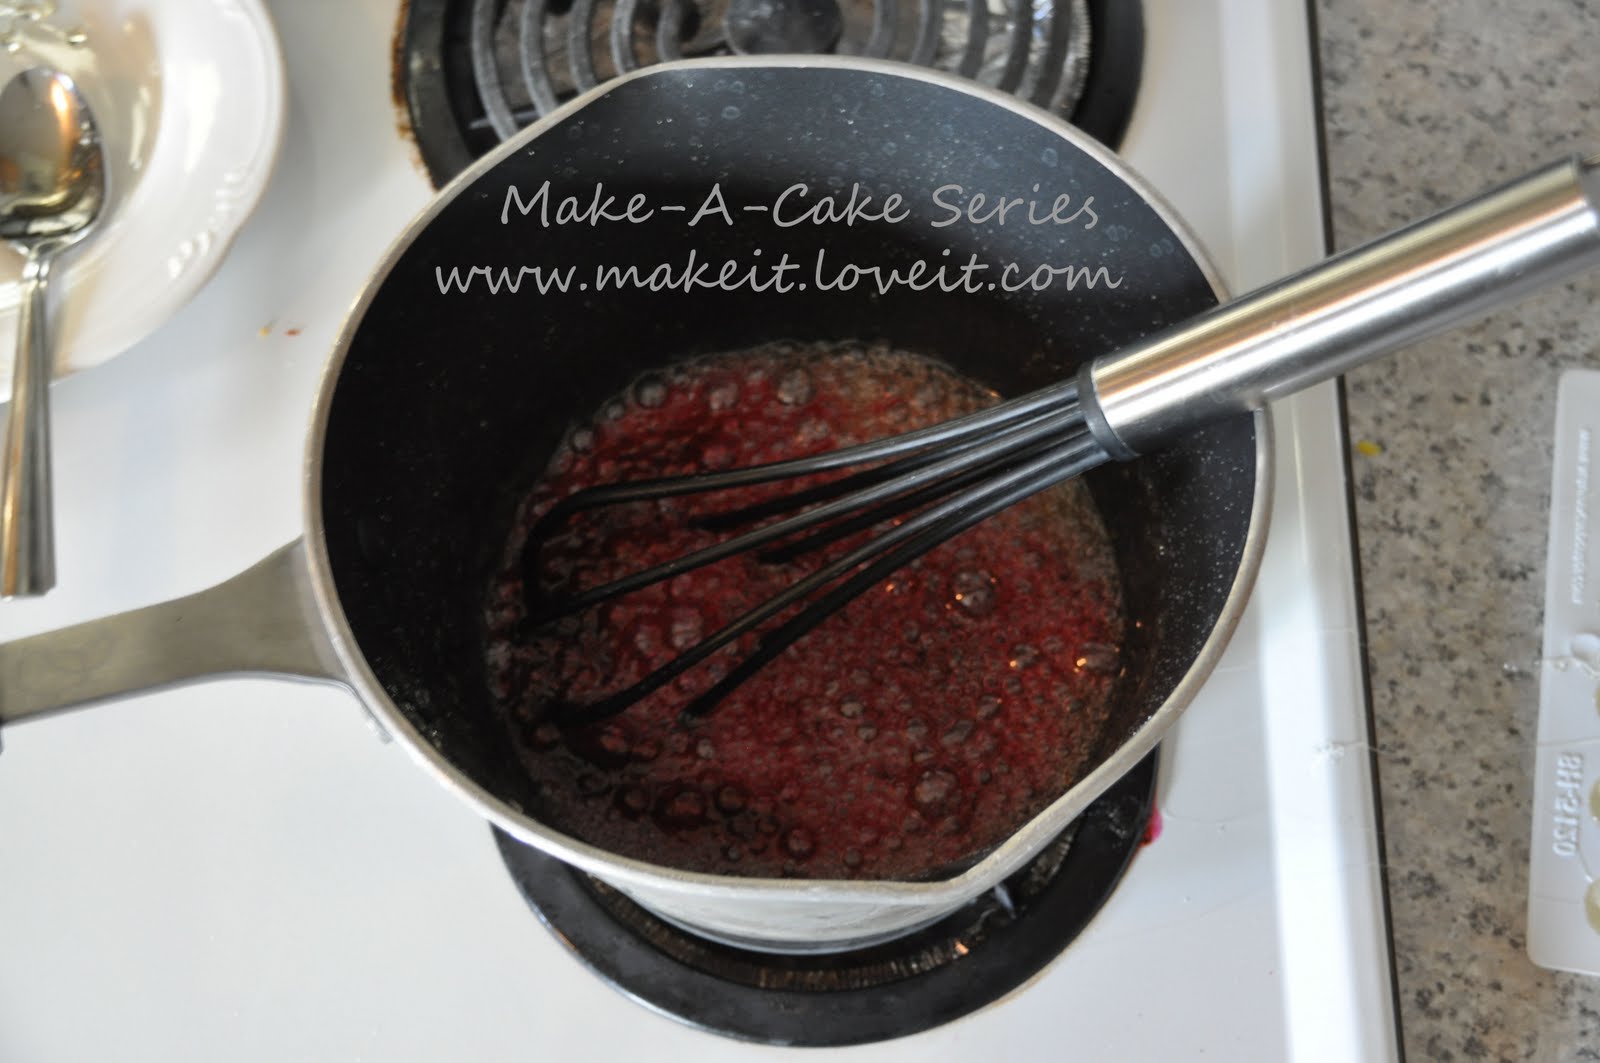
If you want color you add it here. Start with just a little bit and add more if needed.
The mixture will bubble when you add the color…..and that’s ok.
If you want to add flavoring to your candy do it at this step. You need flavor oils to do so. I don’t because I like how it tastes plain and I try to keep my cost down.
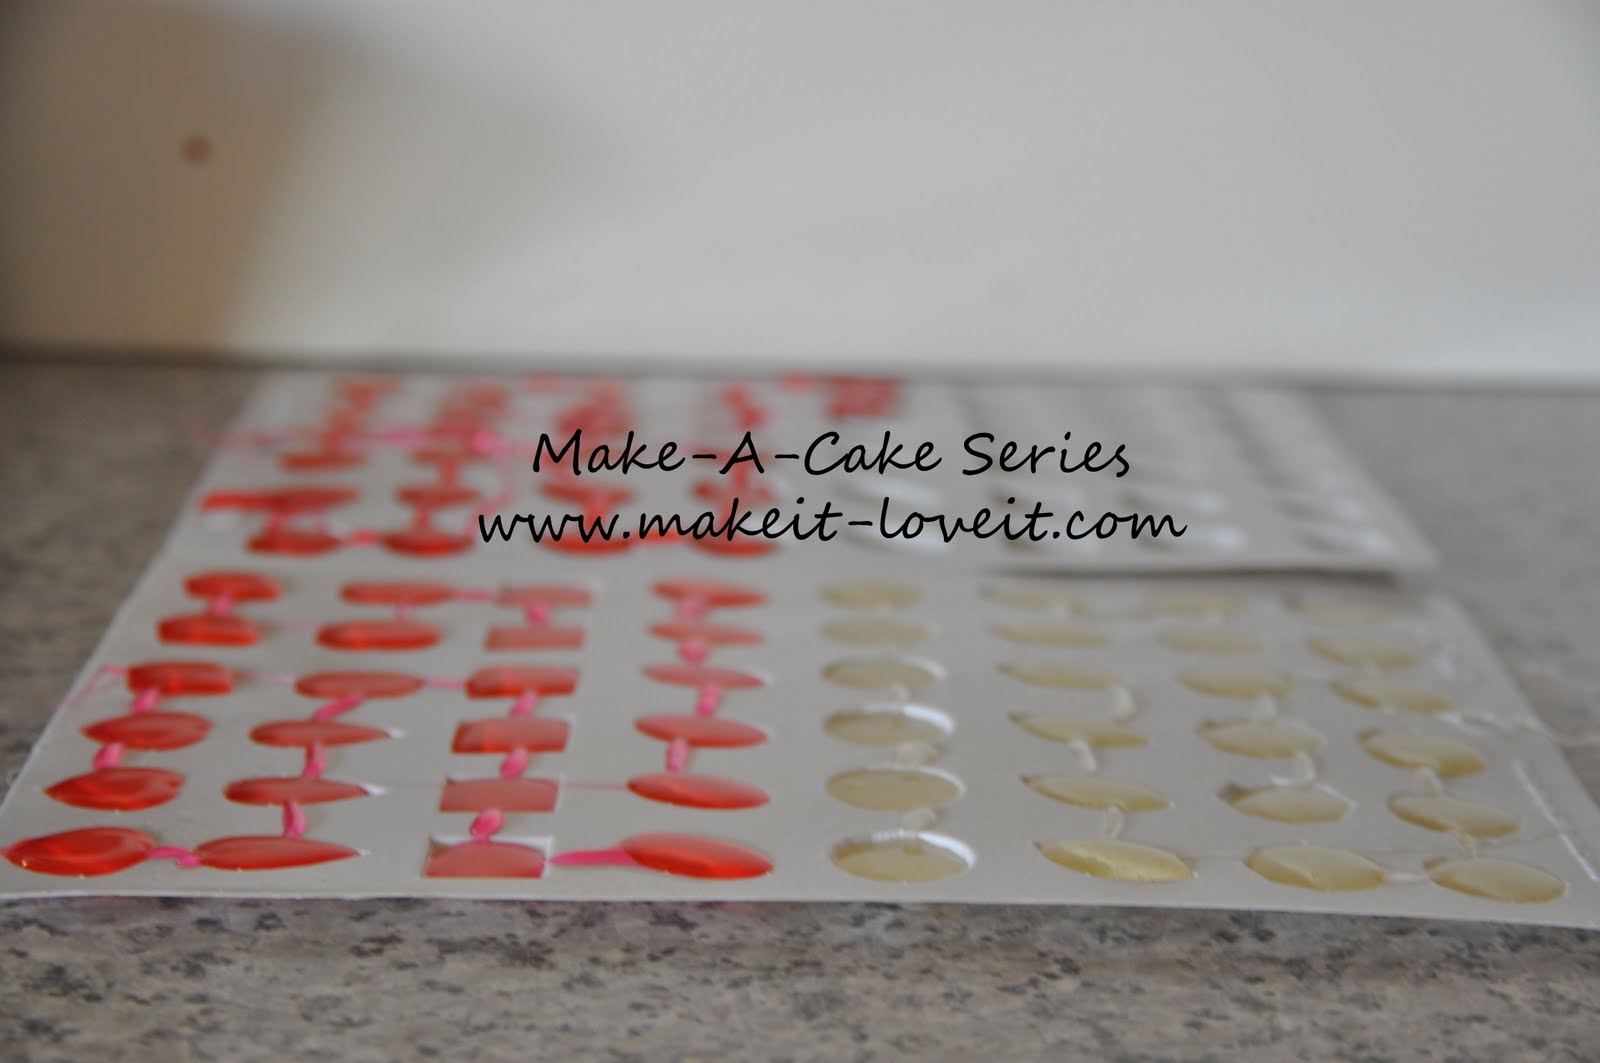
Then I added a little bit of pink color to make a light pink. Then I spooned more into the mold.
Next, I added more pink color to the sugar mixture to make a darker pink, and then spooned it into the mold. So then I had 3 different colors of candy.
(You can also try to do clear, yellow, then add a little blue to get green. Try making as many colors out of one batch as you can.
And yes, you may have some left over. I just let it get hard in the pan and then soak the pan in water until it dissolves.)
Let the sugar cool in the molds.
After the sugar is cool, turn your mold over and pop out the candy. Then break off the little strands of excess that may have dribbled while spooning the mixture.
Store your candy in an air tight container in a cool dry place.
There are your own little edible gems.
I put a dab of buttercream on the backs and attached them to the cake.
I learned afterward not to do it too early.
I put mine on 24 hours before delivery and had to keep a fan on it the last 12 hours due to humidity. So put your candy on only a few hours before serving.
I hope you enjoyed this quick introduction into sugar work.
If anyone has a cake they have done feel free to post them in the “you made it and love it” section, we would love to see your work!
Happy Decorating!

Hi, I’m Ashley—the DIY-enthusiast behind this crazy blog!