Home » DIY Tutorials » DIY Sewing » Sewing: Clothing » Accessories » Little Boy Suspenders
Little Boy Suspenders
May 14, 2010 - By Ashley Johnston 68 Comments
Sometimes it’s fun to dress up our little boys.
With suspenders and all.
I love dressing up my little girl, but can’t help but dress up my little boy too!
And come on…..what’s cuter than matching the suspenders with a quick little bow-tie.
(Or make him a
tie…..both are darling with suspenders.)
It may put a smile on your face while your little one performs his favorite song……(Old MacDonald had a farm, “E-I-E-I-OOOOOOO”)
And no worries, the suspenders will fit for a while……with little bits of elastic in the back.
**To make a bow-tie, use the same idea as the tutorial
here. But if you aren’t cutting up an old tie, sew a tube of fabric into a tube, iron it flat, then use that as your main bow-tie piece. Then follow the mentioned tutorial in the same way.
Ready to make some suspenders?
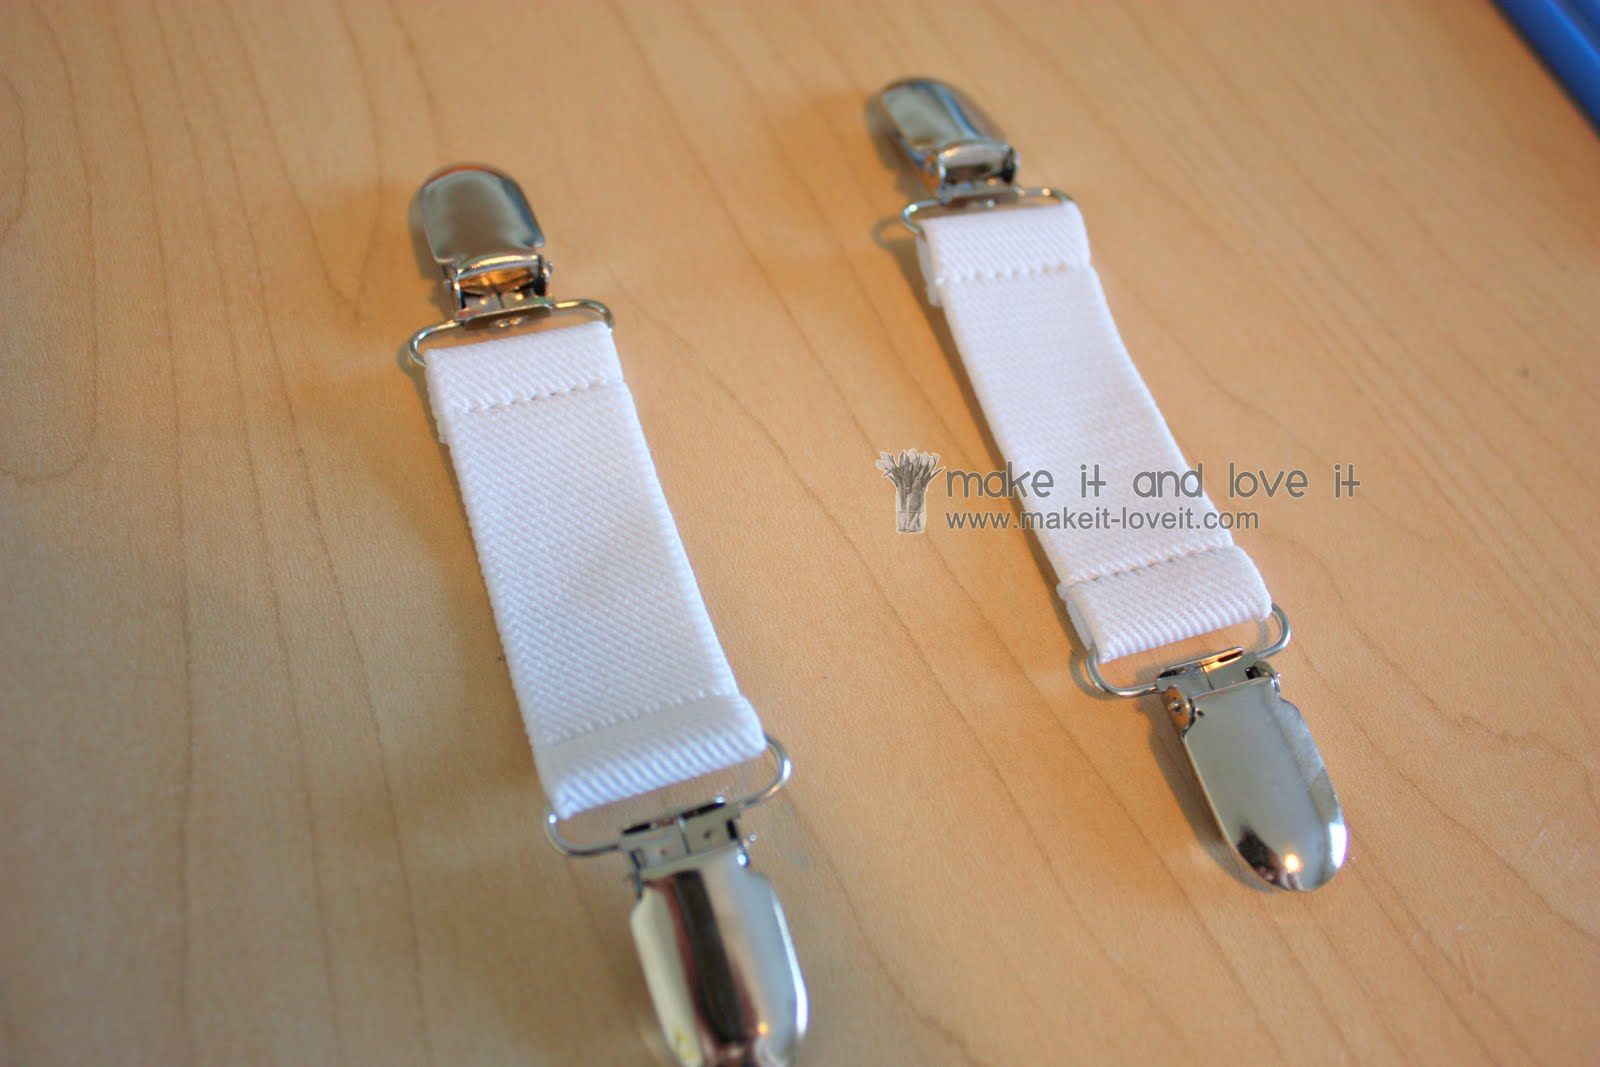
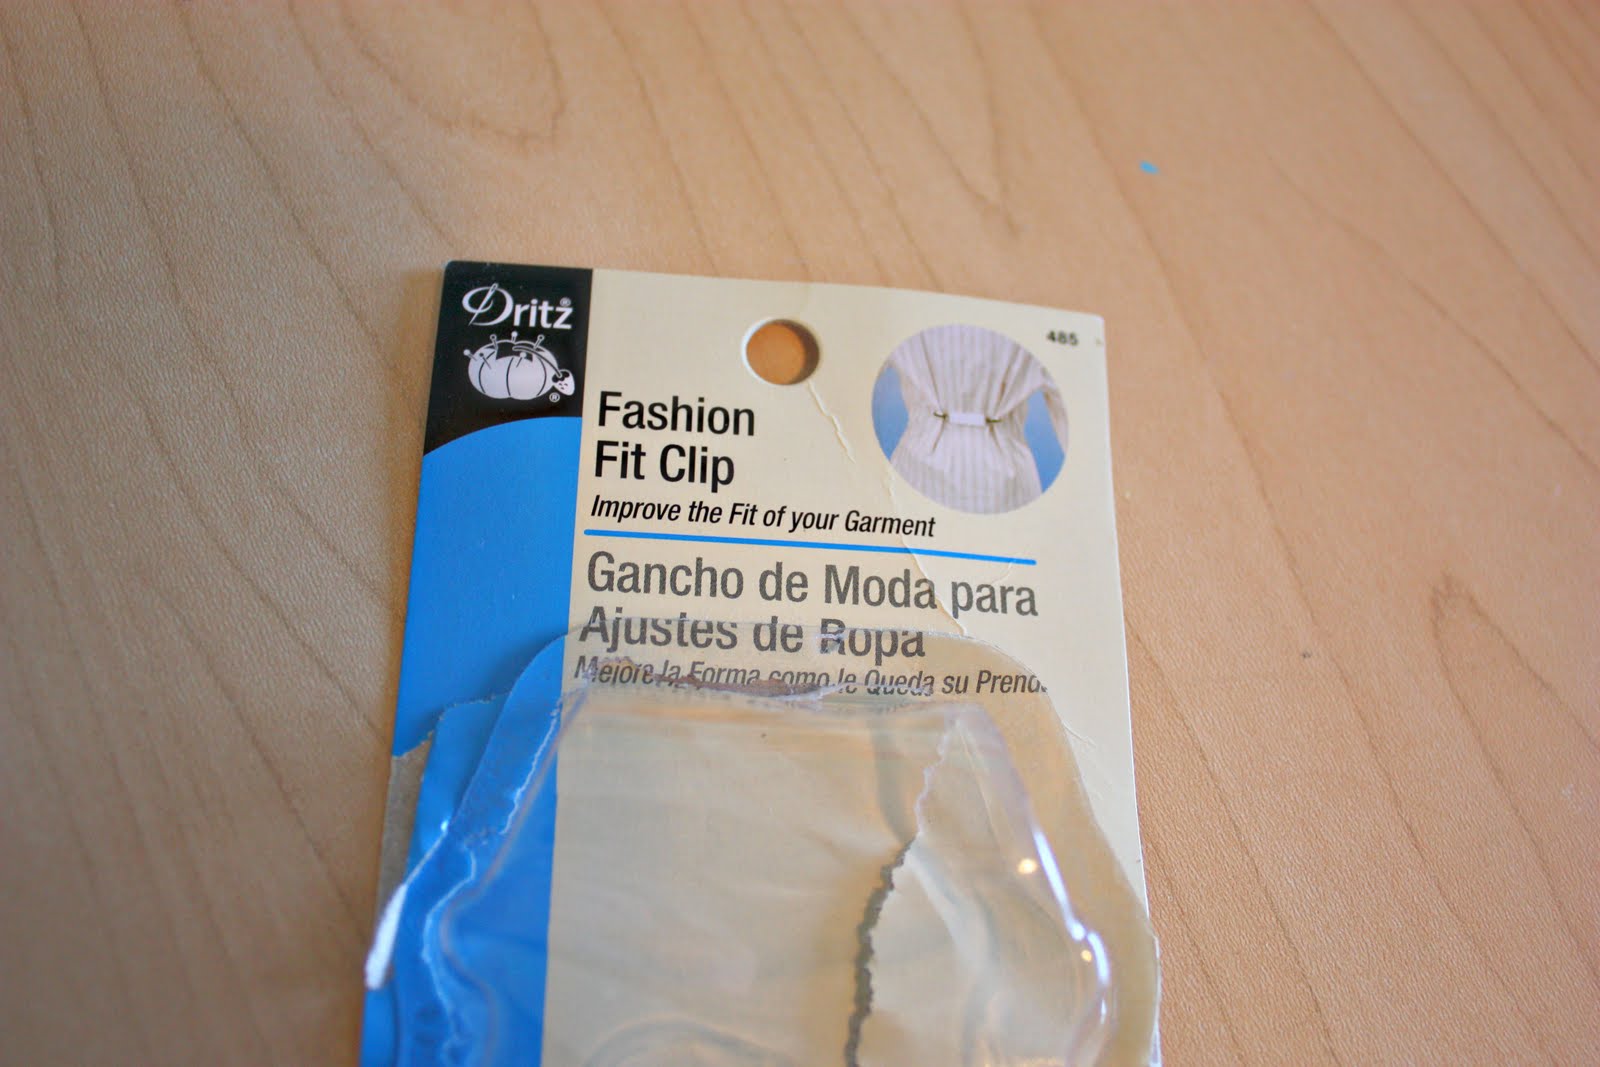
First, you’ll need suspender clips. I couldn’t find any while at the fabric store, so I bought some “Fashion Fit Clips” that worked great.
Here is the packaging they came in, just to give you an idea.
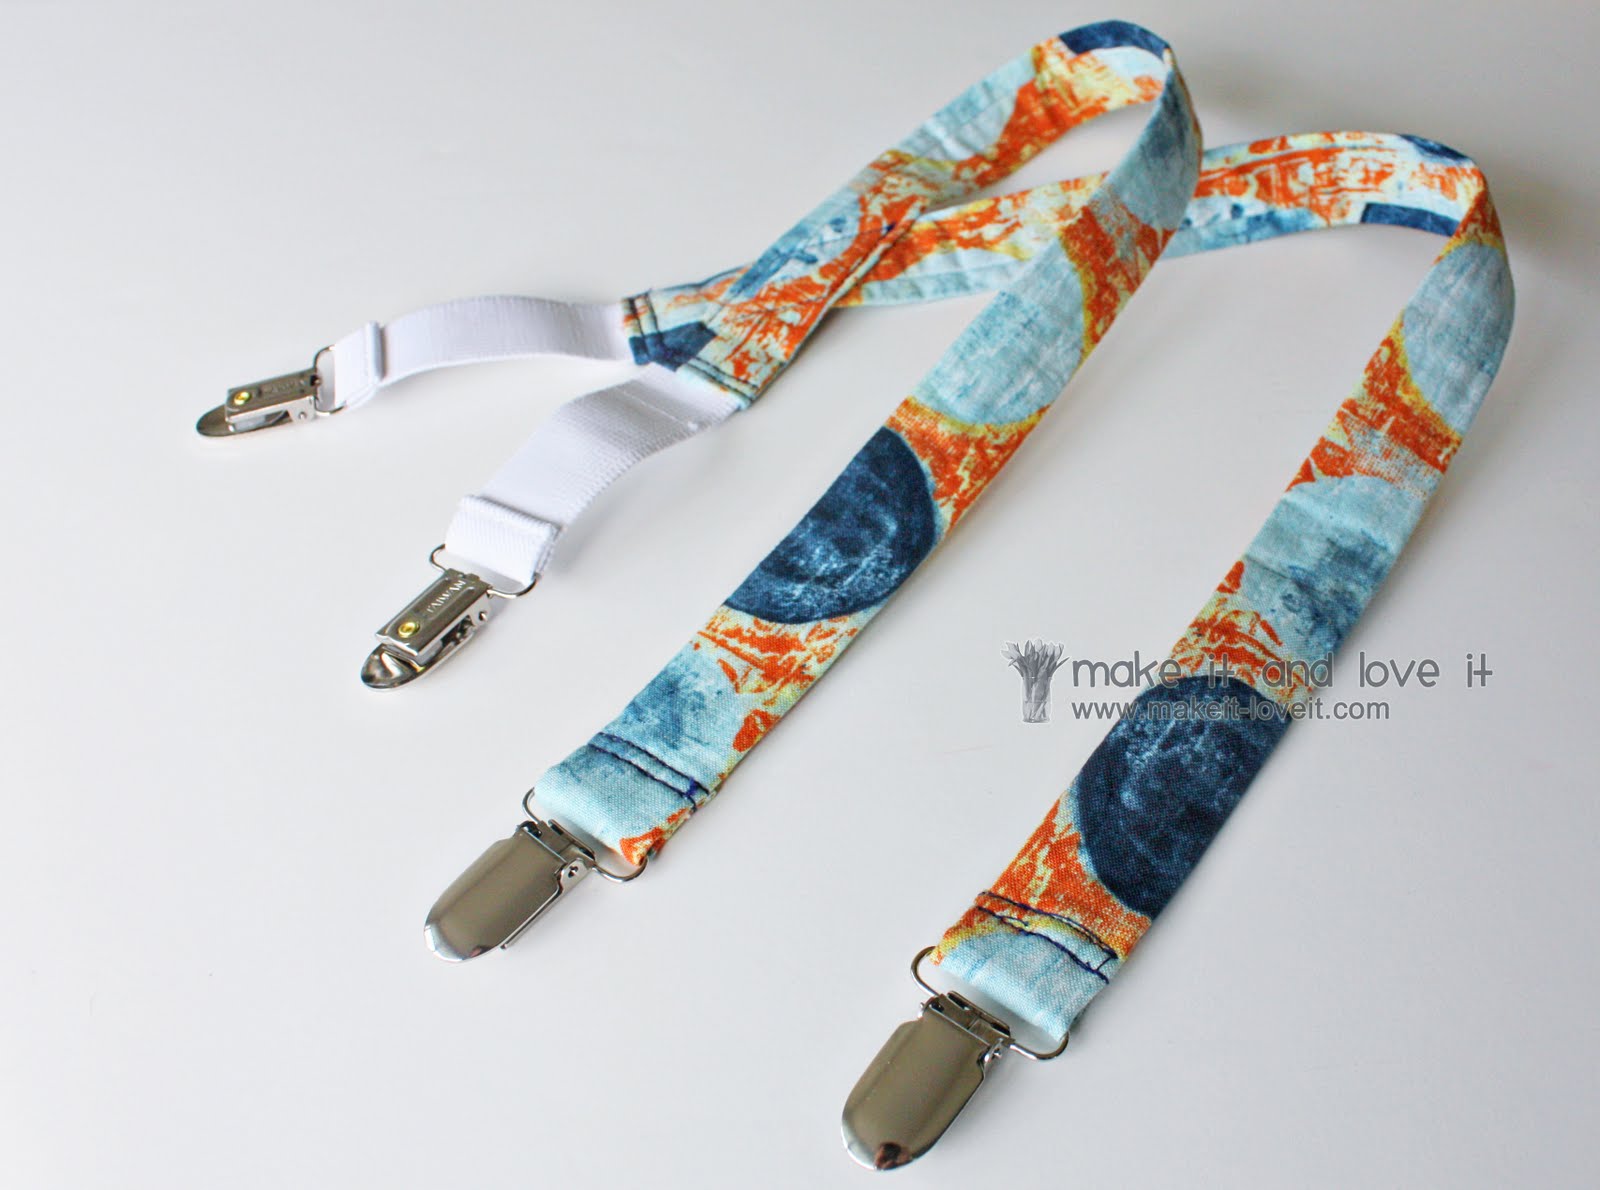
I decided that I would use this same elastic from the clips, on my suspenders, and save on time and supplies. So I picked open the seams on one end of each clip, and left the clips on the other ends sewn in place.
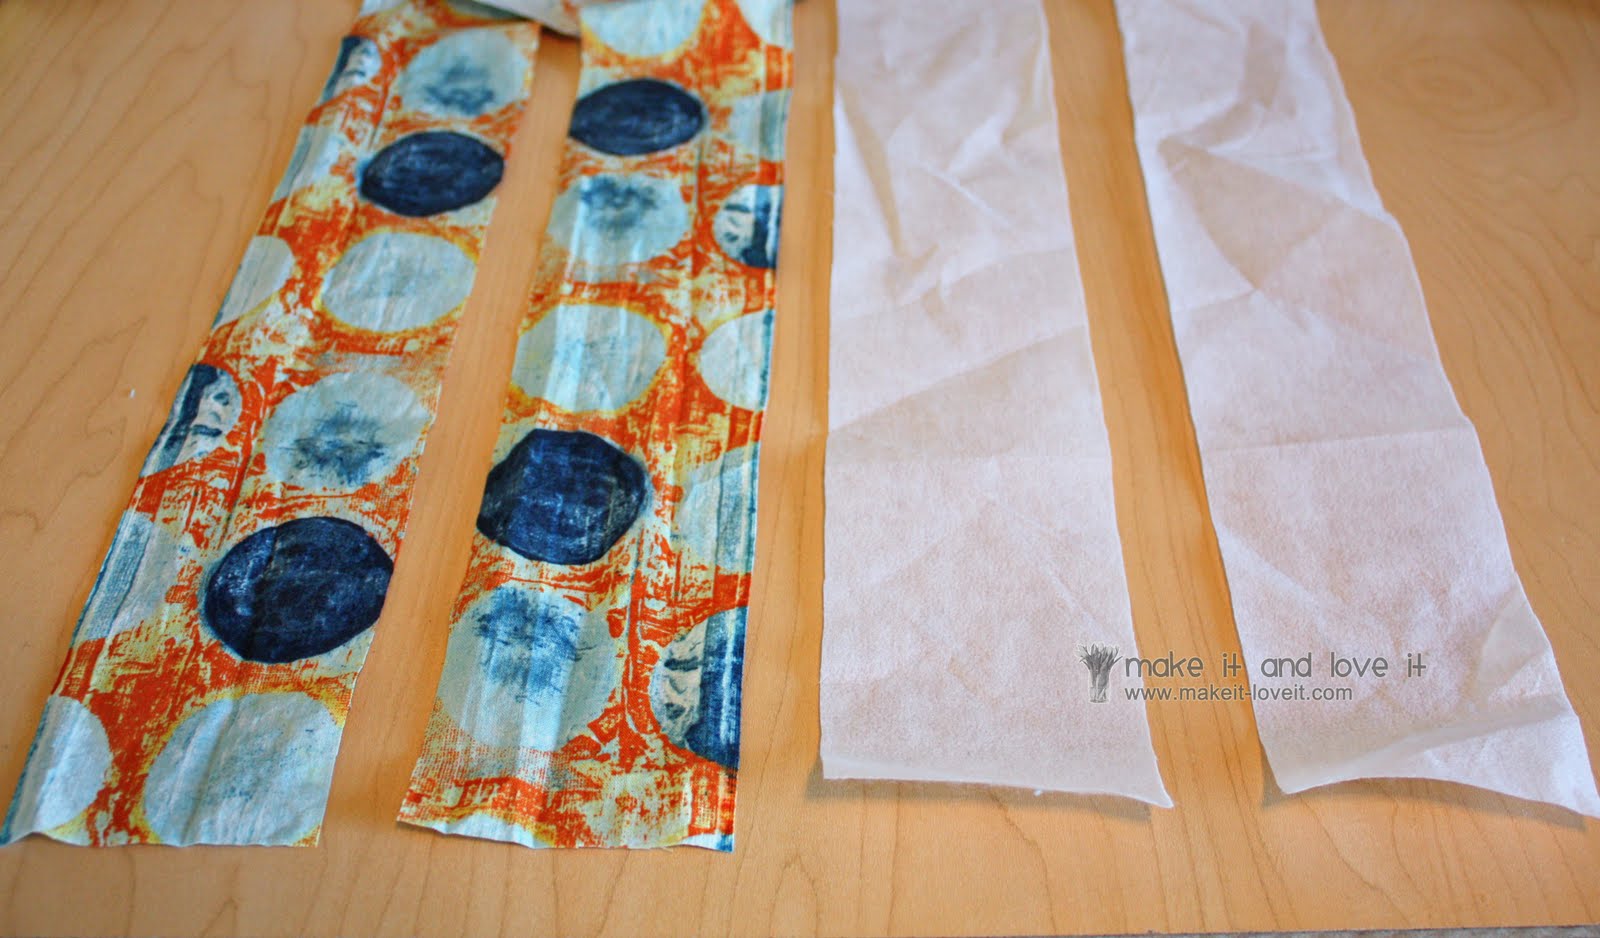
Then I cut two strips of fabric and two strips of interfacing that were 19 1/2 inches long by 2 1/2 inches wide. (You will have to determine how long to make your fabric by measuring your child. I put my boy’s pants on, put the clips in place, and then measured from the front clip, to the back where I would attach it to the elastic. That turned out to be 18 1/4 inches. Then I added an extra inch for the front and a 1/4 inch for the back. You’ll see why in later steps. As for the width…..the pieces of elastic on my clips were an inch wide, so I knew I needed to make tubes that were at least an inch wide, so that the elastic could fit inside. That will make more sense as you read on as well.)
Then I ironed the interfacing to the wrong side of the fabric.
And then I folded the strips of fabric in half lengthwise and sewed the edges together, using a 1/4 inch seam allowance.
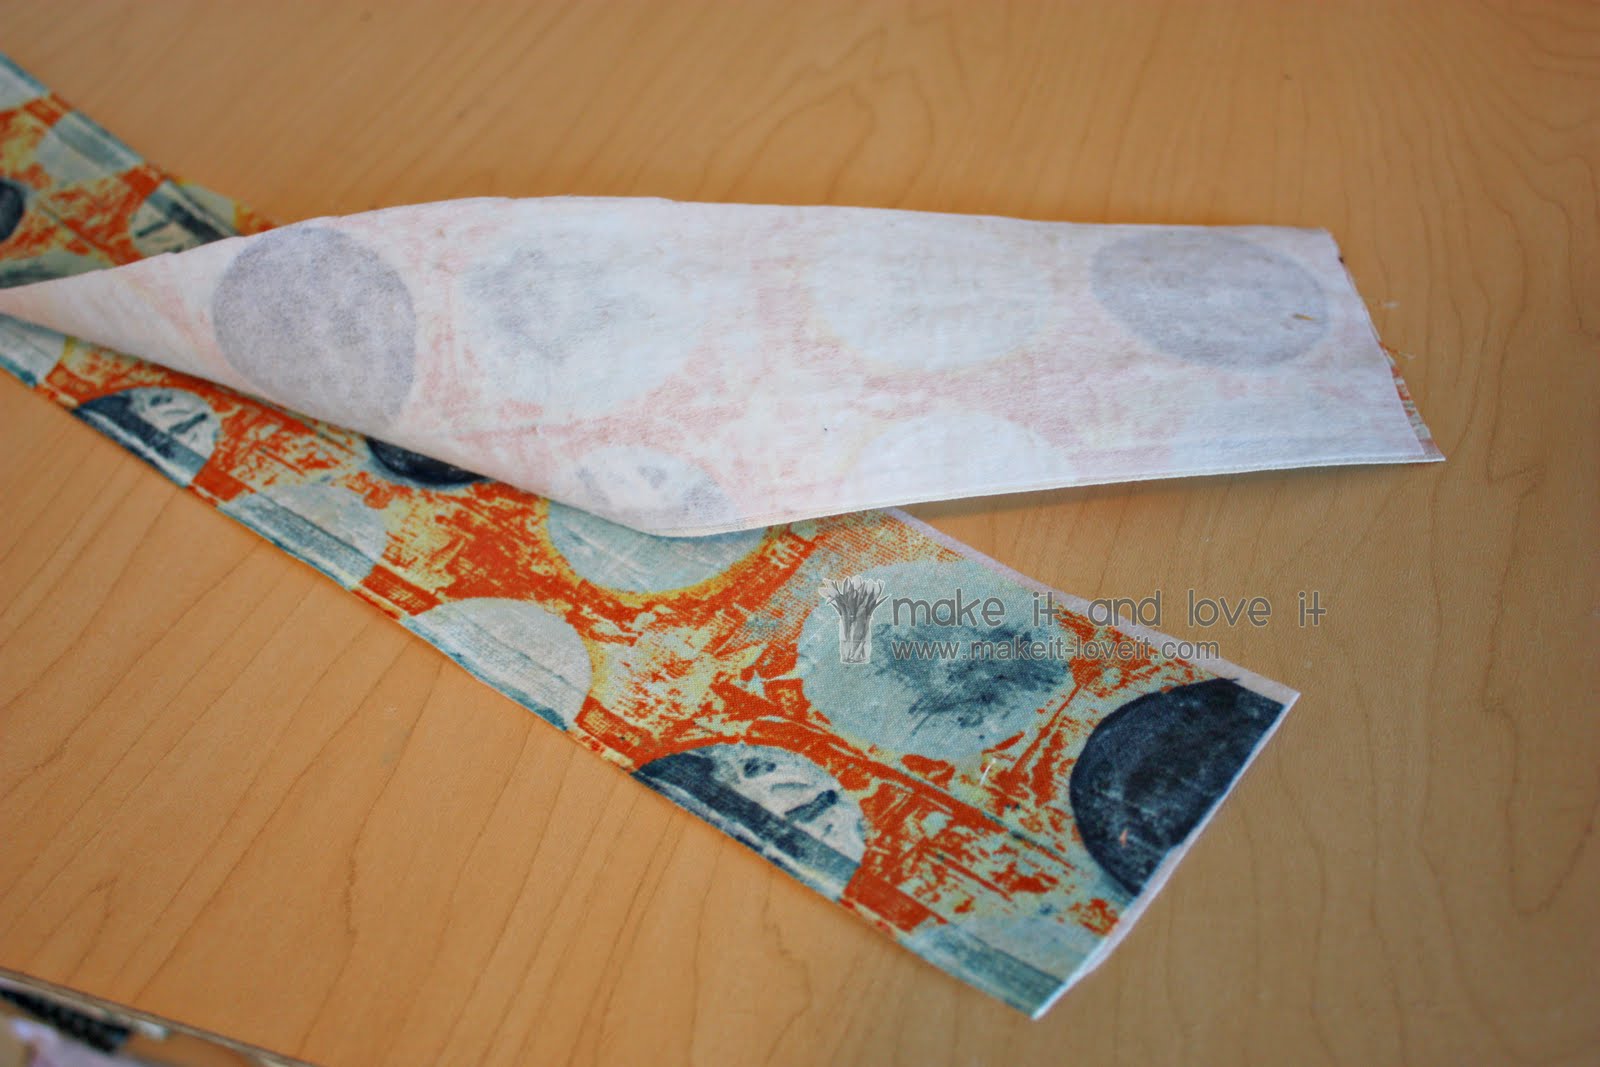
Next, I turned the tubes right side out (using
this tutorial) and then ironed them flat, with the seam going down the center back.
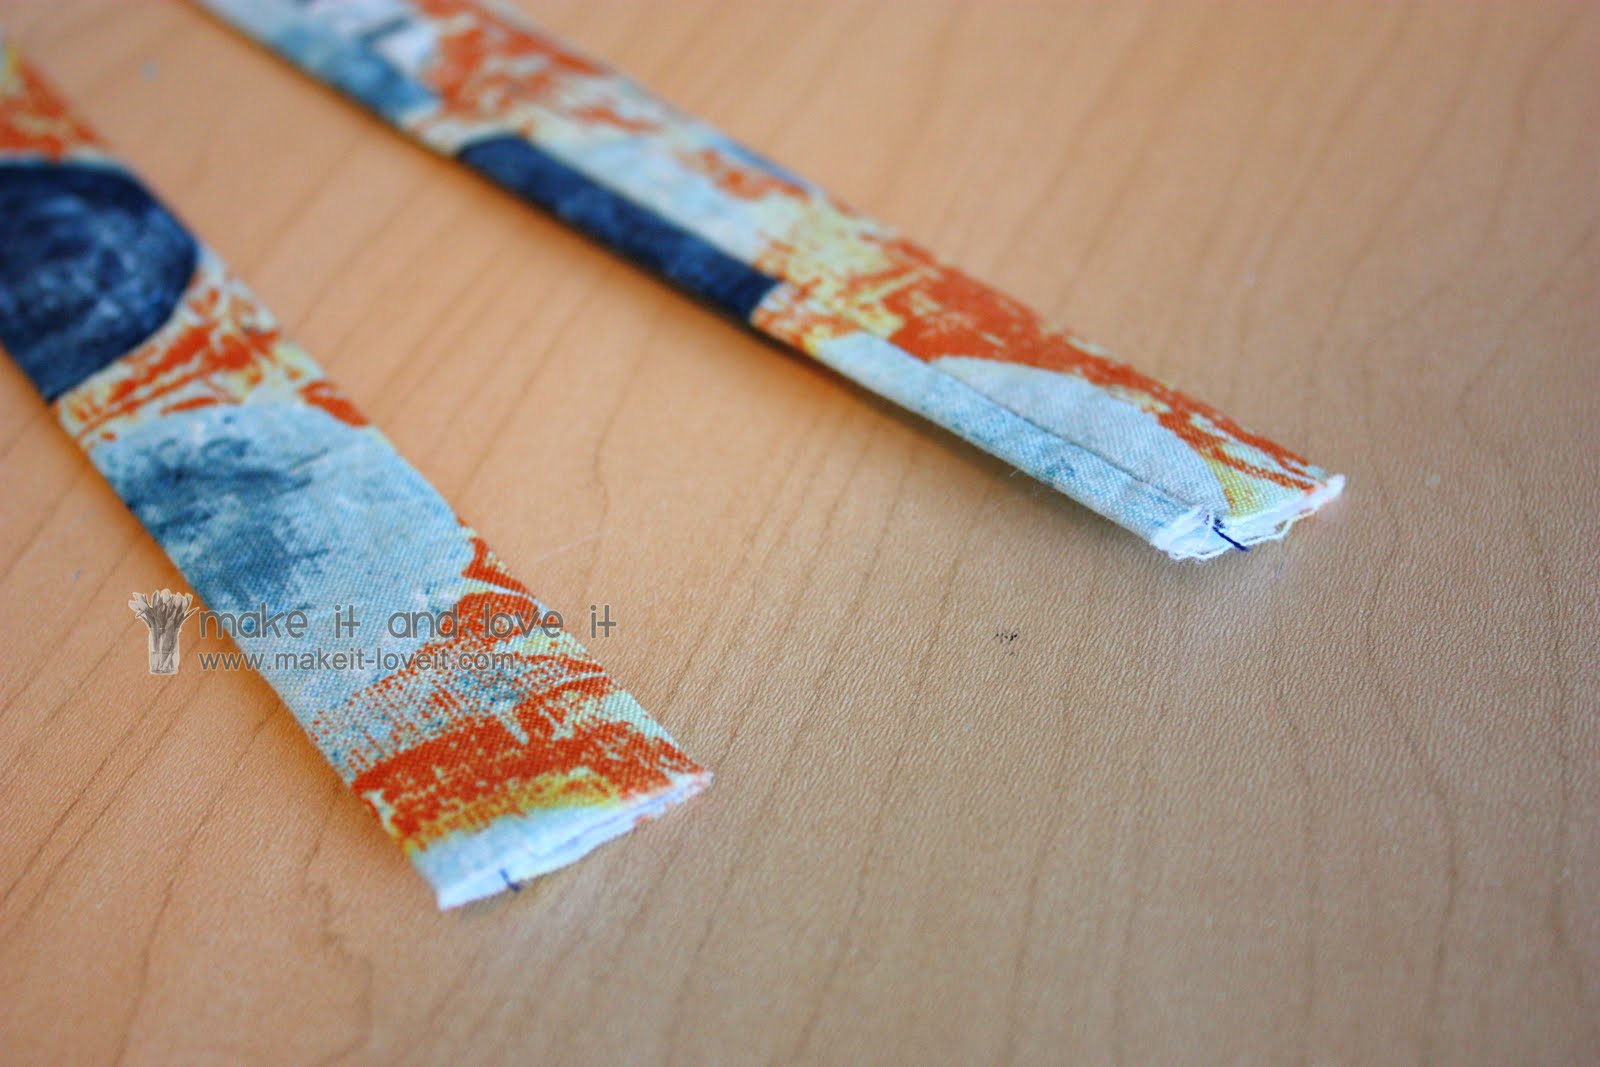
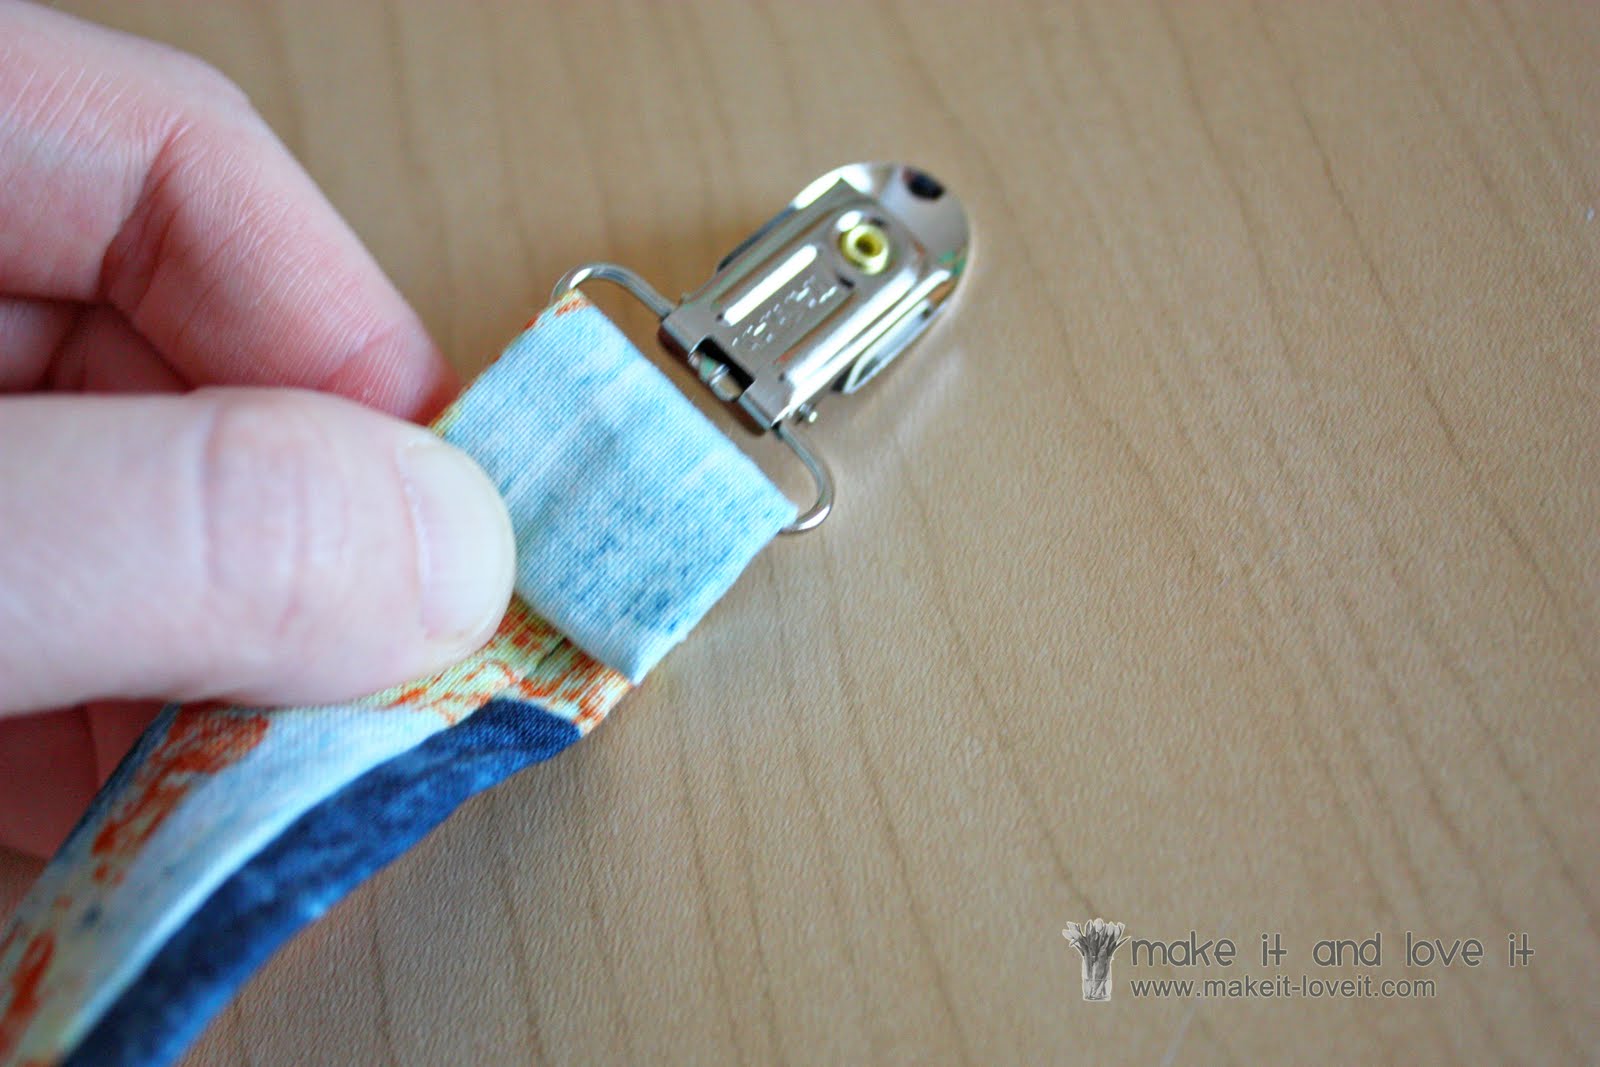
Then, I slipped one end of one of the tubes through the clip, folded the end over 1/4 inch……
Then another 3/4 of an inch.
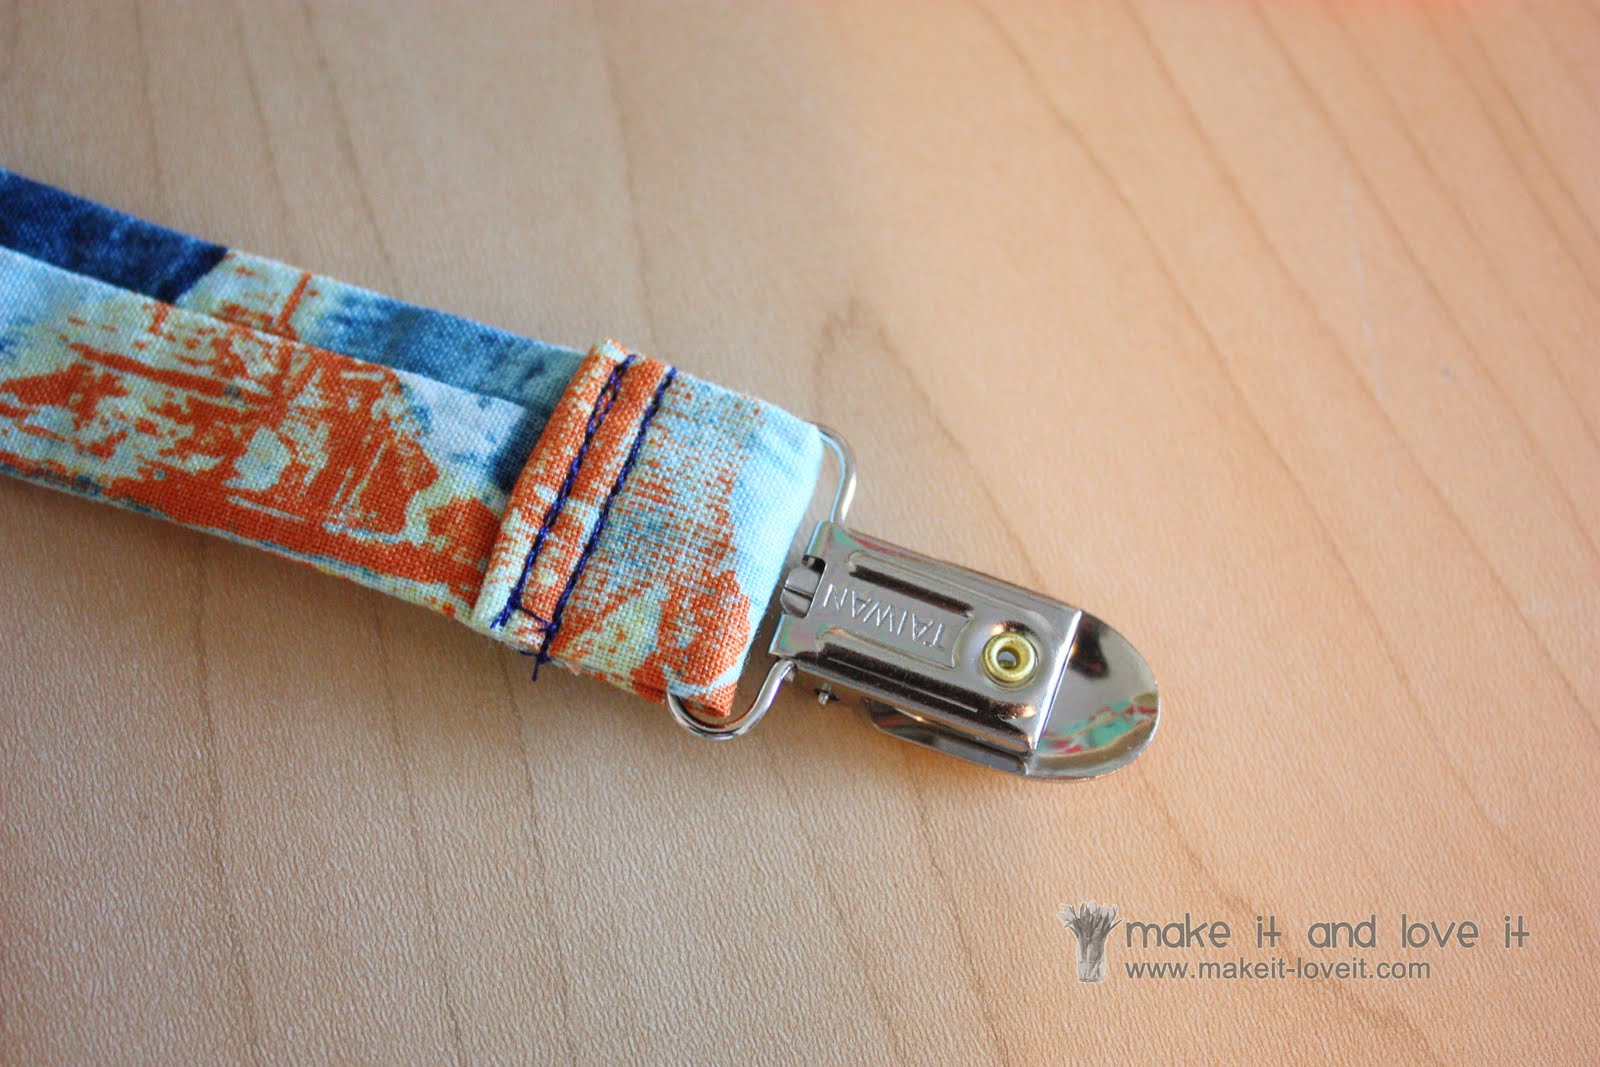
Then sewed that in place with two parallel seams
Then with the other end of the fabric, I tucked in the raw edges 1/4 of an inch and then slid (or wiggled) the elastic in about 1/2 of an inch. Then I sewed this in place with 2 parallel lines as well. Repeat with the other tube of fabric and clips.
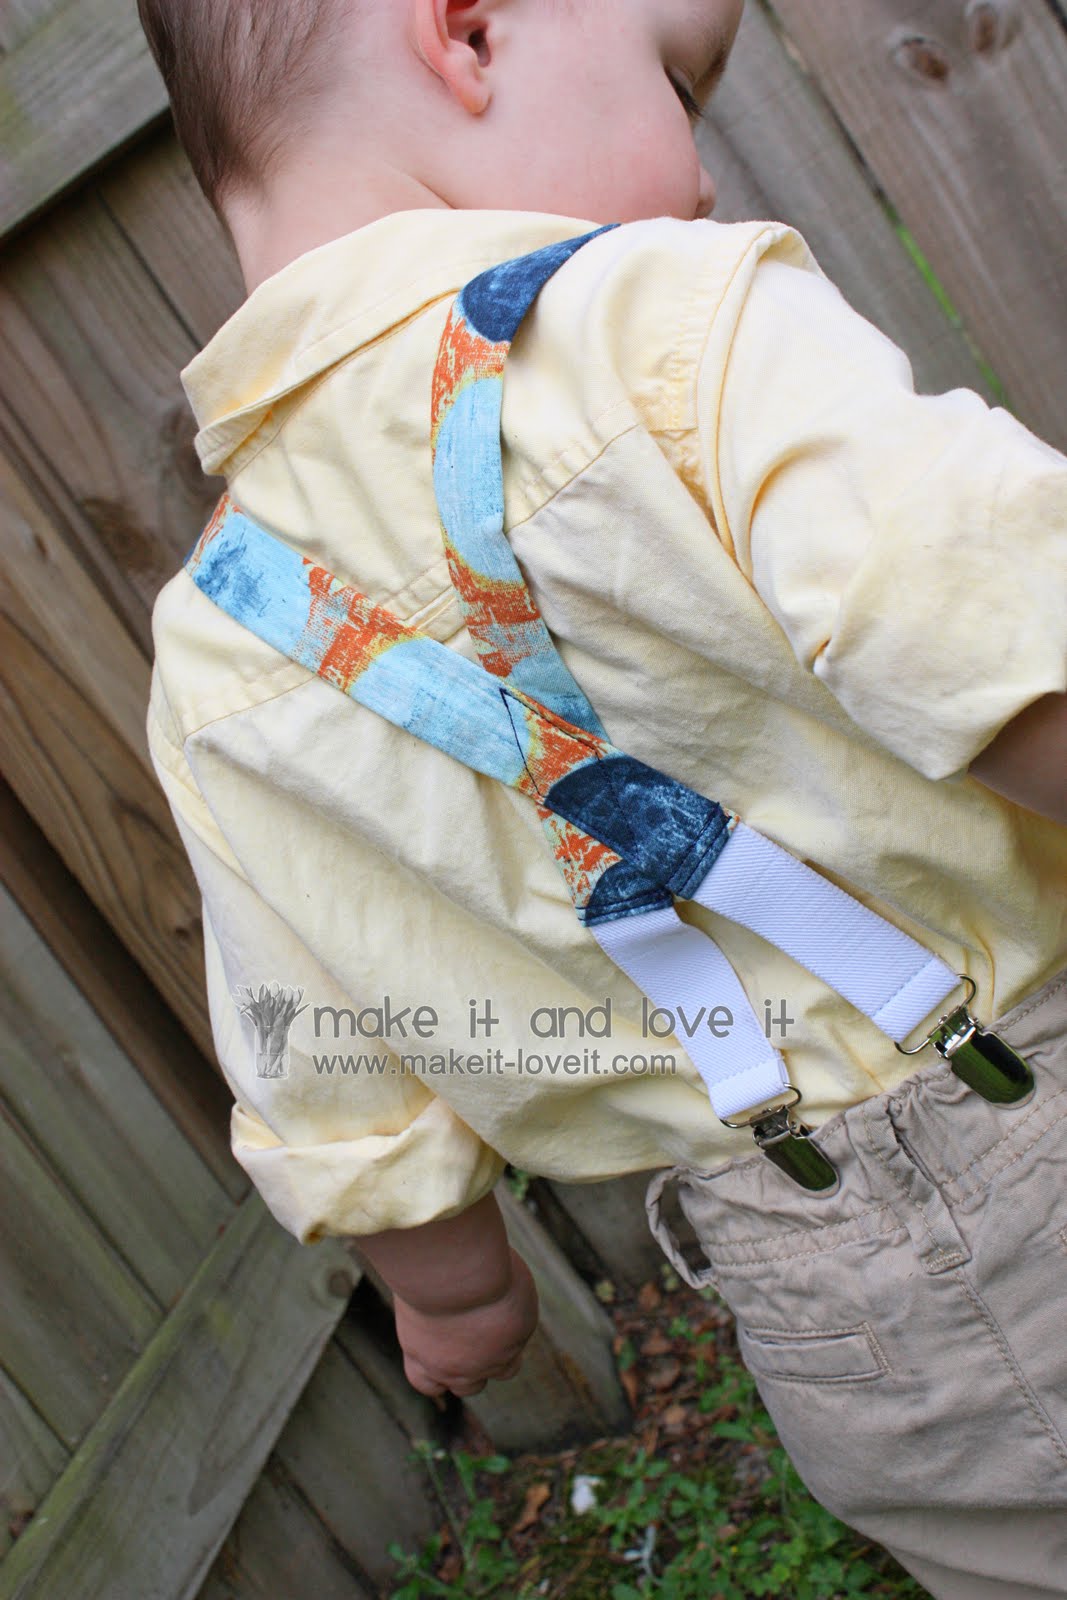
Next, I placed the suspenders on my little boy and crossed them in the back. I pinned the suspenders together in the back, where they made a good comfortable angle with each other. (Try to make them cross around the lower center back. That seemed to be a good spot.)
Then I sewed the two suspender pieces together, making a diamond shape as I included all of the edges of both pieces.
You can also use regular suspender clips (or cut some off of an outgrown pair) and then add elastic. But like I mentioned above, I just couldn’t find any at the store…..and then realized these would work even better.
And that’s it.
A new pair of suspenders……completely customizable to any outfit.
Now come on……time to dress up that little munchkin.
Church, weddings, special events……they are all the perfect place to sport a sweet little pair of suspenders.
Even if they do quirky things while wearing them. Hey, so do old men.
Enjoy your weekend.