Are you ready for the sun?
Ready to paint those toe nails and slip into some sandals?
I am too.
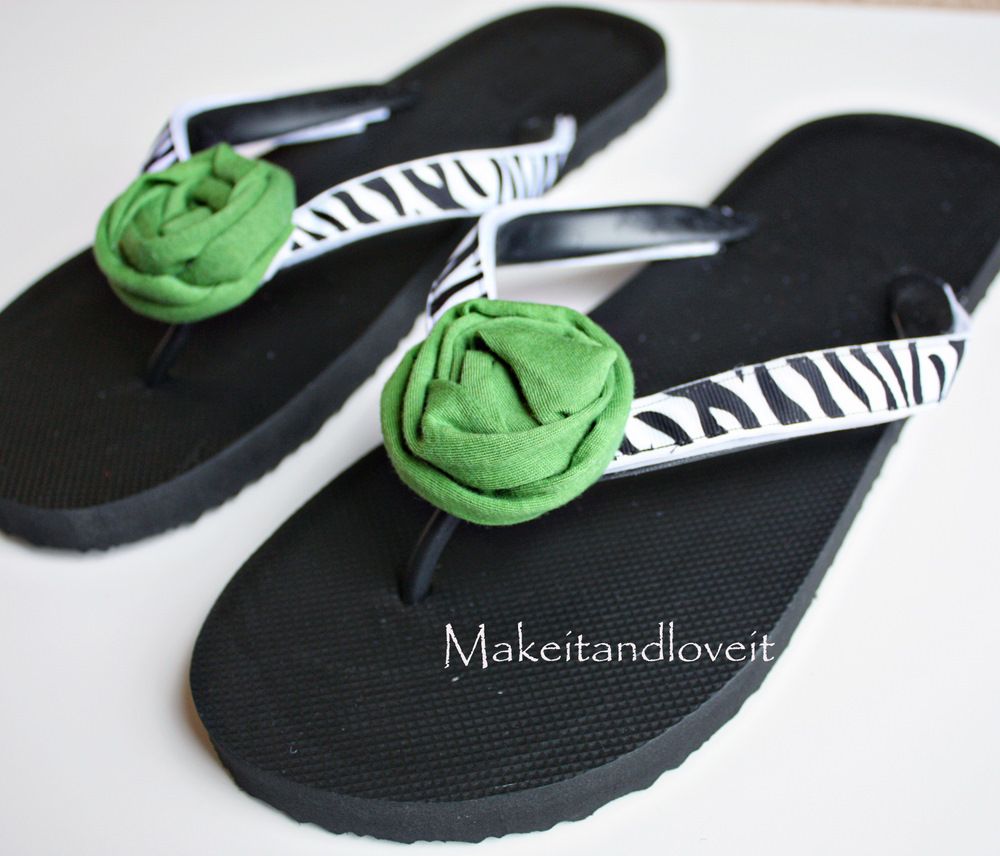
And I decided to greet spring (that will be here soon) with some flip-flops, with interchangeable straps.
So I can start the day with some color and print…..
Then change my mind.
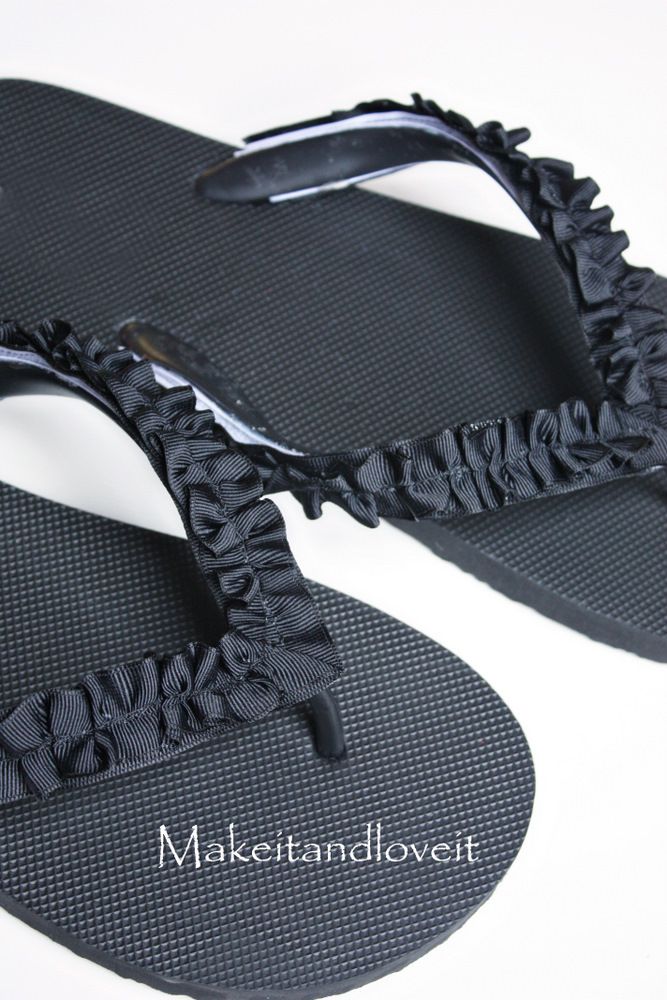
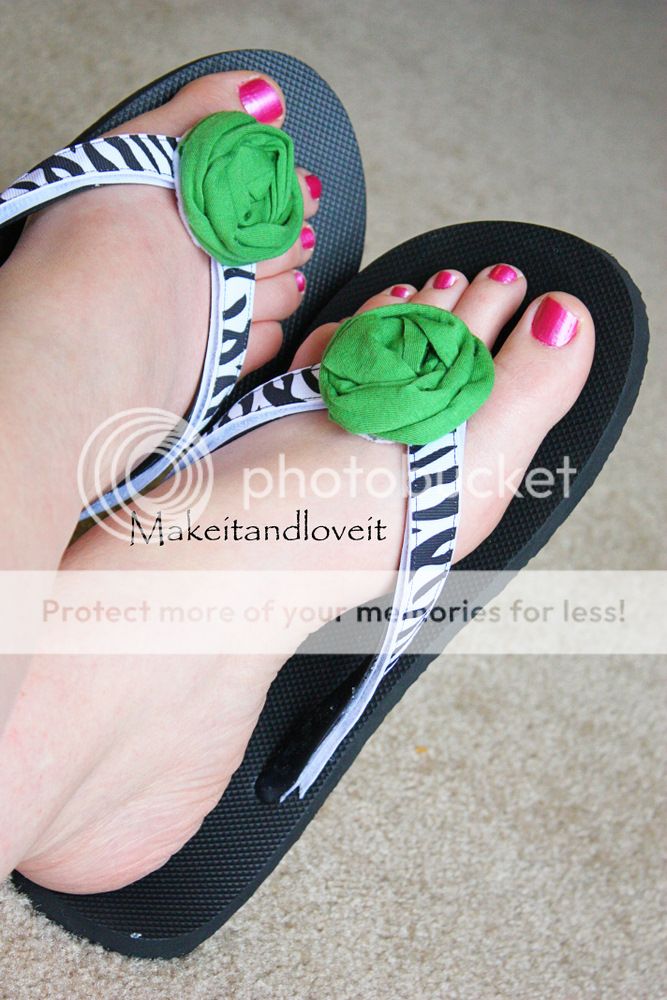
……..and switch to a solid ruffle.
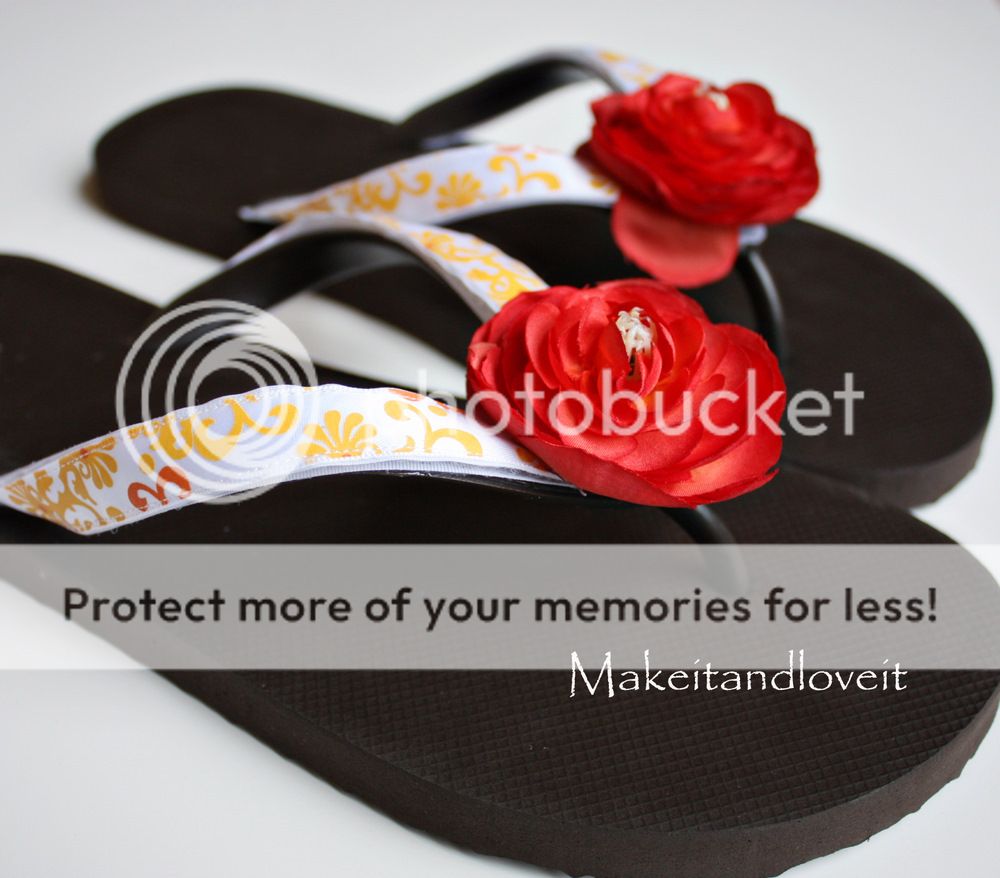
Then choose some warm colors and sweet flowers the next day……
And then animal print with a simple bow the following day.
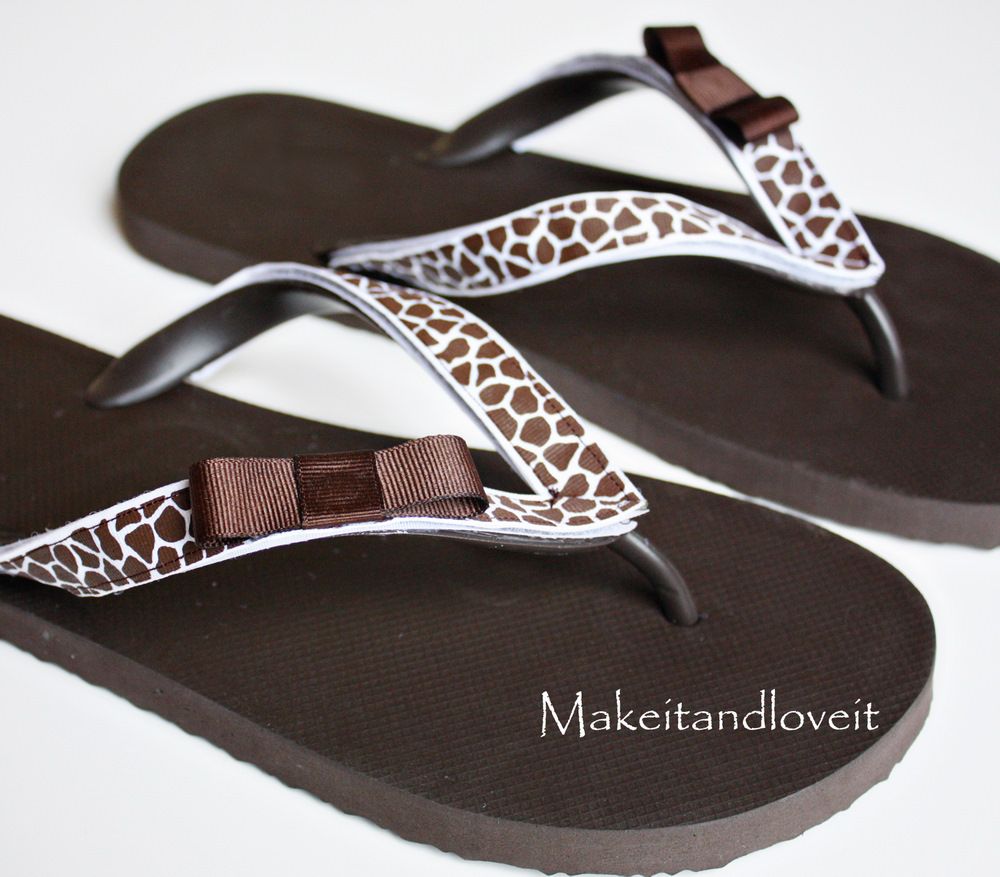
(I saw something similar in a shop and knew I needed to figure out a way to make my own…)
But all you need is one pair of flip flops (or two in my case), some velcro, and any sort of colored ribbon and accessory that puts you in the mood for spring.
How to make your own??
Find yourself any pair of flip-flops. I found mine at Old Navy……2 for $5. But you could do this with a nicer pair…..even a leather pair. Give it a try.
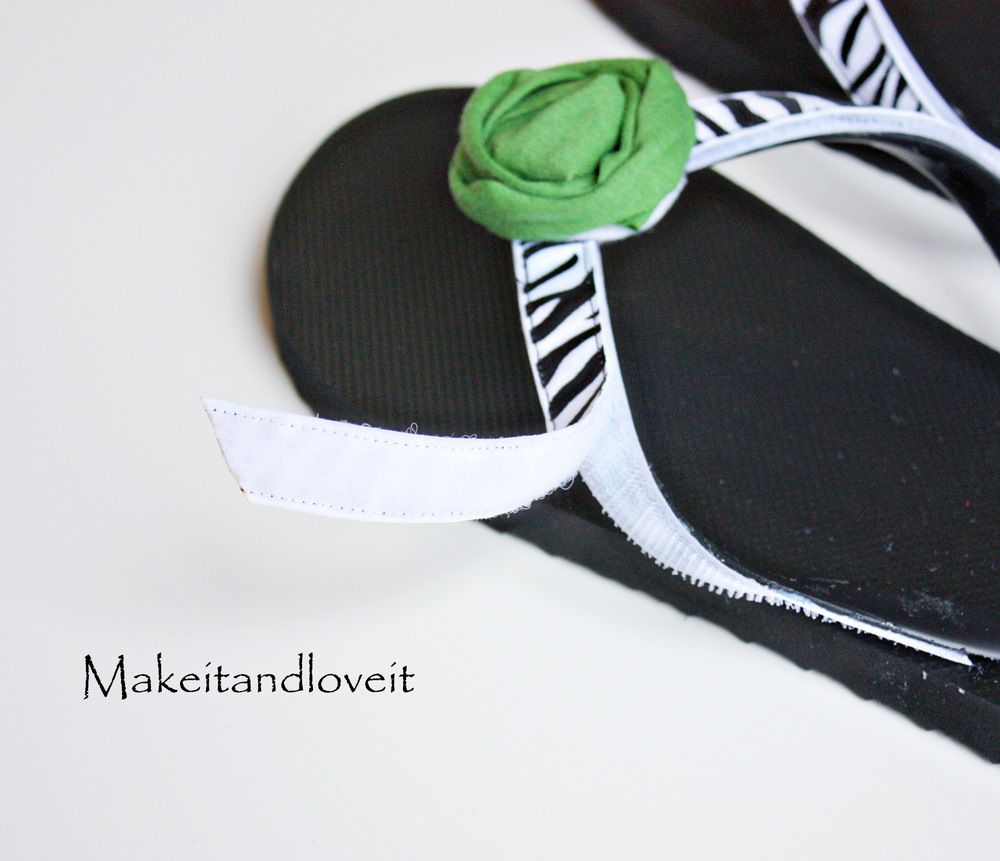
Start by cutting two pieces of the scratchy side of the velcro and gluing them to the flip flop. I didn’t take a closer picture but cut the two pieces at an angle so that they will fit together like an upside down “V” right by the toes. (And I placed the scratchy side of the velcro here, so that the interchangeable pieces with the velcro facing down would be soft, and wouldn’t scratch my feet.)
I used a strong epoxy glue that I found at Wal-Mart. I boughtthe non-toxic variety because shoes always seem to end up near little mouths in my house. But there are many epoxy glue’s to choose from. (Hot glue is not strong enough to keep the velcro attached.)

Next, cut two pieces of ribbon and sew them together at one end at an angle. (Make sure to purchase ribbon that is wider than your flip-flop strap and wider than your velcro.)

Then open it up and see if the angle is just right for your flip-flop. If not, re-sew a different angle.

If it works just right, trim the ends and then heat seal the raw edges with a lighter.

**Tip: After you have opened up your “V” and it’s just a little too pointy or a little uneven…..just use the lighter to melt the ribbon a bit and that will even out the imperfections. Or trim with scissors first and then melt with the lighter. Works wonders.
Then cut two pieces of the soft side of the velcro to fit on the back side of you “V”. Cut each end of the velcro at the same angle as your ribbon, so that they will fit together nicely. Sew your velcro to your ribbon.

Then turn it over and add any sort of flower, ribbon, button, fabric yo-yo, ruffle, etc.

Now it’s time to attach it to your flip-flop. (Make sure the glue on the flip flop has dried thoroughly.)

***Also, cut the 2 ends of the ribbon at an angle so that it almost reaches the end of the straps of the flip-flop. See how the end above is cut at an angle?
Now make more.
And be as creative as you want……

Then make some for the little ones in your house.

**Remember, you can do this for boys too. You can just keep it simple and use a cute striped ribbon in more masculine colors……or even a cool little camo print. Just leave off the embellishments but let the little dude have some variety to his flip-flops too.**
Now go on and fancy up that flip-flop selection.
***Flip-Flop update here. More helps and technique’s shared that I didn’t have time to do the day that I posted this tutorial. Whoops.

Hi, I’m Ashley—the DIY-enthusiast behind this crazy blog!