And thank goodness it works well.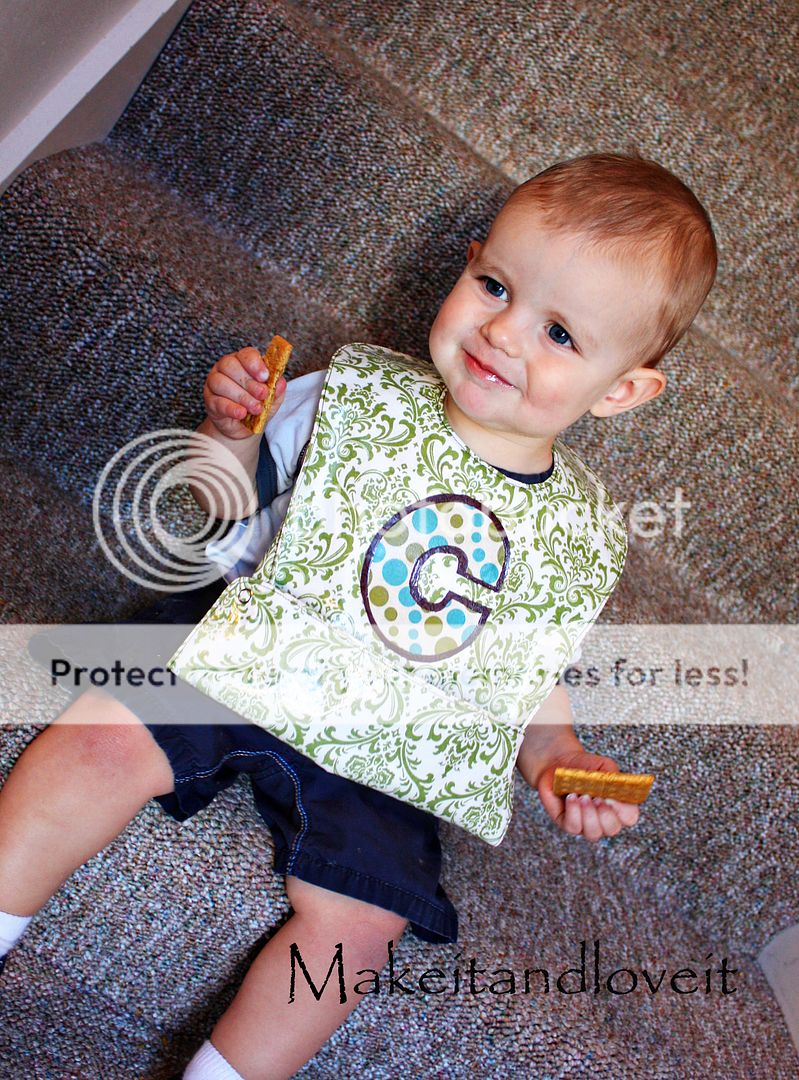
The bottom snaps up in place to create a catch-all for extra food and mess. And then un-snaps so that you can wipe clean. Love it.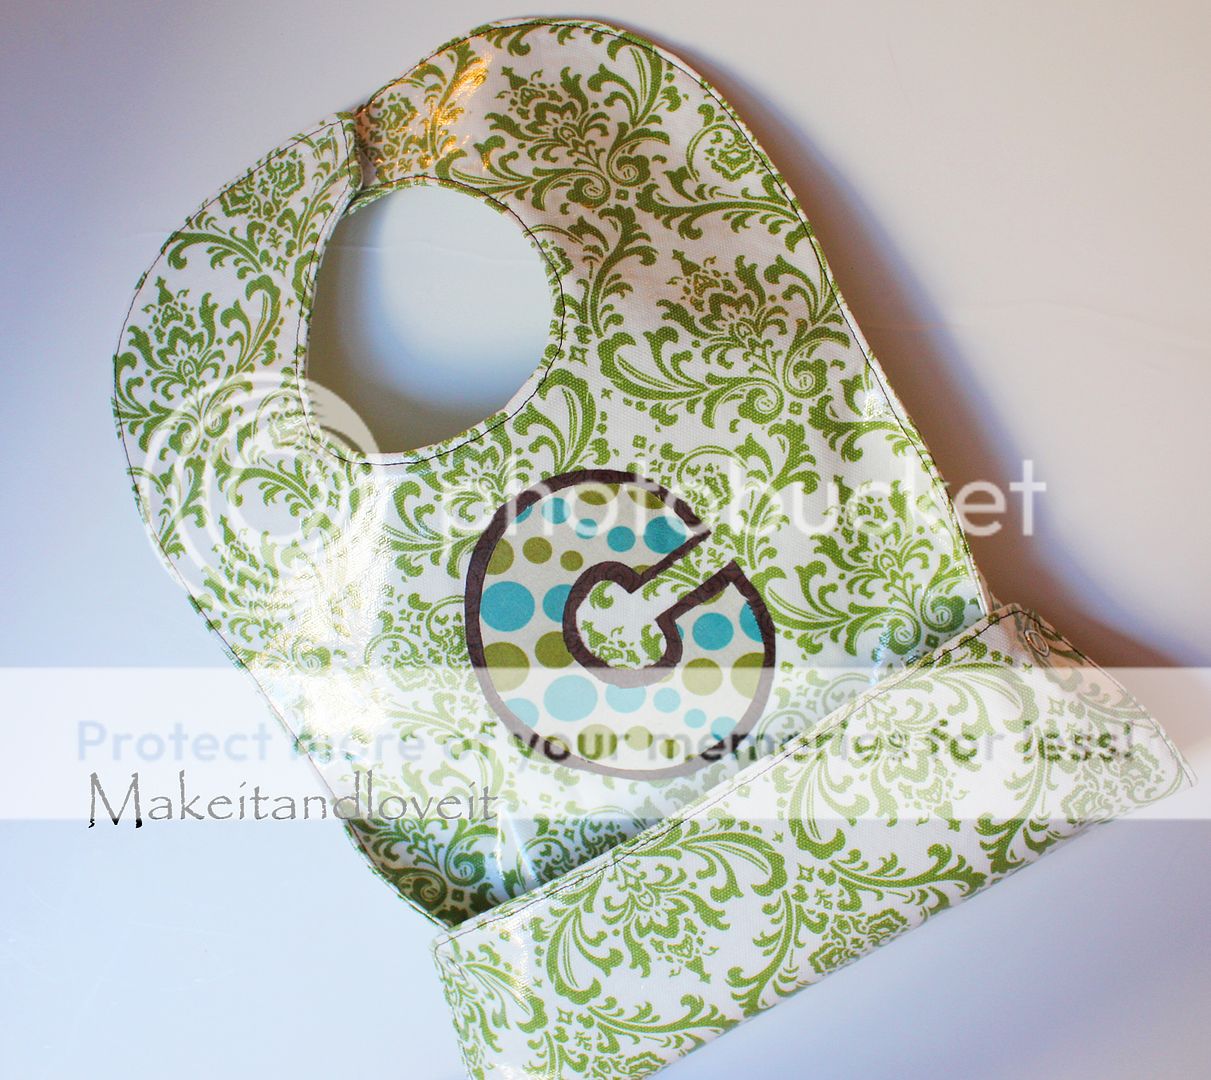
: : : Click on images to enlarge. : : :
You’ll Need:

Then either add another 1/4 inch for your seam allowance and then cut it out.
Cut two pieces of your thick upholstery fabric.
Then cut out any sort of shape or letter. Cut some fusible web the same size and place it behind the shape/letter and iron it onto one of your bib pieces.
Cut two pieces of iron-on vinyl, the same size as your 2 bib pieces. Follow the directions on the packaging and apply to the front of your bib pieces. This stuff is great. It will make your bib waterproof and will stiffen up the fabric even more.
Then place your two pieces right sides together and sew all the way around the 2 pieces…..leaving a gap along the bottom of the bib. (Use a 1/4 inch seam allowance.)
Clip the corners and make slits along the curves. This will help the bib fabric lay nicely after it is turned right side out.
Now turn the bib right side out, poking out the corners and smoothing out the curves of your bib. (It will look really wrinkly/messy……but we’ll fix that next.)
Then tuck the opening along the bottom, towards the inside. Iron the entire thing flat, making sure to place some of the vinyl backing back over the vinyl…….otherwise it will melt to your iron.
Then sew along the entire outer edge and attach some velcro to the neck ends.
Now you’ll put some snaps in the bottom two corners of the bib. (click on the image to see it larger.)
Then fold the bottom up to about where you’d like it to create the catch-all.
Then put the corresponding snap ends on the back side of the bib, level to where the snaps on the bottom corners will meet them.
See how you fold the bottom of the bib around to the back to create a bubbled-out opening for your catch-all? Make sure you are attaching your snaps correctly, to make this happen.
Now hurry and make your own……..I know there’s a toddler around you making some sort of mess.

Hi, I’m Ashley—the DIY-enthusiast behind this crazy blog!


